Dollar Tree DIY Home Decor
Pinching Time
I know that not a lot of you have time to do DIYS that take up days or weeks to make, so with these 5 DIYS I tried to focus on making them as quick and easy as possible. Plus they’re super affordable to make and no one will ever know you payed a few bucks for them! 😀 😀
(PS.These dollar store projects have been quite a challenge. Not because they were hard to put together but, because it takes up so much time to make multiple DIYS at once. After almost a week and a half and 2 all-nighters I’m happy to finally be done with this lengthy project and I really do hope you enjoy it! 😀 )
HAHA! 😀 I’ve been working on these projects sso long I feel a bit fuzzy brained about what to write. So, forgive me if I’m a bit all over the place.
Question for you
A question before we begin. So I’ve been having a hard time taking photos during my video-taping and I have a question for you. I know that lately I focus most of my attention on creating very explanatory videos but, I want to here what you have to say. Do you prefer photos over videos? Or do you equally like both?
Why I love my ryobi Glue gun
So for Christmas my husband got me the ryobi tool set. He also went out and got me their glue gun. I wasn’t too impressed at first but, for these projects I was thinking of how I can quicken the process and still have the same quality durability. Originally I was planning on using my E6000 glue which, I know is super durable but, just to give it a try I decided to use my new glue gun to attach a piece of wood. OMG I was amazed because I couldn’t rip it off and I tried real hard!! 😀 CRAZY! RIGHT! Who would of thought! If you can’t afford to go out and get a new glue gun make sure your at least using high quality glue sticks and not the dollar store ones. I always use walmart or homedepot glue sticks. I tried using dollar store glue sticks once and the whole project fell apart in no time!
What we’re making (scroll down for video)
Keep in mind these items don’t have to be purchased at the dollar store. I got some of my items at the thrift store for around a dollar or up-cycled old decor I found around the house.
Here’s and outline of what we’re making.
#1 Votive Candle holder –
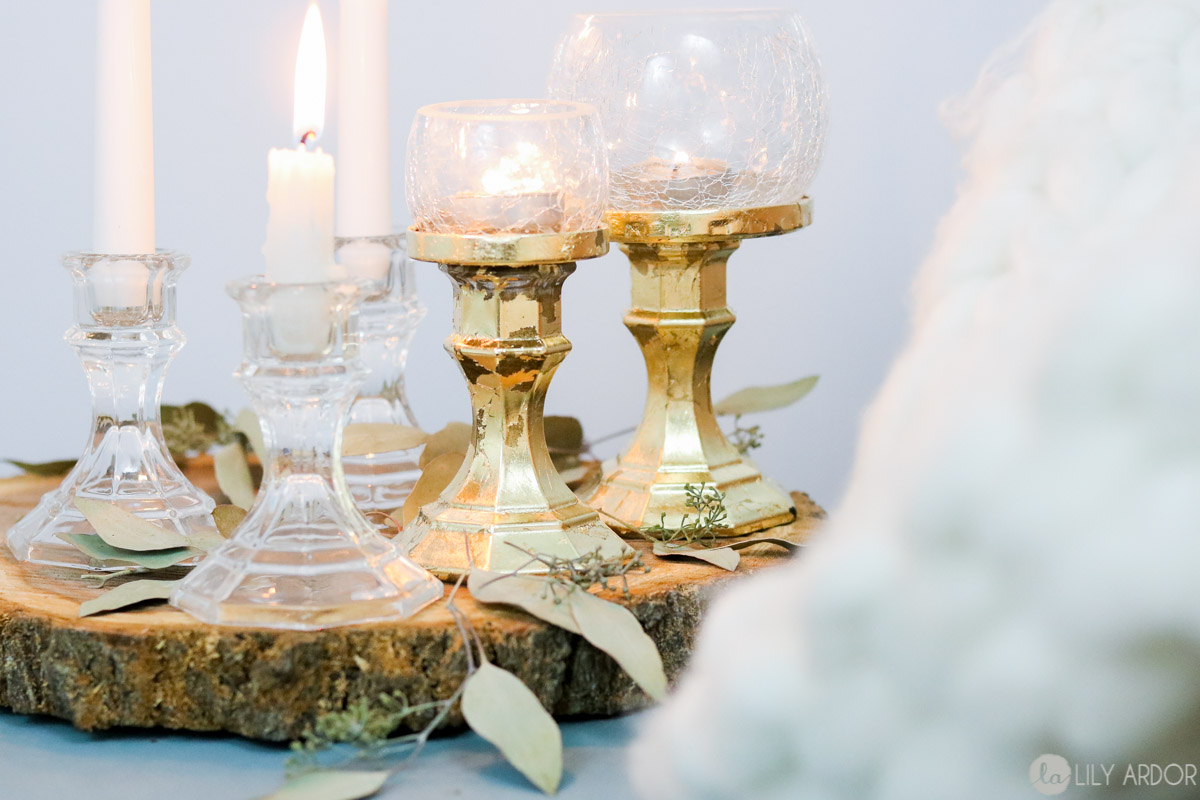
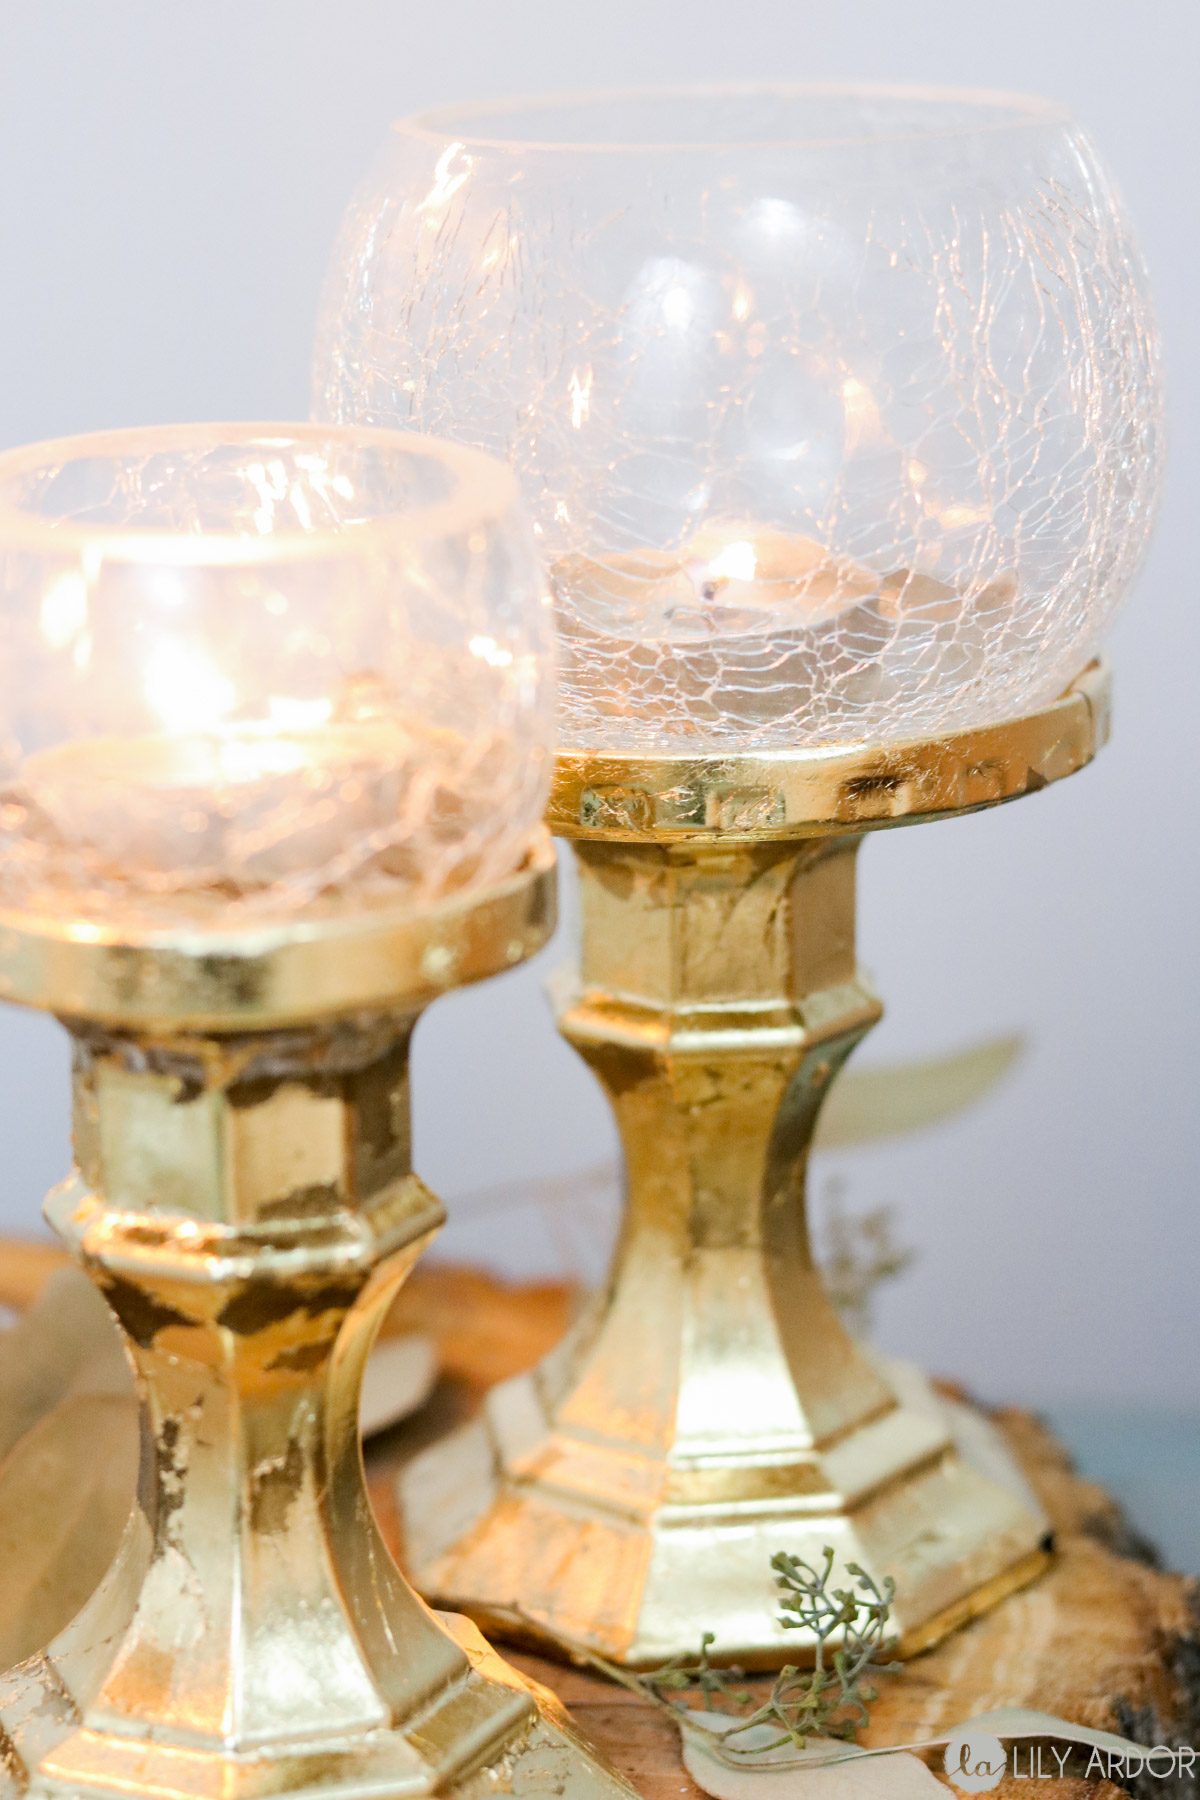
These candle holders are so easy to make. I used some lids I recycled from old jars and attached them to glass candle holders from the dollar store. Following that I gave them a coat of gold spray paint. Once dry I brushed on some gilding adhesive and let it set for 10-15 minutes. Don’t worry about the gilding adhesive over drying. It will never dry completely. It dries to a tacky finish. I actually used a blow dryer on a low setting to speed this process up. Once ready the adhesive turns translucent. Keep in mind if you apply your gilding adhesive blotchy you will have a more rustic affect. Then one by one I applied the gold leaf and patted in onto the gilding adhesive using my fingers. I used a soft brush to remove and excess gold leaf and you should be done! 😀 😀 If you’re not into metallic finishes you can always just go with a solid color.
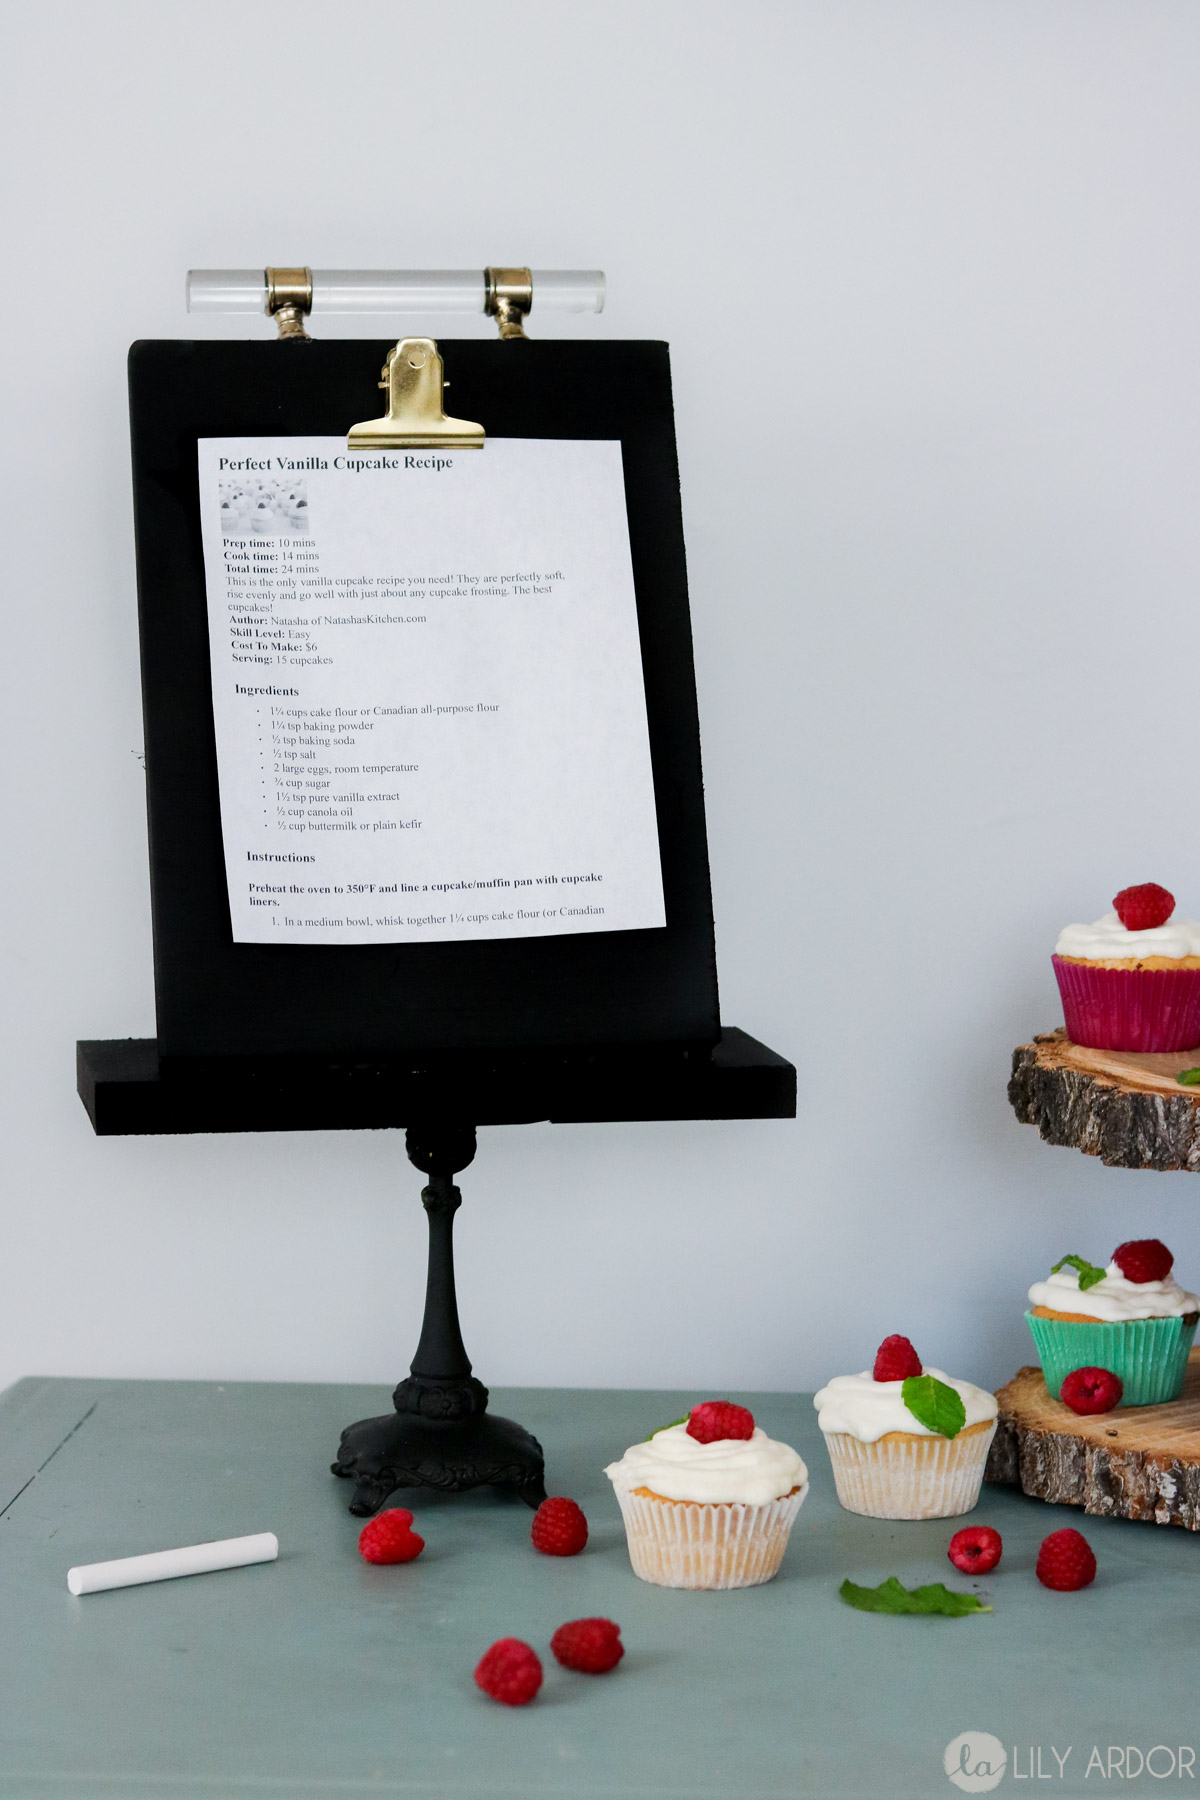
#2 Recipe/ Chalkboard Stand – Fun Organization!
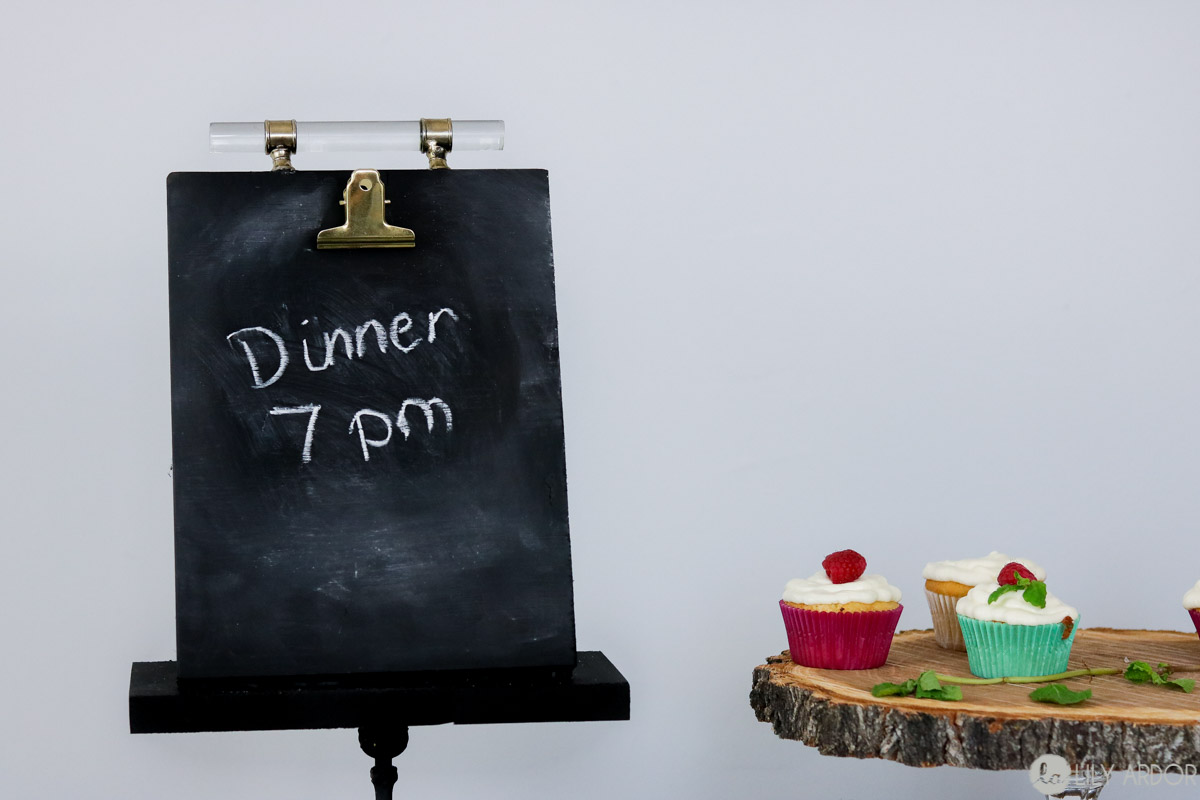
My favorite part about this recipe stand is that it transitions into a chalk board so you can use to write notes as well and hold your recipes. Perfect to keep that kitchen organized! I used some old wood we had around the house. For support in the back we cut two 20 degree angle triangles then we cut a panel for the front and the base for the stand to stand on. I used an old candlestick holder I had at home to attach it to. I purchased my clip at hobby lobby. Gosh! I had the hardest time finding a clip like that. Walmart or Michaels don’t sell them. Oh and I also I got that super cute glass handle at hobby lobby as well.
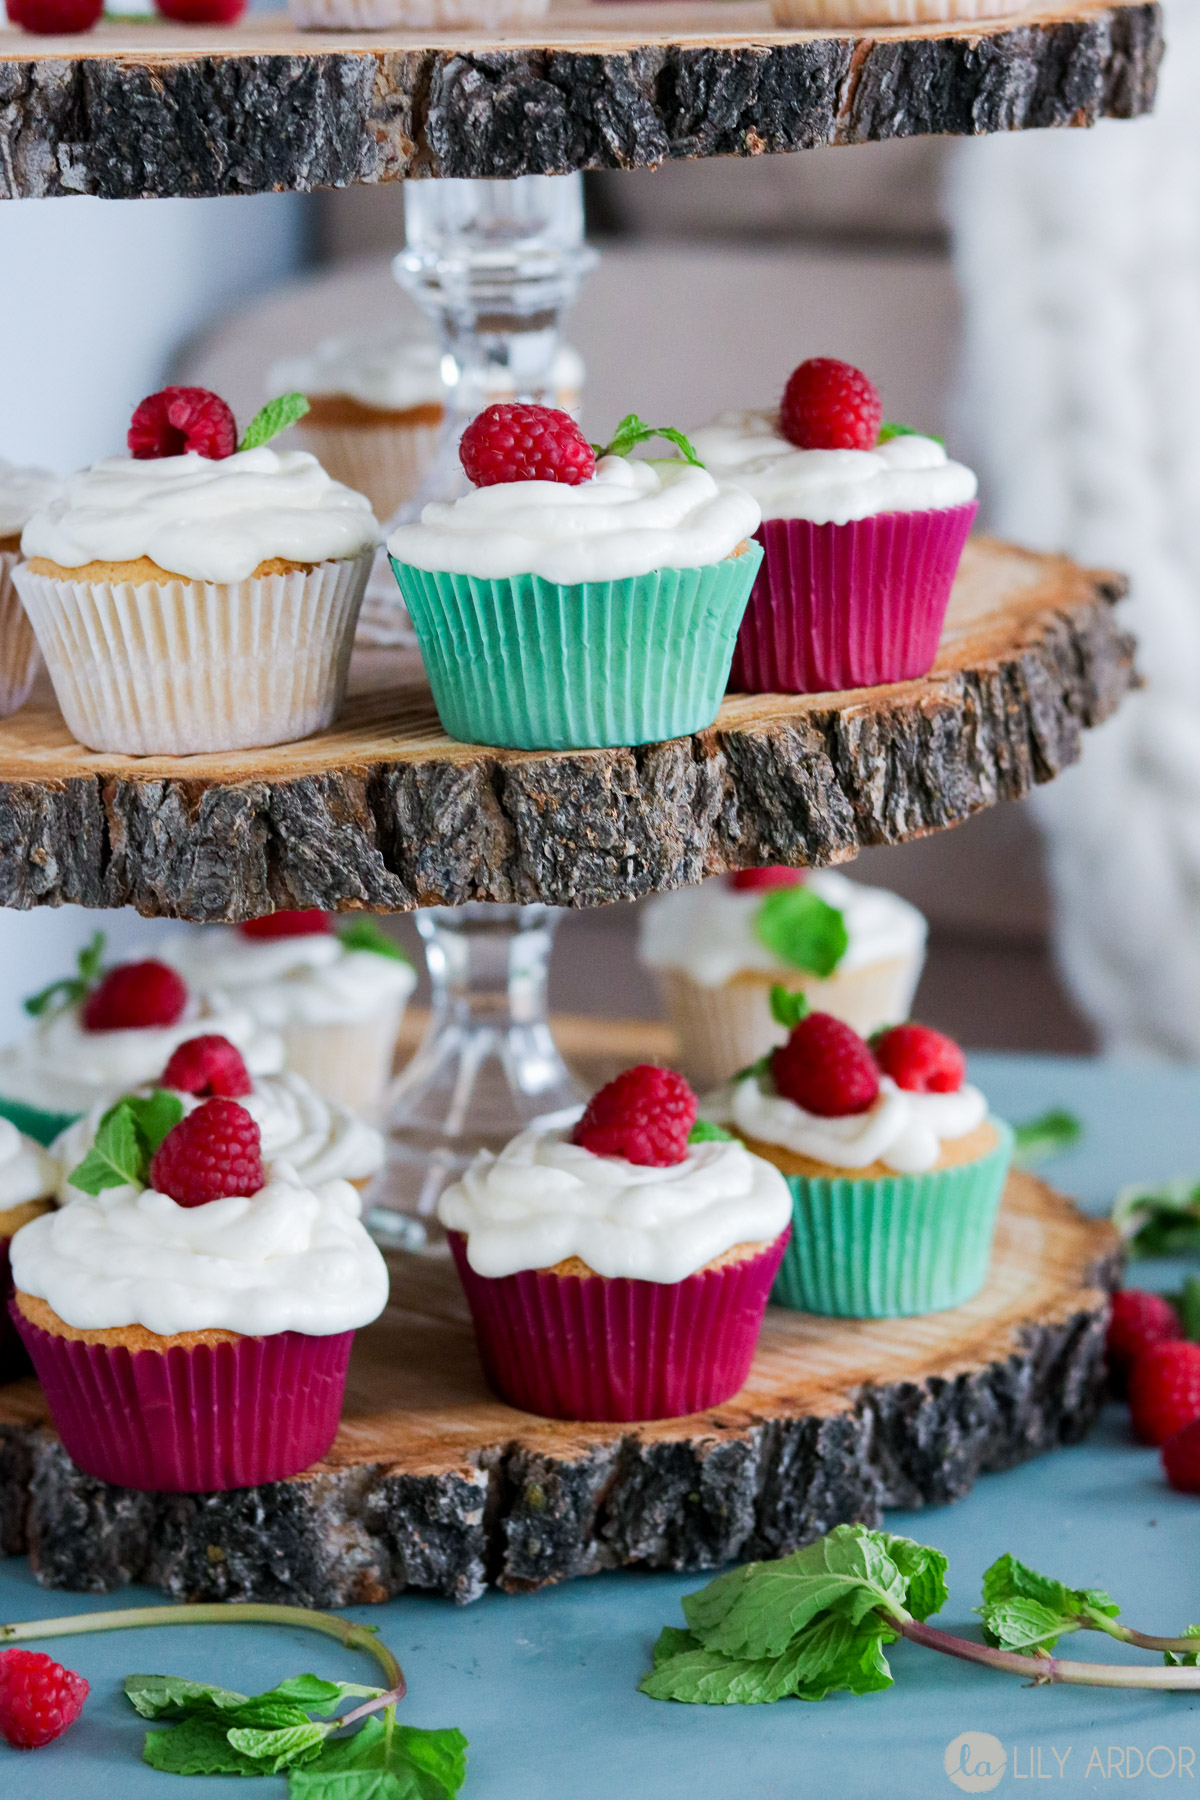
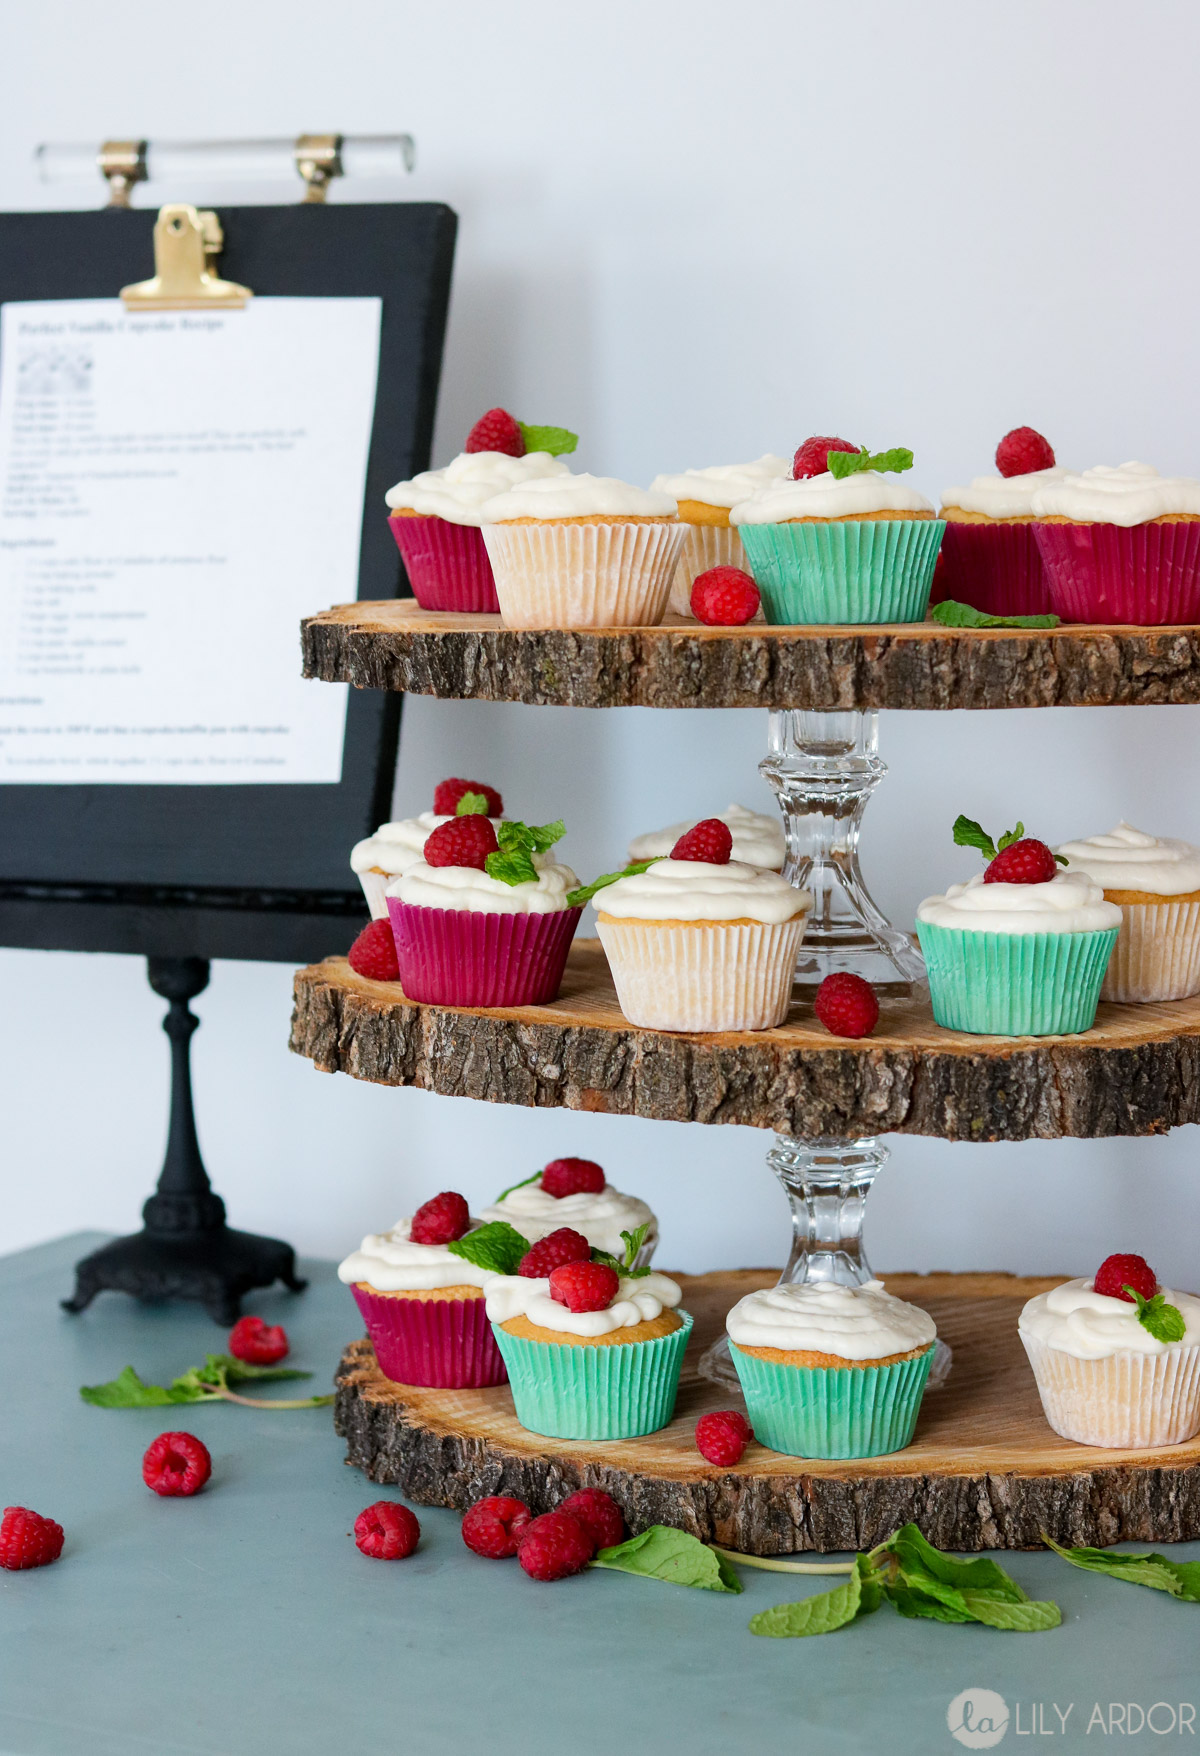
#3 Three Tier Cupcake Stand
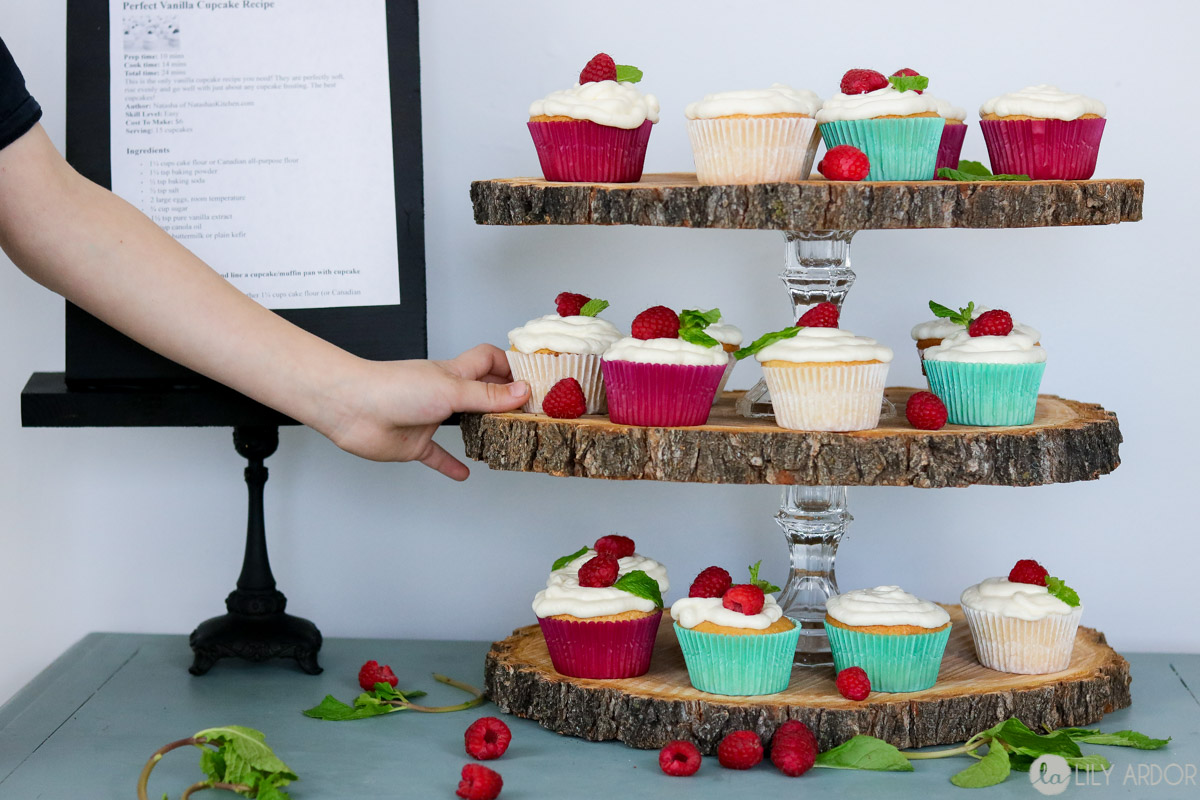
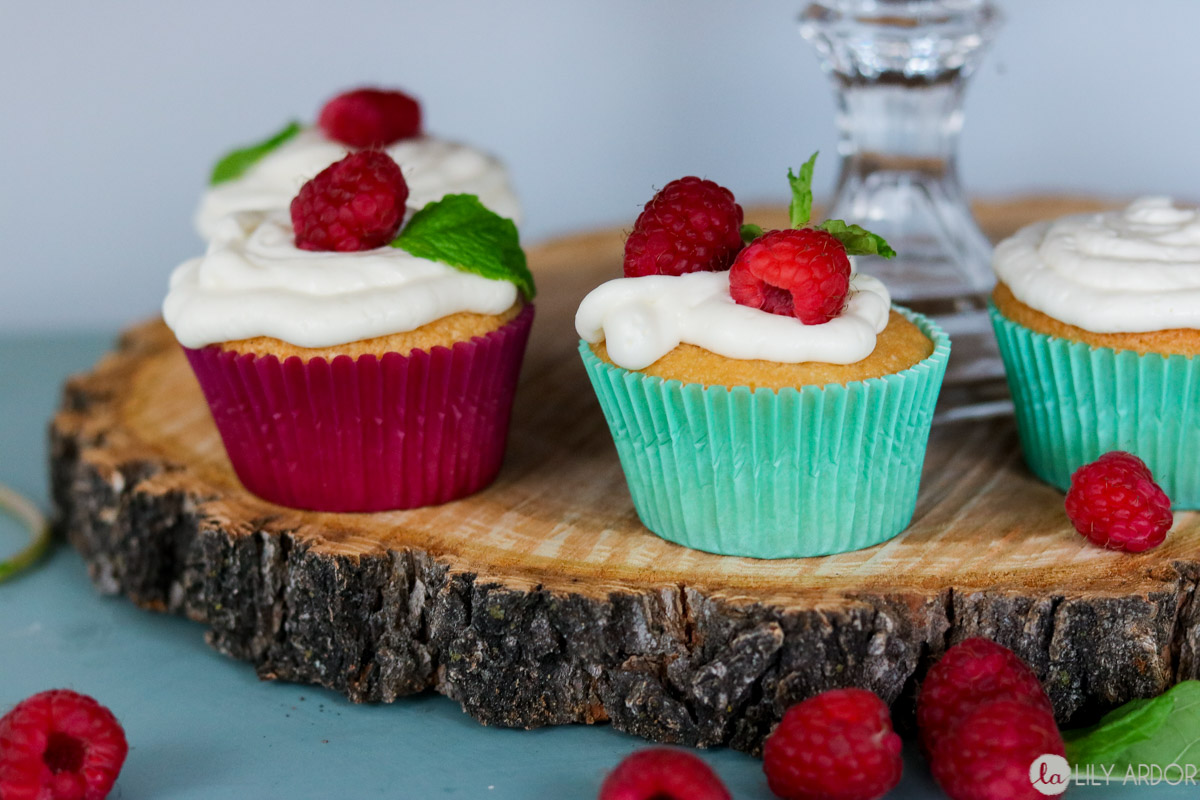
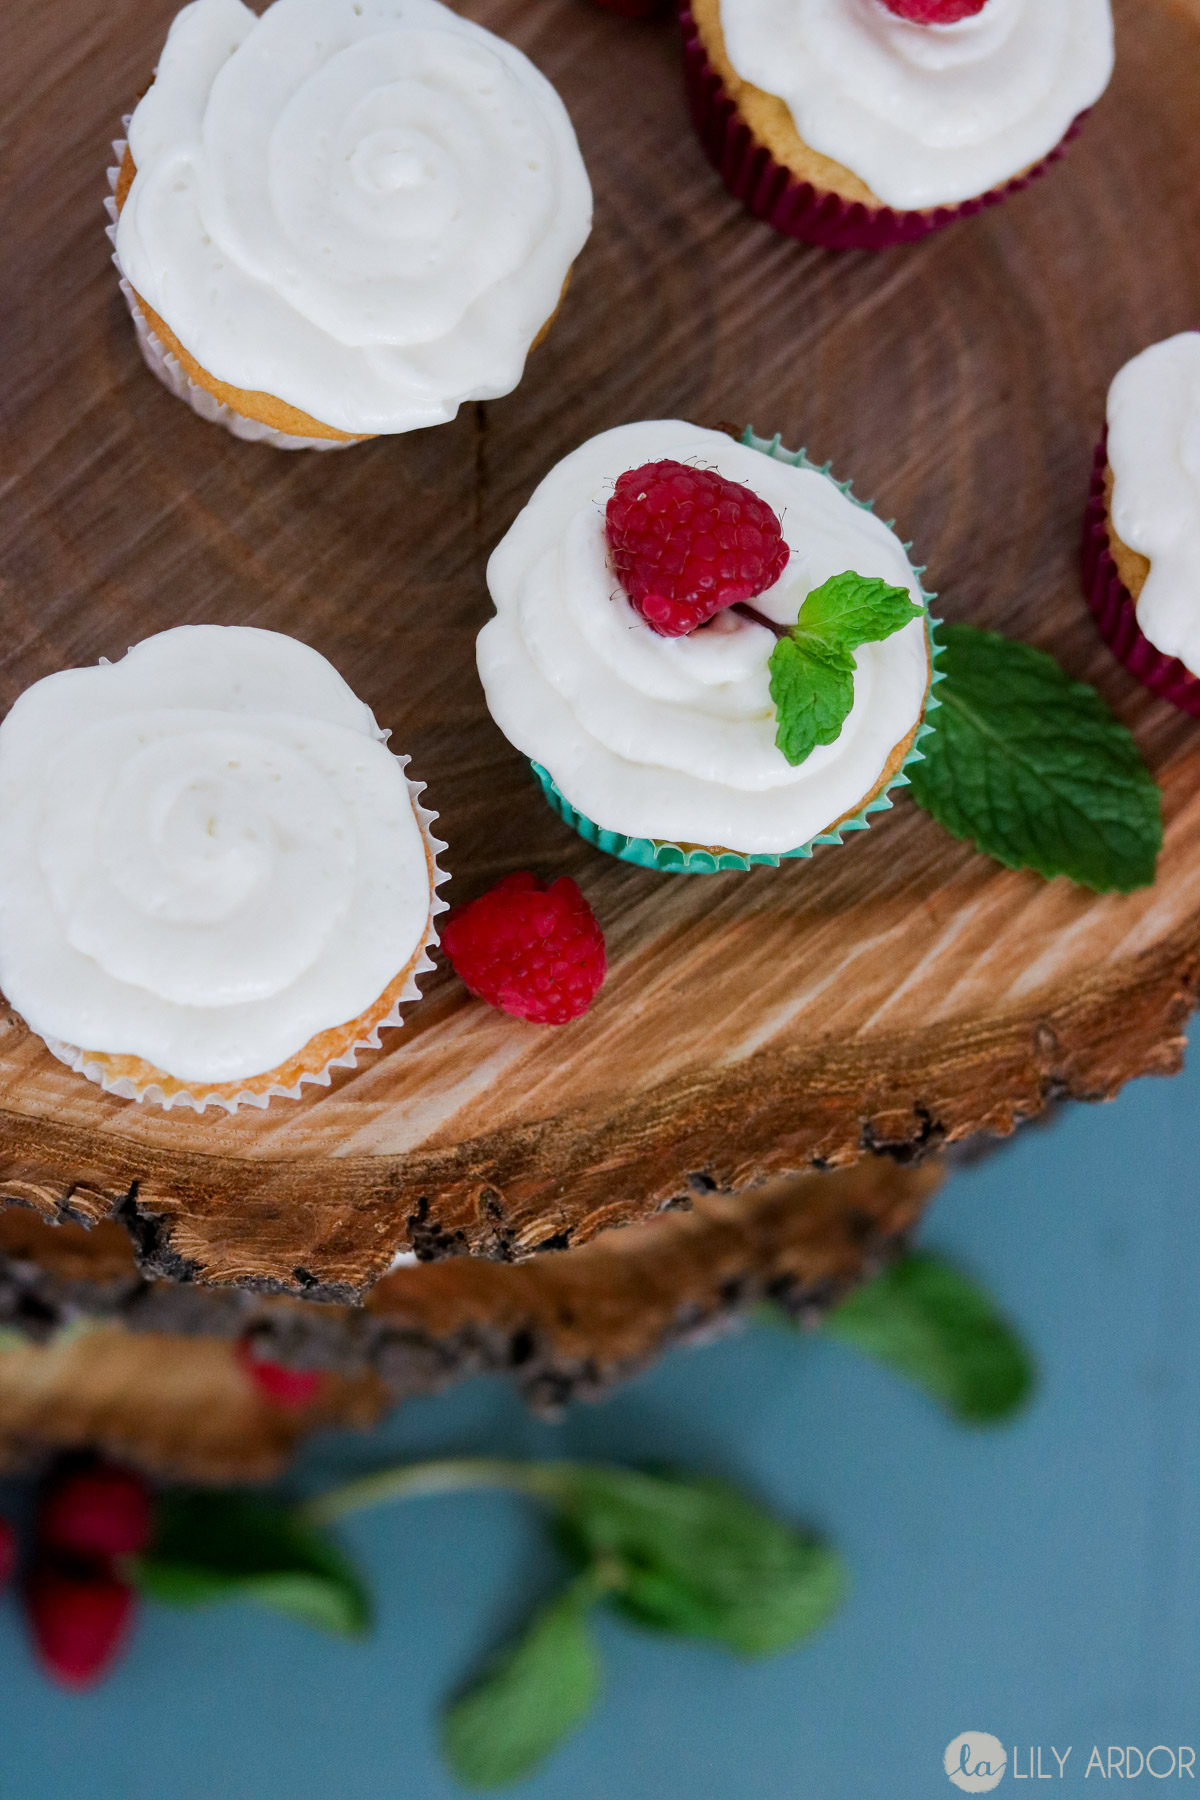
This DIY is my favorite out of the bunch. I always love rustic decor, but I do tend to get sick of it a lot quicker then simple and modern decor. This one however I think will be a favorite for years to come! Gosh and of all the projects this one is easiest. All you need to do is simply hotglue the candlesticks and wood slabs together! We went all out and made this delicious cupcakes. I’m telling ya!! Natasha’s kitchen has the best cupcake recipe out their.
I had way too much fun photographing this cupcake stand! Maybe that’s why it’s my favorite! 😀 😀
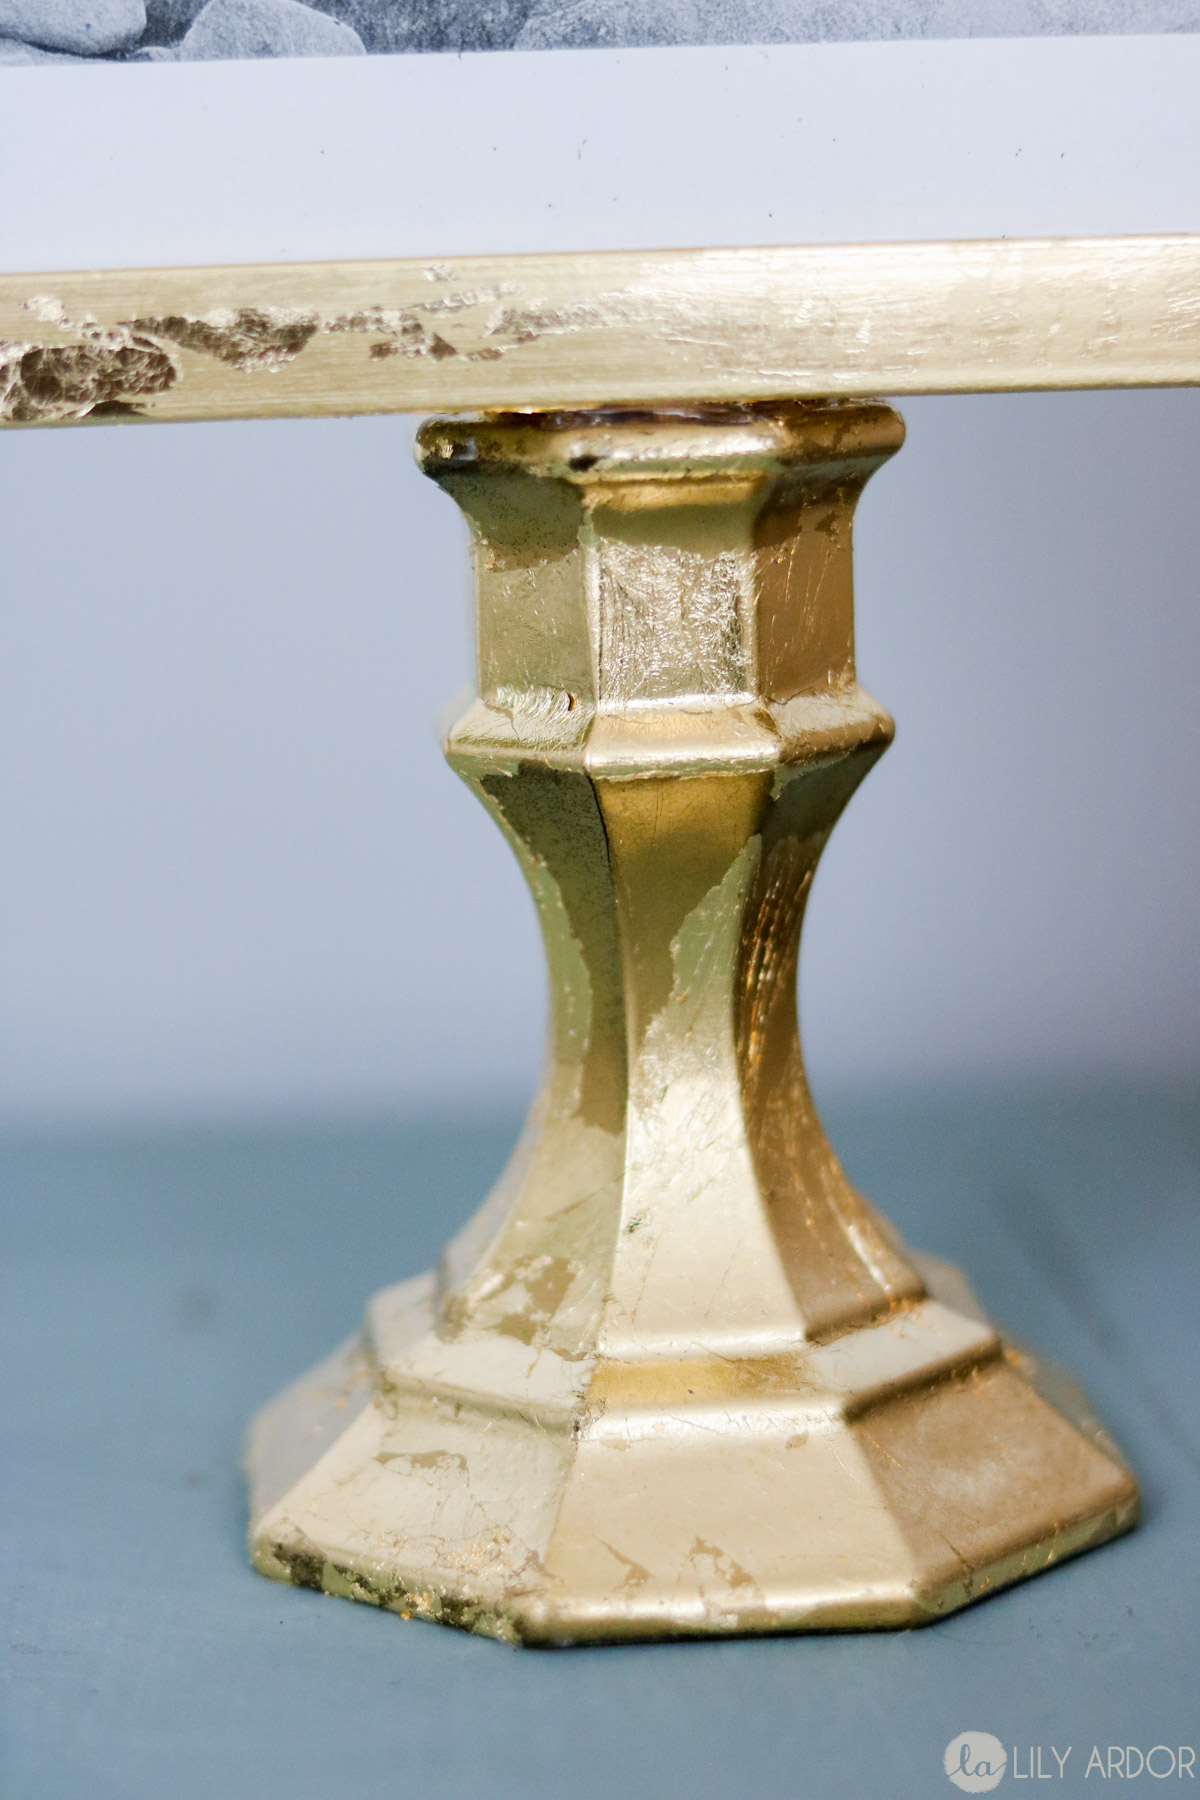
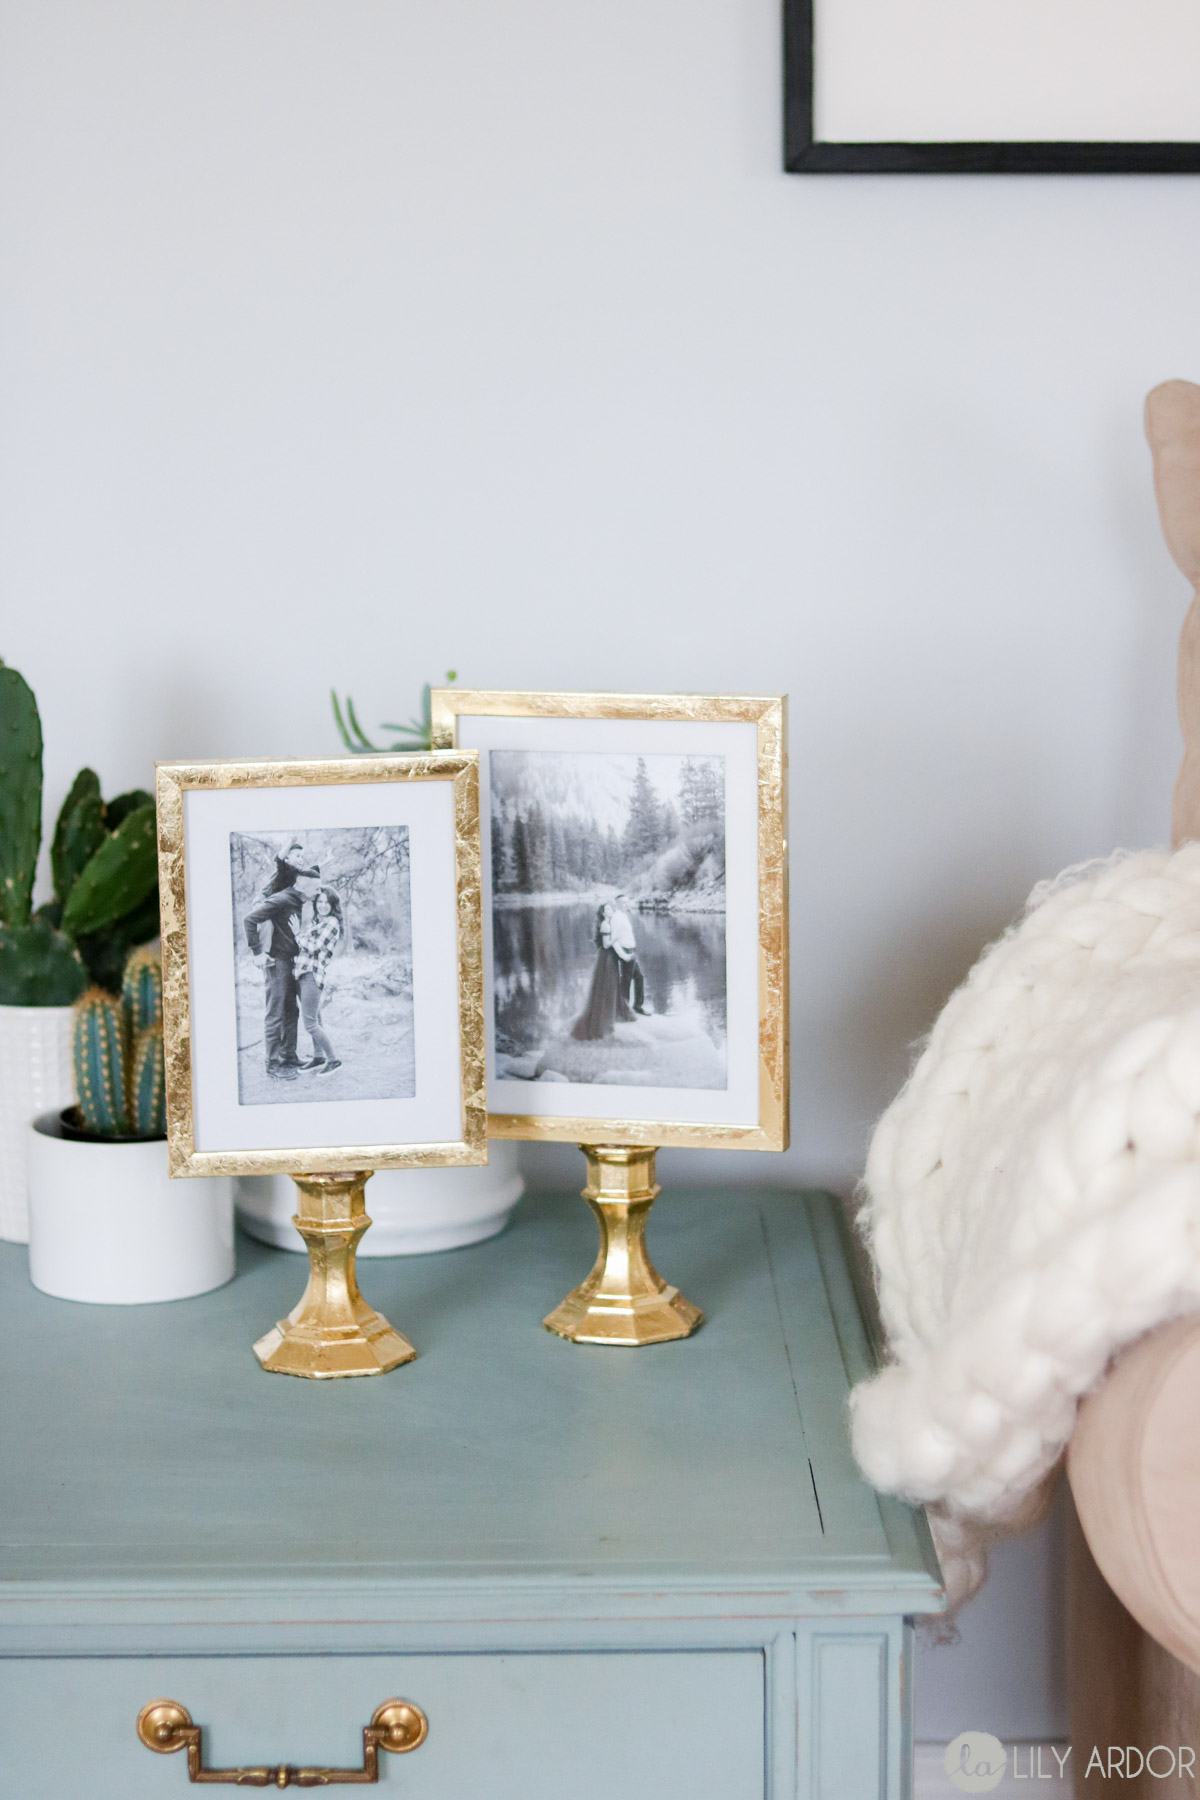
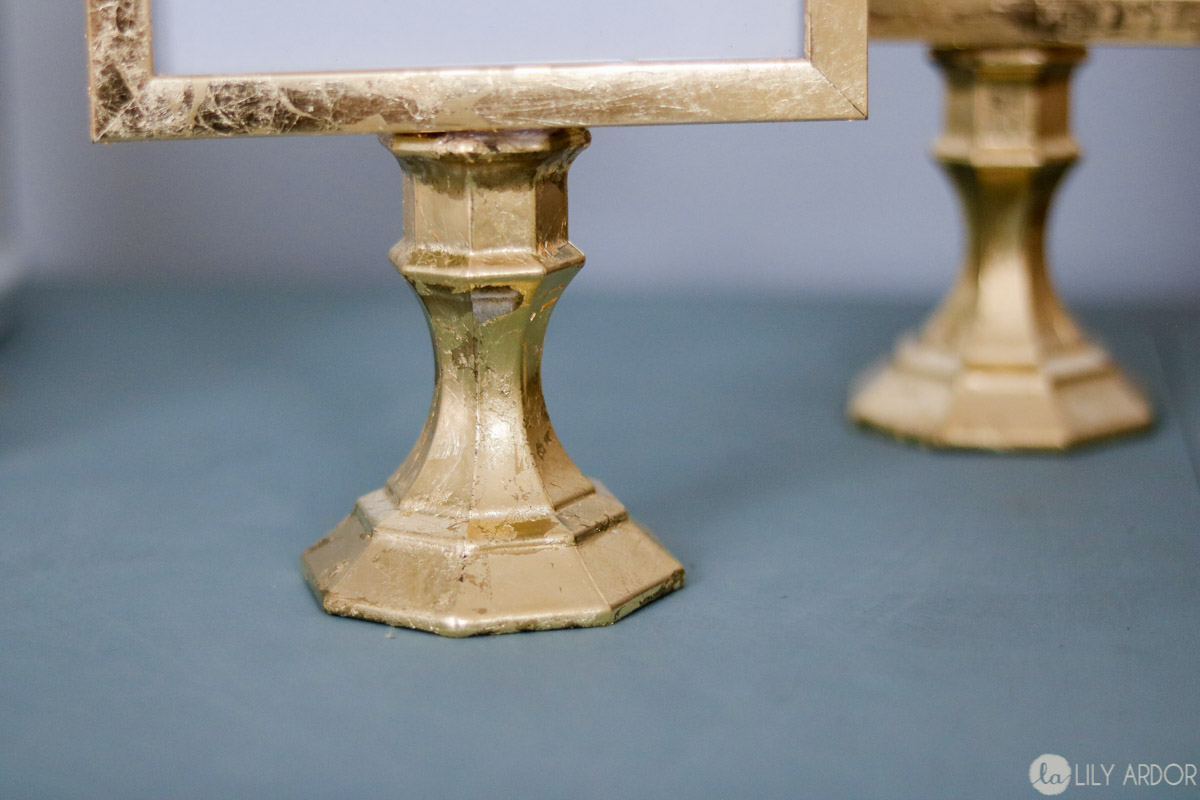
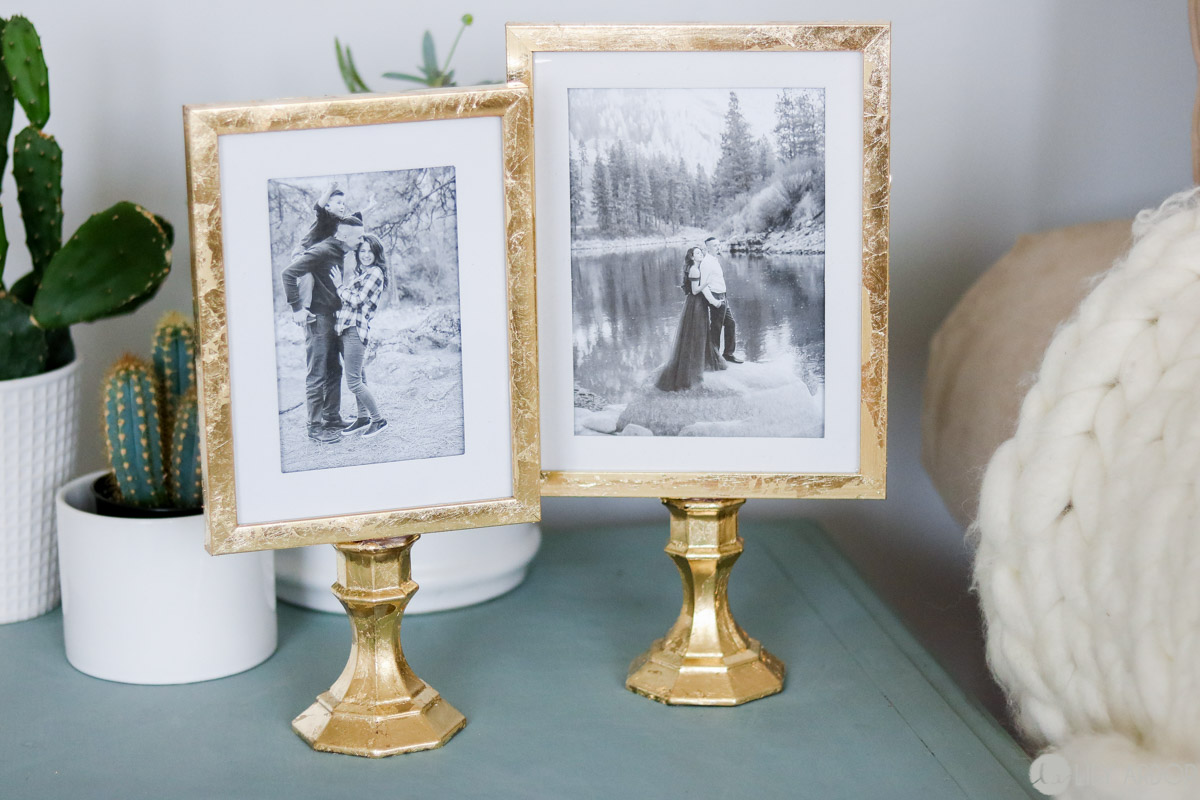
#4 Gold Dollar Store Frames
Okay there’s two very awesome things about these picture frames. Both the frame and candle stick are from the dollar store! YEYY! I love how affordable and adorable they are! I used a dowel in the back of the frame for additional support. It definitely helped with the sturdiness!! Watch my video to see how I did it!
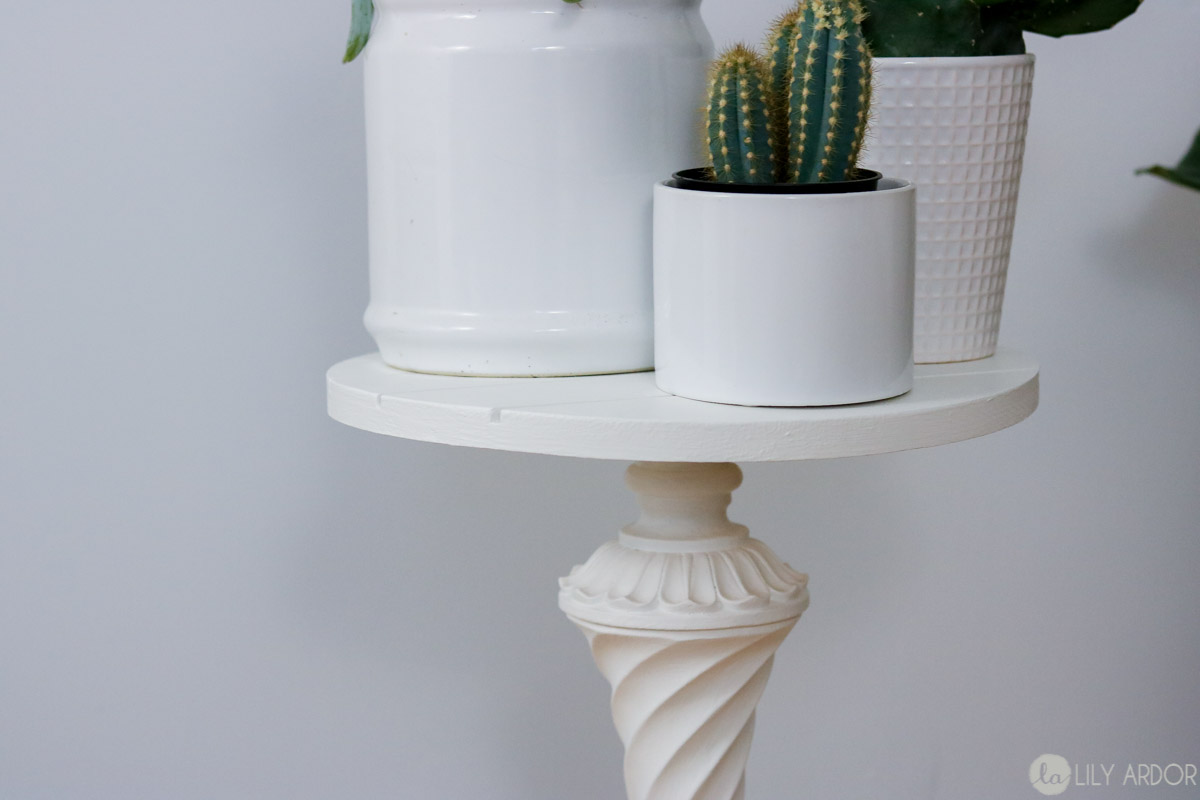
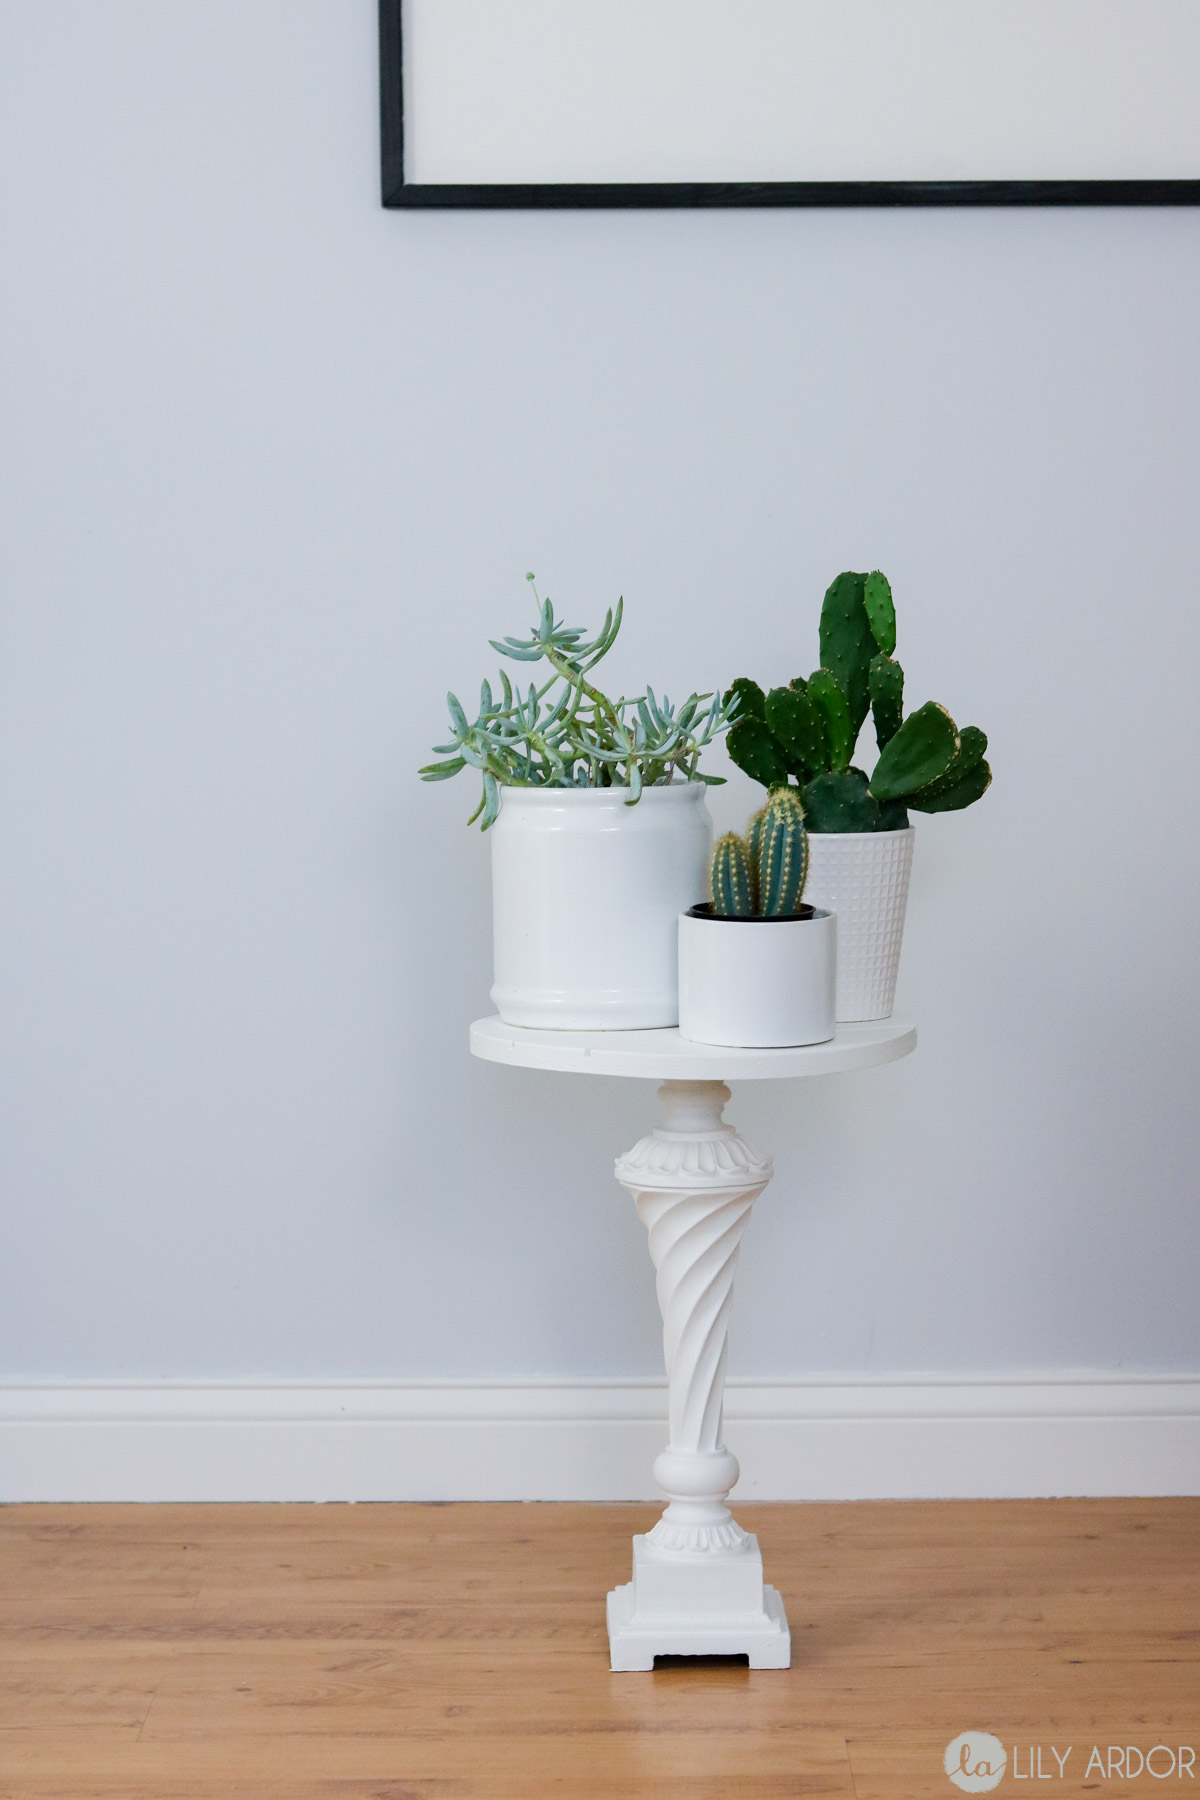
#5 Plant Stand
I was a bit skeptical of this one at first! I didn’t think the candle holder would be big enough to put a wood slab on top but, it turned out great and it sure made a cute plant stand! I love the white clean look!
What a cute way to display and organize those plants! I hate having them all on one windows seal. Now they’re sprinkled all around my home! 😀
And here’s a video to show you how to make each project!
That’s it for this weeks project I’ll see you guys next week!
Here are some affiliate links for similar products used to make these projects. (If you purchase anything from my affiliate link I might get a small commission. However this DOES NOT result in any additional charges to you. For more info read my disclosure policy)
Well, I’m probably in the minority here but I really dislike videos. I won’t watch them. Not that your’s are not good, they probably are but I don’t know for sure….. because I really don’t like videos and haven’t watched them. I like a step by step photo tutorial with written instructions. With photos, it’s easy to flip back and forth for reference or zooming for a close-up of a particular step. With videos? Not so much.
Really nice ideas by the way.
WOW I haven’t thought of it that way! That’s a really good point! I’m so glad I asked. Thank you. I’ll keep that in mind when doing my tutorials. Oh thank you so glad you like them. 😀
I agree with kddominigue. Pictures with detailed instructions are better for me. I do not have time for videos.
Thank you Janet. I’ve be working on making more photo instructions lately. 🙂
With me I have hearing problems so the video is not good for me. I like everything written out. And lots of pictures. 😉
Thank you for the ideas. They’re cute!!!!
Hi Jami, Thank you for letting me know. This helps a ton! I’m so glad you liked these ideas! Thank you 😀 😀
Like your projects.really nice.
Thank you Vickie 🙂