Here’s how to create a faux fluted wood look! ON A BUDGET!
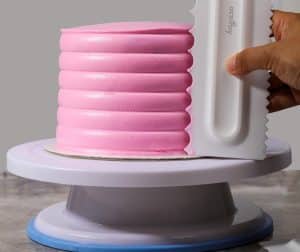
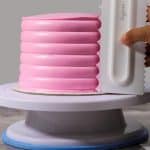
I’m so excited to share our DIY fluted wood headboard on a budget USING a cake spreader and some joint compound! I had this crazy idea after seeing a cake decorating video on Instagram and decided to try and replicate the scalloped look on something solid and permanent!
This is the cake spreader I used!
Total Cost : UNDER $50
This cost us under $50 back when we did it two years ago. I’m sure it’s a bit more now with inflation but still should be pretty affordable!
This post may contain affiliate links. Read my disclosure policy.
What you’ll need!
Supplies!
- Plywood
- Ultra lightweight Joint compound
- cake edge tools or scalloped cake frosting spreader ( to create the fluting effect )
- clamps
- metal ruler
- water ( in a spray bottle )
- 80 grit sandpaper
- 1″x3″s and 1x2s
- wood glue
Step 1 : Prep the plywood!
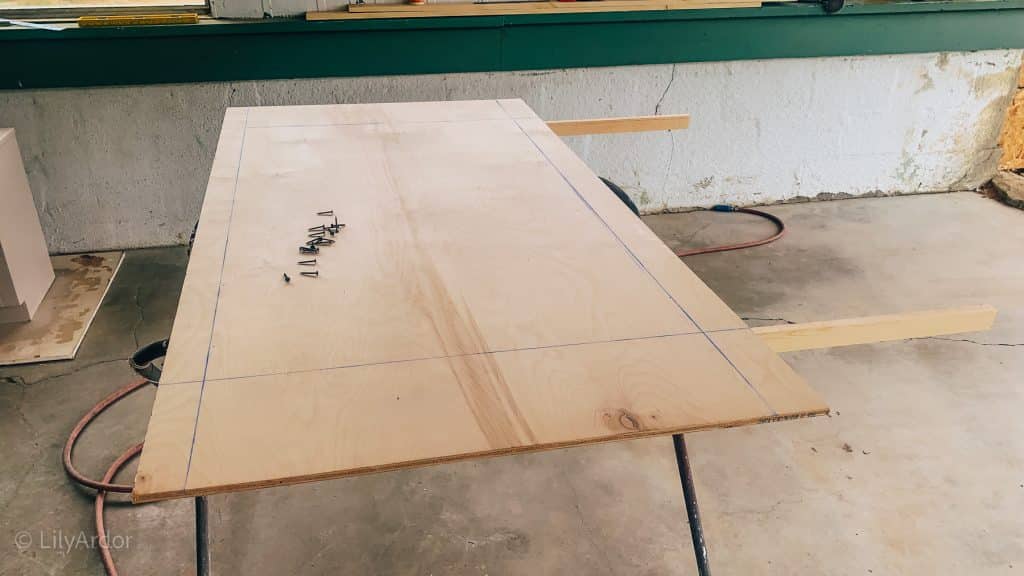
This step is really important as this will be your base for the headboard. We secured the 1″x2″s to the back of the plywood with some wood glue and brad nails. Then flipped it over and secured it additionally with screws making sure we counter sink them so we could comfortably apply the joint compound. We share way more about this in the youtube video. We also rough sanded the surface of the plywood to make sure our joint compound adheres properly.
Here’s a few photos showing the headboard already assembled. Please watch the video to see how we did it. 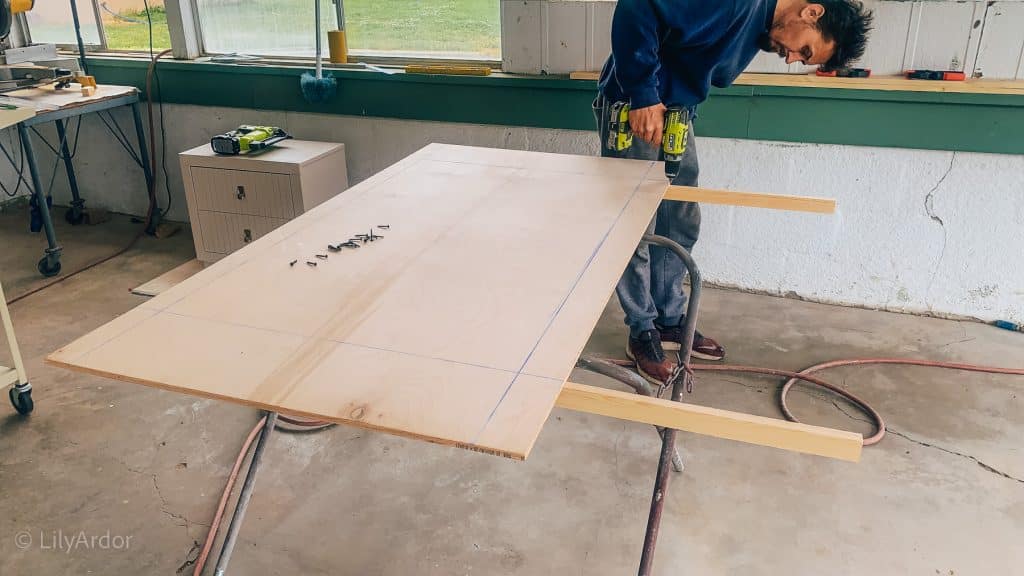
Step 2: Apply the Joint Compound!
Working with the light weight joint compound is what made this project a success in my opinion. I’ve heard so much good about this joint compound used for DIY projects and crafts! It’s held up so good! Two years down and no cracking, chipping etc. We have two spots the got a small scab because the boys were horsing around and hit it with something hard.
ULTRA LIGHT WEIGHT JOINT COMPOUND!
It took us a bit of trail and error to figure out the technique that worked but once we got it down everything just flowed.
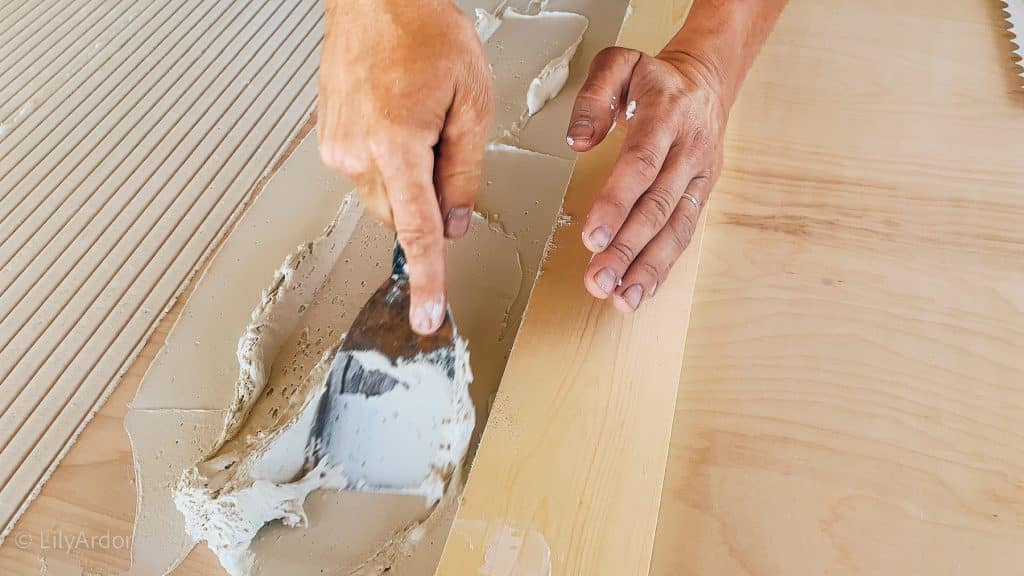
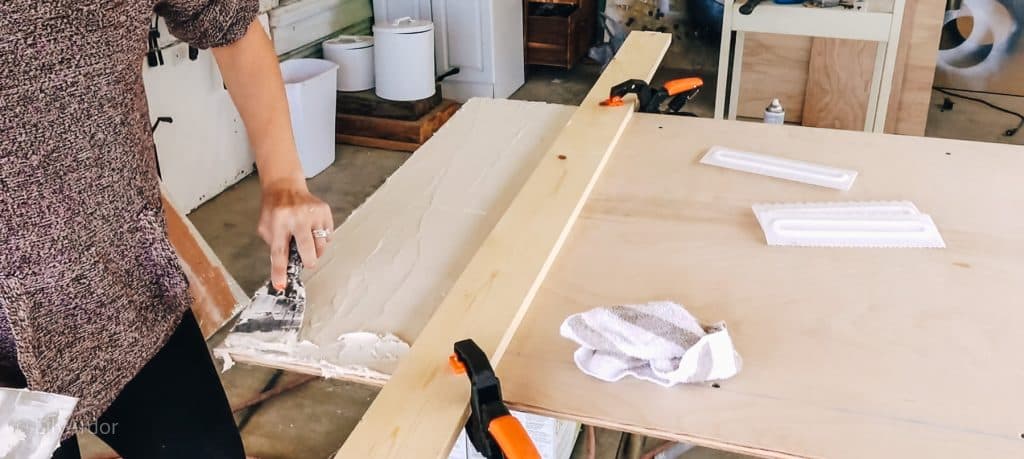
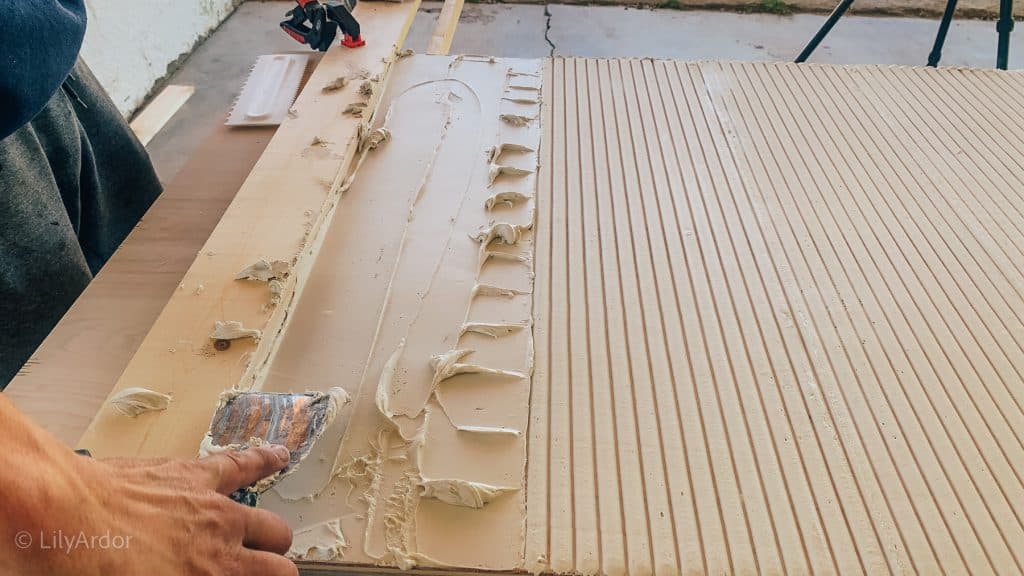
The photo below shows the first few swipes when applying the joint compound. You can see a ton of little bubbles.
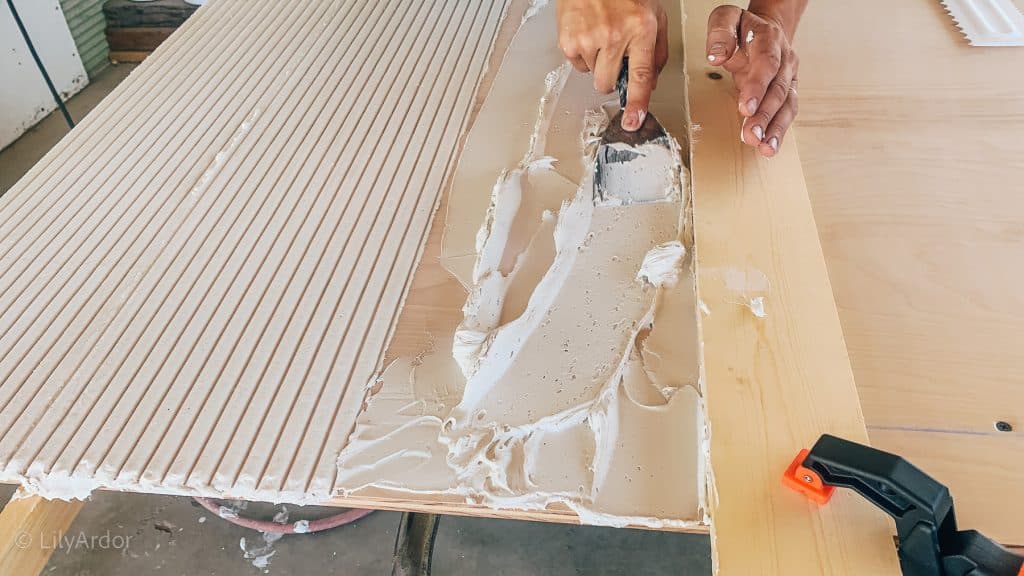
We learned you need to really work it into the wood for it to look smooth without bubbles.
Step 3: Creating the scalloped look!
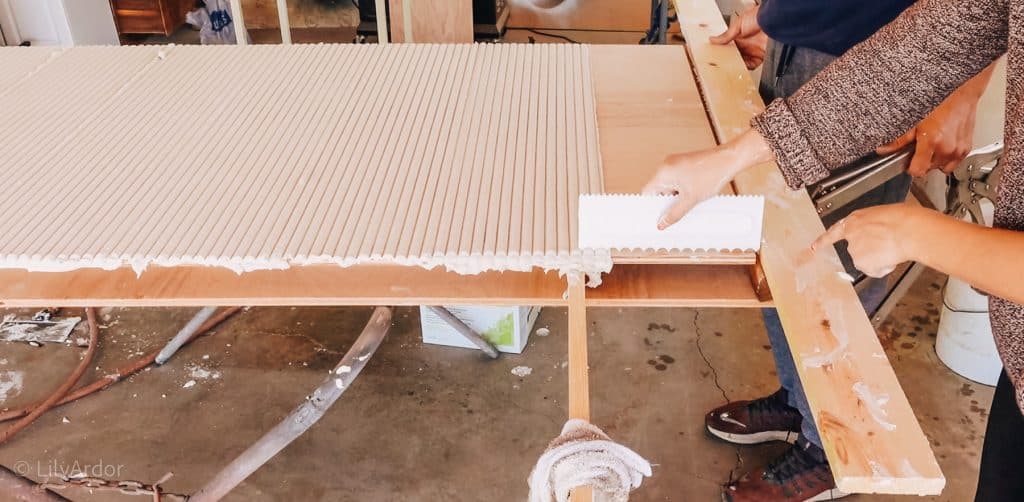
We used a 1″x3″ and secured it with clamps to help guide the cake spreader.
Grab the cake spreader here.
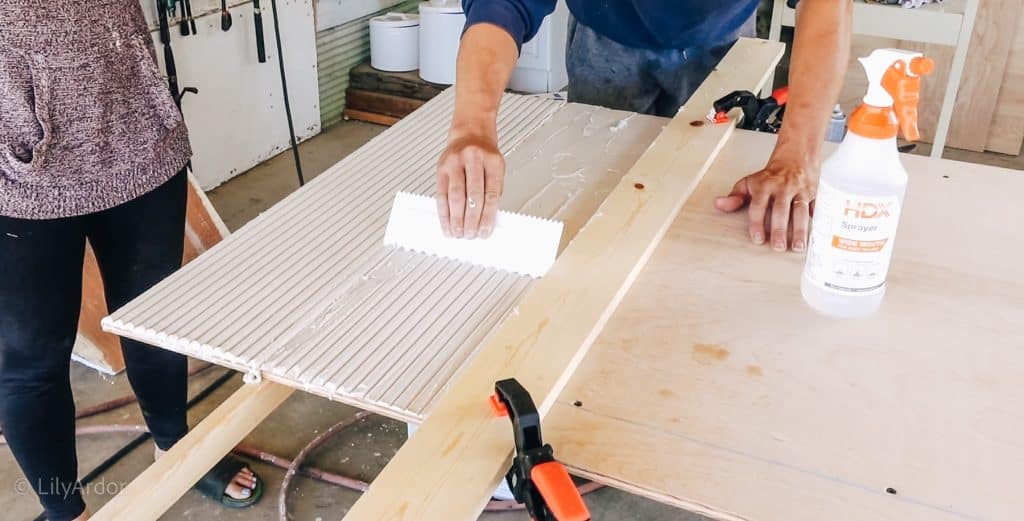
At first we really struggled with the excess joint compound. I thought leaving extra would help create the pattern easier with one swipe. We were wrong. It was actually better to start off making it a little more thicker then 1/4″ and adding when you went over it the second and third time.

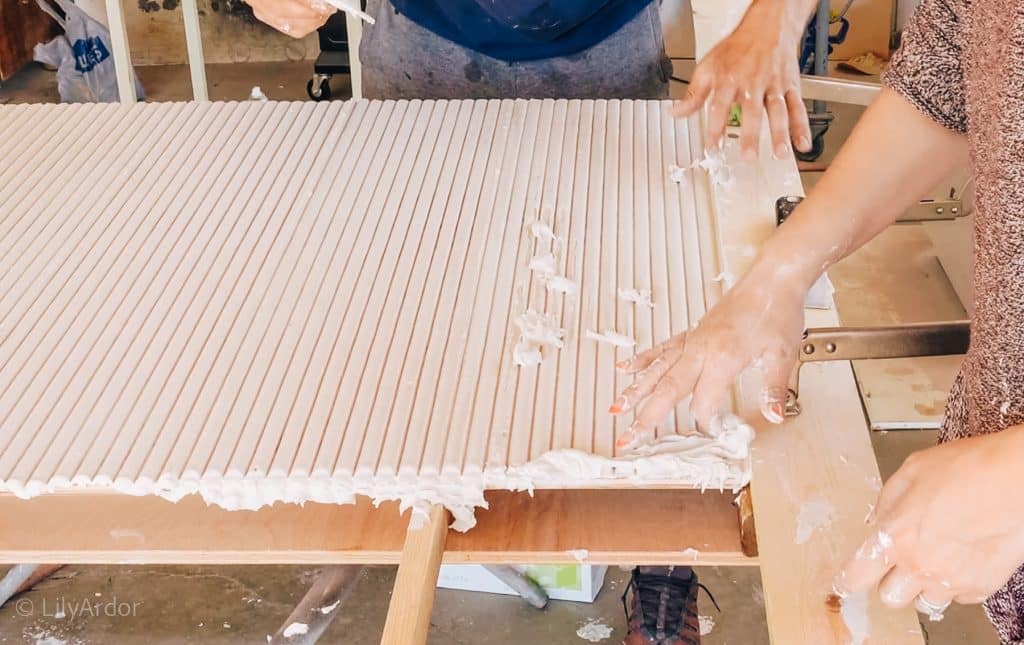
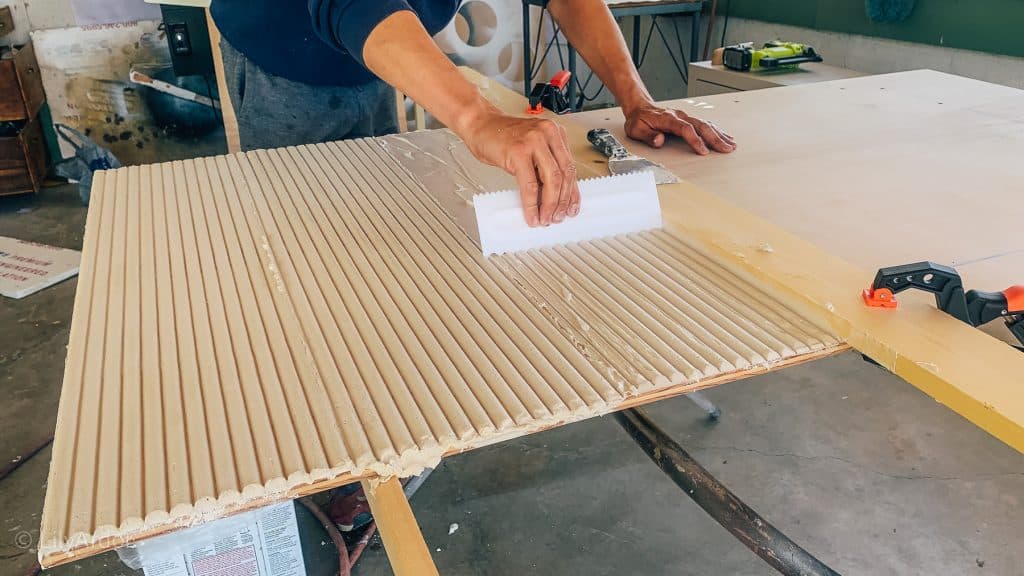
We finally got it to go on really smooth with the help of some water that we kept spraying too. I do think working it into the wood before hand is also really important.
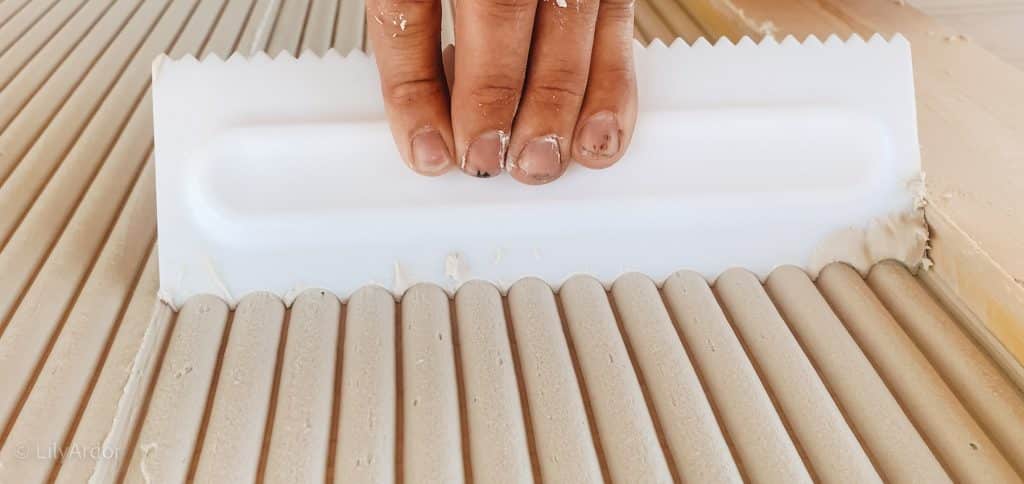
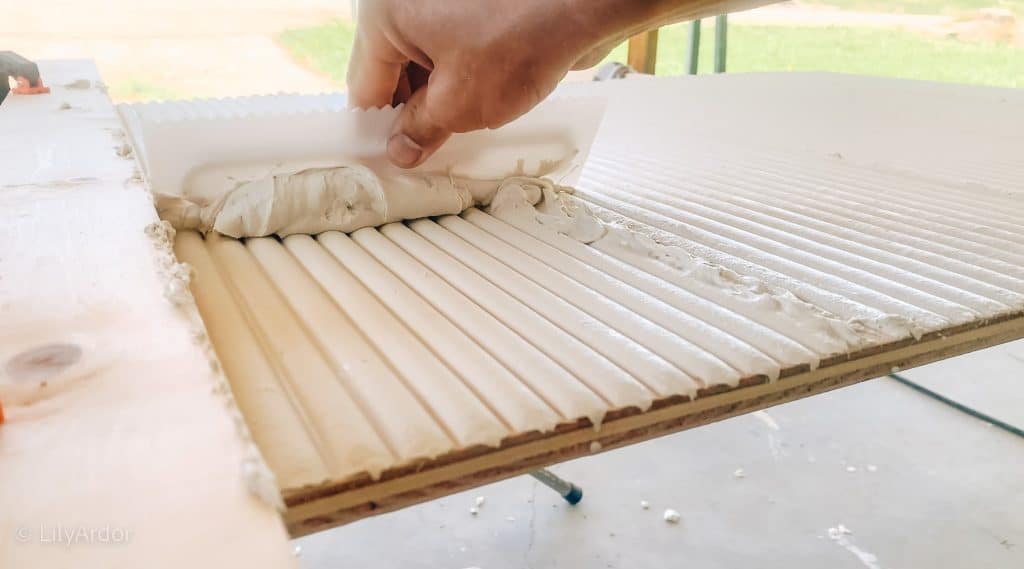
We actually overlapped one notch or two notches down every time we moved the 1×3 with clamps.
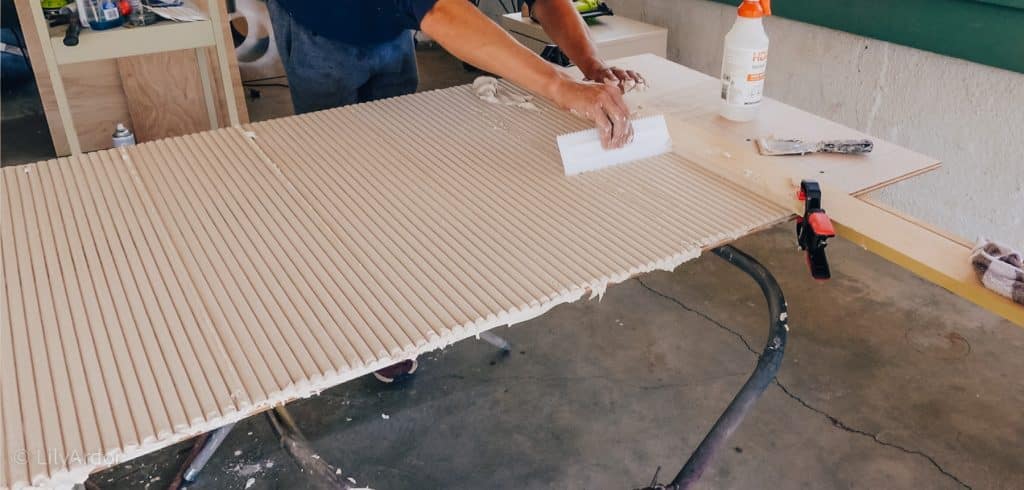
Finishing touches!
So this is kind of unavoidable ( photo below ) . We tried not to get overflow but decided that it’s ok if it’s a tiny bit. It can easily be sanded down. And this joint compound sands so easily it didn’t take long at all.
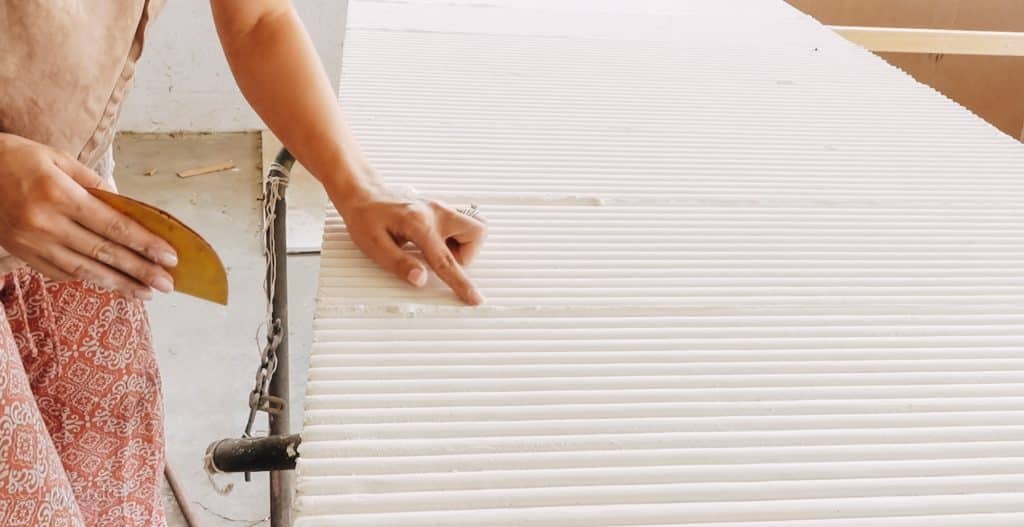
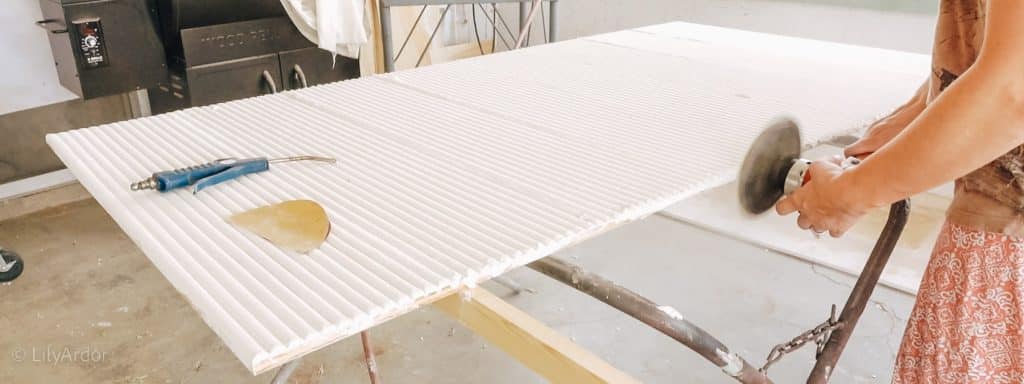
I then sanded down all the edges and drips we got on the sides.
Let’s make it look like wood!
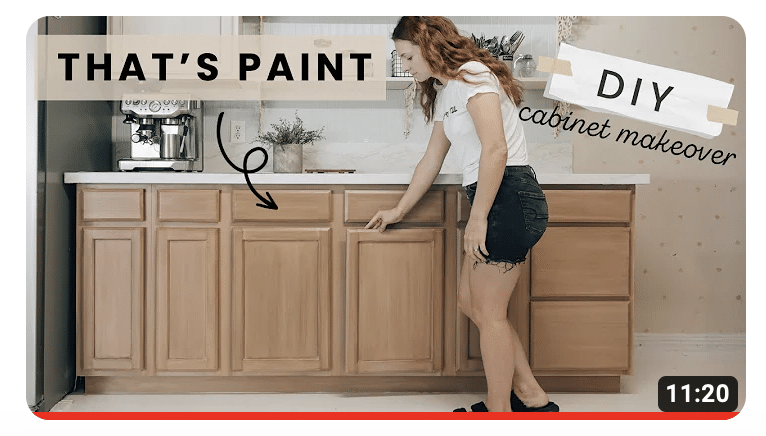
I look back at the choice of wood color now and wish I would of chosen something more toned down for this Headboard DIY. Maybe something with a peach undertone instead of the mustard color I went with. I painted my kitchen to look like real wood recently and love the colors we chose there.
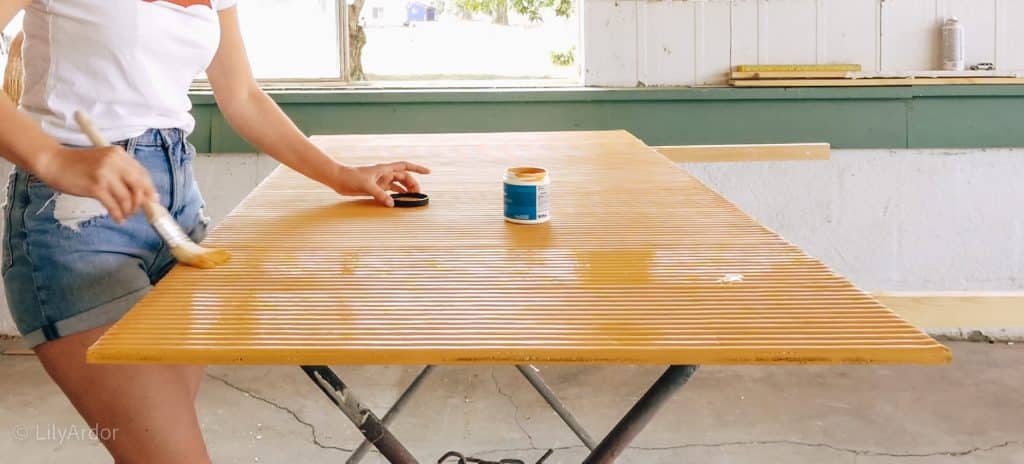
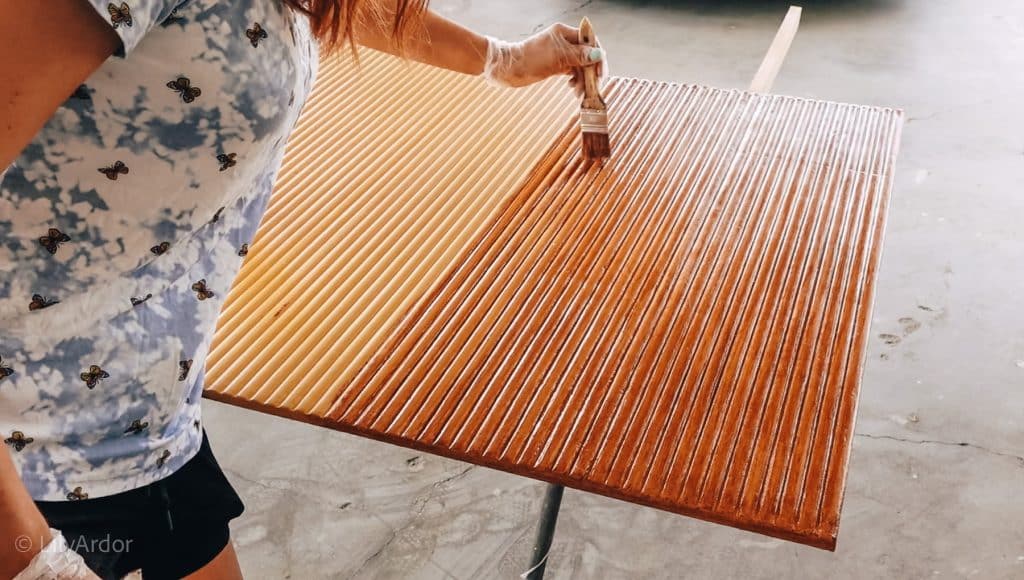
Painting the fluting to look like wood is really easy. Simply paint the headed board a solid mustard color. I did two coats. The paint also helps smooth out the texture on the fluting. Allow the paint to dry completely before applying the stain.
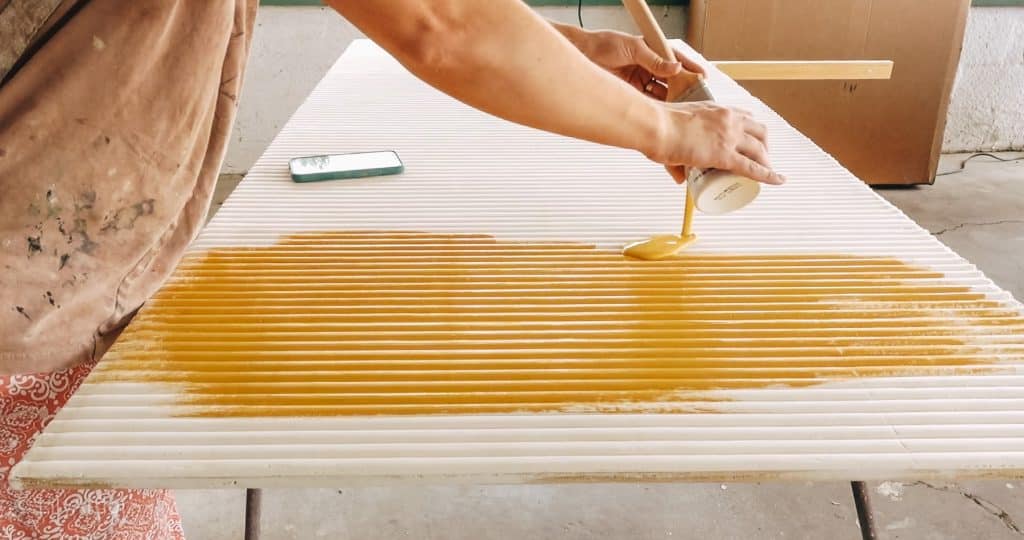
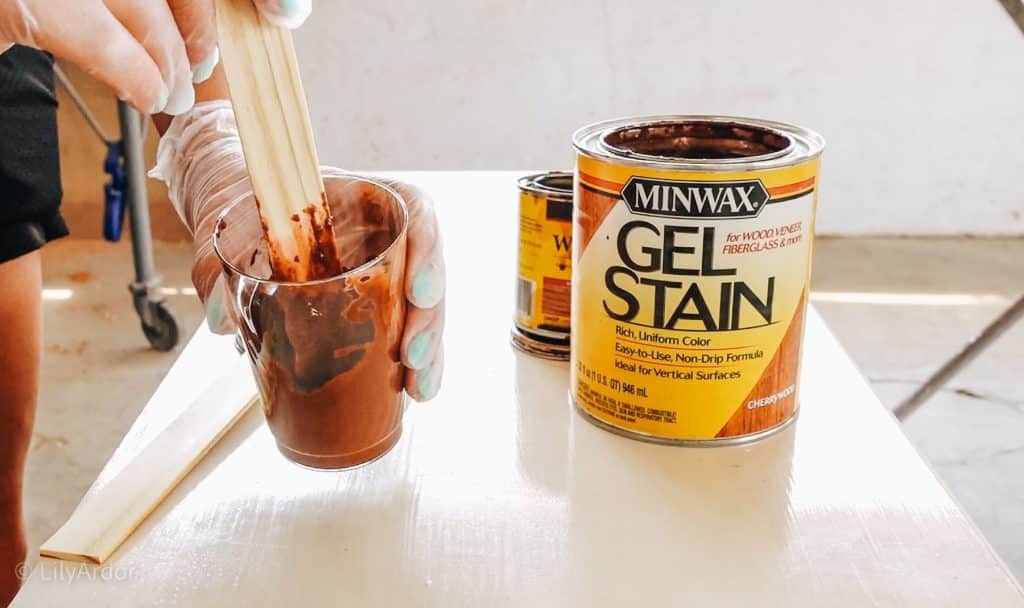
Next I mixed some stains together and applied it onto the mustard color. ( I share more about the colors used in the video )
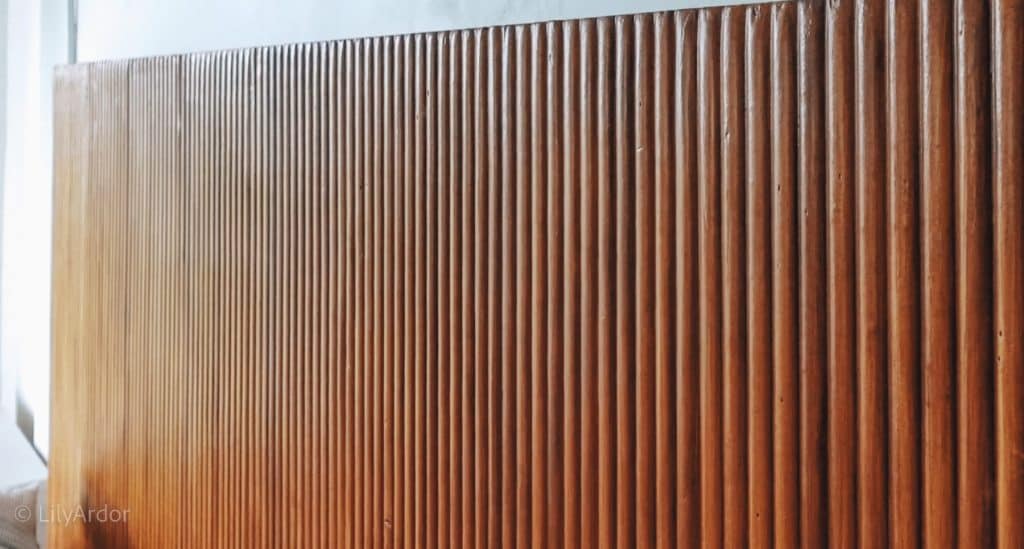
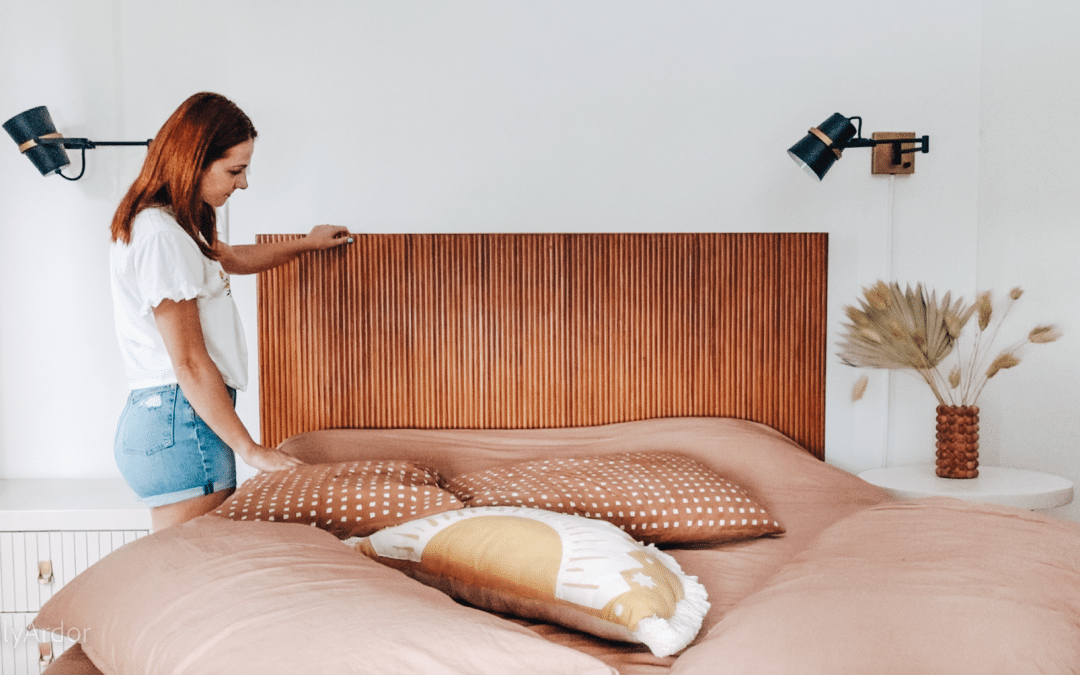
DIY fluted wood headboard
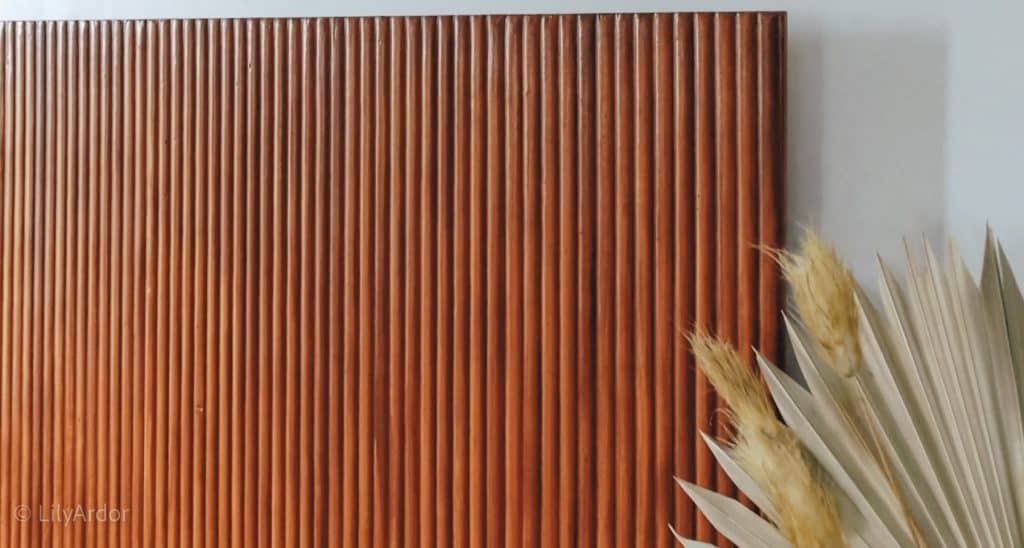
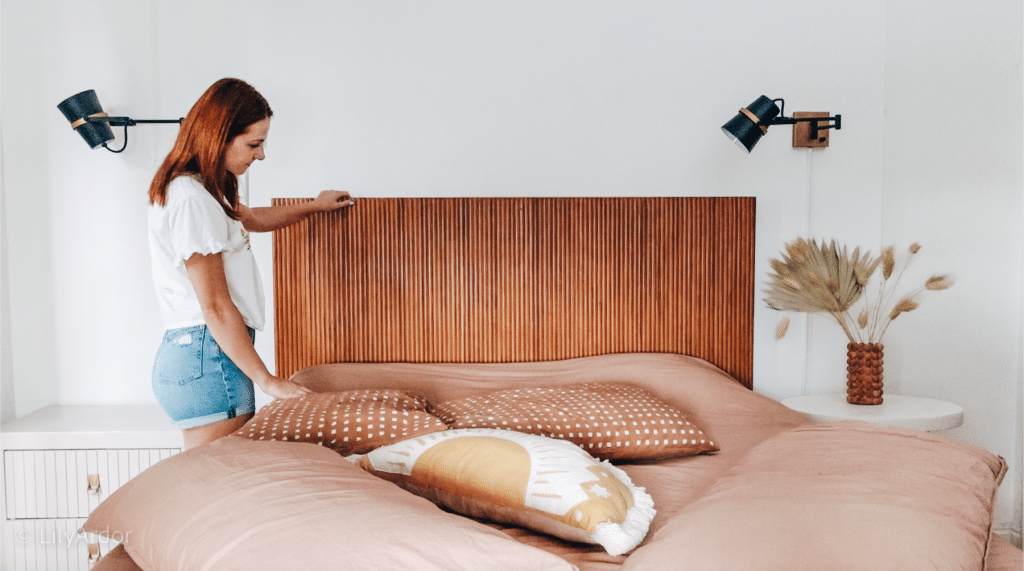
And there you have it this is how we made our fluted headboard. This would be such a fun project to add to furniture makeovers or cabinets! This headboard was kind of a big area to work with making it a harder project but I think it would be super easy and fun to add to and old desk for a mid century modern look .
 \
\
That’s all for today! I hope this inspired you to get some joint compound and make your own wood fluting!
Who ever thought a cake can inspire you to make a headboard! LOL!
Thanks for stopping by! Let me know if you have anything questions in the comment below.
Best Wishes,
Lily
Sherry Goodman
I love the headboard. How did you mount it to the wall?
Thank you Sherry. I didn’t mount it. It’s just being pushed back against the wall with the bed and it’s standing on the 2×2’s. Easy removal if needed and so far we haven’t had issues with it being wobbly etc.