Crate Style Custom Shelving
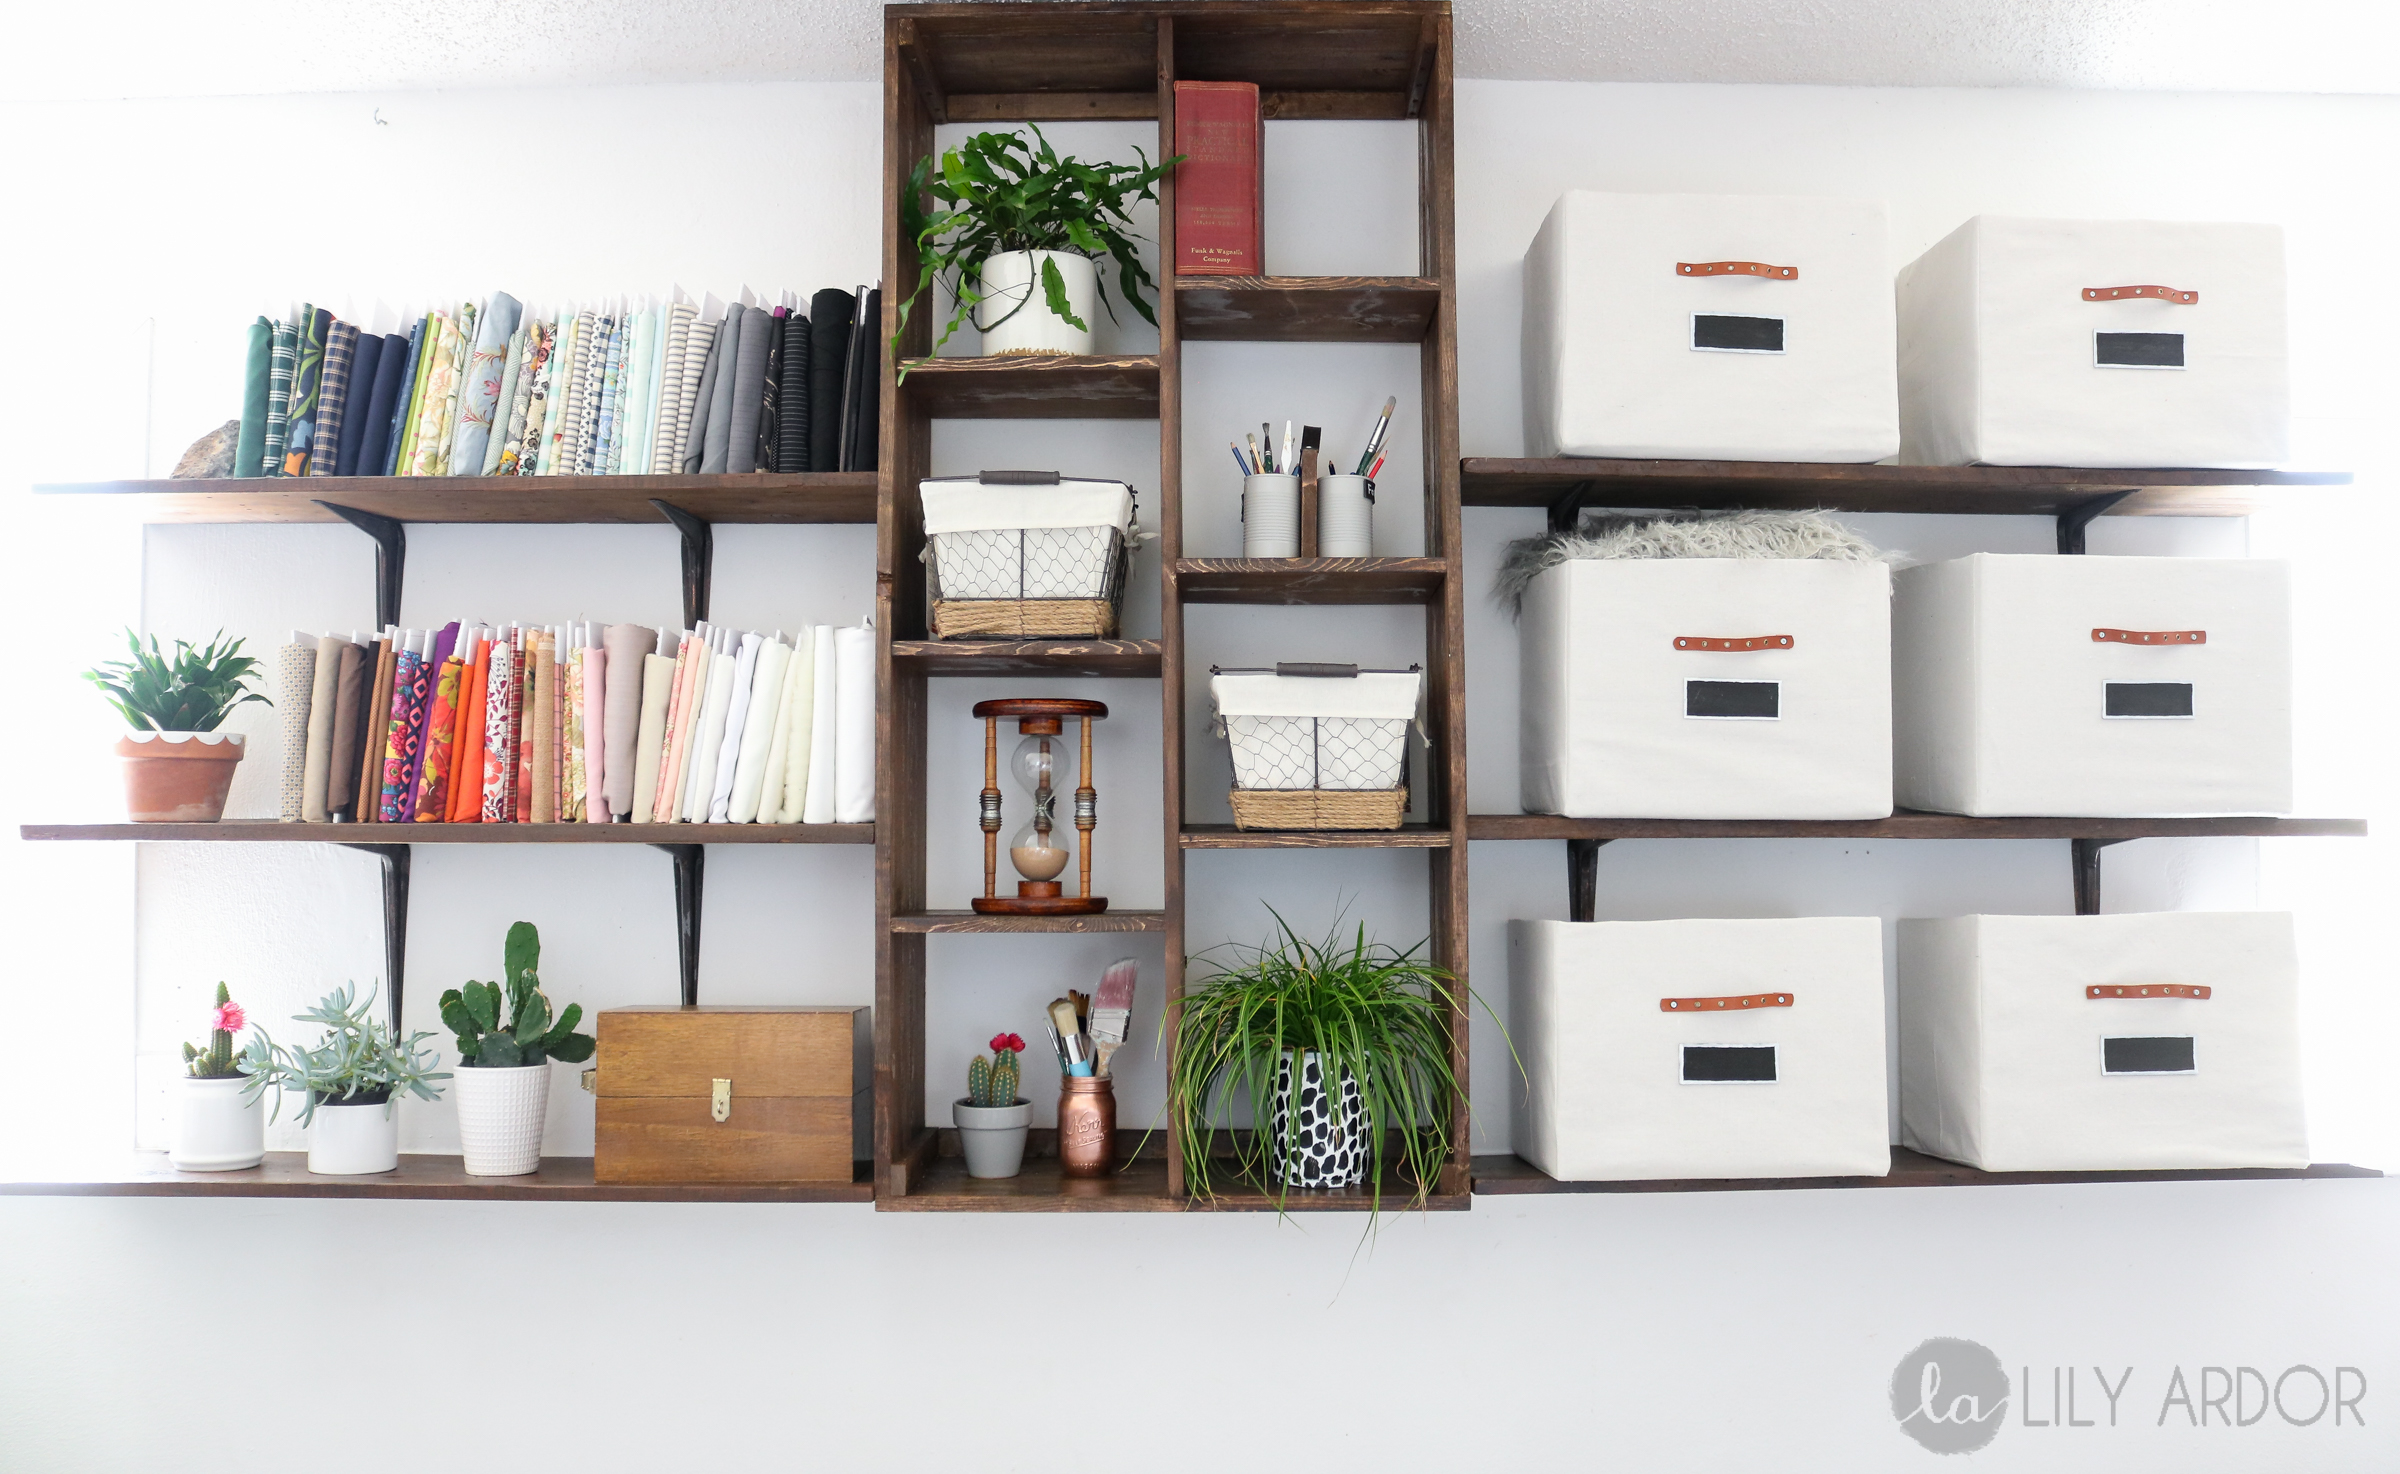
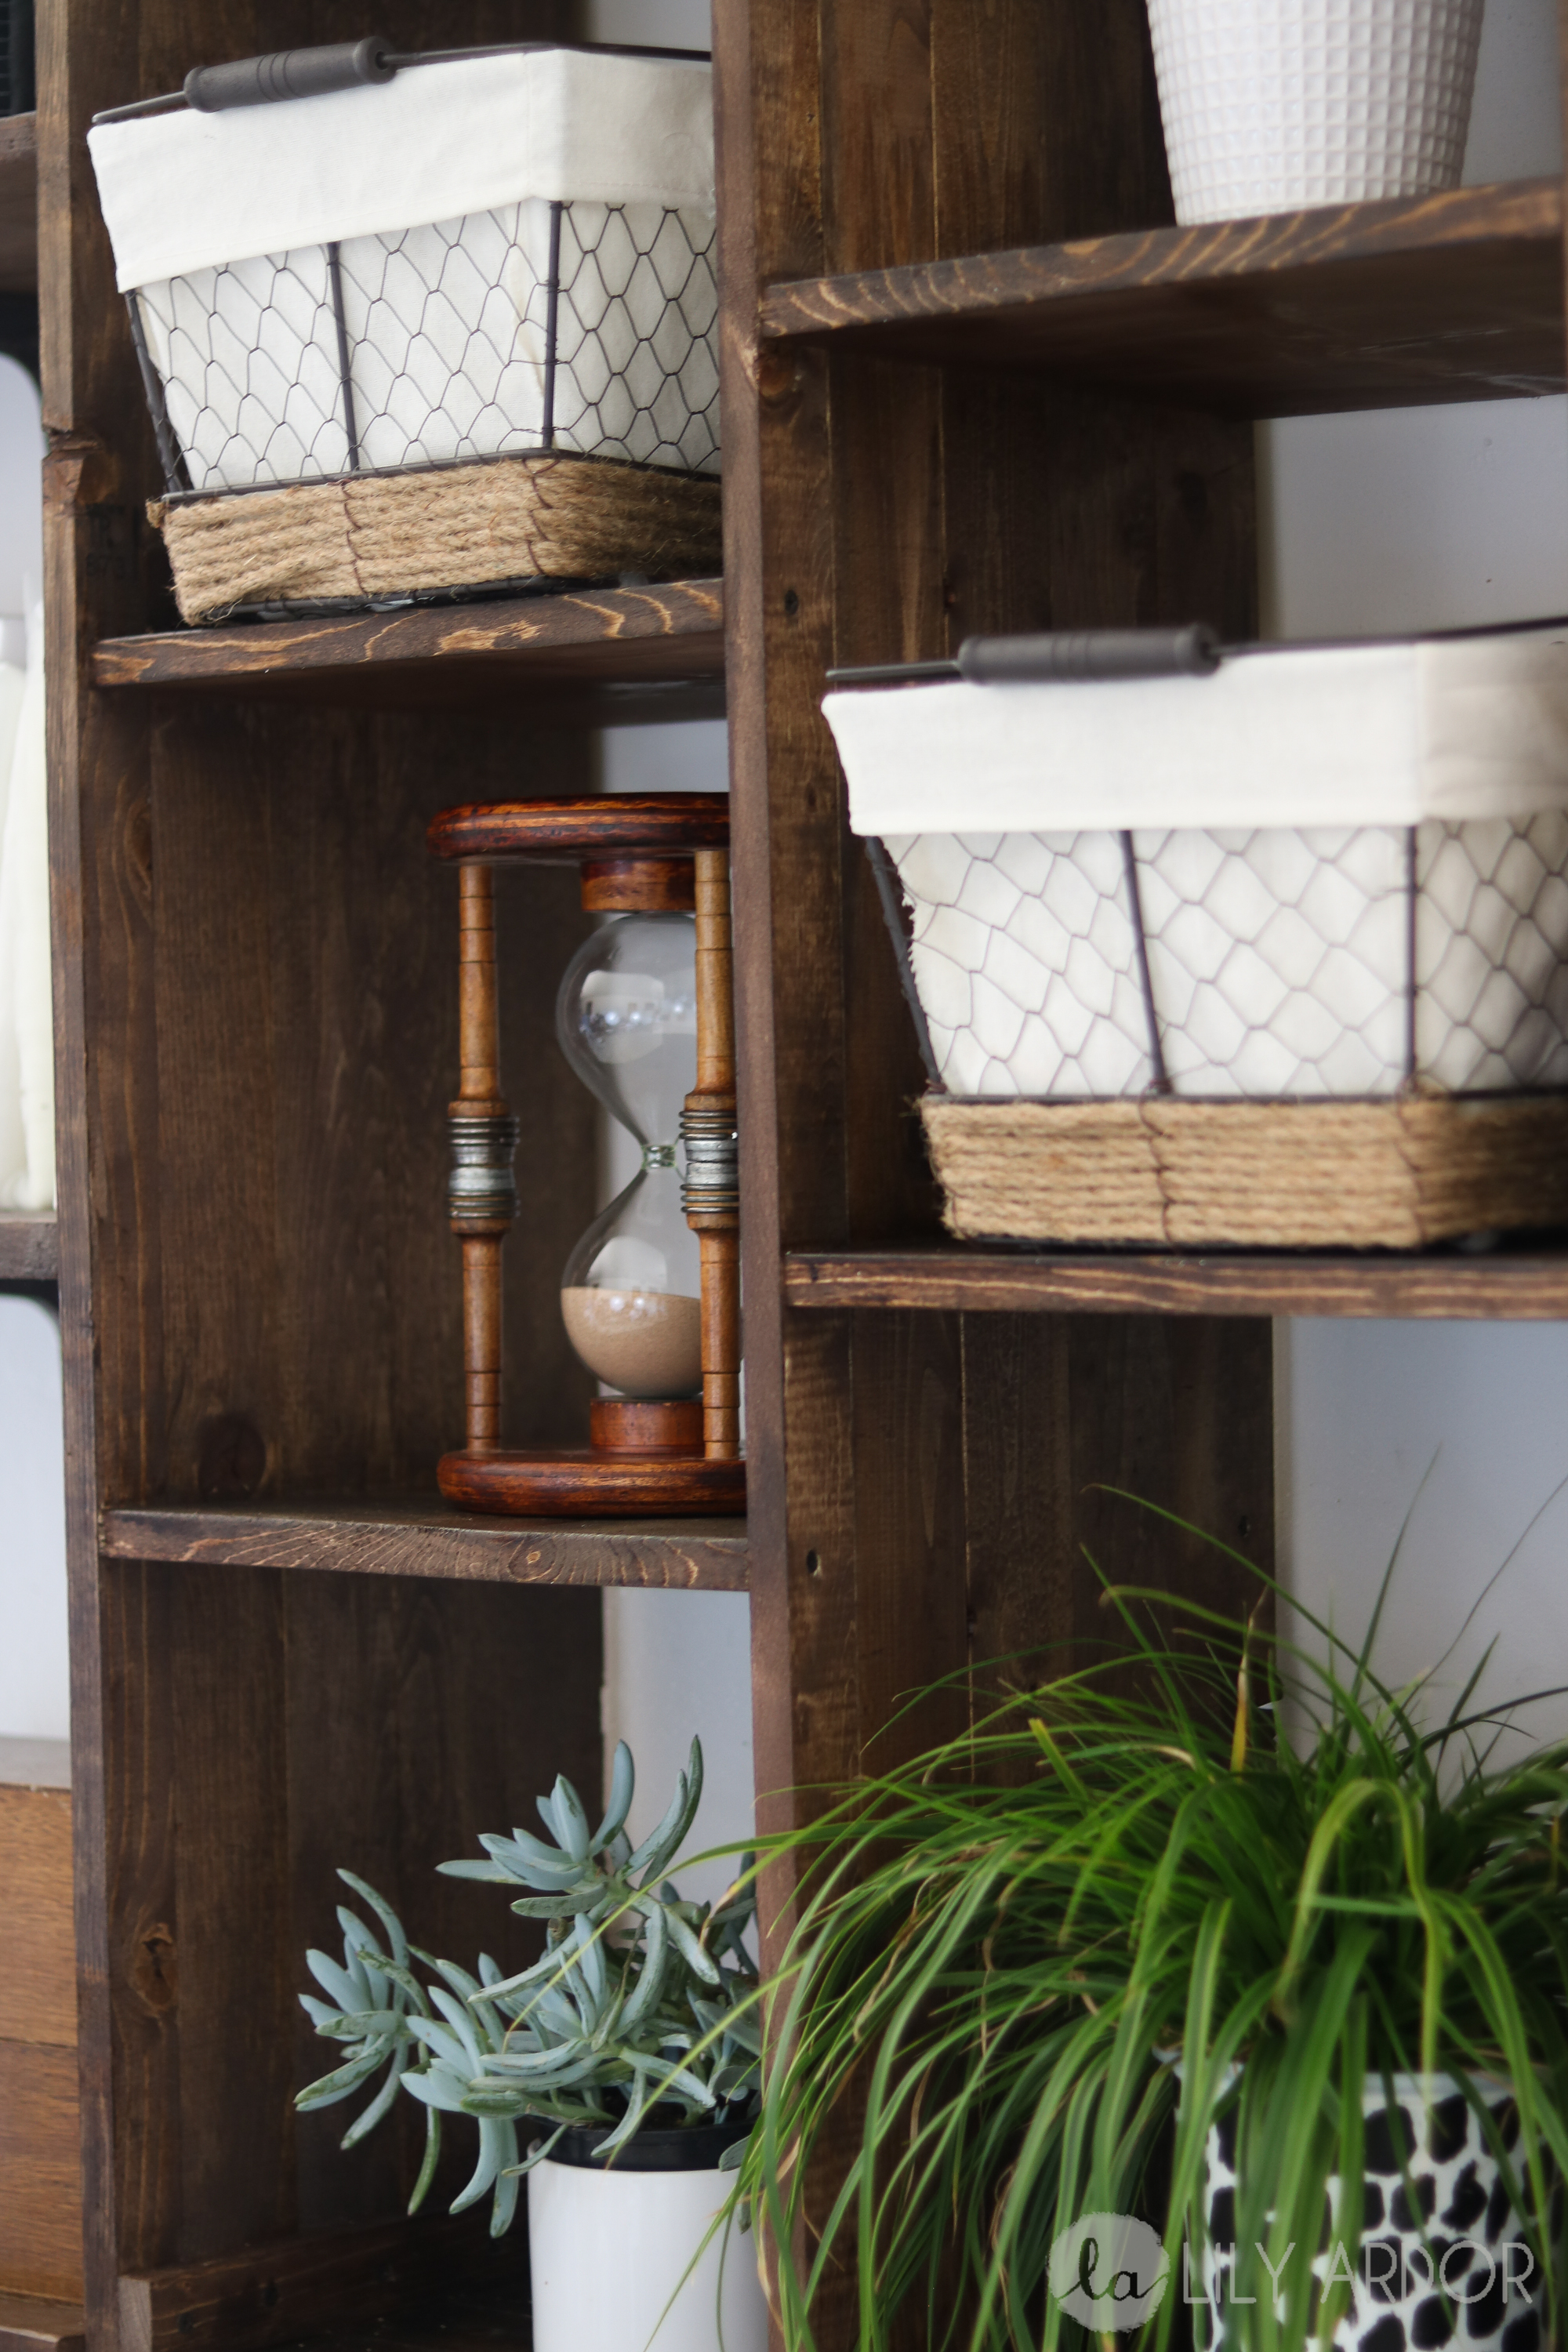
This custom wood shelving turned out amazing. I was super skeptical about piecing this shelf together. In fact so skeptical I had the wood laying around for a month before I got around to touching it. 😀 hehe. Then finally one morning I set out on a mission to bring my vision to life. Ok so the crate style was not planned. In fact I didn’t even know this method would work. It wasn’t until I was done with the shelf that I realized it kind of looked like a jumbo sized crate. 😀 Yes I was a bit worried about the sturdiness of the shelf considering it was literally pieced together and guess what.. That sucker is sturdy as a tree. Not wobbly whatsoever. Mission complete. A+. 😀 😀 (yes I’m patting myself on the back right now)
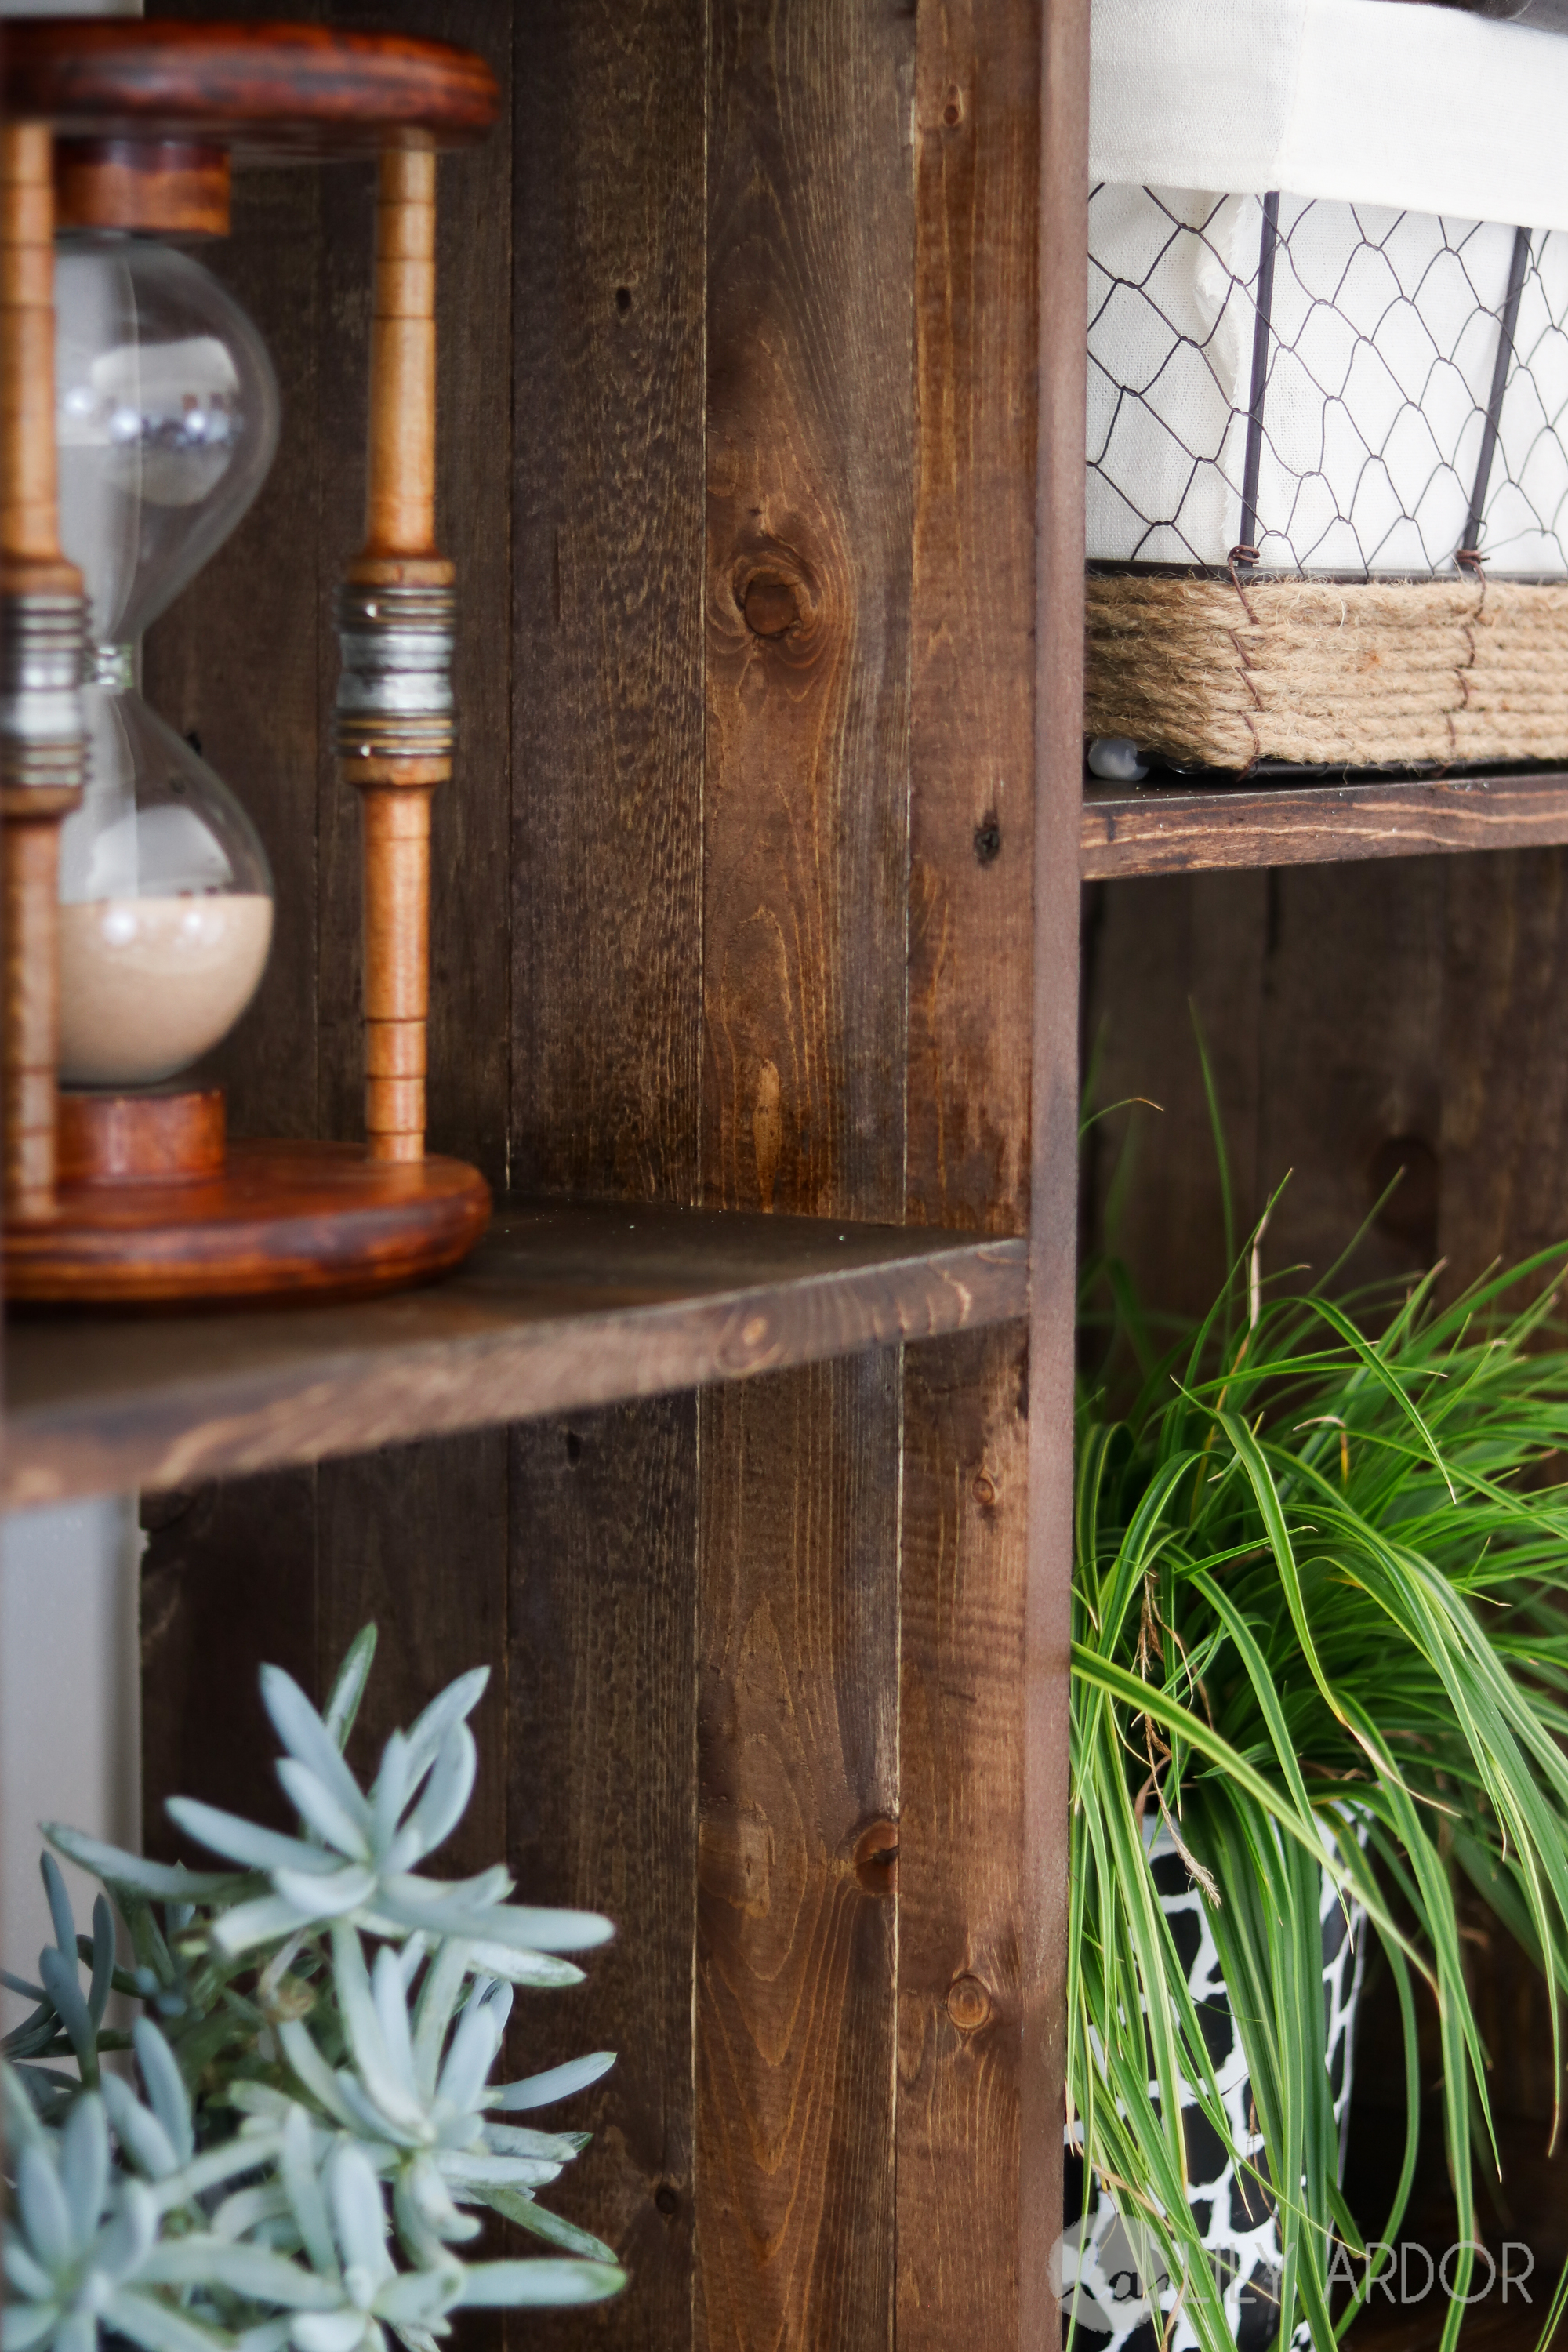
I love that paneling. 😀
Budget
Let’s talk ” budget”. When I made my run to the homedepot I calculated how much this custom shelf would cost me and I was looking at a little under $75 to make it all out of solid boards instead of piecing the boards together. Unfortunately that was out of my budget because the shelf would be worth more then the house we live in.. hehe 😀 So that’s when I got all creative and decided to use the cheapest common wood boards that I believe were $1.68 each. WIN WIN.. 😀 I thought, until I got home lay them out and freaked out. hehe Forward a month and I got sick of looking at them. I figured they’d either rot or get ruined by me. lol Both just as bad, but there was that slight chance my idea would work so.. I went for it!!
What you’ll need
Here’s a list of things you’ll need. I did not take any pictures in the process of making it however I made a very descriptive video for you guys to enjoy. 😀
- 12 of the 2.5 x 8 ft common wood boards (You can also use pallet wood)
- 3 of the 1.5 x 8 ft
- screws
- drill
- stain ( I used special walnut)
- 1 of 11.25 x 8 ft (Lowes was cheaper then home depot)
Total Cost: Under $40 😀 😀 😀 (for the shelf in the middle)
The dimensions of my custom shelf were 60″ in height and 28 1/2 ” in width. The depth was 11.5″. To make my side panels and my top and bottom I had to use 4 of the 2.5″ (width) wood boards and 1 of the 1.5″ inches in width to equal a total of 11.25″. If your confused take a look at the video of how I made the panels. I didn’t have any spacing between my wood boards on the panels, but that would look great to if your looking for a more rustic feel.
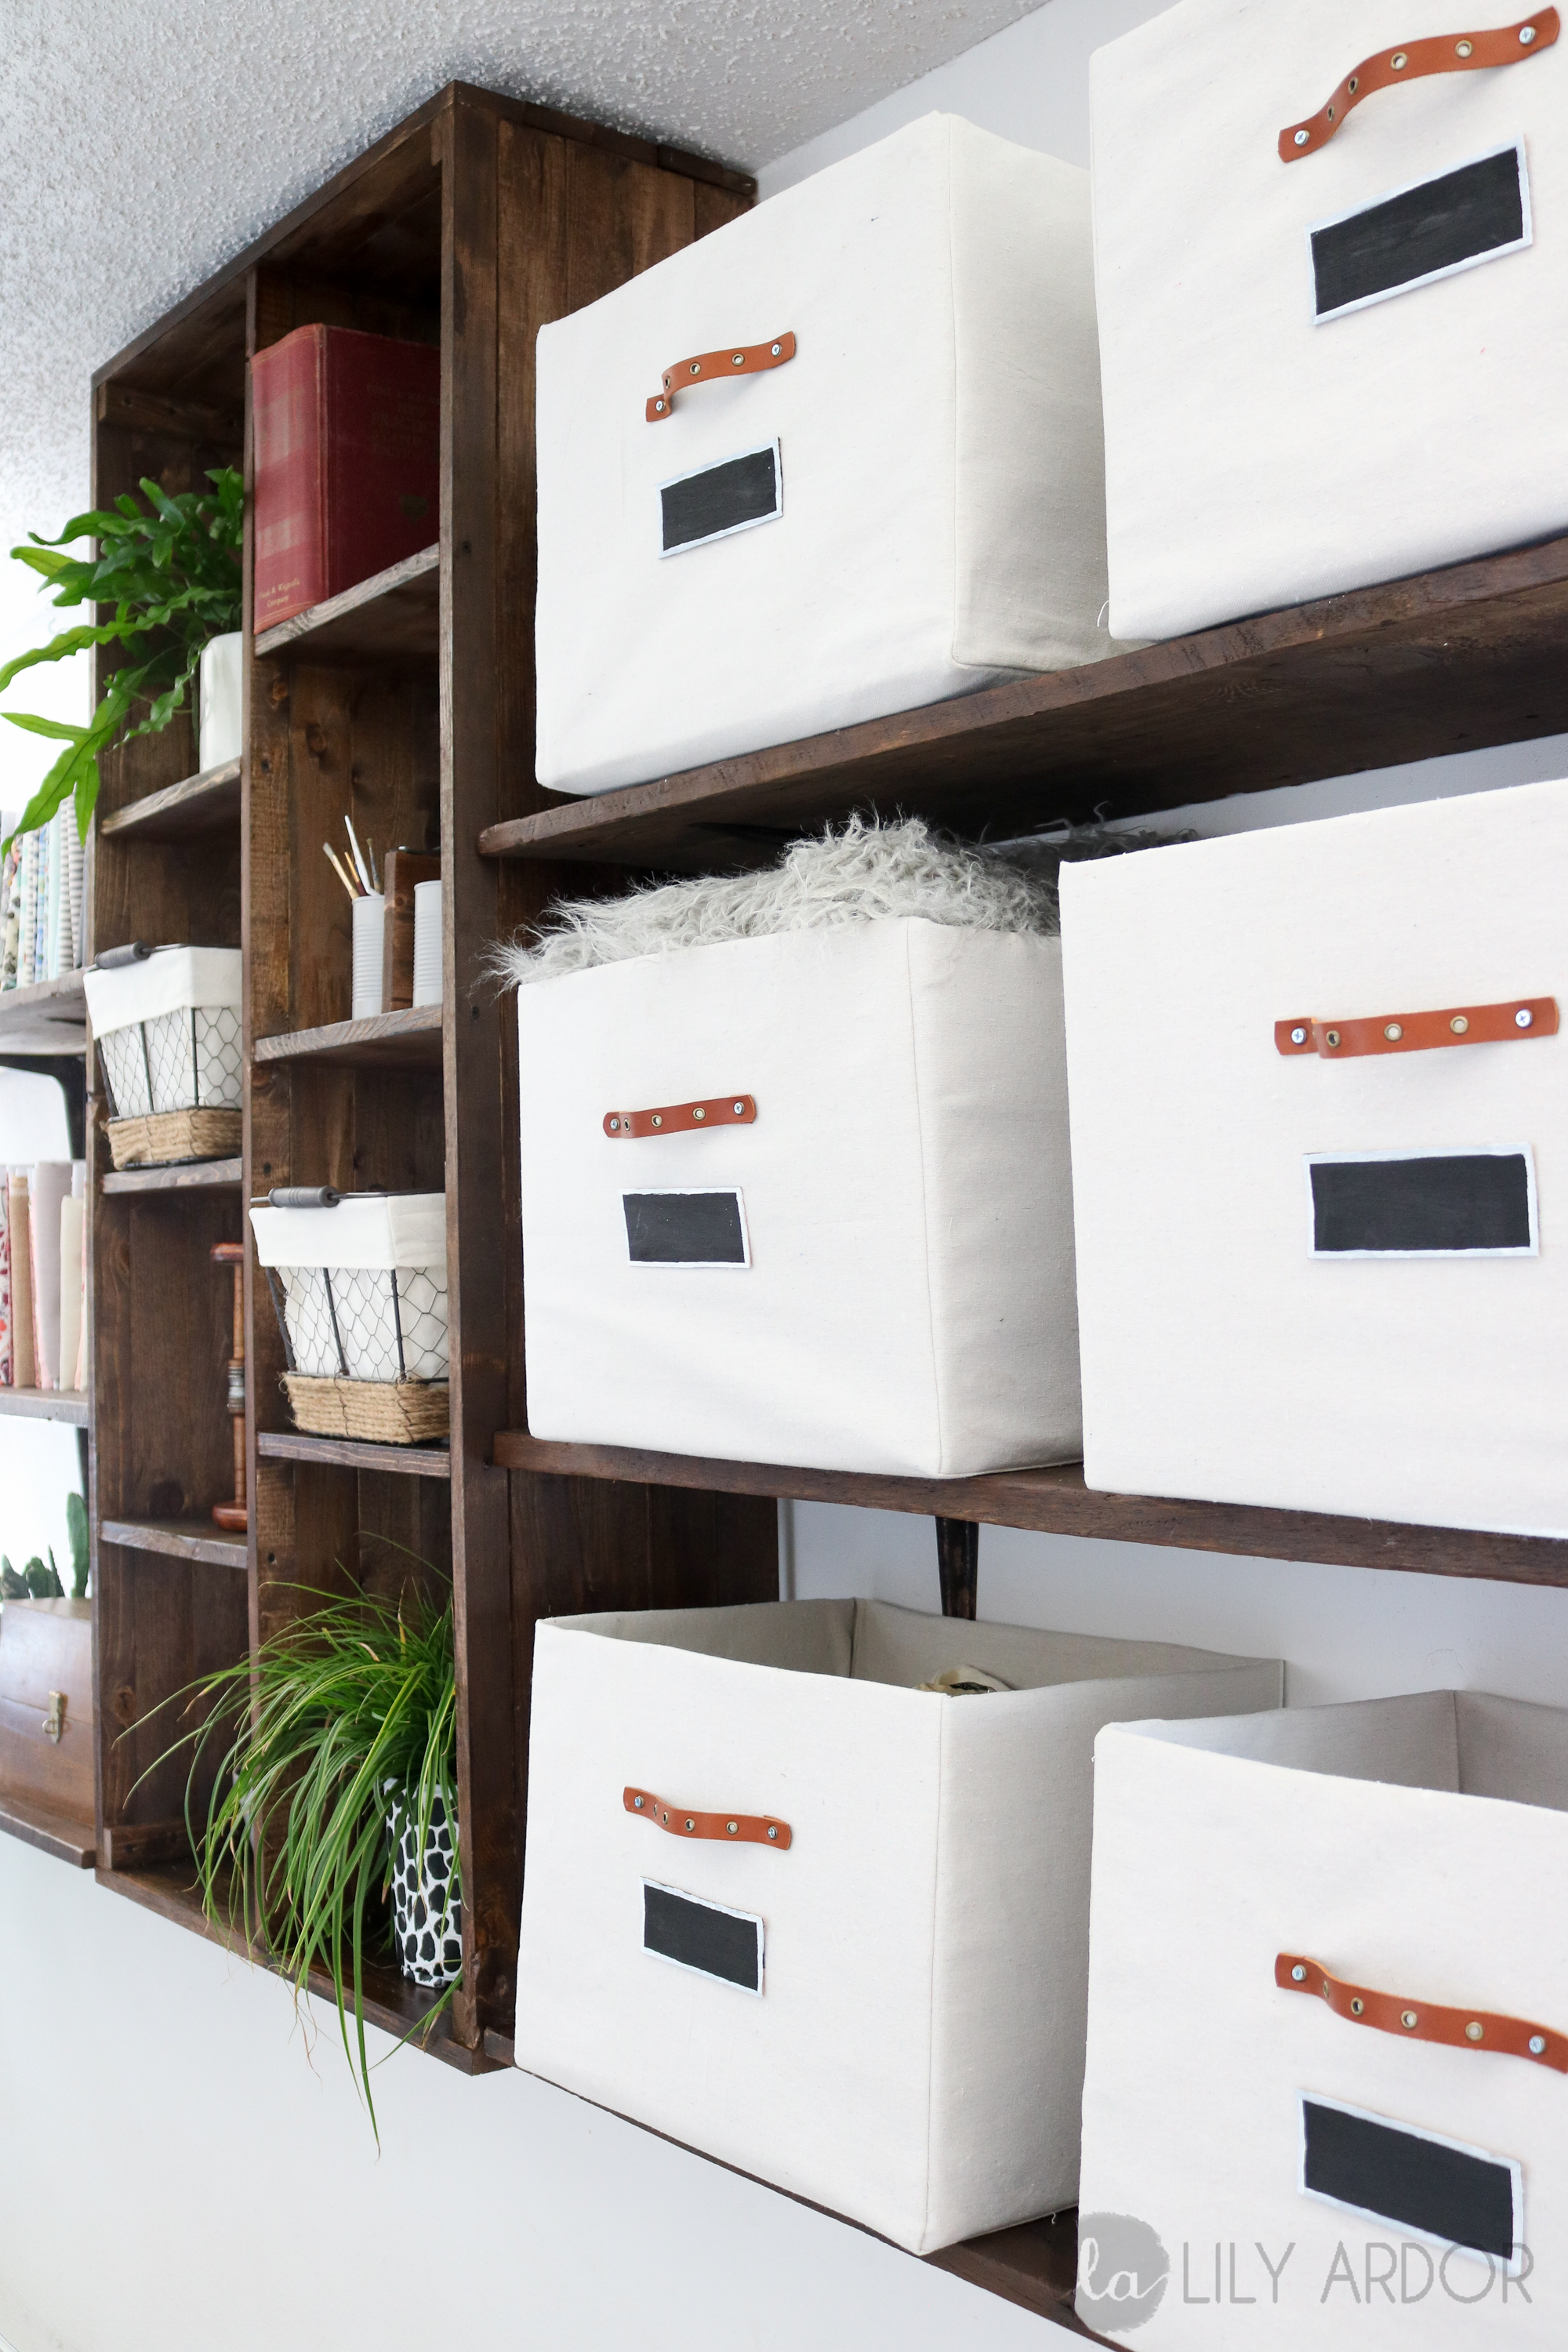
My boxes are actually heavy duty moving cardboard boxes that I wrapped in canvas added handles and labels. 😀 ( comment below if you’d like a tutorial. Total cost for each box was about $4.)
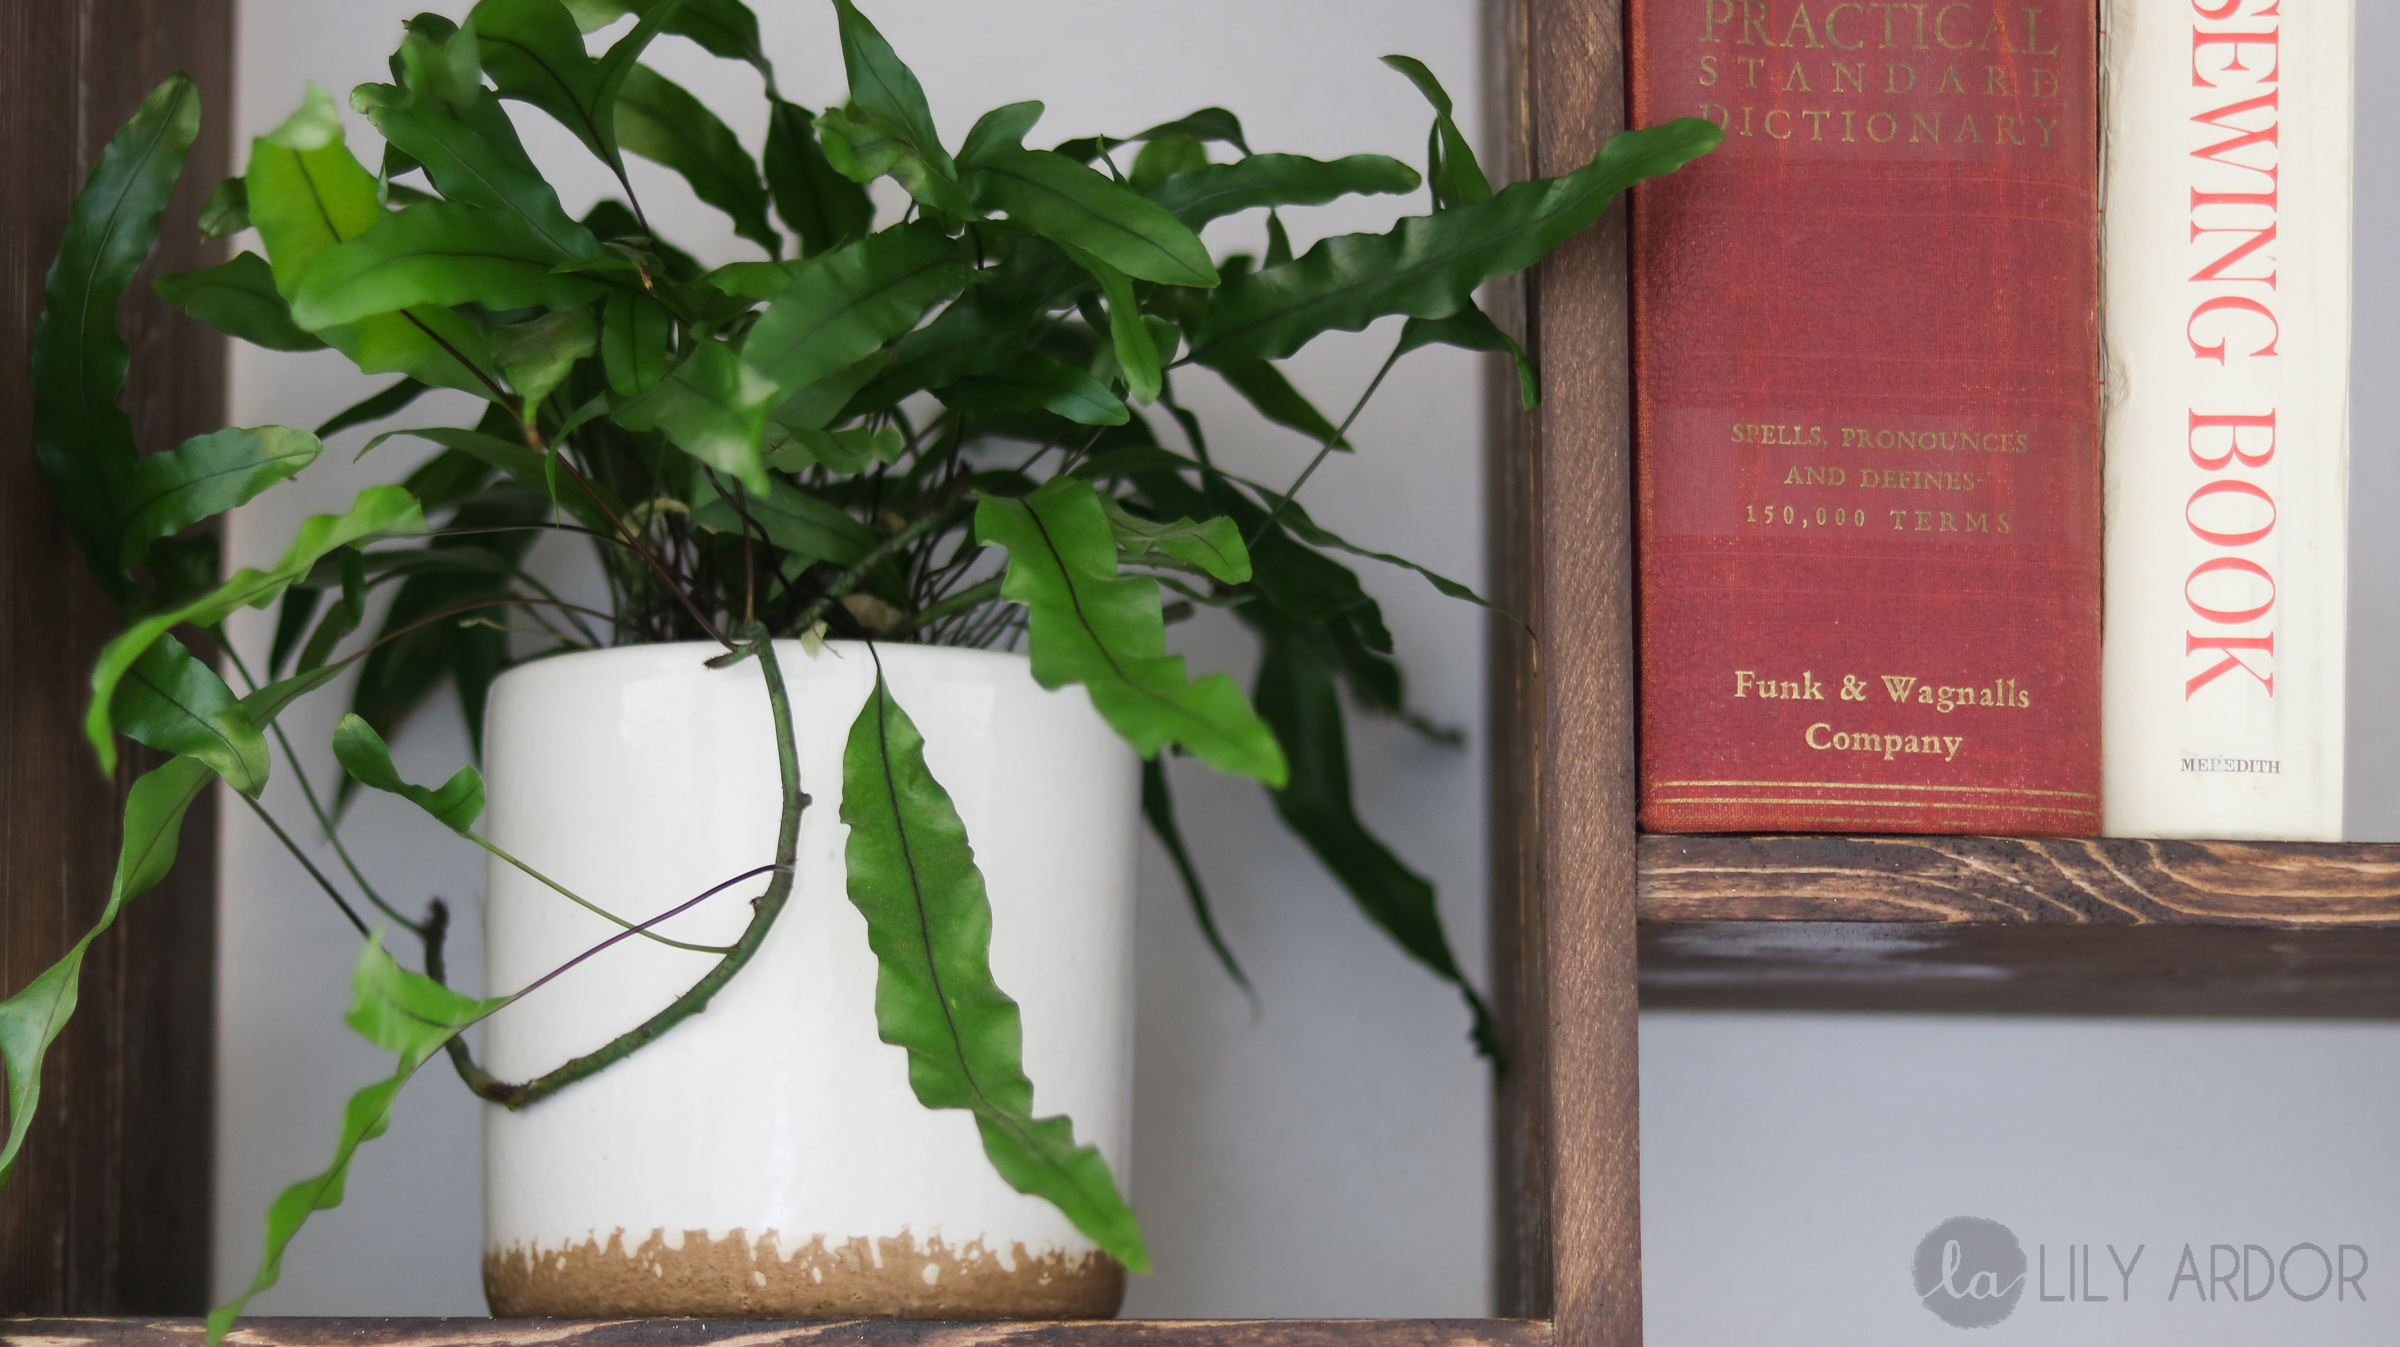
Can you tell I love plants !! 😀 hehe 😀
I hope you enjoyed this DIY. If you have any questions feel free to comment below. 😀


Fabulous! Would love a tutorial on canvas boxes please.
Glad you liked them Suzanne ! 😀 I’ll have to get a tutorial up for those soon 😀 😀
I really love what you did! The use of multiple boards adds such interesting texture that otherwise wouldn’t be there. I’m so using this idea to build shelves above my husbands desk. Great job and super good lookinv. Whose that handsome young man helping you. No boys for me, only girls. Thanks for sharing.
Thank you. I’m so glad you liked it. Can’t wait to see your shelves. 😀 Tag me at #lilyardor on instagram. Those are my boys. My hubby and our little guy. 😀 They had fun helping 😀 !! It was a blast.