Halloween Moon
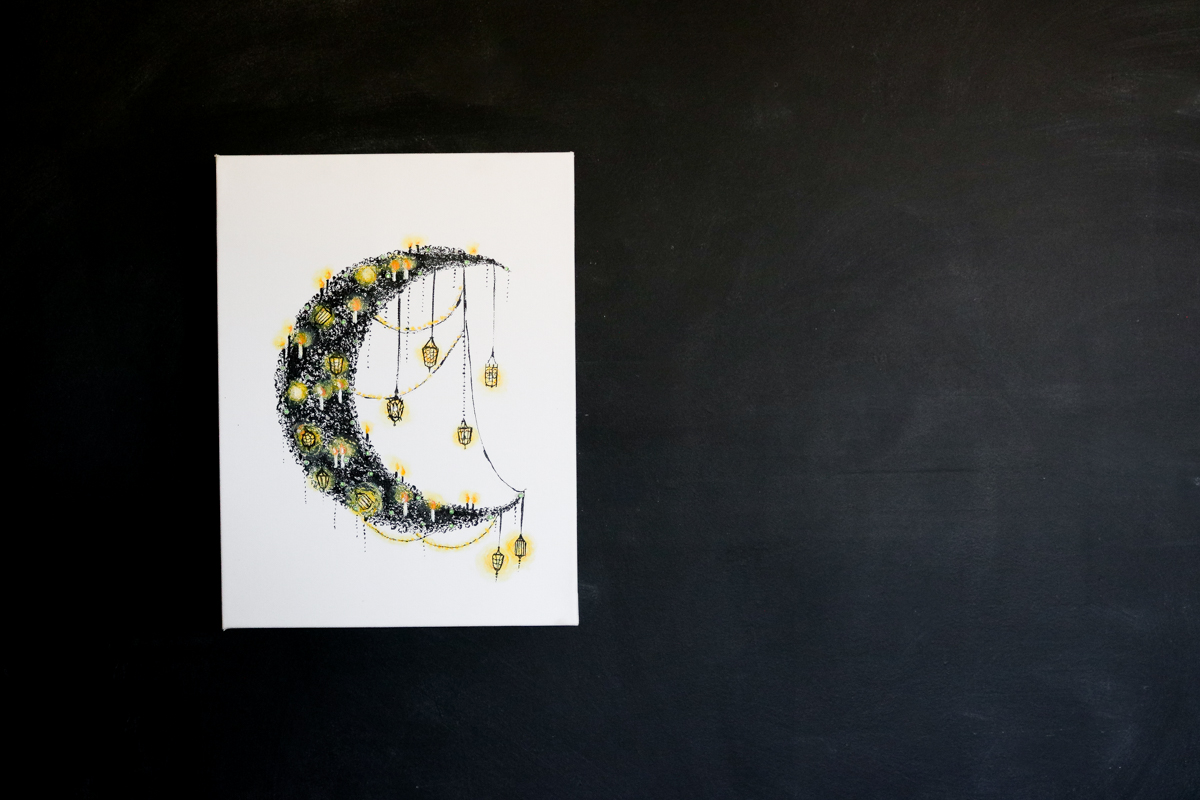
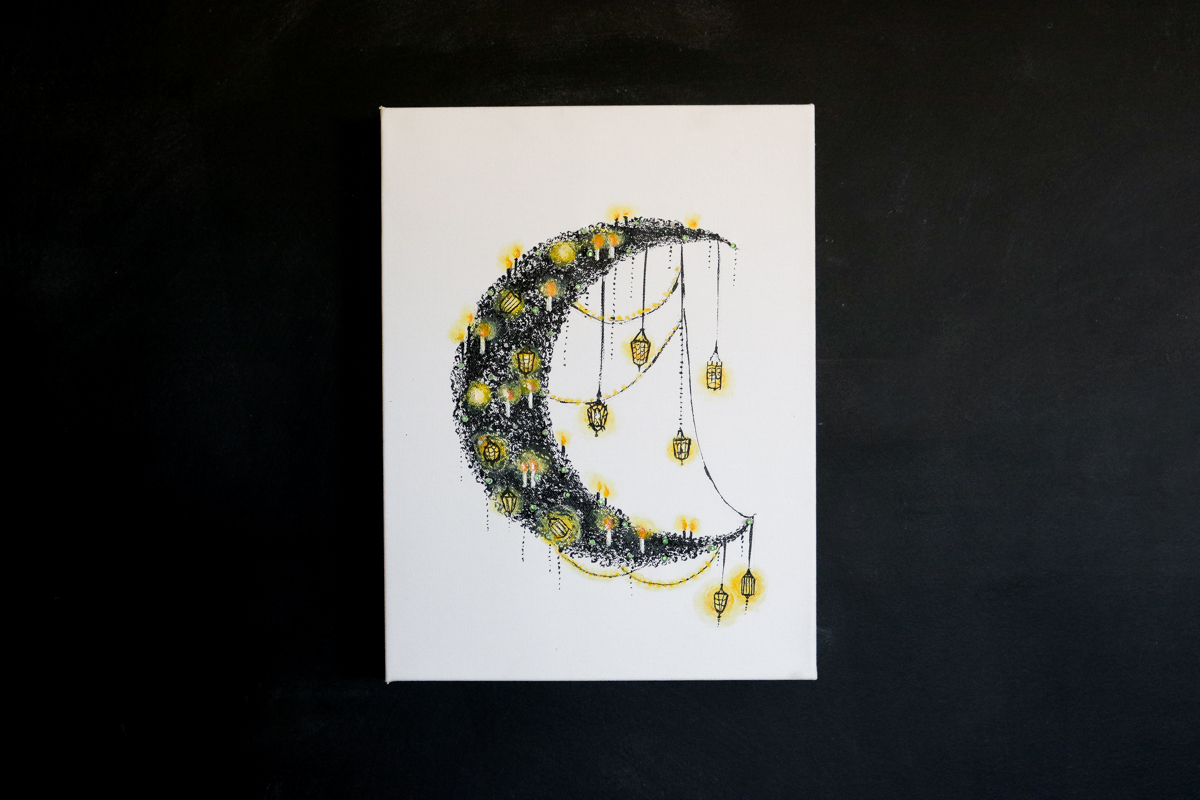
I don’t mean to burst your bubble guys, but we don’t do Halloween. I know I know… your probably asking why did you make this Halloween moon. OK, here’s why! I believe in art and different styles of art. I got inspired with a simple chandelier and connected the two things I love. The moon and some lanterns to incorporate some pretty lighting. 😀 I hope those of you that celebrate Halloween enjoy this DIY because I made it especially for you. 😀
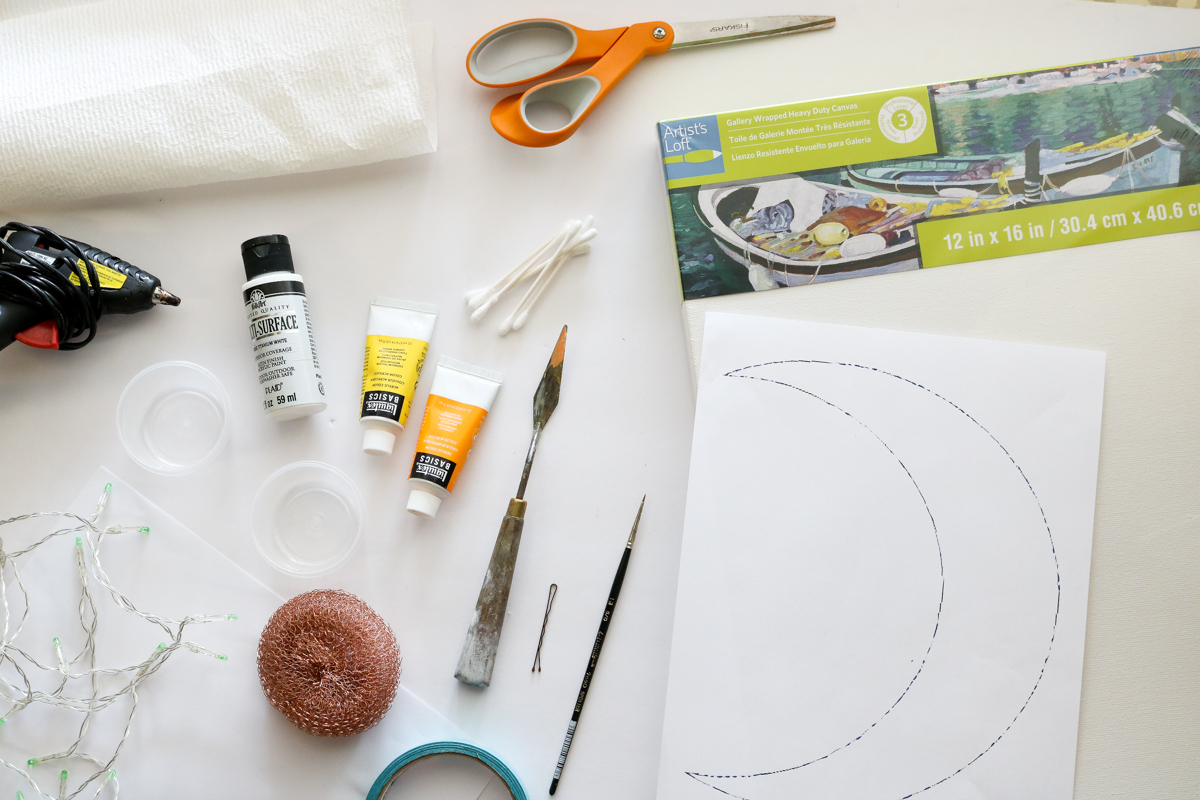
What You’ll Need
- Acrylic Paint ( white, yellow, orange, black)
- Masking Tape
- Moon Printable
- Canvas ( 1.5″ thickness)
- Scissors
- Glue gun
- Napkins
- LED Lights
- Metal Scrubby
- Detail Brush
- Paint Pallet Spatula ( I had a metal one but you can also use a cheaper plastic one sold at walmart and michaels.
- Exacto knife
SCROLL DOWN FOR AN IN DEPTH VIDEO
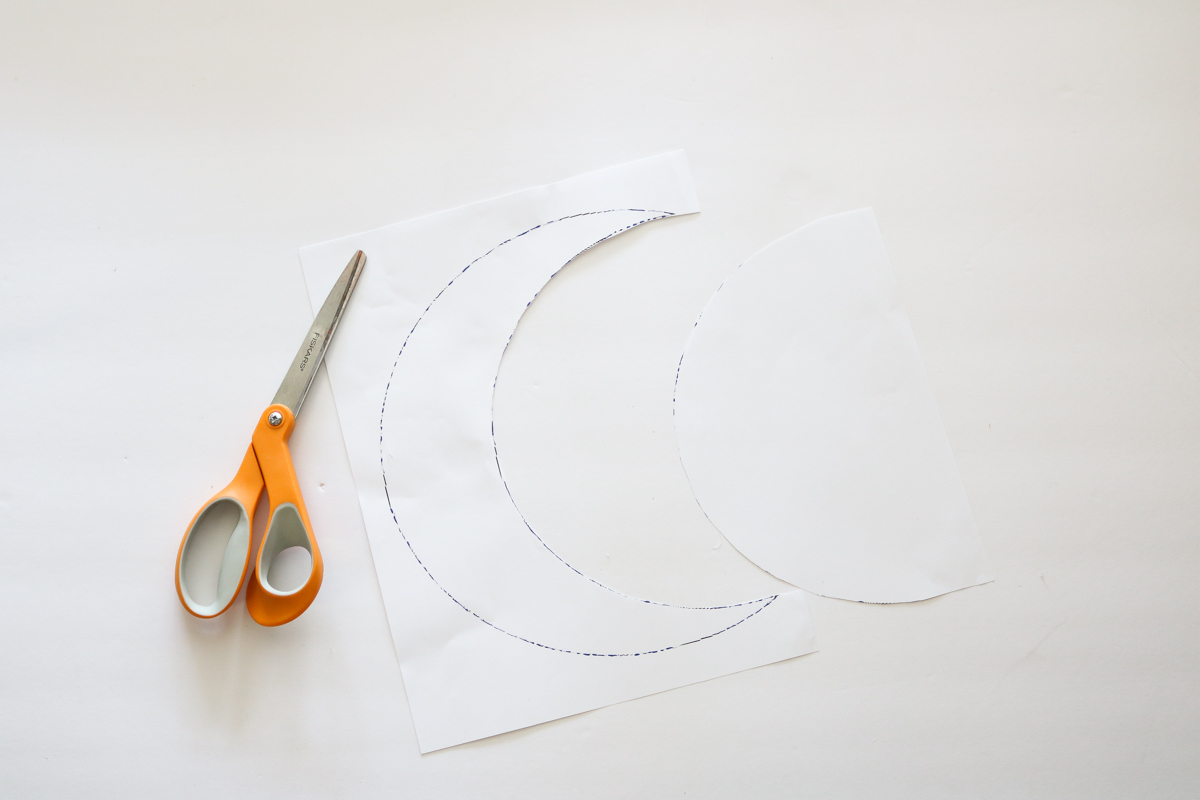
Here’s a moon printable
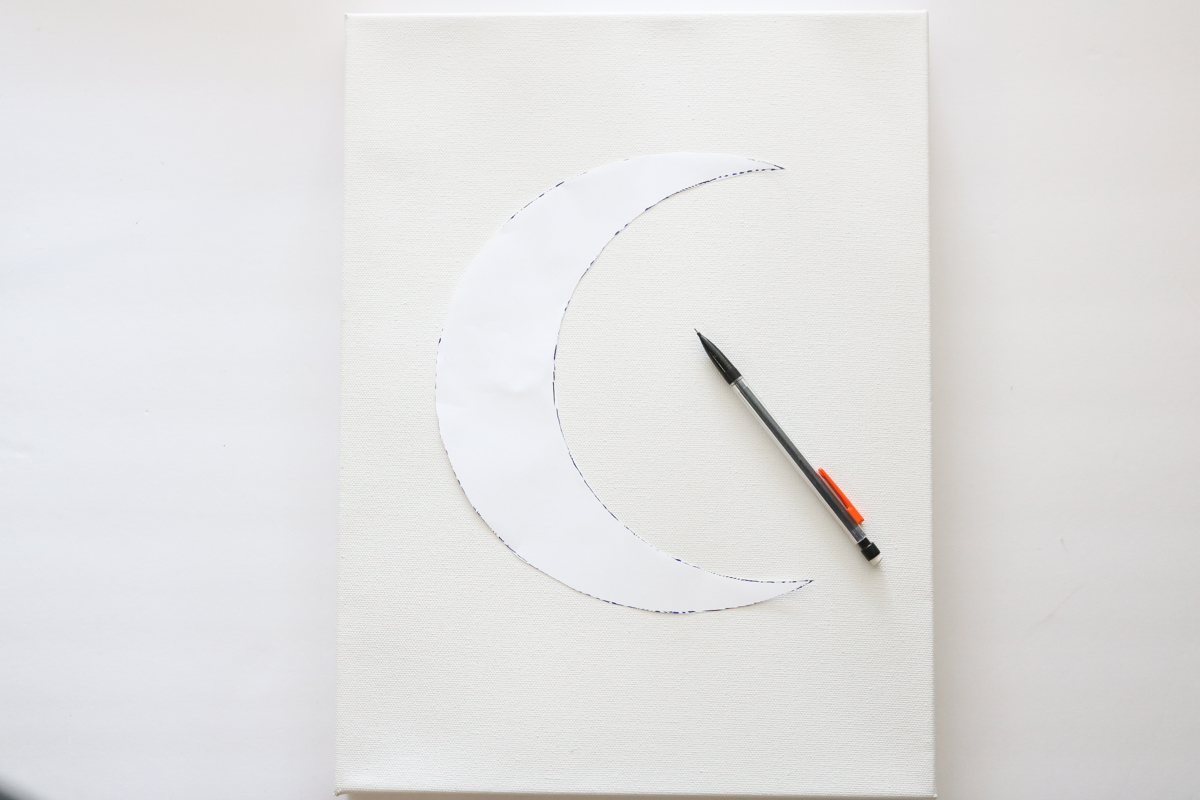
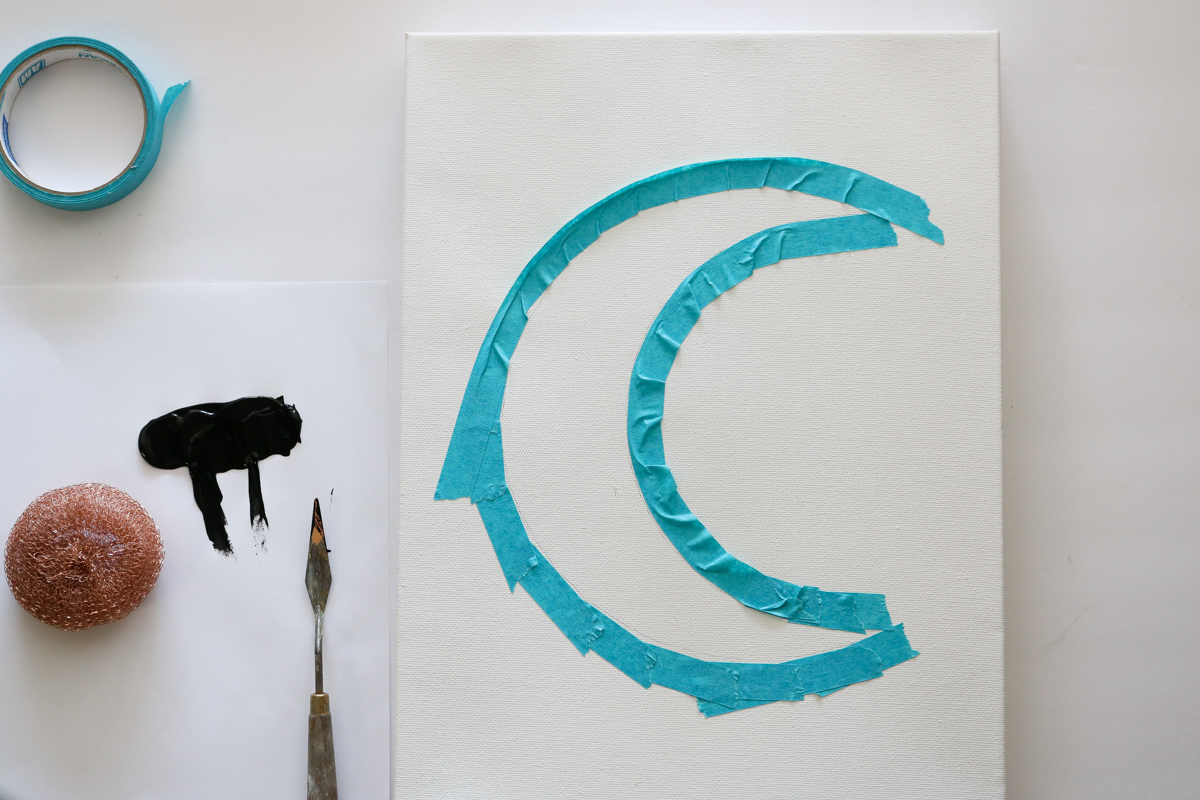
I started off by cutting out my printable and tracing it onto my canvas.
Use a pencil for all your tracing so you can remove it later if needed. I did not prep or paint my canvas.
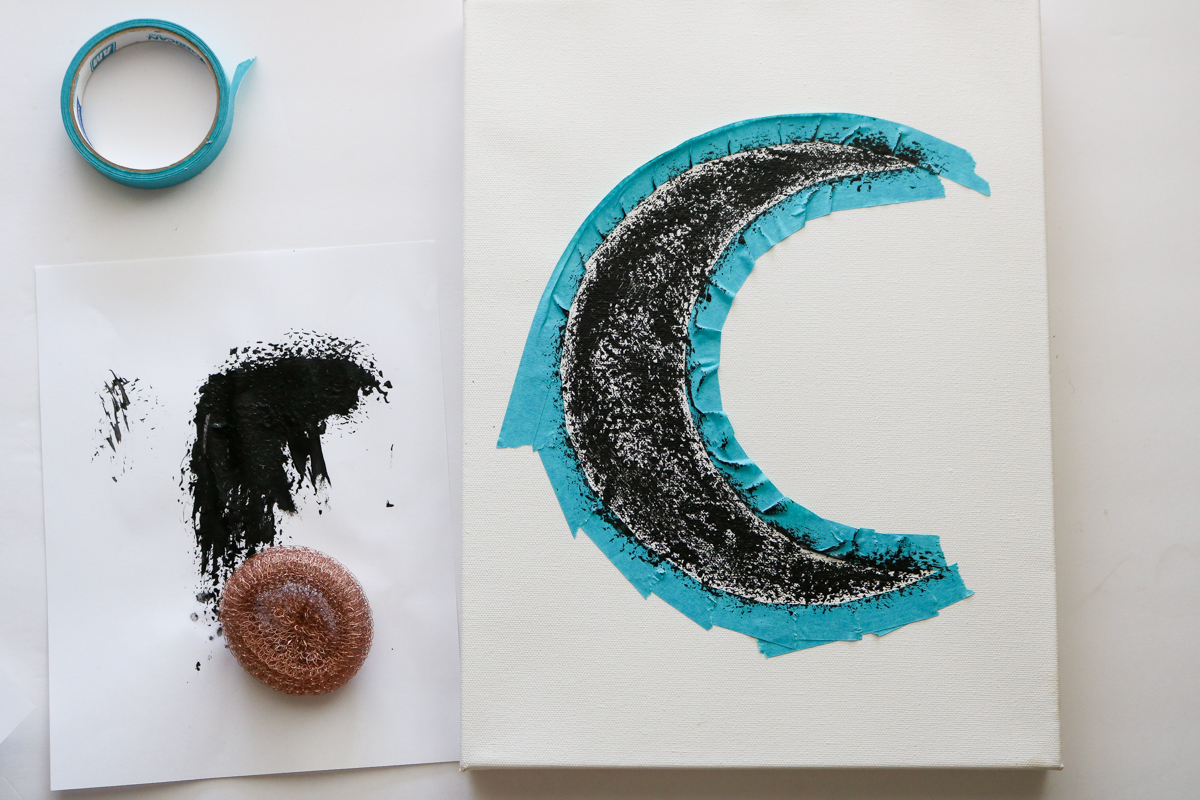
Once your have your moon traced mask it off and apply your texture by dipping your metal scrubby into black paint and dabbing it into your canvas to create a rustic texture.
This is what it should look like. Make sure and leave some white showing.
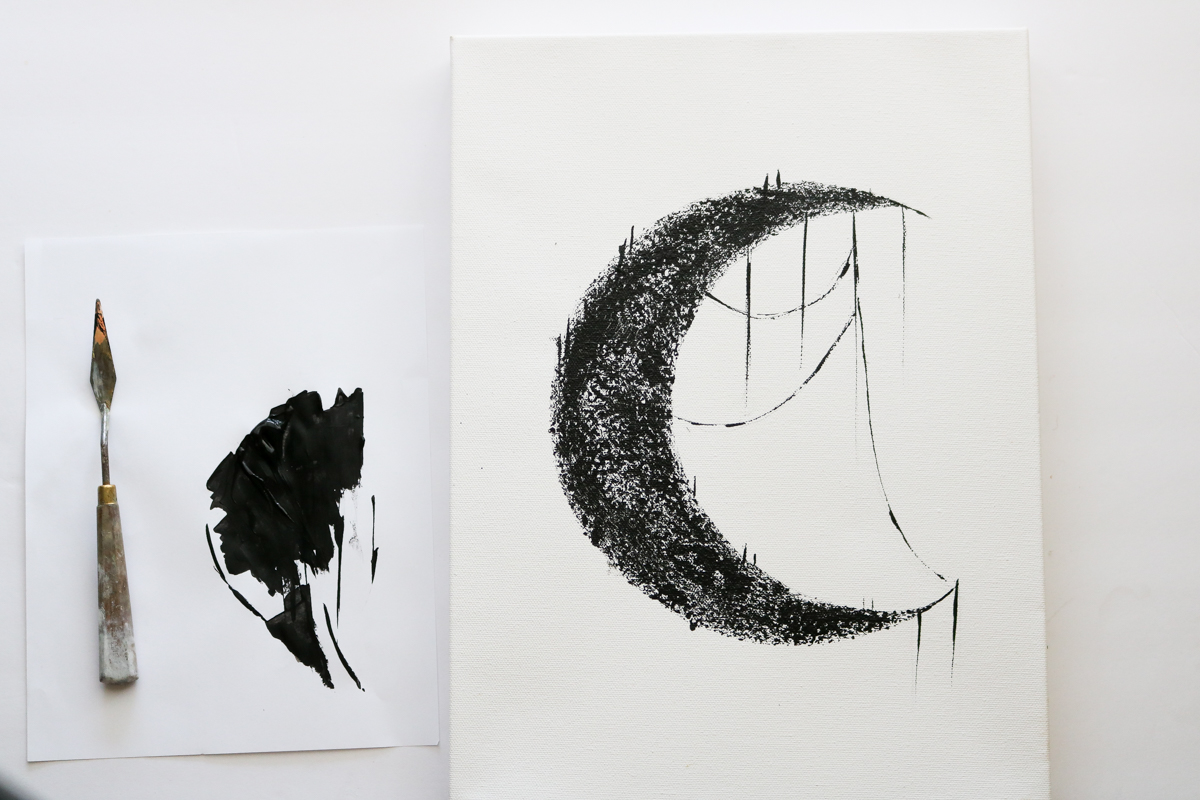
To draw your strings use your paint spatula. Take your spatula and dip one side of it into the paint. Then pull a line going down. Practice on a separate paper first.Making it glow
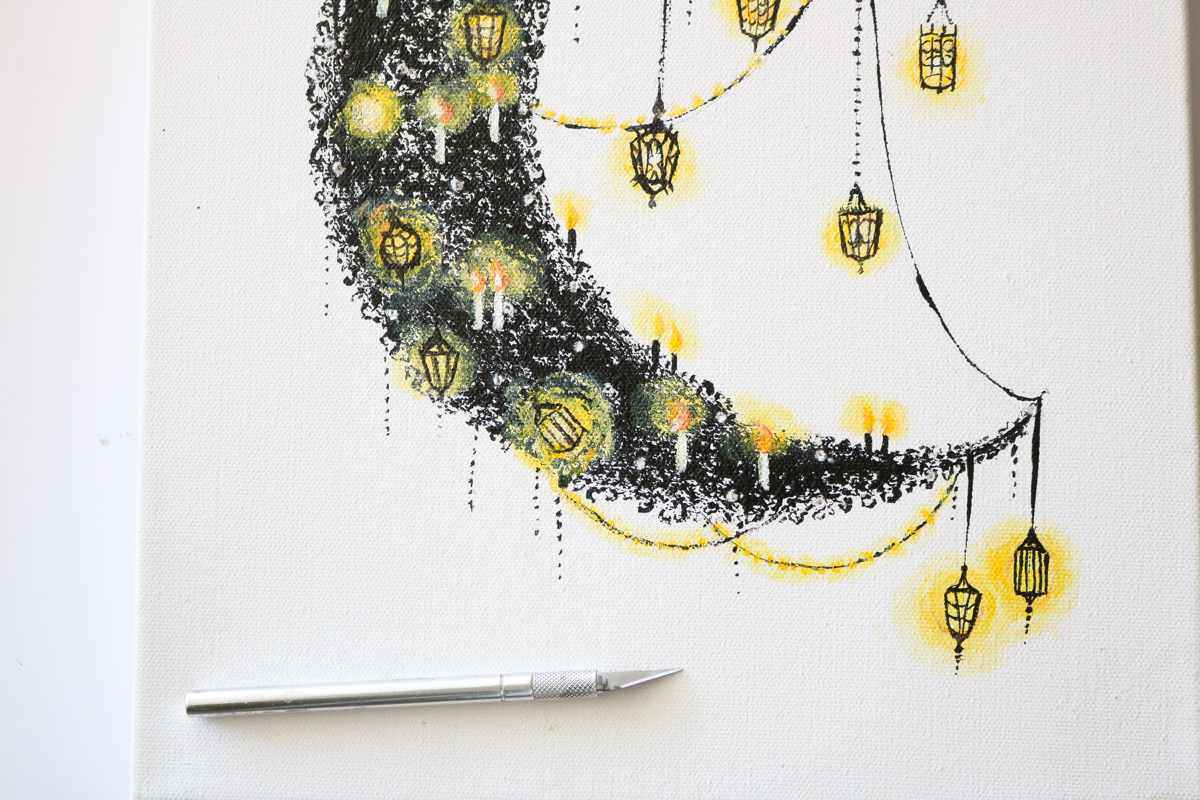
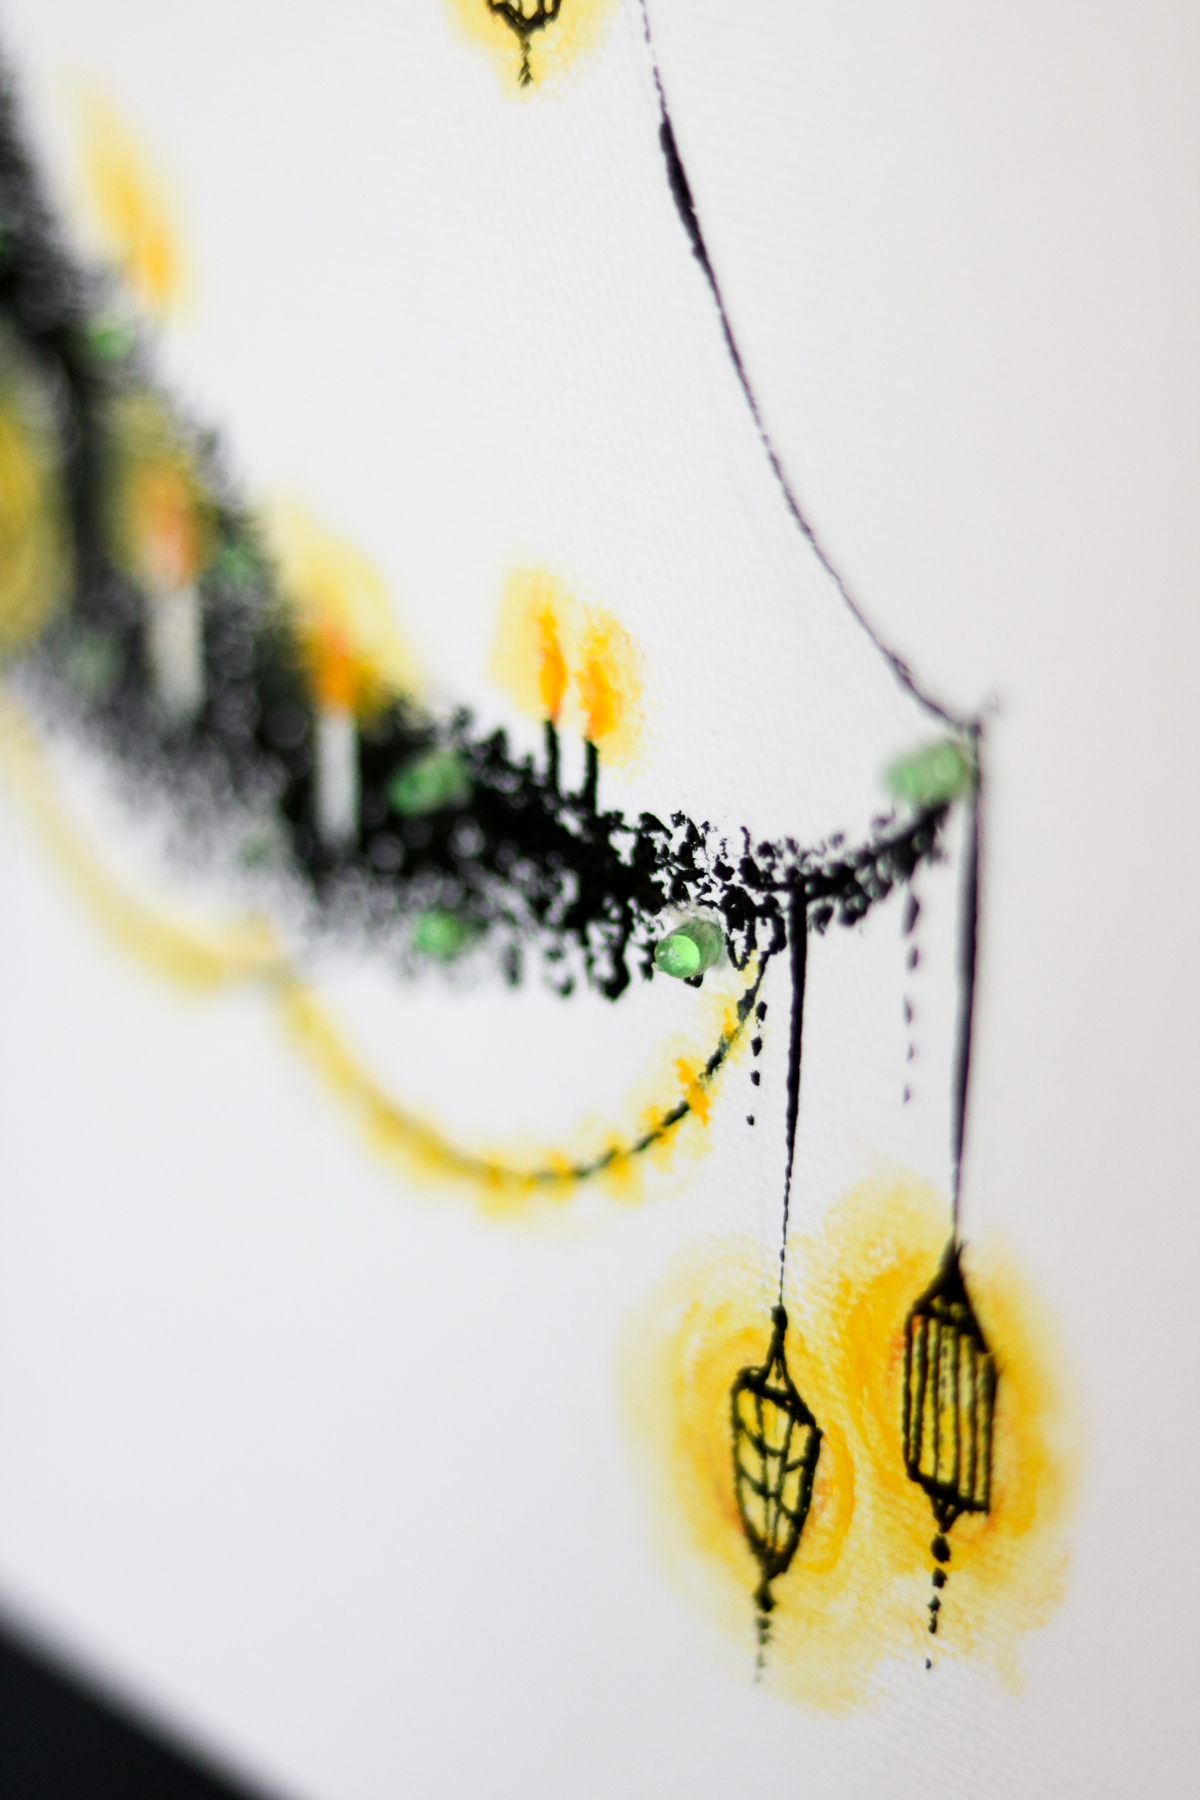
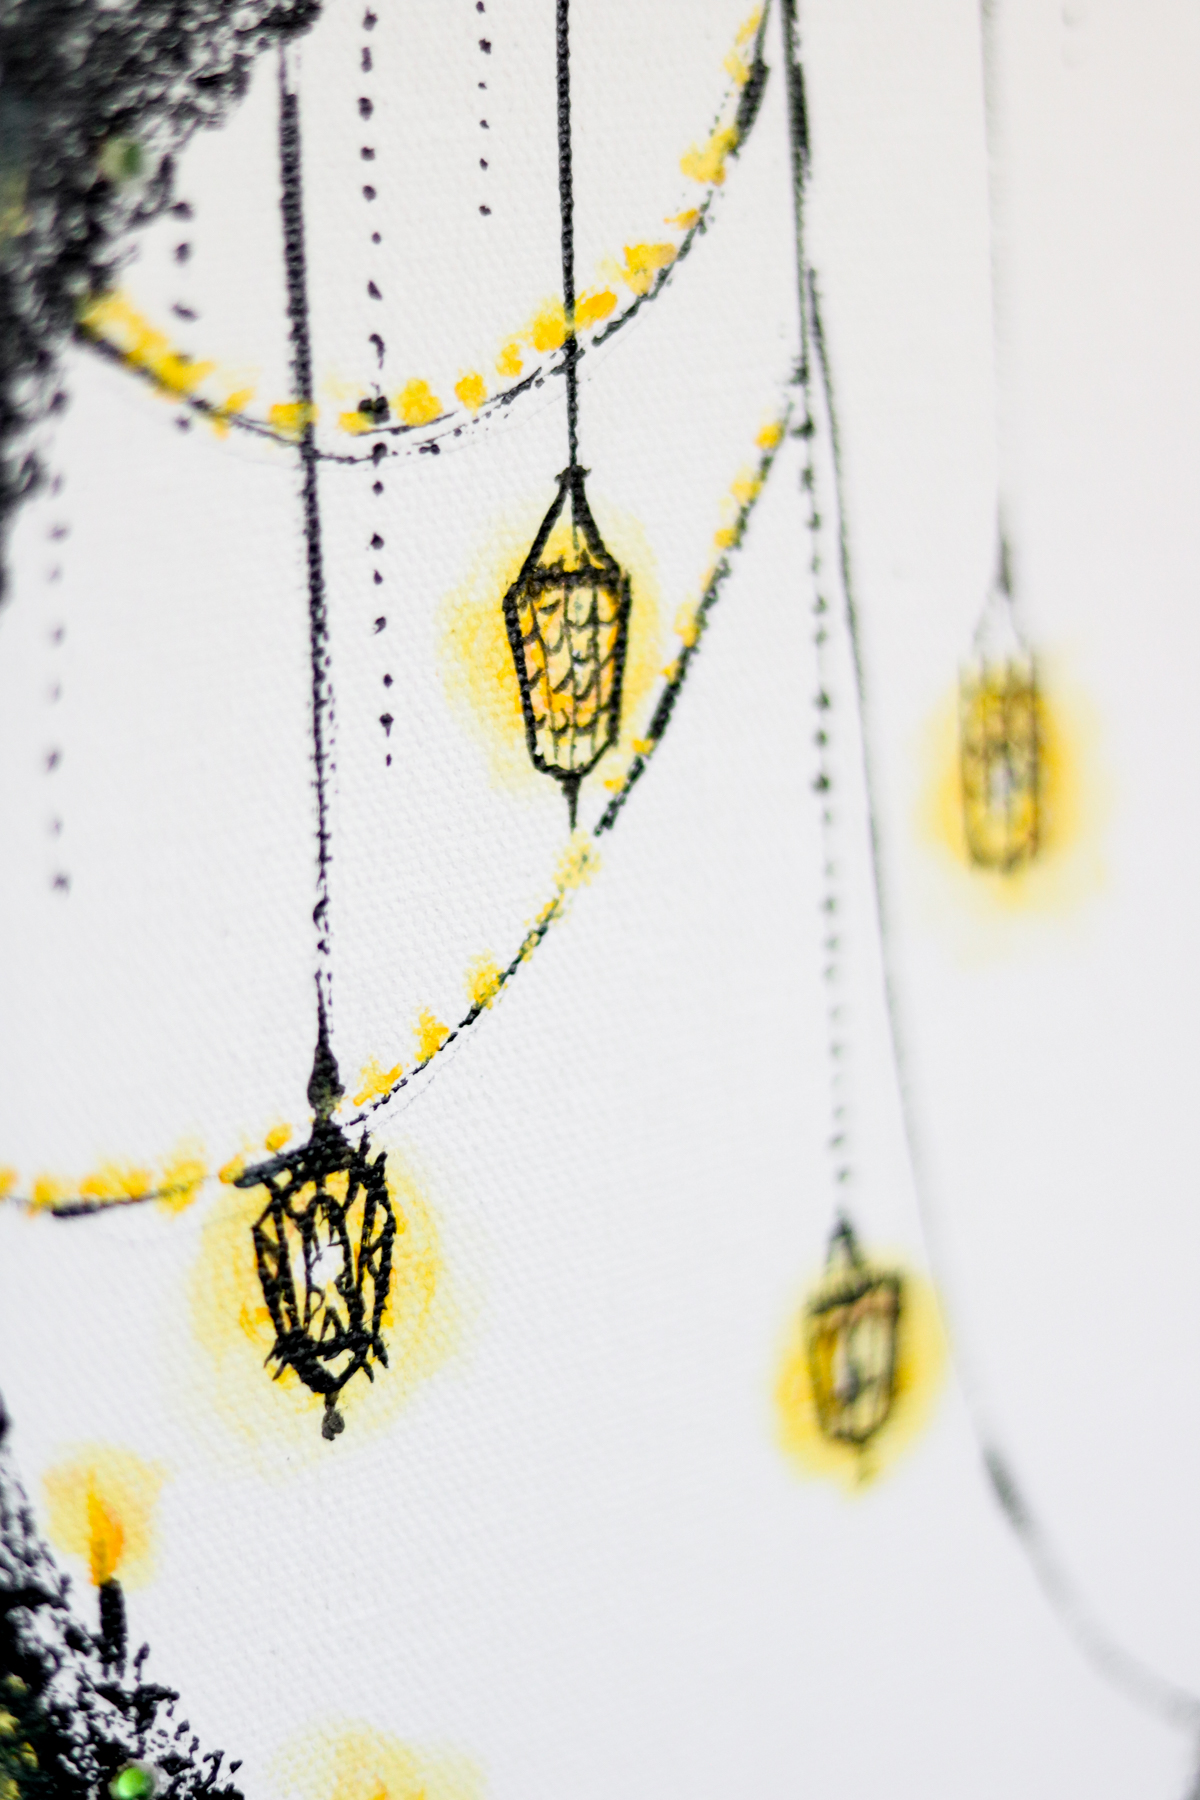
You’ll need to let it dry before you begin to paint on your lanterns. Once it’s dry start making the glow effect for each lantern. Then let that dry and use your detail brush to draw on the lanterns. To make the glow light effect I mixed my yellow and orange with a tiny but of white. Just to make them a shade lighter or pastel colors. Then I started off by painting halos. I did a thick pastel yellow halo and followed along with a super skinny pastel orange halo. Following that I took my q-tip dipped it in water and smudged the halo’s together making sure the edges blended into the white canvas. To finish it off I used some regular yellow to give it some more pop by painting on a few circular streaks around the area the was smudged. (you can view my video down below to see how I made my lanterns glow 🙂 )
LEDS
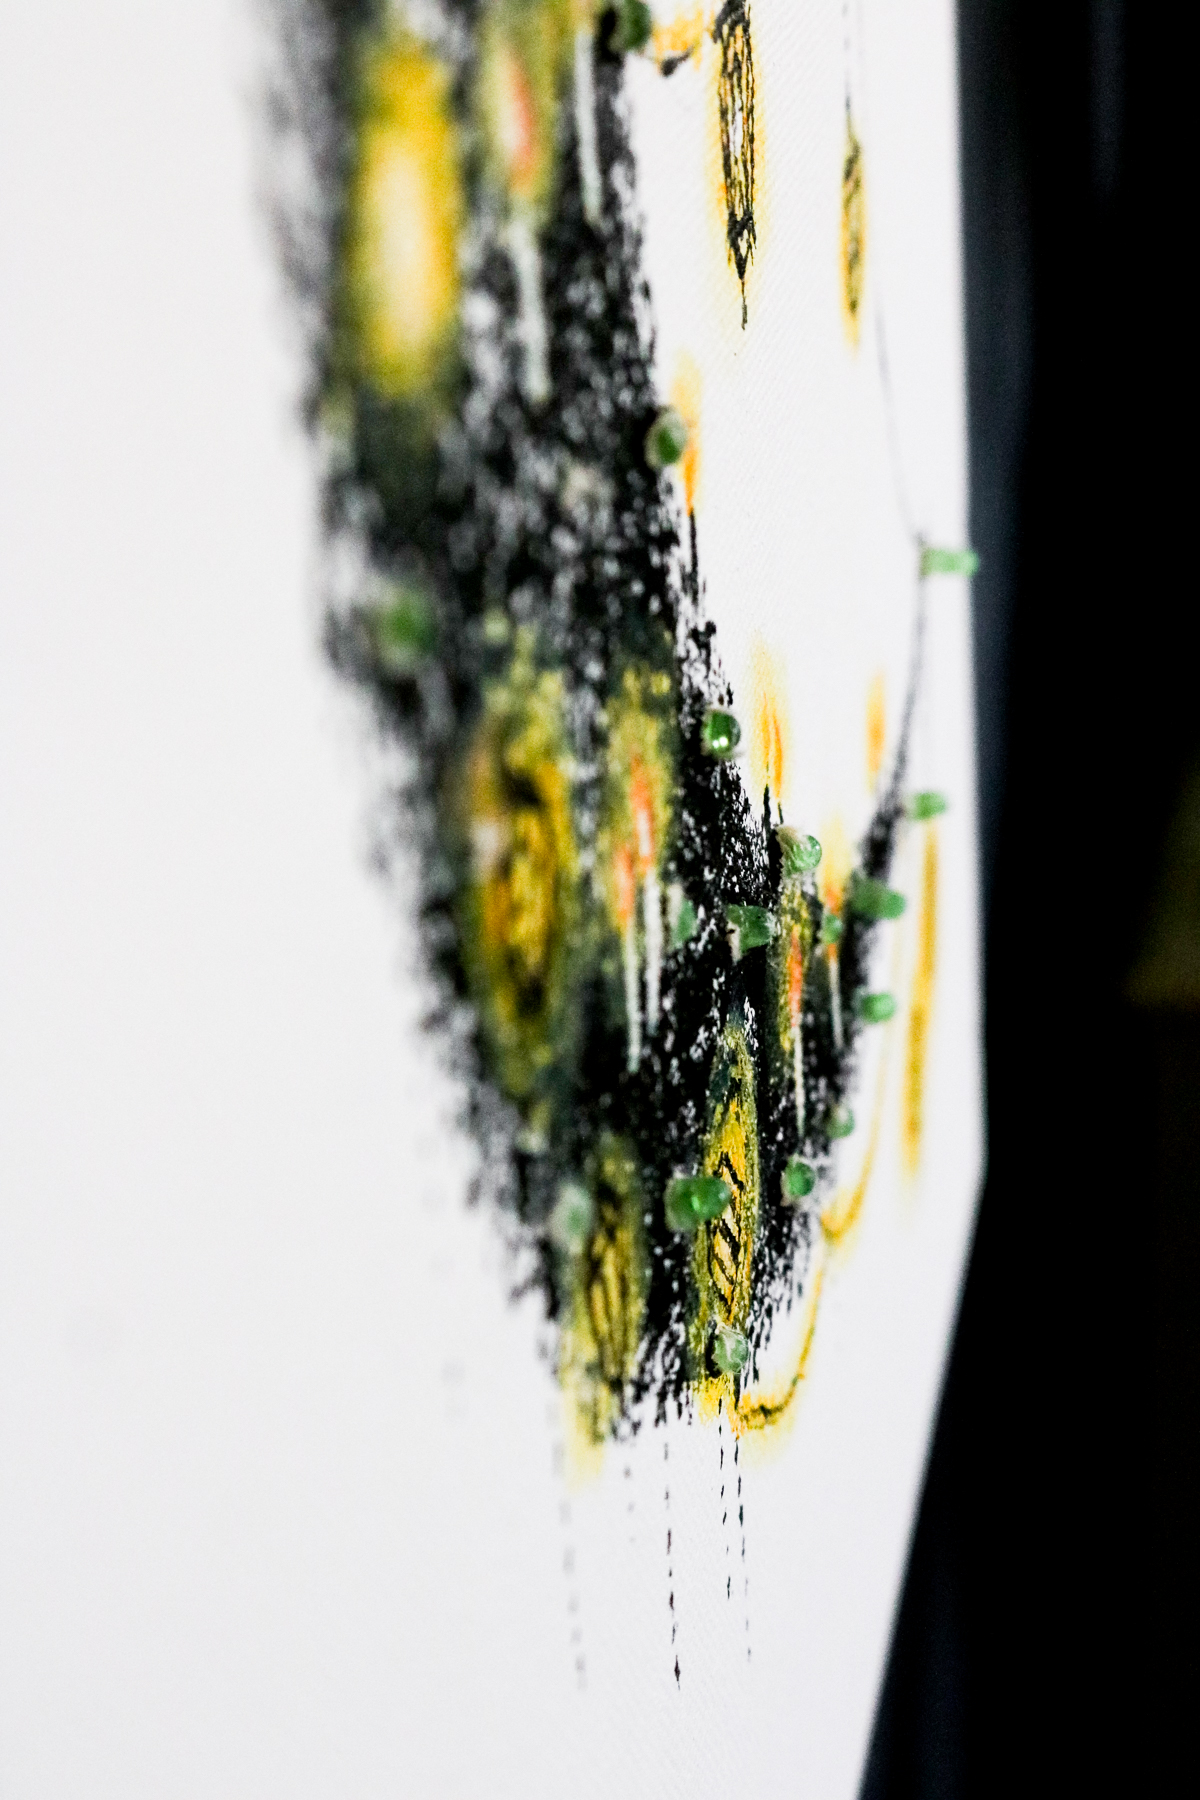
You can totally leave it like this or you can add some more glow by adding some LED lights. I purchased mine at walmart. They were the tiny lights. (not fairy) Yes mine are battery operated. I’m sure you can use regular Christmas lights just make sure you use LED lights because they don’t heat up as much. We don’t want your masterpiece to create a fire now do we!! To attach my lights I used an exacto knife to poke holes making sure they weren’t to big. (about 1/4 inch) Also keep in mind to outline the shape of the moon so stay along the edges and add a few here and there in the middle. Then turn your canvas around and poke your light bulbs through. Don’t forget to hot glue them into place. I also hot glued my light switch in the back.
That’s it. I hope you guys loved this tutorial let me know what you guys like the most about it? 😀
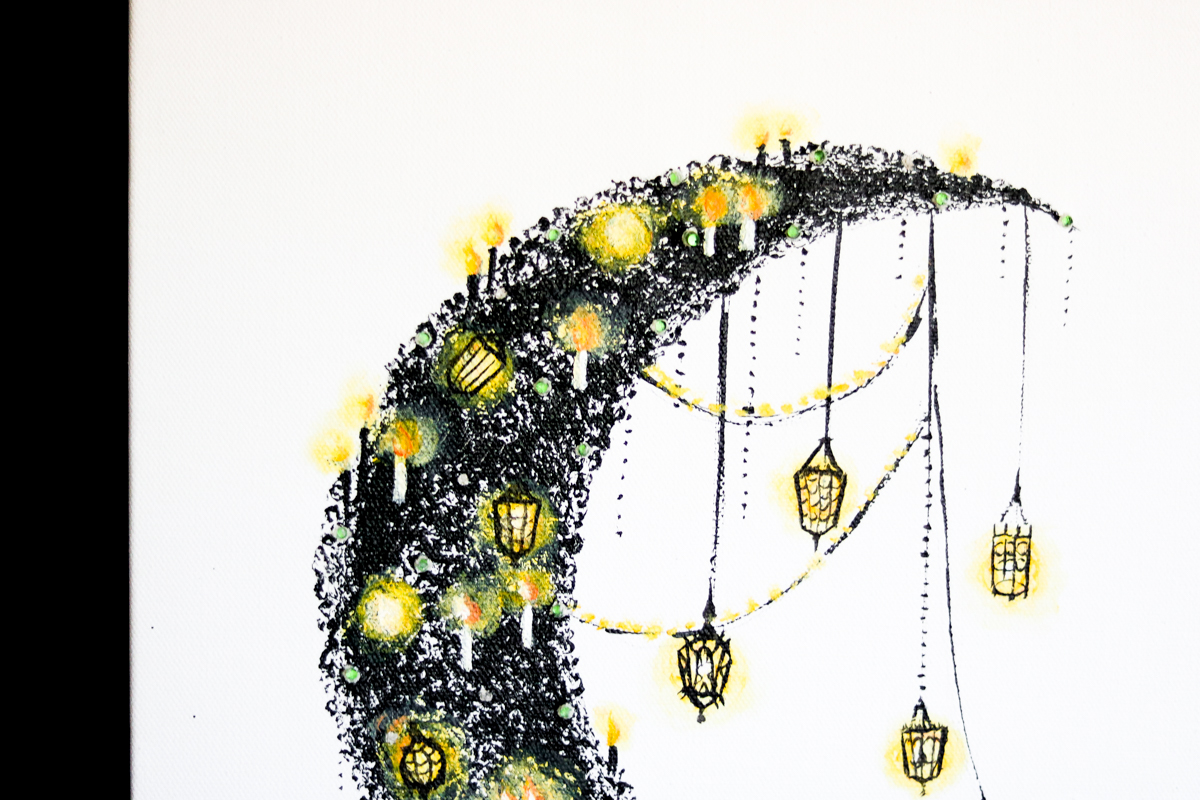
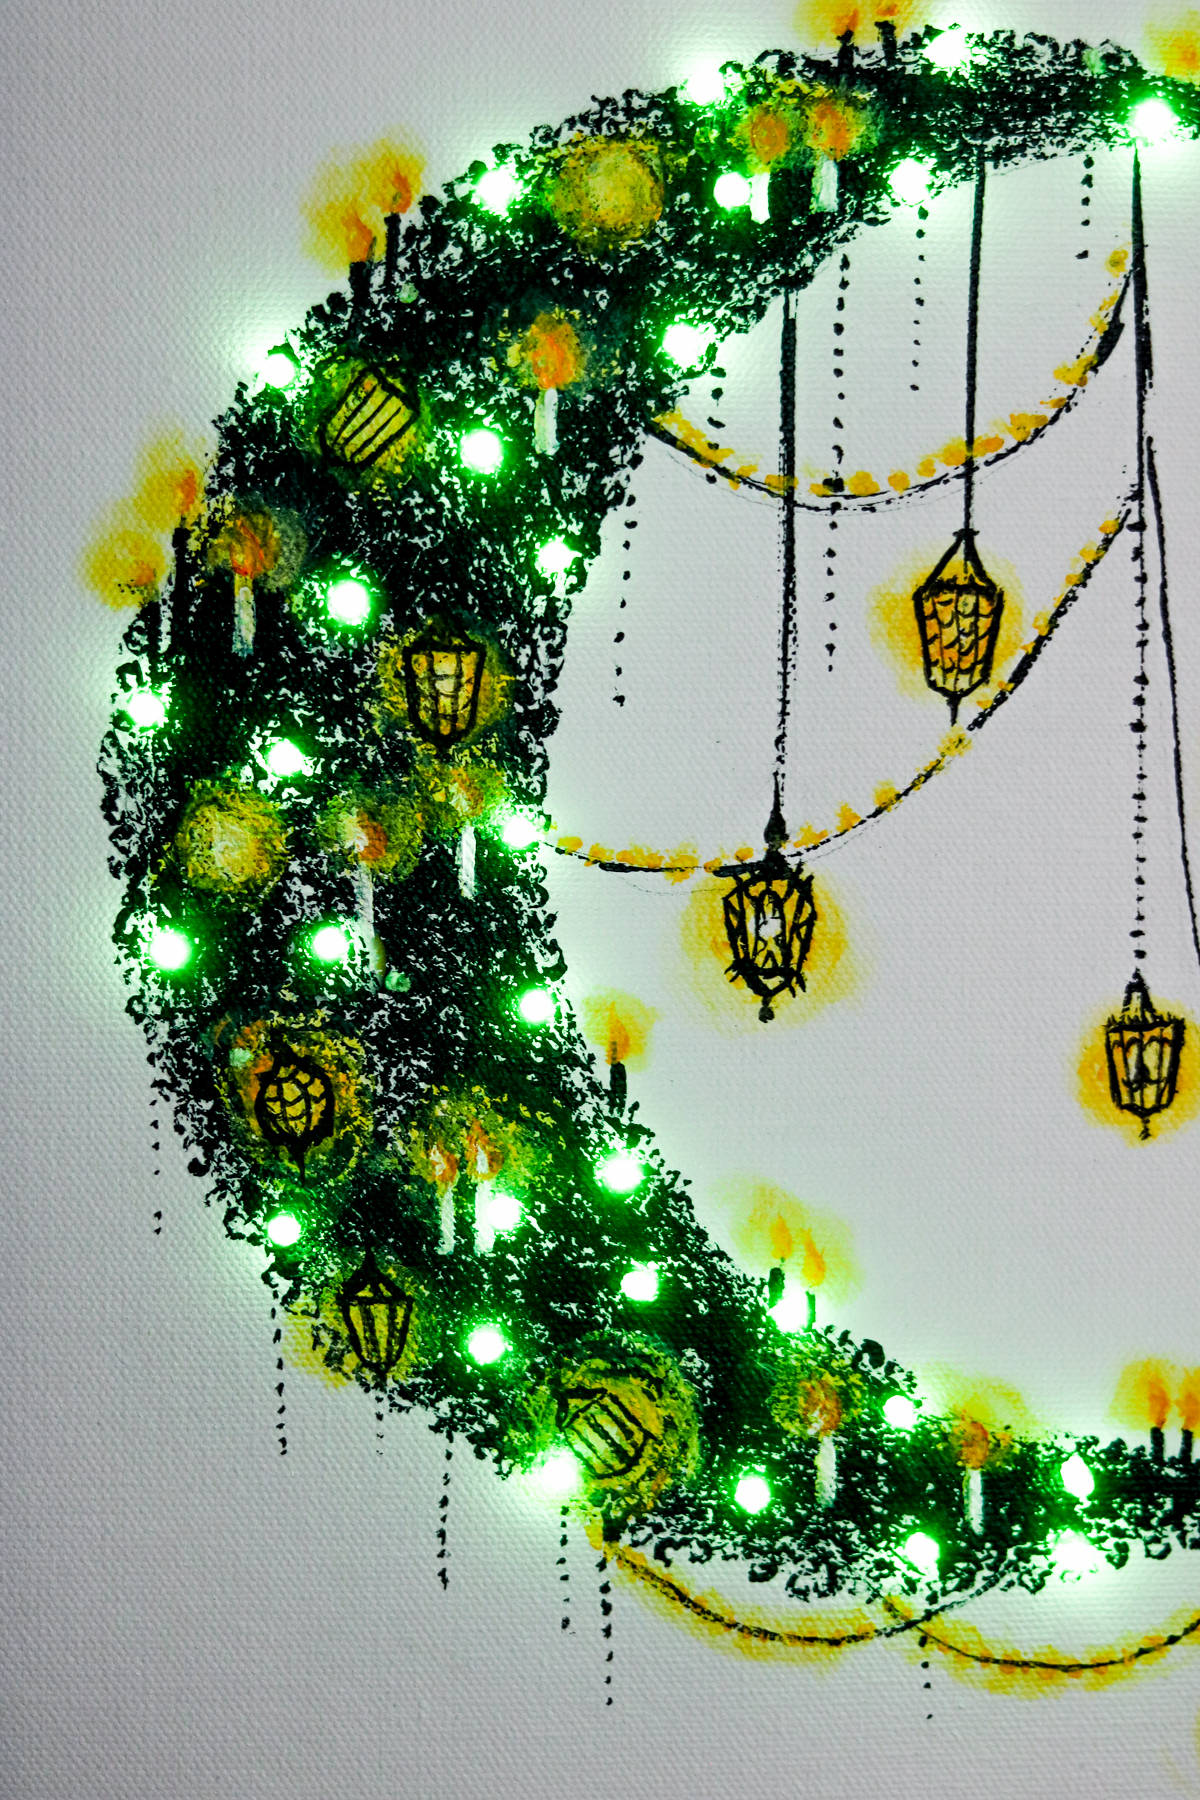
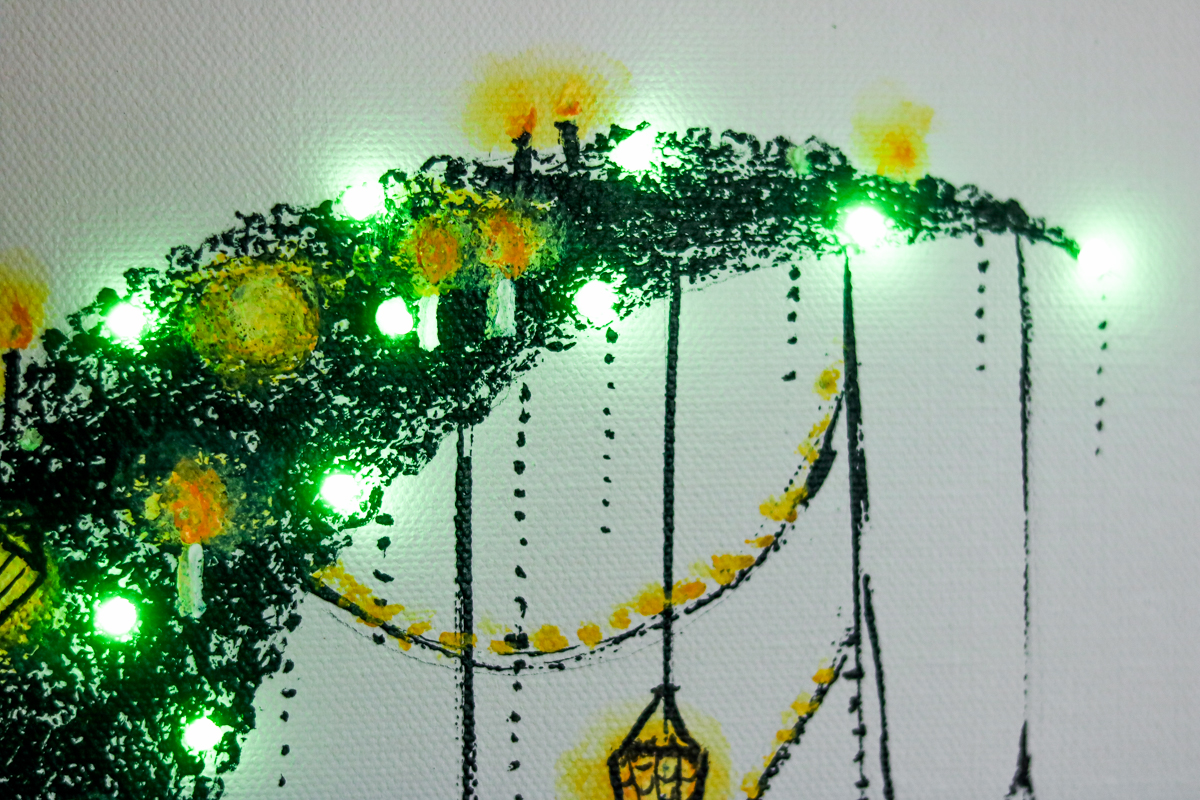
Here’s a few close ups to show you the led lights.
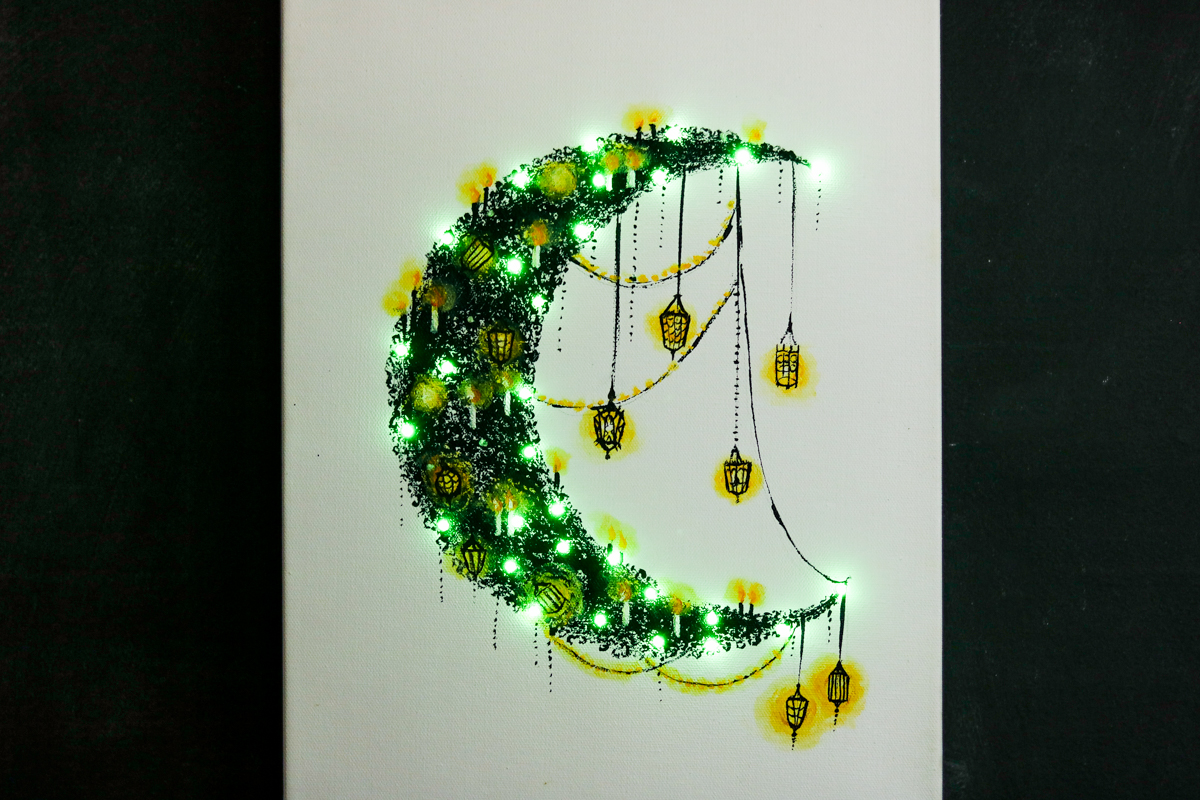
Here it is at night. 😀 Yes my LED lights are green. I almost wish they were white although they do look nice like this as well. 😀 (this pictures don’t do it justice)
Here’s the video. Hope you guys like it.

I make these light up canvas art pieces too, and I love how your’s turned out!!!
Oh that’s awesome. It sure is a fun project. I was thinking to make a Christmas tree one. Have you made a Christmas themed one before? Thank you Chas. 😀 😀 I would love to see your creations. Can you tag me on Instagram if you have it. 😀
Thanks Lily, I don’t have an Instagram account but here are the links to a couple I did for Hometalk. The first one they asked me to do a year ago, and the second one was my Christmas one for a Hometalk Live show.
https://www.hometalk.com/24498990/easy-light-up-canvas-art
https://www.hometalk.com/25277390/christmas-light-up-canvas-art-hometalk-live-diy-
Oh wow these are Lovely Chas!! You are so creative!! I love the added touches on the christmas tree. Thank you for sharing. I’ve been thinking to do a christmas tree myself. I’ll have to get on it! 😀
I can’t wait to see it!
WOW! The glow effect is nice, but your detail work is amazing! Thank you for sharing at Designing You!, I’ve got to go check out the rest of your site!!
So glad you liked it Trudy. Yes the glow effect really makes a difference. Awe thank you. 😀 It’s an honor to be able to share 😀 I am so thankful for this opportunity. I hope you like the rest of my DIYS 😀
I love Halloween and thank you very much <3 This is an awesome DIY, can't wait to make one!
😀 Awwe glad to hear you liked it 😀 😀 Your welcome. 😀 OH!! Before I forget. I’m working on getting a photo up-loader set up so DIY’s could be shared. I’ll let you know when it’s done. Would you be willing to share some photos ? I would love to see it!! 😀
Hi Lily
I think this would look good all year round not just for Halloween.
I think my son agrees. He likes to keep it in his room as a night light! 😀
Thank you very much for sharing, I learned a lot from your article. Very cool. Thanks. nimabi