The Pumpkin Hunt Just Got Real
I was hoping to say fall is just around the corner but, I’m a little late for that. Time flies and fall is already here!! Every store smells like pumpkin spice and has loads of orange everywhere. I love this time of year. It’s so festive and exciting!! I get so excited I want to buy everything. Oh boy!! I can’t wait to pull out my fall closet and layer on some cute scarfs with dorky tights!! Yes I’m a geek!! I love to wear my big nerdy glasses with my funky tights! 😀 😀
I’ve seen all sorts of pumpkins everywhere except for the pumpkin I envisioned!! I wanted a pumpkin on my door and the only problem with a real pumpkin was that it would stick out way to much and it might just fall and crack someones head open!! (YIKES) So I thought maybe a twig pumpkin. Ok… there are plenty of twig pumpkins at every home decor store except for the ones you could hang on your door. You… know like a wreath! After all the hunting I finally decided to make my own. So with a little bit of wire and some twigs from the great outdoors I created this pumpkin wreath. I hope you guys like it. So far I’m loving it on my door! 😀
What you’ll need
- round lid (or round object to form your wire) This will be the approximate size of your pumpkin..
- Twine
- scissors
- wire
- wire cutters
- hot glue
- leaves, wreath decor etc..
Let’s do this!!
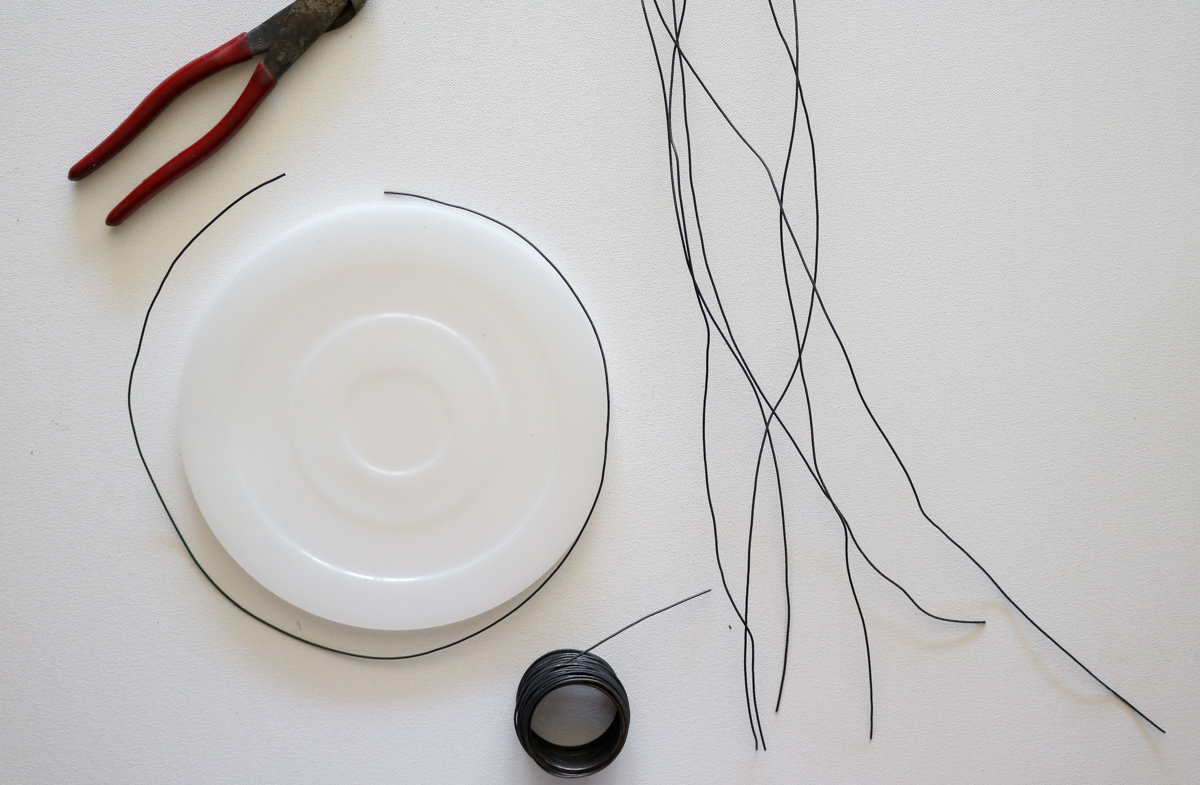
To begin you’ll need to take your wire and wrap it around your lid to get the approximate size. Then cut another 7 pieces of wire at the same size.
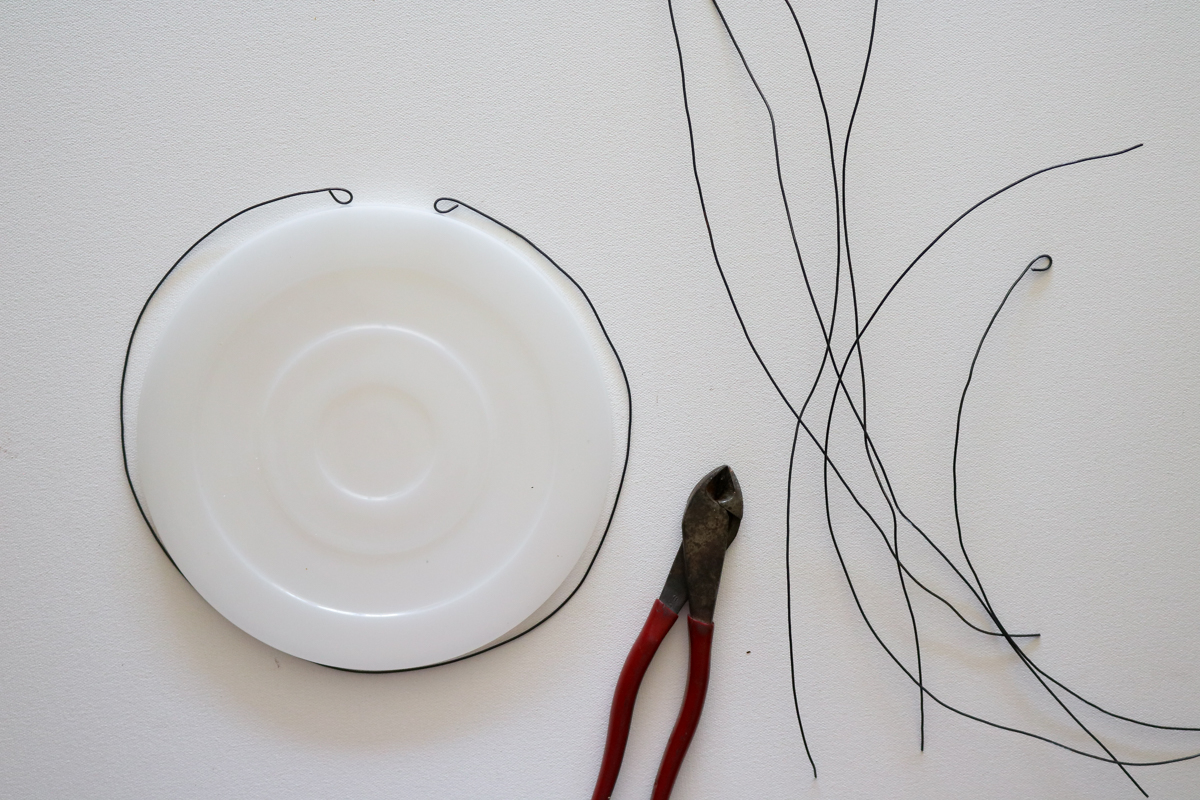
Following that wrap each piece of wire around your lid to get a rounded shape and make loops at the end of each wire with your wire cutters.
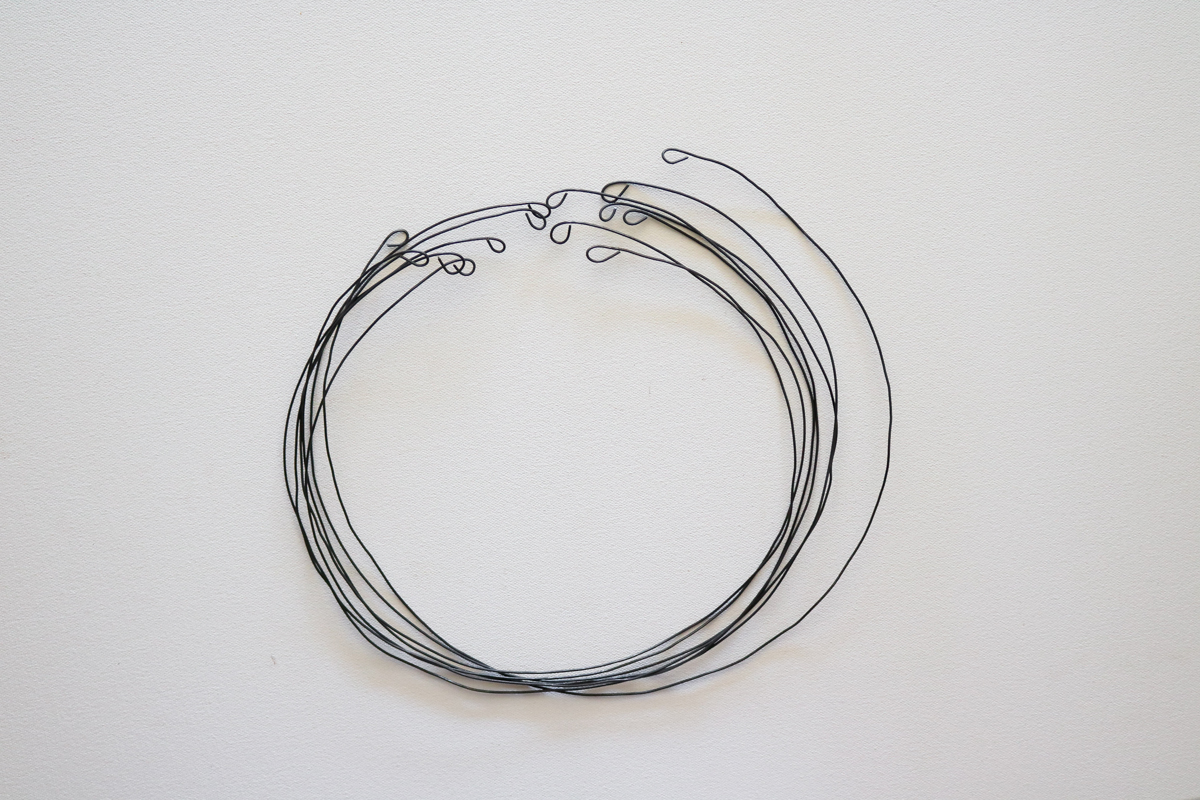
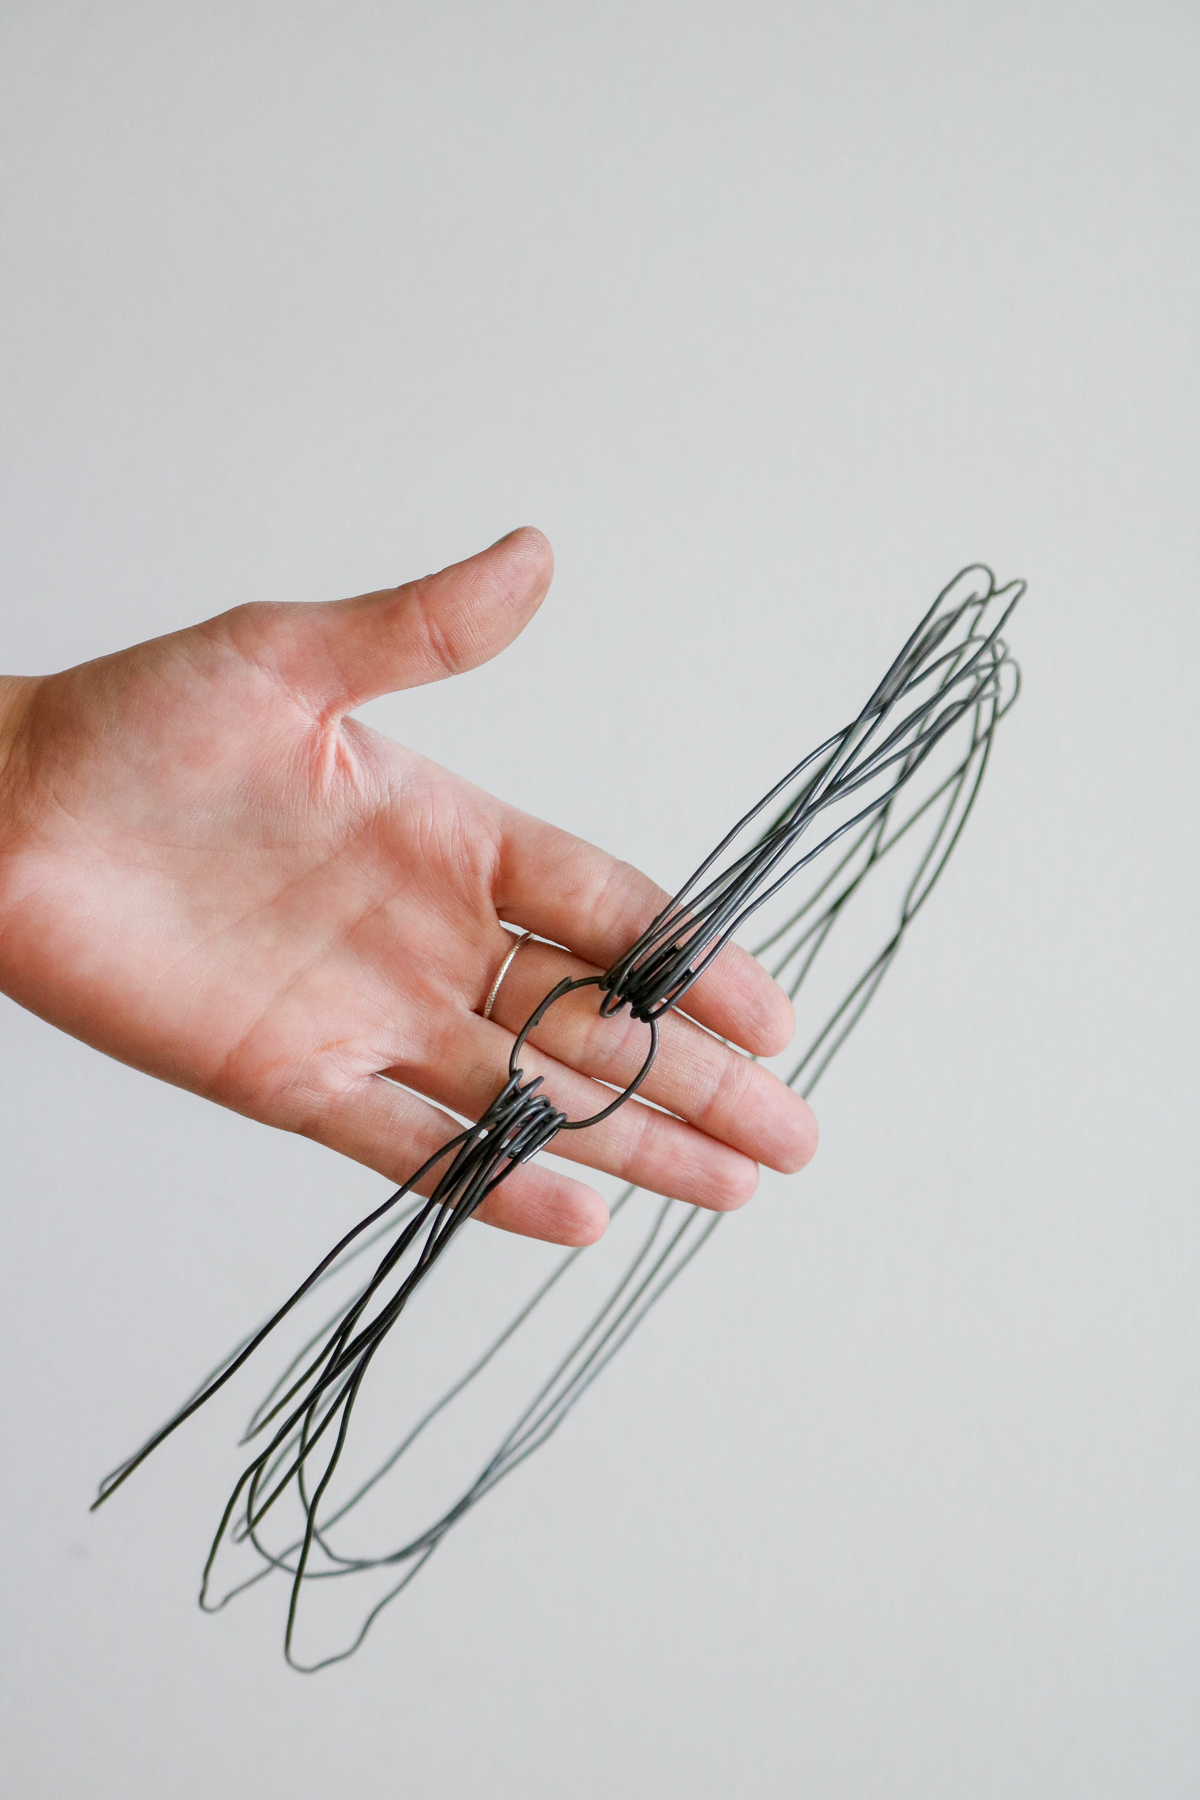
Then take another 3 inch piece of wire and thread it through all your loops. Secure it by bending it into a circle.
This is what it should look like.
Following that lay it down and separate your circles to create a pumpkin shape. Then start bending the loops up while holding the bottom center down to add more dimension.
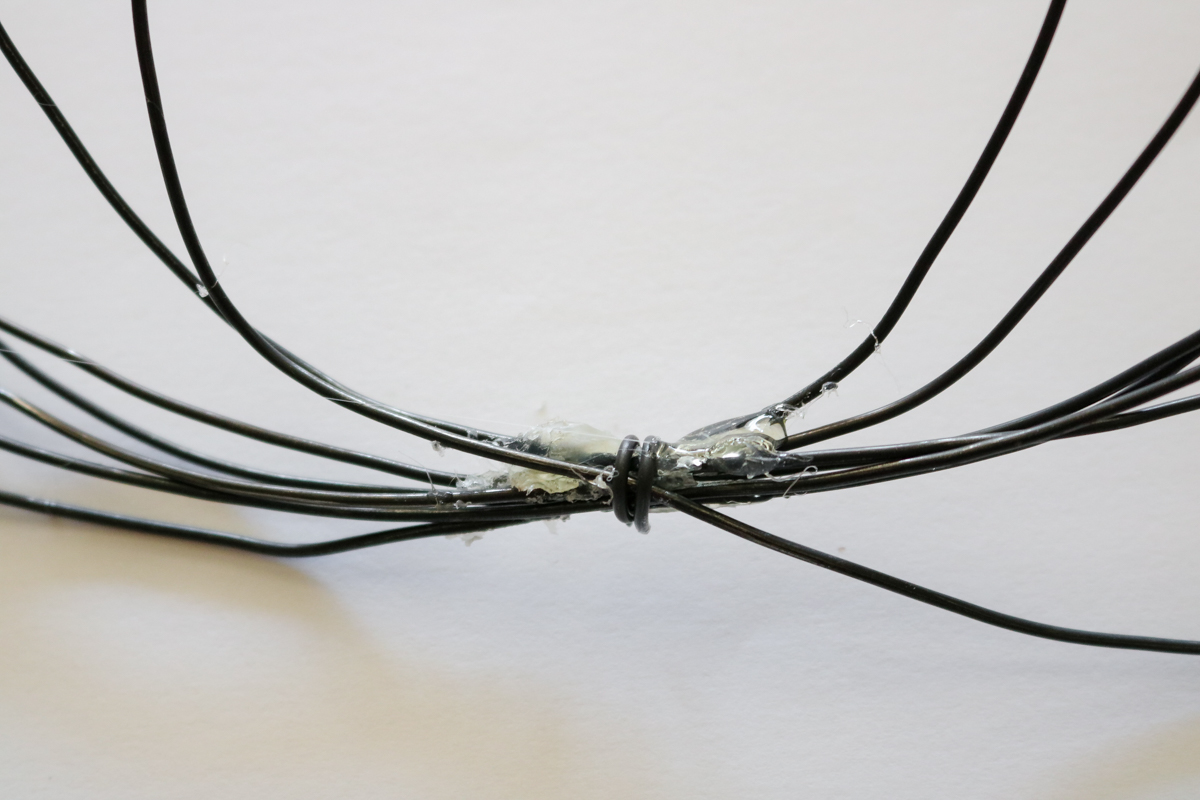
Secure all the wire at the bottom center with twine or wire. Use hot glue if necessary. (twine might have worked better.. I had to hot glue my wire because it kept sliding around..!! As you can see I was at war with my glue gun! HAHA sloppiest job ever. LESSON LEARNED never by dollar store glue sticks!! They suck!! )From twigs to pumpkin
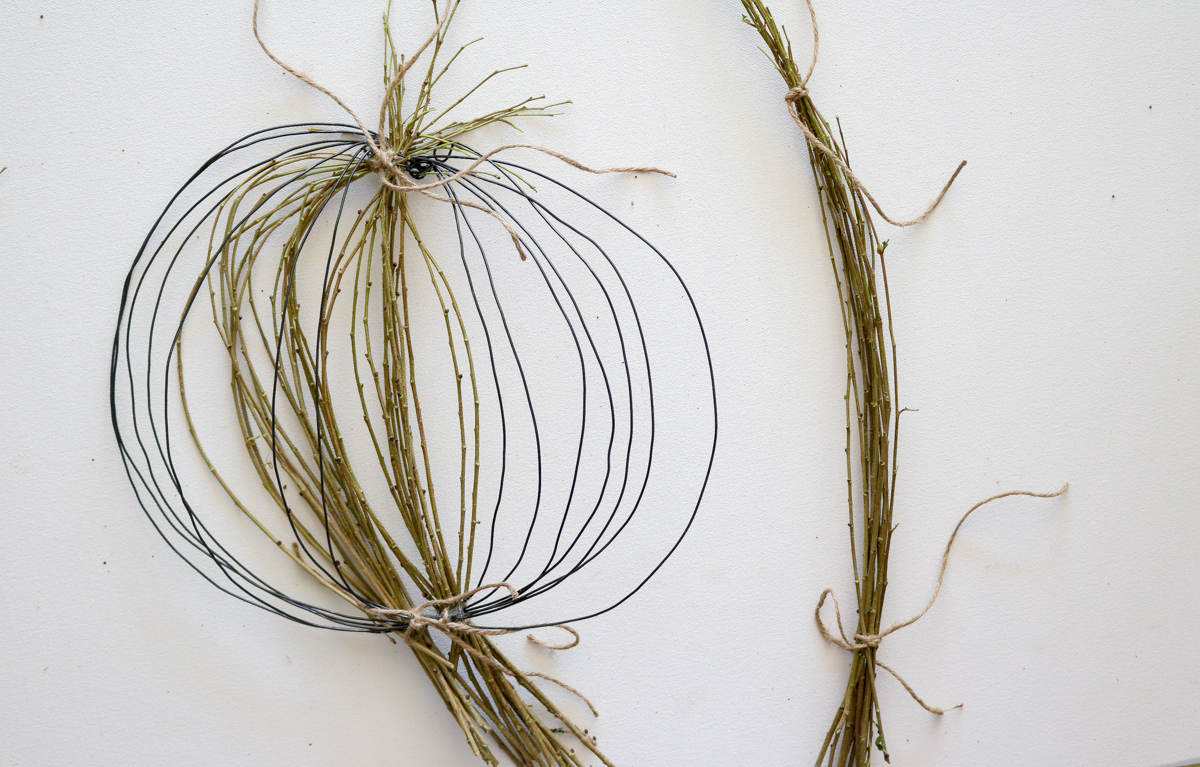
Then you’ll need to take your twigs and tie three bunches together. Securing with twine on both ends like shown in the photo below. Pay close attention to making sure you keep the thinner side of your twigs on one end the the thicker side on the other end. There’s a reason for that. When securing with your twine make sure and secure at a length that’s a little longer then your metal pumpkins height, that way when secured the twigs will bend a little. WHOOOH!! Hope that made sense. Watch my video if my written description got you frazzled.
Here’s what the three bunches of twigs look like when attached to the metal pumpkin. Keep in mind you’ll need to secure the twigs from the back and NOT the front of the metal pumpkin. Once you attach your twigs start by pulled some slightly out to create a fuller effect. Keep messing with it until you like what you see!! 😀 I gotta say this felt like a big mess at first and then slowly but surely it started looking like a pumpkin! 😀
Finishing touches
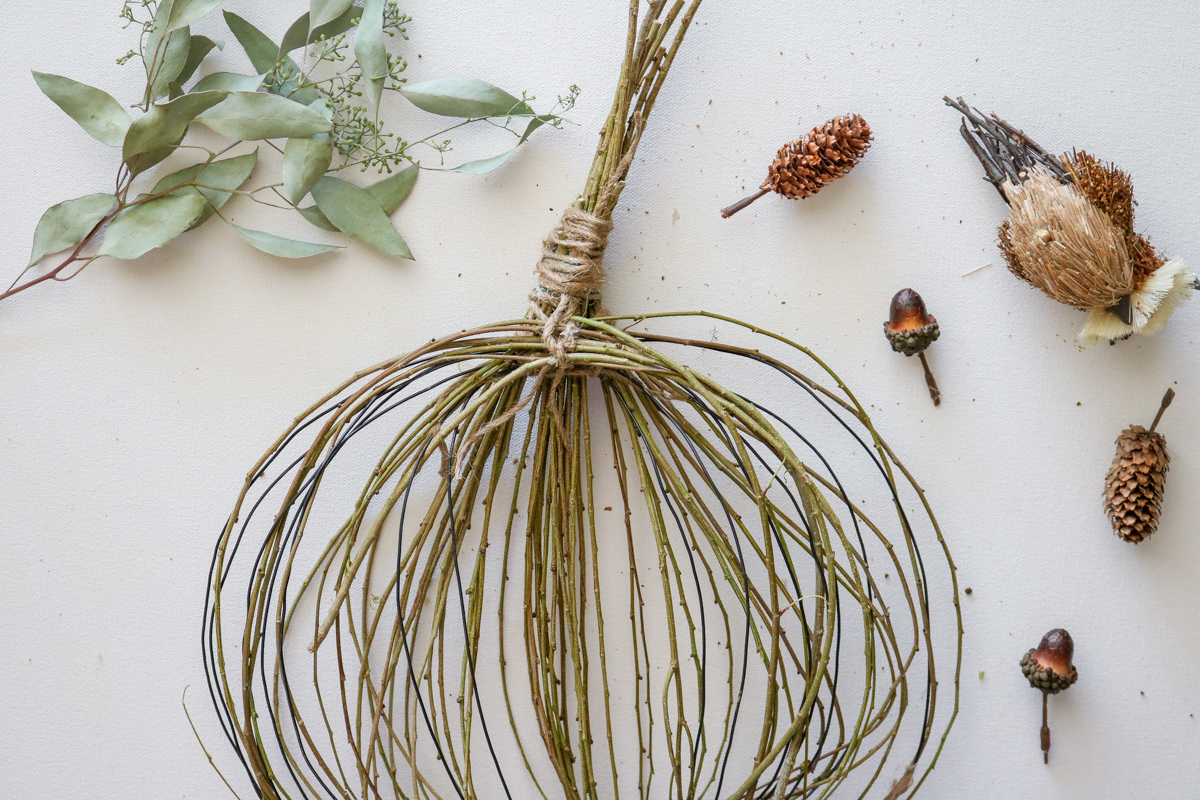
The side with the thinner twigs will need to be bend up into your pumpkin. I did that by simply wrapping them around the wire and hot gluing into place. Then take the side that has the thicker twigs and wrap it with some twine. Cut off whatever is in the way and add your fall decor to it with your glue gun. 😀 (I promise my video is more understandable ** Scroll down for video**)
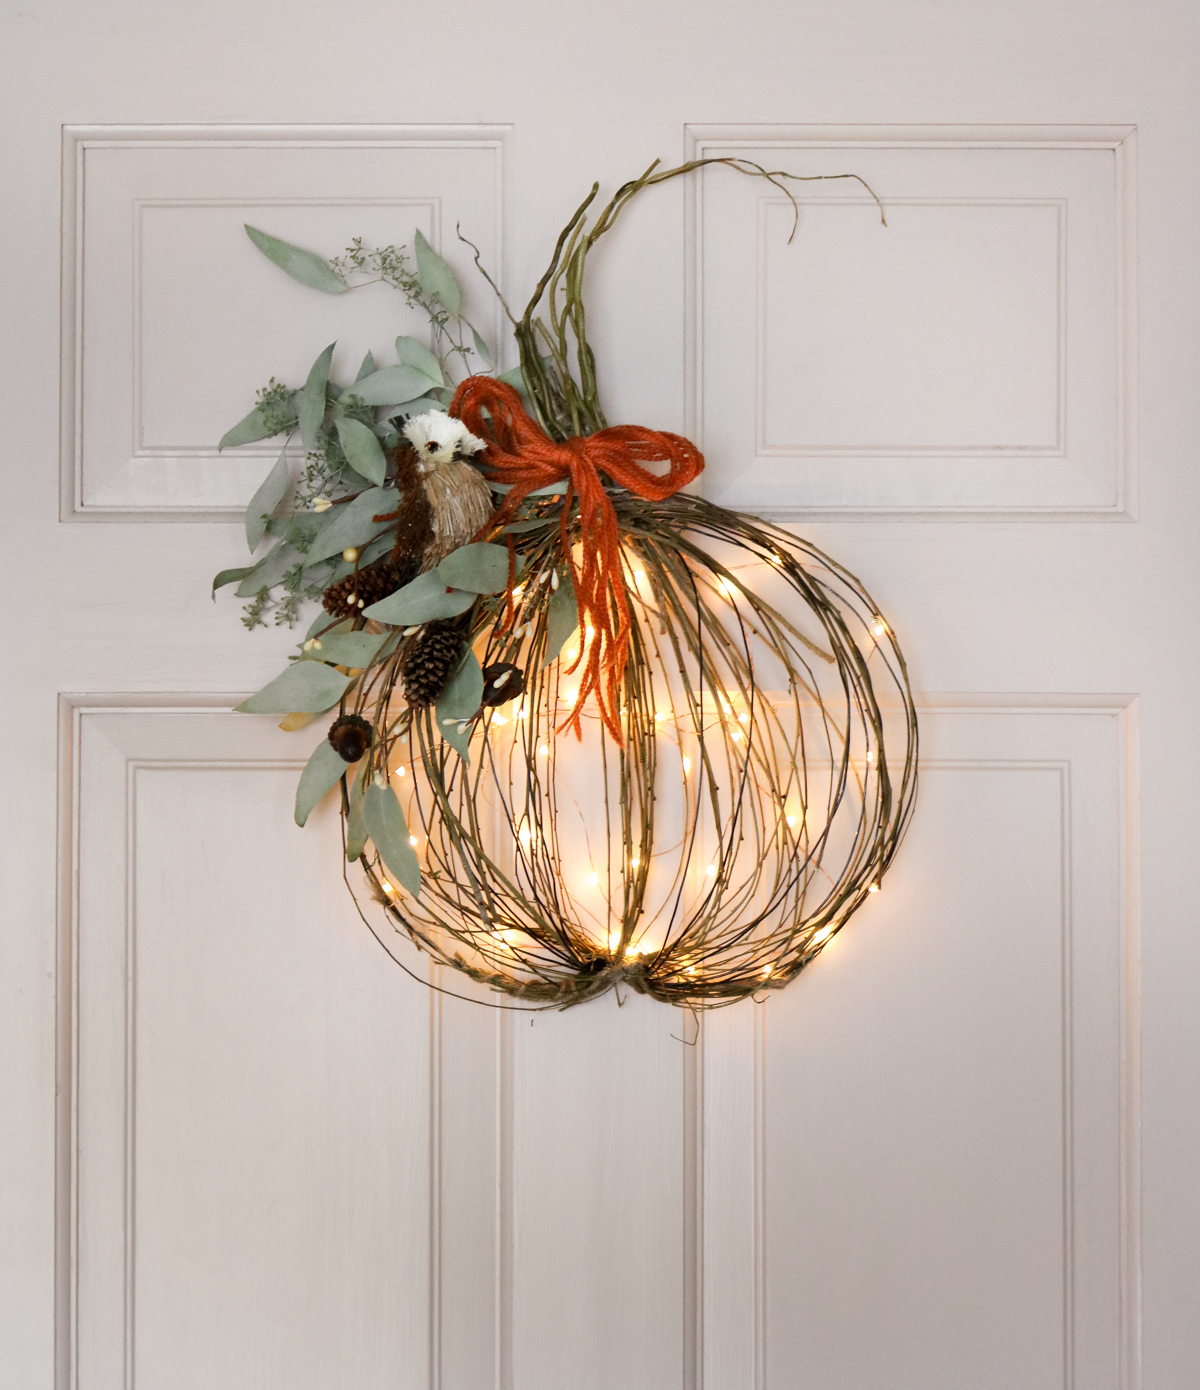
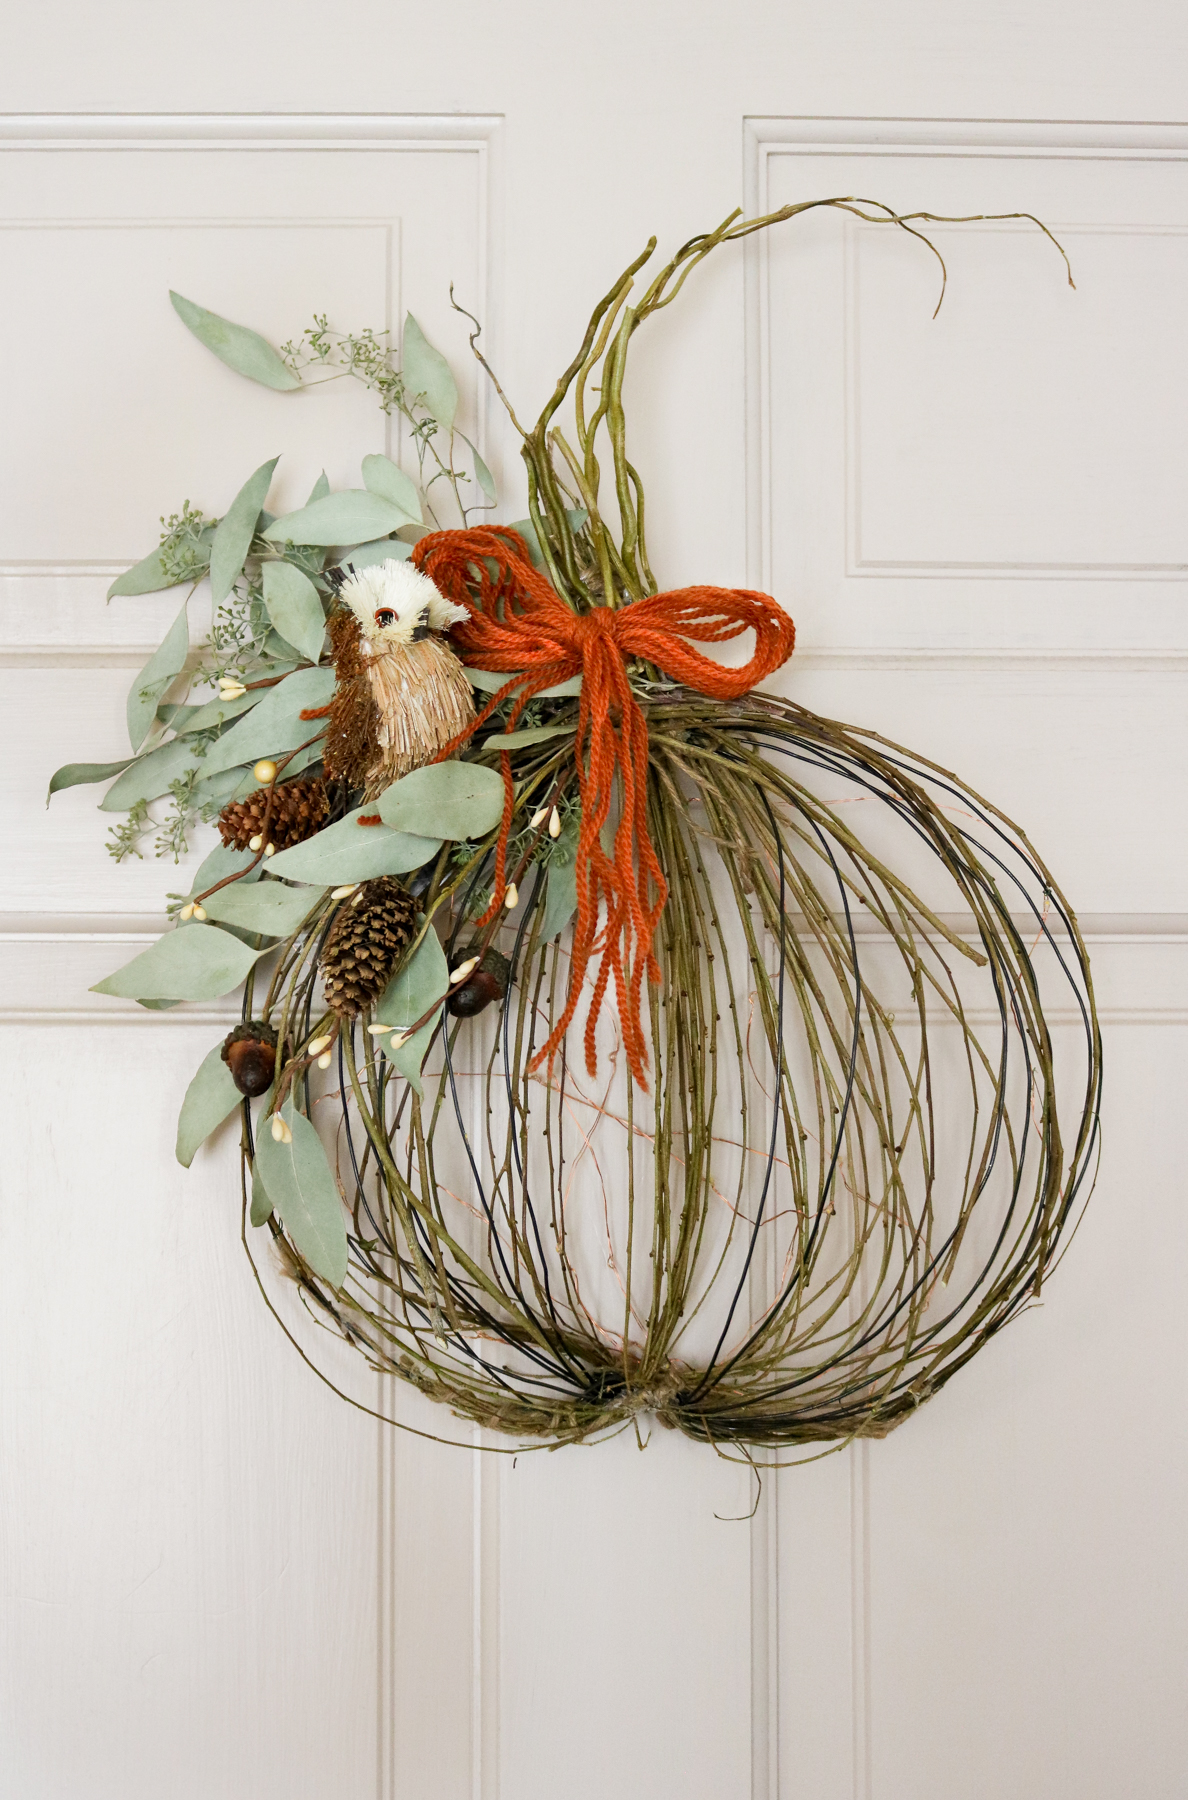
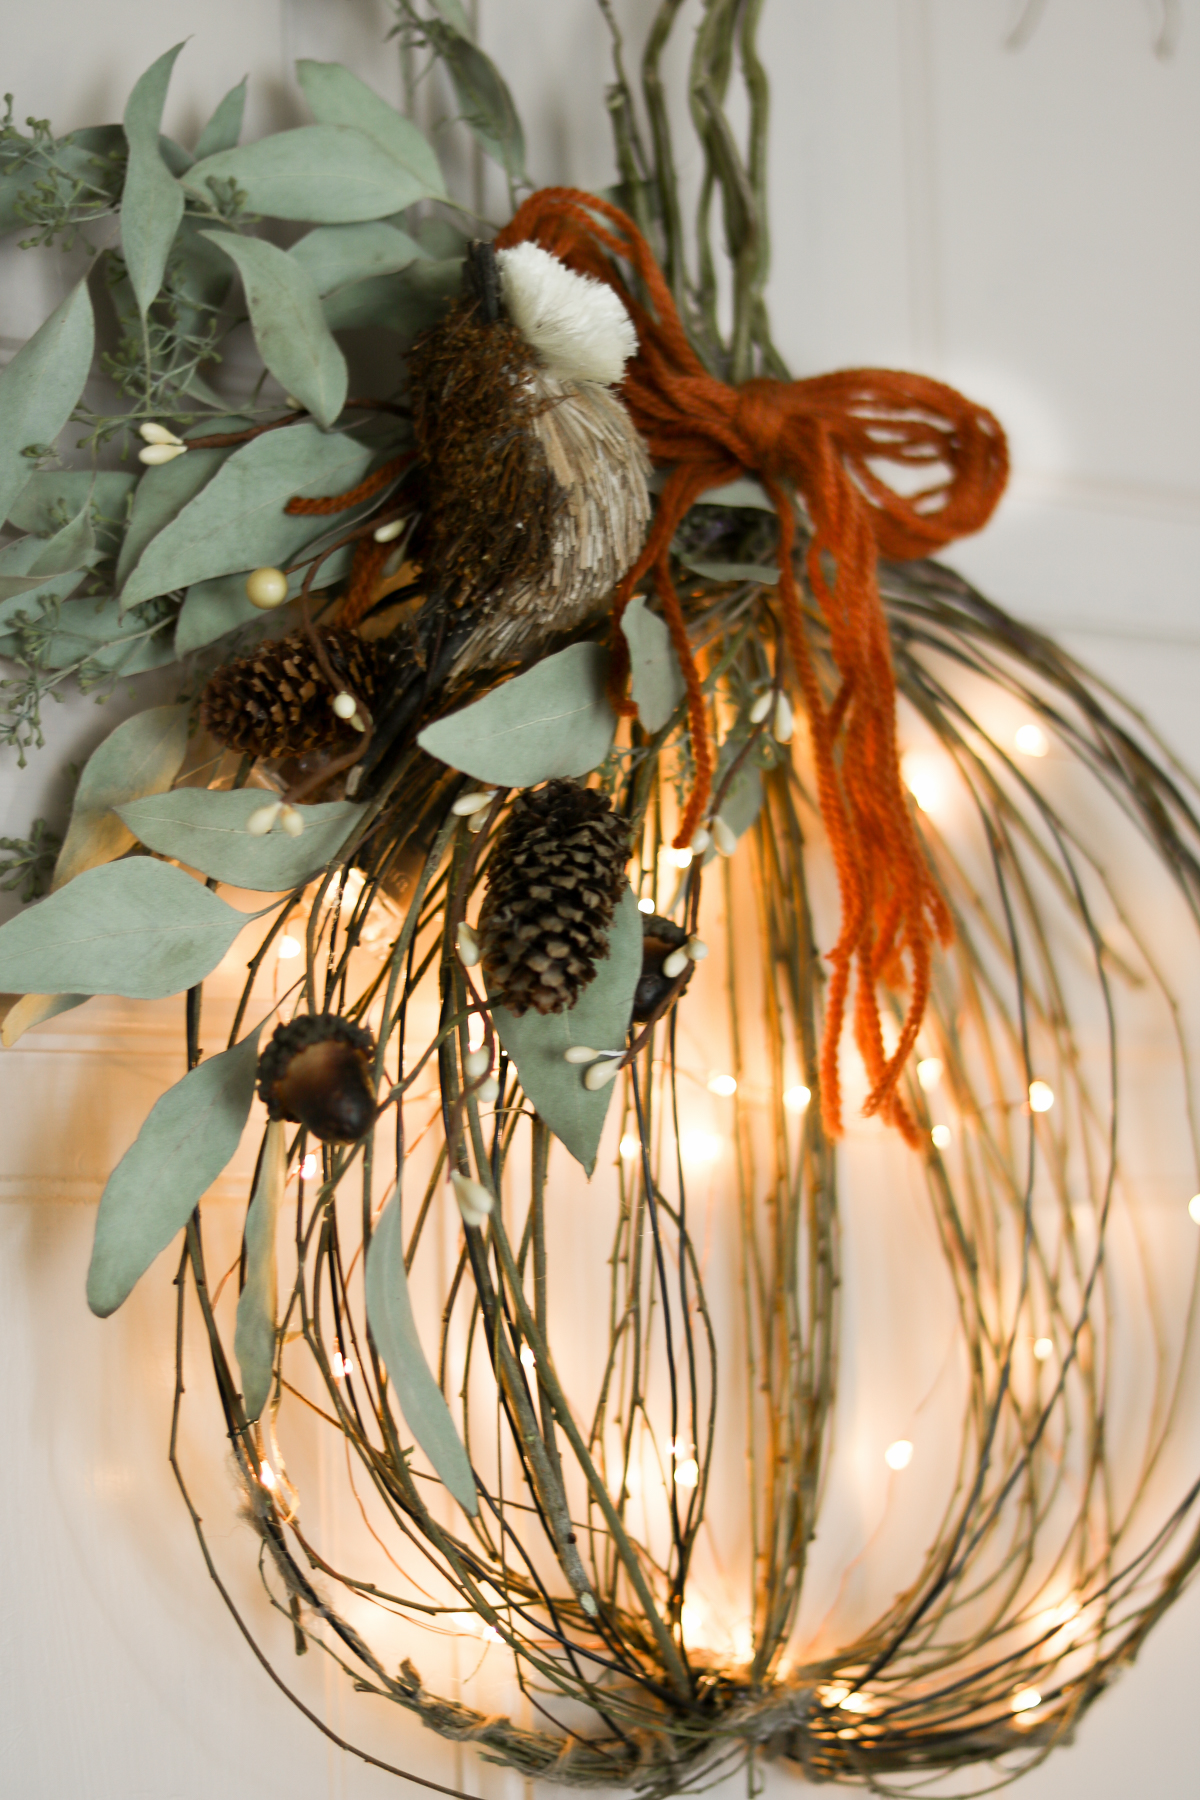
This is what mine looks like finished. 😀
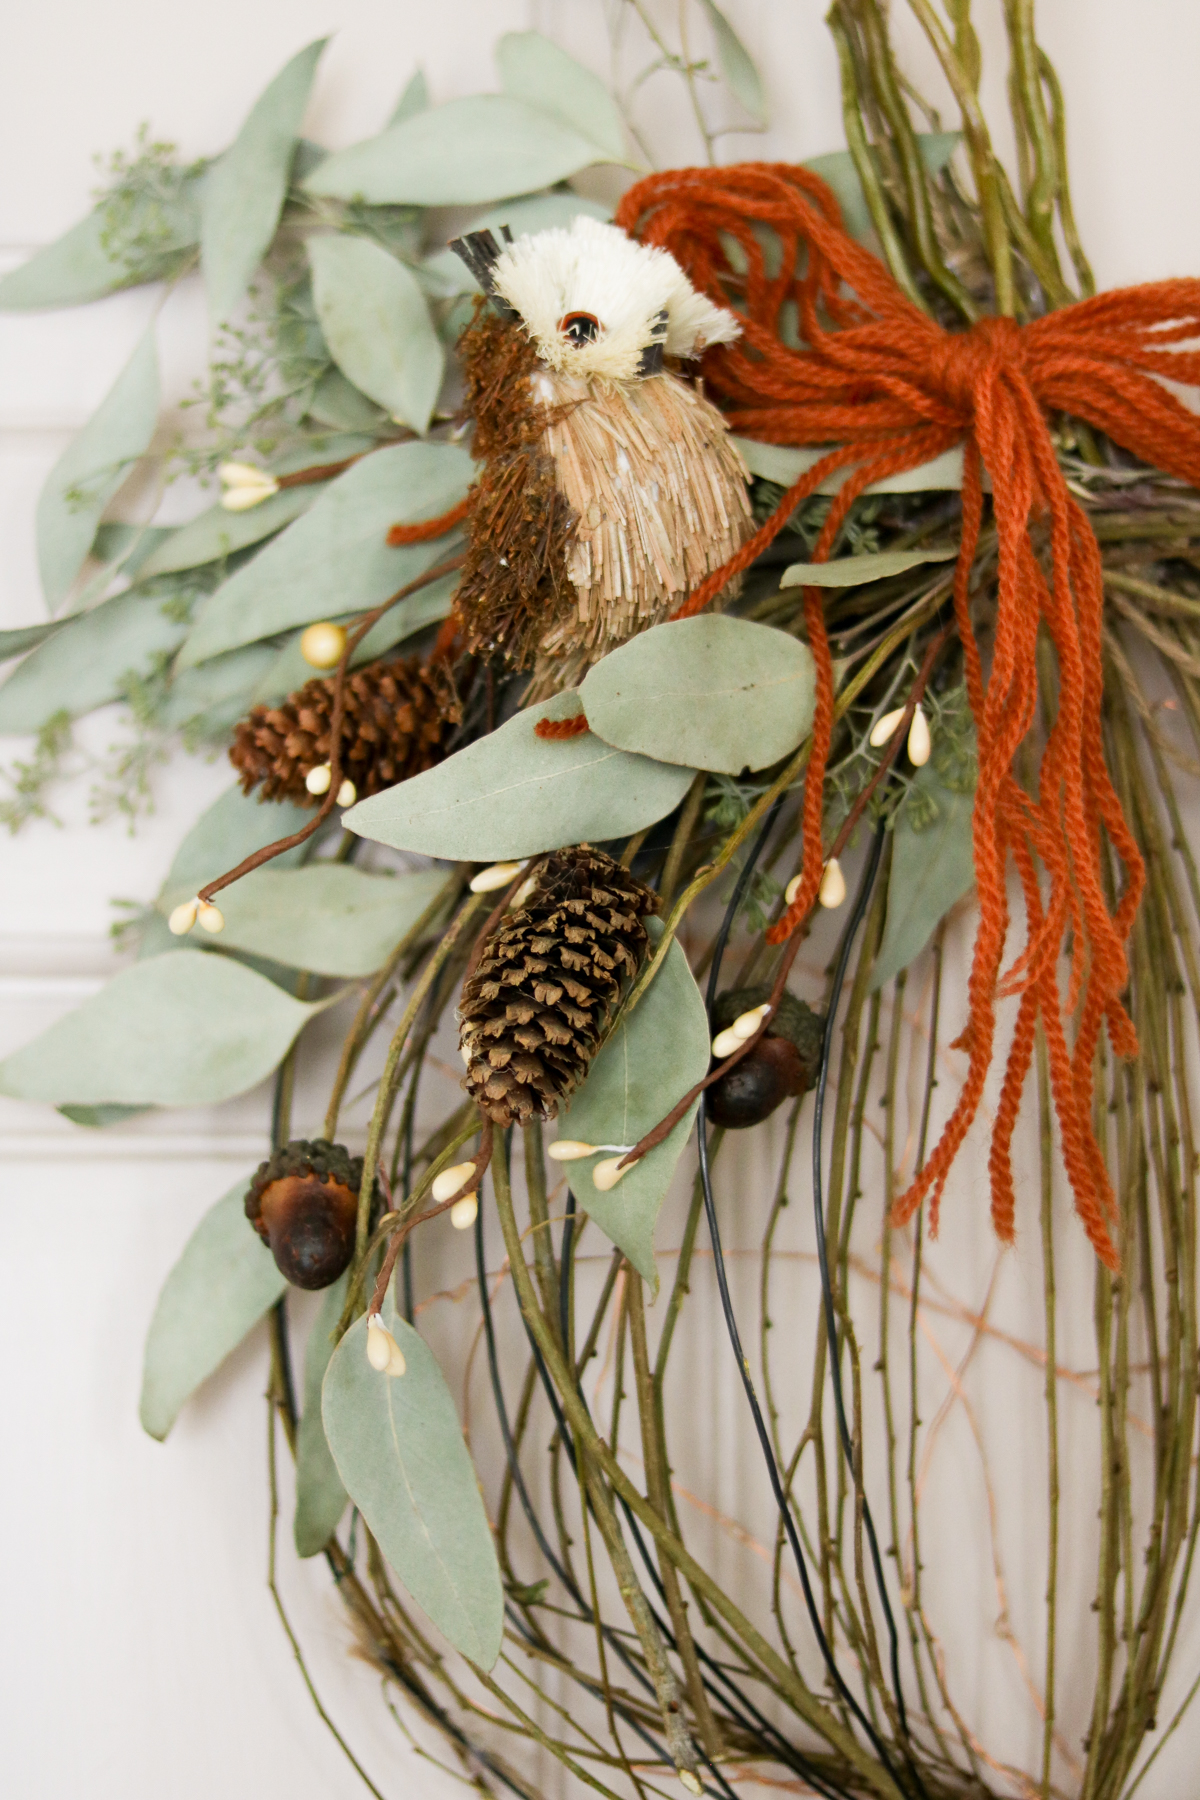
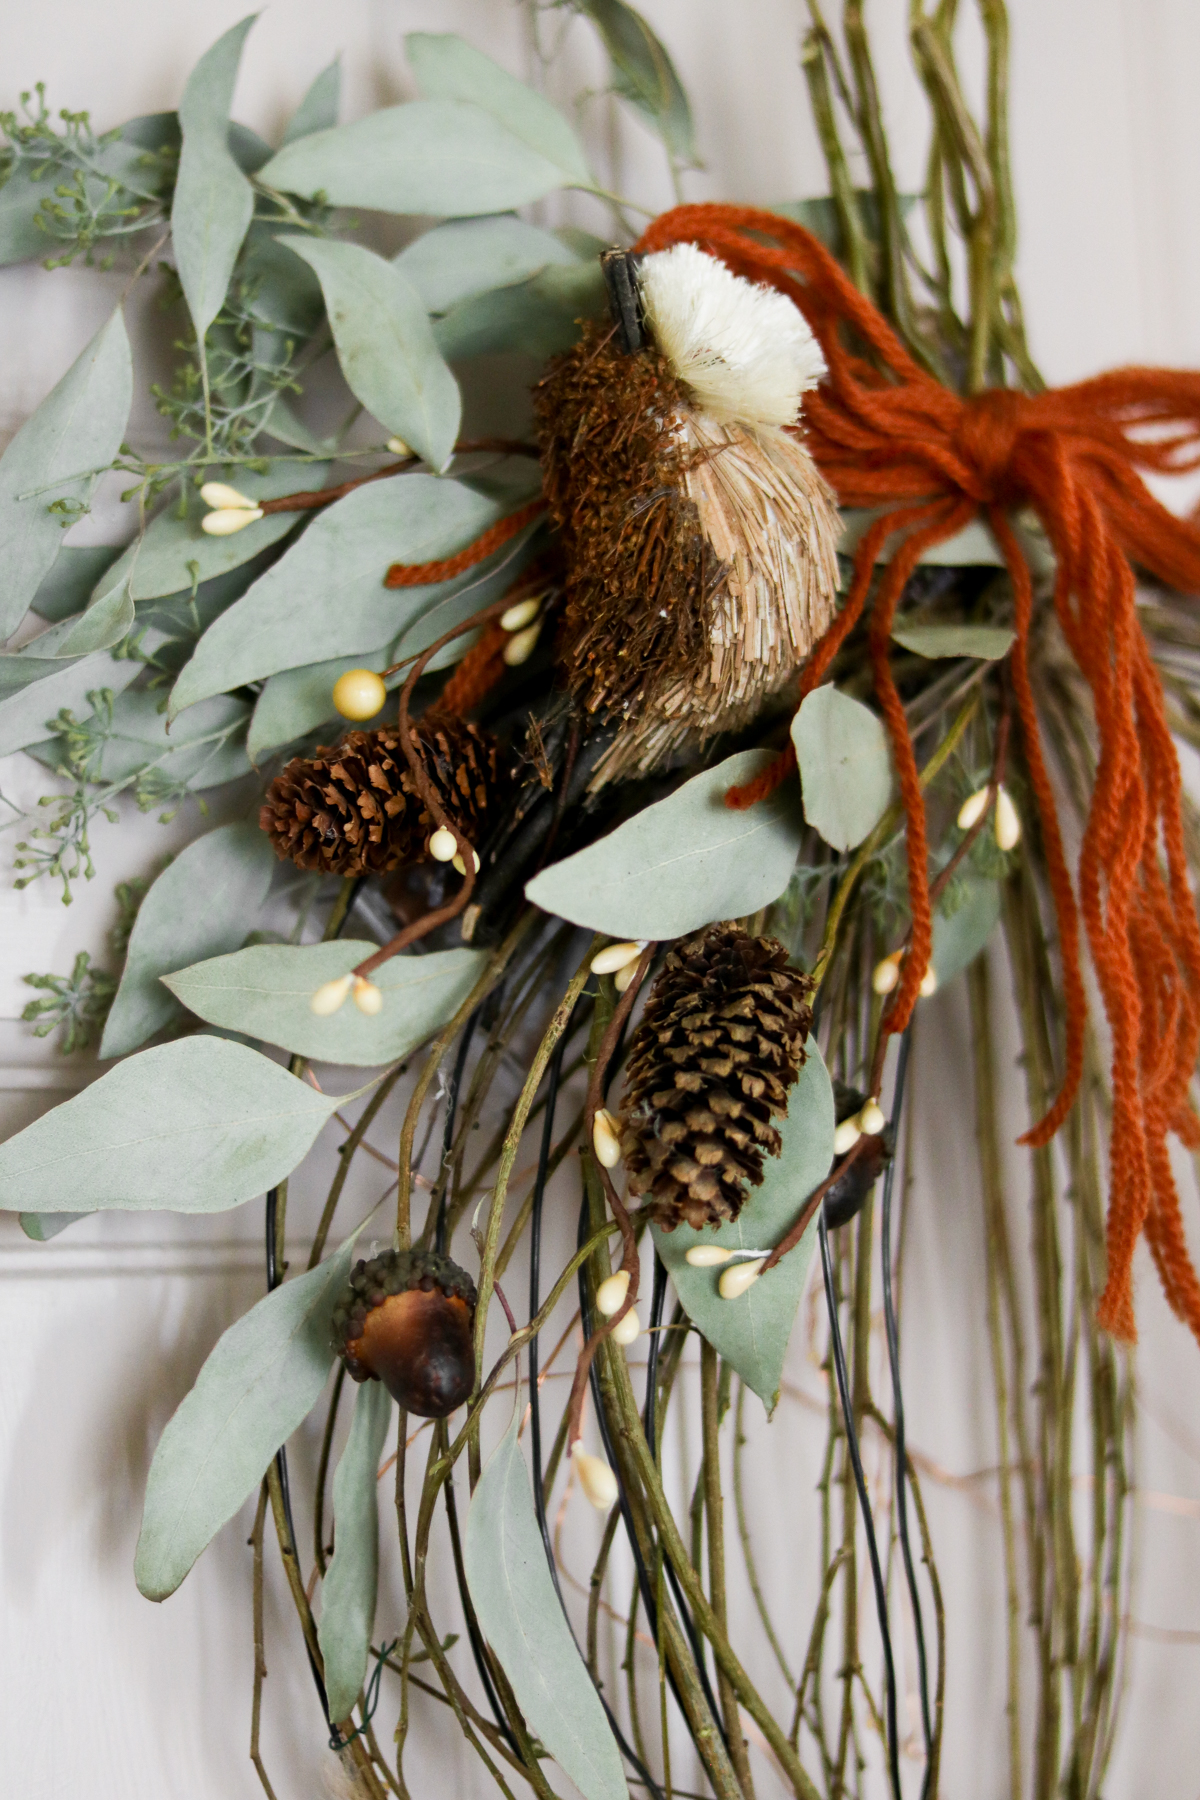
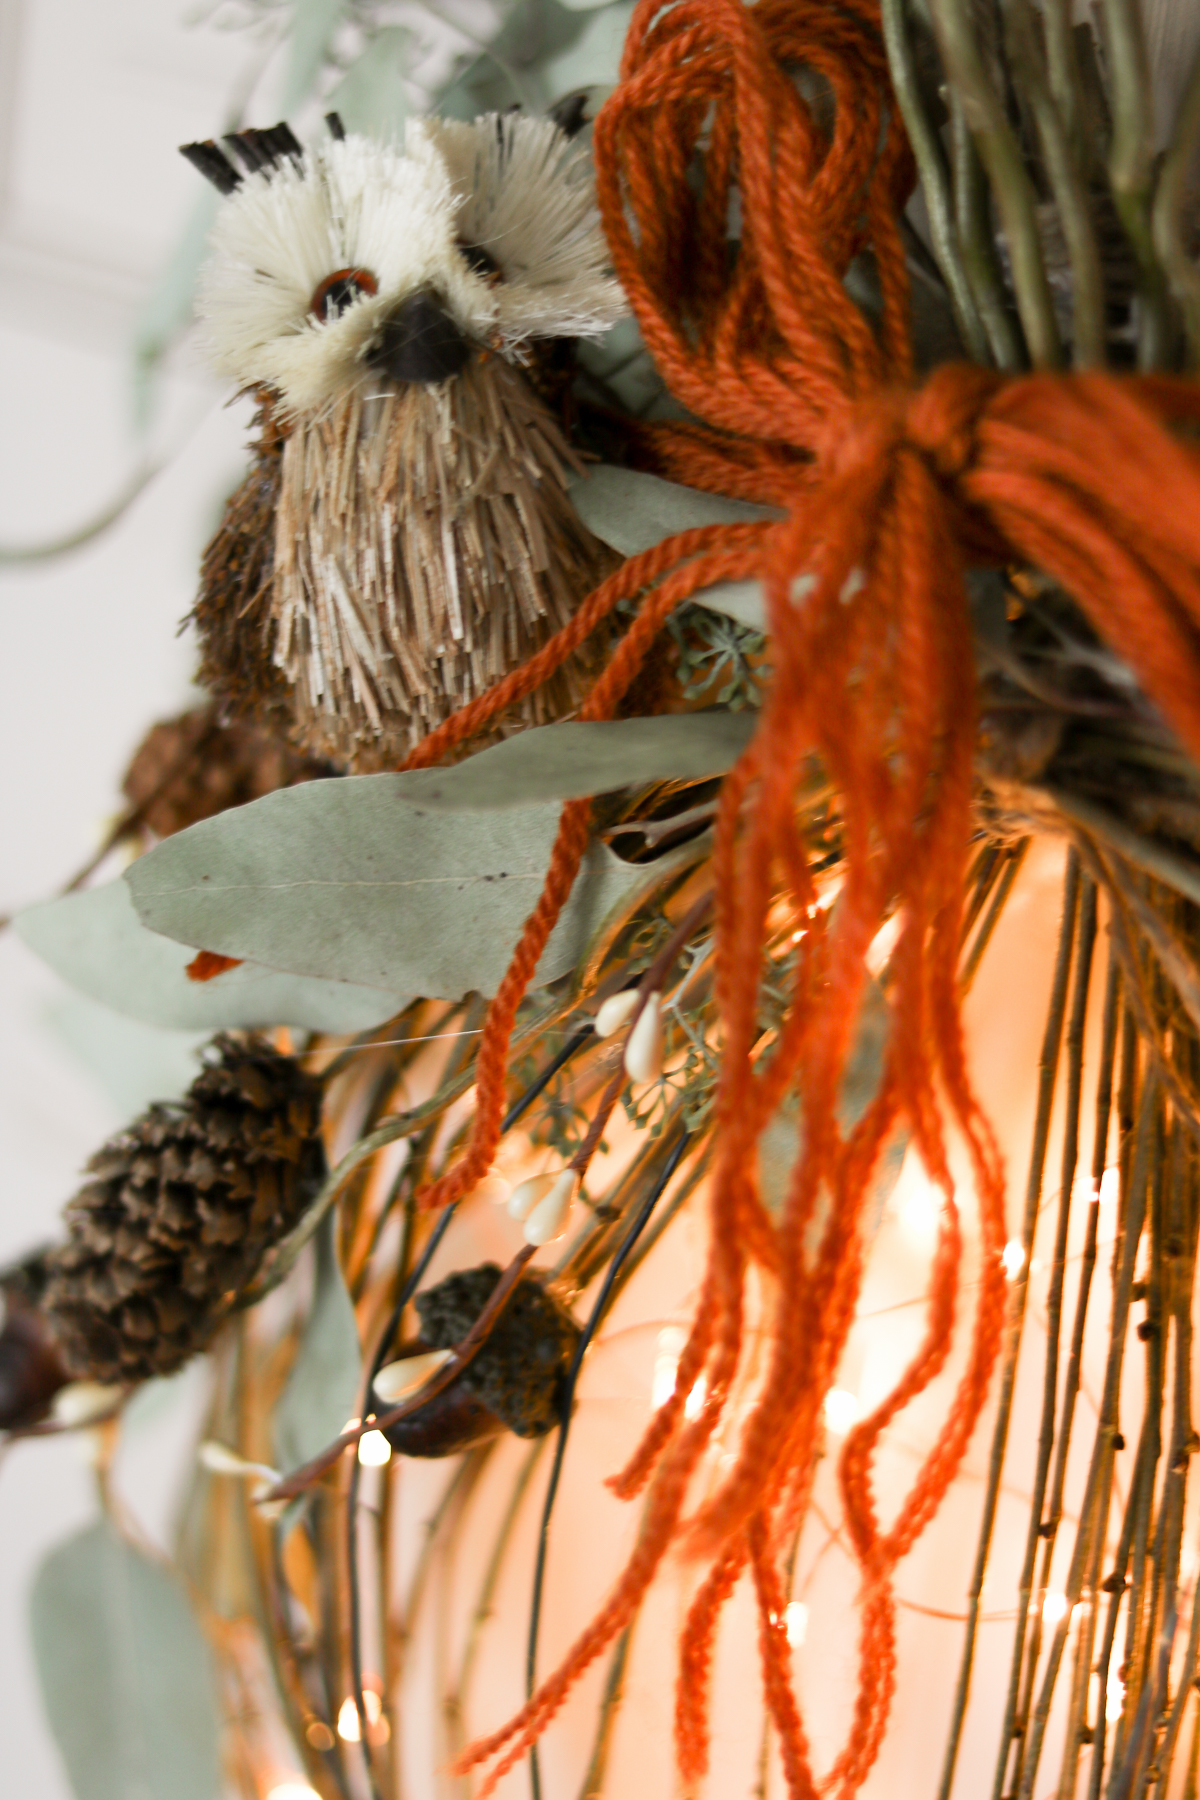
The owl is my favorite part about it!! 😀 Oh and the acorns of course. ( I’ll be honest I went all out trying to find the perfect acorns!! I had no idea acorns are so hard to find. FWI : Hobby Lobby has the best!! In their floral department. Where all the fall floral is. )
The leaves I believe are some sort of an eucalyptus leaf. I don’t know for sure because I up-cycled them from a close friends wedding!! 😀 😀
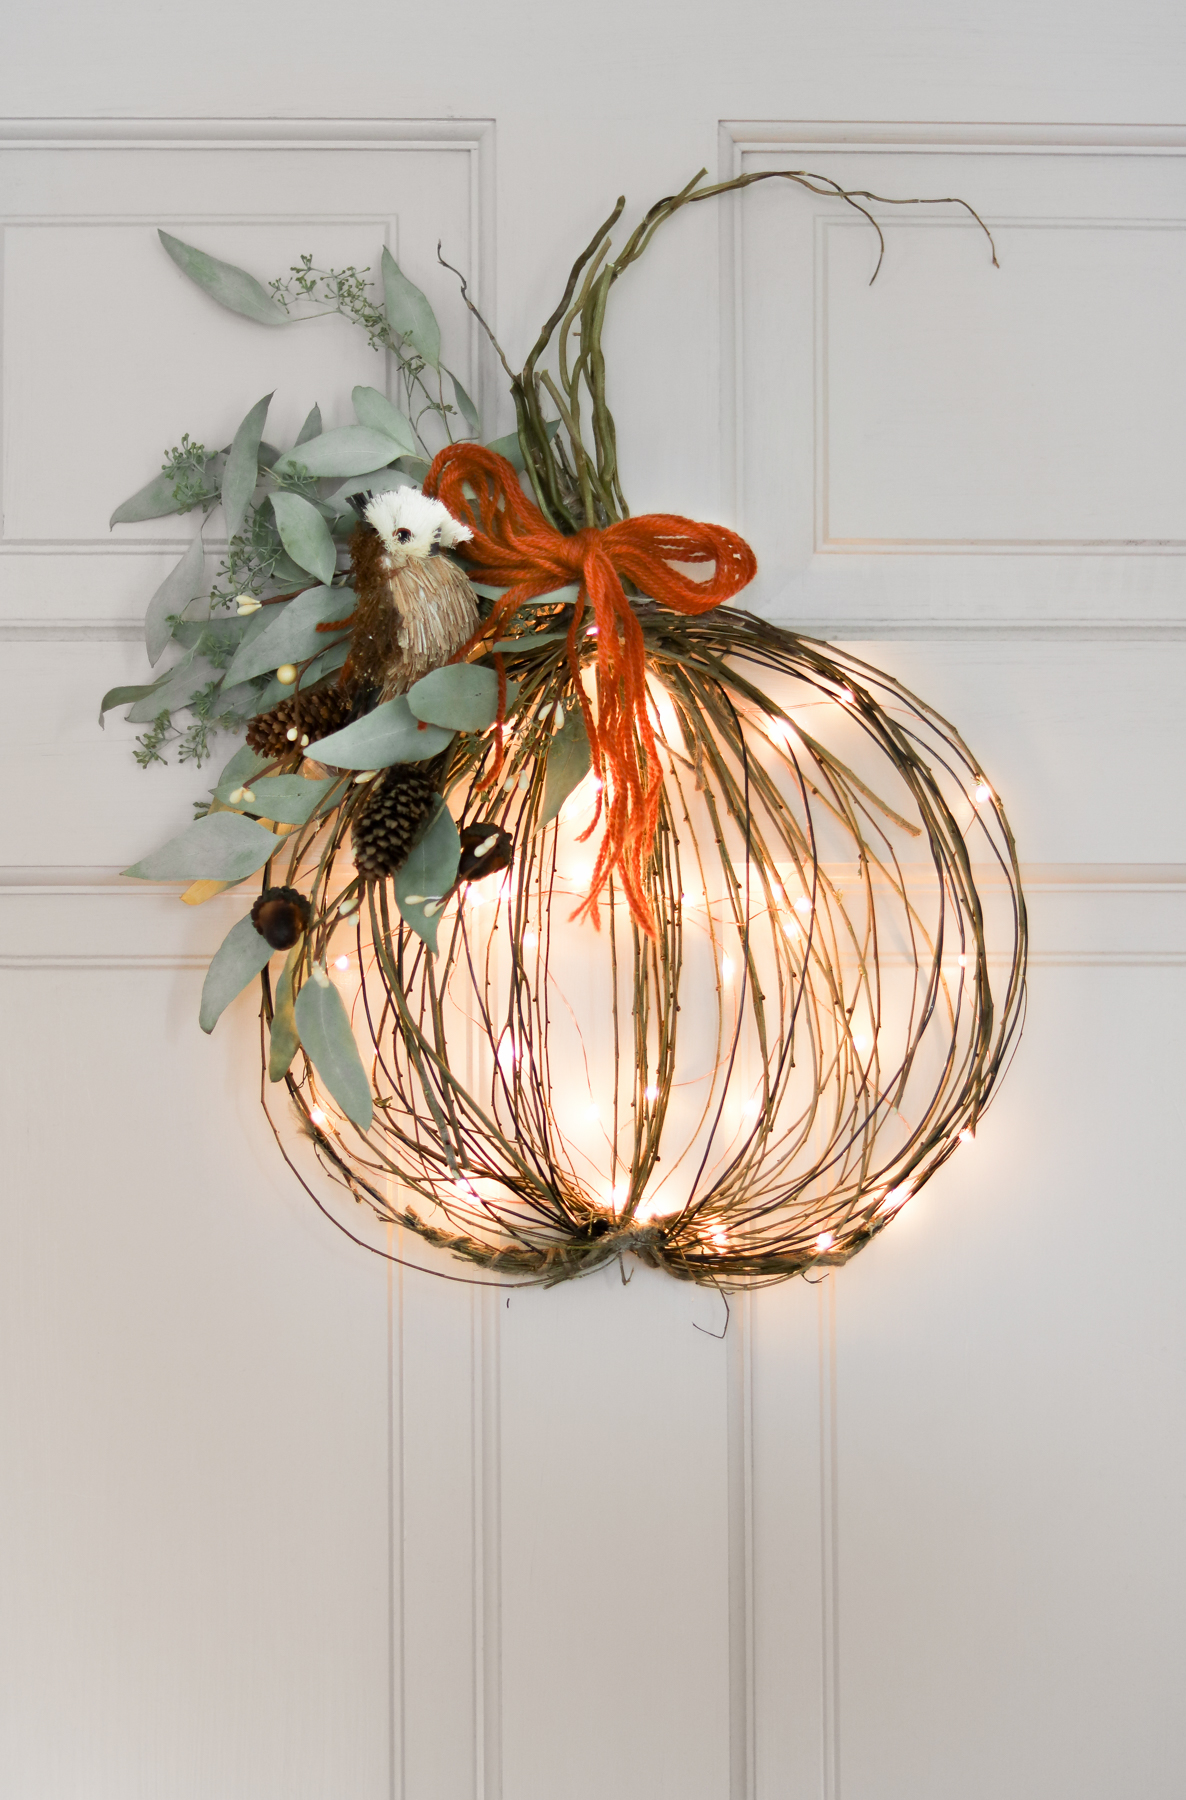
Here’s how it looks lit up!! 😀 😀
Okay so we had a debate on which ones better!! With lights or without??! We cut even!! We couldn’t get more votes on one or the other. Which one do you like more!! I personally like anything that lights up. 😀
I hope you guys like this DIY 😀
Thanks for joining me today. 😀


I really like this wreath, Lily. It has so much texture, and it’s so unique! Thank you so much for sharing it with us at the Hearth and Soul Link Party. I’ve featured this post at the party this week. Hope to ‘see’ you there!
Thank you April. It’s a fun project with an interesting twist! 😀 Thank you so much for featuring me. I’m honored! 😀
Hi Lily
I like this. Rustic and cool.
Thank you William 😀
Another awesome diy, Lily ! Love it lit, especially for the eveening hours !!
Thank you Diena I’m so glad you liked it! Oh yeah! that’s my favorite part too. I love anything that lights up 😀 😀 😀
Did you hide the fairy light battery pack under the owl and greenery? I just couldn’t figure out where to attach that bulky battery pack. Love the wreath!
Oh yeah LOL I head it behind the owl and greenery. Sorry I should have mentioned that.
Adorable and so resourceful! I have a backyard full of acorns here in Georgia,lol. Thanks for sharing such a cute idea!
OH wow!! We don’t get many acorns here or maybe I’m just not out much LOL! Note to self definitely get out more. Oh and thank you I’m happy to hear you like this 🙂