Home Decor Series
A few weeks ago I showed you how to make a chunky knit blanket in 3 easy steps. I am absolutely in love with how it turned out so, I’ve decided to add a few more decor pieces to my home using the same chunky knit technique. This 3 part series will teach you how to #1 make a chunky knit blanket (or already has) , #2 a chunky knit throw pillow and #3 a chunky knit wreath! Yes a wreath! I’m super excited for the wreath! It’s very minimalist and stylish!
Chunky knit Pillow
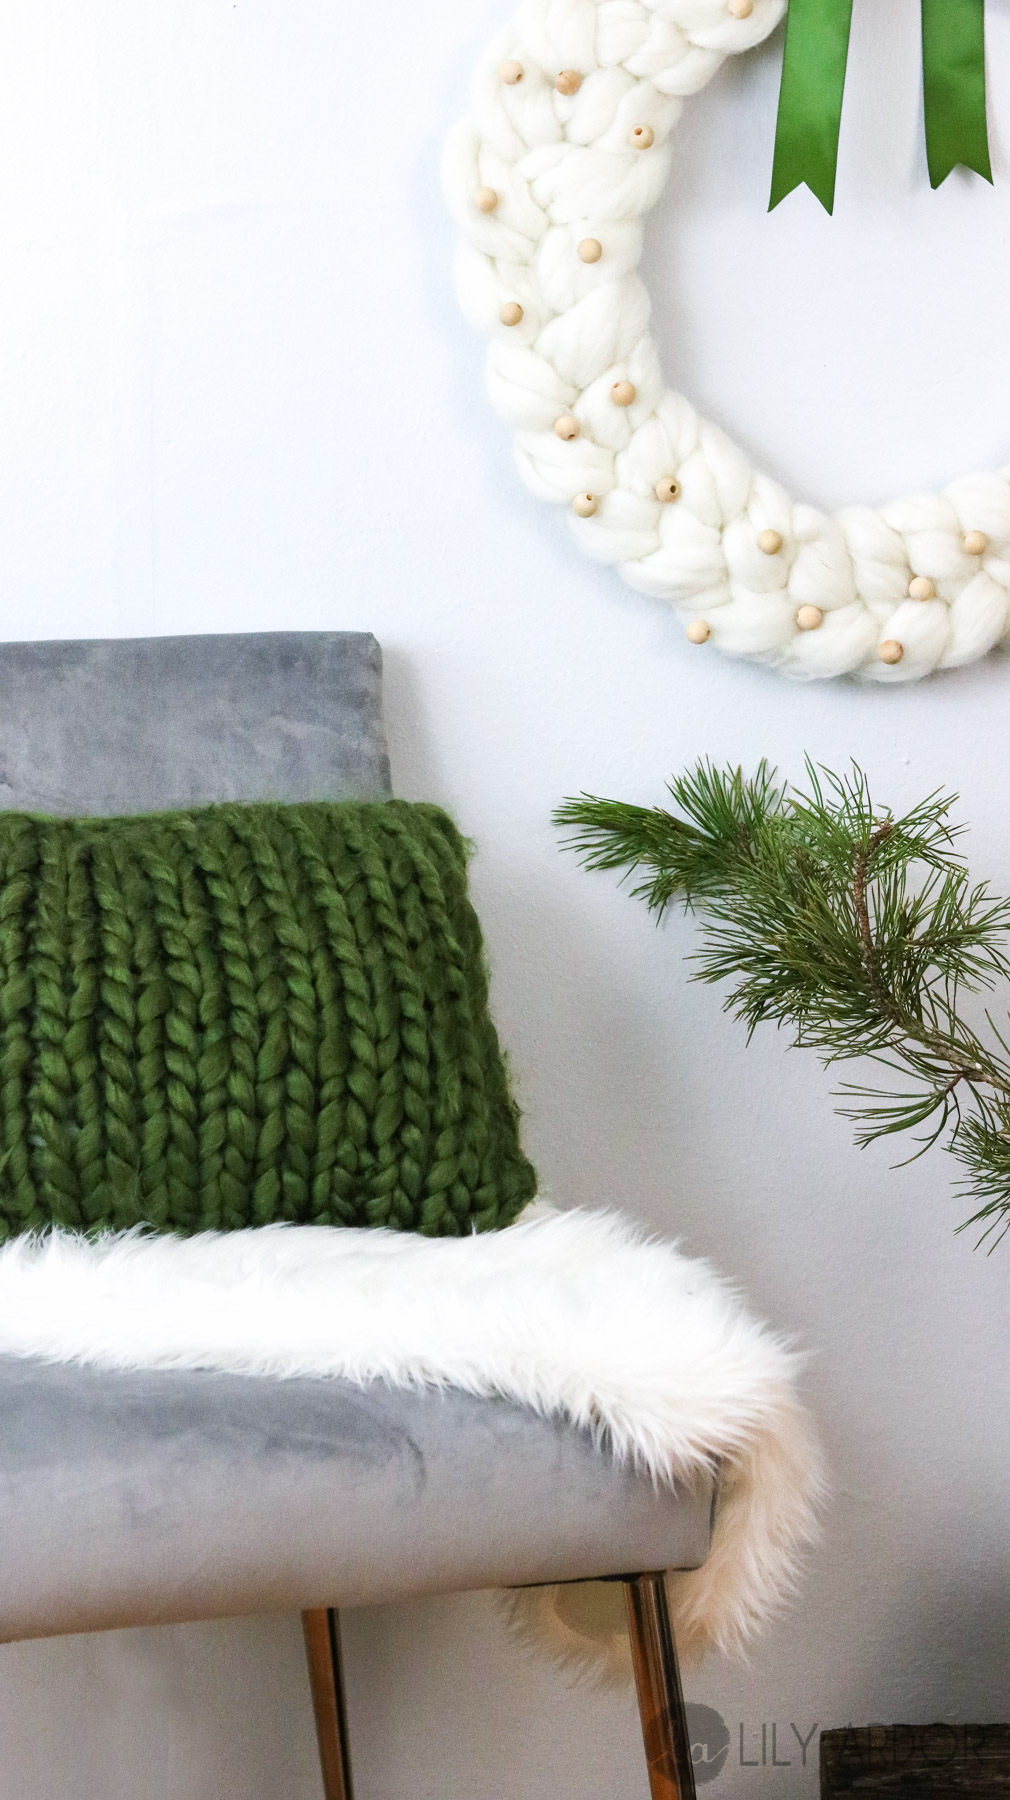
For this DIY I’ll be showing you how to make a chunky knit throw pillow. What’s nice about this DIY is that if you’ve been following along with my videos than you probably already know how easy it is to knit with chunky yarn. I’ll only be adding one additional step to my previous technique to turn it into a pillow instead of a blanket. 😀 This pillow is super easy to make and took me about 40 minutes to put together ! Oh and isn’t that green just gorgeous! The moment I saw that yarn I knew I needed to make something out of it! 😀 😀 And this is one of the biggest reasons I stopped making frequent stops at Joann’s fabric because, I always want to sew something after looking at all their pretty fabric! Joanns fabrics is my weakness! 🙁
What yarn to use and where to get it!
For my chunky knit blanket I used 3 skeins of yarn. They each weigh 35oz and had 54 yards. The thickness of that yarn was 50m.
Specifics
Unless your making a jumbo sized pillow I would recommend to get chunky knit yarn that isn’t as thick as 50m. I found that for a square throw pillow with 50m yarn you can’t get enough stitches on the pillow for it to look delicate. It looks very unproportionate and way to chunky. So for my pillow I used 22m yarn and it looked much better. The size of my pillow is 14″ by 12″. I used 2 skeins of 7.9 oz (24yds) each. I had just enough with the two skeins.
Tip
I only regret one thing I did with my throw pillow. I’m sure this wouldn’t bug most of you but, I’ll go ahead and point it out anyways. I used a pillow insert the I took out of a previous pillow and most pillow inserts are white. Since my chunky yarn for my pillow was green you could see through in spots the white pillow underneath. If I was to redo the my pillow I would of probably made a green pillow case to match before covering it with my knit but then again maybe that’s what gives it contrast. It’s almost to much contrast for me so it is bugging me a bit!
Where to buy
I purchased my yarn at Michaels. They had it on sale and each skein cost me $6 each. Which means this pillow cost me under $15. What a steal!
Before we Start
Before we begin, to avoid confusion you’ll need to watch my chunky knit blanket tutorial. It’ll speed things up for you if you start from part 1. Don’t worry this video won’t take long. It’ll have you knitting in under 3 minutes or, as some may call it crochet. 😀
Part 2 – Turning it into a pillow!
Well… That was easy! Wasn’t it?! 😀 Okay to make your pillow you’ll need to use the same technique you’d use to make your blanket. The only difference will be your size. You’ll need to knit a rectangle long enough to wrap around your pillow. Kind of like a short wide scarf. Once you have your rectangle ready simply lay your pillow on one end and fold the other side of your knitted fabric over. Following that take an additional string of yarn tie it at one end of your pillow and start threading it through the edges of your pillow. Kind of like sewing it together with needle and thread but, instead using your fingers and yarn. Work your way around all 3 sides connecting all the edges that way. Then just tie your loose tail in a knot an insert what’s left into your pillow. That’s it! If this sounds confusing, check out the video below. It’ll definitely help! 😀
Final Thoughts!
What do you think about this home decor series? Would you like more chunky knit tutorials? I was thinking to make a round chunky knit throw pillow or maybe even a chunky knit ottoman! What are you thoughts?
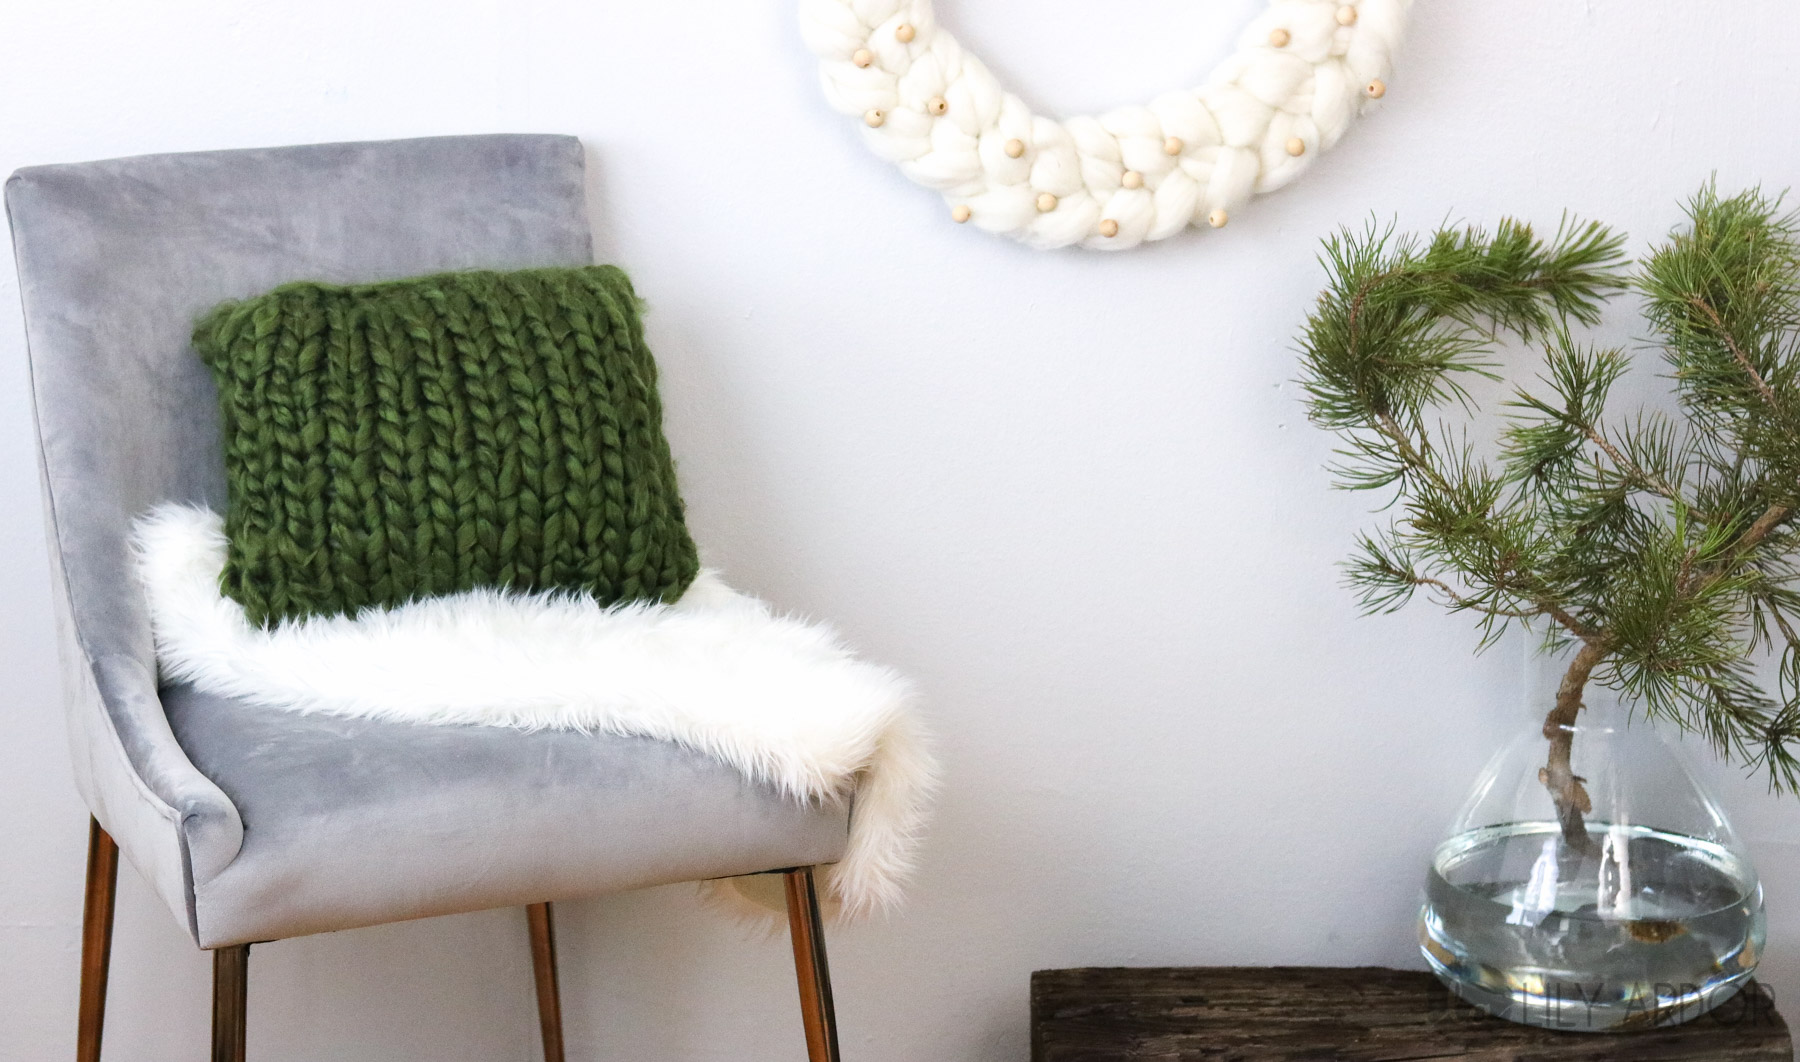
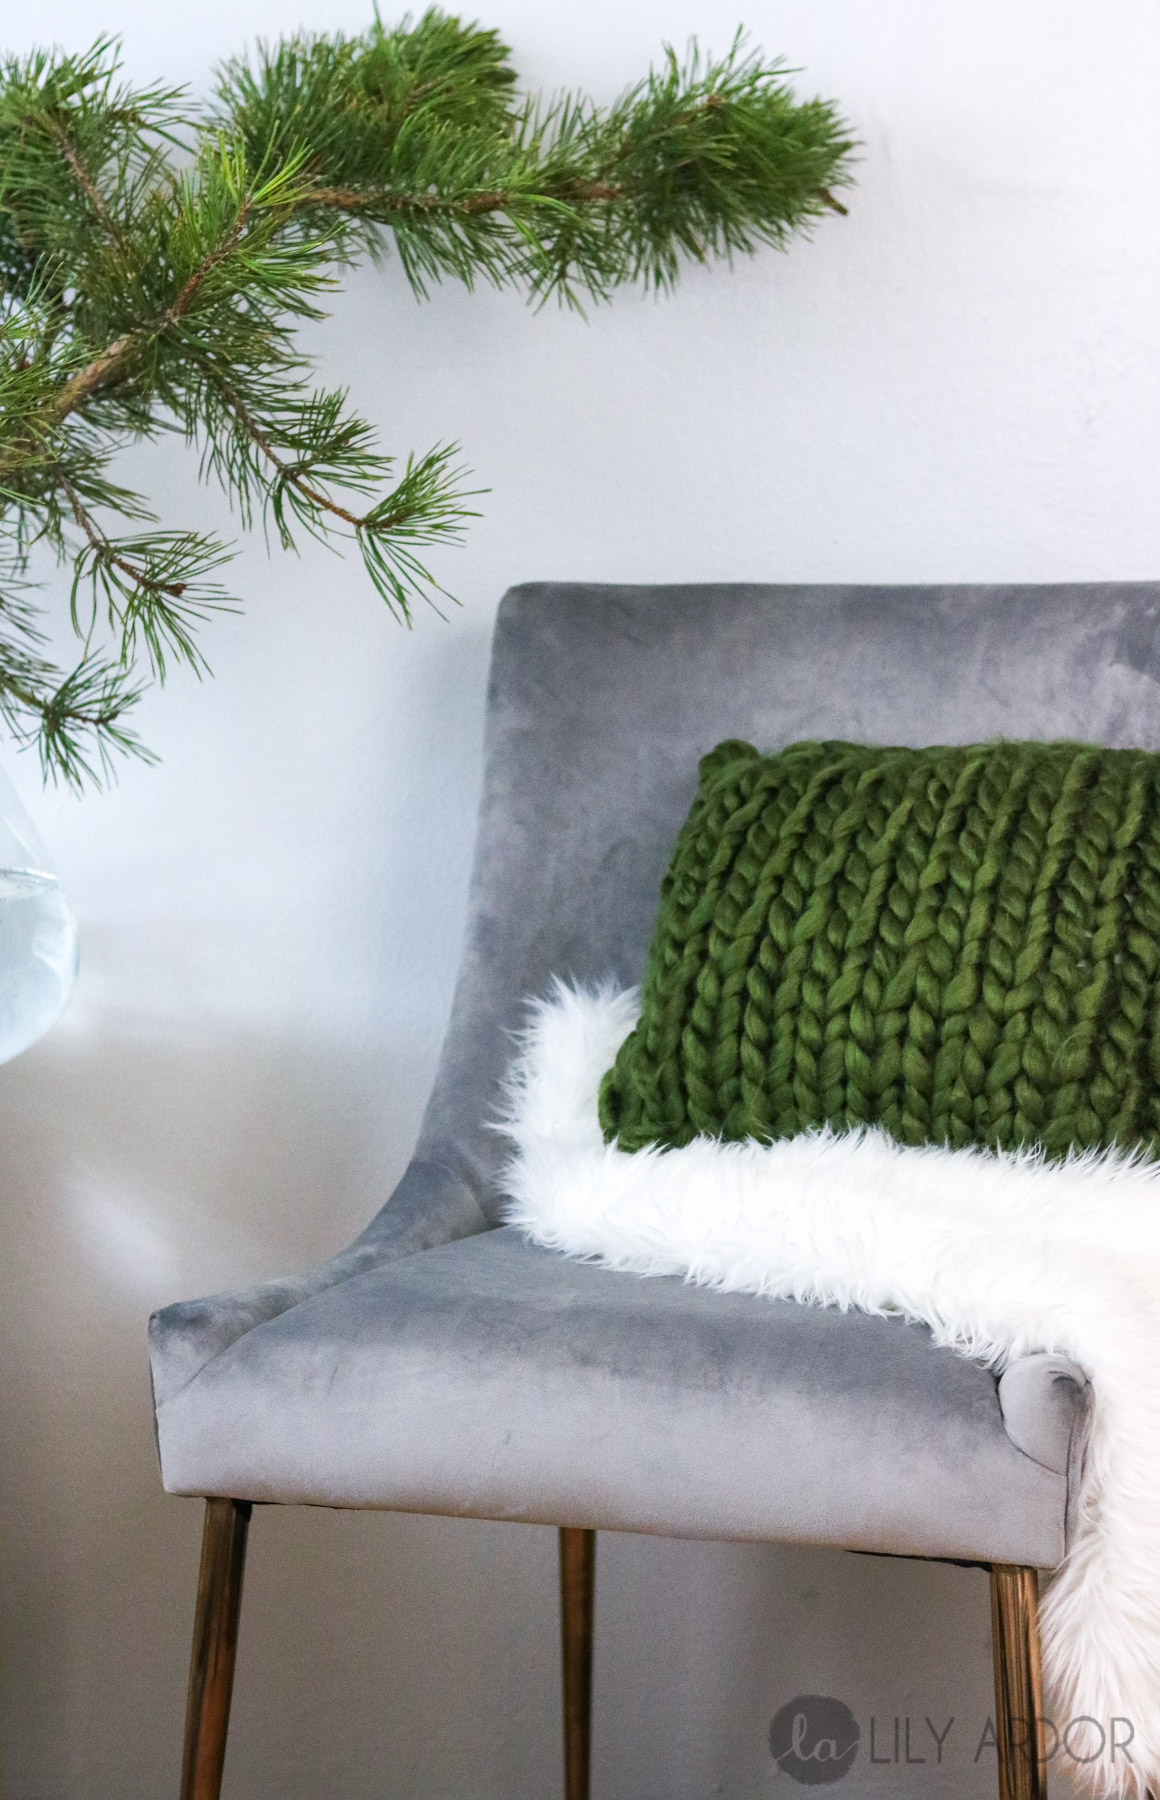
Here are some photos to drool over! 😀
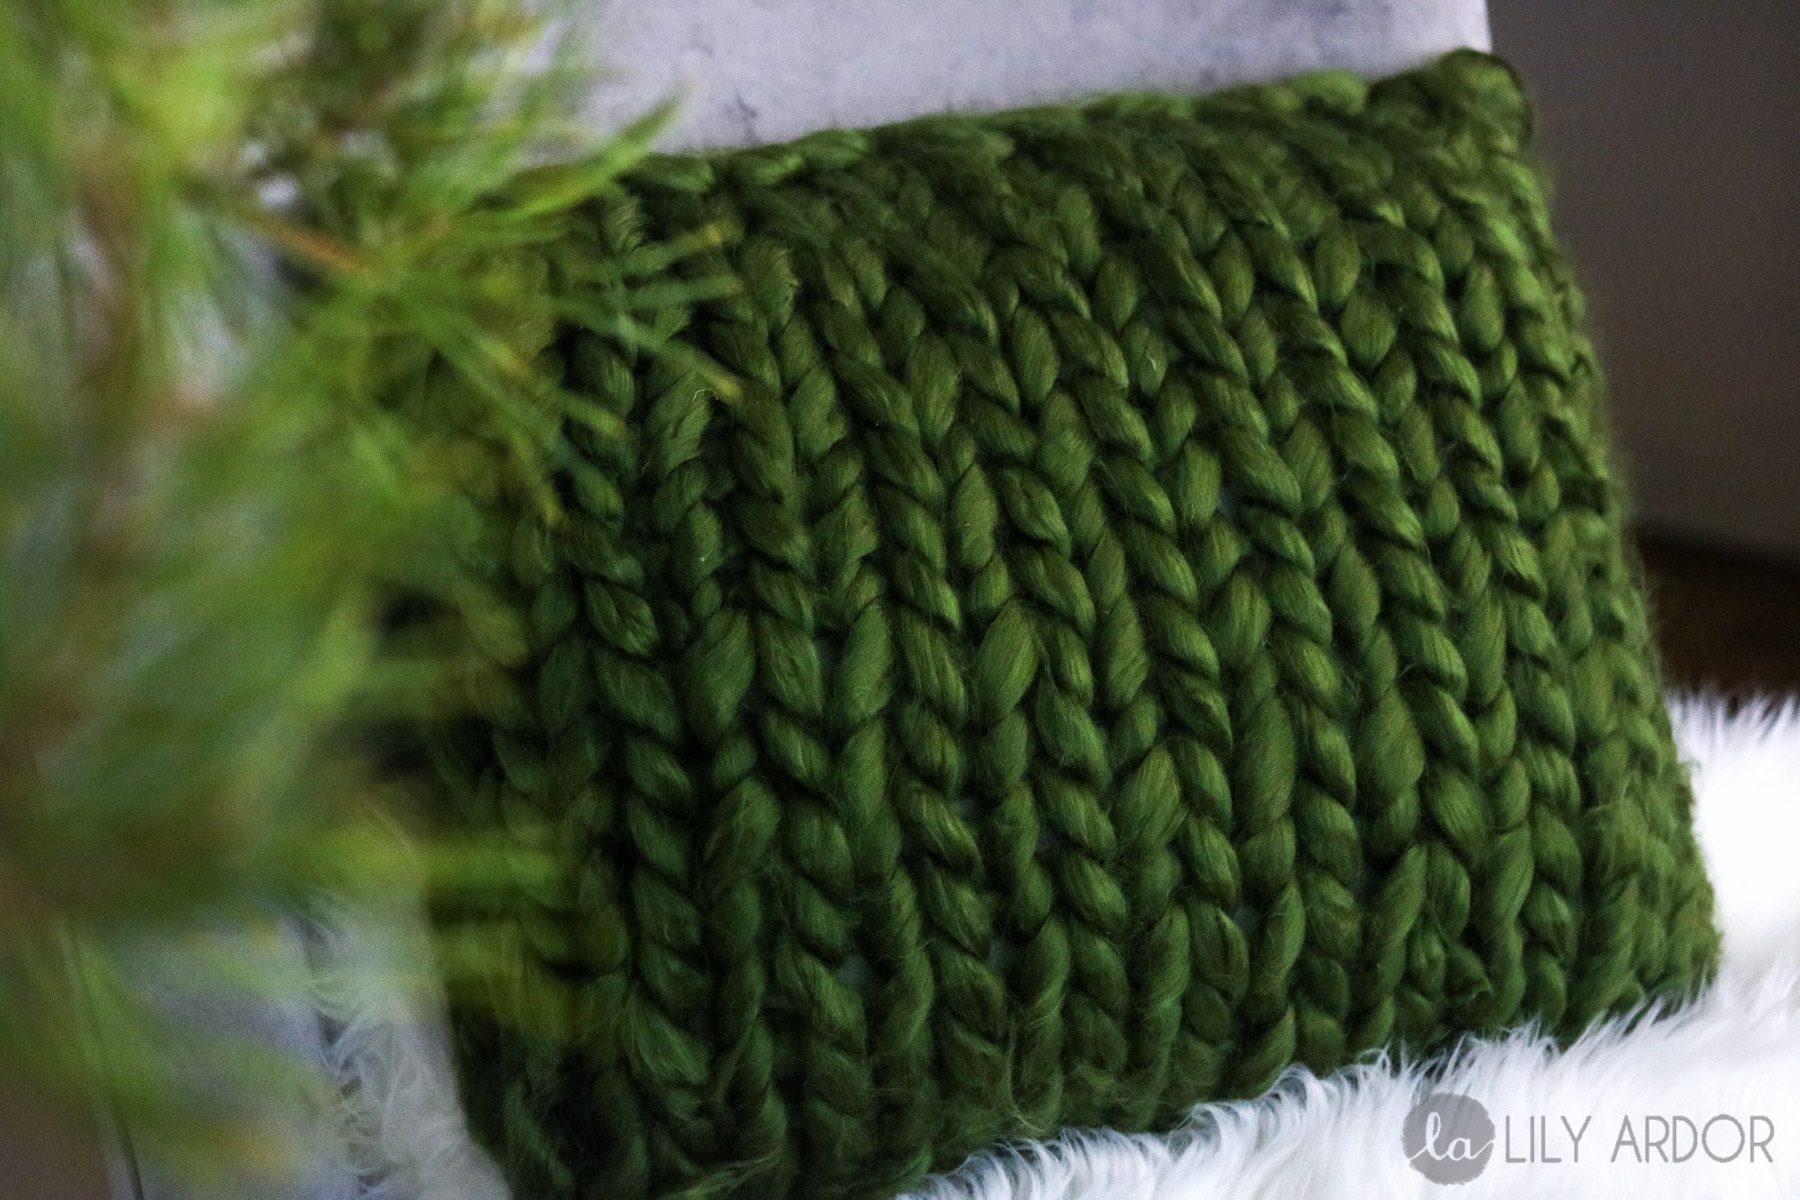
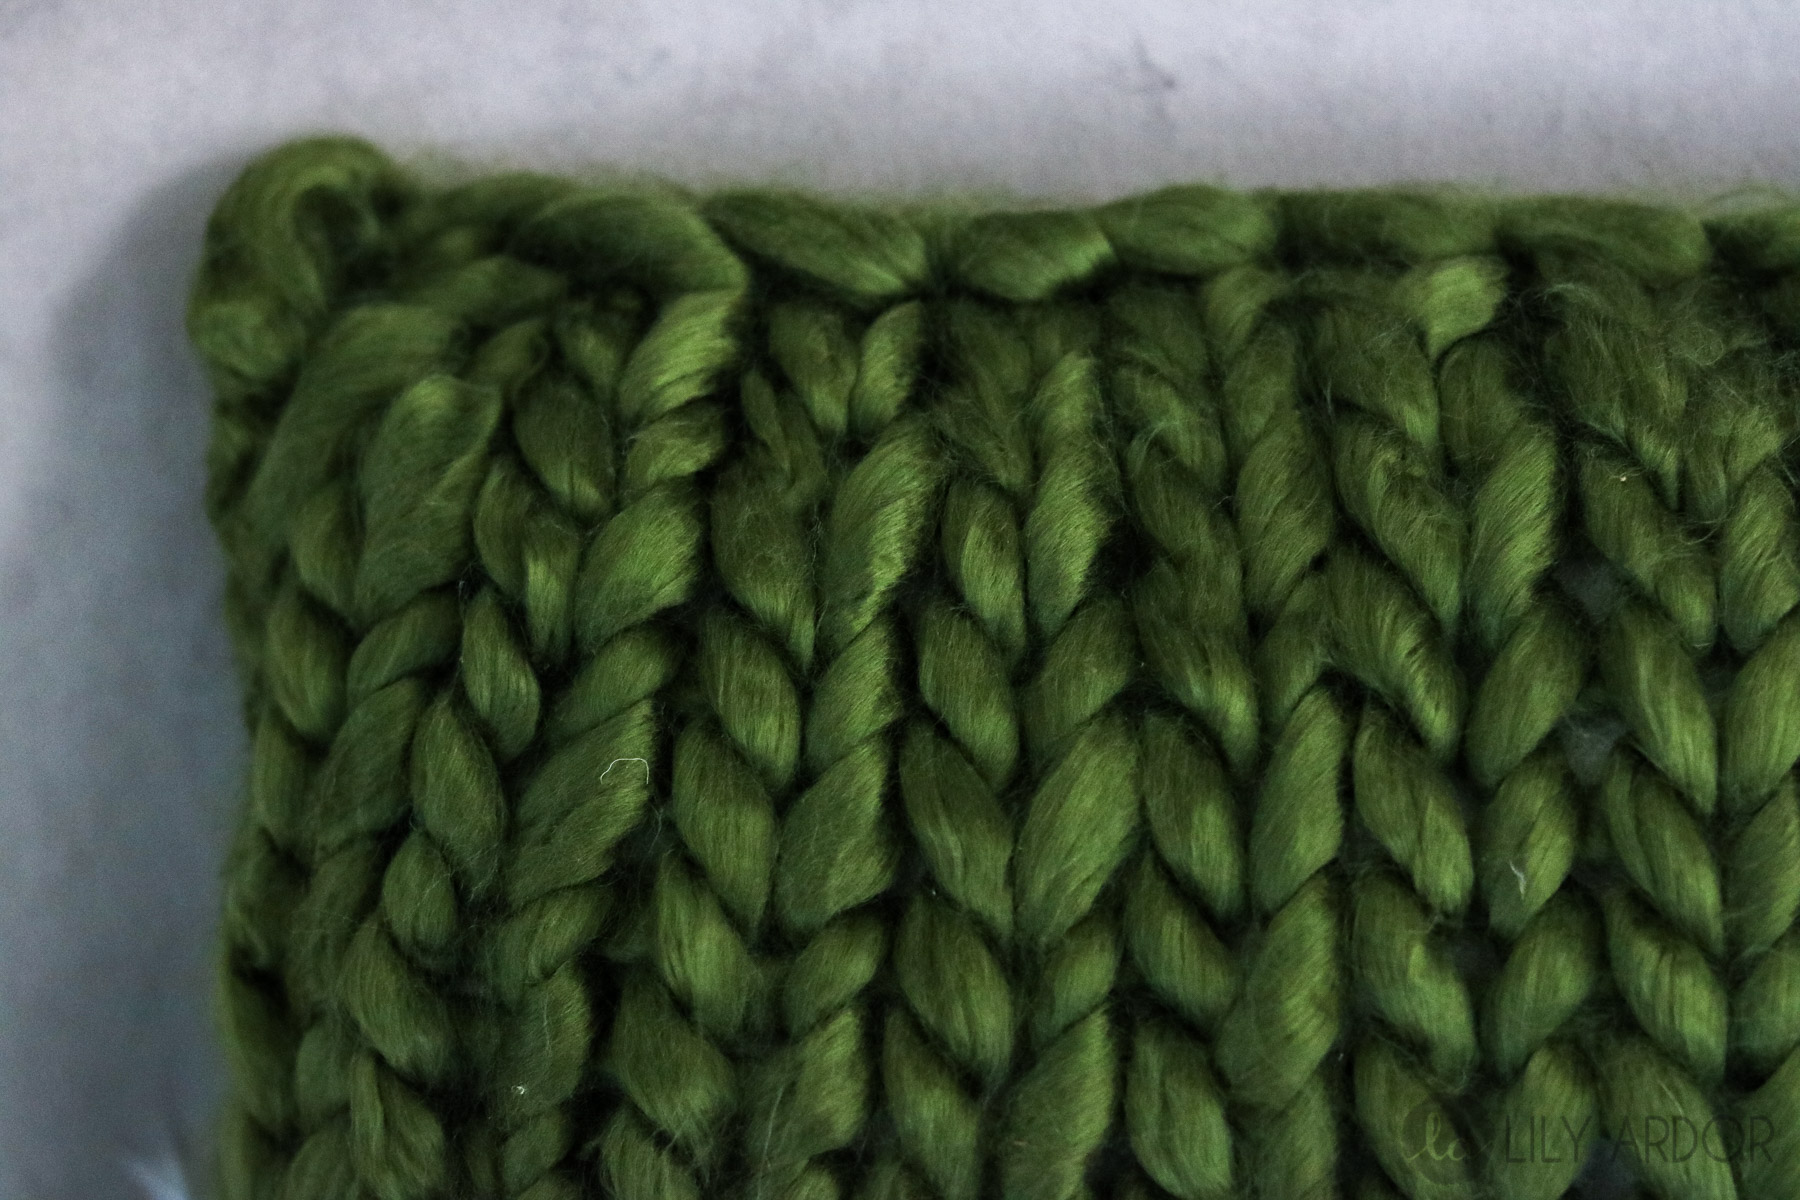
Do you see the white peeking through? YEP! It’s driving me bonkers! 🙁 I love how it looks if you don’t look close though! HAHa!
Here’s a sneak peek of my Chunky knit wreath! HAHA more like a tease because, you can’t really see the whole thing! But hey… Something look forward to! 😀
That’s it for this part of the series! Stay tuned for the next part! 😀 I hope I’m not the only one that’s this excited! 😀 😀
Hi Lily, hope you and your family had a lovely Christmas. I sure wish I had seen this, the blanket and the wreath before Christmas but now that I HAVE seen them, i can get a good start on next season and have absolutely no excuses to not get them finished 😉. I have to tell you while I’m here, that I also saw the beautiful bench that you made and I must say ” Bravo” to you for showing the salesman at home depot and your husband that you are perfectly capable of doing what you set your mind to. That bench would sell upwards of $799.00. In fact I just priced one for that and yours would probably sell for more because the material was what I had in mind but the it was not a good upholstery grade of material and certainly wasn’t custom made, at that ! Thought i would let you know that i haven’t been receiving your newsletters so re-signed up for them again, hope it was just a fluke. Thanks, love your style !
Hi Diena. Thank you I hope you had a wonderful Christmas as well. Oh yes it’s great timeless decor I think it would work wonderful for next year. Oh Gosh thank you. Your too kind 😀 😀 It was worth all the hard work. I use it as a piano bench currently, Although it is quite too big for the piano so I’m considering making a smaller faux fur bench. Oh wow. That’s pricey. I had no idea it’s worth that much. LOL. THank you. I’m so sorry Diena I’ve been a bit behind with my newletters. It’s been a crazy couple of weeks. I feel terrible, I need to somehow figure out a way to get them to go out every-time I post. I keep forgetting to go in and manually do them. I’ve been re-painting my whole house the past couple of weeks and haven’t had time to pop in a newsletter. I update my daily DIY process on instagram stories if you want to follow along. I have a lot of DIY’s planned and have been trying to get all my ducks in a row so I could pop in DIYS a lot quicker. lol. Since we live in an older house our walls were badly discolored and browned over time. I’ve added a fresh coat of white paint to the majority of my living room and office. Good start for the upcoming DIYS. Plus next up is repainting the kitchen and dinning floor. (ps. added to my list of new years resolutions- AUTOMATE NEWSLETTERS) 😀 😀 Thank you so much Diena. Loved hearing from you – Best Wishes ~ Lily
Hi Lily. I’m new to this hand knitting/crochet thing, I absolutely LOVE it. I’m learning quickly. I’ve mastered the small round pillow, the cat bed, and the blanket. I’m now going to try this square pillow. My question is, you said you got the yarn at Michaels. I looked there and I didn’t see the chunky yarn. Can you tell me the name, the brand, so I can maybe order it on line, or perhaps go to a different Michaels and search for it. This green color is gorgeous! Thank you. Maria
Hi Maria, it’s such a fun hobby. 😀 Oh wow a cat bed. That’s awesome. Your very craft. 😀 Oh yes of course. The brand was loops and threads. I believe it’s seasonal at michaels. They have a few online but, not the big skeins that I got.
The pillow yarn looks smaller…did you knot tighter perhaps? Im going to see if i can find a similiar yarn in bulk look but lighter in weight. !!
Yes the pillow yarn was smaller than the blanket.
Hi there,
Im just a bit confused about the yarn. how thick was it? 🙂
loops and threads
Hello, can you please tell me what weight “22m yarn” is equivalent too? Is it 5 / 6 / 7 weight of chunky yarn? I have been googling this and its not clarifying. OR can you just post a picture of the yarn from Michaels that is the green so I can figure out what I am looking for.
THANKS SO MUCH IN ADVANCE!!!!