How to Hem Pants
Okay most of you probably don’t know that I was a full time seamstress before I was a blogger. When I was 14 I went to sewing school in hopes of one day becoming a fashion designer. Oh the dreams I had! I remember people telling me it was a pointless thing to learn but, I really enjoyed it. It was amazing to me that someone could take a piece of fabric and make something so extraordinary. It wasn’t until I started working as a full time seamstress that I realized it takes a patient heart to sew. I would have to say I’ve learned the most while on the job. You sure learn quick when you’re under pressure and you definitely can’t slack off or take it easy like you would at home. Eventually I had to be a stay at home mom and in all honesty I was so burned out from the job I didn’t touch my sewing machine for months. However that’s all in the past. When I started my blog it was a goal of mine to share what I’ve learned while working as a professional seamstress. This will be a five part series and I’m ssso excited! I will be showing you how to do the following
- Hem Pants (meaning shorten)
- Hem Dress
- Hem Sleeves
- Make shorts out of pants
- Add a patch in pants
These are all pretty basic and something I do regularly. I’m hoping our lifestyles are somewhat similar and this can help you in one way or another. For this series I will be making video instructions as well as written photo instructions. You can easily do the job by simply following one or the other. For this first part I’ll be showing you how to hem pants.
THE TRUTH BEHIND SEWING
I know there are a ton of DIY videos on how to shorten your pants and some of them freak me out. I remember the first day I came to work and shortened some pants for a customer thinking I was doing it right!! Oh BOY did I get in trouble. Believe it or not going to sewing school and doing clothing alterations is two complete different things. When I went to sewing school I was taught how to pattern dresses, sleeves, shirts, how to install zippers and beads. I was taught a lot however no one ever taught me how to fix a broken zipper or how to shorten a completed pair of pants. I could make clothing from a piece of fabric but, until I went and worked at a busy dry cleaners shop I had no idea what alterations really were. I was literally learning on the job. The stress was real and I was under pressure every minute I was there. One of the requirements I’ll never forget were…, we had to hem a pair of pants in under 8 minutes. I’m talking from start to finish. I learned quick and I’m glad I learned the way I did. I honestly think the best way to learn is on the job because, it gives you no choice. Plus it gives you no time to freak out and stop yourself. HAHA 😅 So you forcefully learn. Okay than let’s jump right in. Before we jump into this tutorial. If you want to learn more about sewing this is a 5 part series where I teach you the most basic clothing alterations coming from a professional seamstress. Here’s what else goes in this series.
- How to hem a dress
- How to hem sleeves
- How to hem pants
- How to fix ripped jeans
- How to cut jeans into shorts
Here’s the quick 7 minute video to teach you all five
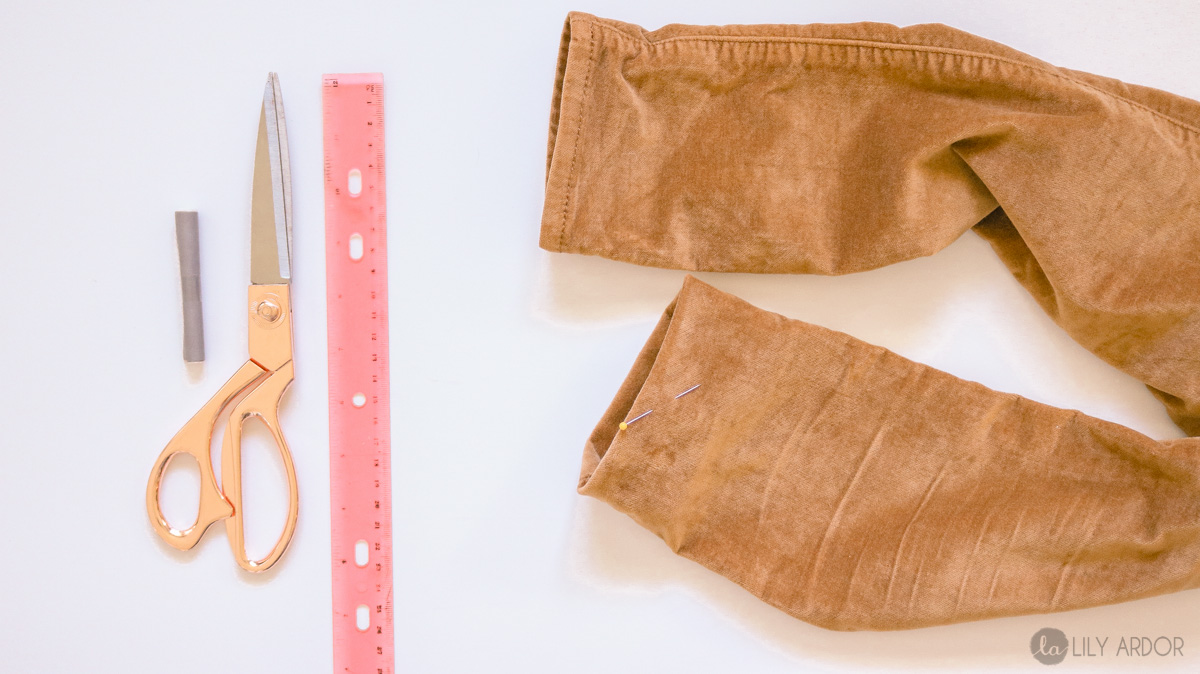
What you’ll need- scissors
- ruler
- chalk
- sewing machine
- thread
How to do a Professional Fitting
So this one is kind of a biggy. In order for your pants to fit perfect you need to do a fitting. When doing a fitting always stand on a hard surface with no texture (meaning like a shag rug or something) Make sure you are wearing the shoes you’ll wear most with those pants. Then pin the back of your pant leg and make sure it’s the length you want. Since it’s a bit hard to see where the pinned pant leg hits you on the back of our own leg plus you have to turn your body to see it…, which results in the pant shifting in height the best way is to stand sideways to a mirror to see if it’s the length you want. You can also pin it in the front but don’t worry about it too much since you’ll be taking your cutting measurements from the back of your pant leg. Keep in mind you will only be pinning one leg unless you know your legs are different lengths. Most pants are factory made practically identical in length so one measurement works great for both pant legs. The only time I ever had to cut and pin pant legs separately was when a customer would come in and specifically say there legs are different lengths (caused from a hip surgery or something).
Step 1
Once you’re done with your fitting remove the pants and mark with your chalk on the fold.
Step 2 VERY IMPORTANT STEP – LAY IT OUT RIGHT!
Following that you will need to lay them properly to get the most even cut. Do this by aligning the side seams of each pant leg.
Like this.Step 3 – Determining How Much to Cut Off
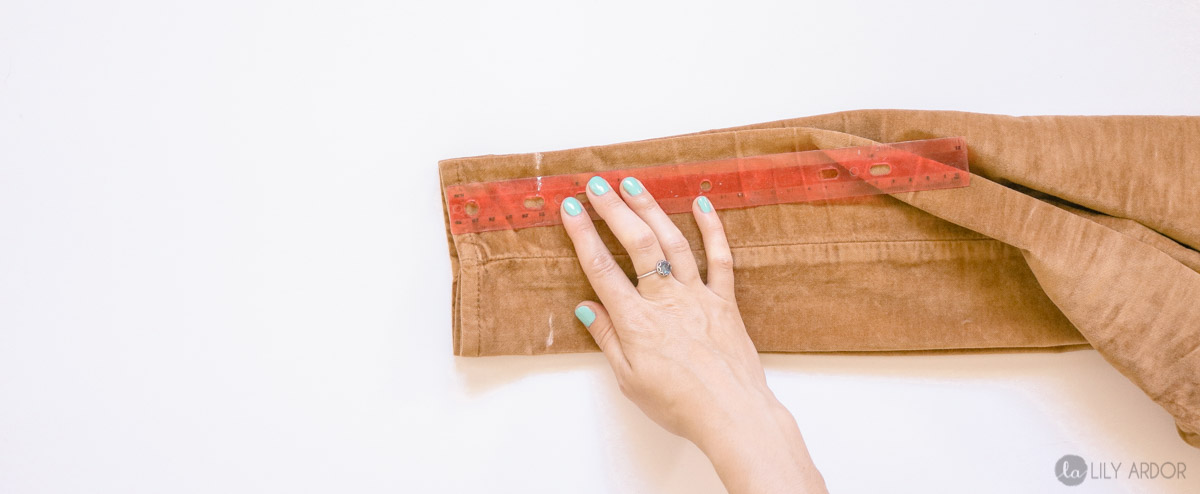
Okay now use the measurement from where you had your pin and mark each side of the pant leg. For instance I pinned my pin at about three inches measuring from the bottom. That’s how much I need to hem them. I marked three inches measuring from the bottom on both sides like shown in the photo below. Do not make a marking in the middle only do so on the sides. Making a marking in the middle is not needed.
Following that simply connect the two markings you made to make one solid line. (DO NOT CUT THERE)Step 5 – Giving Your Pant Leg a Seam Allowance
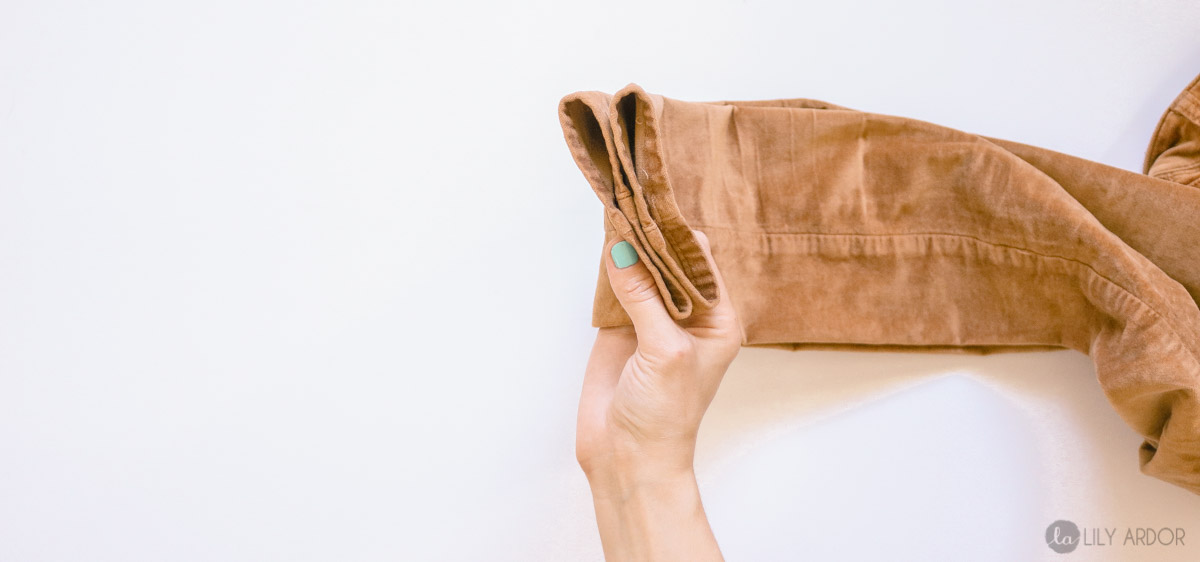
You will need to match your original hem as much as possible. In jeans the standard seam allowance for hemming is usually 3/4″ of an inch (pictured below). Once folded over twice this will give you the closest look to the original hem. Keep in mind if your jeans have a wider hem that’s over 1/2″ than you will need to do a bigger seam allowance if you want to match it. For instance if your hem width is 1″ you’ll need to leave 1.5″ seam allowance. This will give you .5″ to fold inside and have a pretty 1″ hem along the bottom. Hope this makes sense. Feel free to ask questions if you have any.
TIP TO GET THE STRAIGHTEST HEM!!
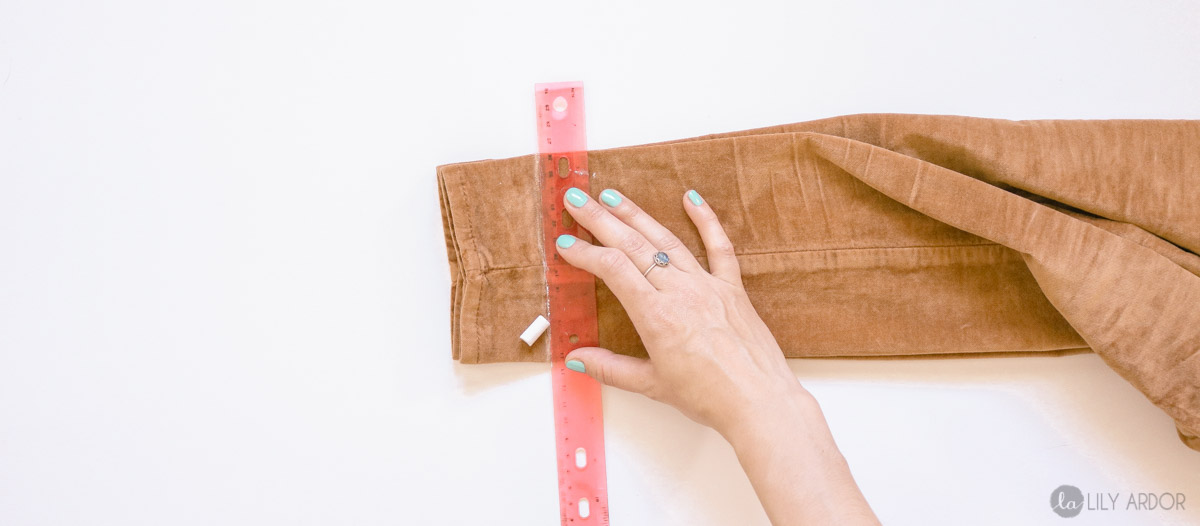
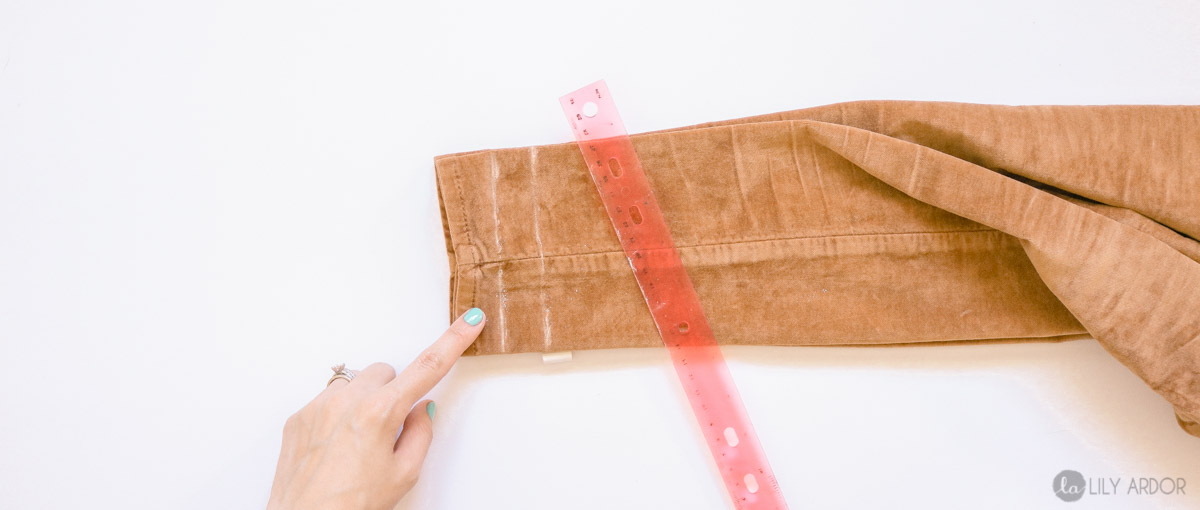
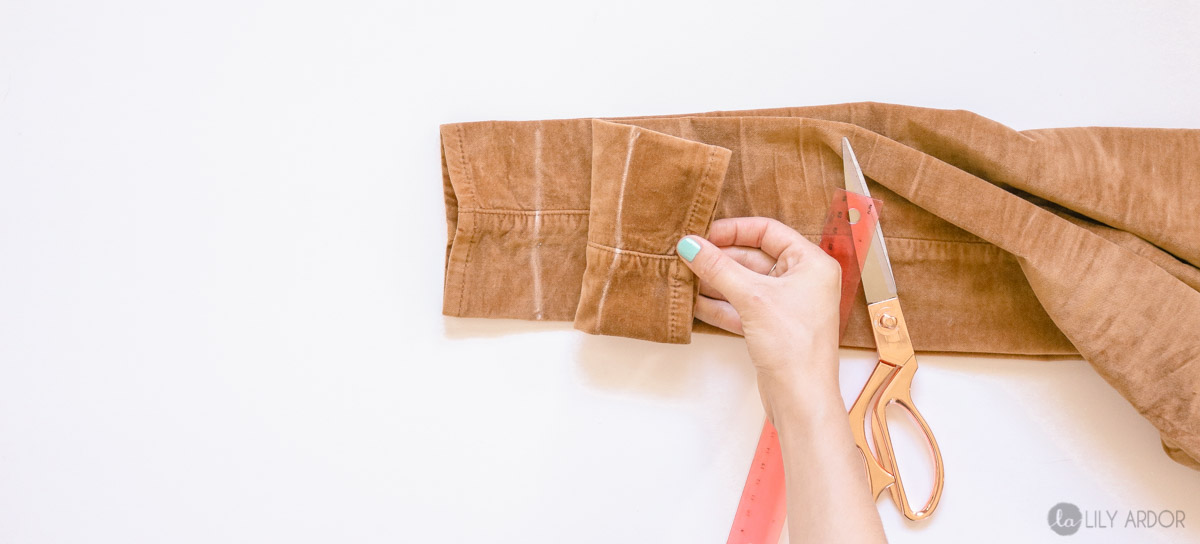
To make sure your hem is extra straight you’ll need to mark 3″ from the bottom (or however much you need to hem) of each pant leg. This will really help keep it straight while sewing your hem. I usually do this by laying the ruler on top, pulling the pant legs apart and marking with chalk.
This is so much quicker than marking each pant leg side at 3″ . (if your pants are super thick you’ll have to mark each pant leg separate since it won’t be accurate)Step 6 Cutting and Straight Stitching
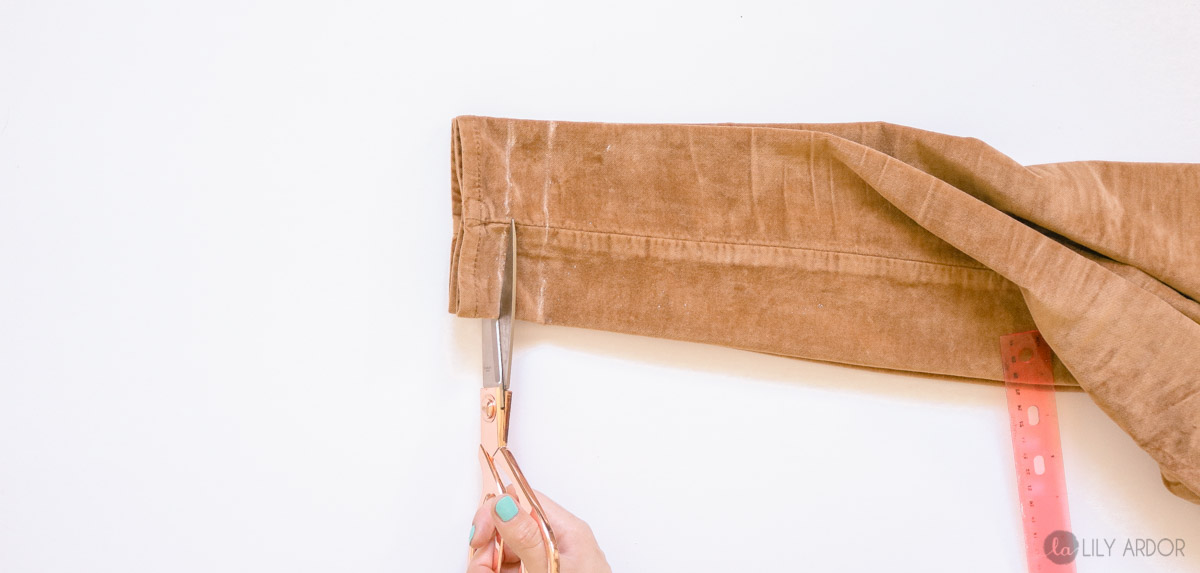
Following that simply cut at your seam allowance (bottom line like in the photo below) and give your pants a straight stitch along the bottom.
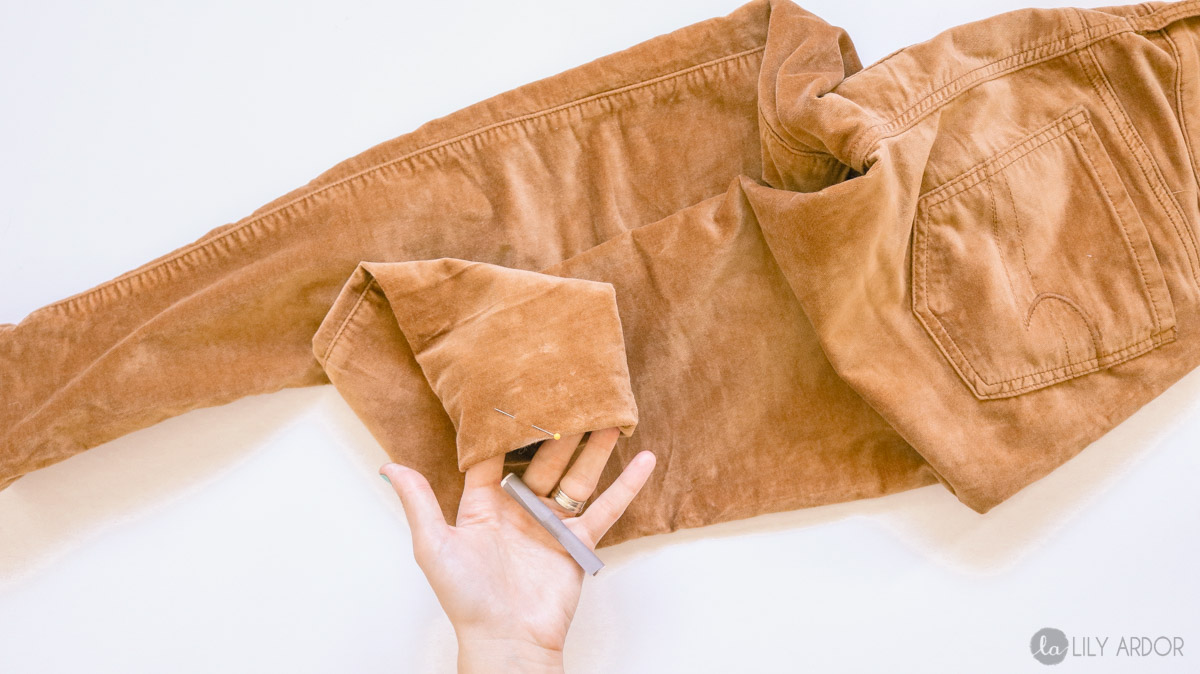
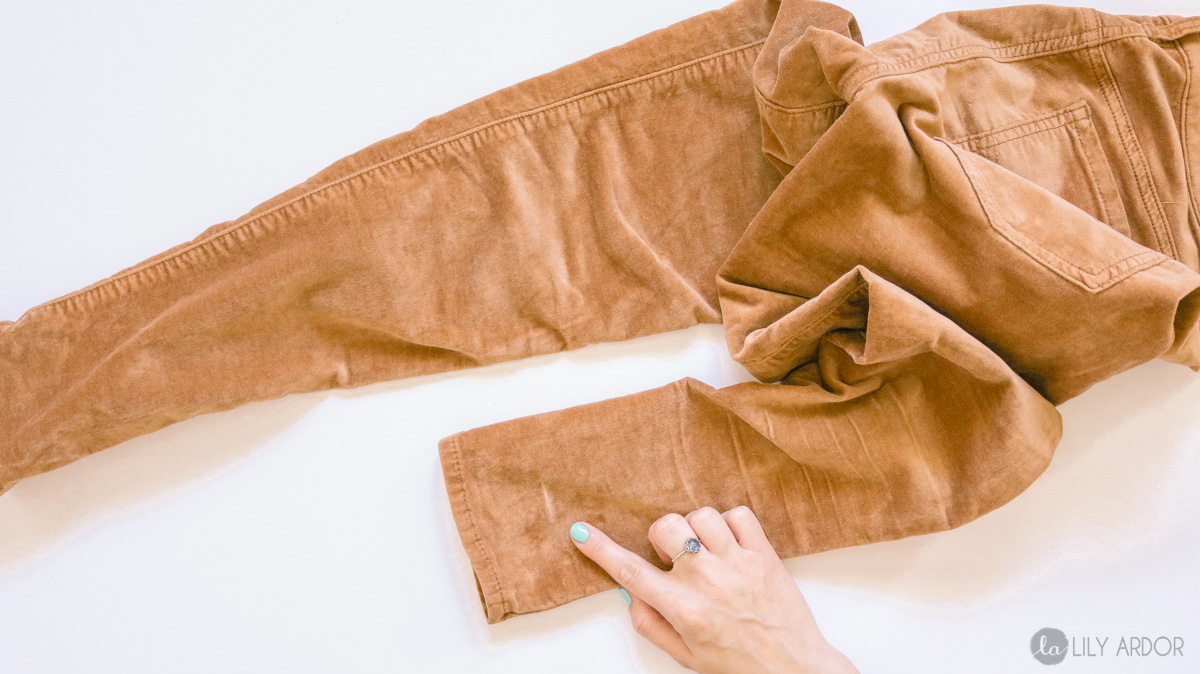
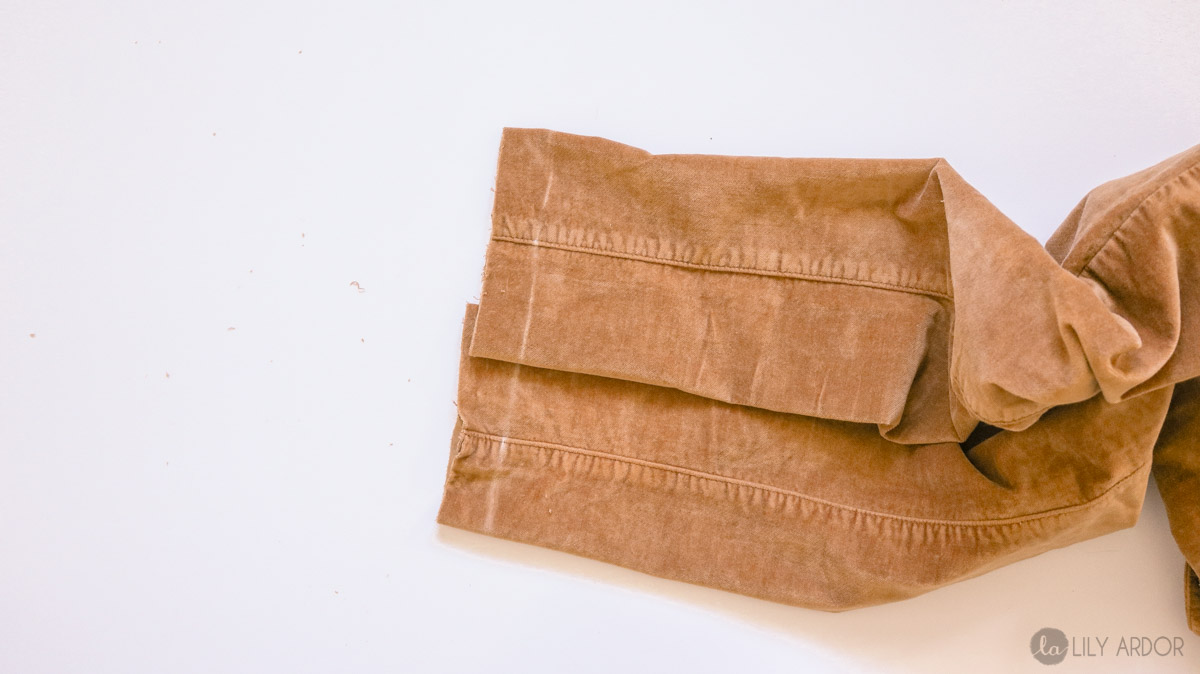
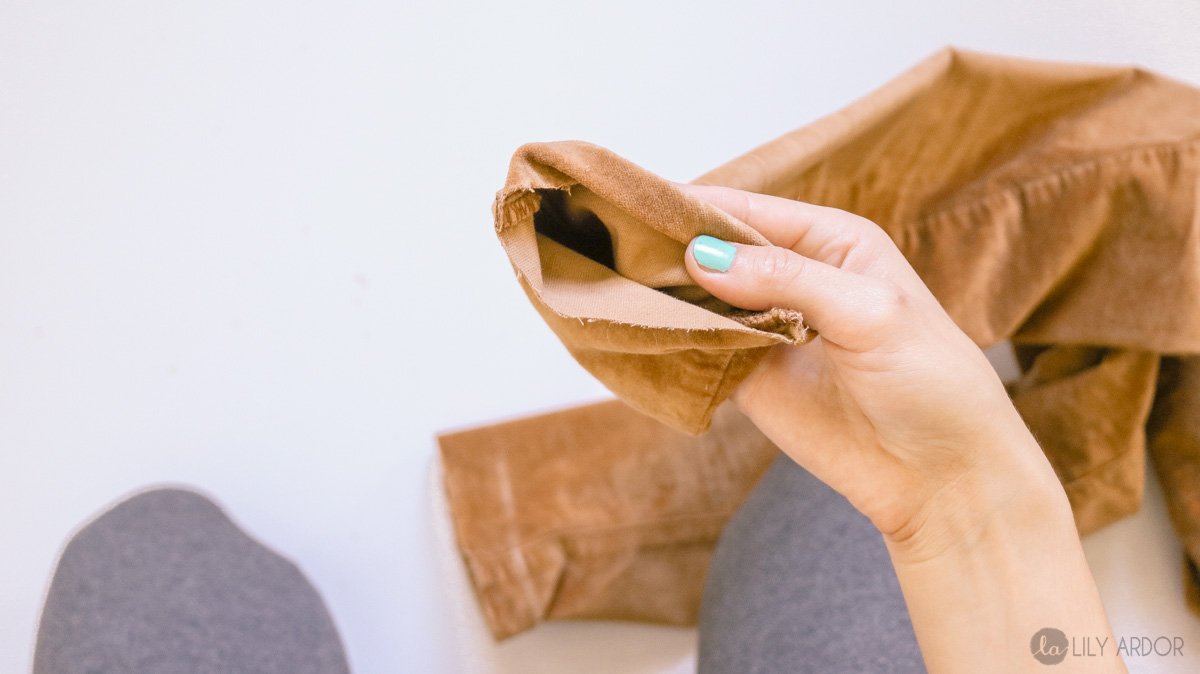
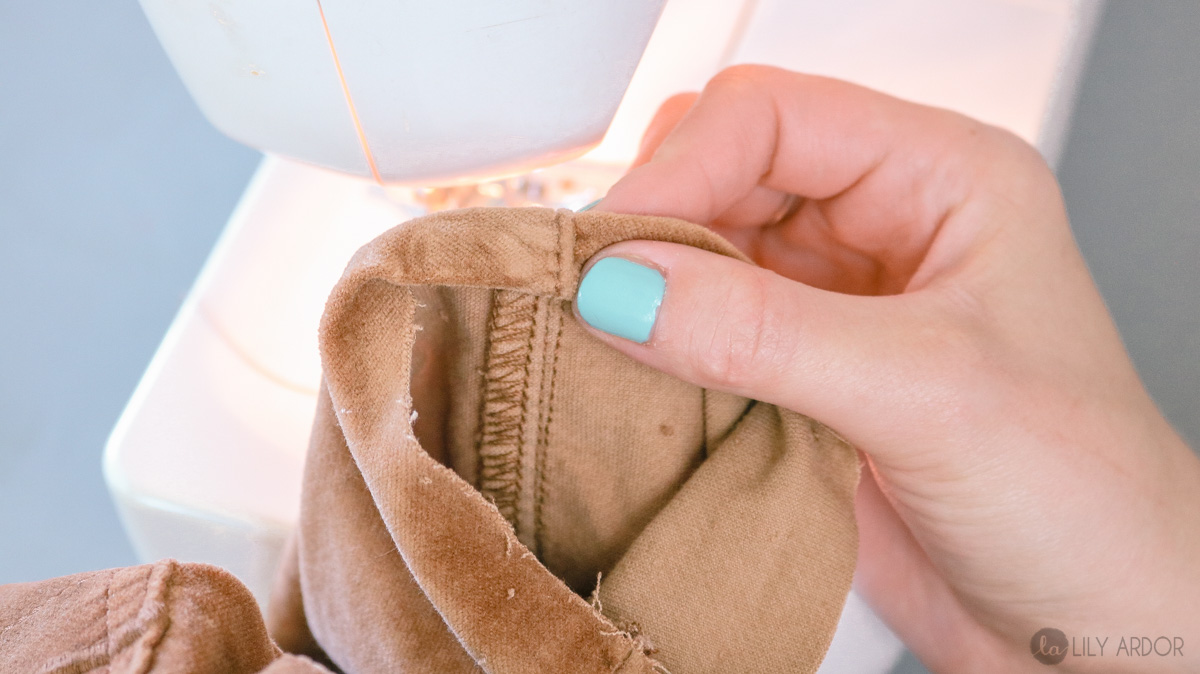
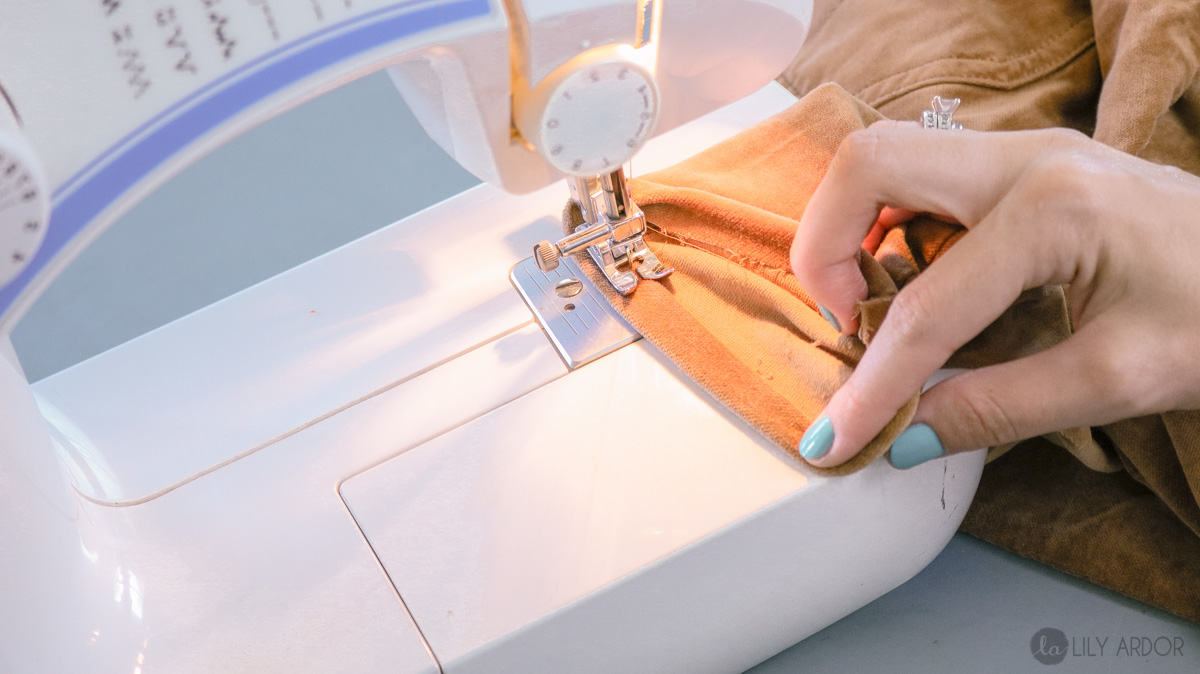
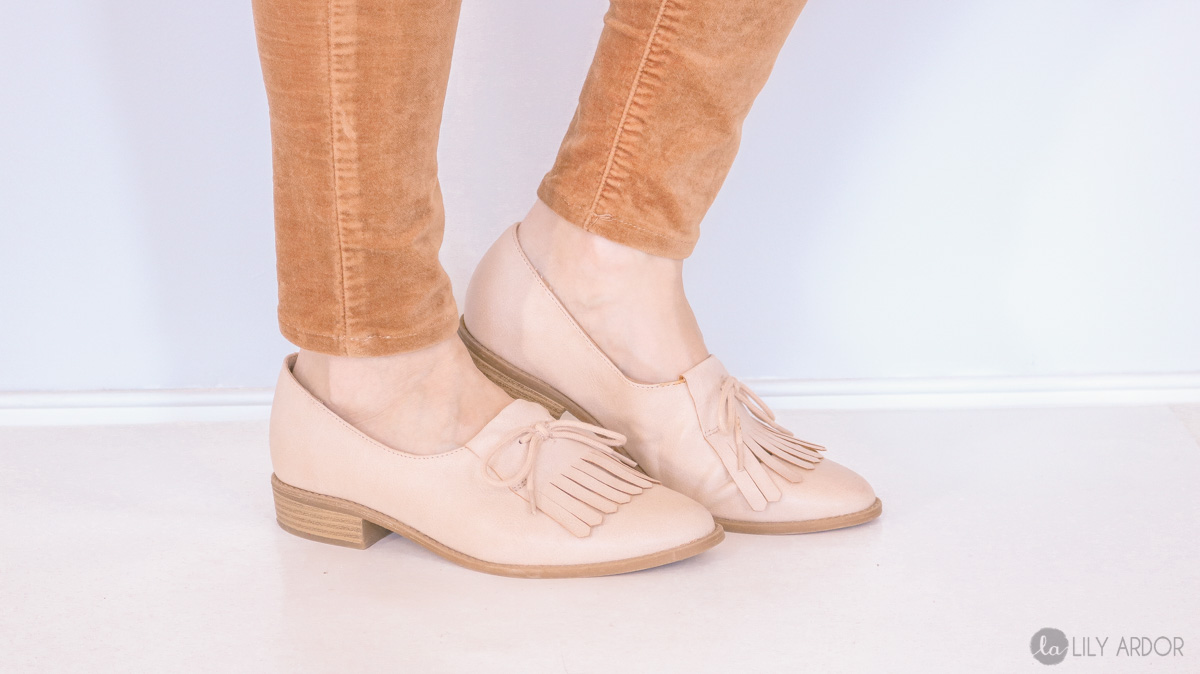
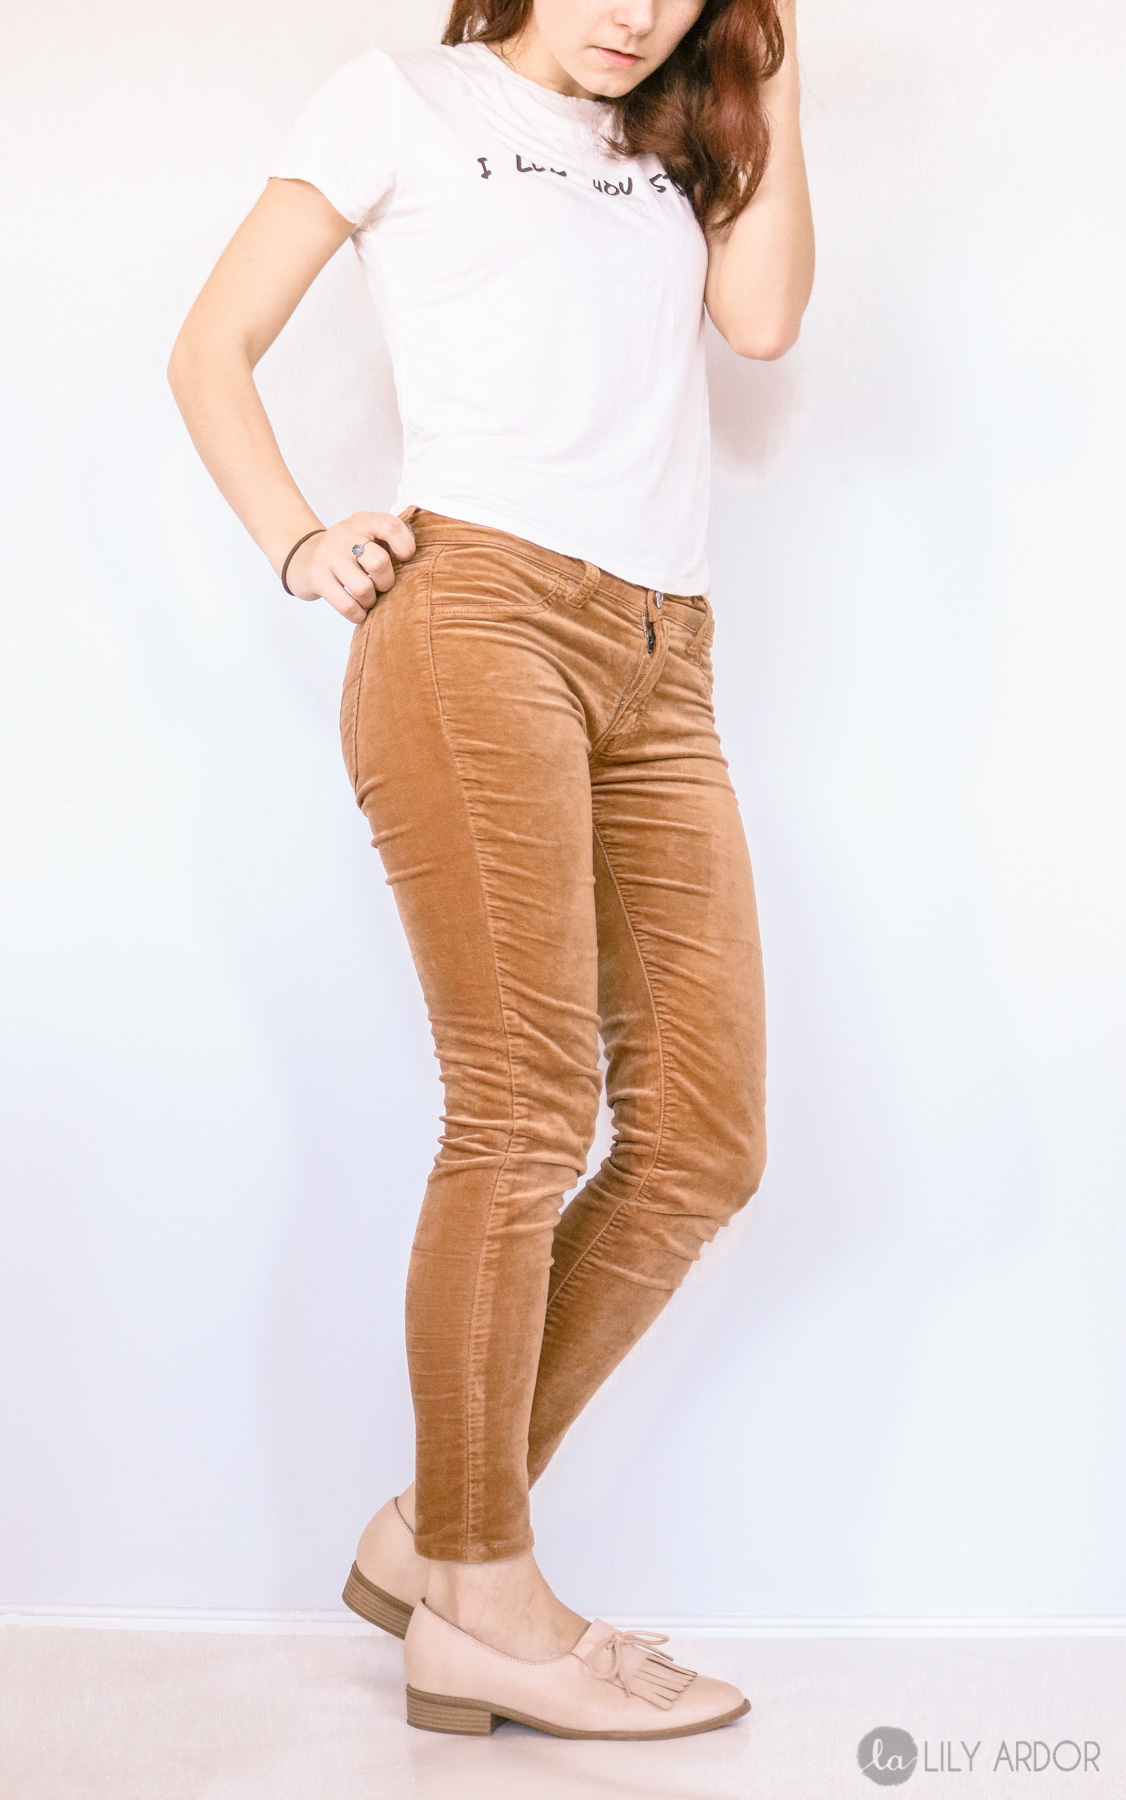
Here’s what they should look like once cut. You have your lines indicating where your hem should stop. To give it a straight stitch you’ll need to fold the bottom in twice making sure not to go over your white line that you marked because, that is your length. (your fold width should be about 1/2″ if your seam allowance was cut at 3/4″ ) I like to start with the thickest part and work my way around. Just like that give it a straight stitch all around and that should do it! Yes you’ll be sewing it from inside so you can see where your fold stops. Sew closer to the edge of your fold. (like in the photo below) YAY! No more bulging. They fit so much better now! Getting my inner fashionista on!! I tell ya every time I sew something It makes me wanna play dress up. 😁 I hope this was helpful. Let me know if you have any questions! 🙂 Happy crafting! If you want to learn more about sewing this is a 5 part series where I teach you the most basic clothing alterations coming from a professional seamstress. Here’s what else goes in this series.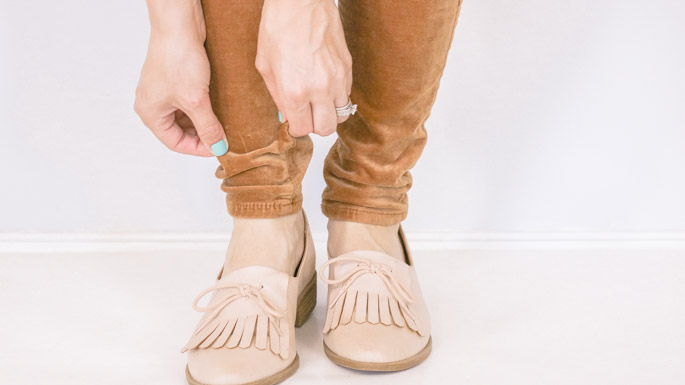



Totally going to be using your way to hem my jeans ! 😀 Thanks Lily !
Glad I could help 😀 😀 😀 Your very welcome Louann 🙂
Hey Lily, I’ve taken two pairs of jeans to my seamstress for the legs to be hemmed and neither pair have come back with equal lengths in the legs. She pinned only one leg while fitting. It’s not terribly unequal (only about 1/4″ to 1/2″) but it’s there. Do I need to find a new seamstress or is this sort of thing normal?
There could be a few things that caused this. #1 The pants could of been made uneven lengths at the factory #2 your legs are different heights ( caused from hip surgery , leg surgery, etc) #3 Your seamstress cut your pant legs separate or marked incorrectly which may results in uneven cuts (most pant legs should be cut together unless they’re to chunky like carhart jeans in that case they should both me marked exactly the same and cut separately) #4 The seam on the bottom wasn’t folded in and sewn identically with the other pant leg (meaning seamstress didn’t follow the lines she marked) . #5 When your trying on your pants and turn to look back in your mirror your body shifts and one leg will appear higher than the other. The best way to check if your pant legs are the exact height is to look at both pant legs in the mirror from the side. Left side then the right side while wearing your shoes and standing on a hard floor (profile to the mirror) If the difference is 1/4″ of an inch I would have to say that’s fairly normal but, 1/2″ is quite a big difference. If you haven’t tried a fitting like this let me know what the results are?
Thanks for the comprehensive reply. That’s good info to know for the future
Sure Let me know if you have anymore questions:D
When hemming pant , if the need to cut off more changes the space of the pants . What is the correct way to do this
Hi Frances, I’m sorry I’m not sure I understand you’re question?
thank you for this video! I am a beginner in sewing and I learned from your demonstartion how to hem correctly and easily. Again thank you!
Hi Lily, thank you for this tutorial! I get asked to hem my great nephew’s baseball pants frequently, and I used to do an okay job ( when he was small and it wasn’t so important) but lately I have been just paying a seamstress to do them, and it’s costing me a small fortune, LOL! As he gets older it’s more important to do a good job (peer pressure)!I wish I had more confidence in my sewing abilities! I’m so thankful for your lesson here!
Hi Sharon, oh my gosh your too cute and so sweet! It’s so nice of you to hem his pants. I know what it’s like to feel puzzled with sewing. It takes a lot of patience to sew. You can do it! It’s easier than you think. I’m glad this was helpful! 😀 😀
I started sewing on a machine when I was 10 years old and have been sewing since that time and hemming slacks the hard way!! Thanks for the tutorial. I have a pair of slacks to hem tonight and will definitely try your method. It looks like the results will be more accurate and the work much easier. Many thanks for sharing your knowledge.
Hi Becky, I am so happy to hear this was helpful! Wow you started young. 🙂 Let me know how it goes or if you have any questions at all! 😀
I also am going to try this method for pants. I have never sewed anything and will be teaching myself. Thank you!!
I’m glad to hear this was helpful! Happy sewing!
To clarify- in the section where you write “keep in mind if your jeans have a wider hem that’s over 1/2″ than you will need to do a bigger seam allowance if you want to match it” – is that saying “a wider hem that’s over one to two inches” or is that saying “over half an inch”- sorry i’m reading it so many times I am confused now!
I was referring to the thickness of your fold on the bottom (wider hem) Maybe I should of said thicker hem. Most jeans will usually only have 1/2″ fold (hem at bottom). Some may be 1″ or even more (folded on bottom and stitched). The thicker the fold on the bottom the more your seam allowance will be if you want to match it to your pants. You don’t always have to match it though. I hope this makes sense. Let me know if you have any more questions?
Great tutorial! Btw where did those shoes come from? Love them. Seriously!
Thank you Pamela I’m happy to hear it was helpful. OH man I got them at the thrift stores years ago. They were like new. Looked like they were never worn. I don’t even know what brand they are since I’ve actually donated them to a friend 😀 Sorry.
Love your tutorial, and those shoes! Where are they from? Brand?
Thank you Pam. I’m not sure what brand the shoes are I got them at the thrift store.
Thank you – I hemmed a pair of pants for my mother and (afterward) she mentioned her legs were not the same length due to hip replacement – both hips! Your information was a blessing as she has difficulty standing, walking and I needed something that would work with one fitting if I planned for it to work at all! Thank you again and again!
That’s awesome! I’m so happy to hear it was helpful.
Eureka! I have a question about step 2. I was also taught this is the proper way to lay out the legs but sometimes I have issues. If the pants are relatively straight leg, side seam to side seam (SS to SS) usually works ok. But sometimes I have issues doing it this way. I notice that sometimes when I lay the legs SS to SS, the hem edges won’t lay flush and the inseam will curve slightly up. I can see this happening a bit in your picture. I have also found this to be tricky on tapered pants because you can’t cut at a right angle to the edge of the leg which results in a v-shape at the front and back of the legs. Do you have any experience or insight on this? Appreciate you!
I understand what you mean. The only think I could think of is maybe trying to measure up and mark at three points. Both sides of the pants leg and center where the seem is. This way you follow the original hem line exactly if you’re seeing it’ll create a dip and curving in the hem line. Let me know if this helps.
thank you!! I’ll give it a shot!