Our Alaska Trip
I can’t believe Christmas is almost here. Summer flew by in a zippie and yesterday was one of our first days with real frost. I say real because my car windows actually froze over😬. I gotta be honest I’m not a big fan of the cold but I don’t mind a little snow on Christmas. The house feels cozier and hot chocolate by the fireplace is my favorite ways to relax. Before we jump into this simple Christmas wreath tutorial I wanted to share a few photos from our Alaska trip last week. We finally got a chance to visit family and spend some time together after 3 long years. When I mentioned I was leaving for Alaska many of you asked if I could take photos. Unfortunately I didn’t take my canon because I packed light however, I tried to do the best I could with my phone. 😀 (scroll down for the wreath tutorial)
Oleg posing in front of all the friendly Alaskan animals at the airport. Just look at the size of that moose!
Our trip to the Chena Hot springs. My favorite hot springs to date. If you’re ever in the fairbanks area you should check it out.
A few drive by photos I took. This was in the Wasilla area after some fresh snow.
Thank God it was warm almost the whole time we were there. It snowed about 3 days before we left which gave us just enough time to enjoy the snow and OH boy it got cold then. Even colder when we left.
Quick video version
DIY Christmas Wreath
Okay let’s make this wreath! If you’re picky like me than you probably have a hard time finding the perfect Christmas wreath. They’re usually too fluffy or too much color. Oh and the ones that are gorgeous are way above my budget.
I like a simple wreath with pops of color and natural elements. Like maybe some twigs sticking out . 😃
TIME NEEDED: About 1 hour
This wreath is pretty easy to make and if you’re not to worried about the details it can take you under and hour to make. I have a tendency to keep coming back in a tweaking things so it usually takes me longer.
TOTAL COST: $28
(price may very. Depending on what you already have at home and what sales are in store)
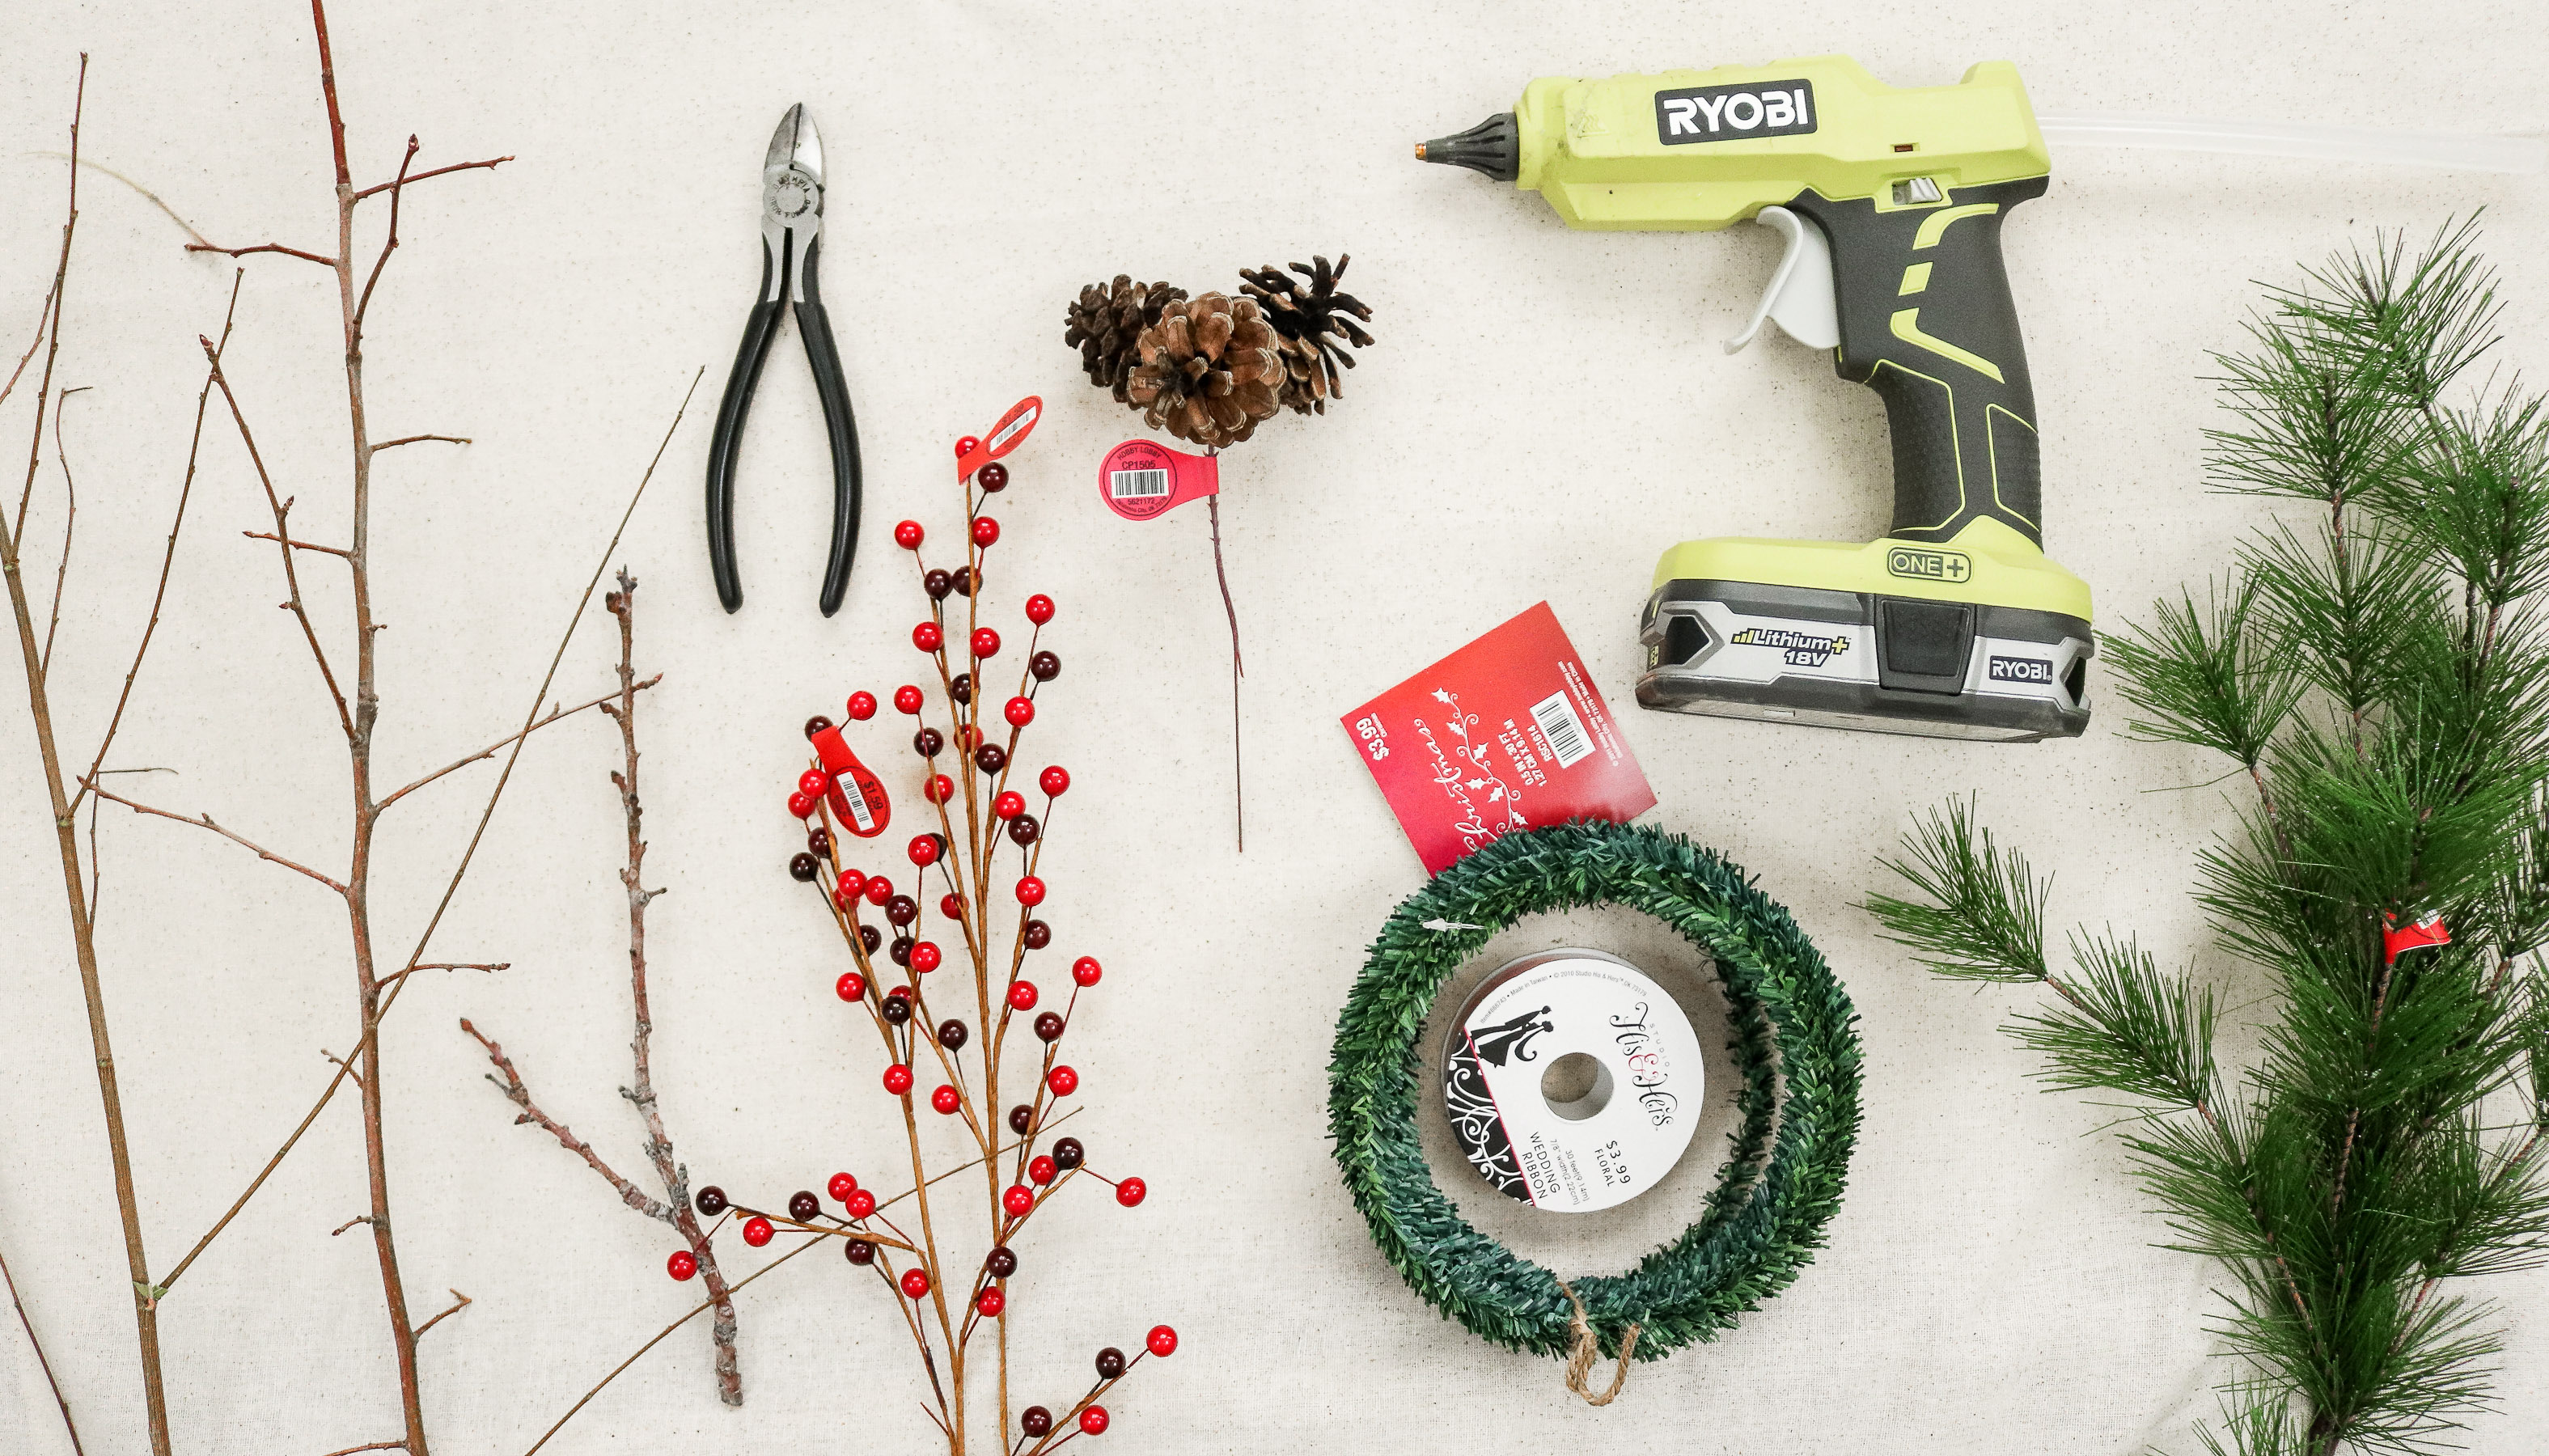
SUPPLY LIST: For 16″ Wreath
*Linked to HobbyLobby.com and affiliate links
- Pinecones
- Green Garland Wire
- 16 or 18 gauge wire ( Not sure what mine is)
- 3 X Frosted Pine Spray
- 5-6 X Red Berry Spray ( note: the link I found on hobbylobby.com sell berry sprays that seem bigger than the ones I bought. Depending on the size of your wreath you might not need as much. )
- Hotglue ( I used my heavy duty ryobi glue gun. The best gift I’ve ever gotten 😀 😀 . You can get it here )
- Red ribbon
- Wire cutters
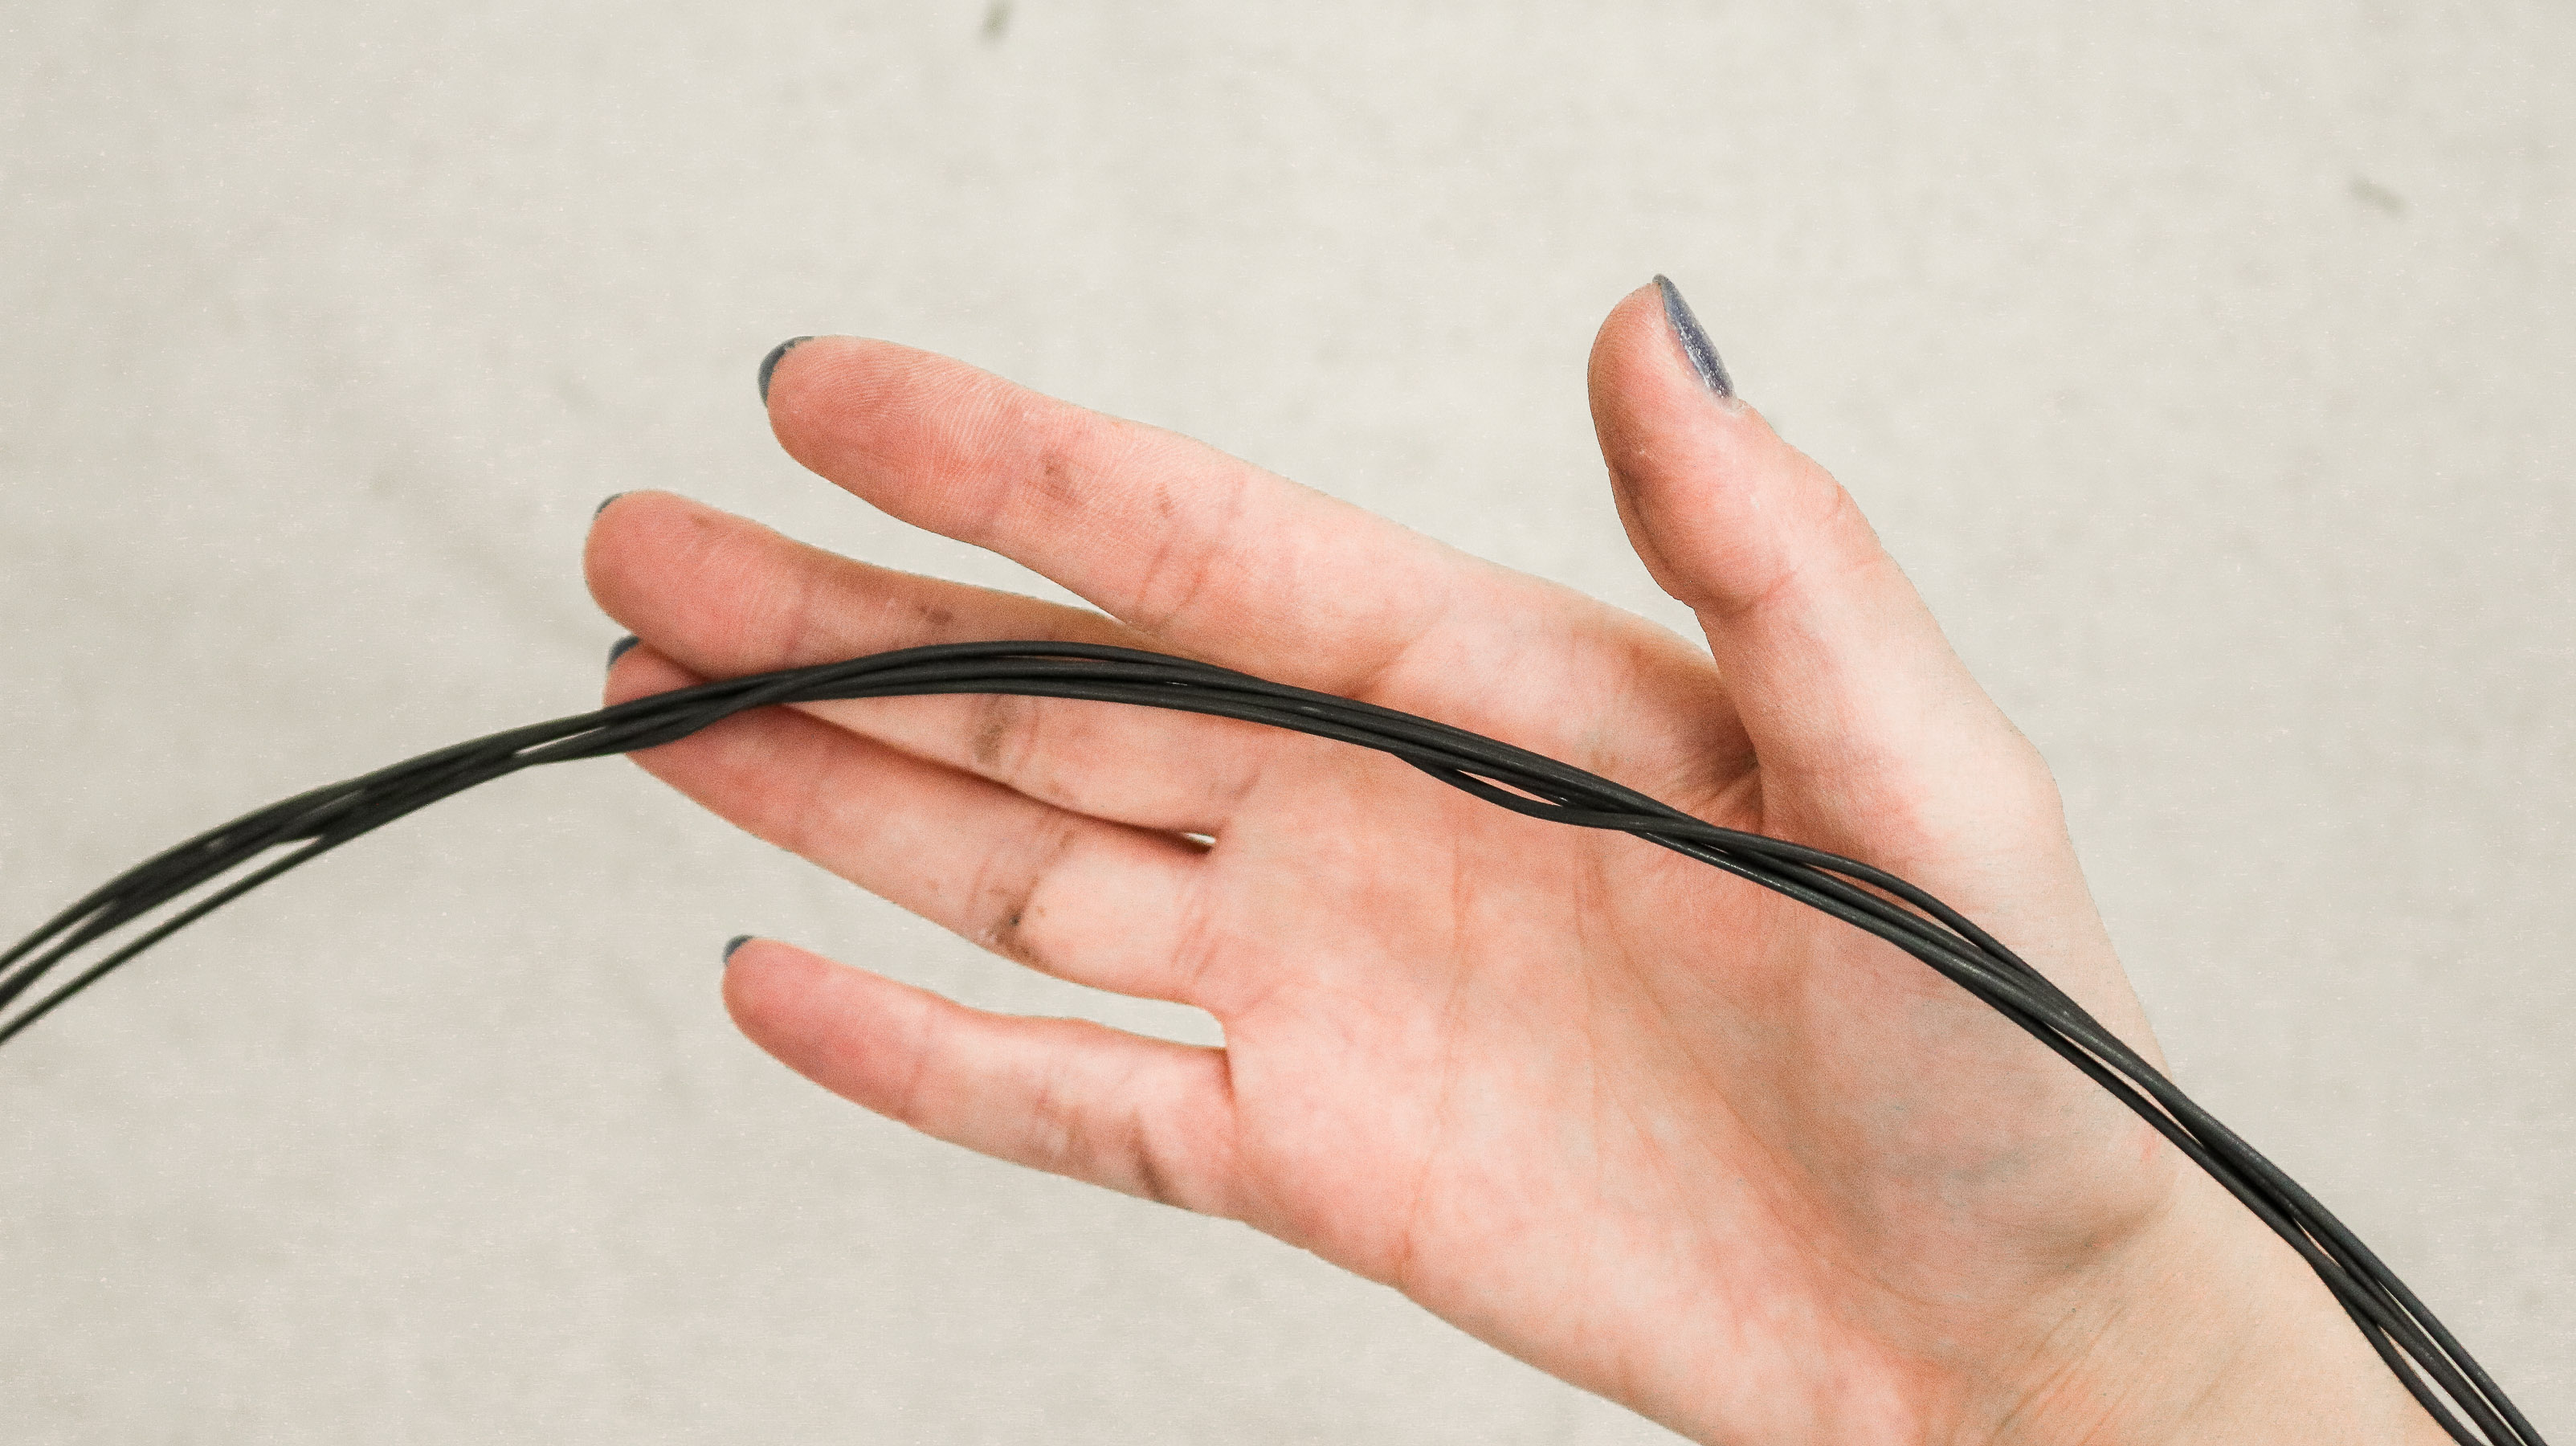
So jumping into this DIY I was hoping to use the green garland wire to make my base however, it was way too flimsy. I had to pull out some heavy duty wire to make the base. If I’m not mistaken I think this one 18 gauge wire (photo below).
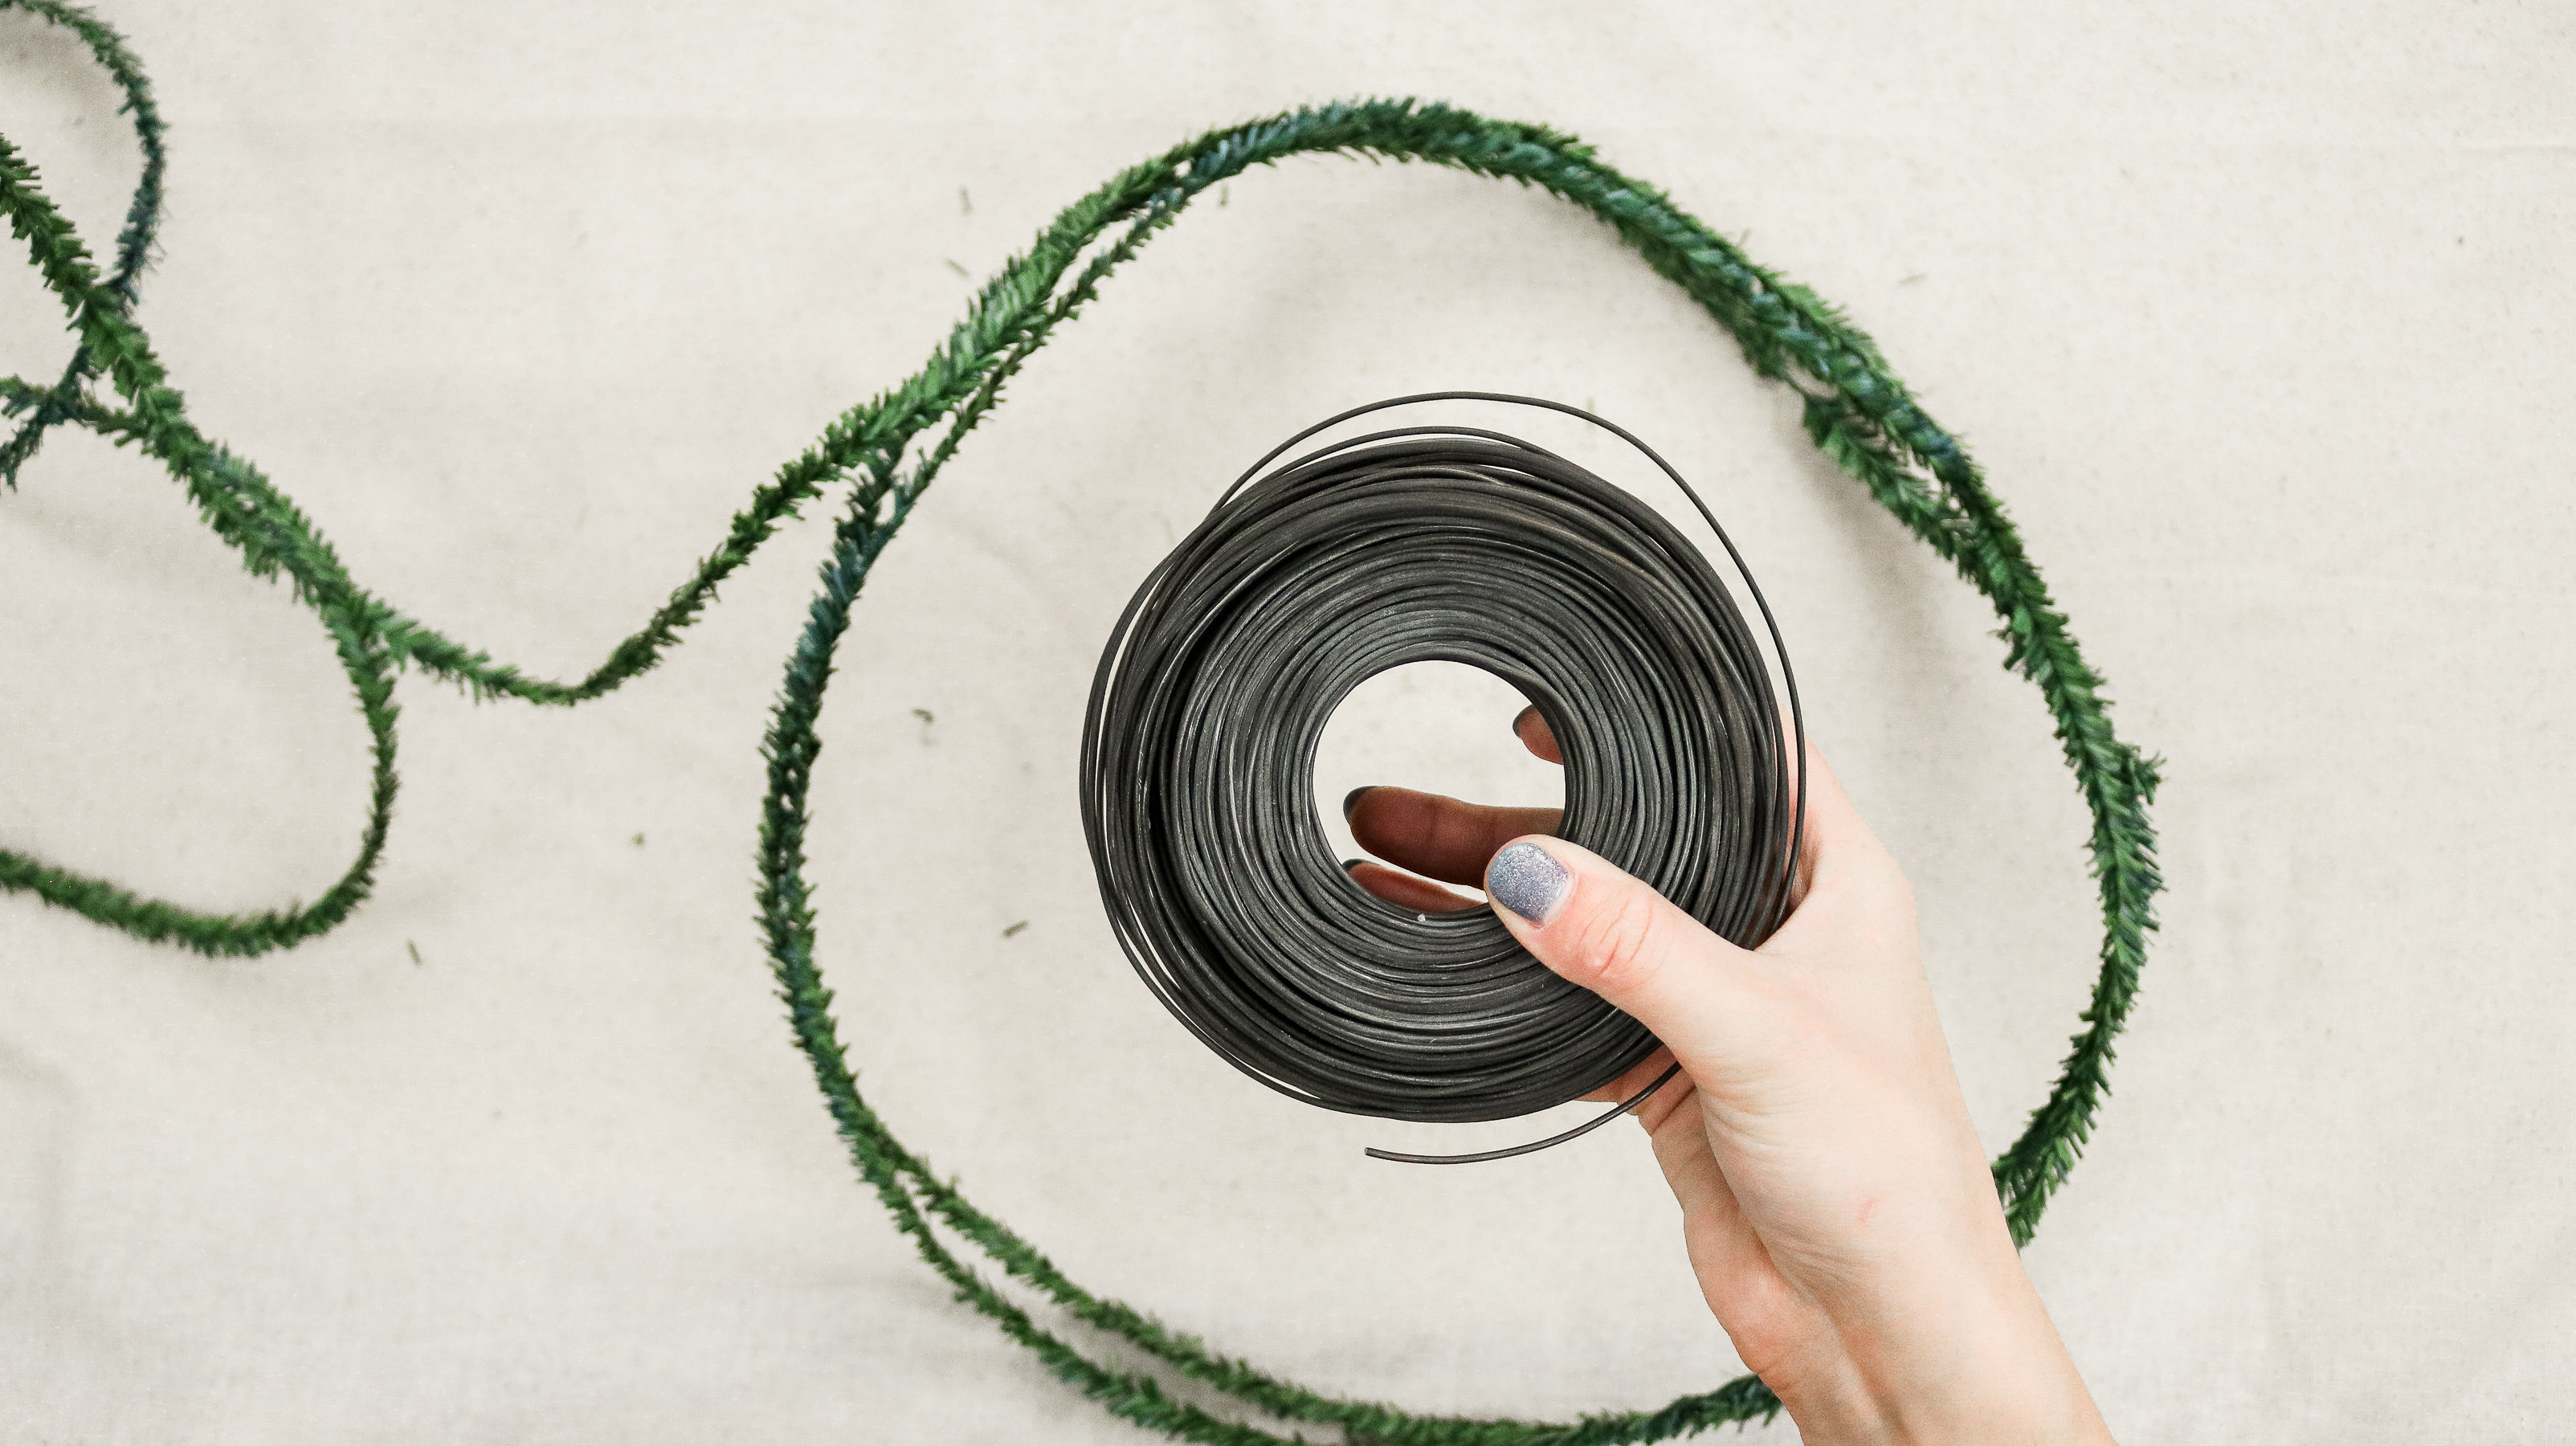
Step One: Creating your base!
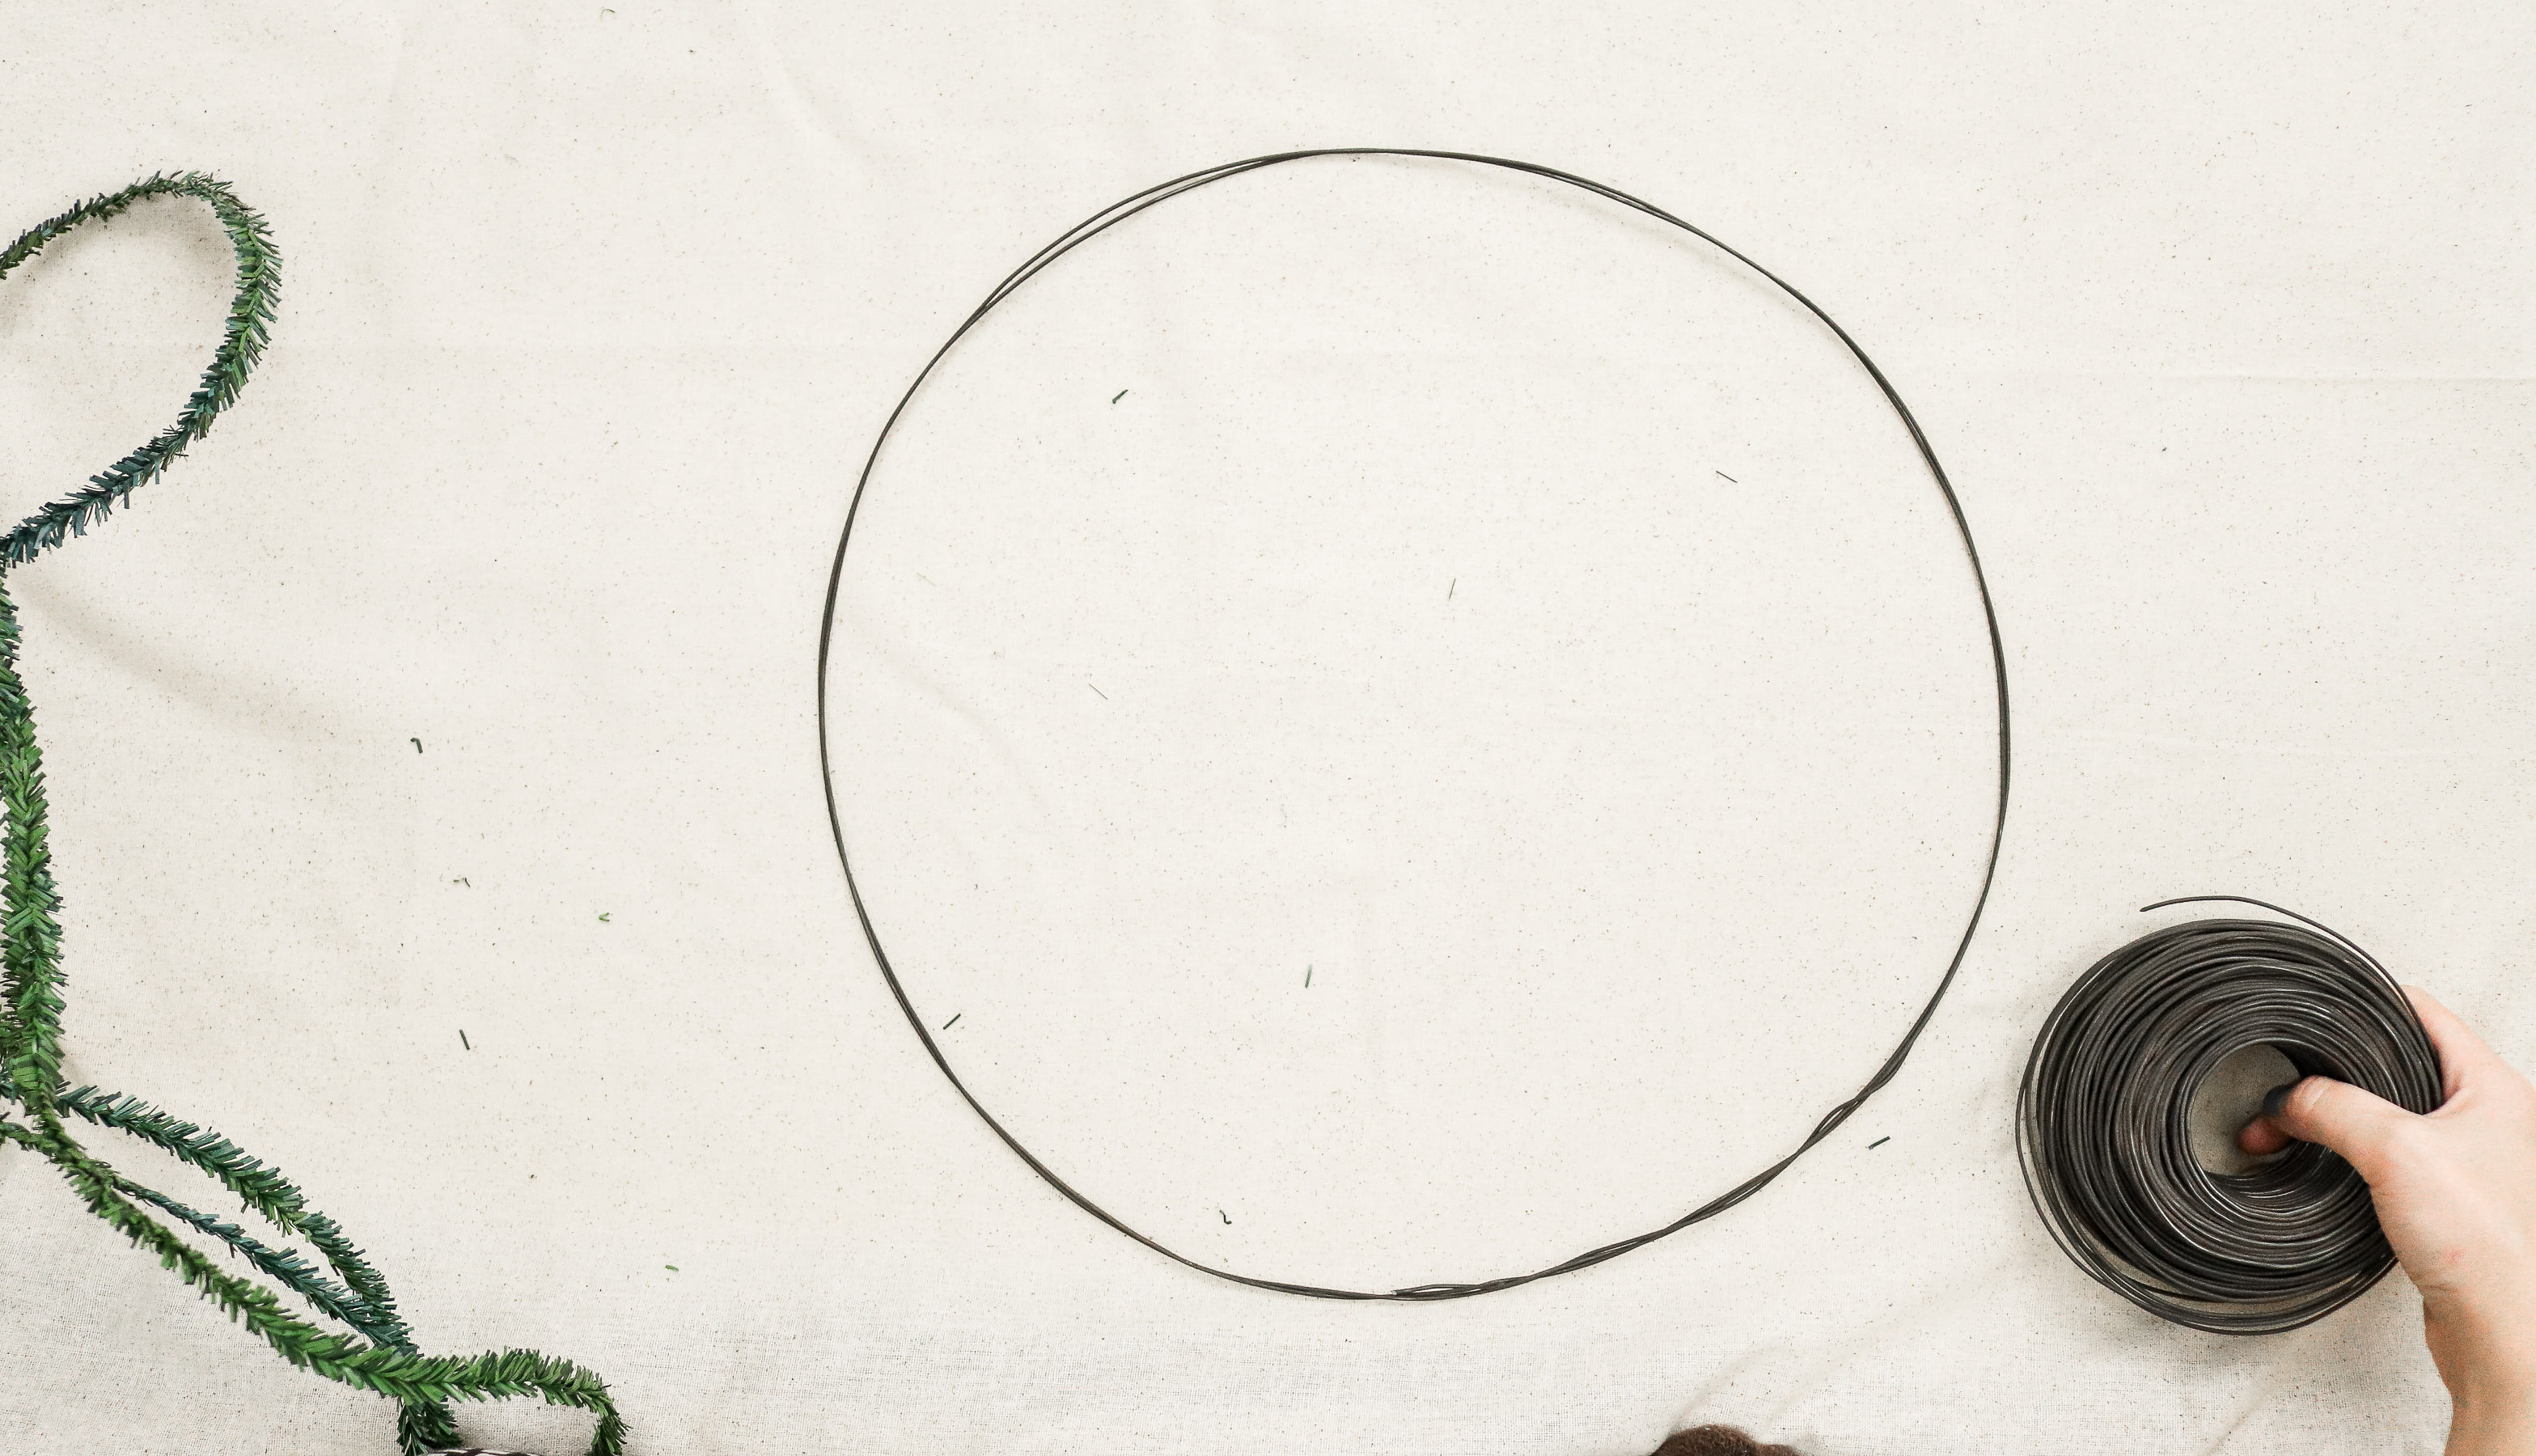
To begin simply cut about 3 feet of wire. Try not to bend it out of shape too much. I kept mine kind of circular. Then I wrapped it in a circle and secured it by wrapping the end around a few times.
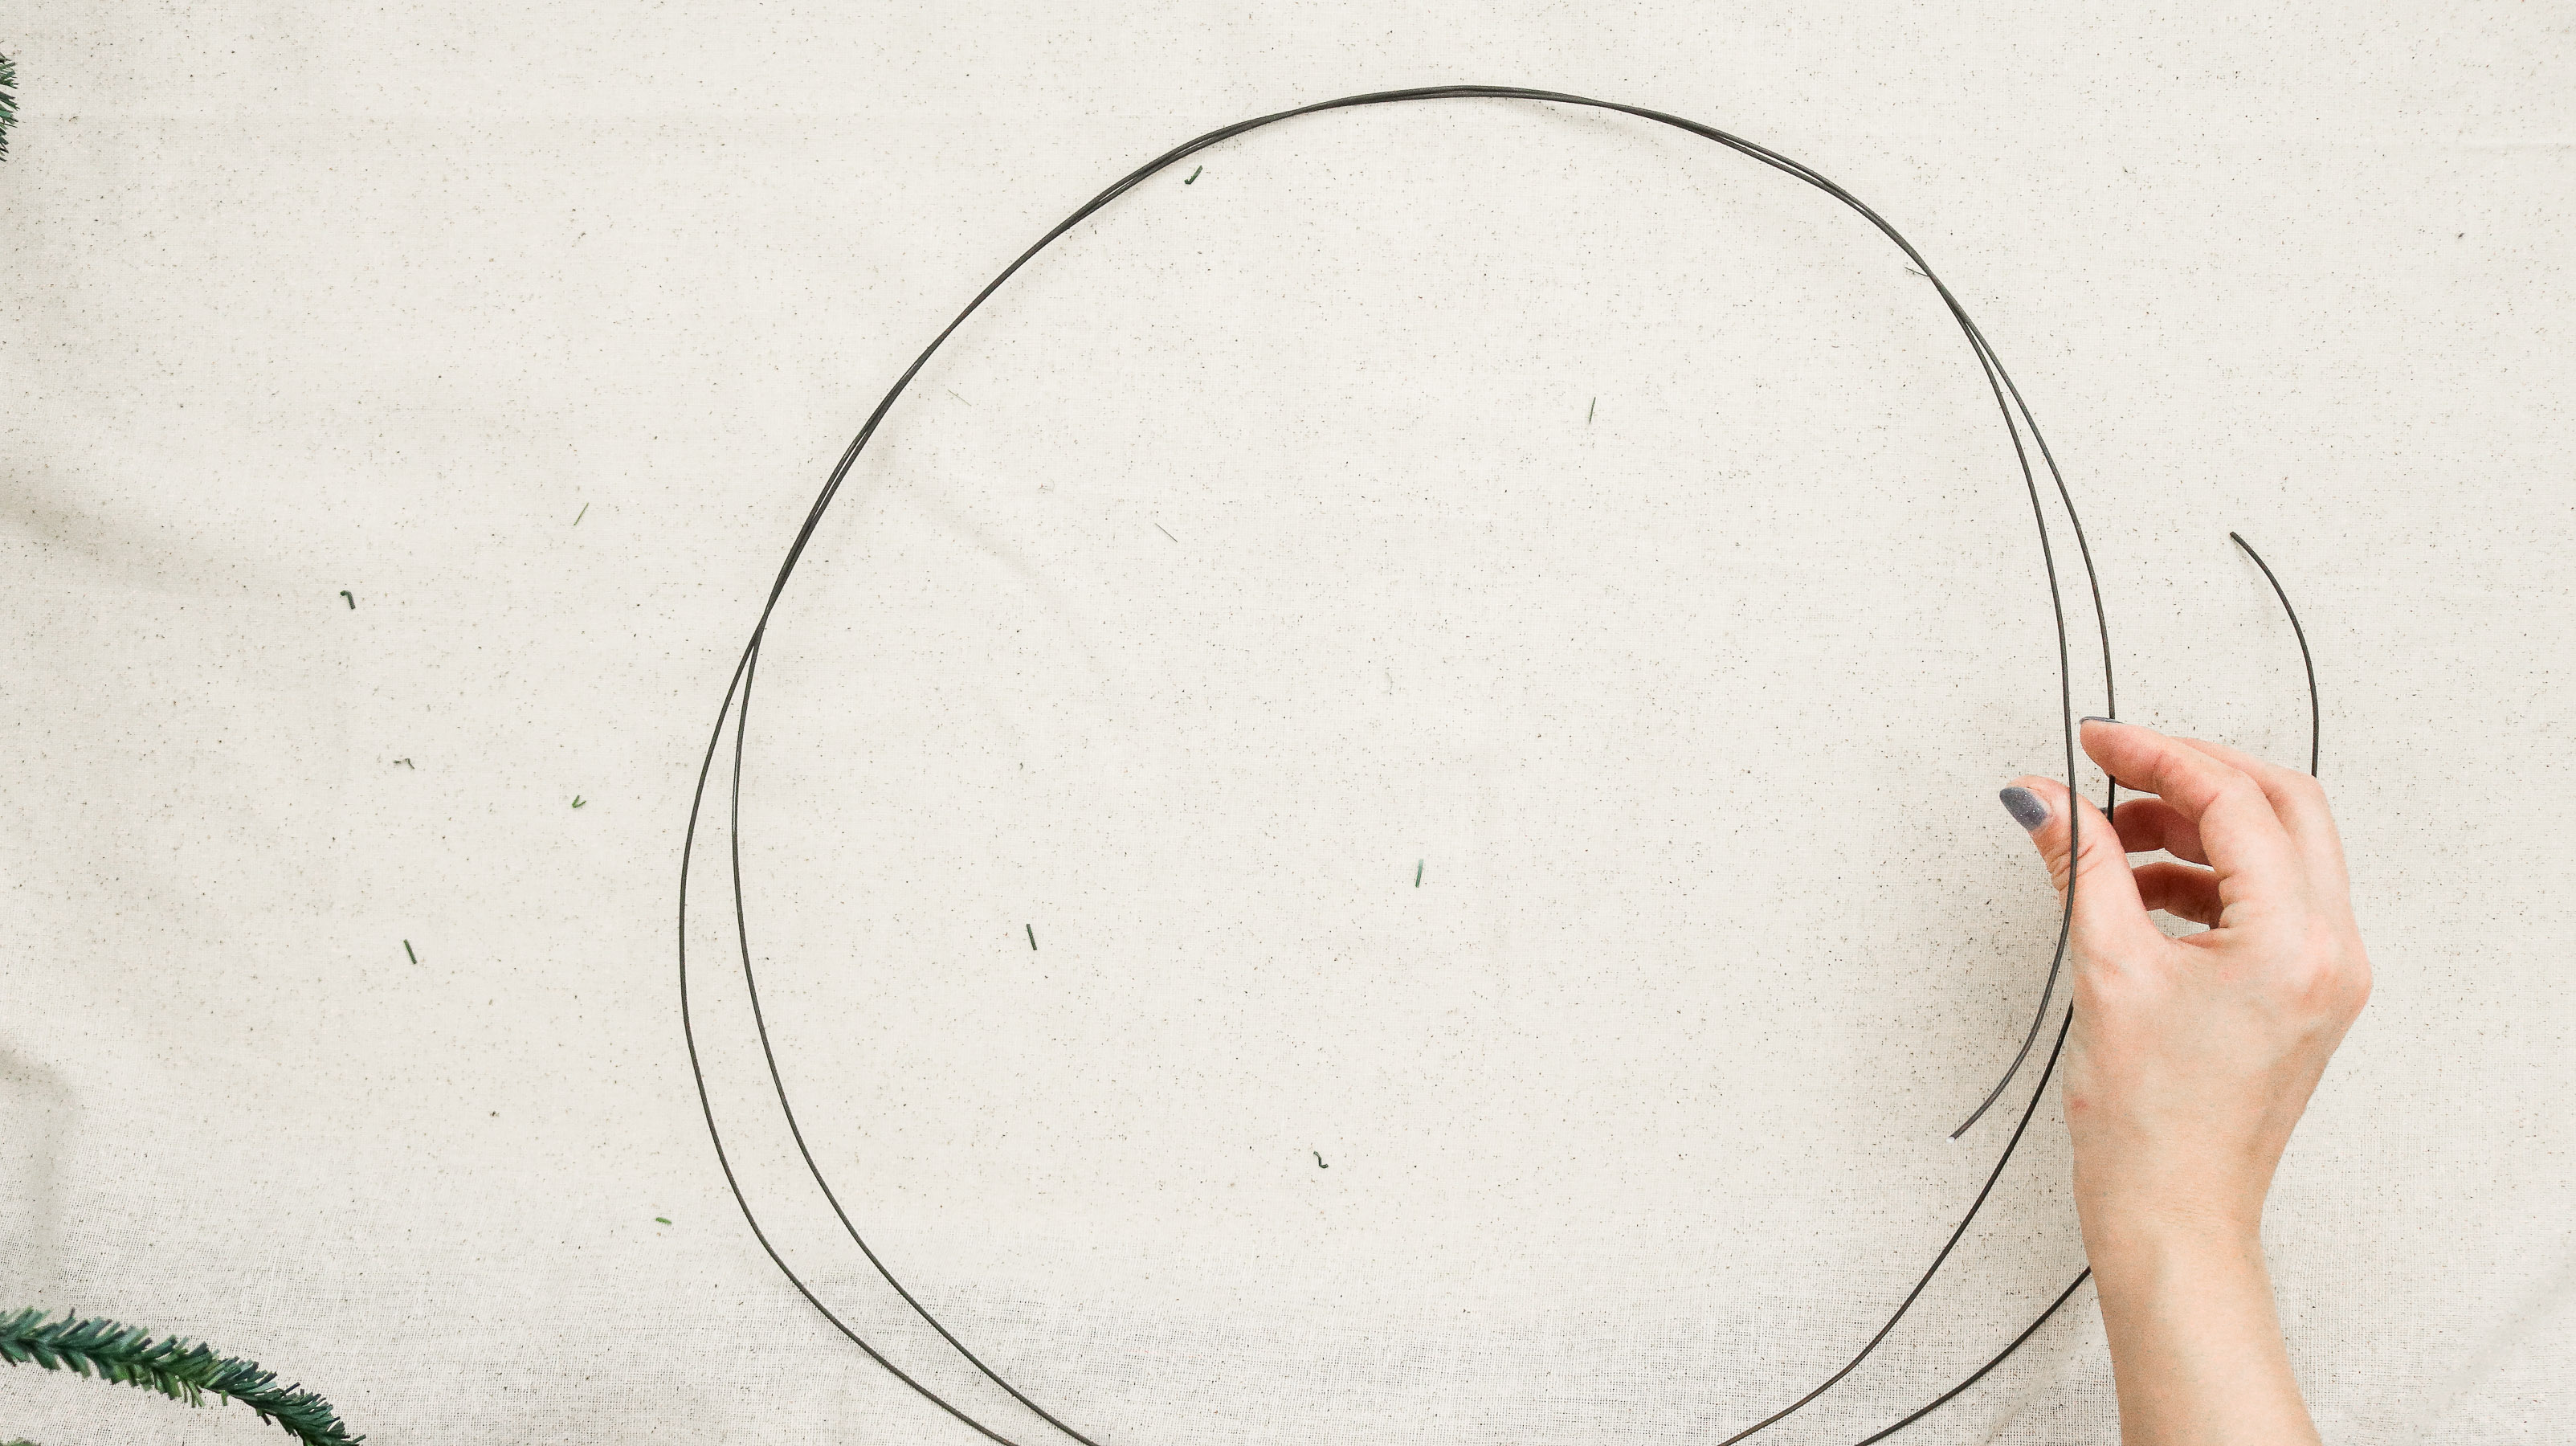
Following that I cut off about another 3 feet and wrapped it around the base once more.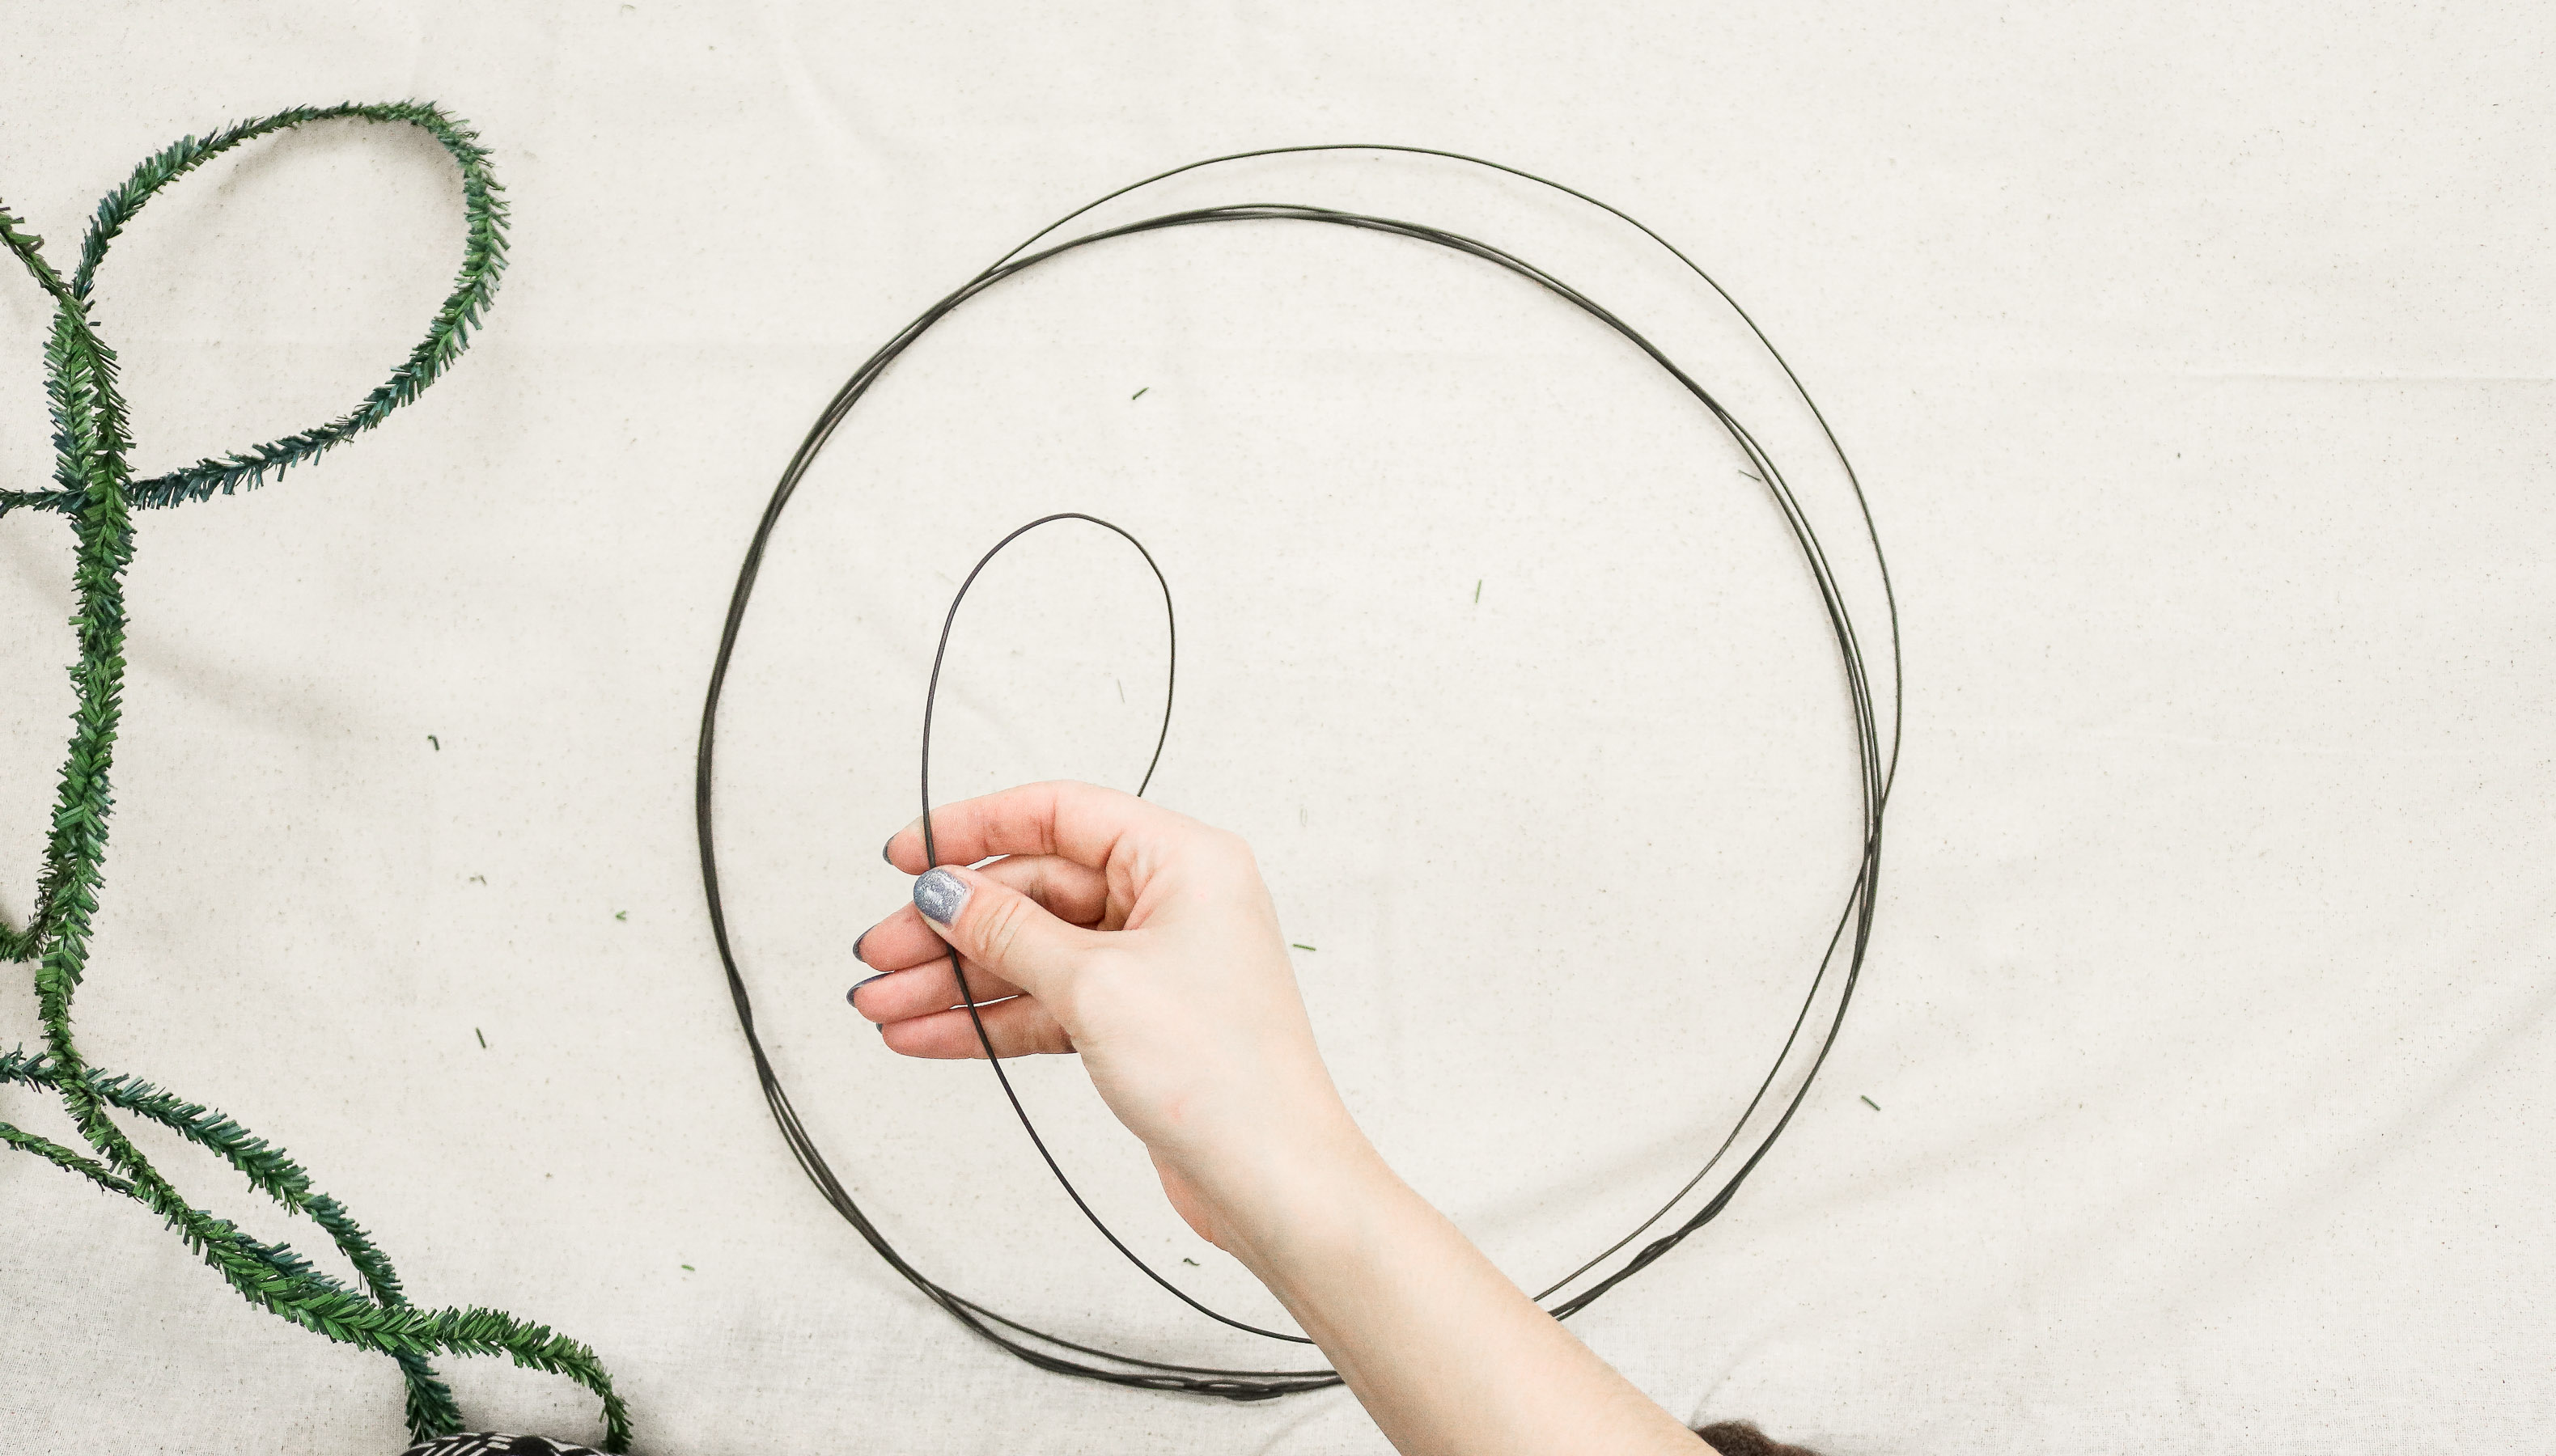
Step Two: Adding Greenery for better Adhesion!
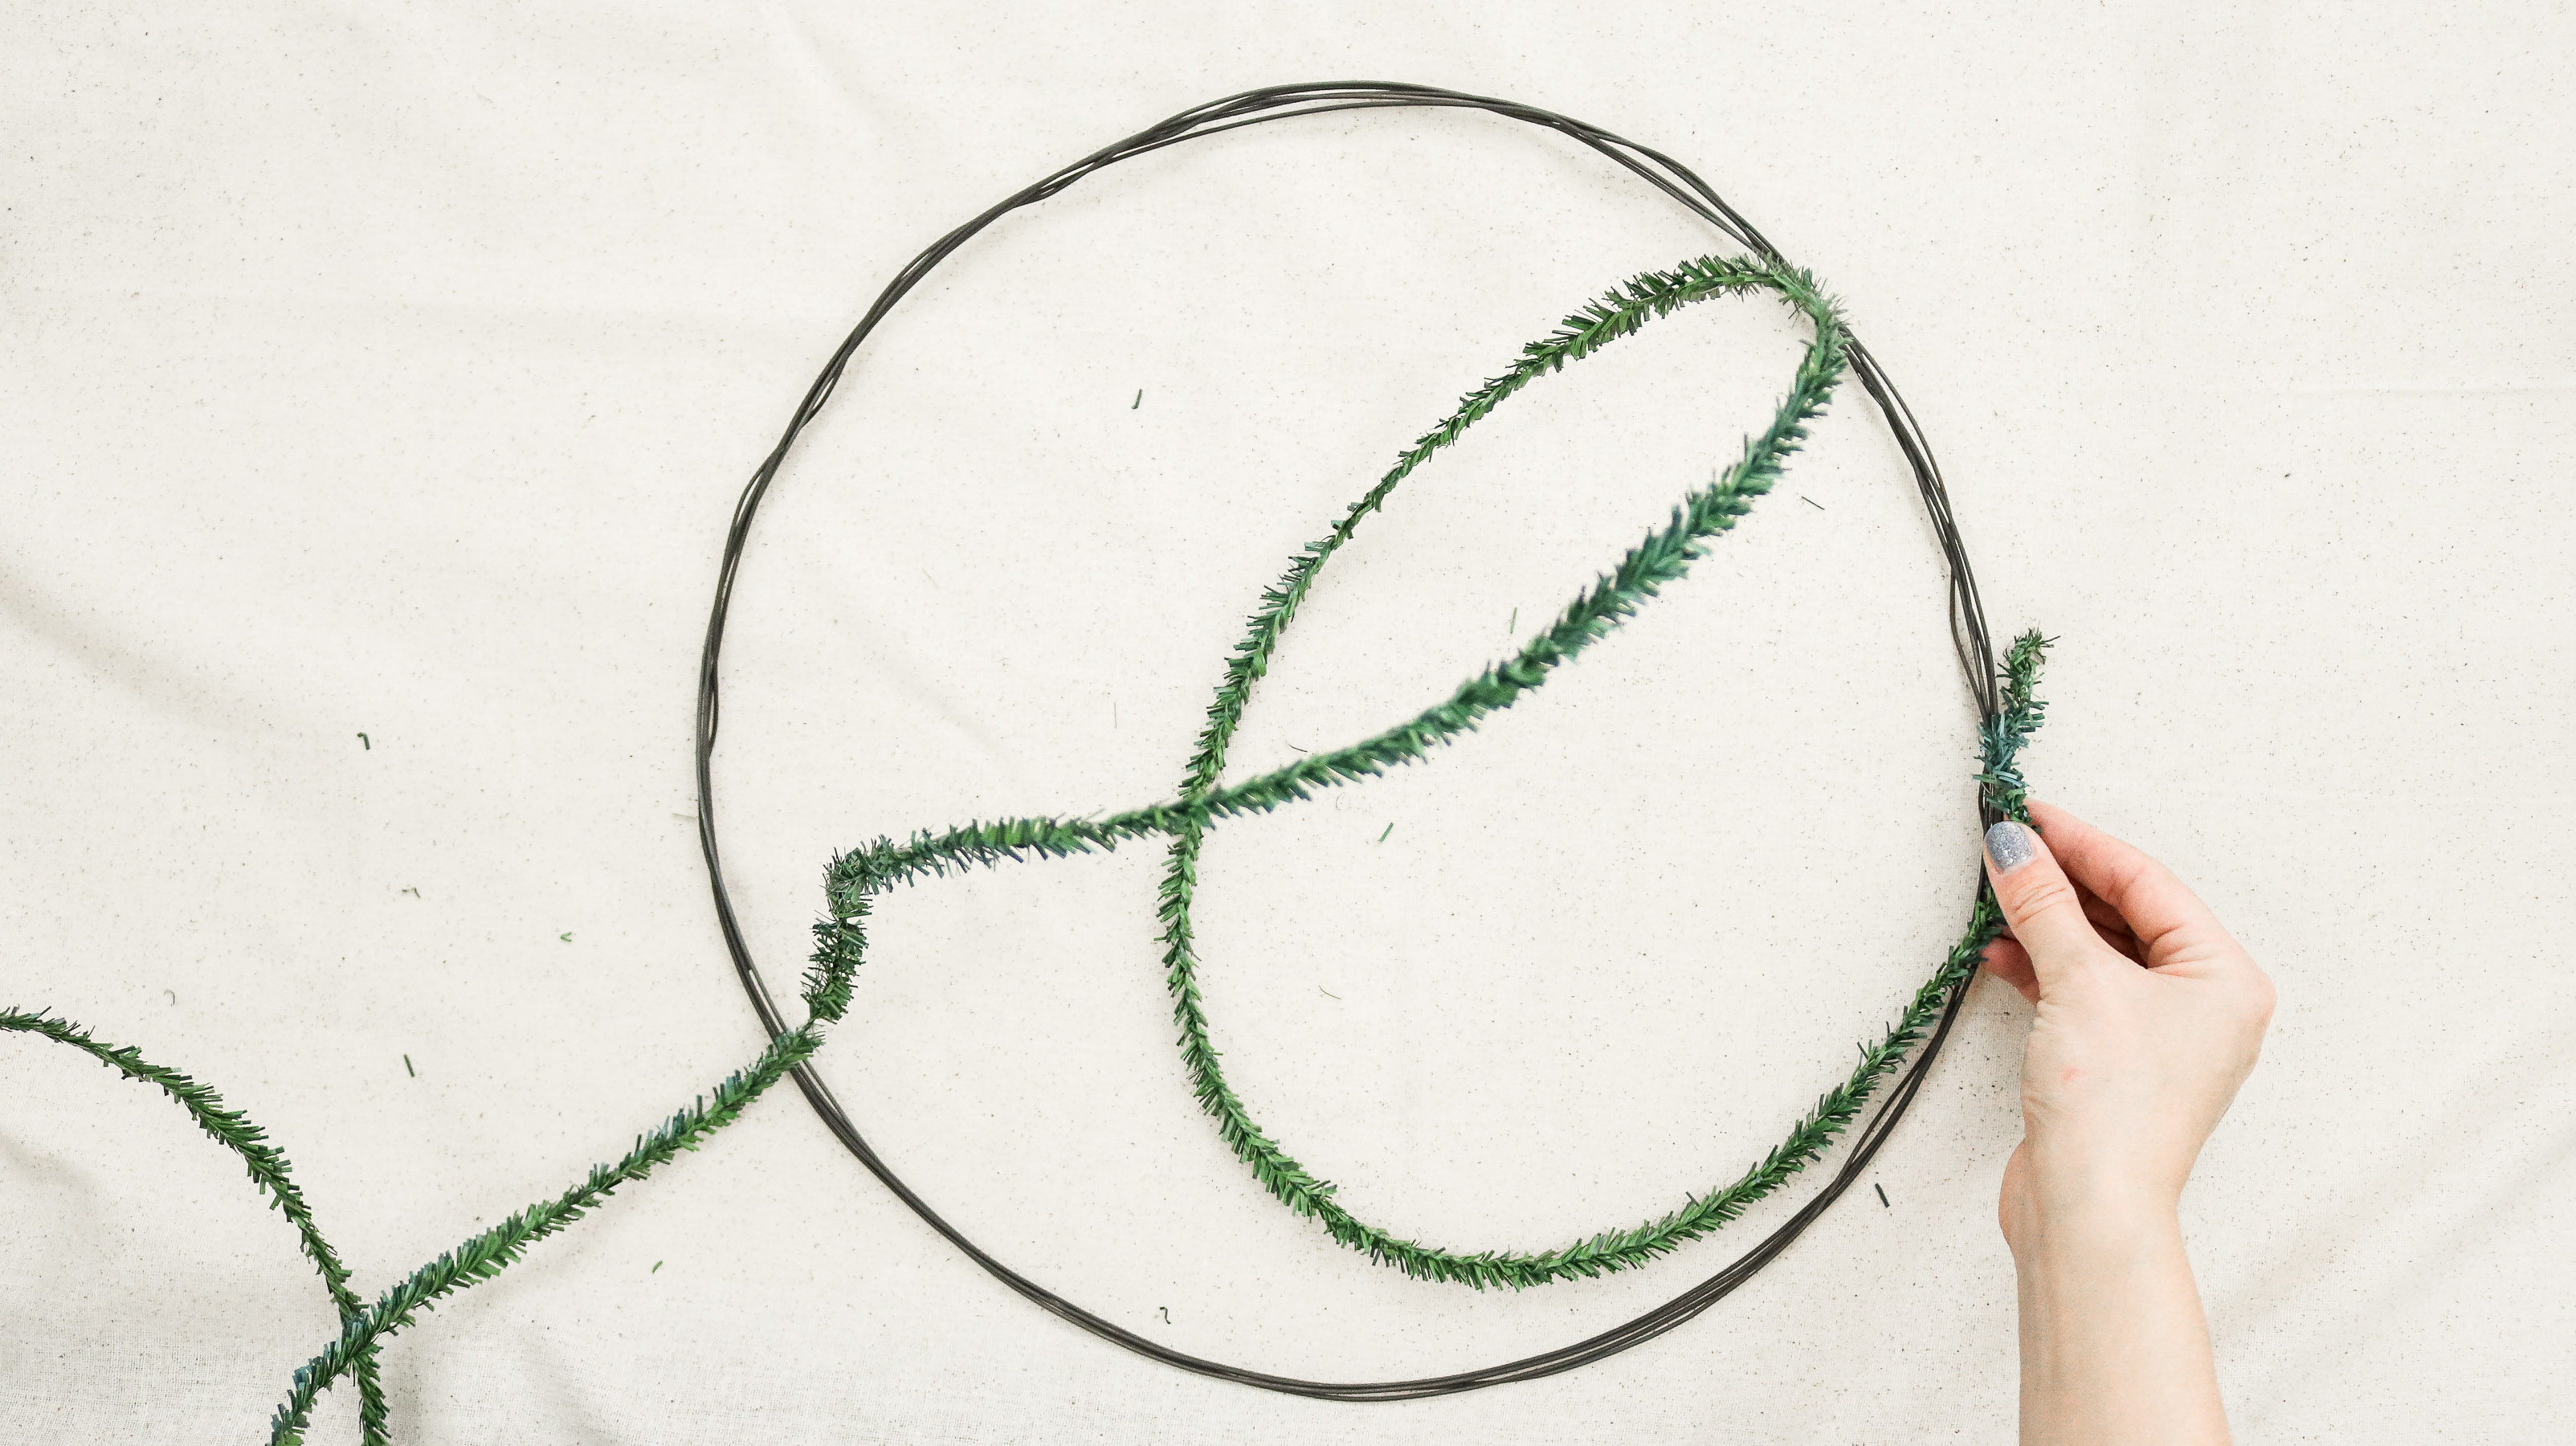
Once you have your shape made out of wire. Now take your green garland wire and wrap it around the base. This step is optional however it will help your hotglue stick better to your wreath.
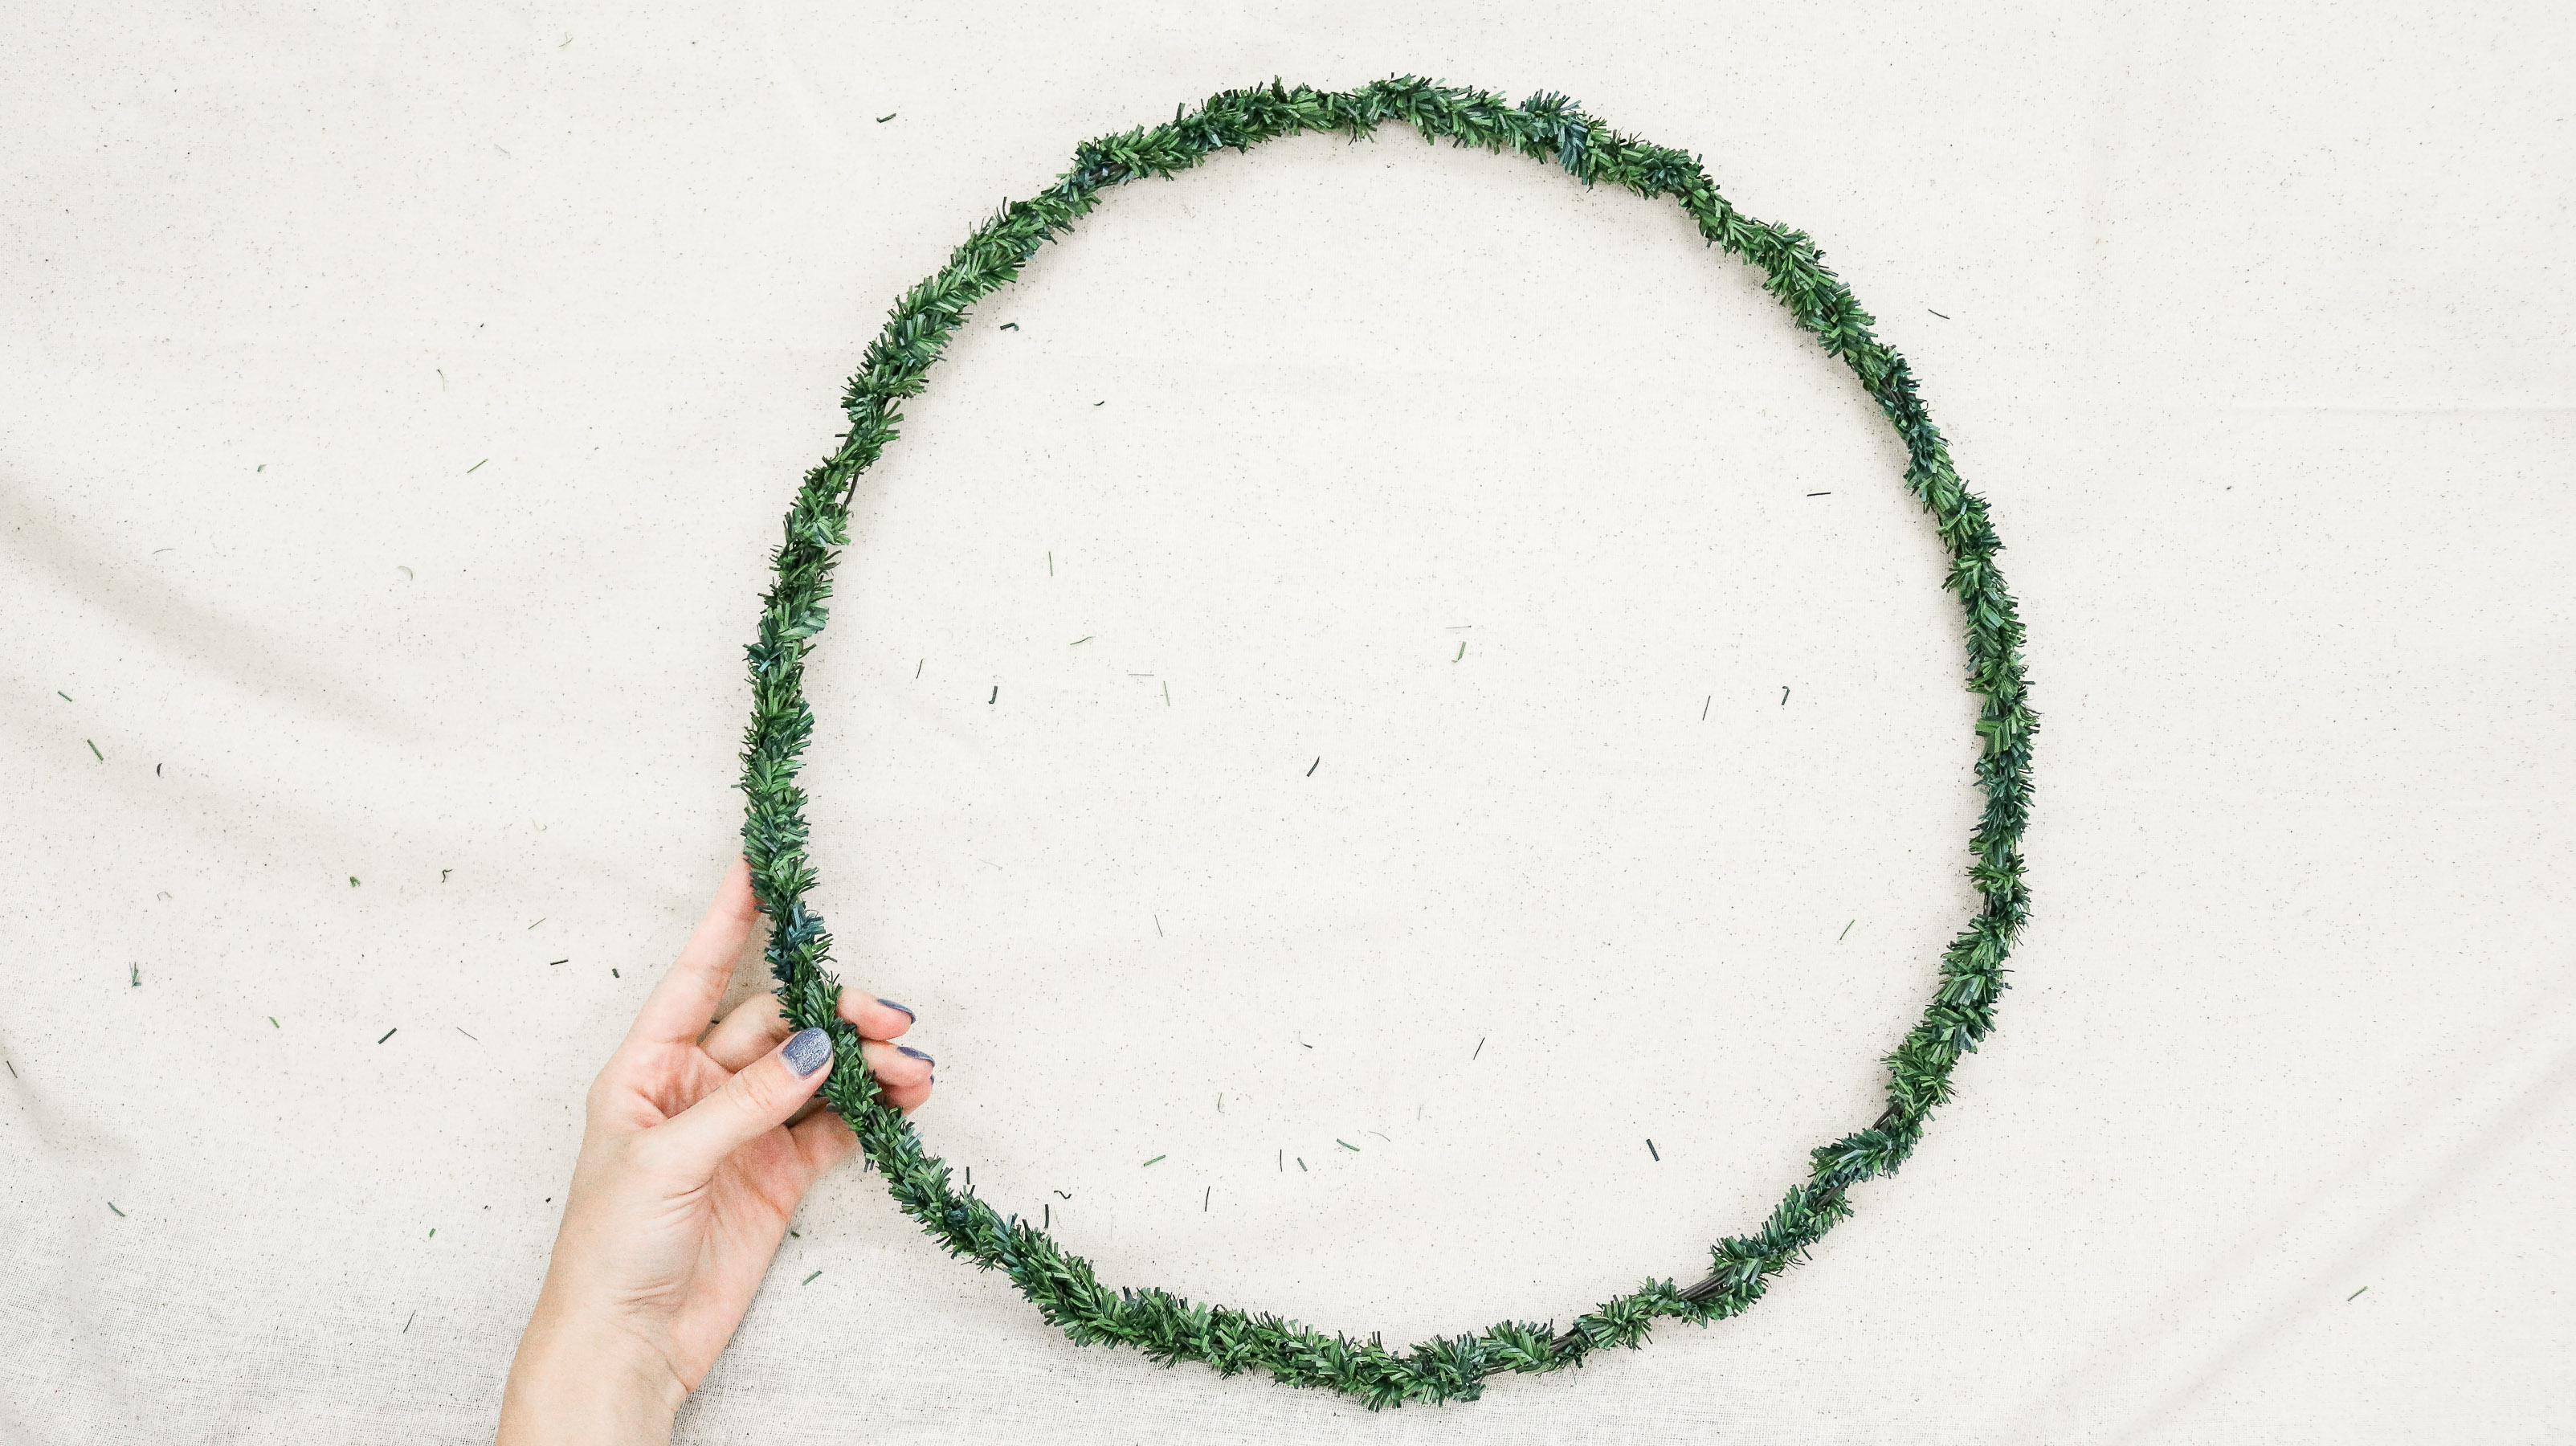
Step Three: Adding twigs!
This is my favorite part. Although I loved the green on it’s own this adds so much character. Take some bendable long branches and wrap them around your wreath. I found some in our back yard.
Hot glue both the beginning and end of each branch to the wreath. It should glue to the greenery really well. 🙂 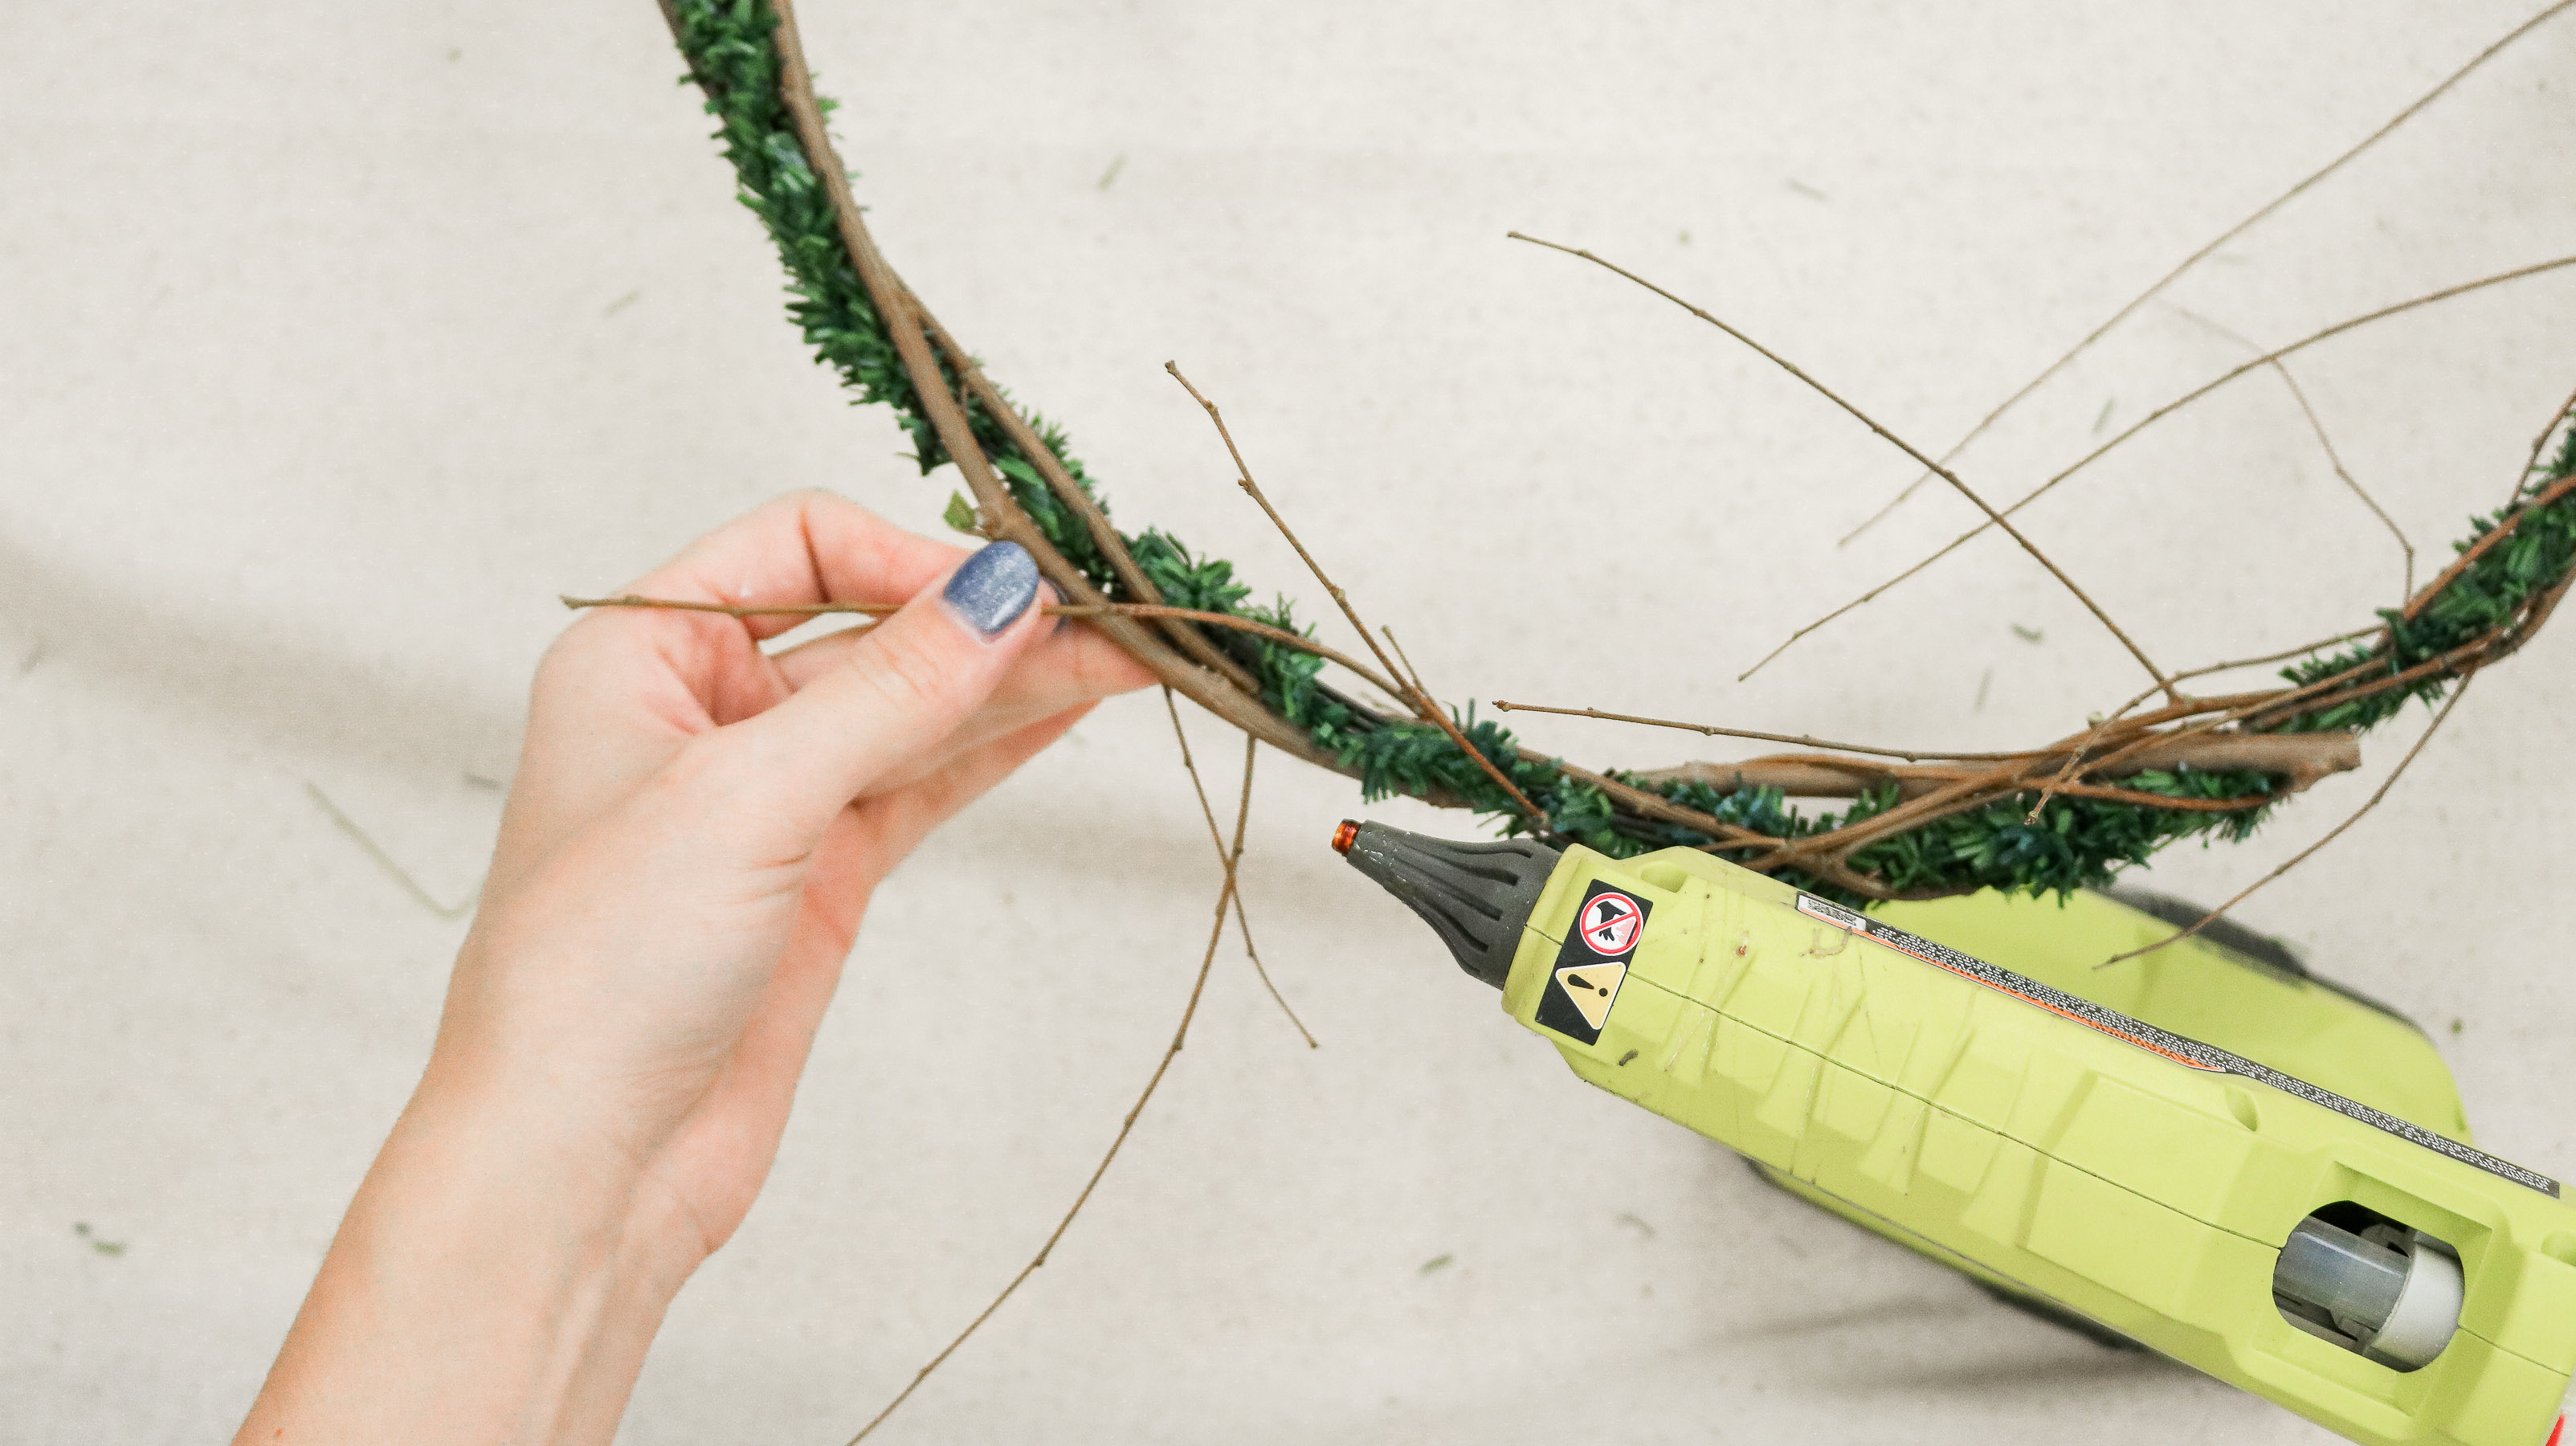
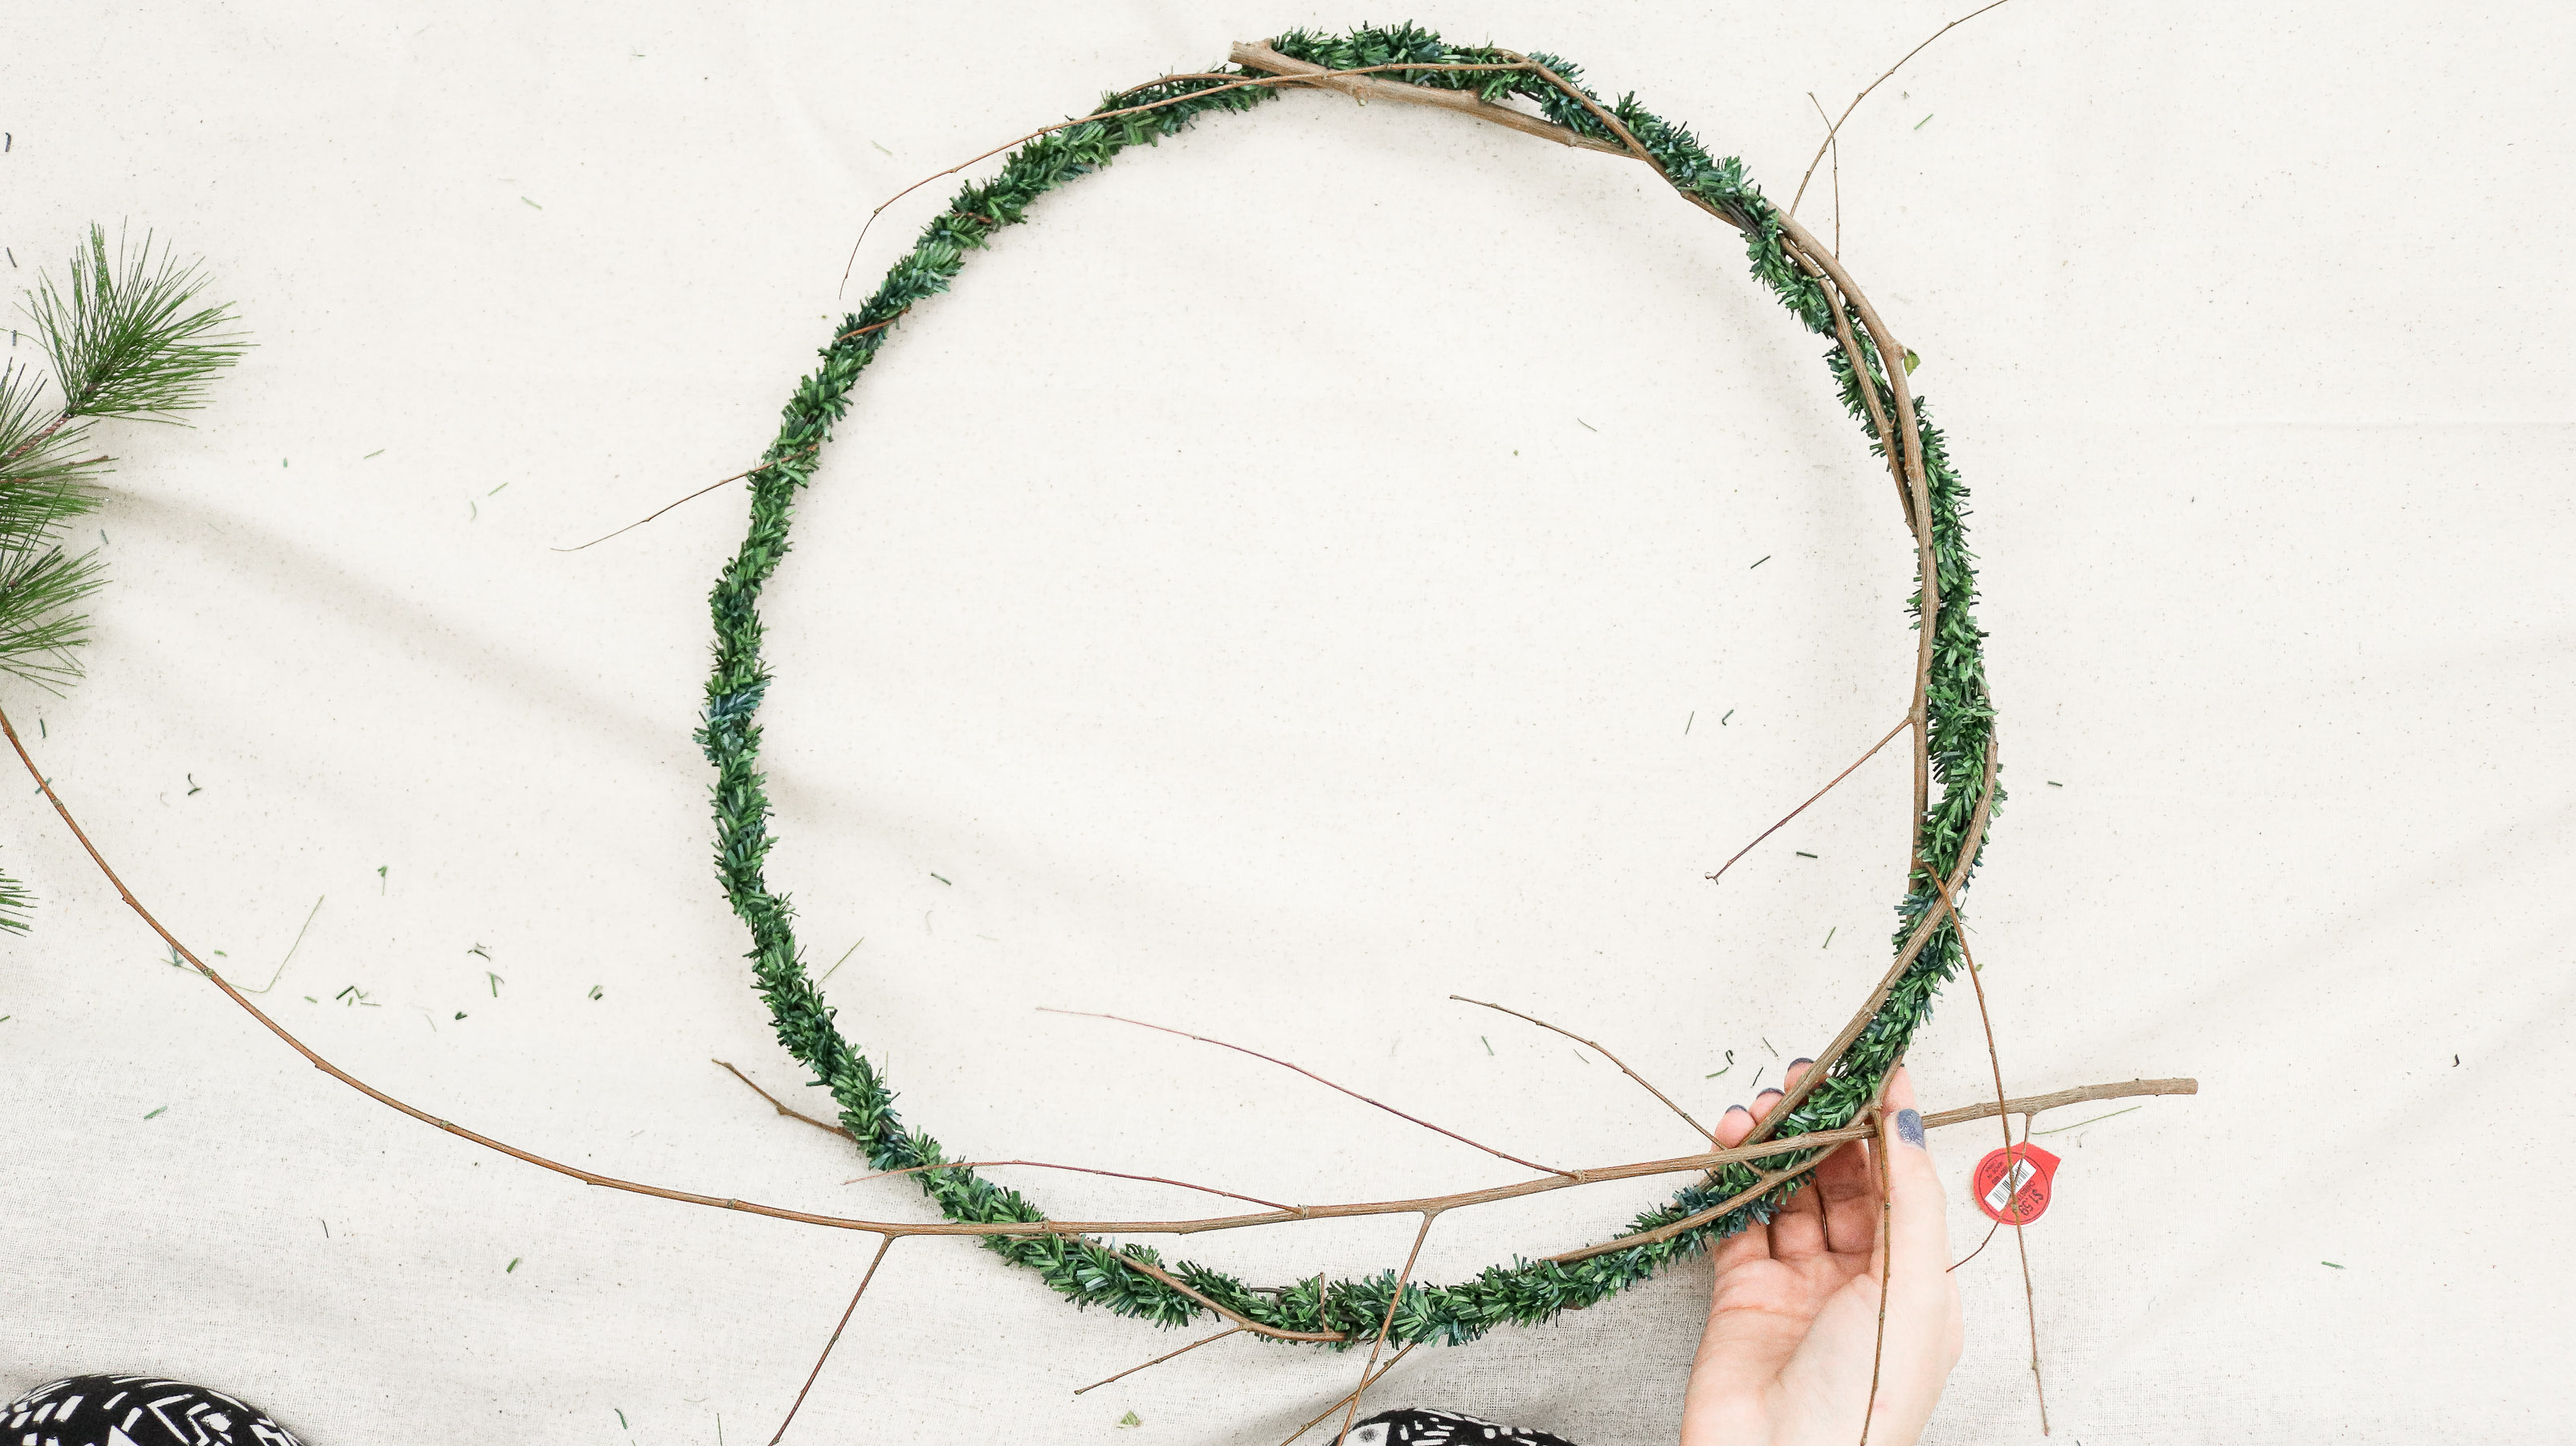
Here’s what it should look like. You can cut off any long twigs sticking out. I left a few.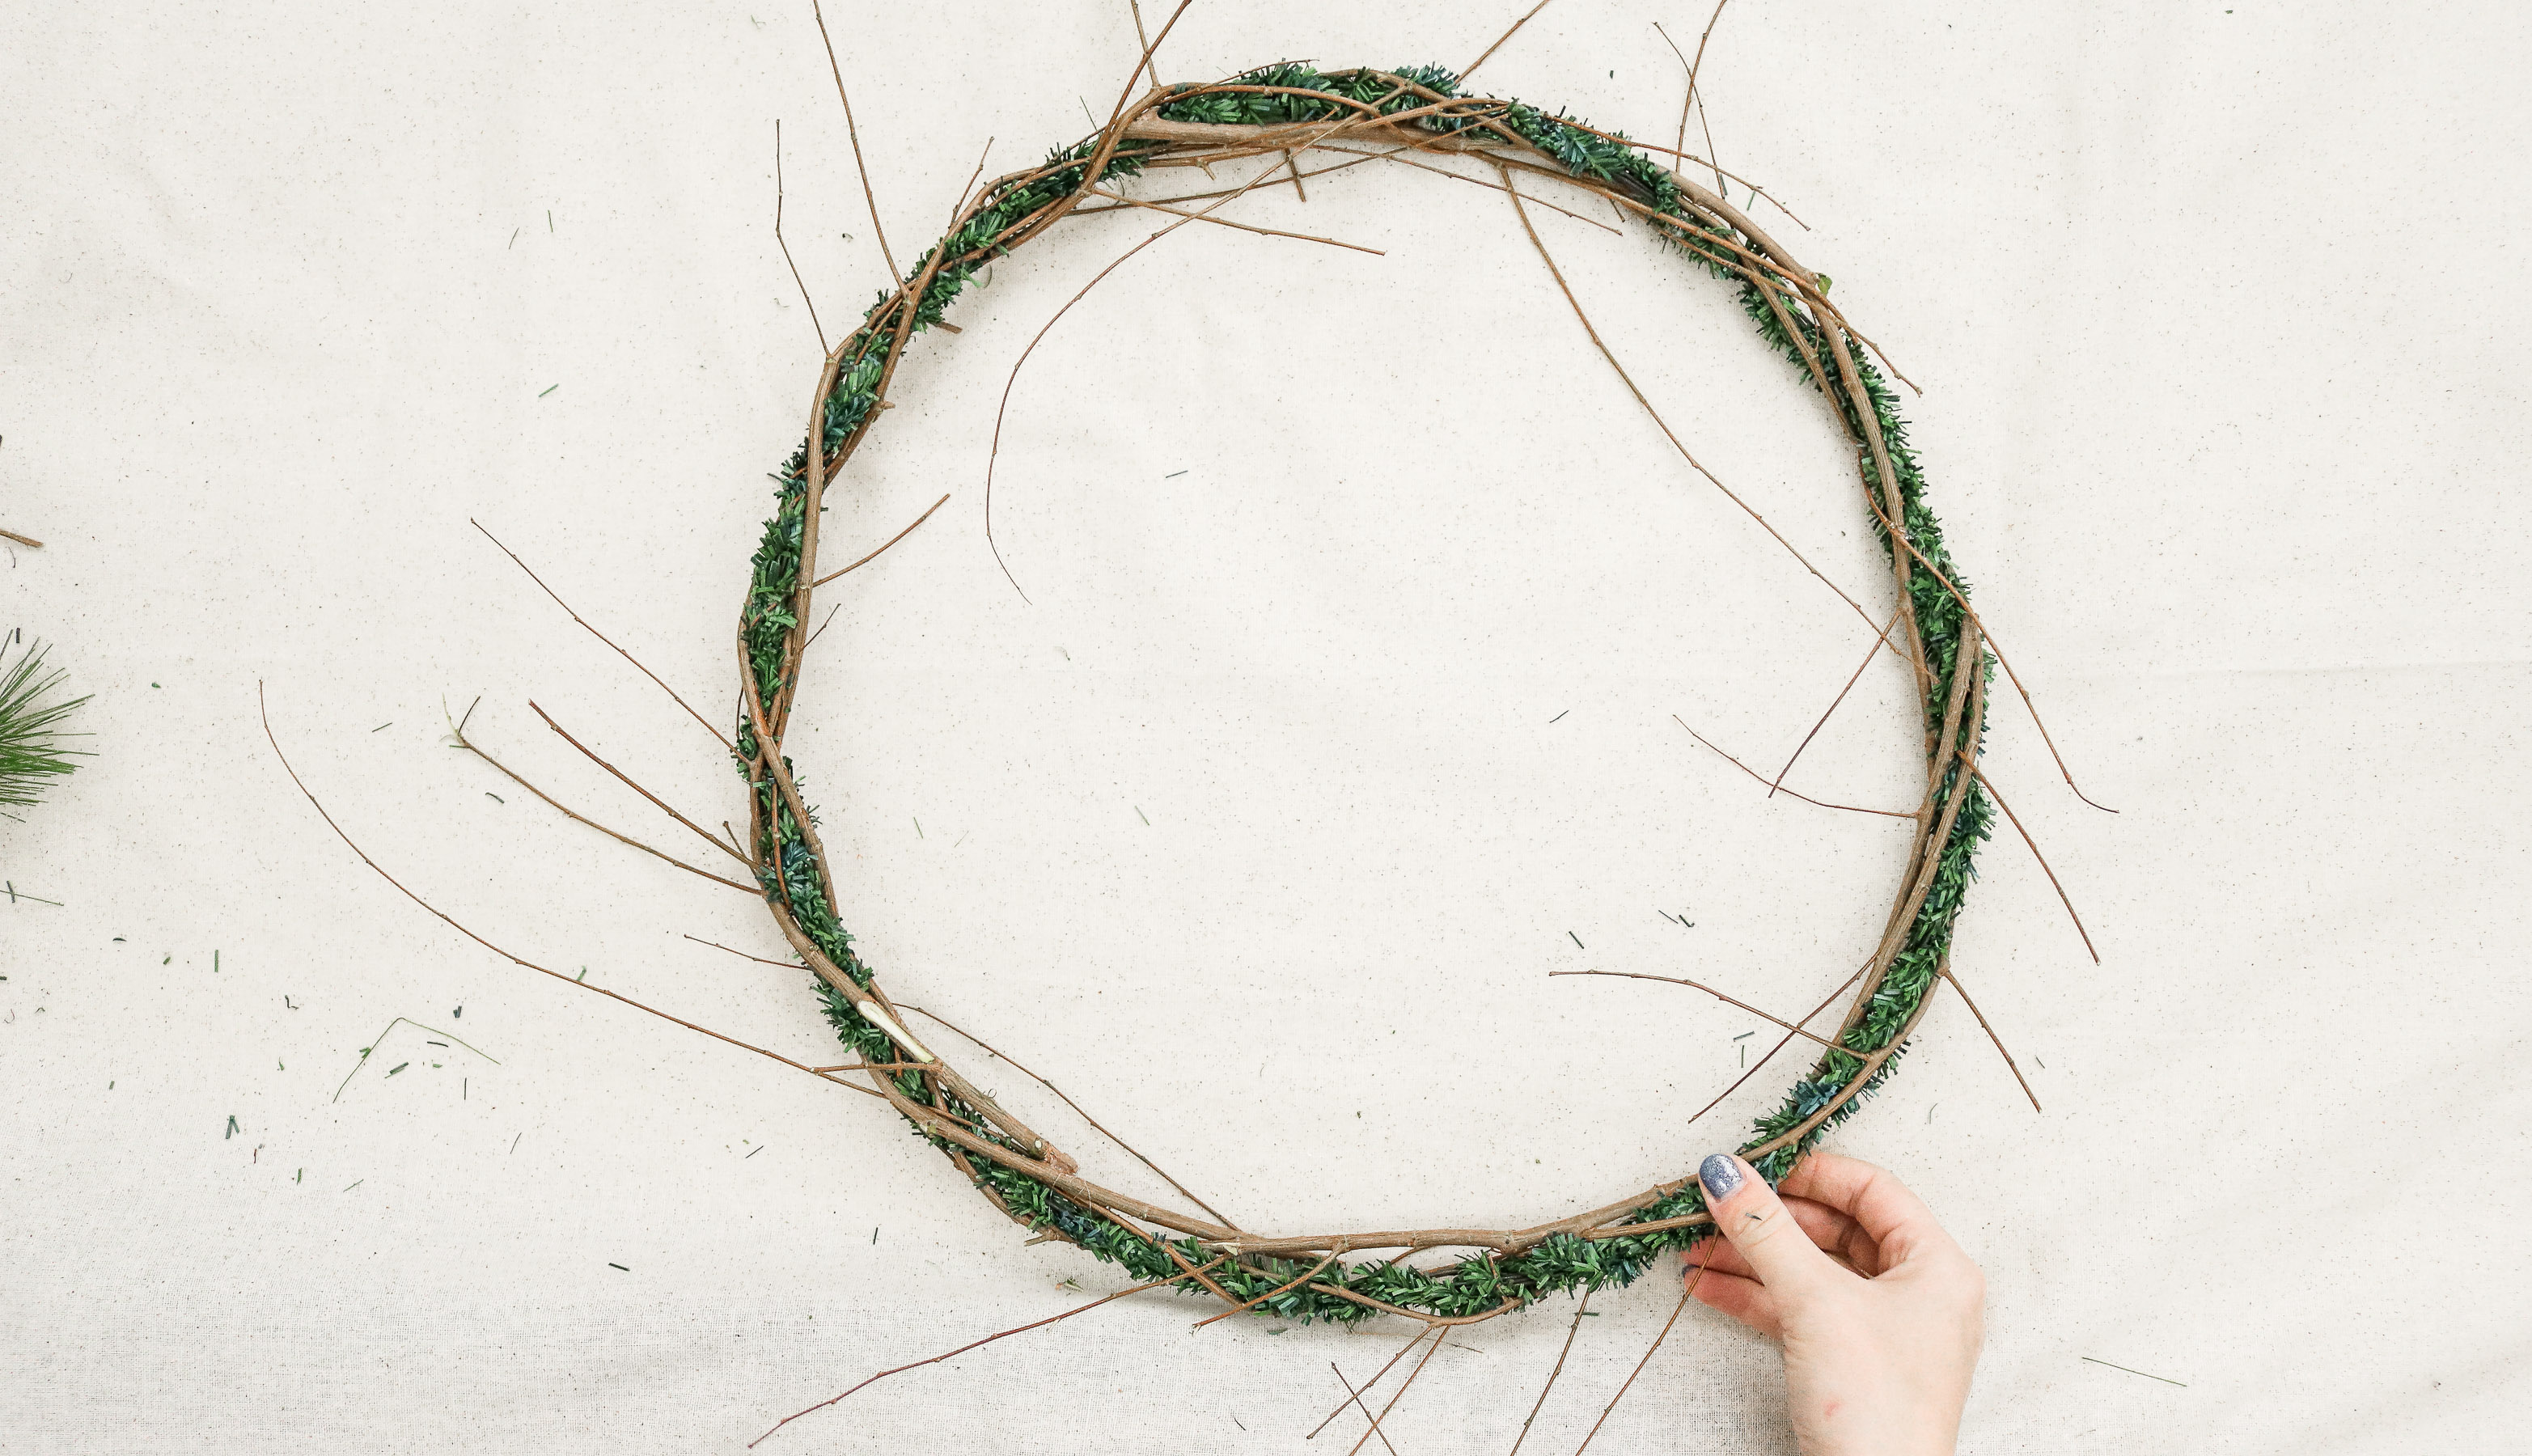
Step Four : Adding Berries!
For this step you’ll simply be adding berries to the wreath.
Optional: How to add FAUX SNOW. If you want to add some faux snow to your berries you can do this by dabbing a bit if modeling paste on each berry. They also sell frosted berries in stores. I wanted the wreath to have a cohesive snow effect on the pine cones as well as the berries so I decided to do it this way on both.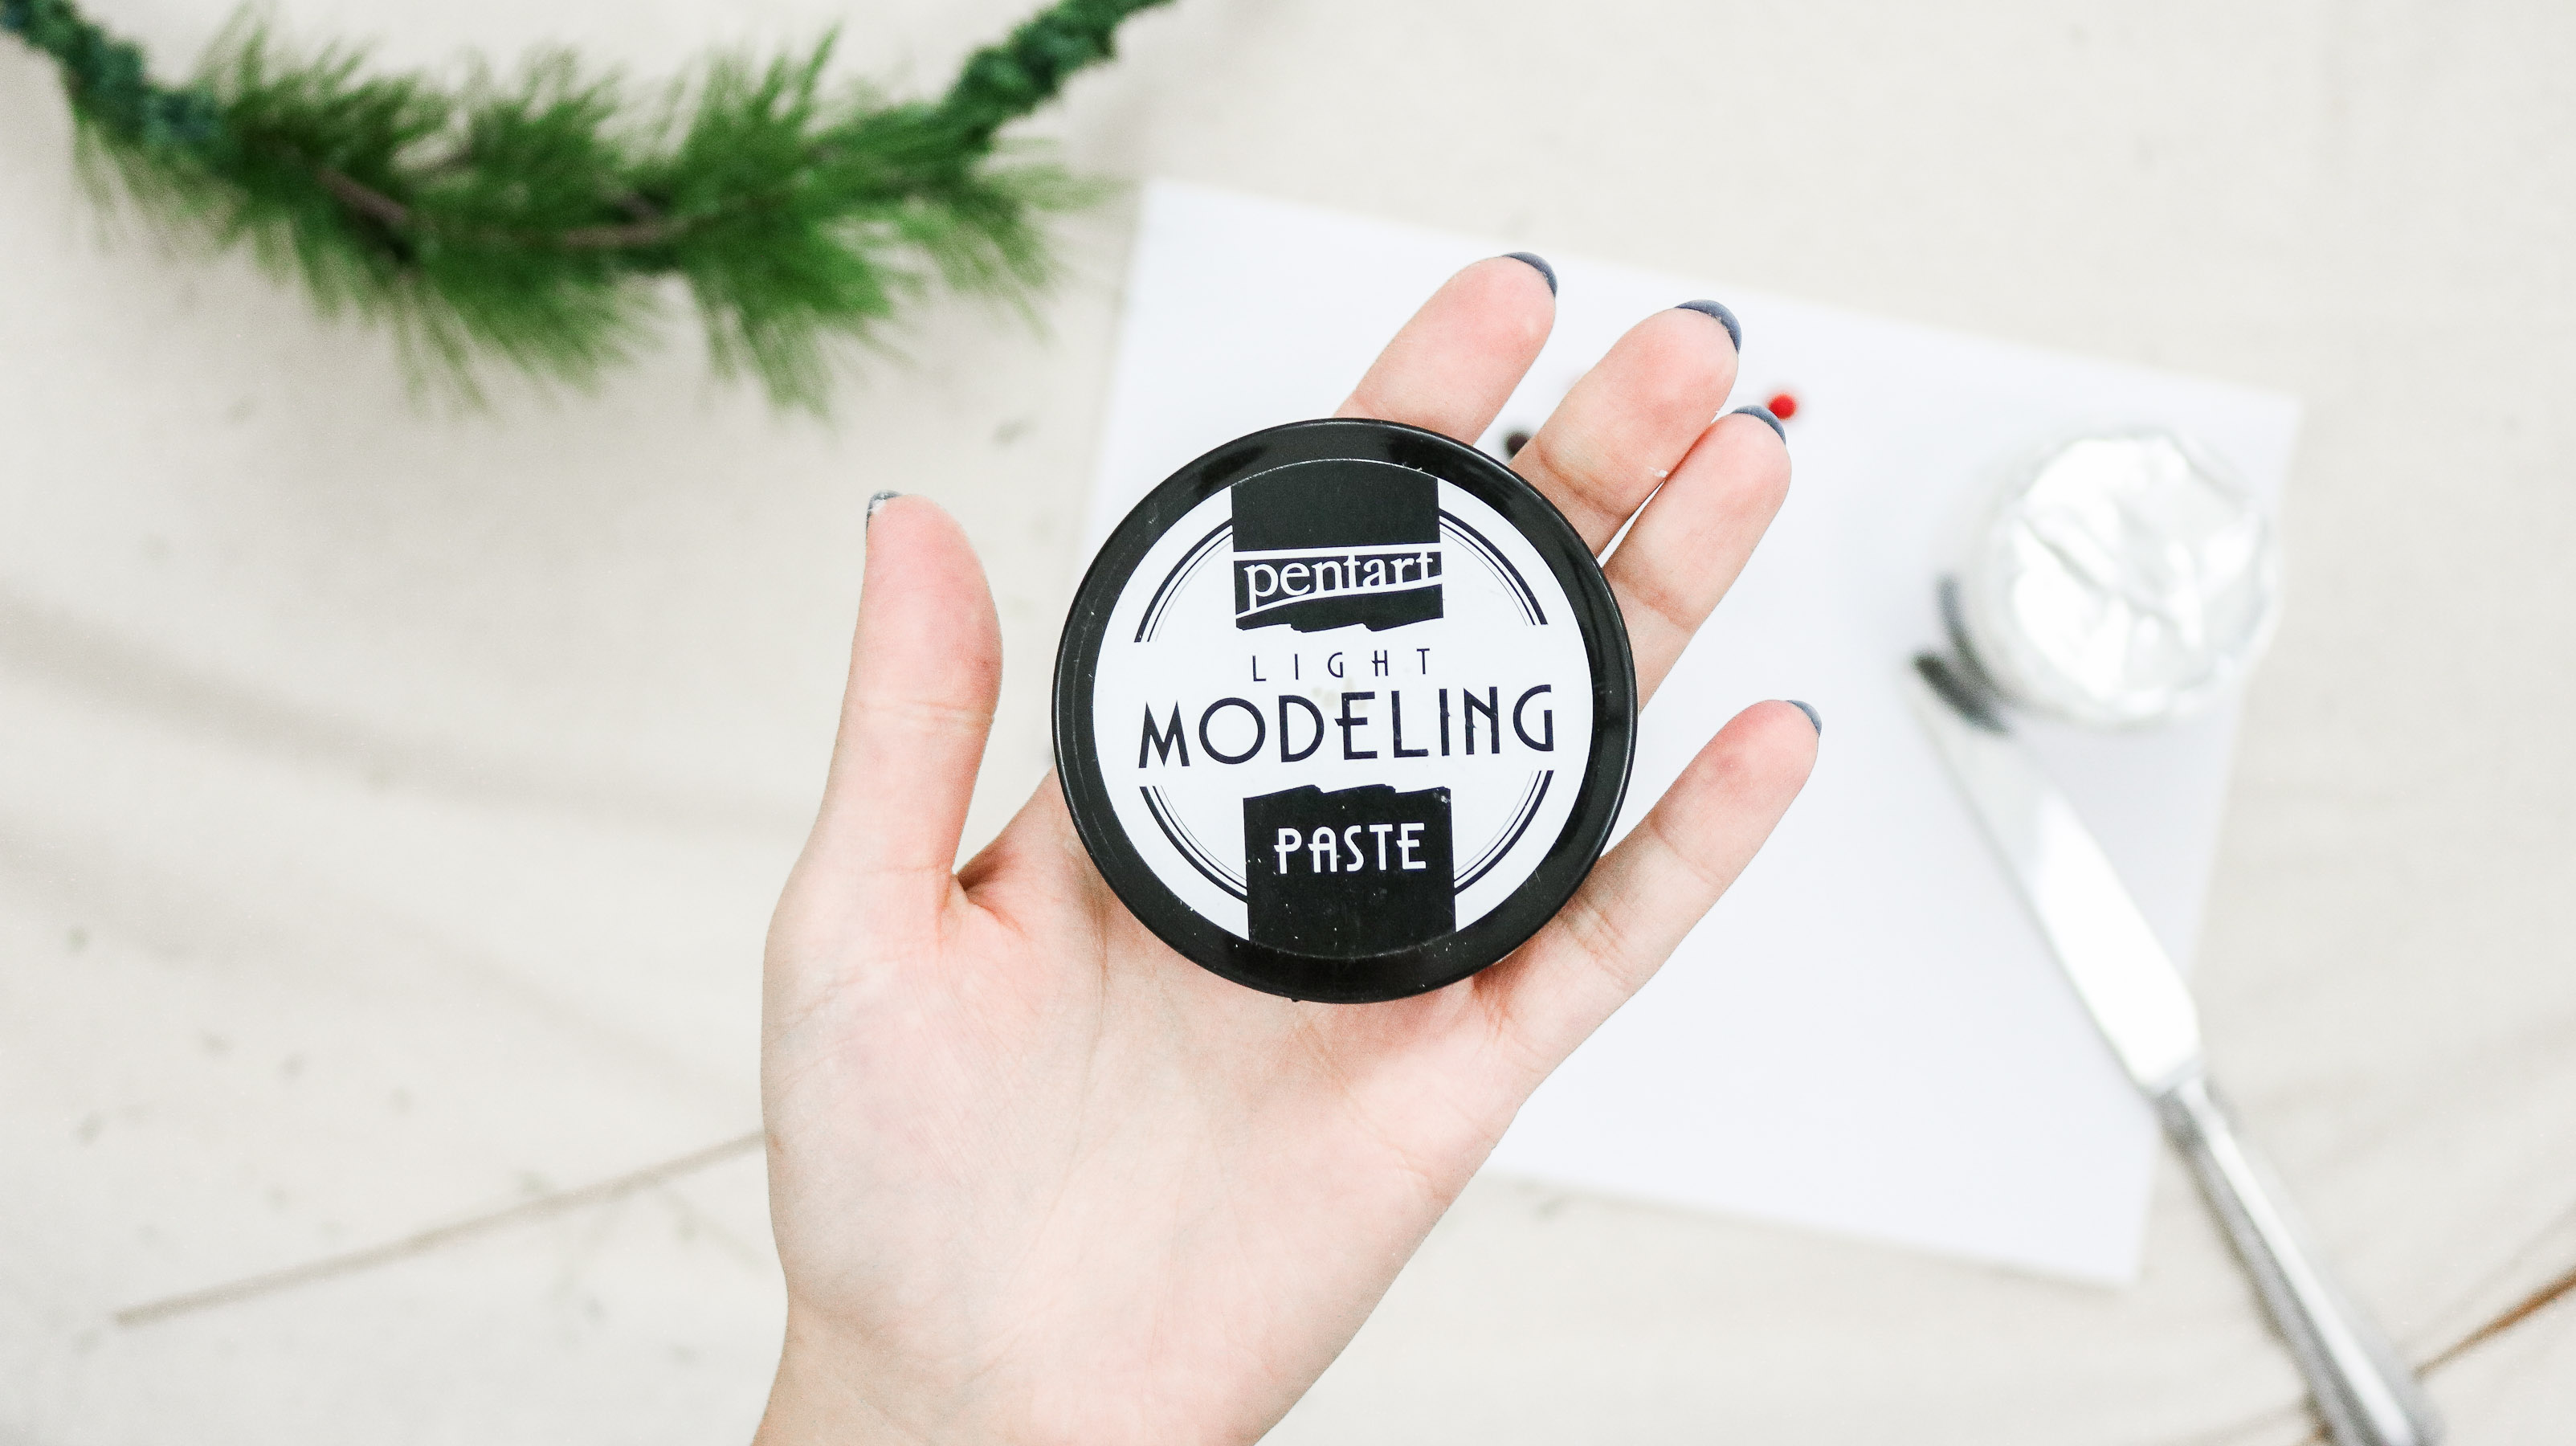
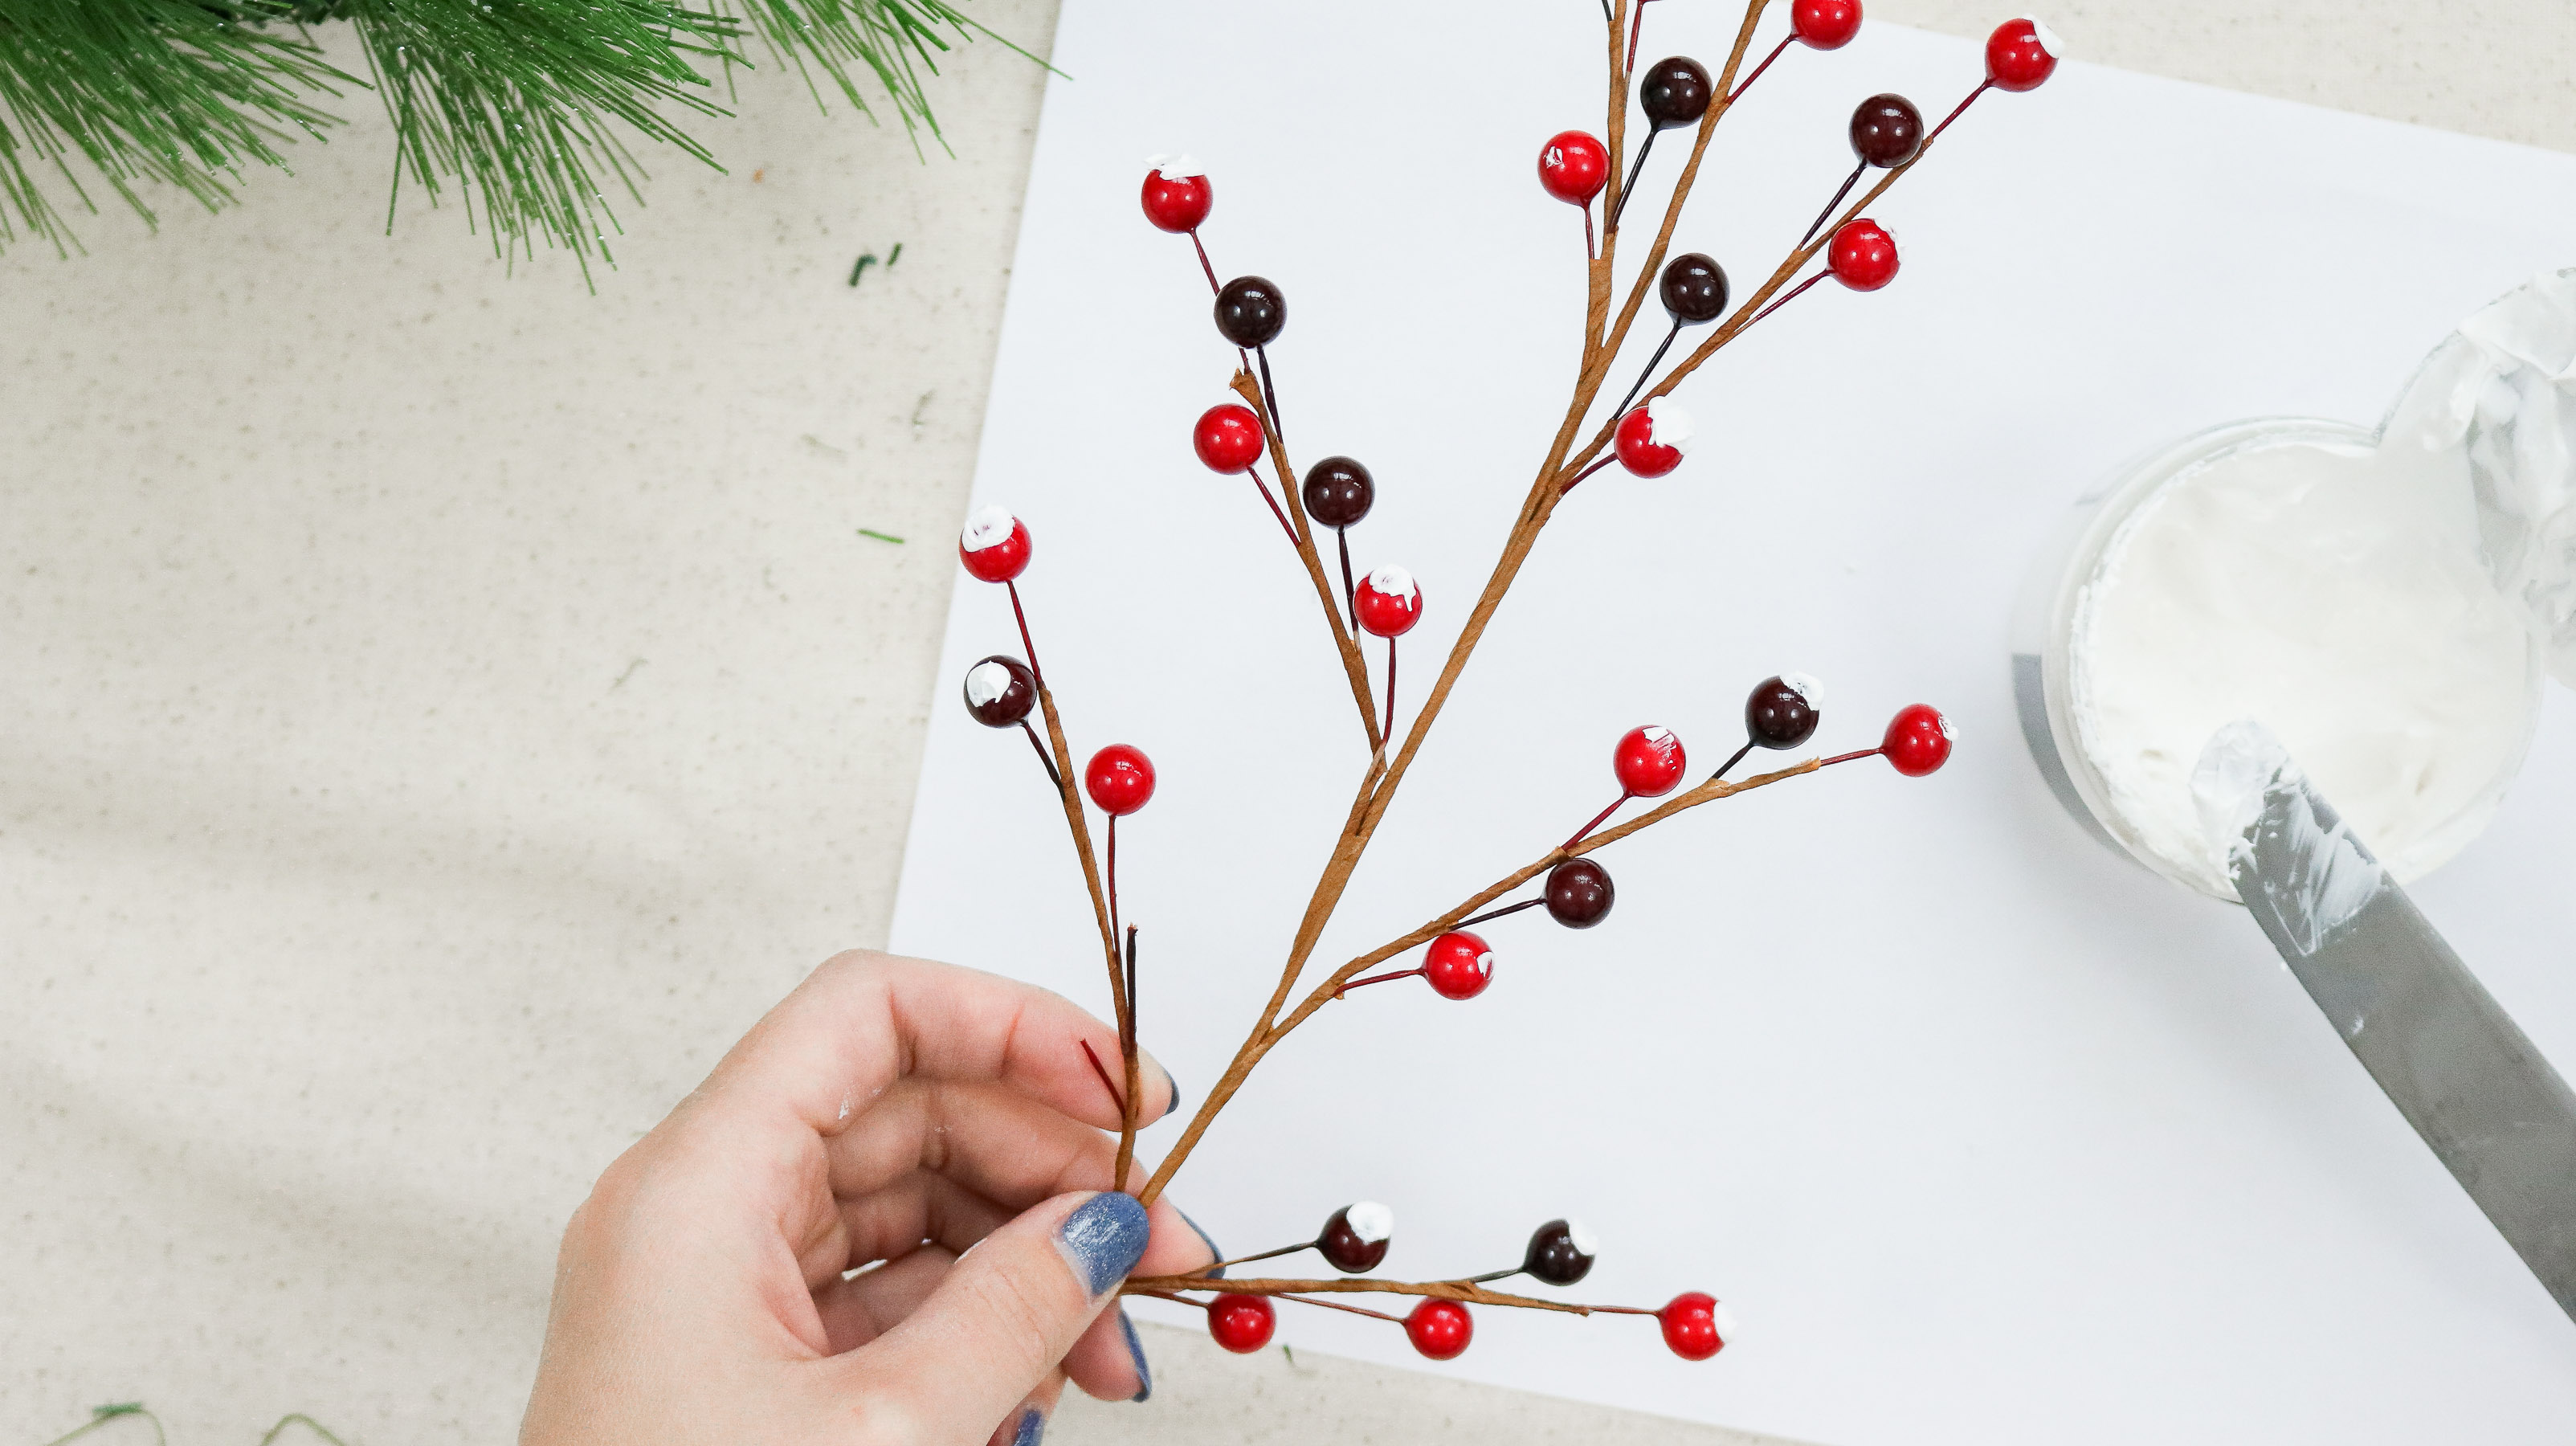
To add your berries simply wrap your sprays around the wreath. I used a total of 6 sprays of berries for my 16″ wreath. 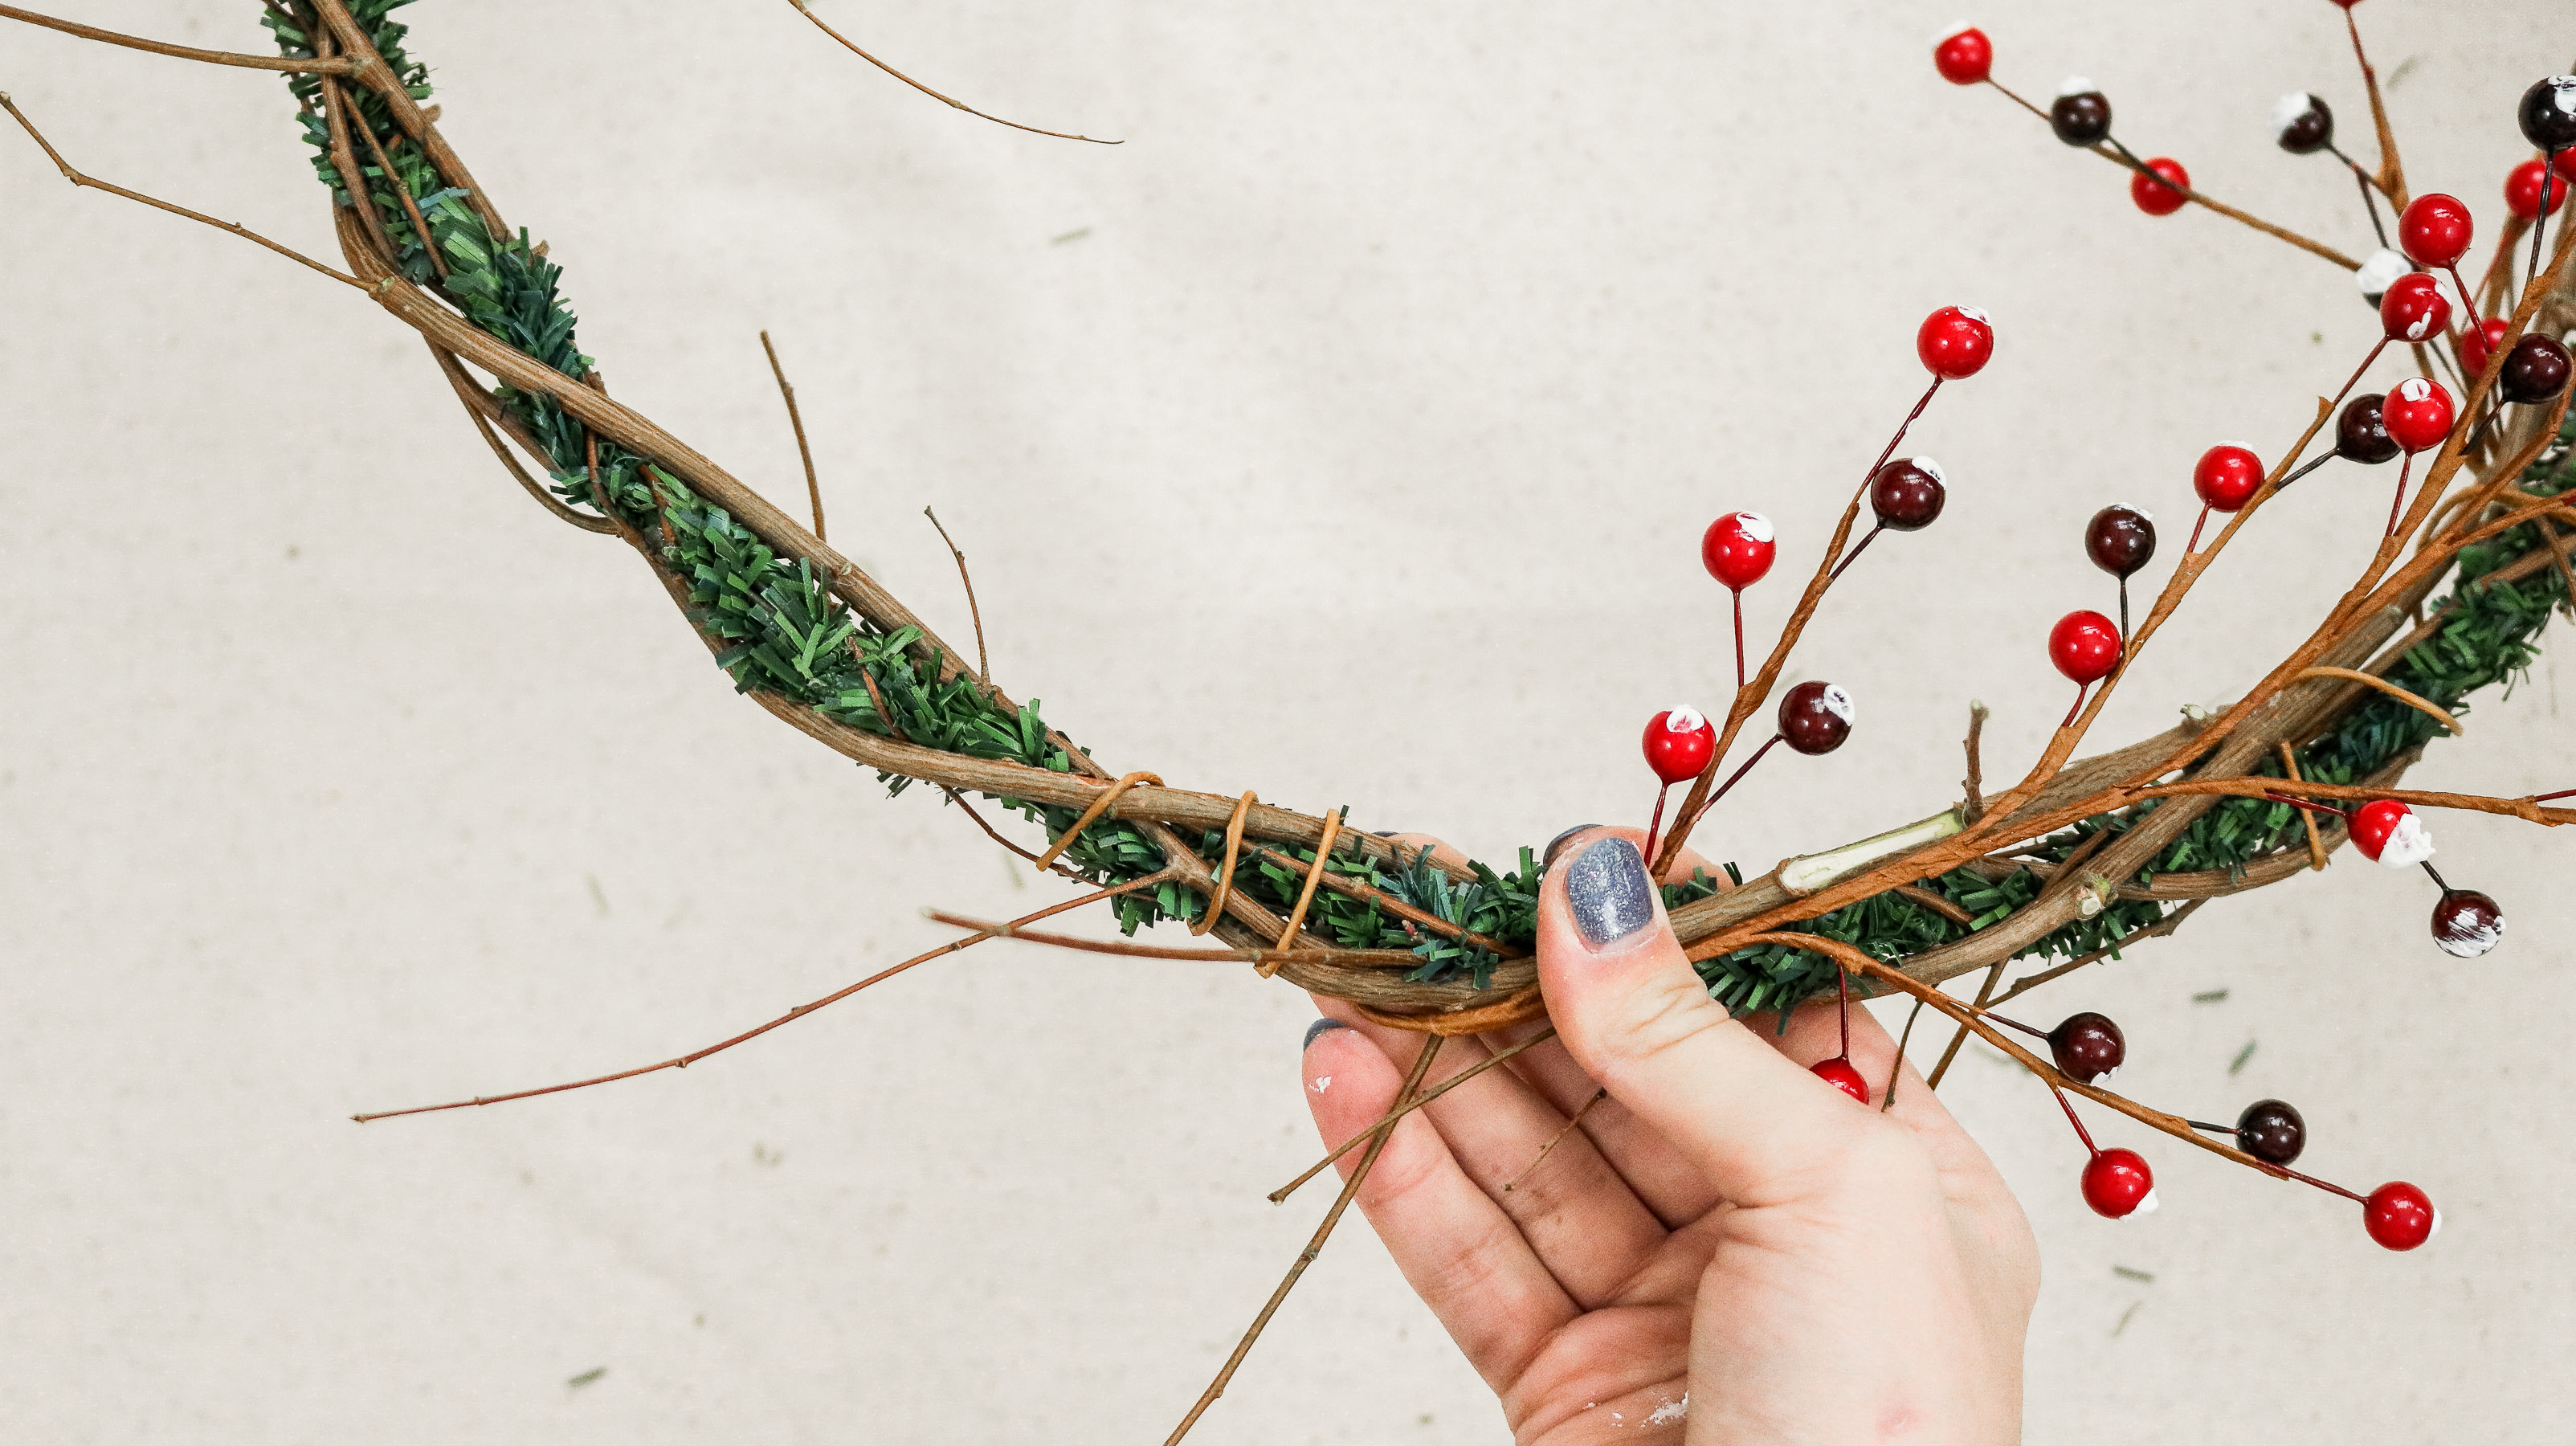

Once you’ve wrapped them all onto your wreath you’ll need to additionally secure them with some hotglue. 
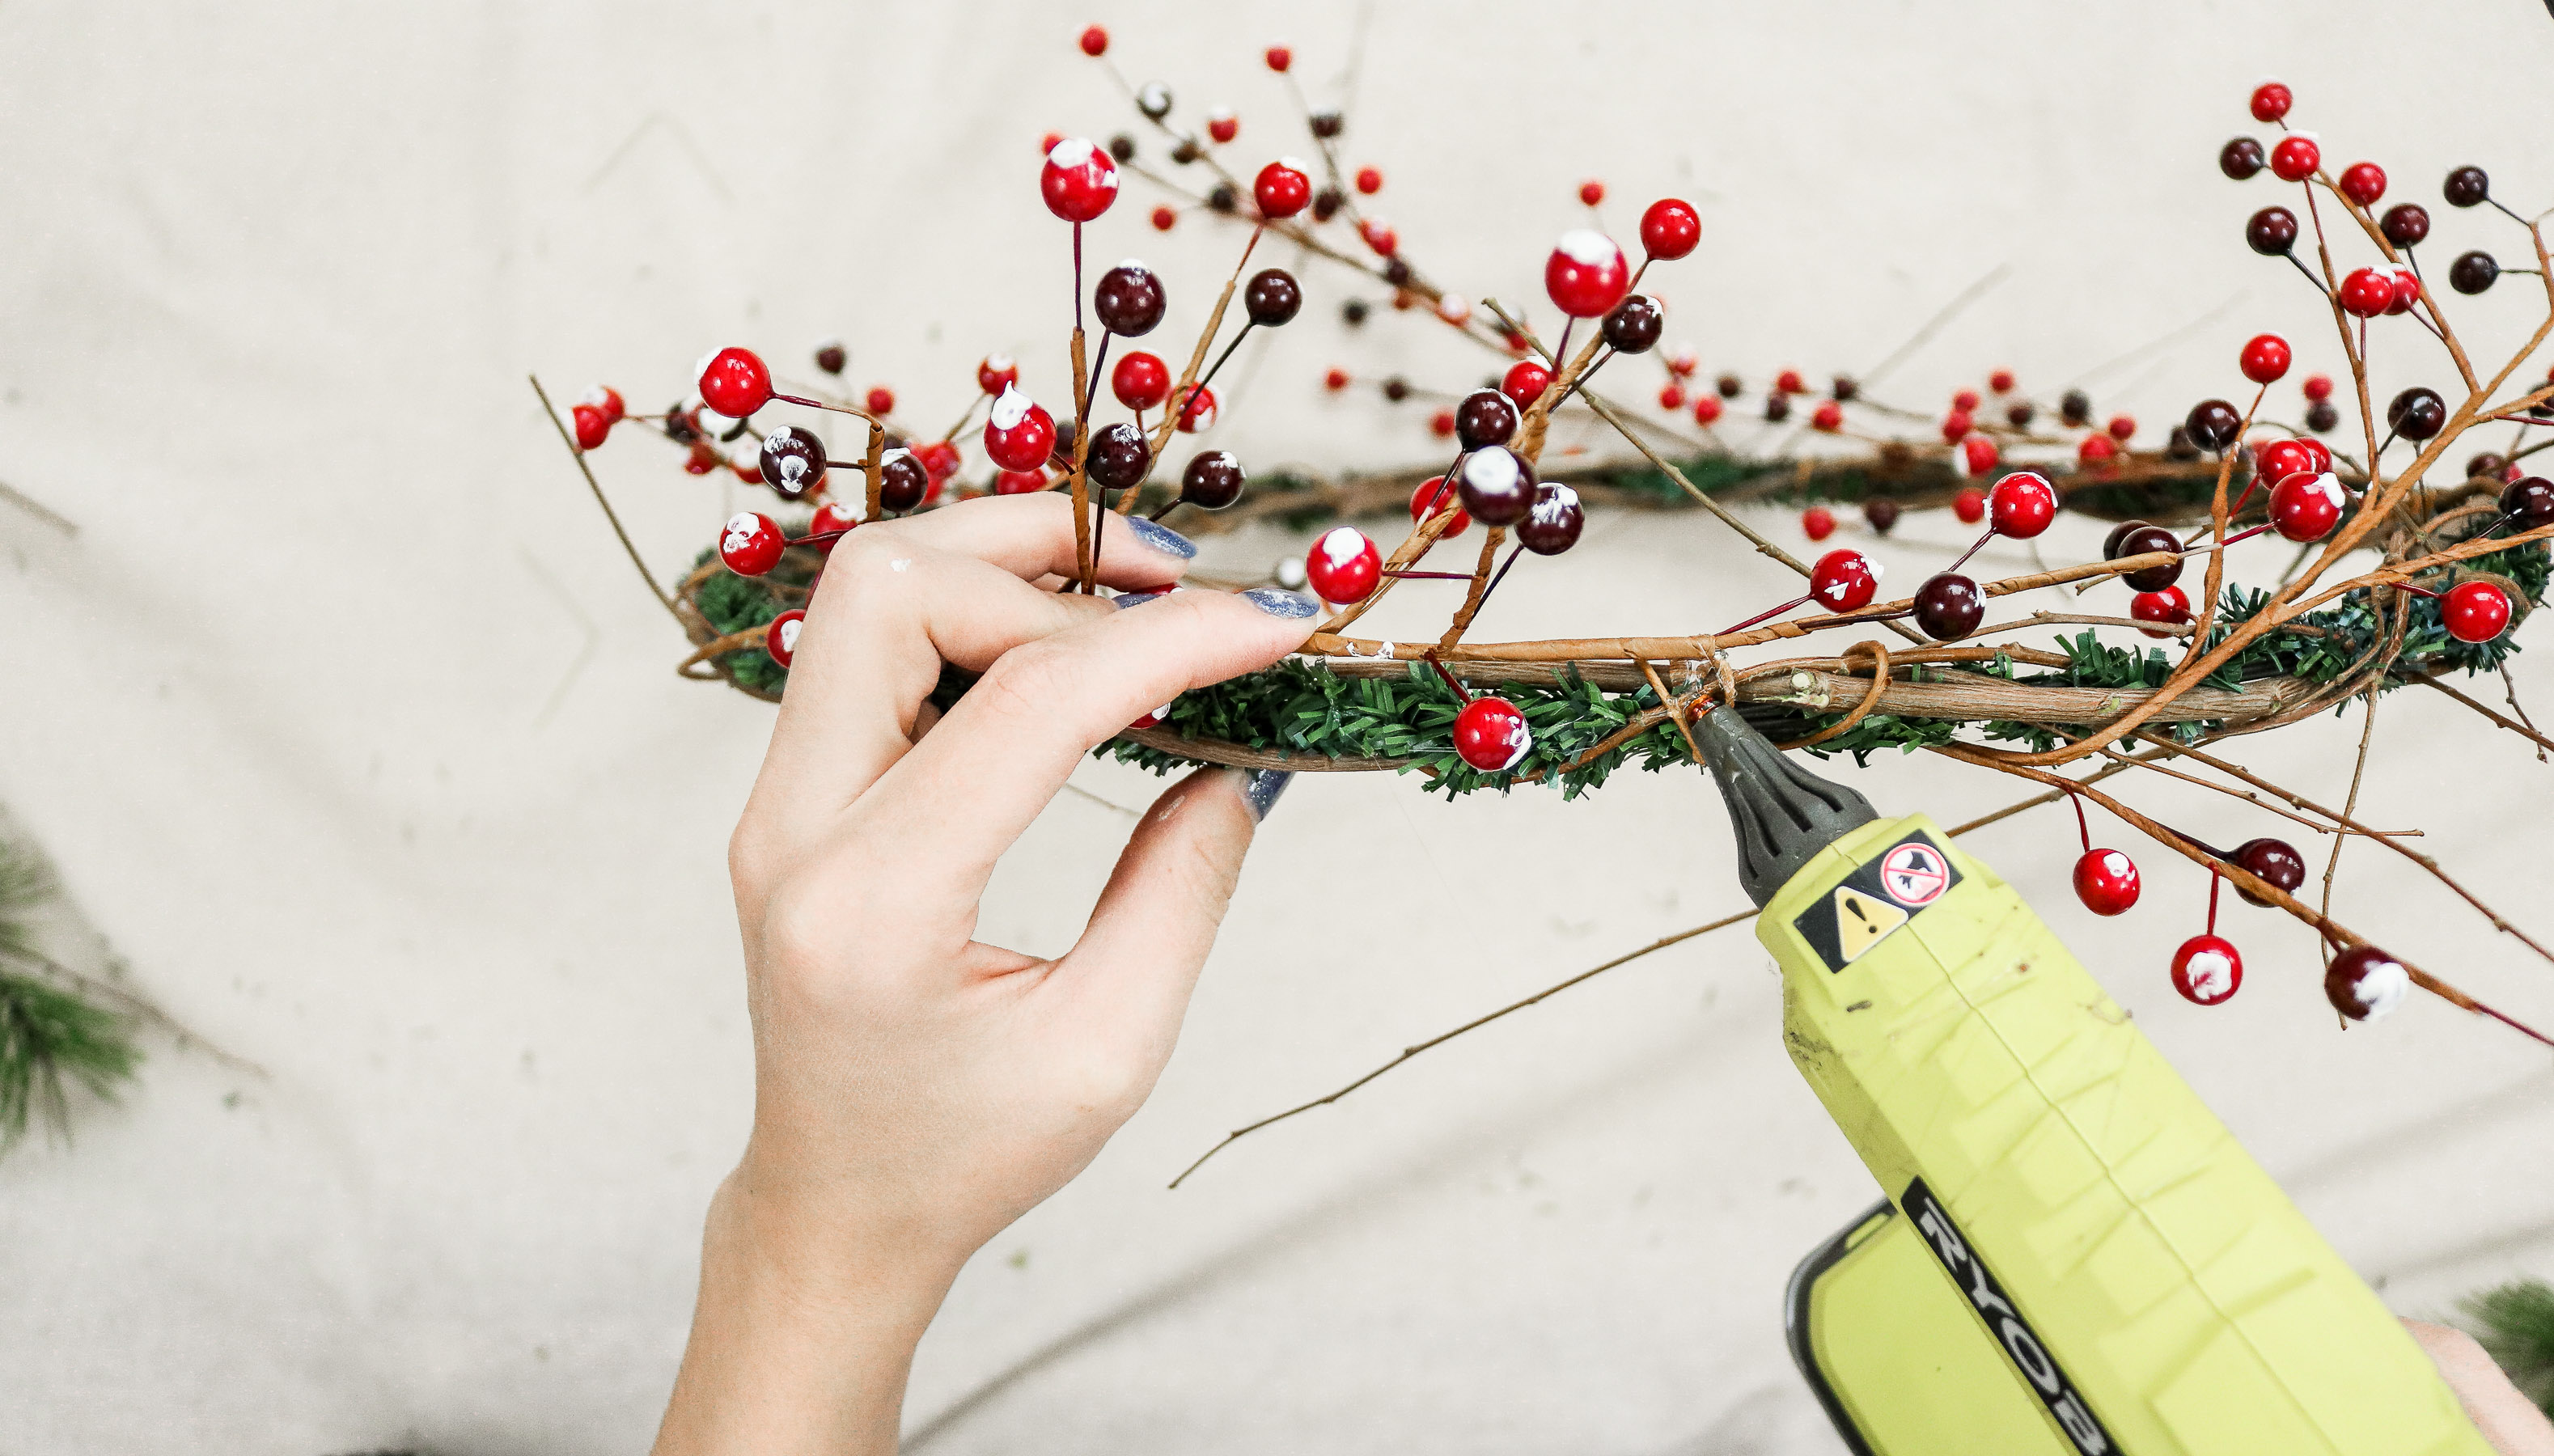
Step Five : Adding your Greenery!
Okay almost done. Now take your pine sprays and cut them into two different sizes. 3″ and about 1.5″ . Add them onto your wreath using hot glue. I first went around adding the 3″ sprigs then filled in whatever empty spots were left with the 1.5″ sprigs.


By the way these pine sprays are ssso pretty. They are frosted very delicately and have such fine pine needles. 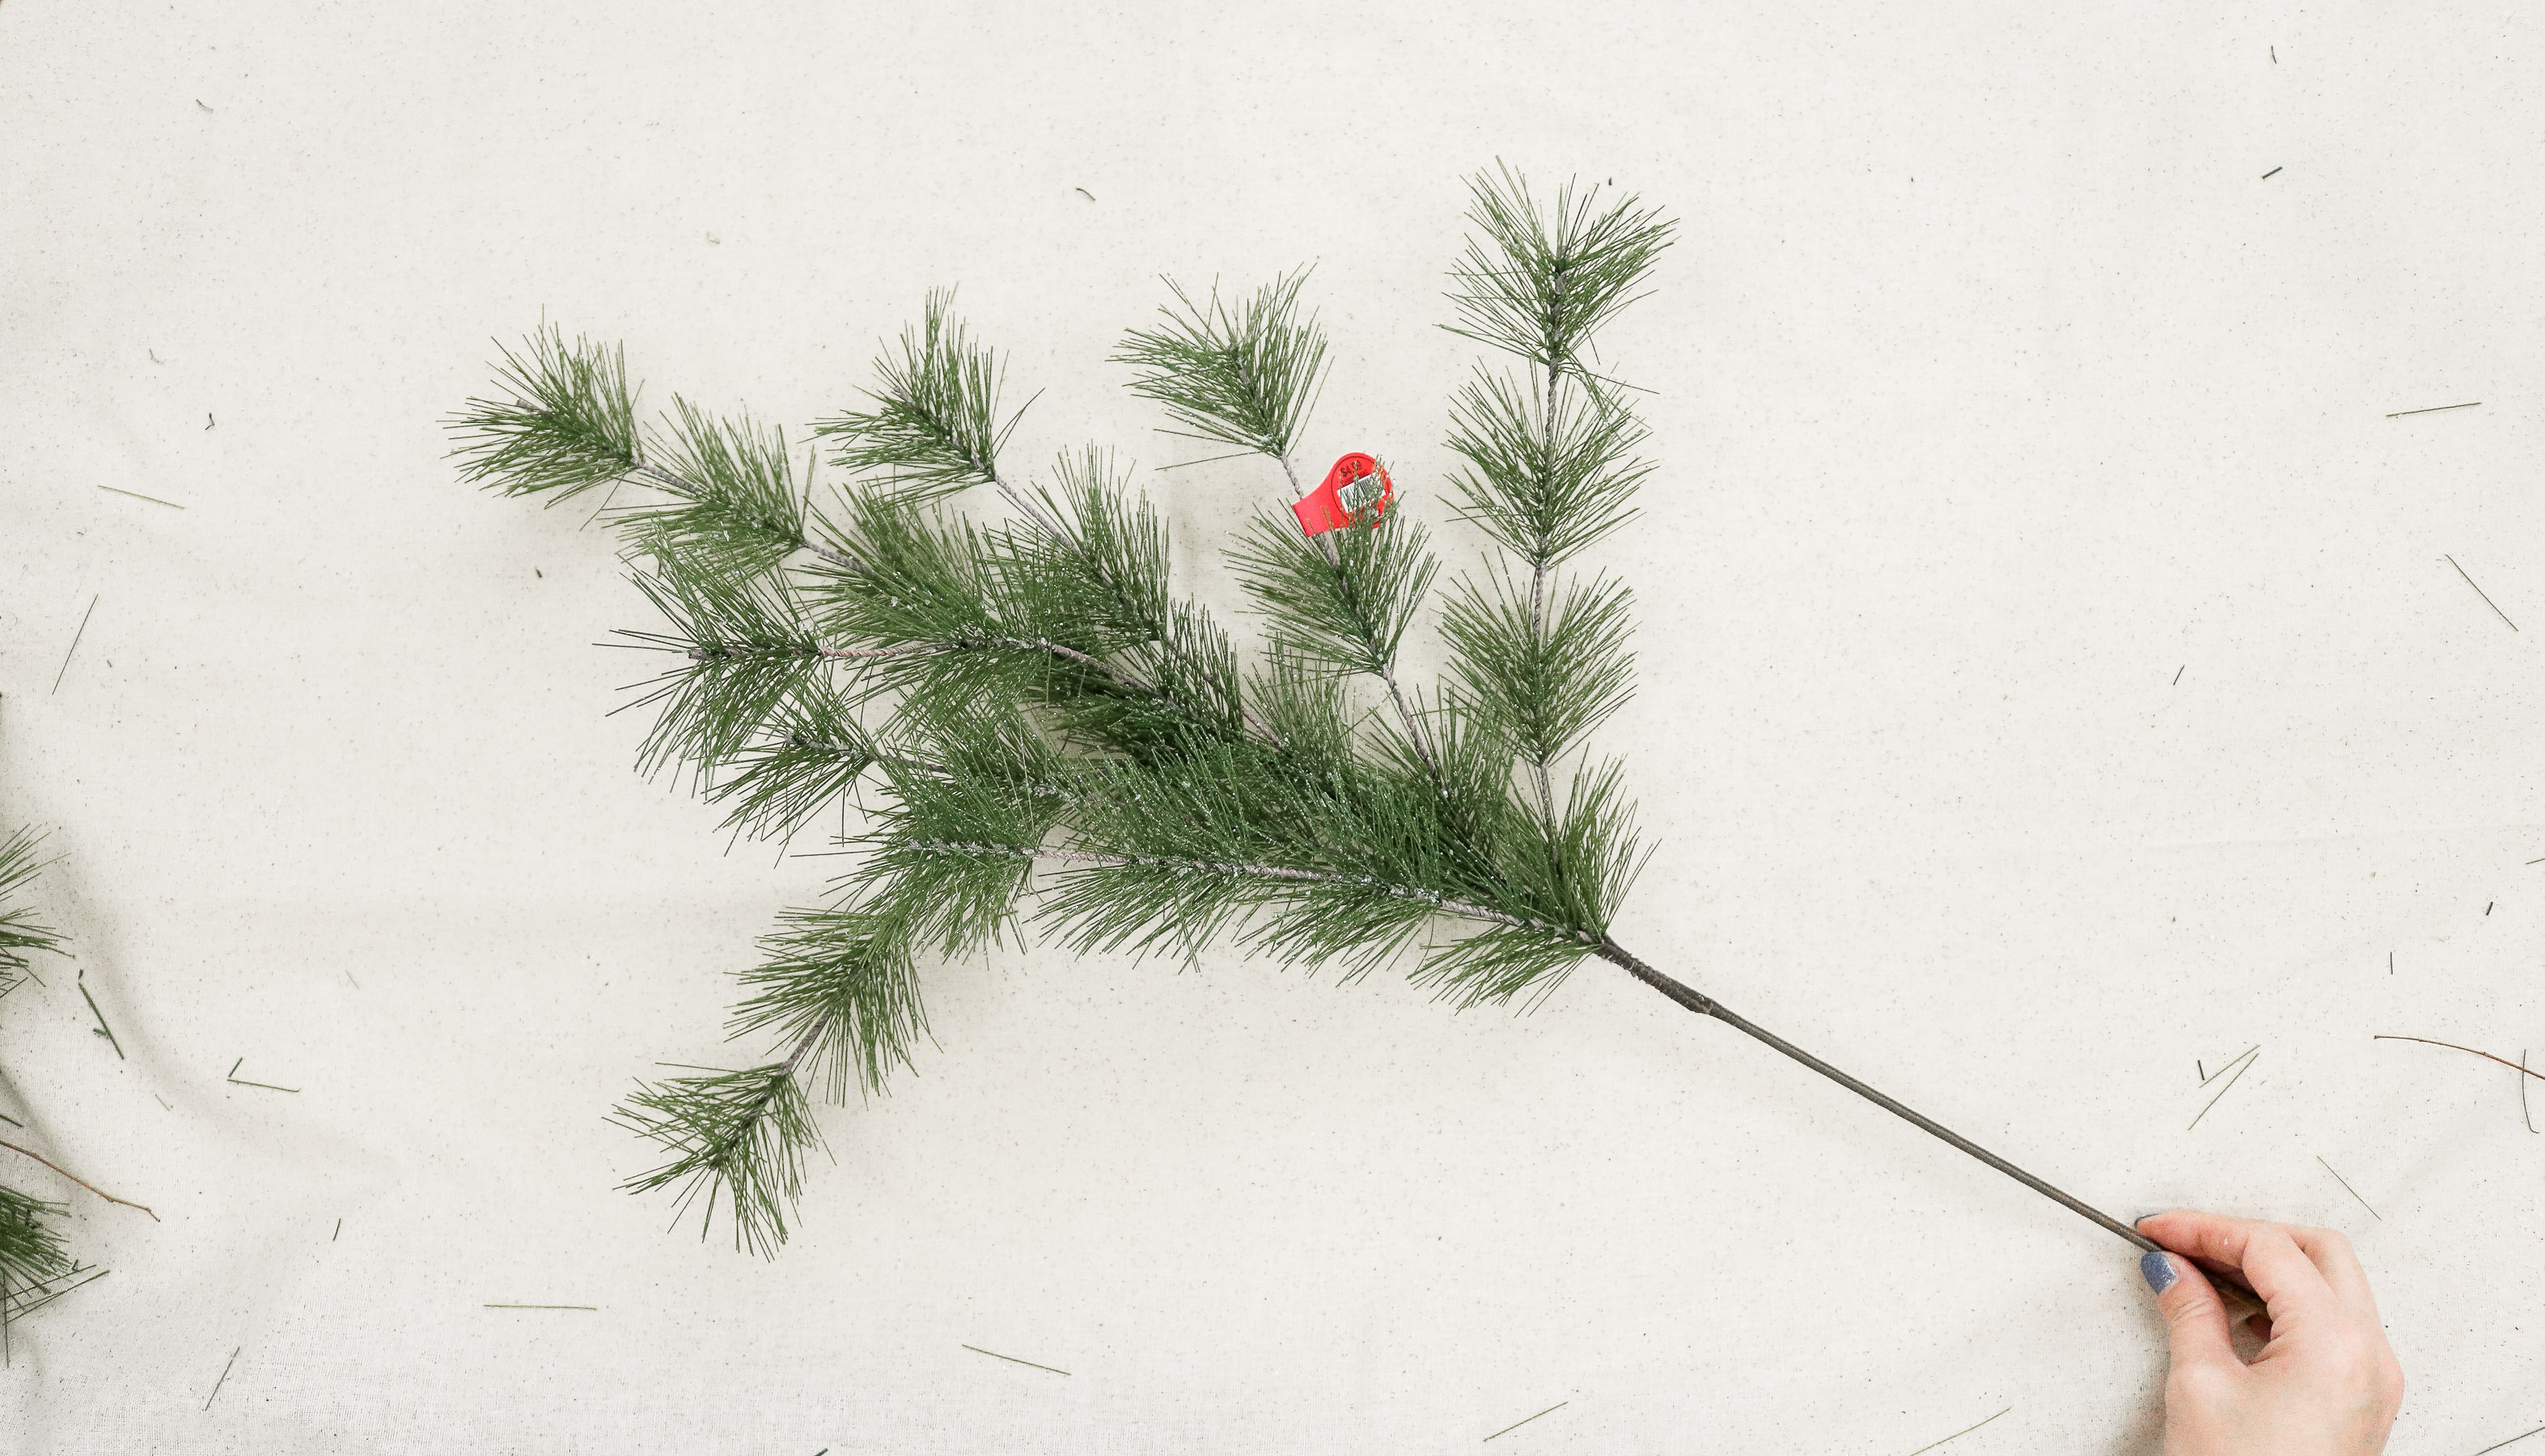
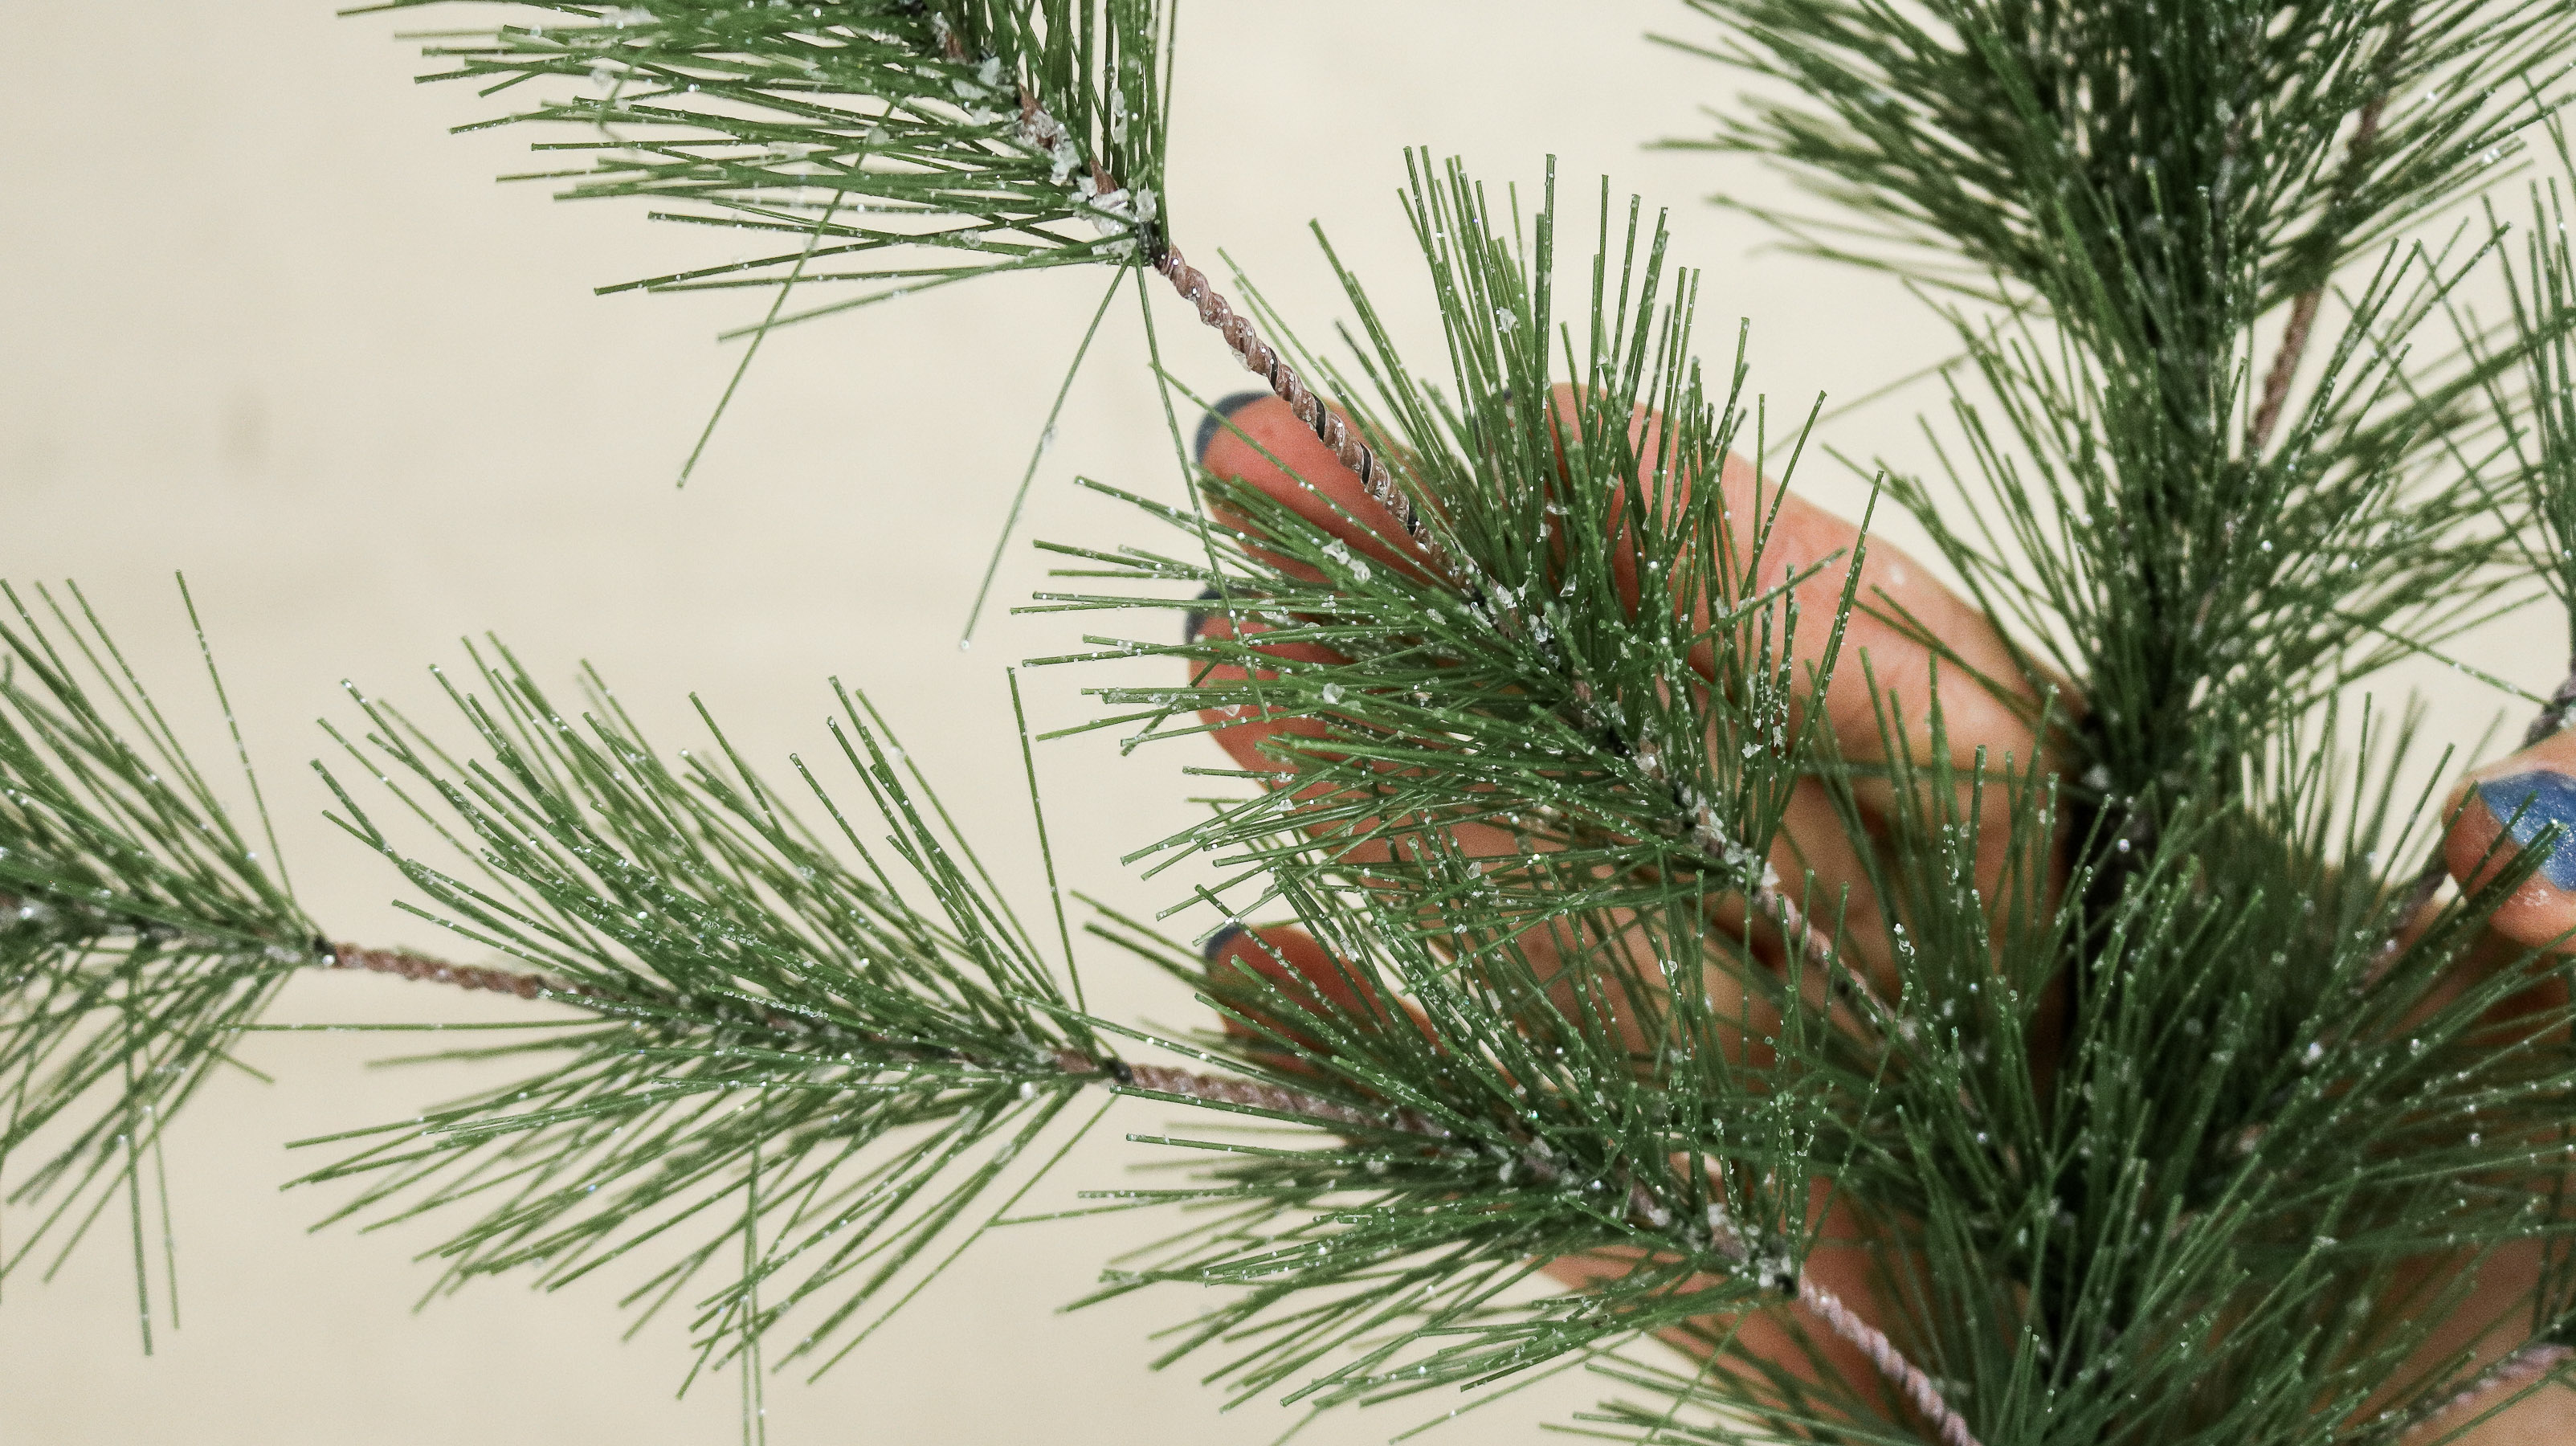
Now bend your berries into shape and add some pine cones.
Step Six : Finishing Touches!
I frosted my pine cones with the modeling paste as well.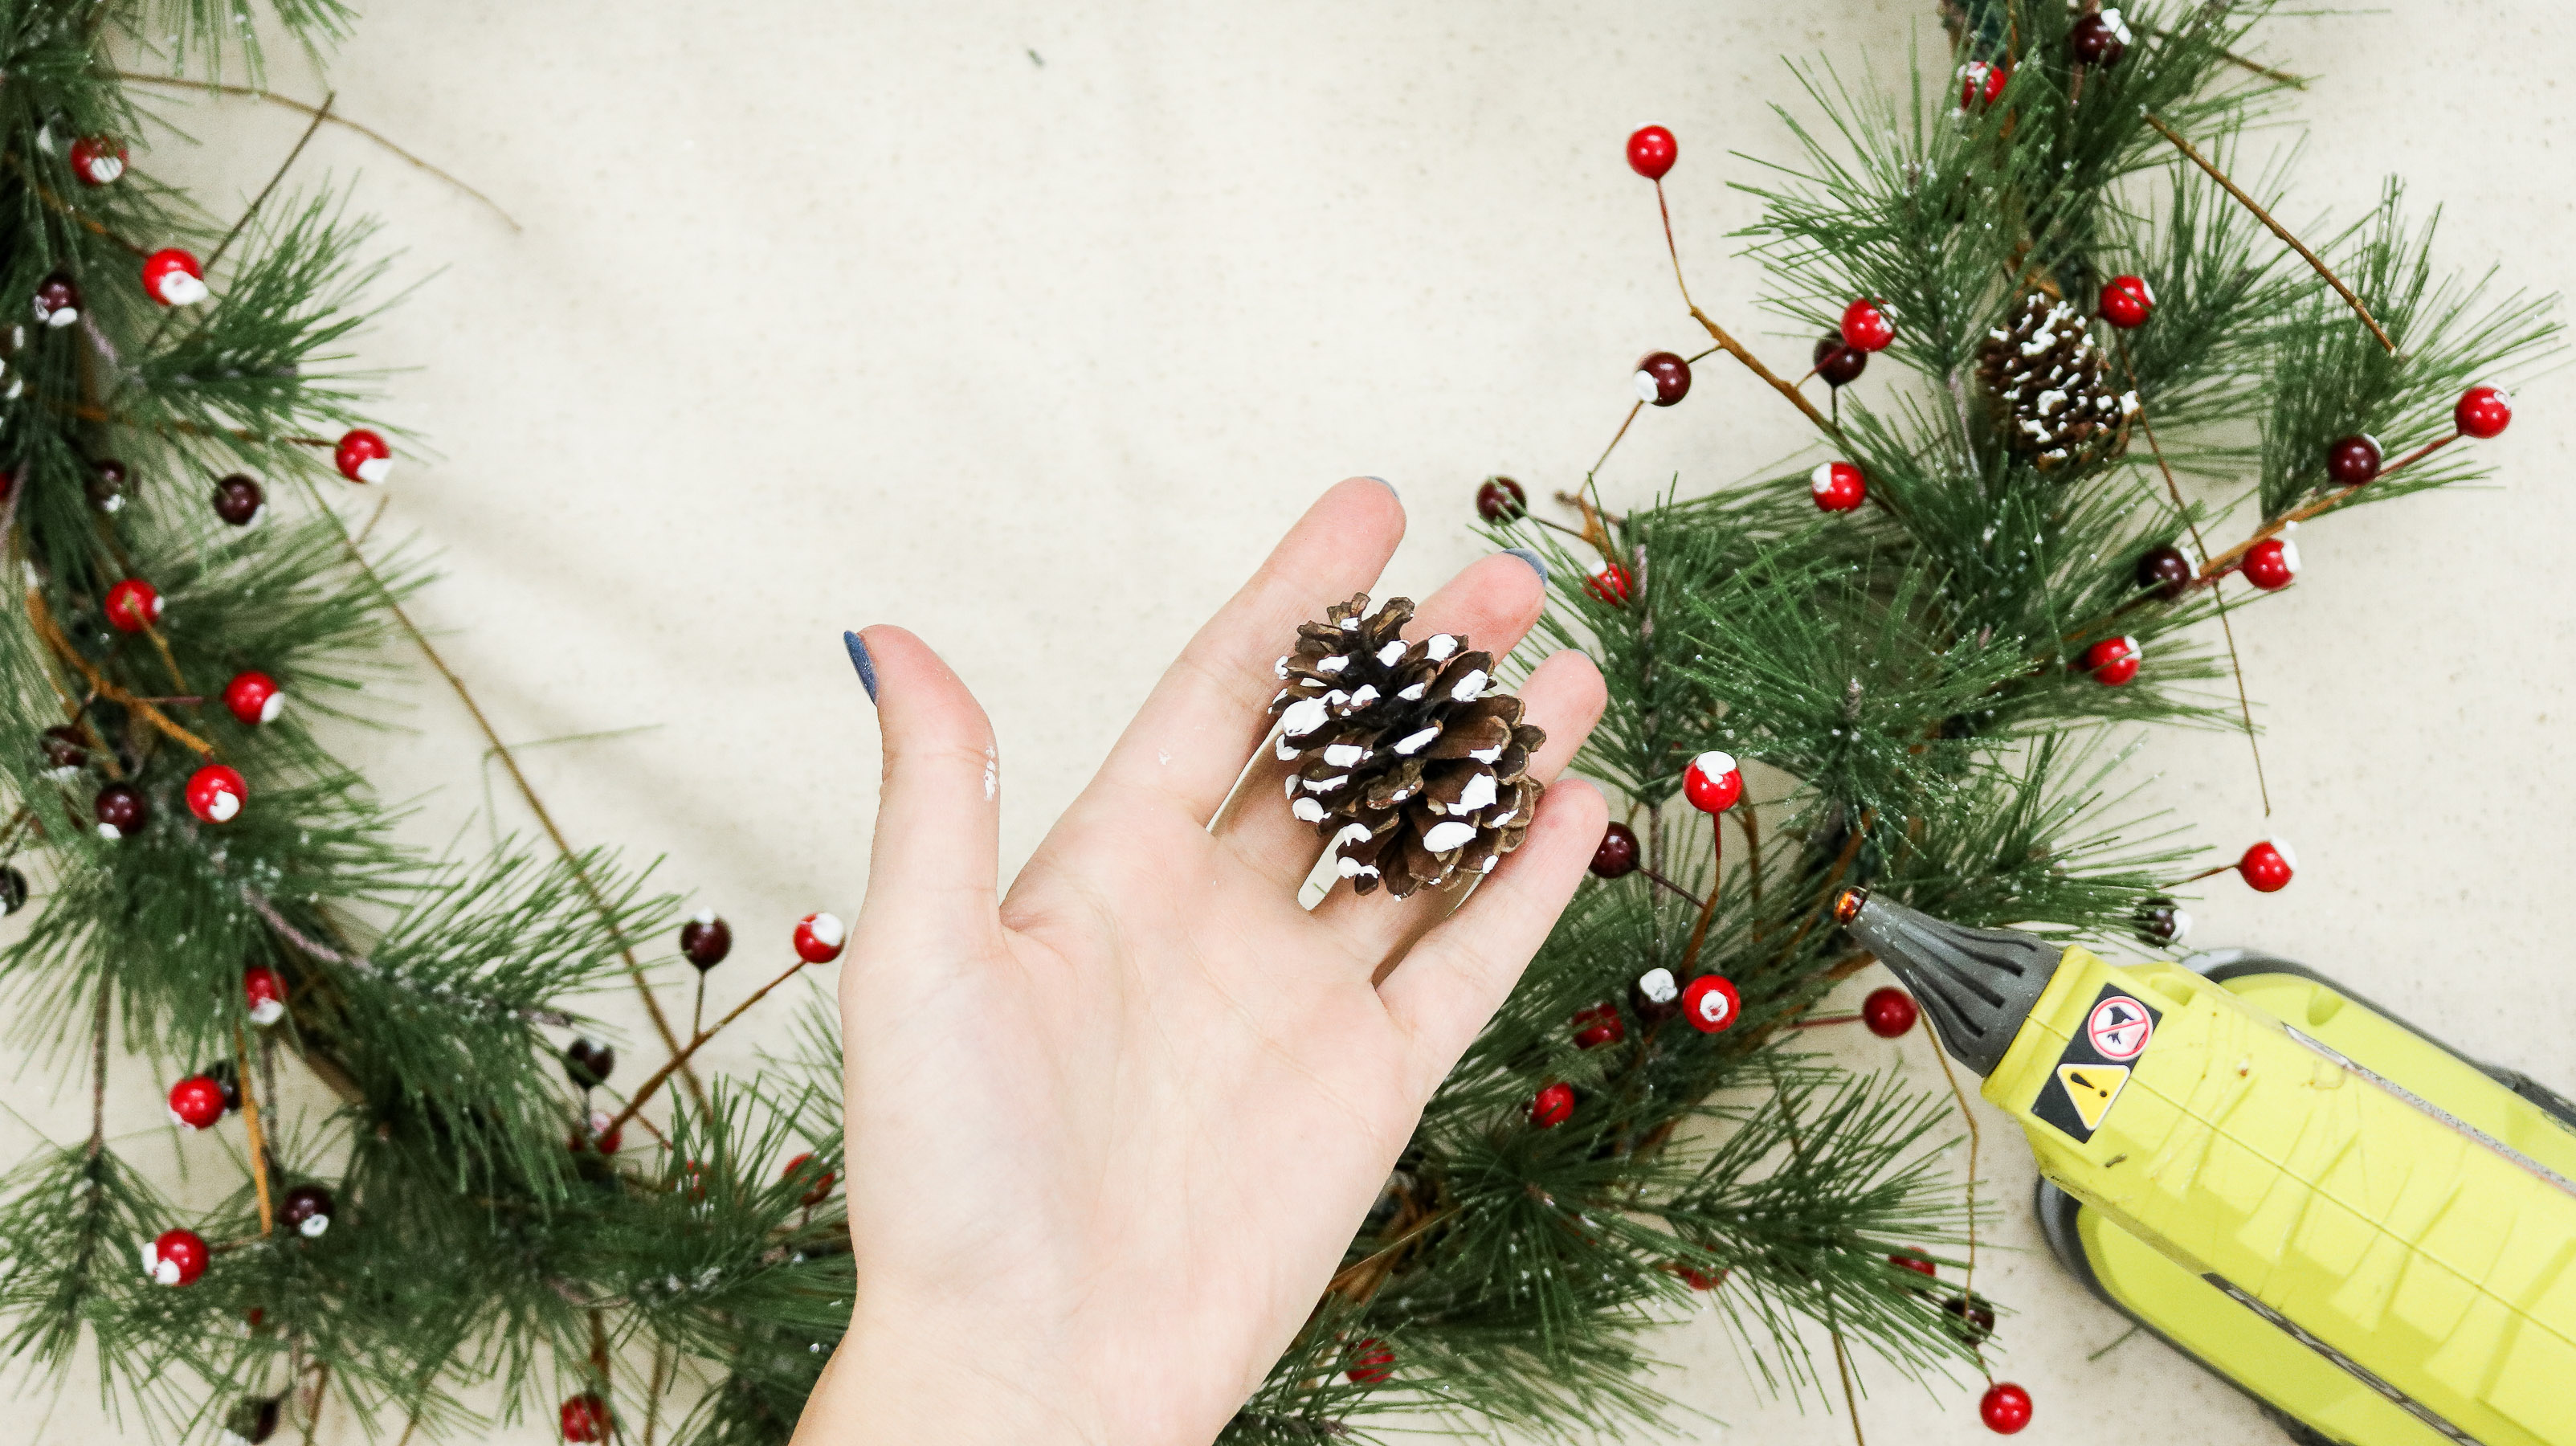
And to finish it off tie a bow and glue it on.

I also added some twigs around the edges to add some character. They were from our apple tree. And that’s it! 😀 
I love the delicate touch of greenery!



These frosted berries are too cute! 😀 😀 



That’s it! 😀 I hope you love this DIY! Don’t forget to share it with your friends if you think they’ll like it. I’m still trying to figure out a facebook and twitter sharing button. The program I used before crashed on me. I hope to have an update with so good news about that soon. 
Before I wrap it up for today I want to get to know ya’ll a little more. Where you’re from , what you like to make, favorite crafts etc… So I’ve decided every week I’ll have a question at the end of every post. I hope you join in 😀 😀 I can’t wait to hear from you! 😀
Question of the week for ya – Have you ever made a Christmas wreath before? If yes than what did it look like and what was it made of ?
My answer : I got to make my first Christmas wreath 2 weeks ago in Alaska. I used fresh pine tree, some pine cones and fresh cranberries that I had found. My mom was hosting a family party and I thought it would be perfect for her front door. 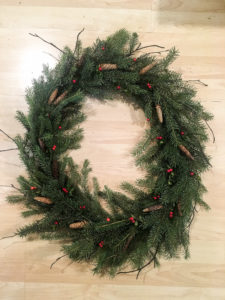
Happy Friday! I’ll see you next week! 😀
