Meet Tod!
Hello Folks!! How’s your summer so far? This week I’m sharing how I made a DIY cat house!
We’re getting some nice warm days here in idaho and I’m excited to get started on some bigger wood projects! hint hint …live edge coffee table soon ( if I can get Tony’s help) !
Okay It’s definitely wedding session because I feel like I haven’t missed a weekend without a wedding in a while now! All my little cousins off getting married! Gosh time flies! LOL I know I’m totally random!
Speaking of weddings how many of you would like some ideas for wedding/party decor? I’ve had a few ideas but haven’t really had a party to use the ideas on. LOL😂 ! We like to party last minute which means I usually never have time for decor!
Today I would like you to meet Tod our furriest family member. Truth be told he never responds to Tod. Does your cat respond to his/her name?
Our friends have given him a handful of names that I thought were pretty clever! “Tuxedo” was one of them. Cute right?! He does look like he’s wearing a tuxedo though! Why couldn’t we think of that name when we got him. Sometimes he gets called socks too because, duh😂 he’s wearing socks! Also didn’t realize that until a friend pointed it out🙈. He’s a mellow cat and likes to sit around all day. Awwww the life of a cat! I envy it! Just kidding I’d die from boredom😂. Back to DIYS😬!
First attempt at this DIY Cat House
This cat tepee DIY wasn’t all smooth sailing! I had planned on using some of my fabric remnants left from previous projects however it wasn’t the prettiest sight. I spend a lot of time trying to make it work but, eventually finally gave in and went to the craft store. It wasn’t horrible but, somehow it kept looking like a real teepee more than I would of liked. Going to the craft store wasn’t a bad thing though. I was super excited to go buy stuff LOL 😁! Also I had full control of how I wanted it to look vs what I had to pick from at home.
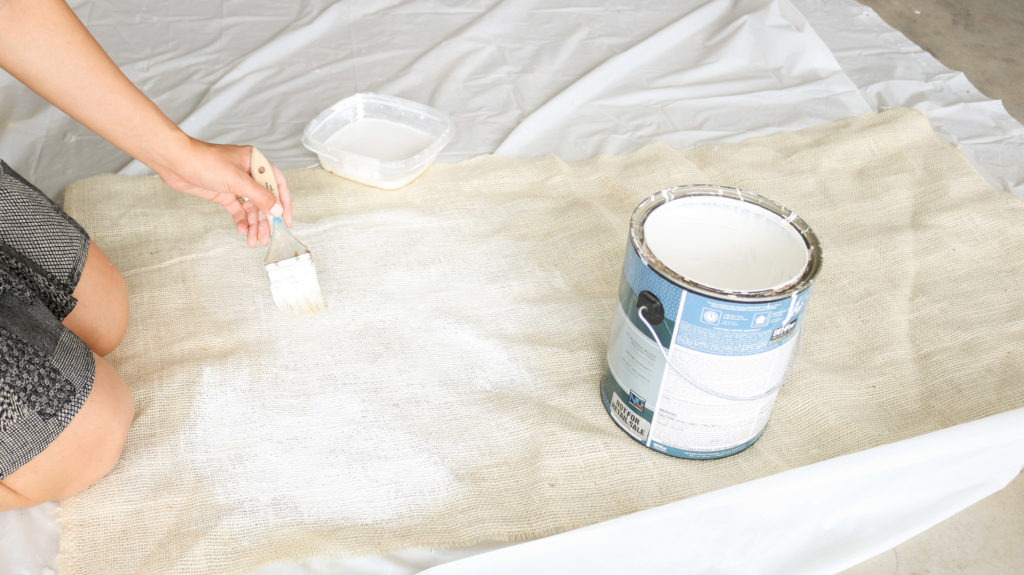
Photo below shows my first attempt at this teepee cat house. I used burlap that I had left over. I even went the extra mile of painting the burlap white 😑 ! Why though 😅?!! It was good effort but, too shabby for my taste.
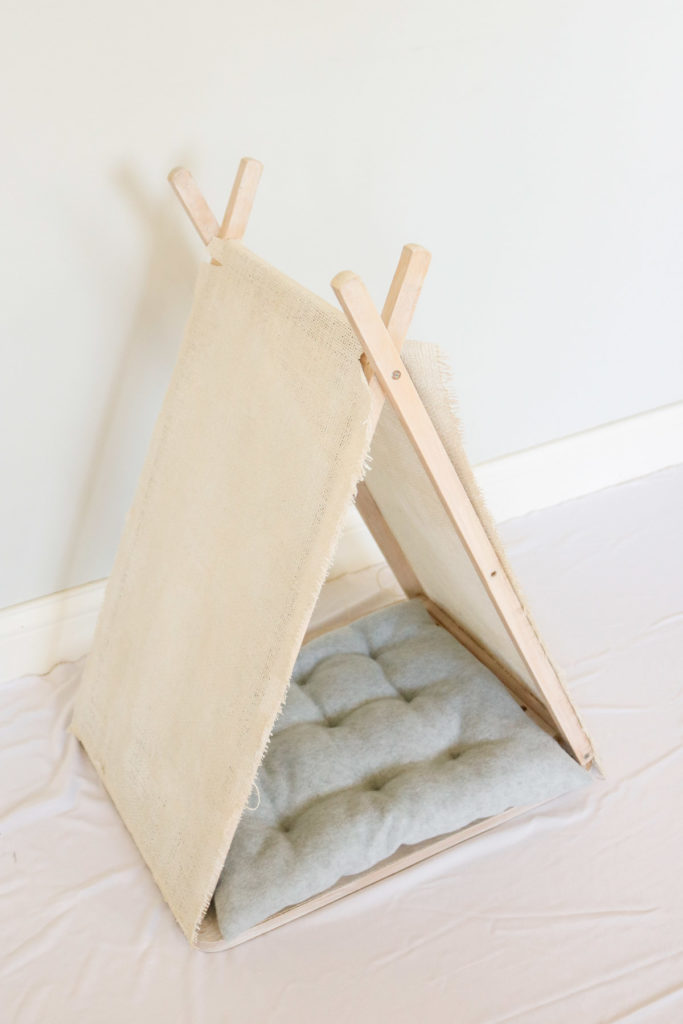
How the burlap looked on the teepee. ( yep that’s after I painted the burlap.. weird it still looks yellow)
Okay onto the good stuff!
*This article contains affiliate links for my info visit my disclosure policy
Time needed:
This took me too much time to make. LOL😂! Honestly with all the hiccups I’m not really sure how long it took. If I were to do it again this would probably take me no more than two hours. 😀
Total Cost: Around $25- $30
Majority of the cost for my was fabric. This cost includes the pillow and cat scratcher too.
Supplies:
Teepee-
- dowel
- tv tray
- screws
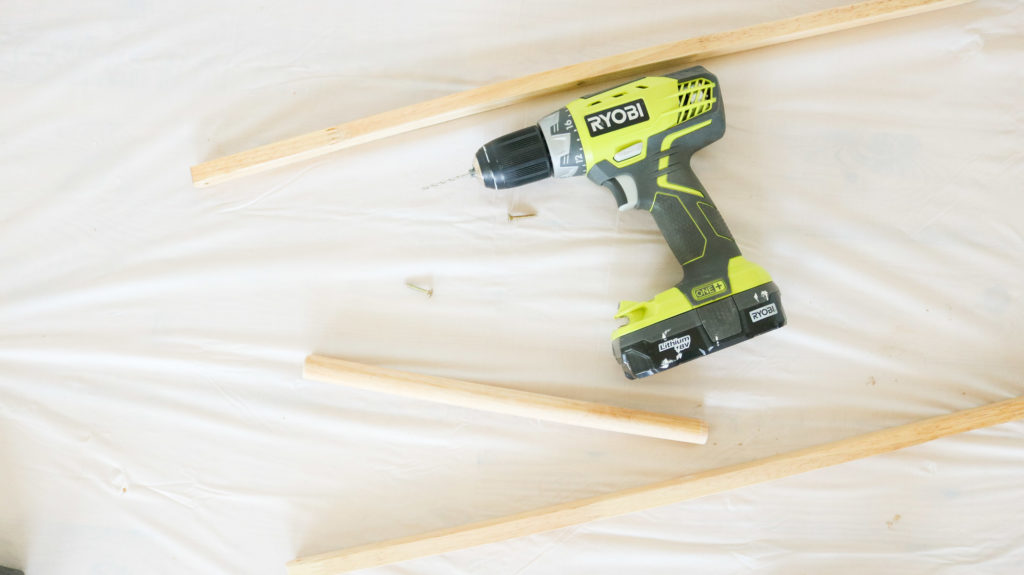
- drill + impact drill
- stain – optional ( used use a white wood stain you can get it here )
- fabric for the teepee
- string
- hotglue ( I LOVE LOVE LOVE my ryobi glue gun. It’s WAY stronger than the electric mini ones. You can get one here )
Additional Options:
Cat Scratcher-
- plywood
- dowel
- jute rope
Cat Pillow-
How To Transform A Tv Tray Into A DIY Cat House!
I’ve been wanting to do more thrifted DIYs and this cat house couldn’t have come up at a more perfect time!
What Inspired Me
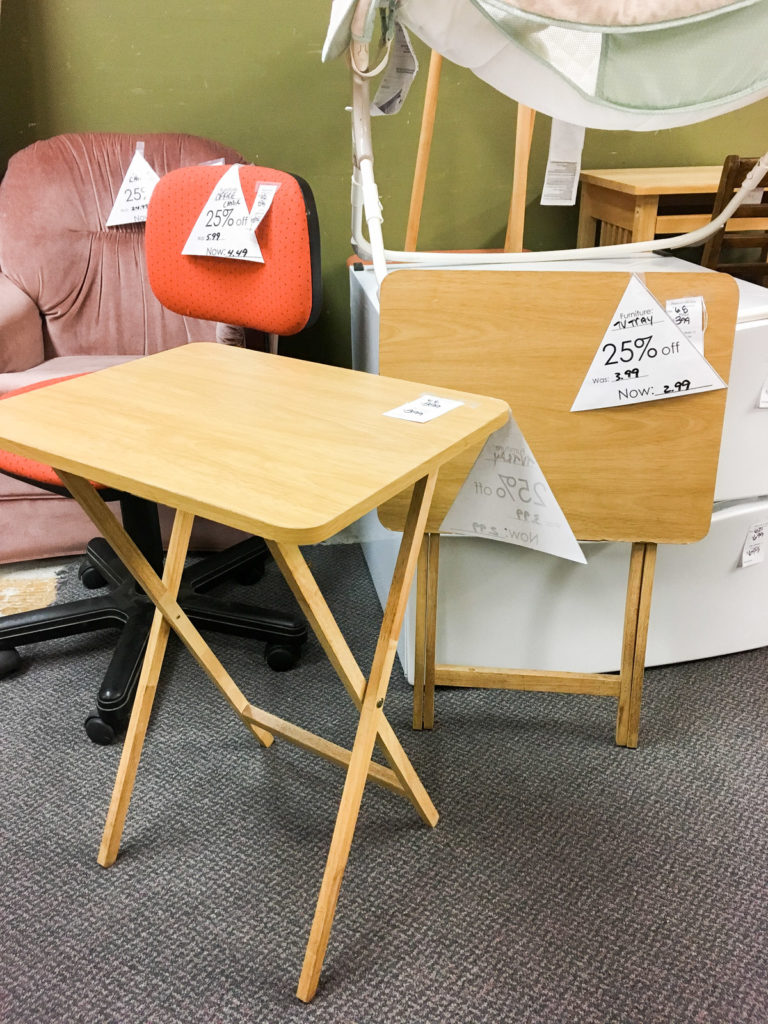
I new I needed a cat bed or house and after doing a quick search online I came across some super cute teepee style houses. There were a few I had my eye on with a similar build to the one I made. DONE DEAL, I thought!! 1″x2″s from home depot would work great but, than I remembered that I’ve been wanting to upcycle more. That’s when my hunt for the perfect thrift flip started! I surfed the web first googling random things and finally remembered about these tv trays. I had this image in my head ” them folding” and I figured if I could just change the position of the screws for the fold and flip it upside down than we have a WINNER!!! Sounds easy right! I ended up having to add a few more steps to get the look I was going for but, it’s still super easy. I got this TV tray for only $2.99 at our local thrift store. They had an additional 25% off on it too.
Taking Apart The TV Tray!
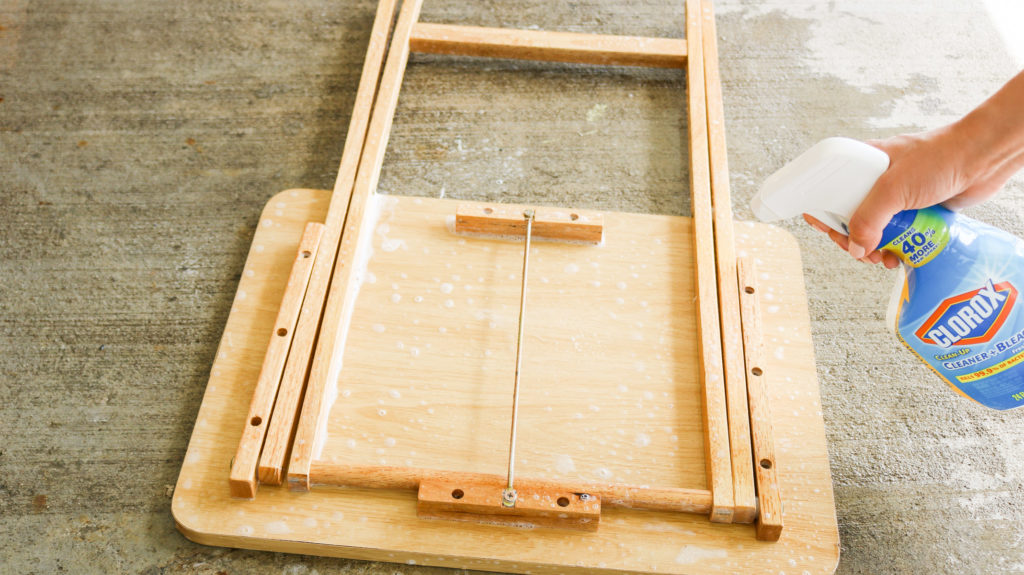
To start off I gave the tv tray a good scrub with clorox.
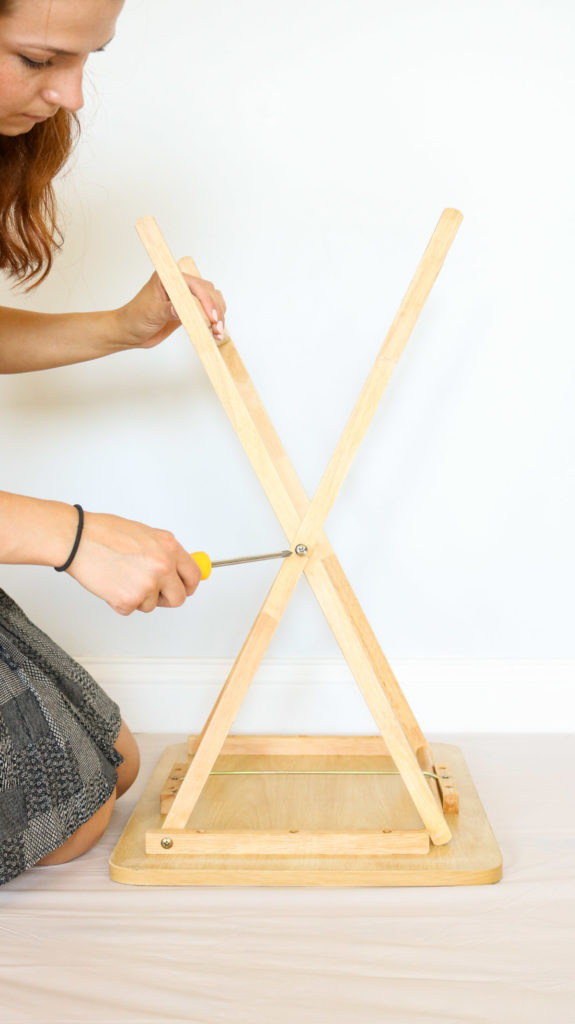
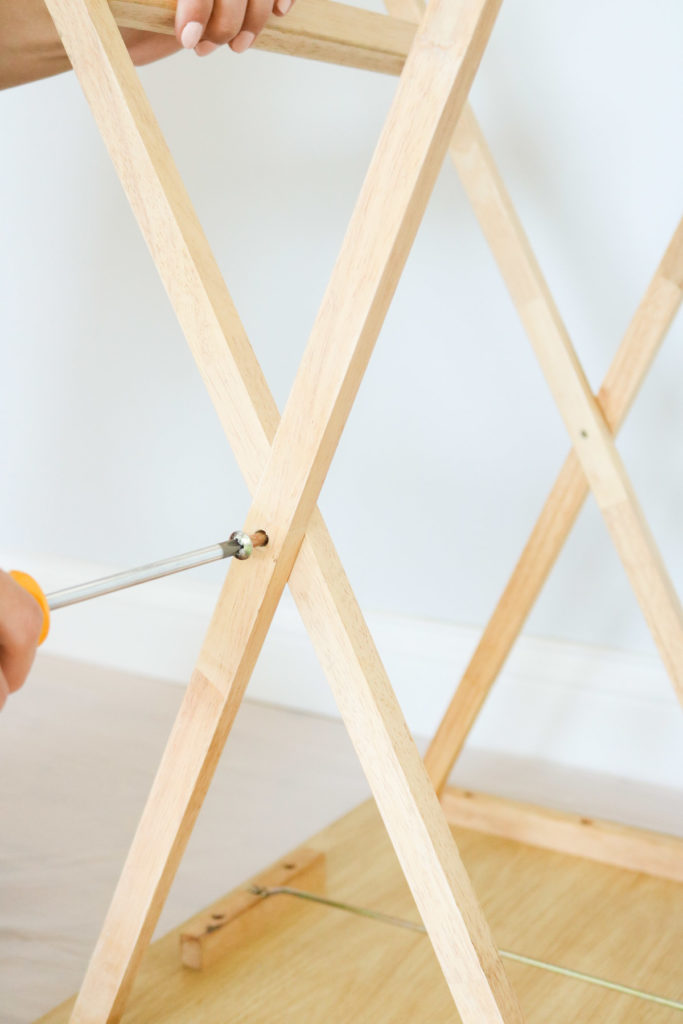
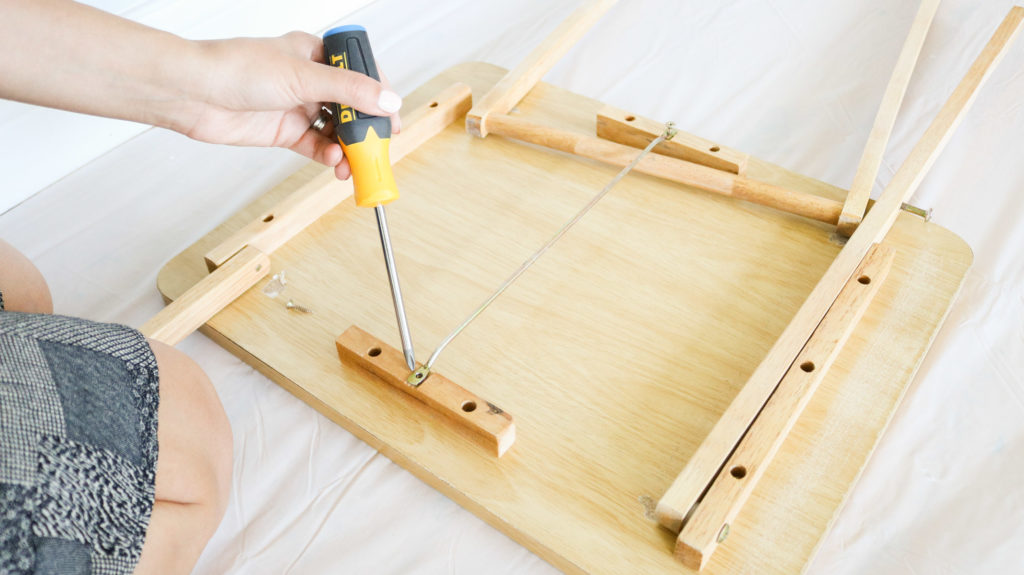
Than to start the DIY cat house I undid the screw that was holding the legs together and started taking apart the bottom of the tv tray.
I removed the metal brace.
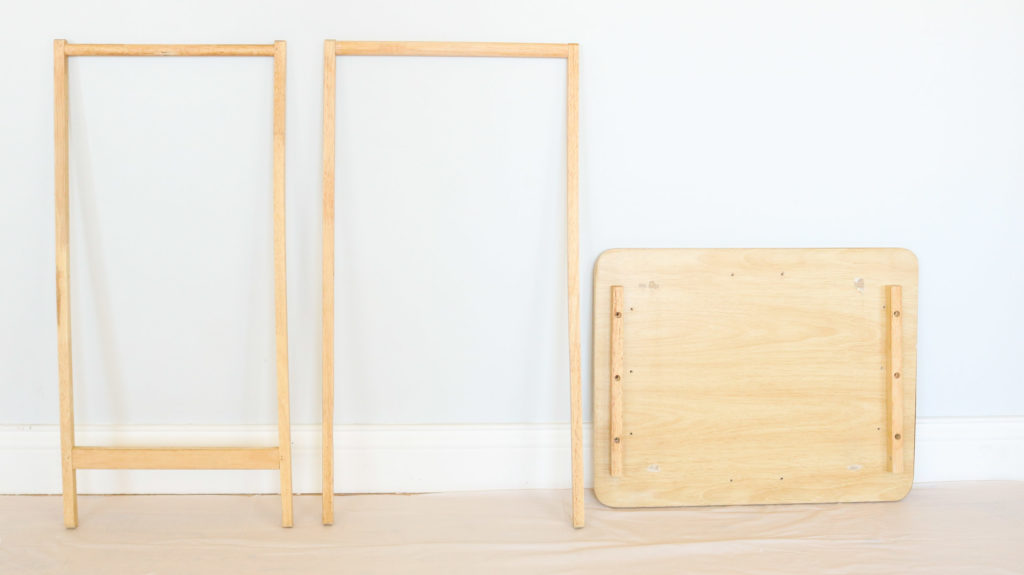
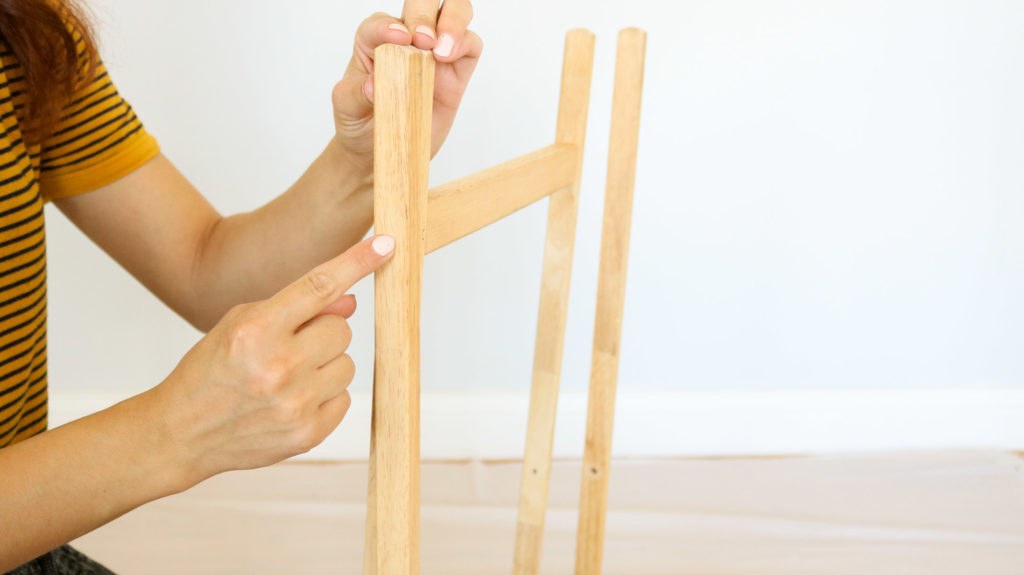
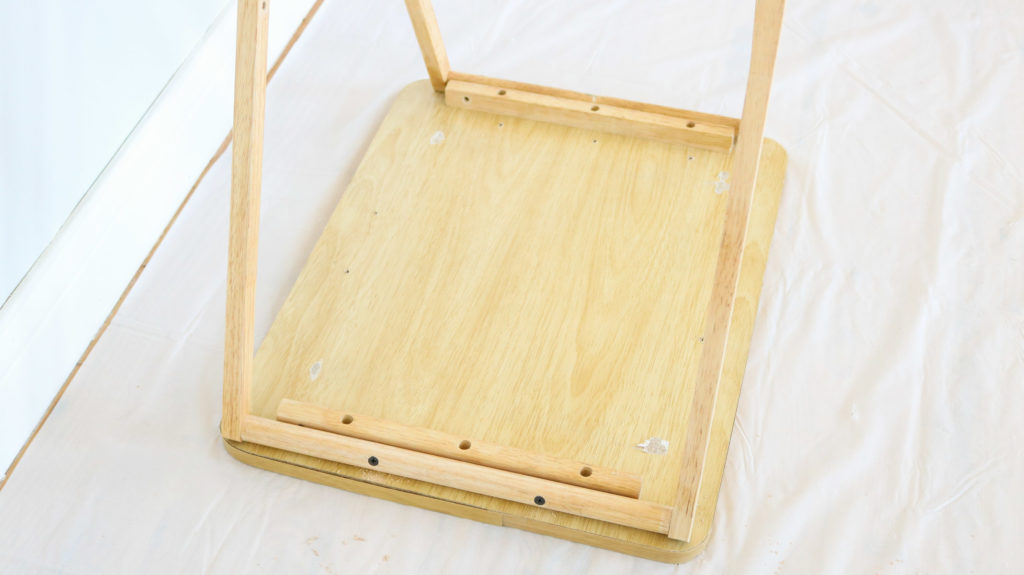
Here’s what it should look like once you take apart the screw that holds the legs together. ( assuming yours looks very similar to mine if you’re making one) One side of the legs were still attached to the table and the other had a dowel at the bottom and a wood bar at the top. ( as shown in the photo below)
I apologize in advance if there’s any confusion. There was a lot of unexpected changes I’ll try my best to explain the steps clearly. Also here’s a quick video to help.
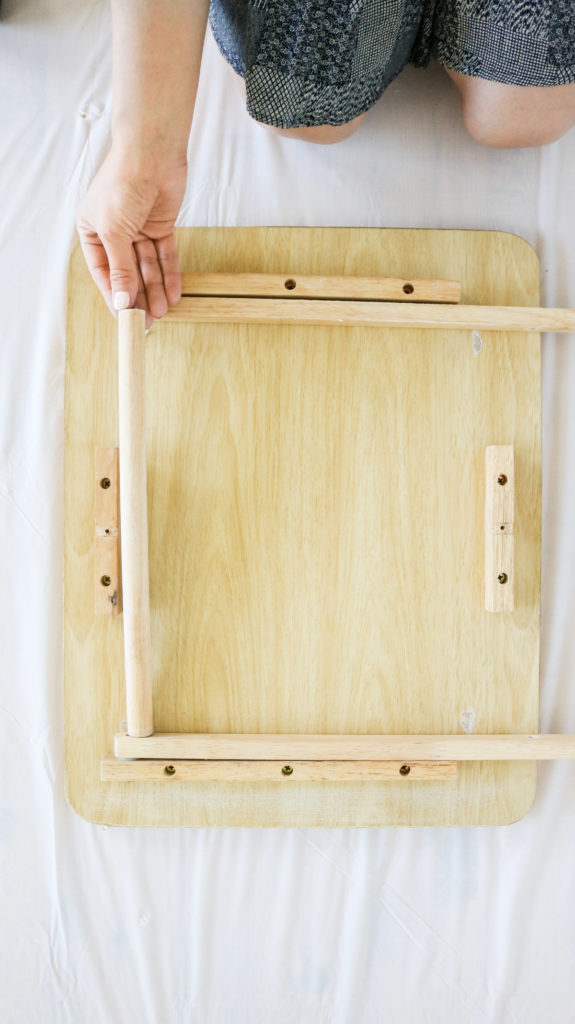
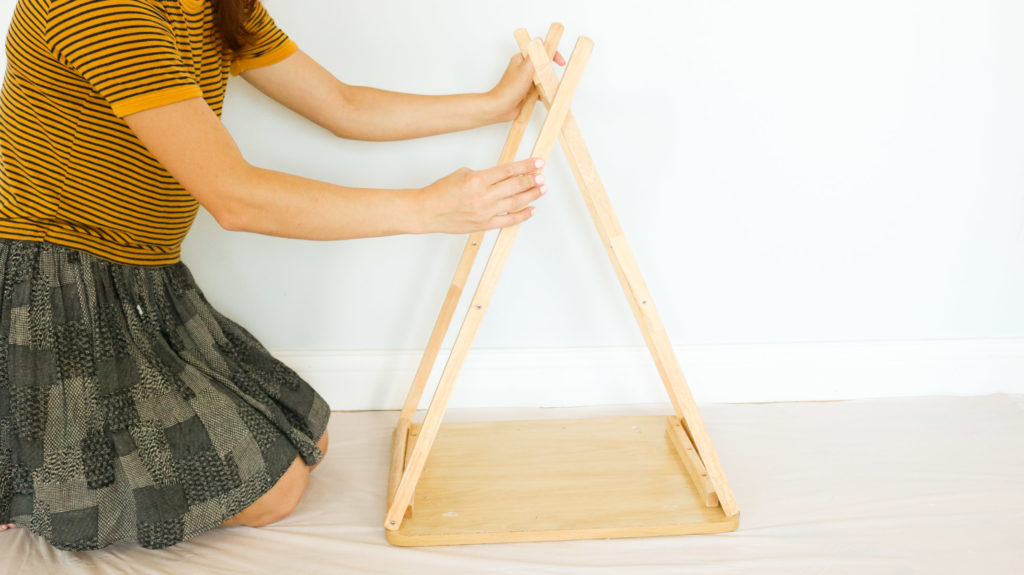
Ok to help envision my teepee I lay the legs onto the tray. ( photo below) The tv tray is also position so you can see the narrow side facing the photo. I eventually ended up flipping the whole bottom tv tray sideways to make the teepee wider. Hope that makes sense.
Creating The Top Portion of your Tepee!
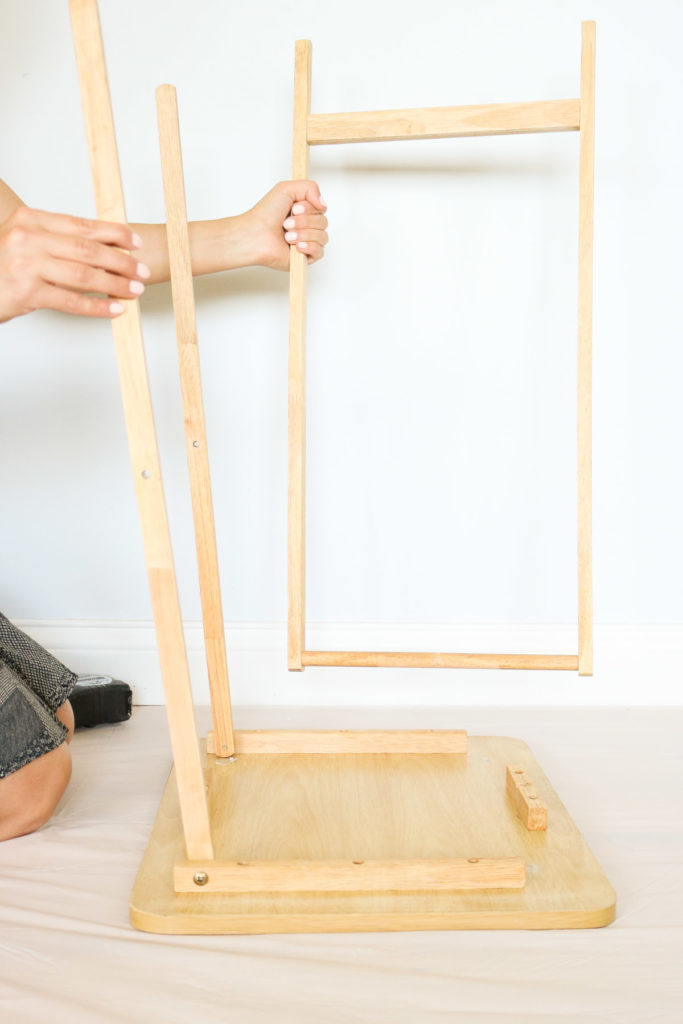
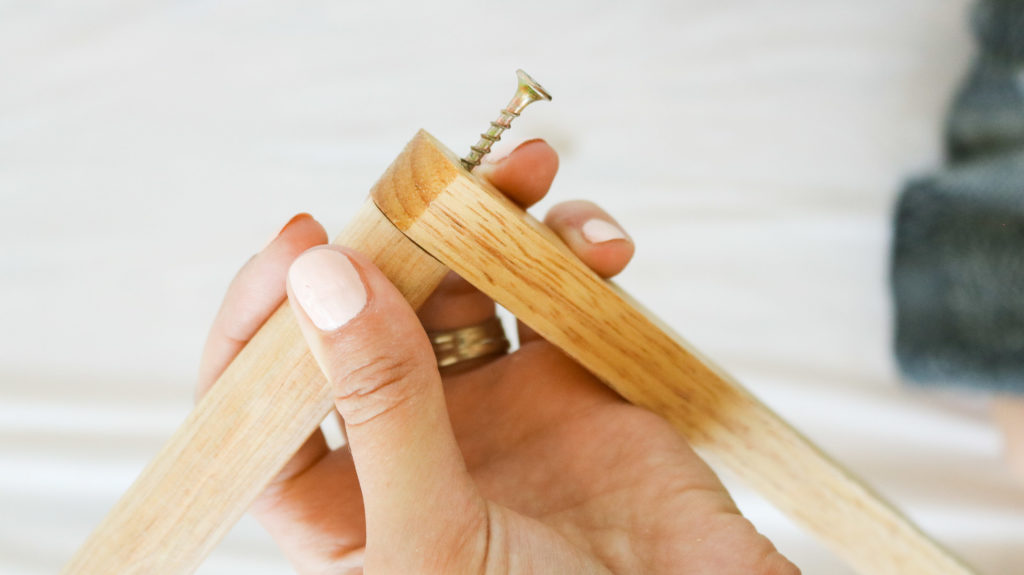
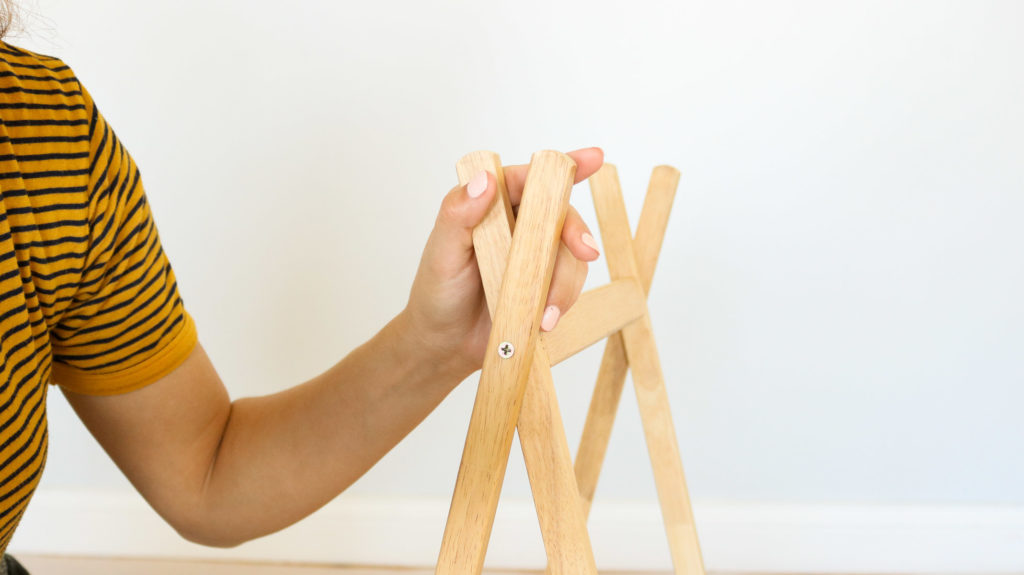
Okay to create the top portion you’ll need to make two sets of similar legs. To do this you’ll need to remove the legs that are attached to the tray and add a dowel in the center. ( dowel doesn’t come with the tray you’ll need to get one) I pre-drilled holes in the dowel than secured it with screws.
Okay here’s a photo showing what everything looked before I was ready to assemble it again. LOL🙈! I don’t why I’m having such a hard time explaining the steps for this DIY.
Attaching the Tepee to base!
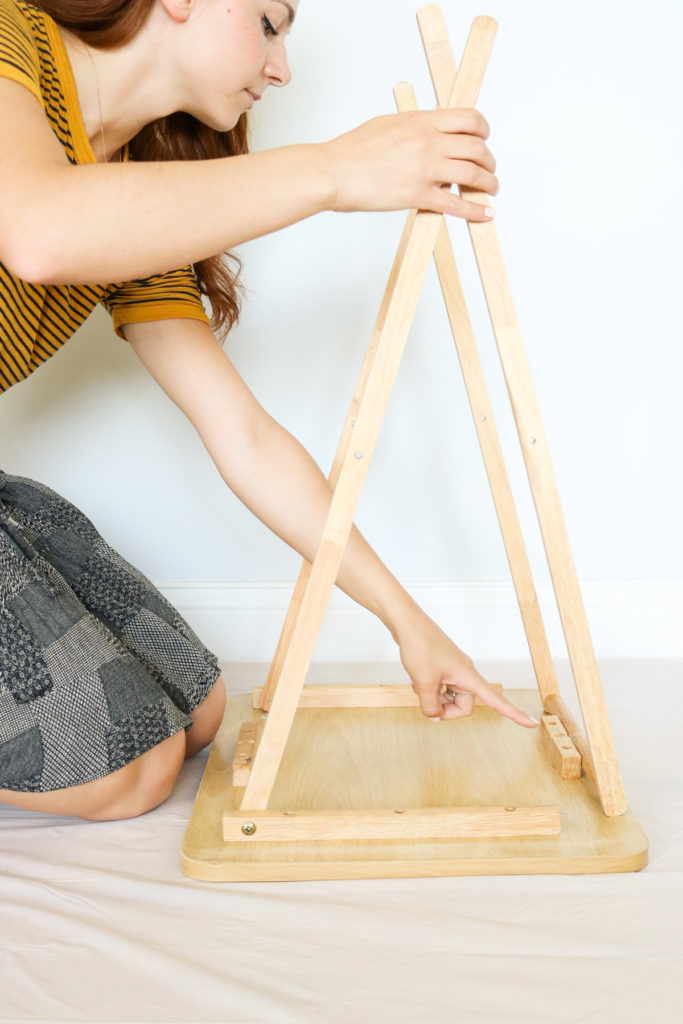
Now take the legs from the tv tray with the dowels side down and align the top. Pre-drill a hole and secure the wood with a screw. Do this to both sides of the legs.
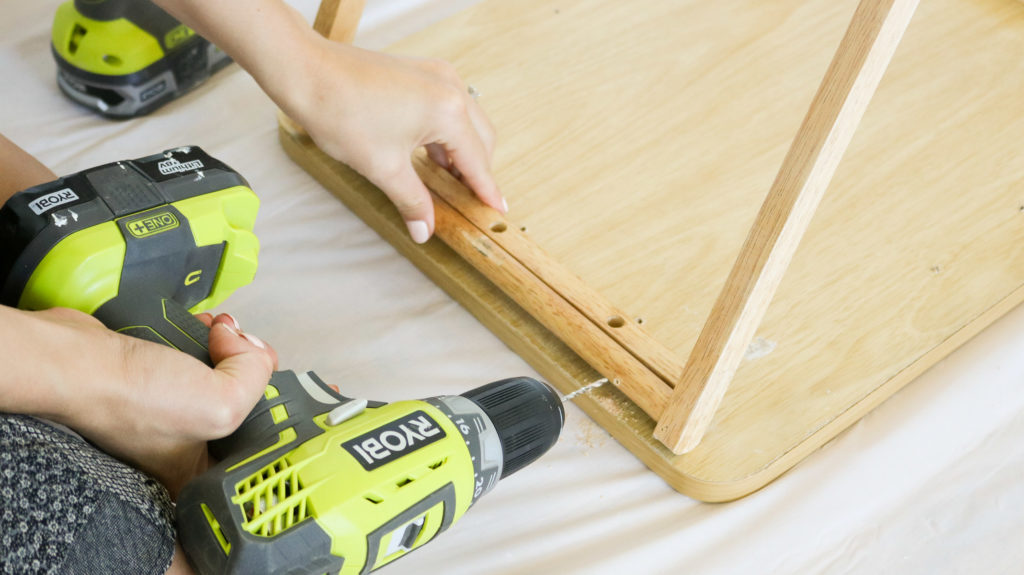
Now all that’s left to do is attach it to the base ( tv tray). Position the dowels on the outer sides of the wood blocks that are attached to your tv tray. Than pre-drill holes in the dowel before securing them with screws.
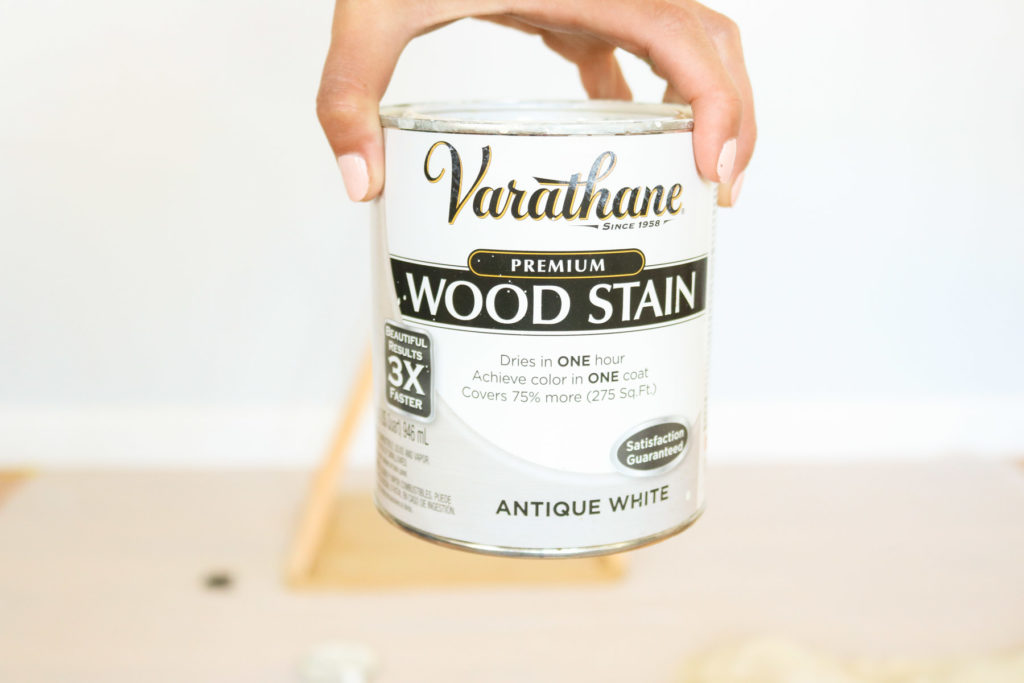
I used this white antique wood stain to even out all the yellow tones in the wood. This stuff is amazing!! ( you can get it here ) I use it for all my projects that have to much yellow in the wood.
- OTHER DIYS YOU’LL LOVE:
- DIY WOOD LAMP UNDER $22
- WOOD COASTERS IN 2 MINUTES
- DIY DINNING TABLE FOR $60
- I PAINTED MY STAIRS!
- DIY LIVE EDGE COFFEE TABLE!
Attaching Fabric to your tepee to Complete the DIY CAT HOUSE!
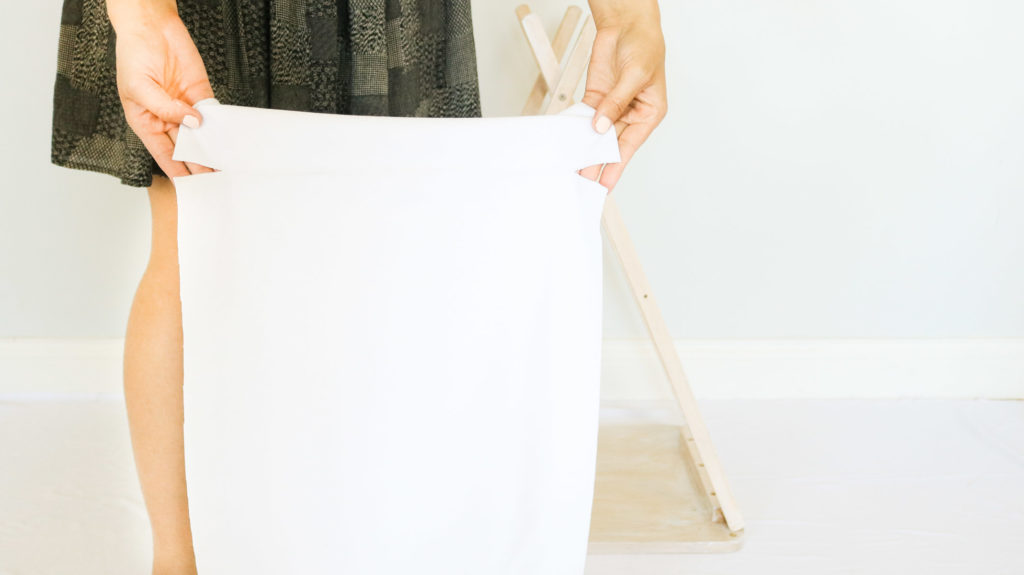
Cut your fabric to fit the width of your teepee. Make sure you have enough to wrap around the bottom on both sides for stapling. Somewhere around the middle of this long strip of fabric cut two slits on the edges measuring at about 1 inch.
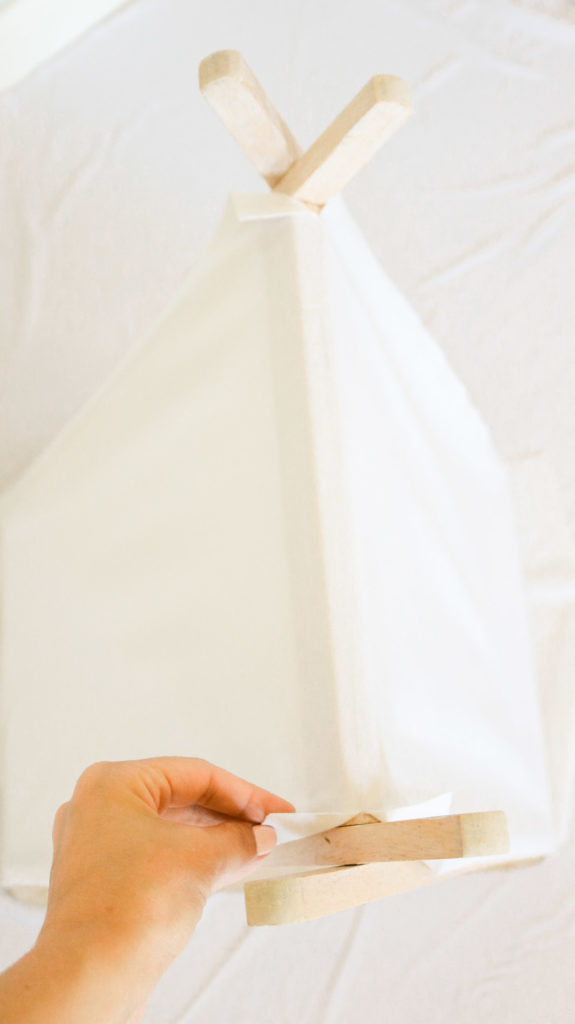
Than drape your fabric over the tepee making sure the slits are in the middle at the top.
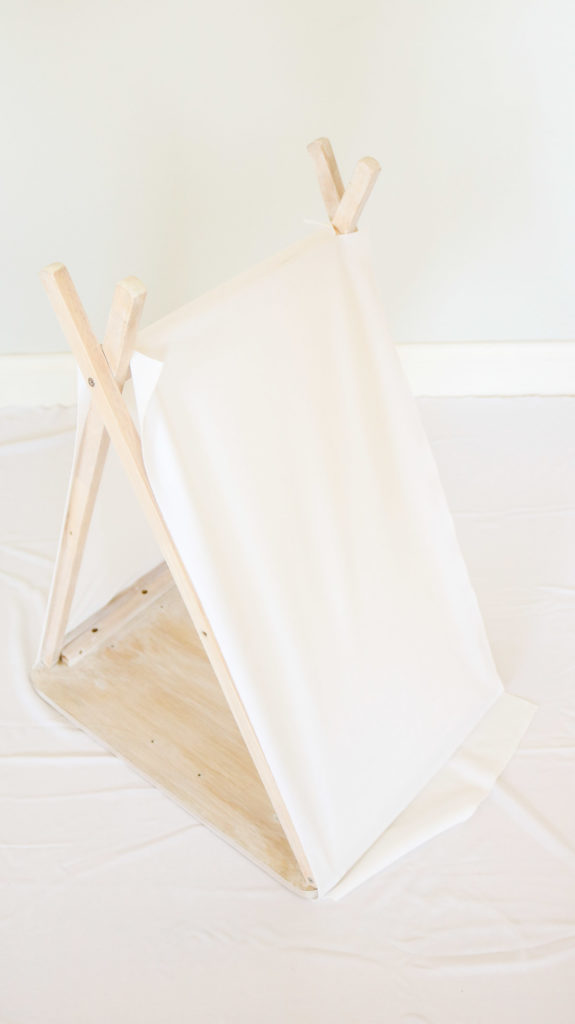
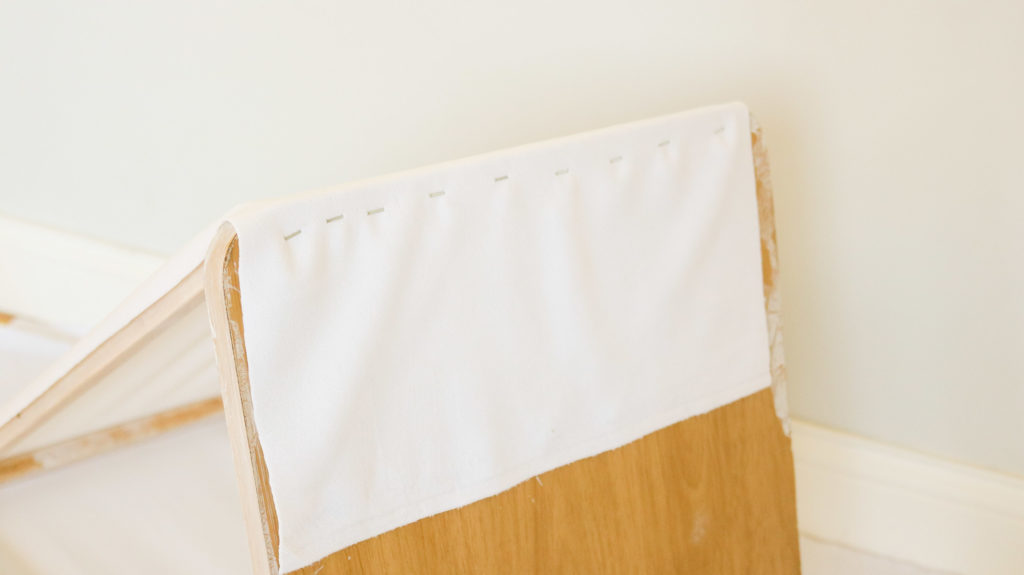
Stretch the fabric tightly and secure it at the bottom with staples. Cut off whatever is extra.
Finishing Touches on the Cat house!
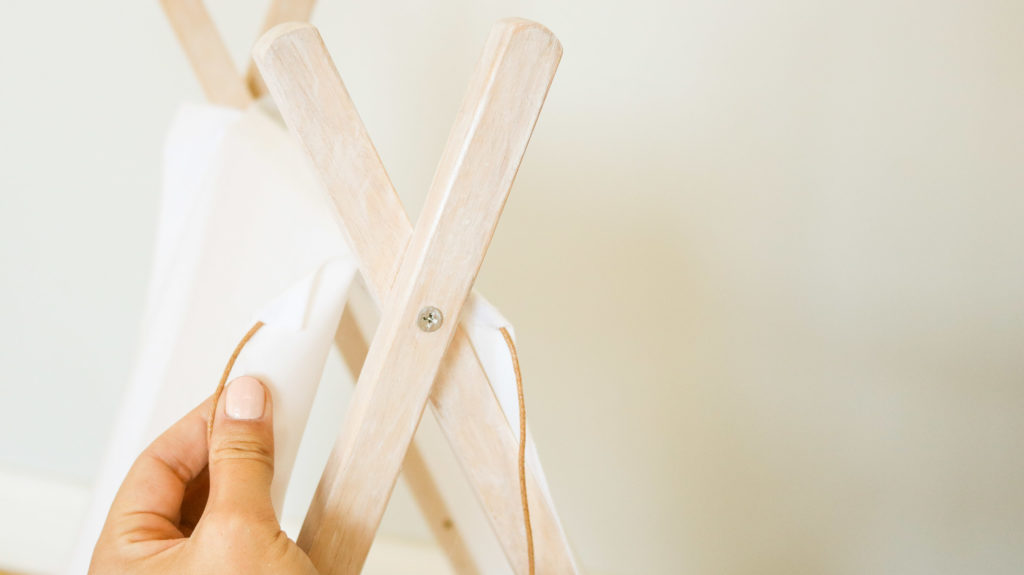
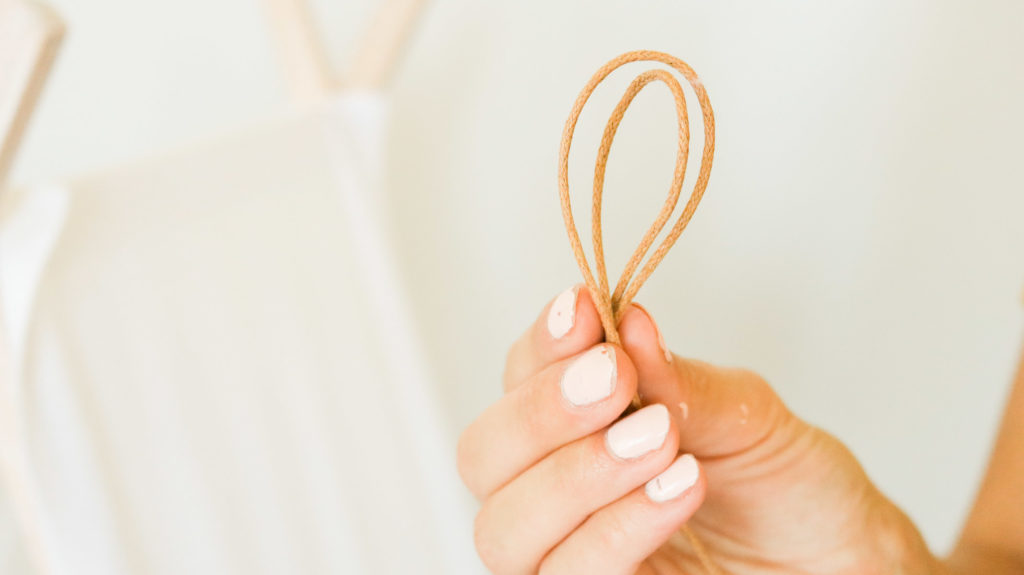
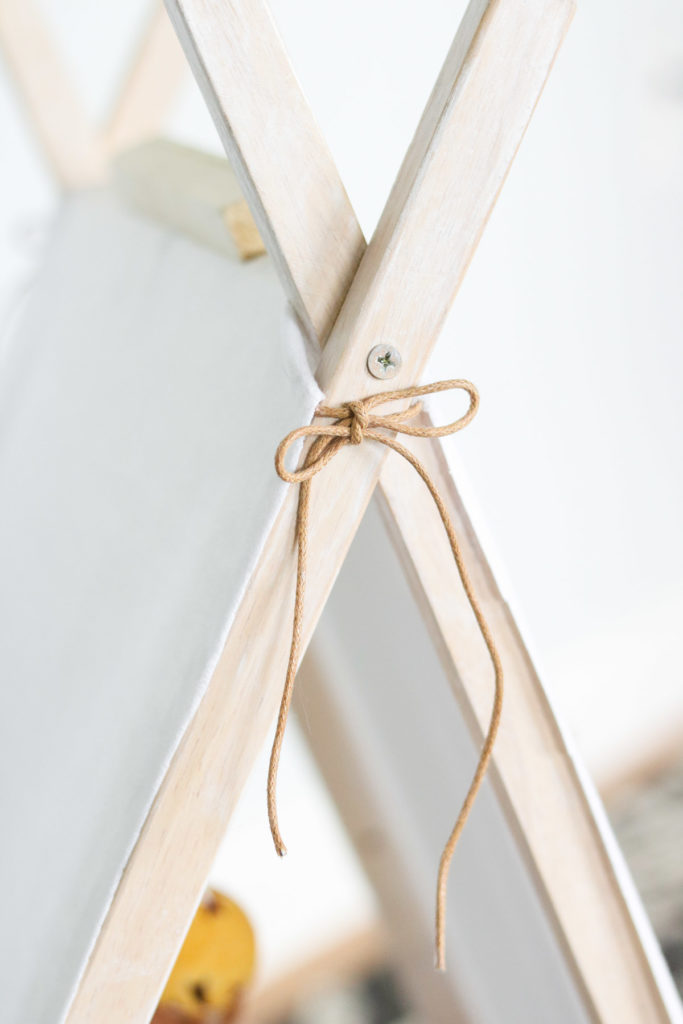
To get neater edges on the slits I folded them in and hot glued some string inside. I did this on both sides and tied it into a bow.
We got this string at Joanns in the ribbons sections.
Optional : Cat Scratcher!
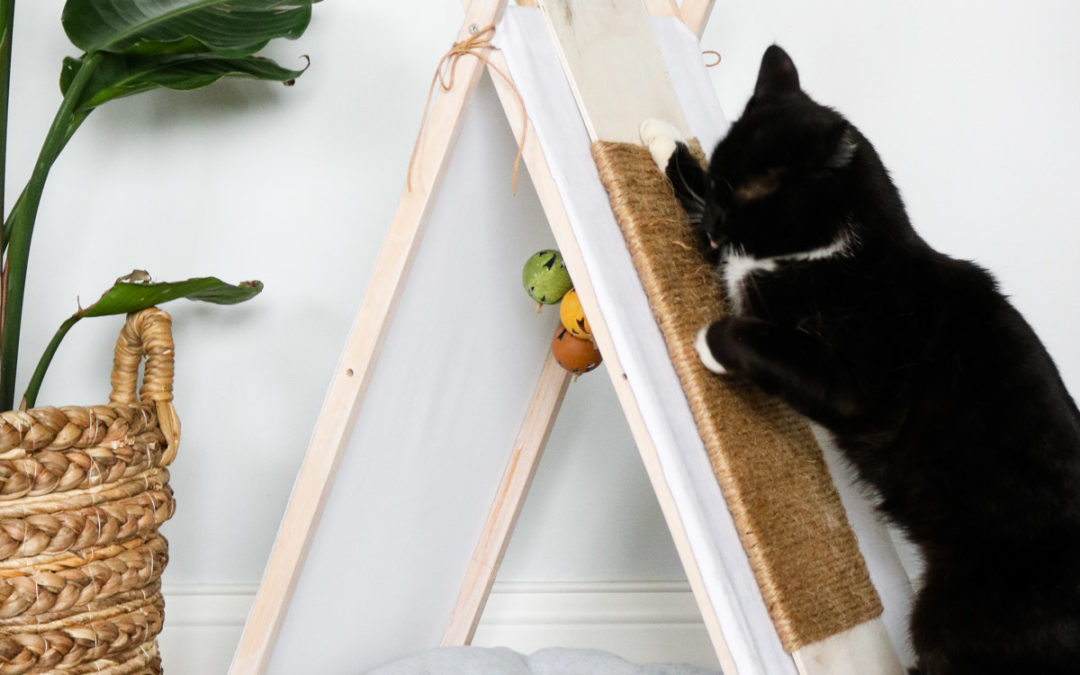
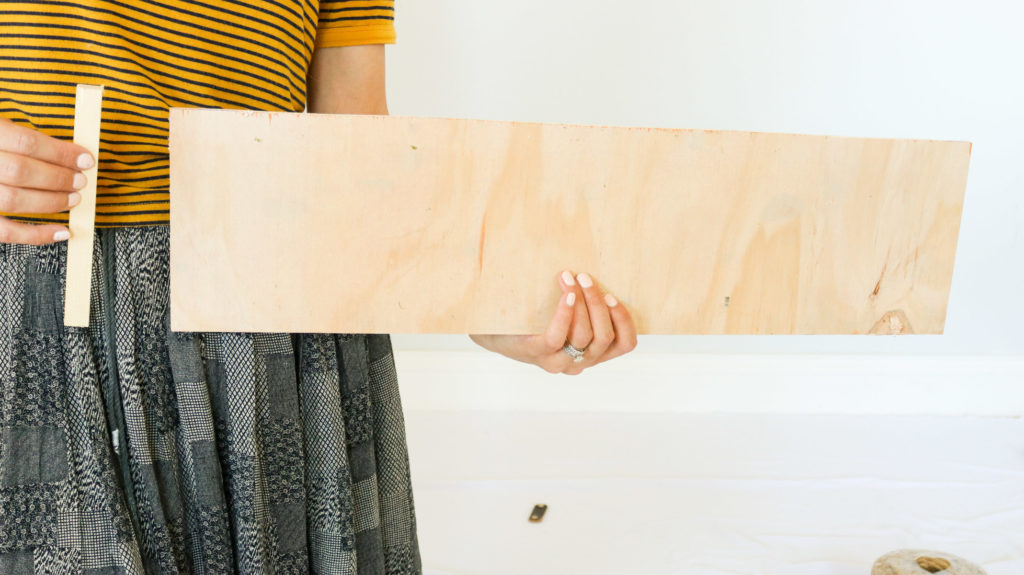
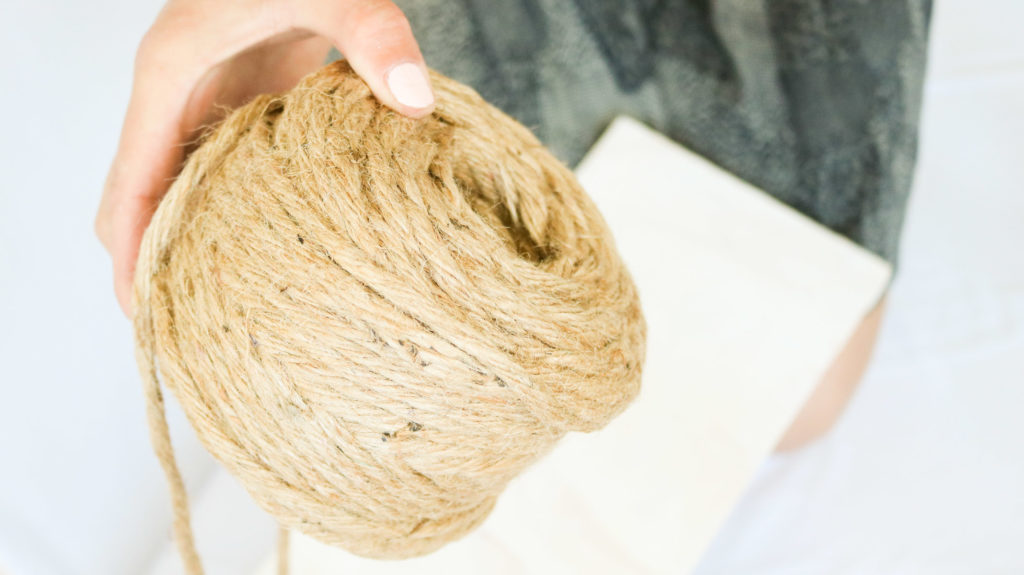
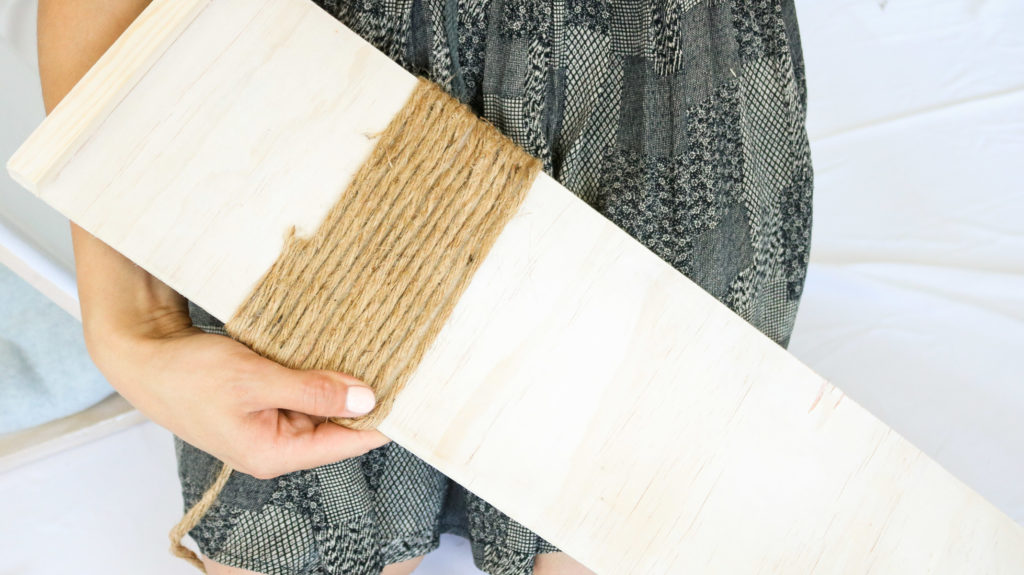
To make the cat scratcher I used some scrap plywood and glued a piece of dowel at the top. Than I hot glued some jute rope onto the back side and wrapped the rope tightly around the wood. It’s really easy to make.
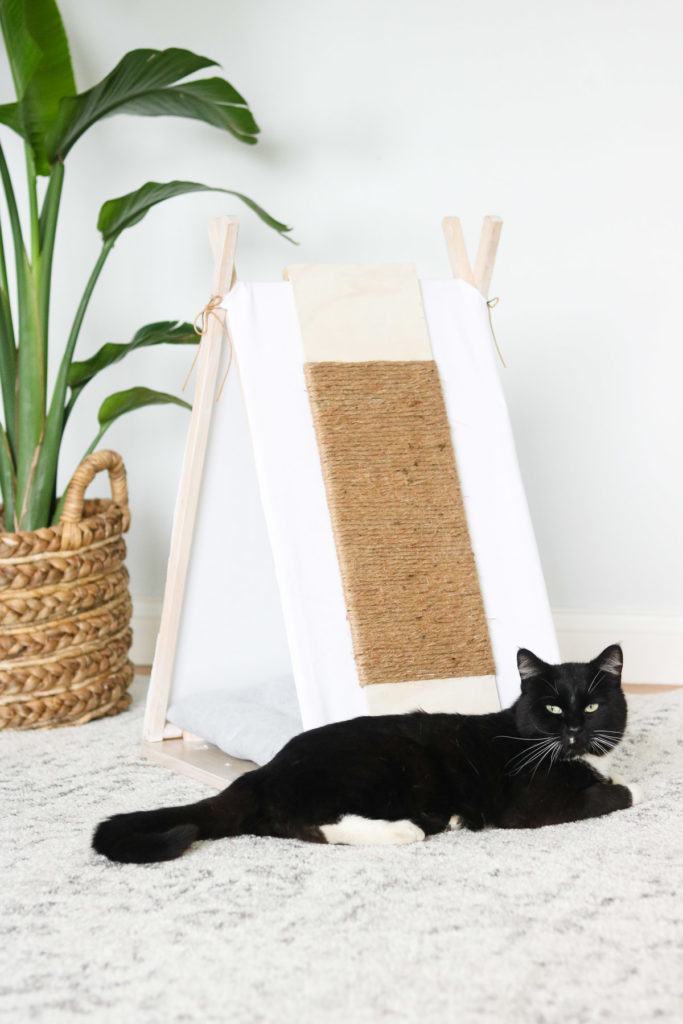
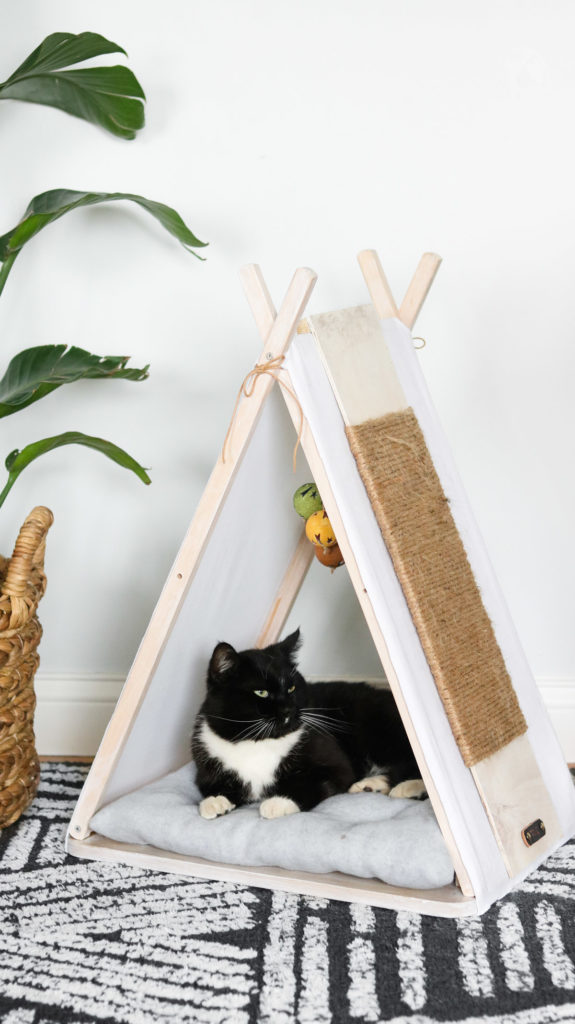
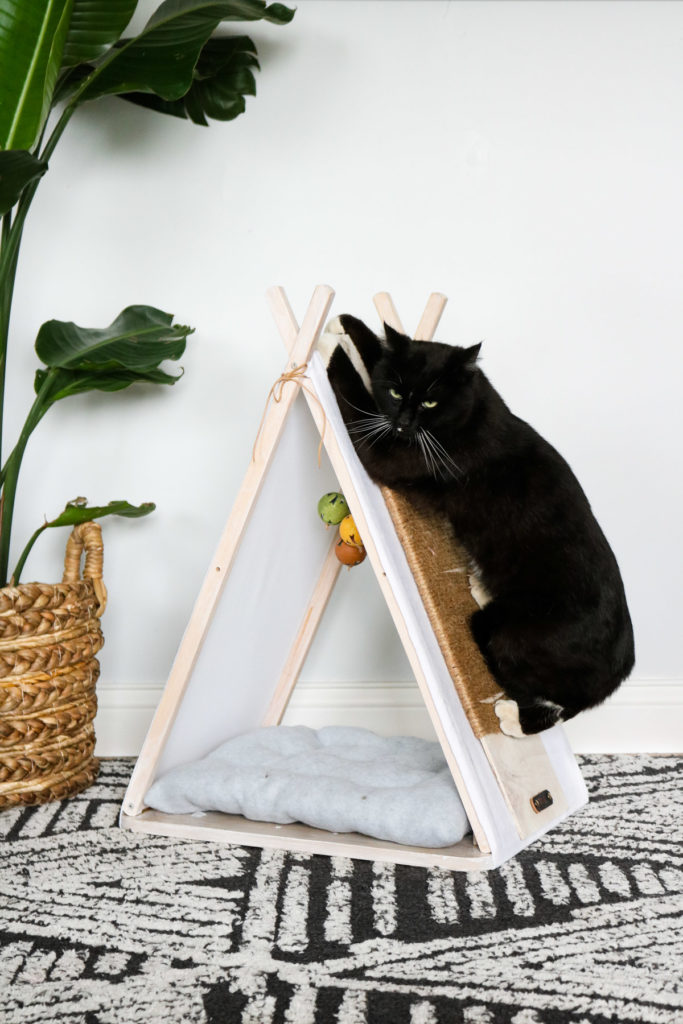
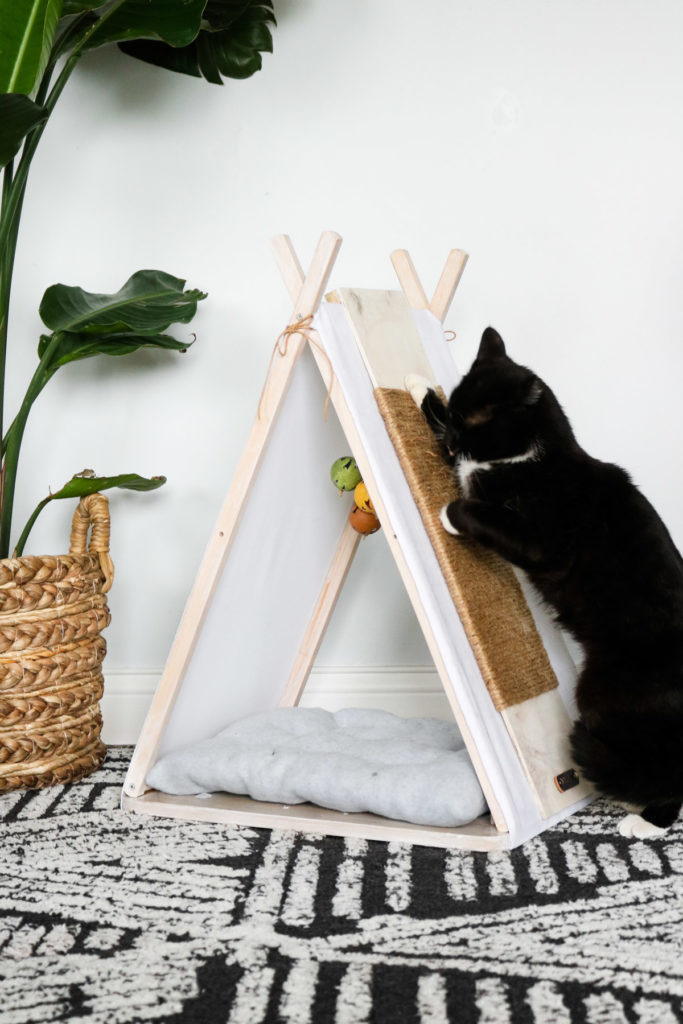
Okay here it is all done!! Tod is such a cutie! He’s not yet used to the teepee but I think it’s growing on him.
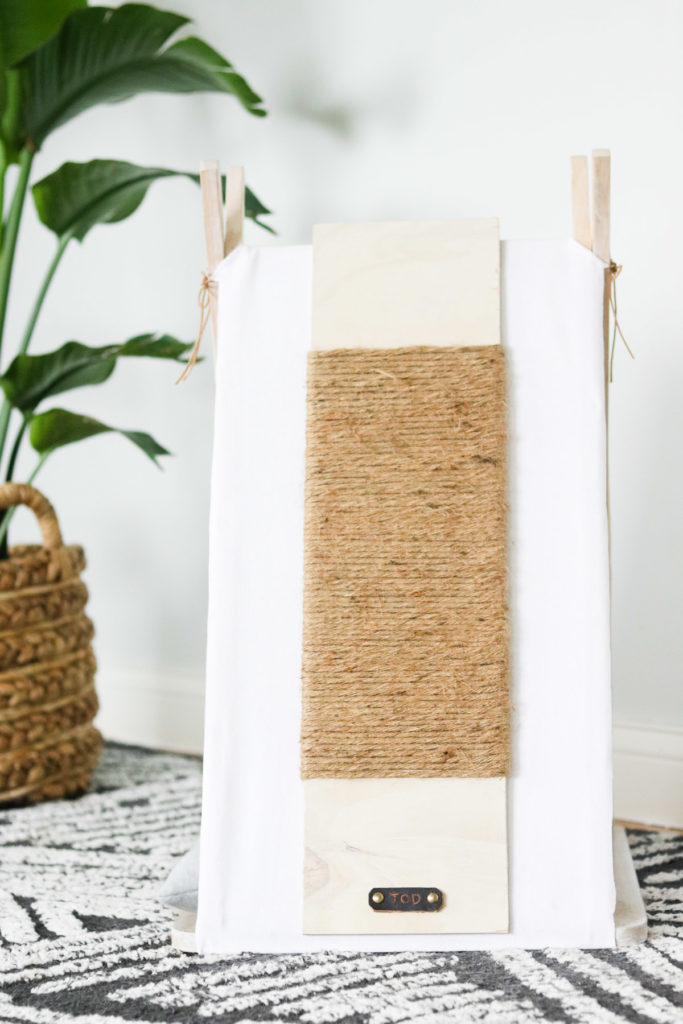
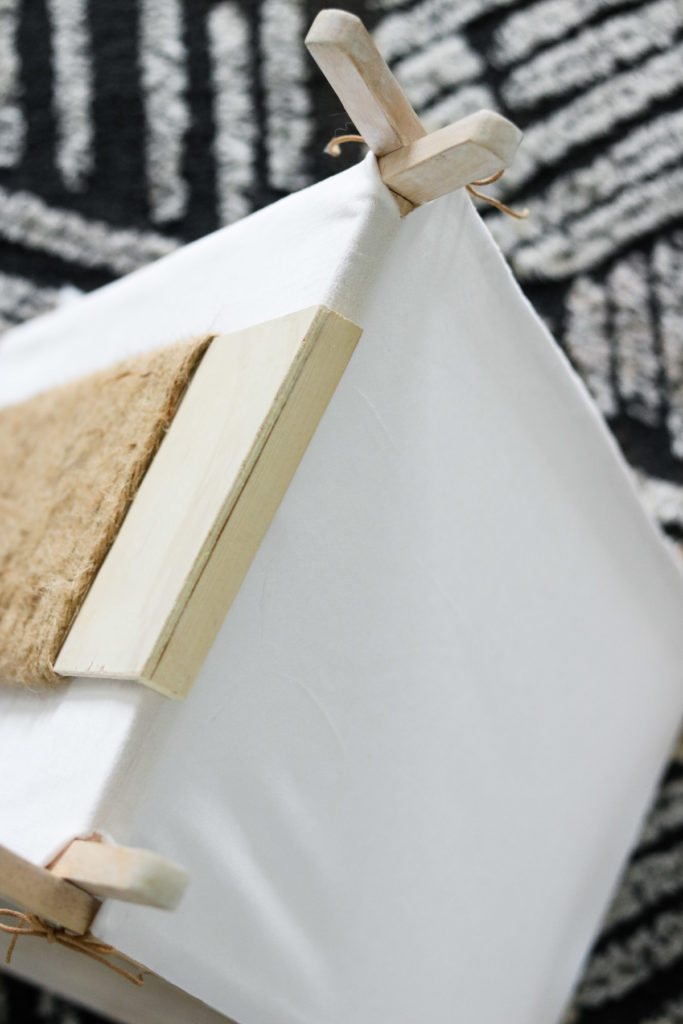
Here’s the scratch board. It can also be removed and displayed on the floor. I love that about it!
A photo showing how the scratch board attaches to the tepee.
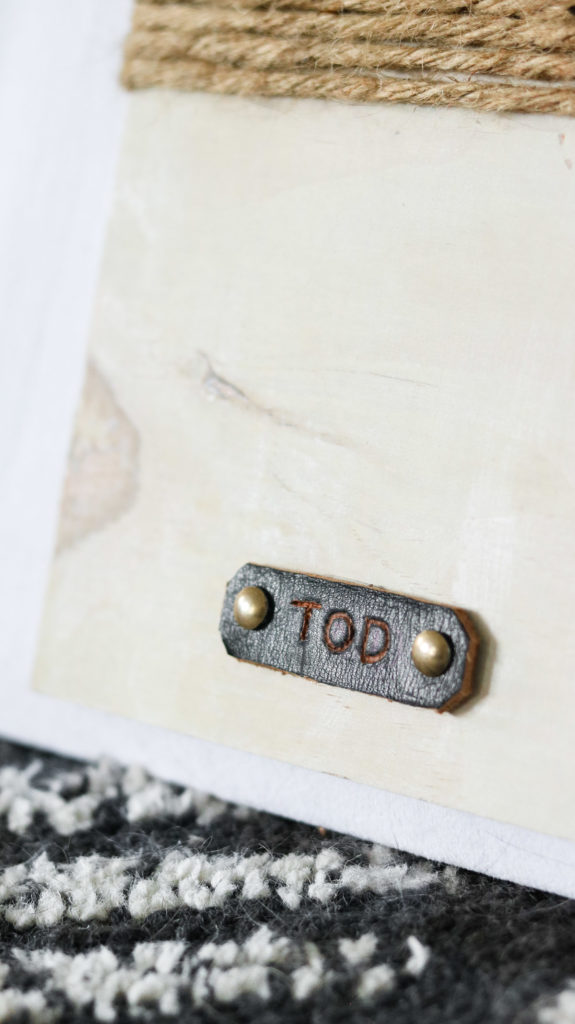
I even made him a little label that goes on his scratch board.
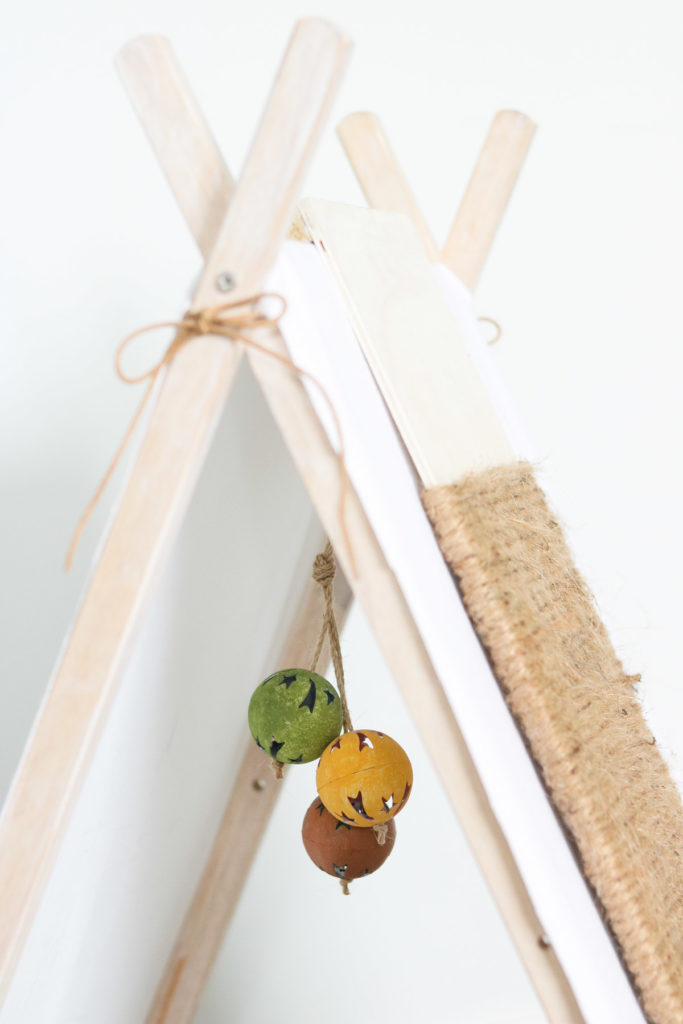
An of course we couldn’t go without some fun toys for him. We got these cat bells at the dollar tree. 😄
And Tod getting in on the action!! OMG 😂 He looks like a panther in this first photo. Don’t you think?
That’s it for today!! I really hope this inspires you to make your own DIY cat house or teepee! It could work for dogs too or other pets you have. I’ll see you all next week! Happy Crafting!
🤗, Lily
BEST FAMILY RECIPES FOUND HERE – https://pinchofbaked.com/

Great idea for cat. I would like to make this But I need a written copy. have eye trouble. thankyou
Wow really a good idea. Thank you for sharing Lily 😀
So happy to hear you like it! 😀 😀
I SO love black and whites
😻😻😻 thanks for the instructions!
So cool. Cats love boxes, tents, tepees, you did a great job. You’ve made a happy cat!
Thank you Loraine 😀
OH i’m sorry Stacy! Thank you
That is sooo very cool. My Sophia would love that. Thanks for sharing your wonderful pictures.
I’m so happy to hear you loved it Jean! Thank you 🙂
Awe he loves it! Tuxedo kitty’s are the best! My kitty is a tux too, she has a good disposition <3
I happen to have an old tray just like that around! Might do this one, thanks for the step by step photos! I am a visual person and those helped me understand better than trying to read through. Happy holidays 🙂
How cute! I keep wanting to get Tod a friend. He seams lonely sometimes but, good news he’s really warmed up to the tepee. 🙂 Always naps in it.
Thank you for the feedback Jasmine I’m also a visual person and would much rather prefer more photos over writing lol! 🙂 Glad to hear this was helpful and happy belated holidays to you 😀 😀 I hope you’re having a great new year 😀
Wow! What an excellent ideal. Love it. My sons cats will love that. It will be my Christmas present for them.
Thank you! Awe they sound so sweet 🙂
Love this. Did you attach the scratching board or is it simply hung over the top?
Thank you Jennifer it’s simply attached over the top 🙂 You can secure it if you’d like.
Beautiful! How did you decide to use rope or sisal for the scratching board?
What size dowel did you use?
thickness was 3/4 of an inch from what I remember.
I’m starting this project today. Thanks for the idea
YAY! I’m glad you liked it Jill 🙂
Love this idea! I also really like your rug. Can you share where you found that at? Thanks
Thank you Marissa 🙂 I got the rug from target. It’s a nate berkus rug 🙂 LOVE LOVE LOVE it too!
I have a ryobi, table and cat. I was so happy to see this. Do you have a blog?
🙂
lol, ok I asked a stupid question, It says blog right at the top. lol sorry.
LOL made my day no worries
Do you have instructions for the pillow as well. I didn’t see that, but I might have missed it.
Sorry I didn’t share that.