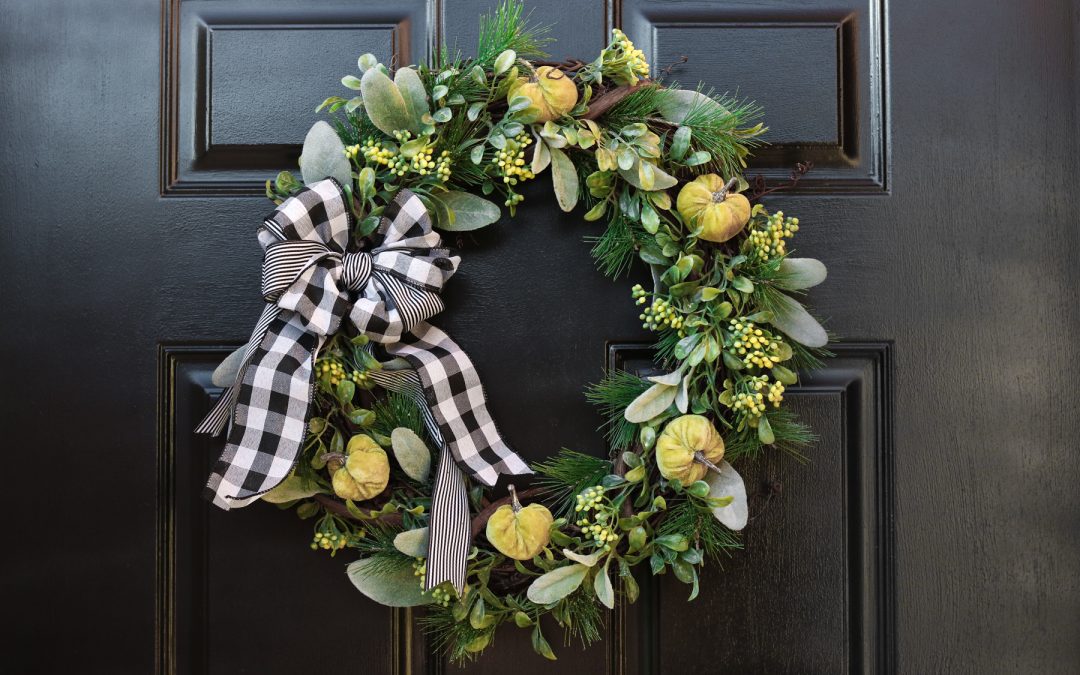
This wreath is one of my favorites to date! I’m in love with the plaid bow! Ok😬 honestly before, starting on this wreath I was a bit scared to touch plaid. Reason for that is because, I always have a hard time styling with it. Do you get that?
I gotta tell you.., this wreath sure won me over 😄!! I love how the plaid compliments the pumpkins and gives the wreath a nice play on texture. Oh and those velvet pumpkins 😍😍 ! Aren’t they the cutest! Little Oleg helped pick them out! He has such a good eye for color!
Time Needed:
This wreath takes about 45 minutes to make.
Cost: Around $27
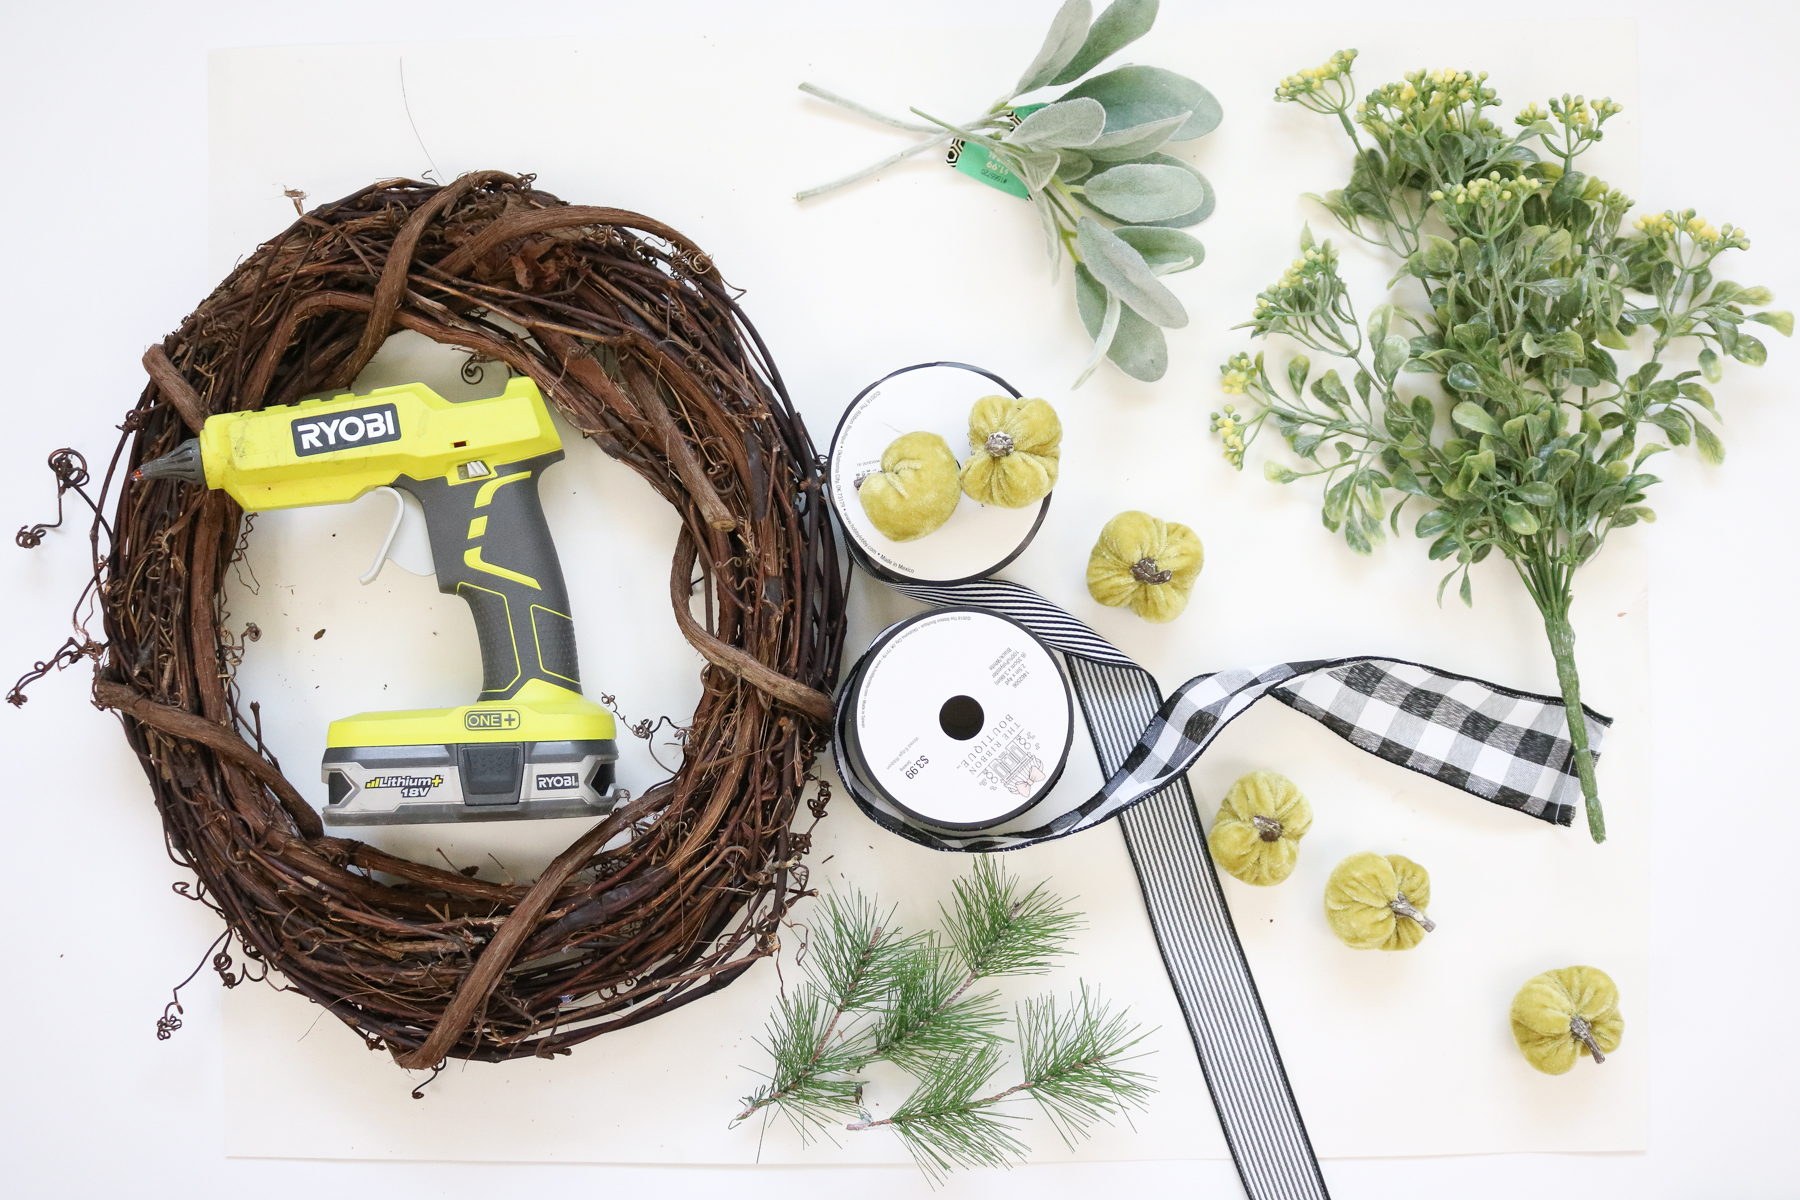
Supplies:
- 3 types of greenery filler ( I did 2 fillers with rounded leaves and some pine needles)
- 14″ grapevine wreath
- mini pumpkins
- Hot Glue
- Wire
- Ribbon
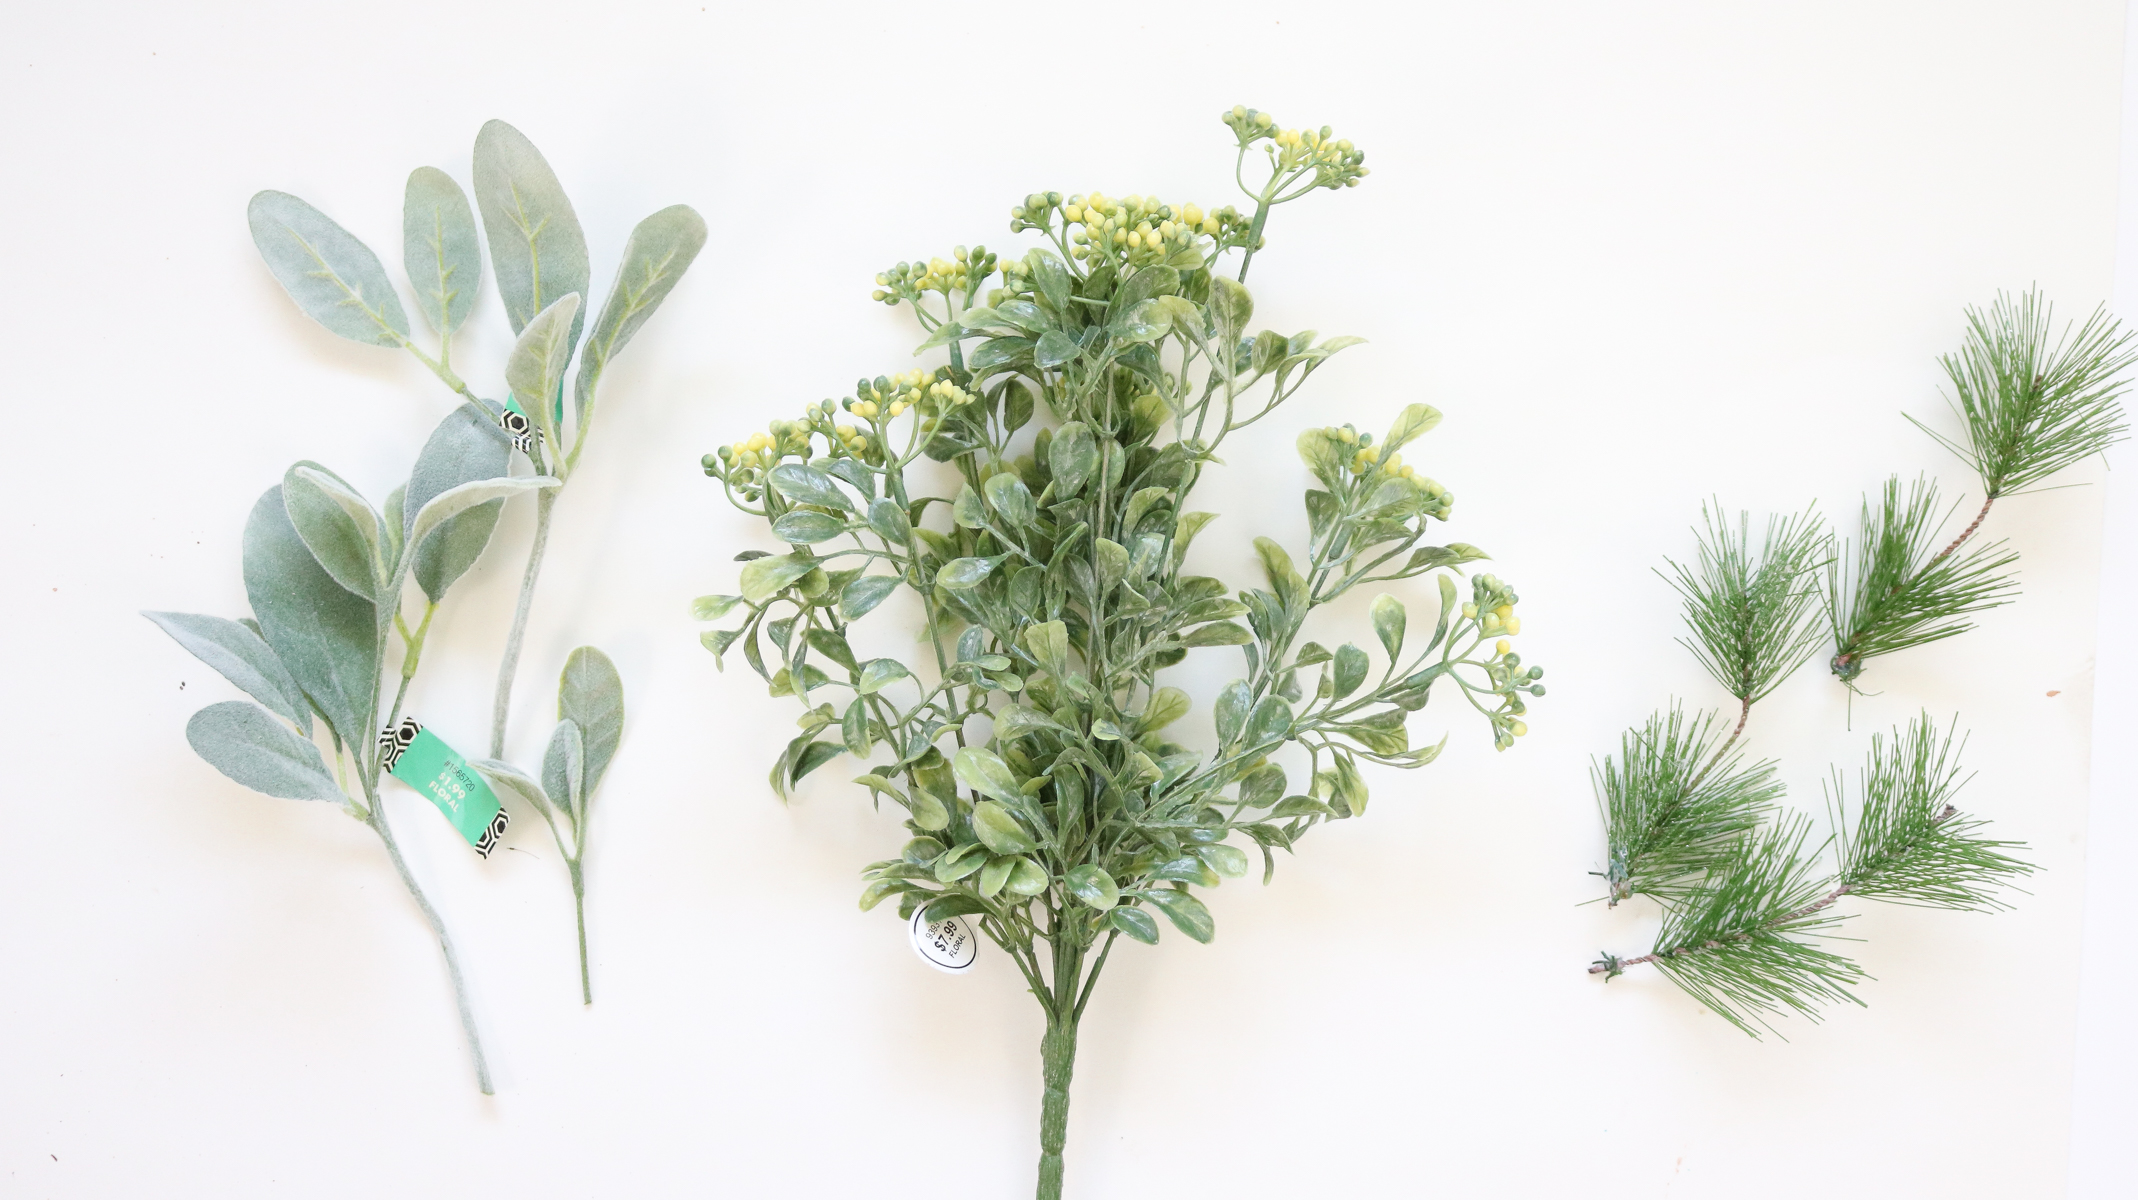
I chose to go with some eucalyptus and a little bush that had the a similar shade green leaves with berries to compliment my green mini pumpkins. Since both these fillers had rounded leaves I used some pine sprigs to break it up a bit.
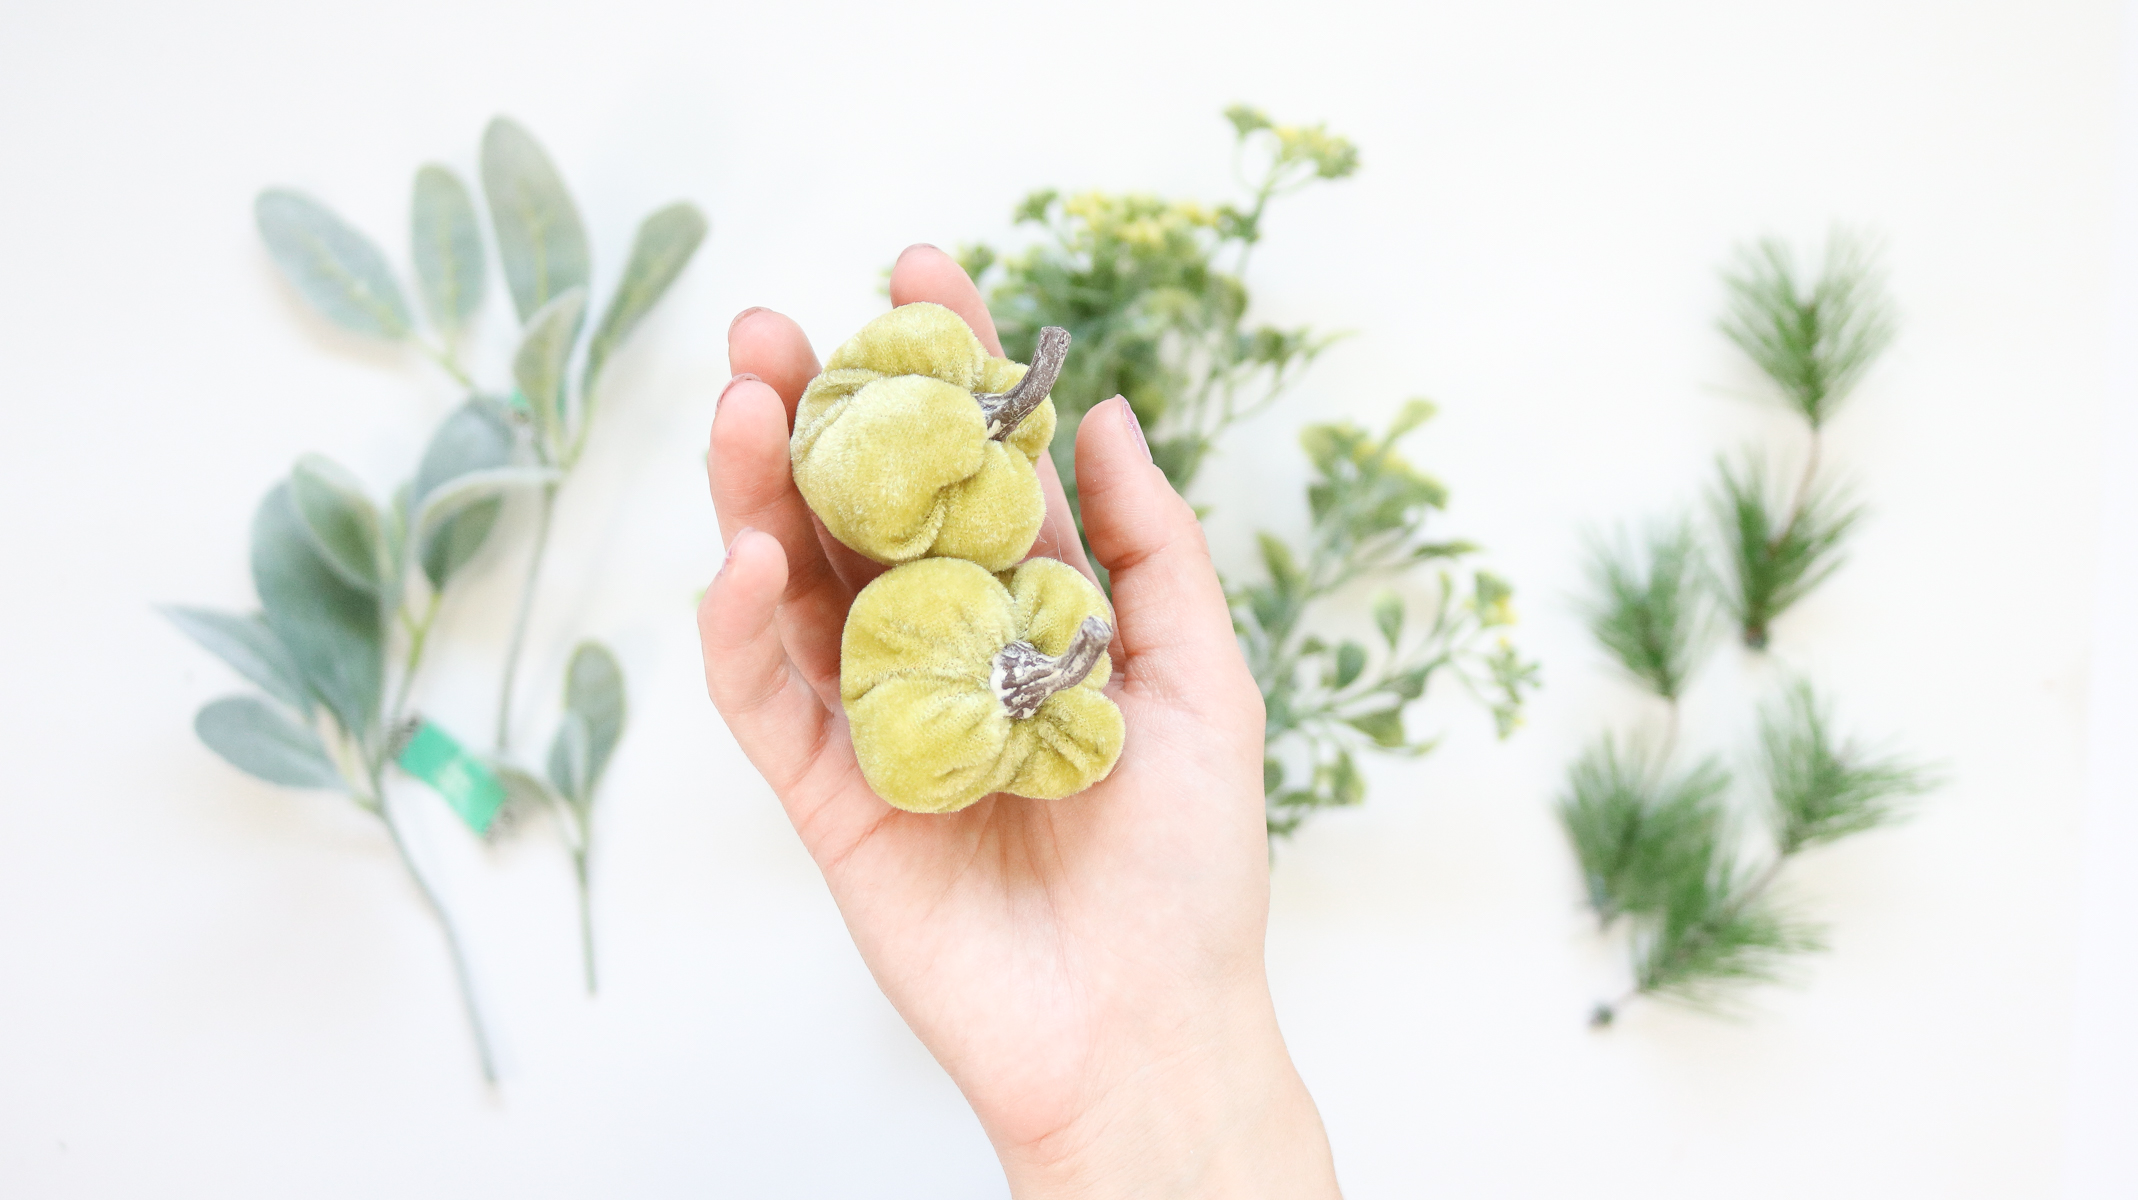
These mini velvet pumpkins were packaged with some white ones too! I tried adding the white ones to the wreath but for some reason they clashed with the bow! I think the whites were different shades and one ended up looking dirtier than the other. These green ones were love at first sight! Aren’t they the cutest 😍! Did I say that already 😬!
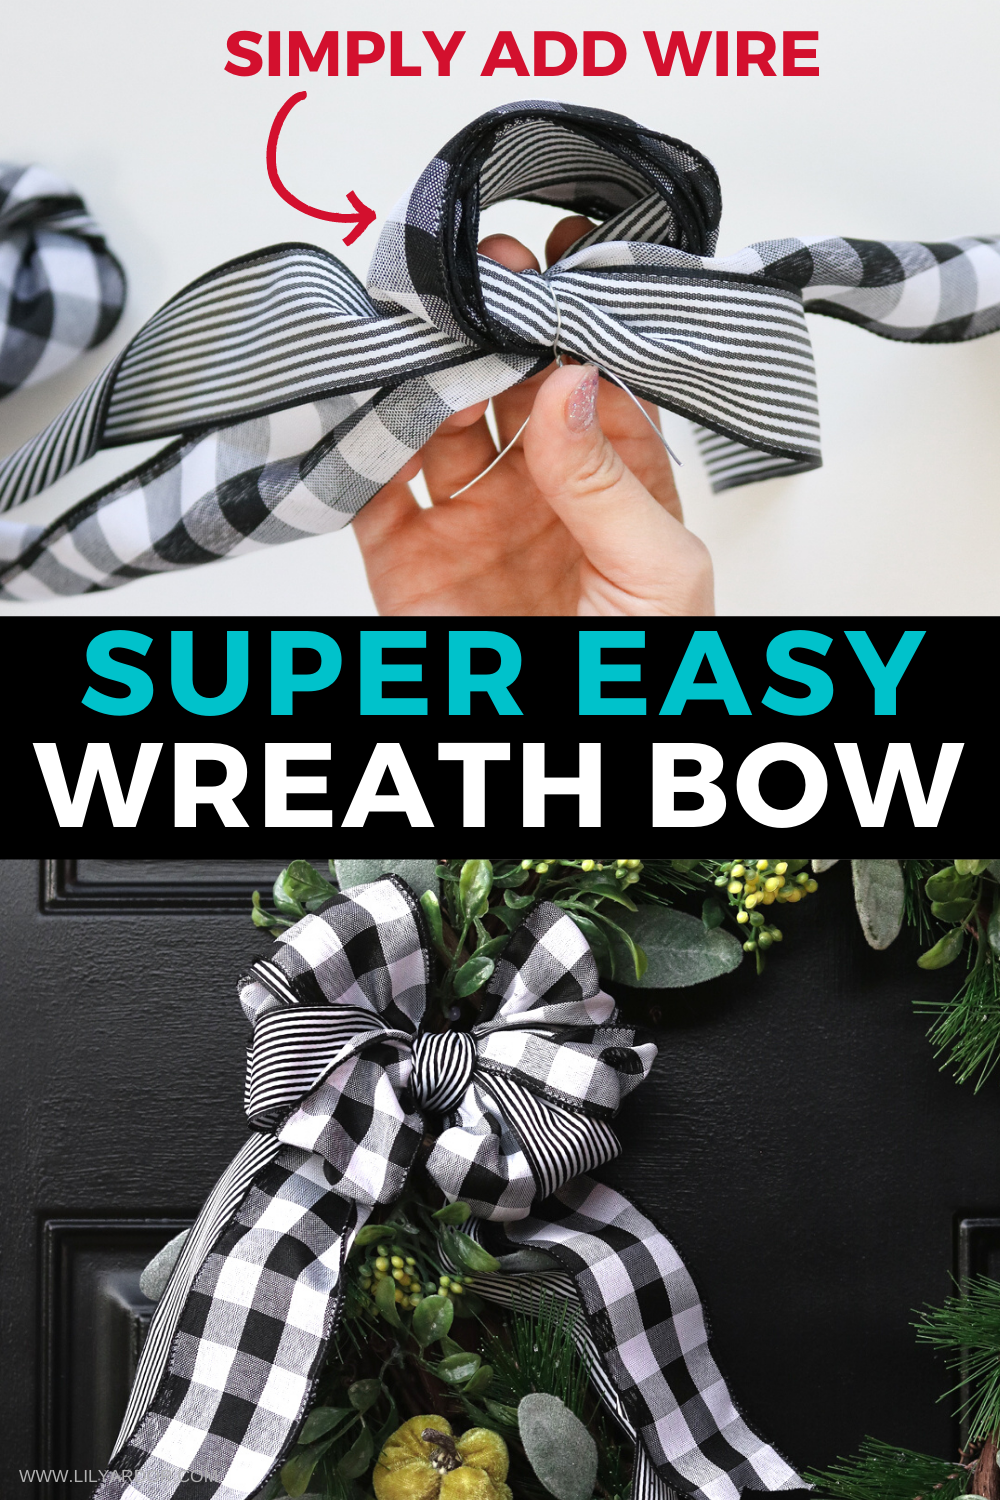
How to a make a plaid wreath bow!
Okay so before I came around to making this bow I did some research. There were plenty of youtube videos showing how to make different types of bows and almost all of them were so confusing! This video from gift basket appeal made by tracy –>> https://youtu.be/m7iLdcdTPWU was the only video that seemed to make sense however I didn’t like how it was finished in the back. The pile of loops that created the bow was simply wrapped around with some wire and stuck in the back making a big chunk in the back just bulging out. I finally gave up and decided to try a few different ways on my own and actually came across what I would say is a super easy method😊. Scroll down for photos or video reference here –>> https://youtu.be/9s_YLD1QB1A
what you’ll need :
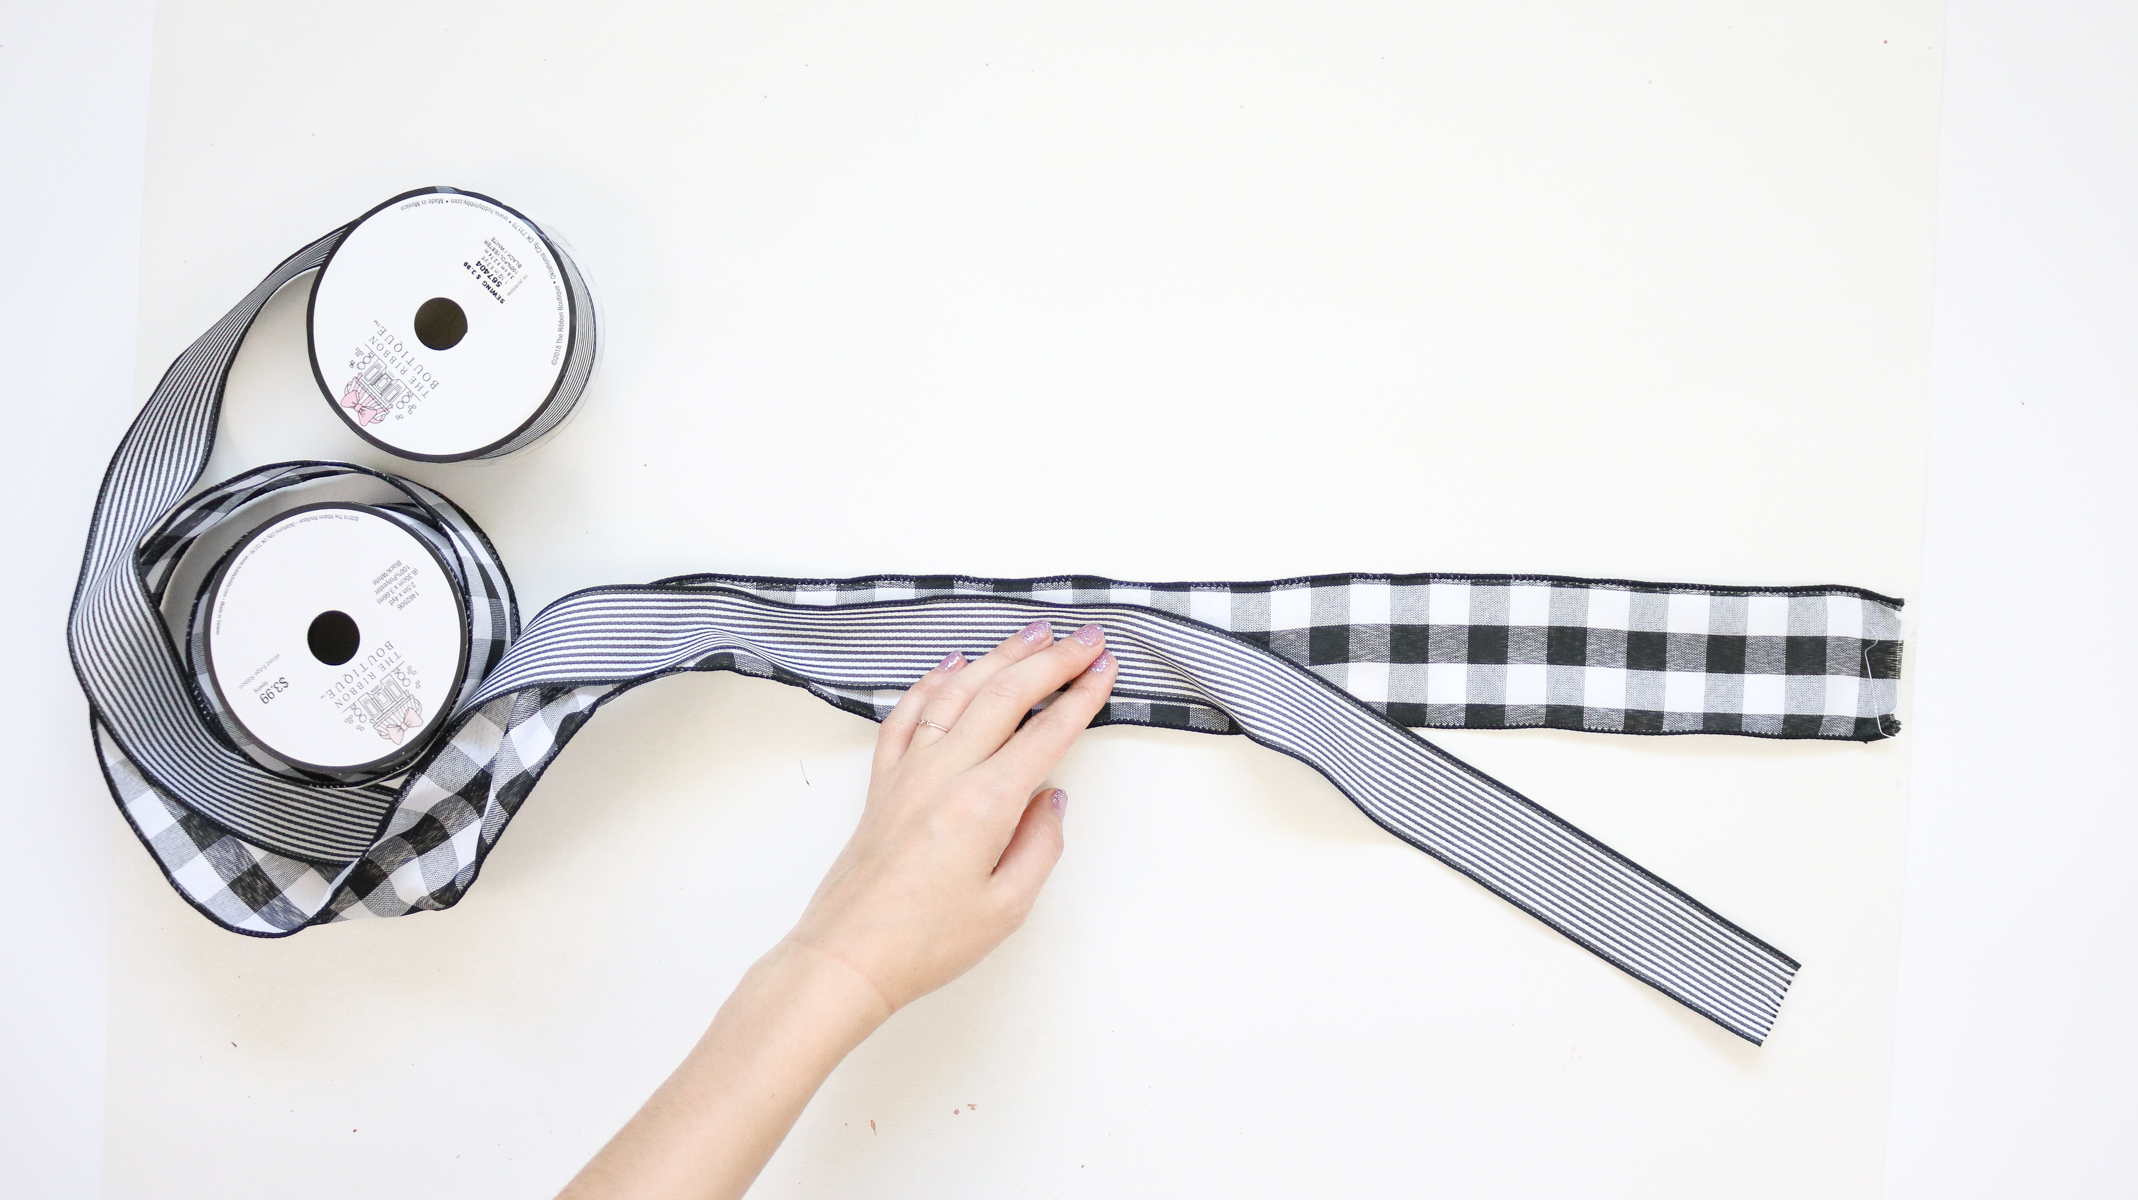
To make this bow you’ll need at least one ribbon and a piece of floral wire. I love making this with wired ribbon because it’s easier to form the shape of the bow later. I used two types of ribbon for this. One was 2.5″ and the other was 1.5″ inches in thickness. I started off by laying the the thinner ribbon over the thick one.
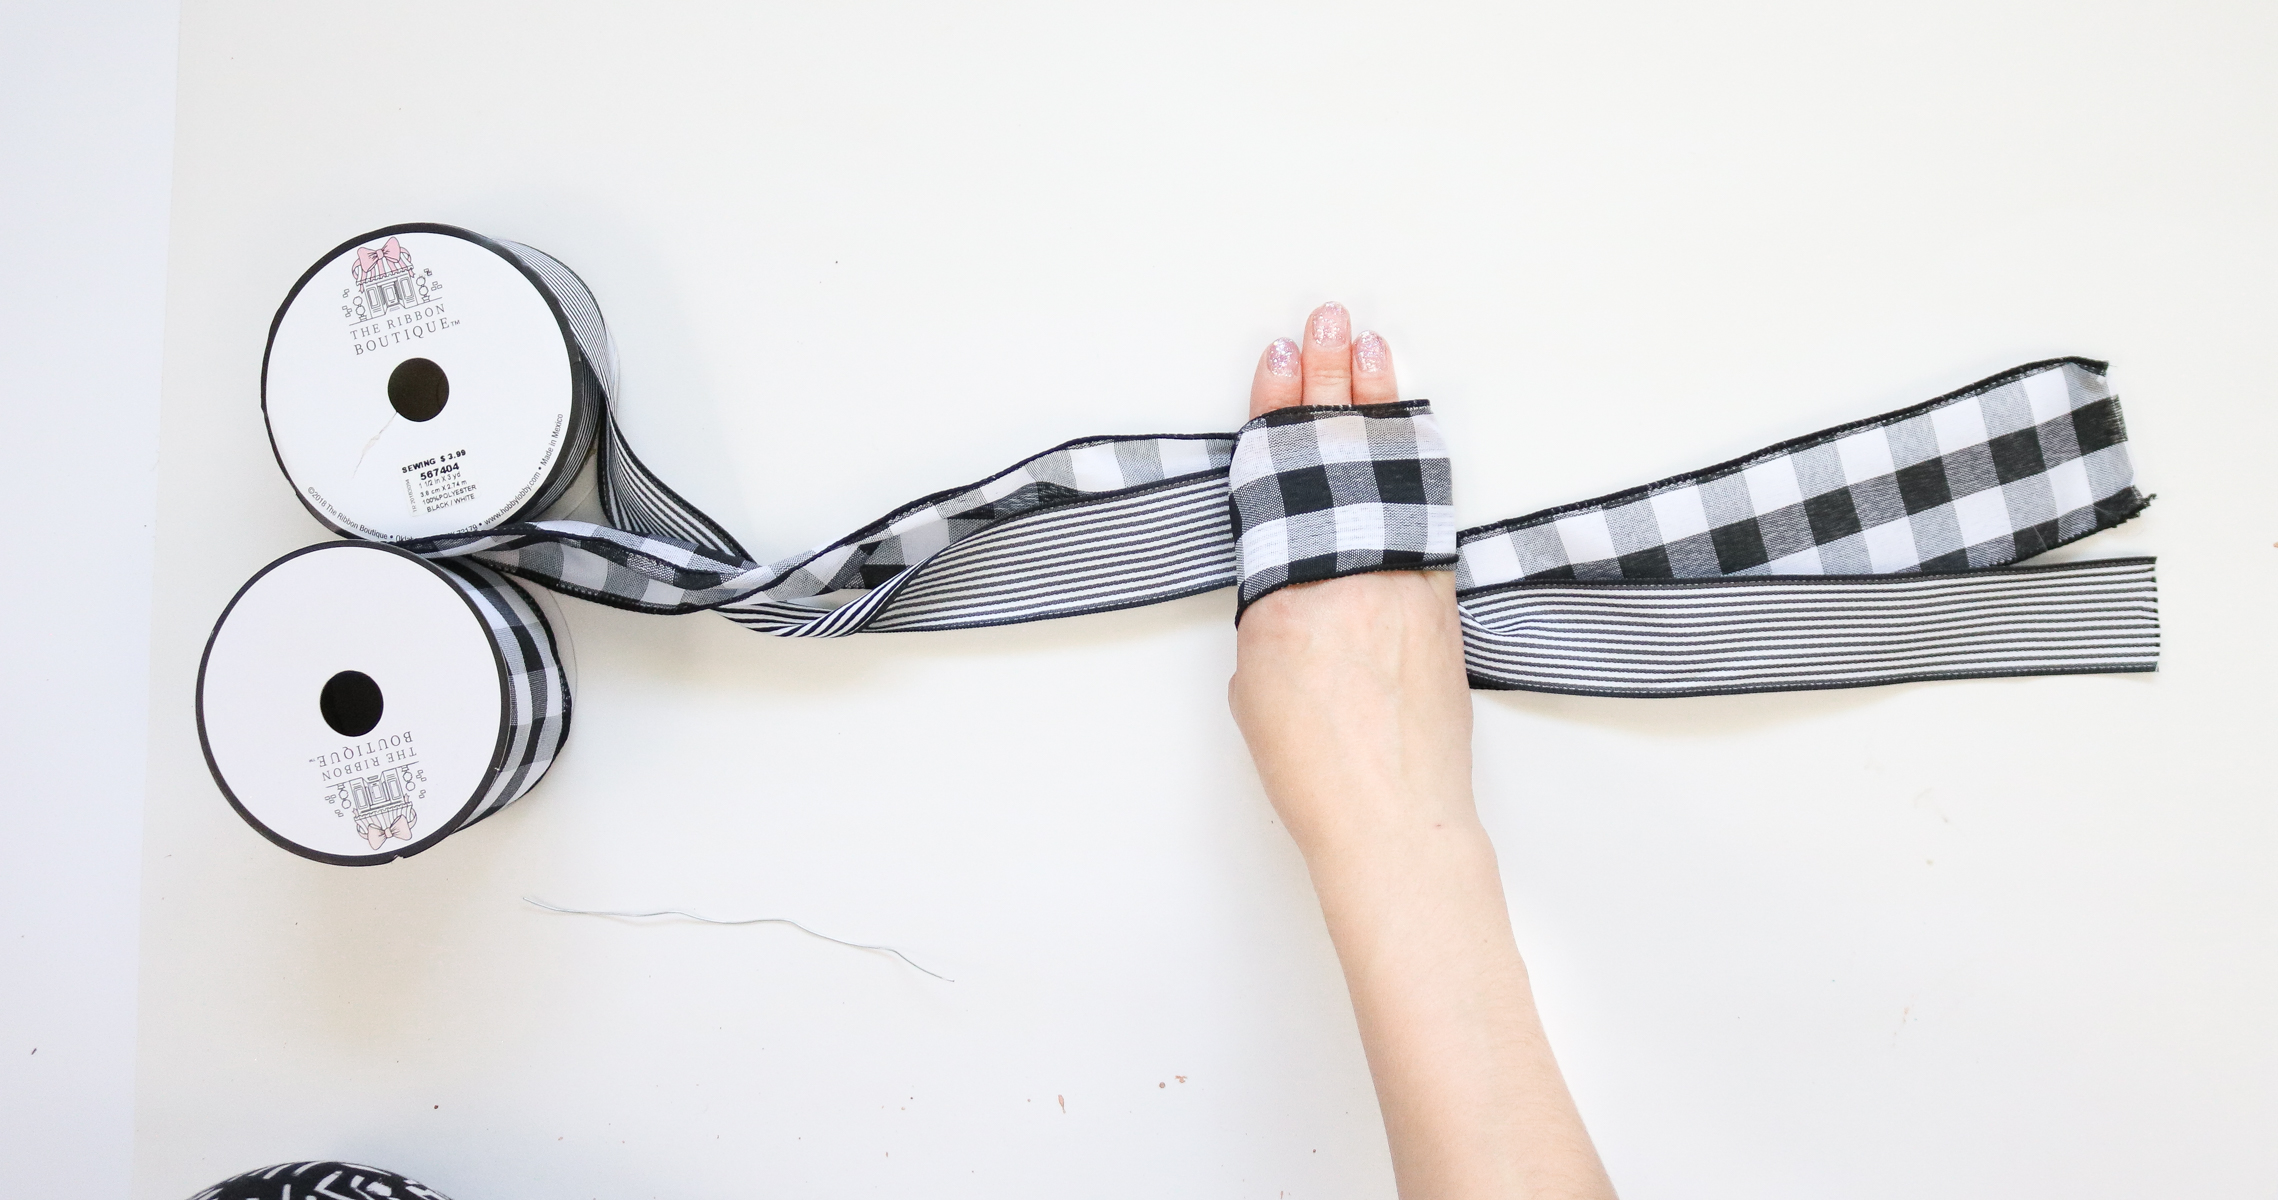
Than leaving a tail of about 12″ inches on the end I started by wrapping both of the ribbons onto my hand. Don’t cut off your ribbon for this step because, you won’t know how much you need until you’re done wrapping. Try and keep it as neat as possible. I know it’s easy for them to get tangled but you only need to wrap it around 6 times.
I wrapped it around my hand a total of 6 times.
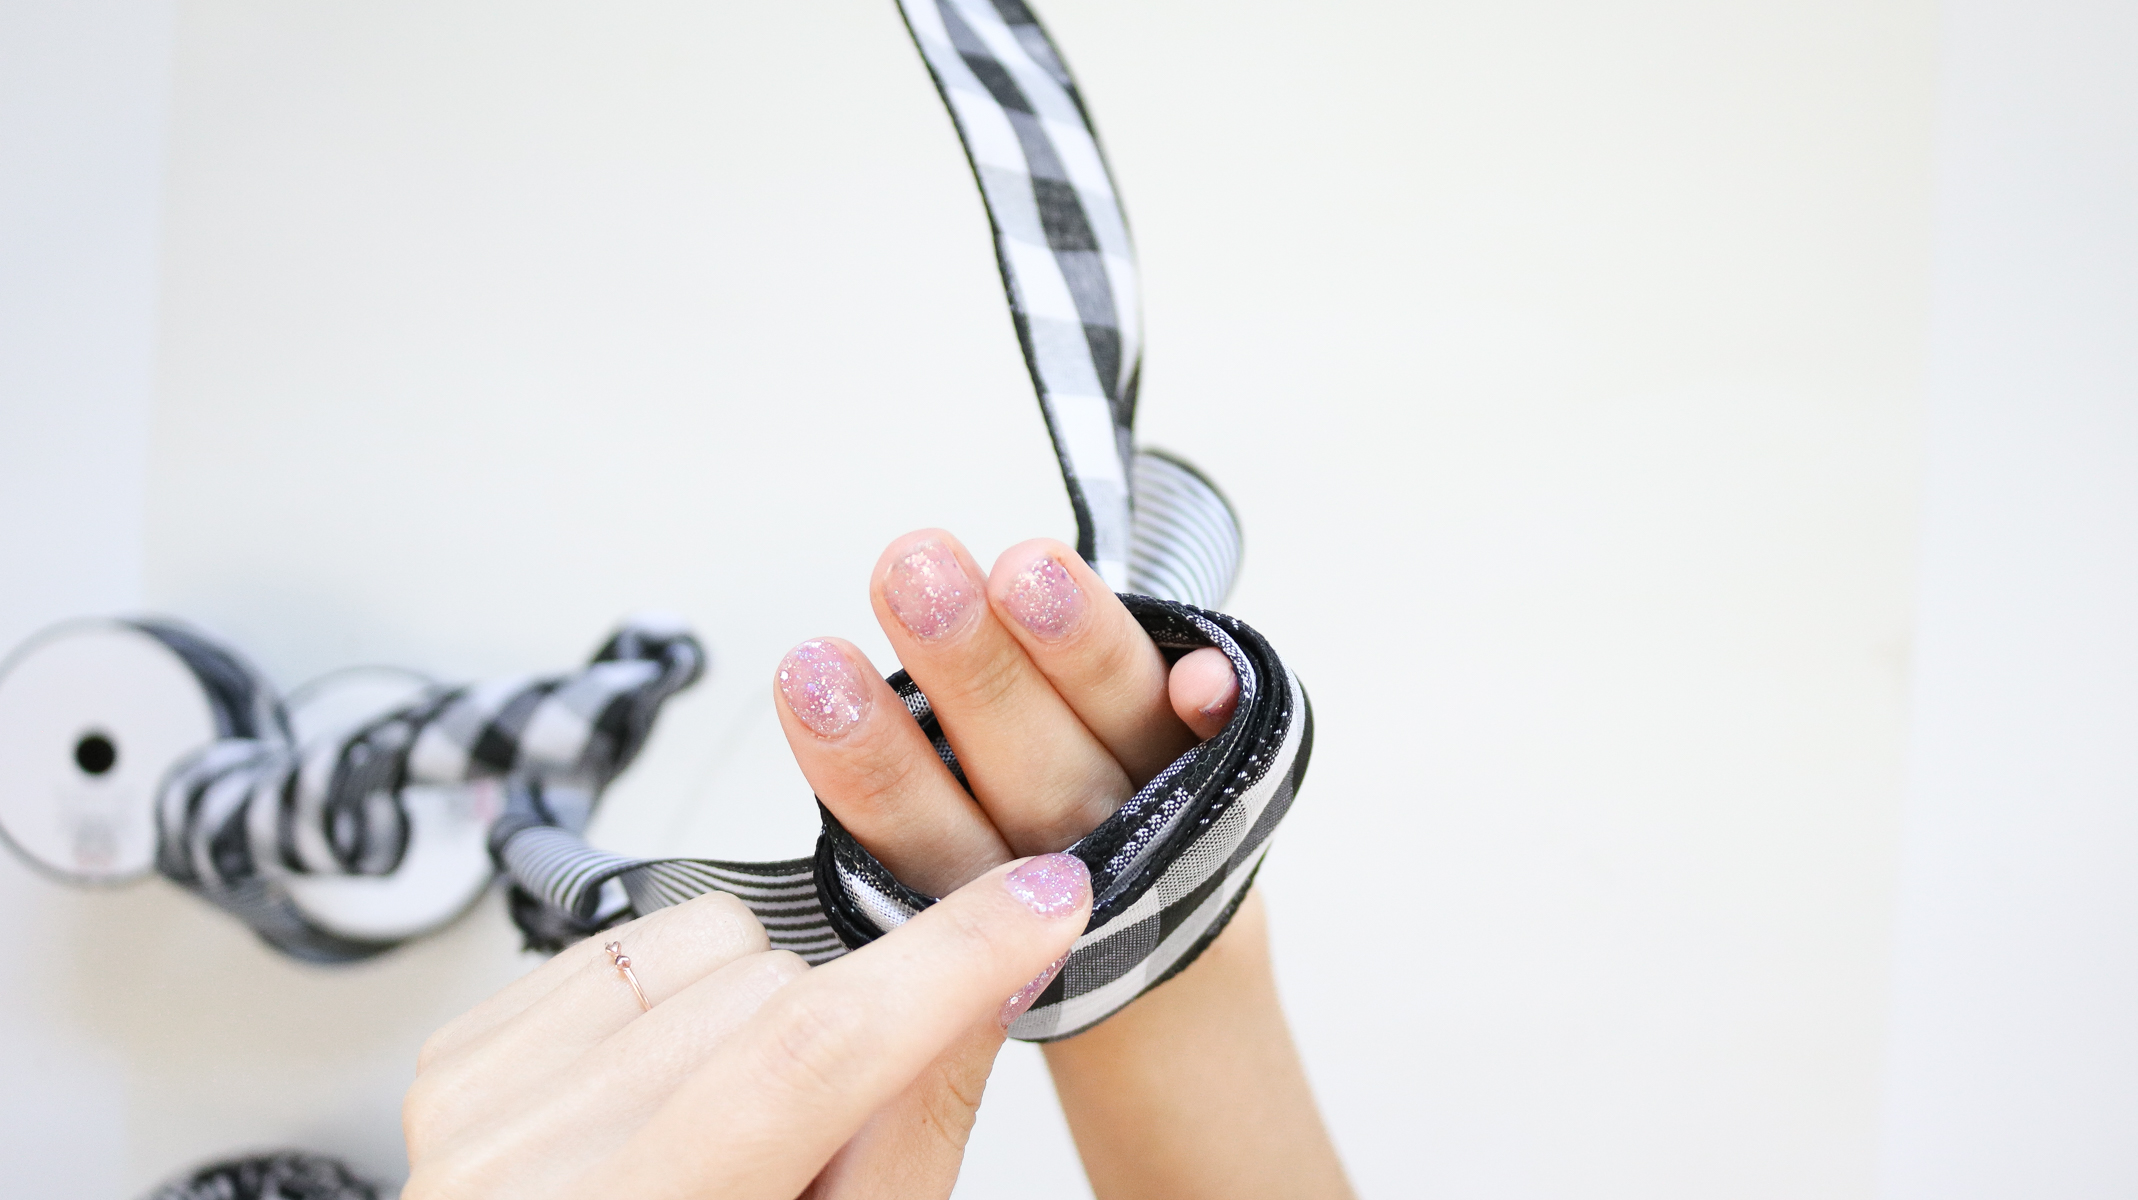
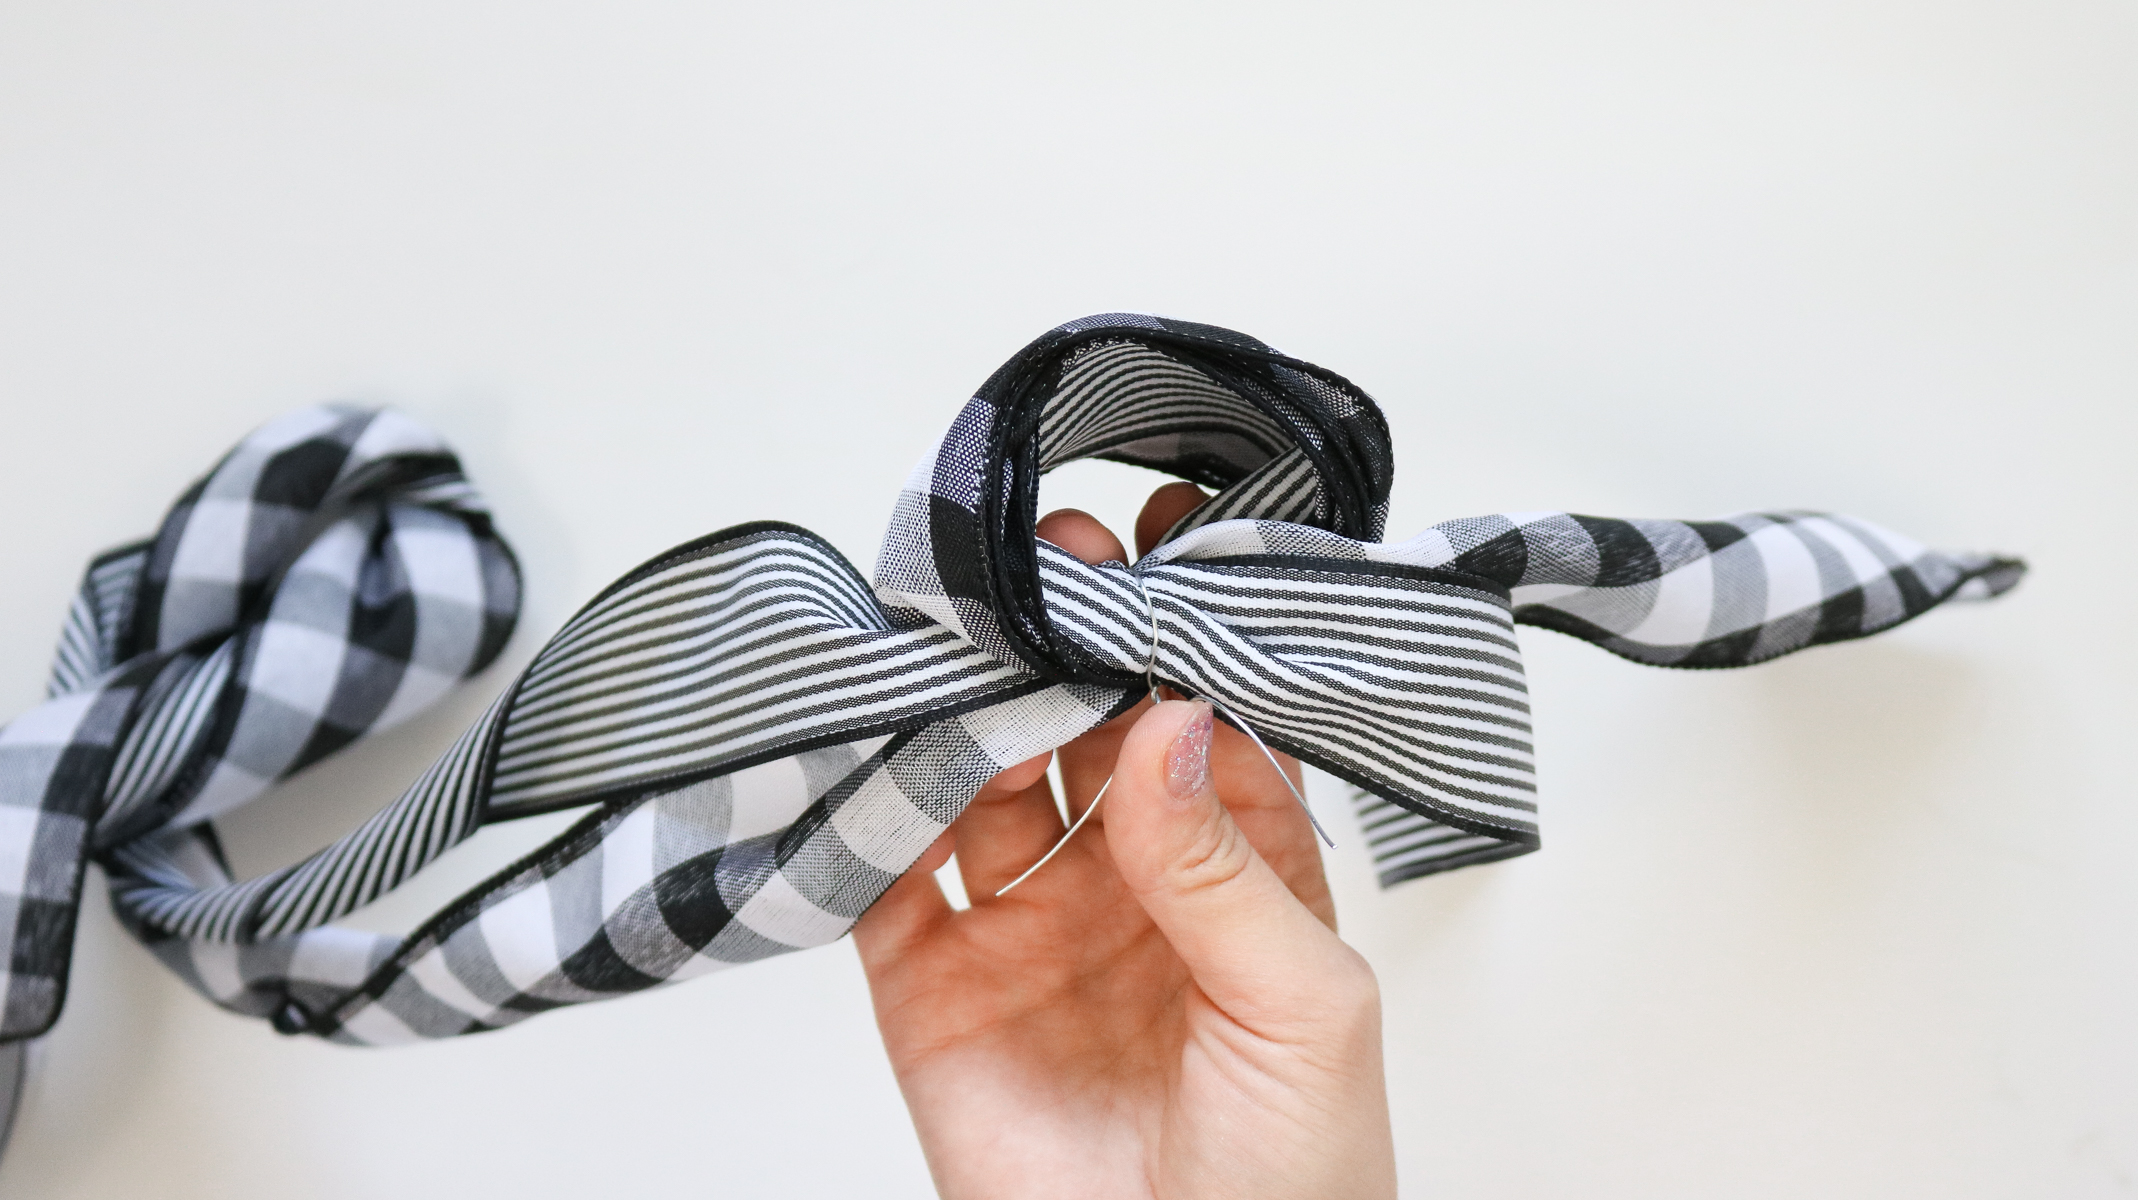
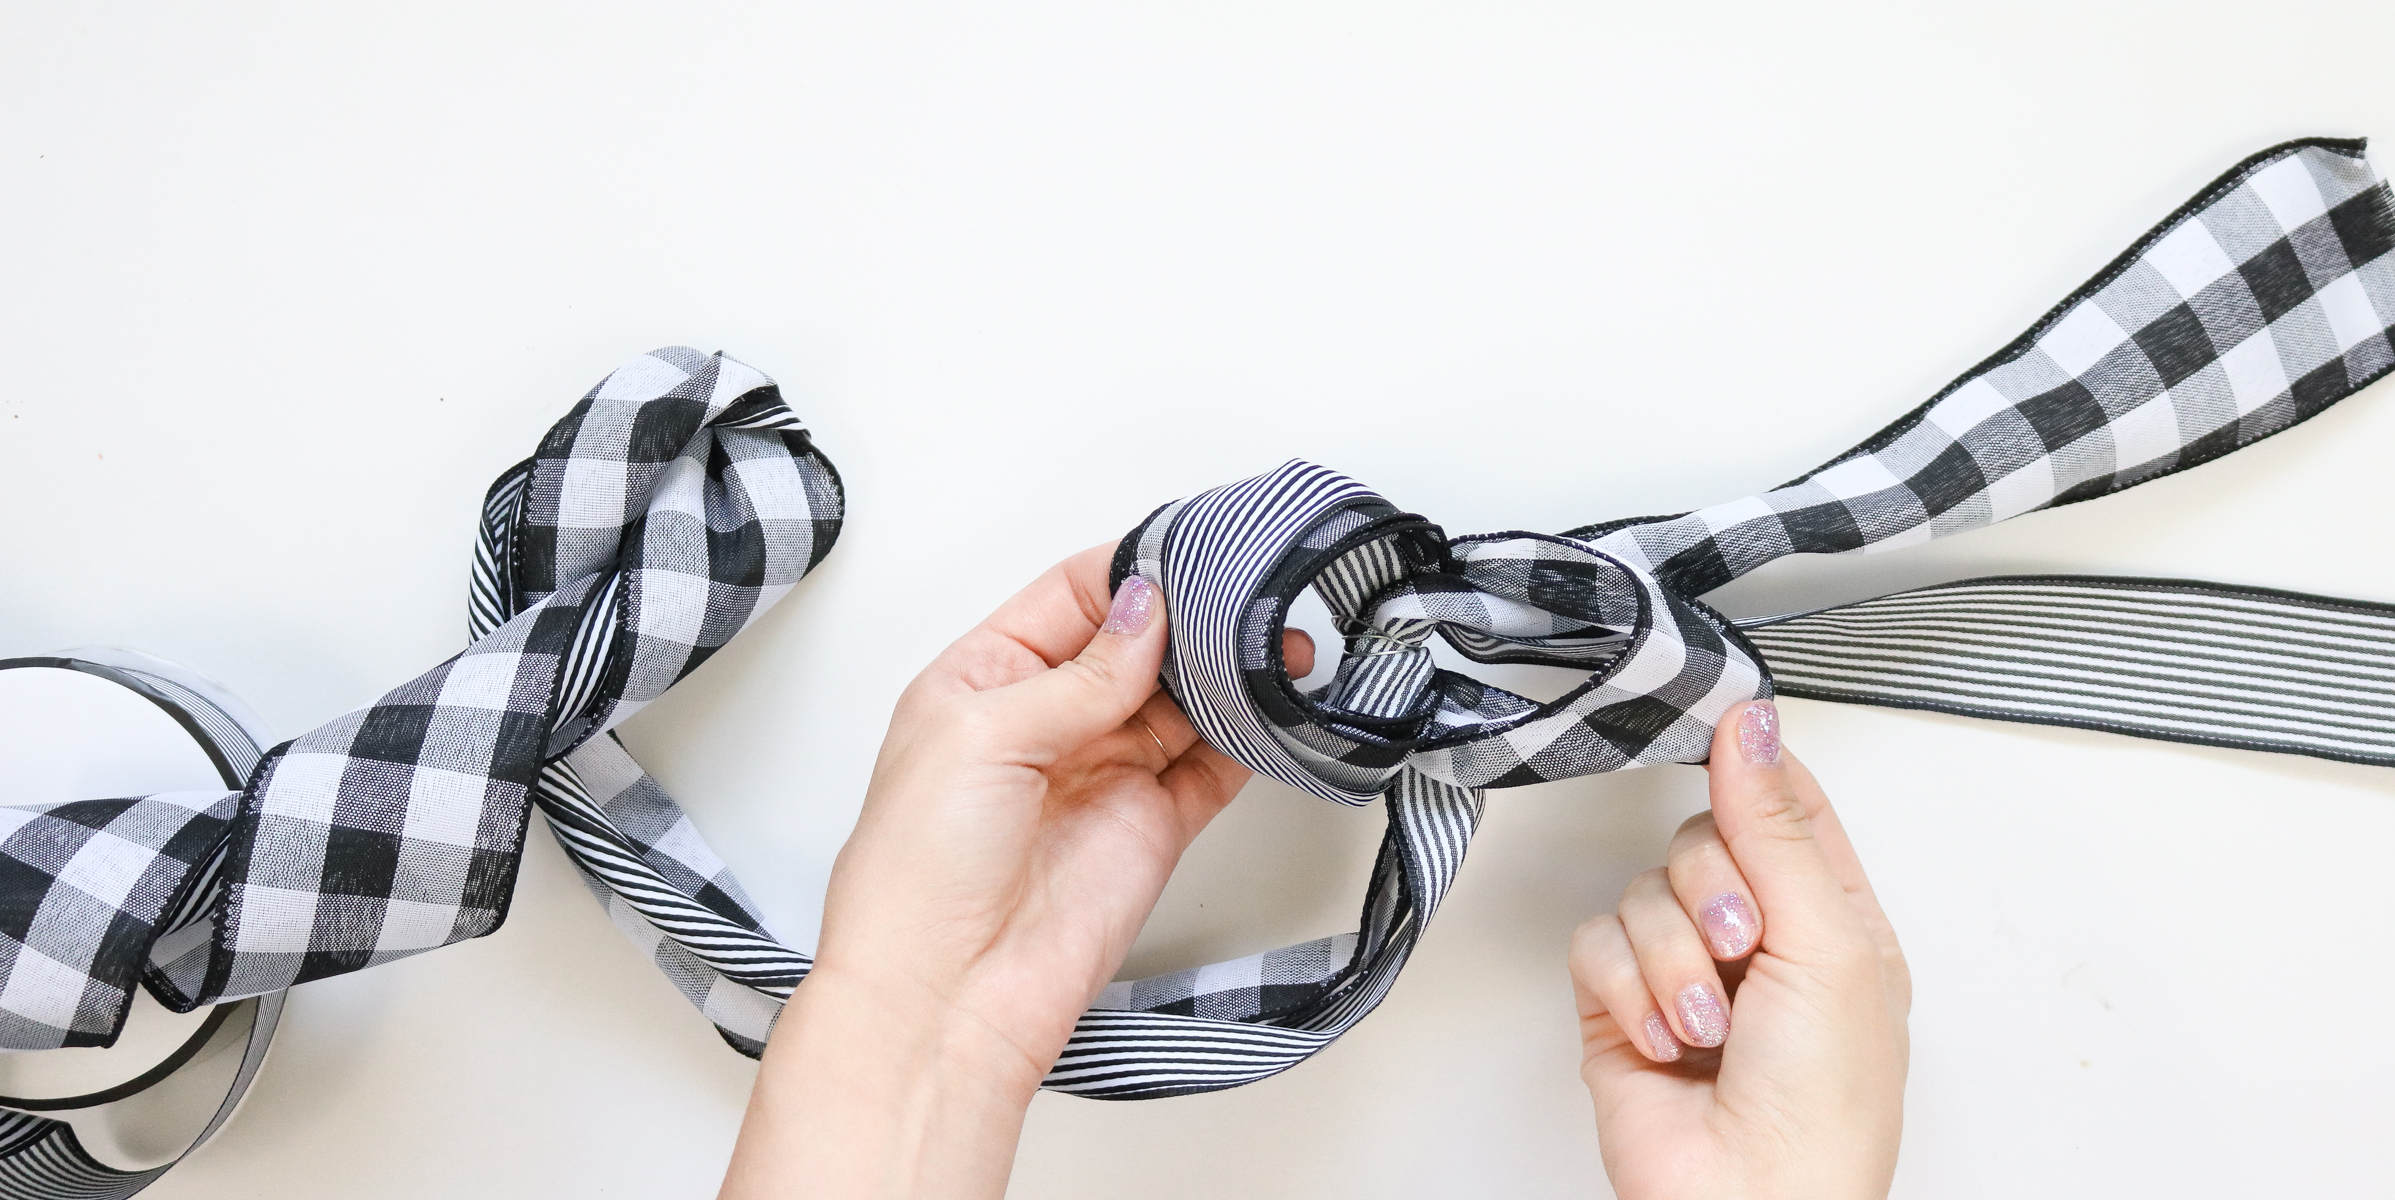
Than I pulled it all off my hand and made sure to hold it at the bottom. You should have something that looks like a bunch of loops. One end of your ribbons will still be connected to the spool and you should have your 12″ tail hanging off the other end. ( just like the photo below.)
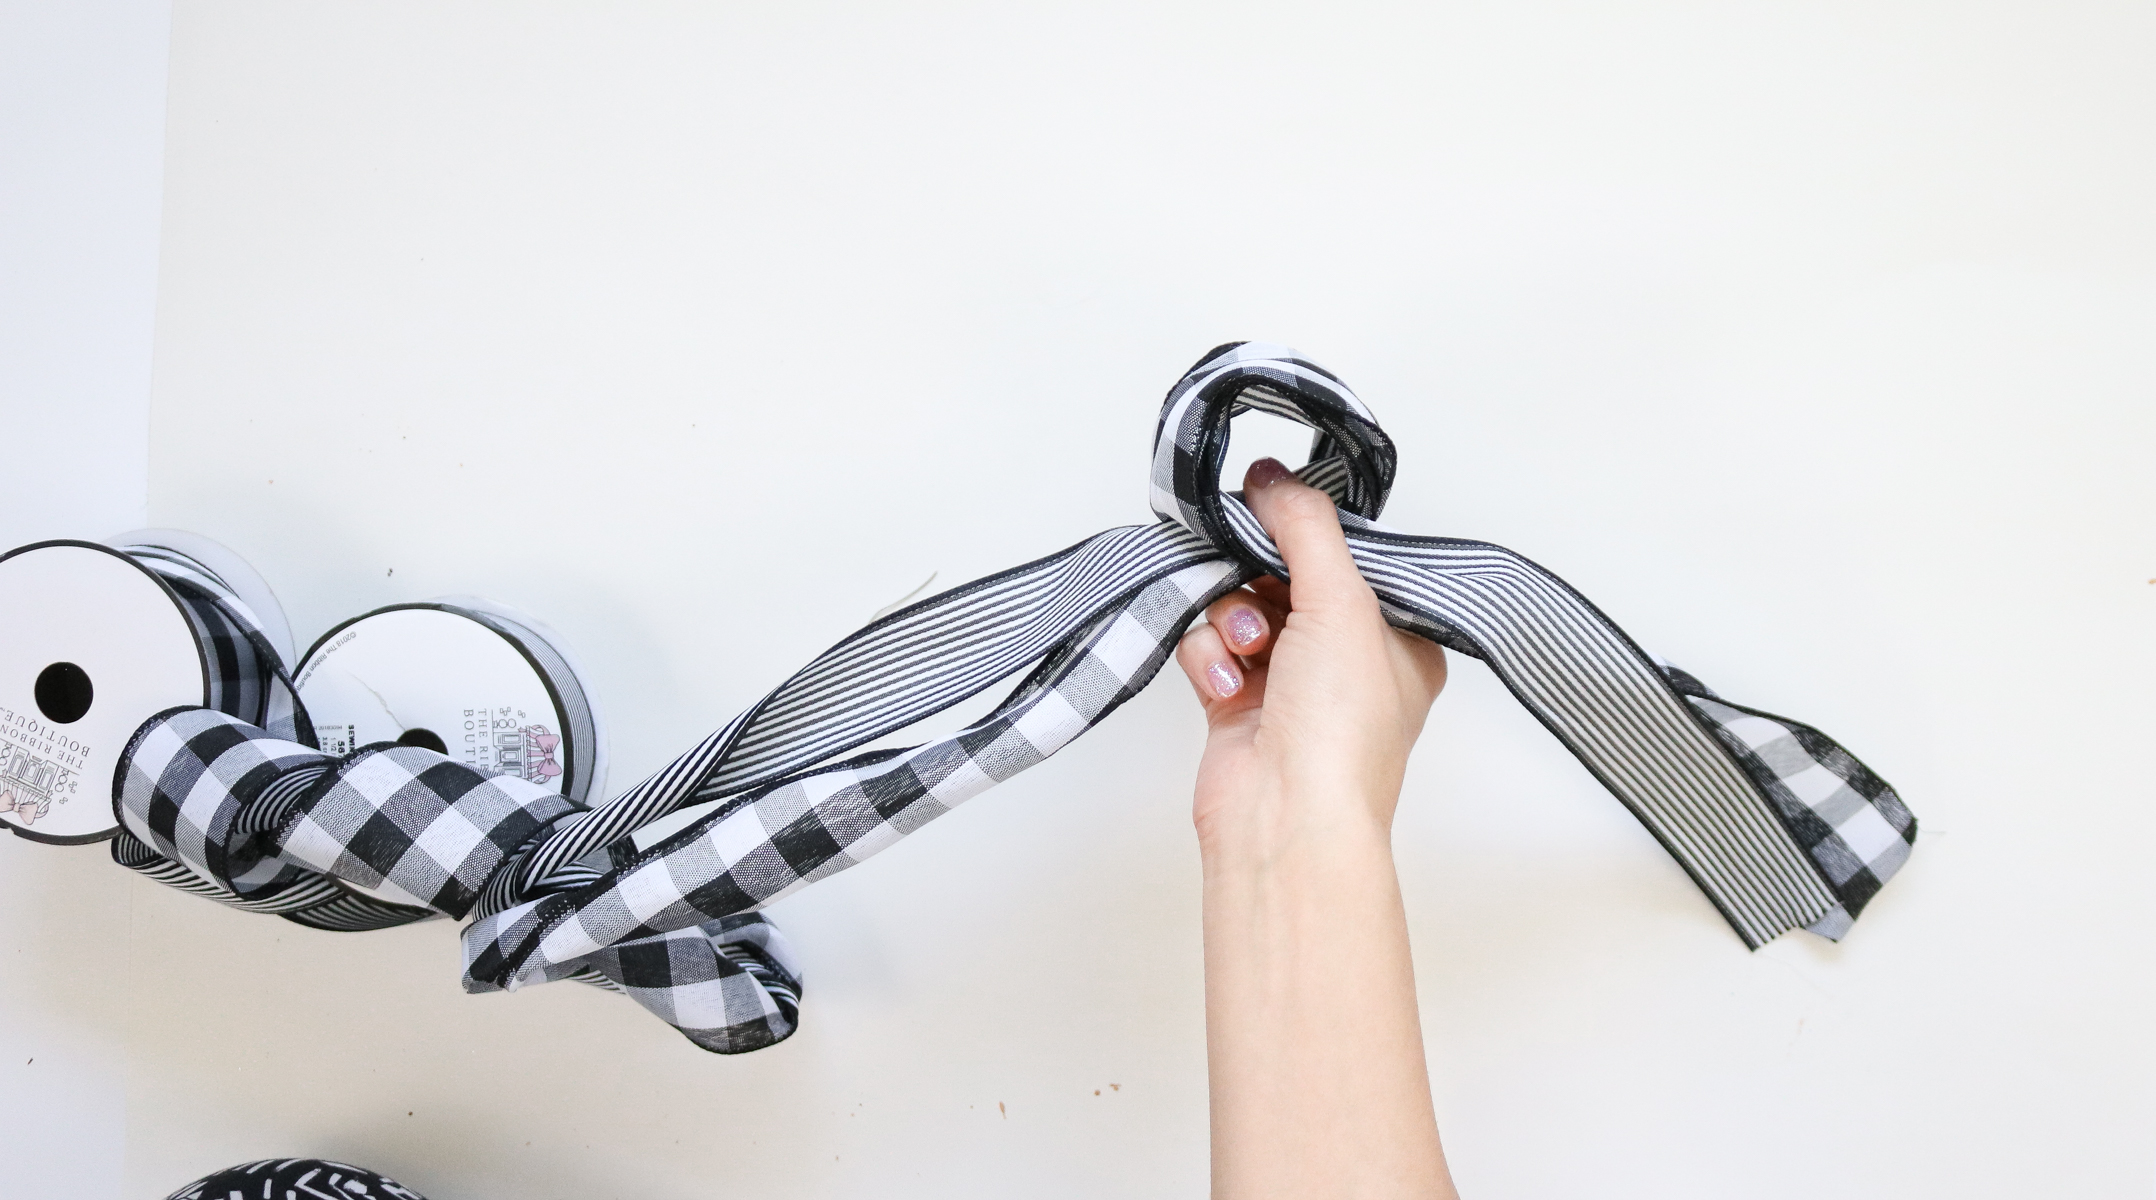
Now take some wire and wrap it around the bottom of your loops. You can now cut your ribbon off the spool now leaving another 12″ tail. If you want your tails smaller you can make them smaller.
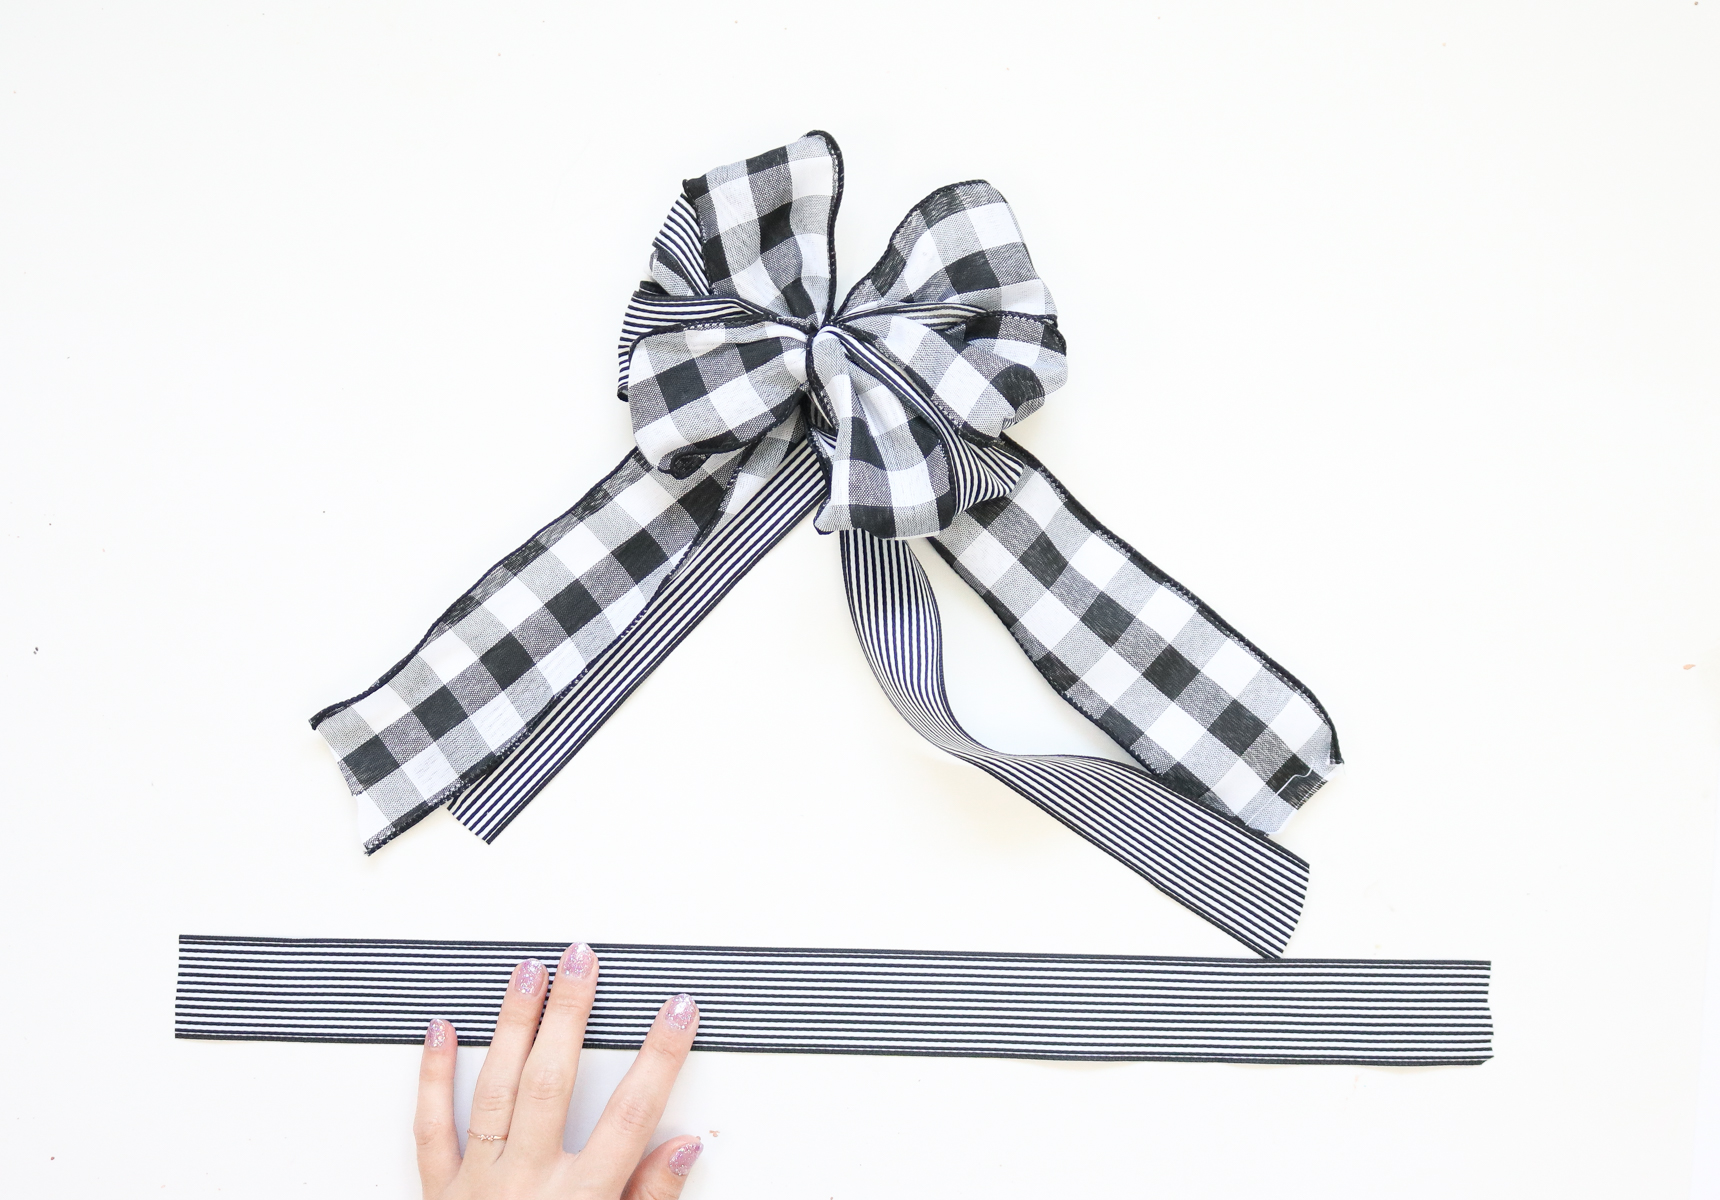
Take your loops and start spreading them apart. I pulled my loops to the sides and made sure to have equal amounts on both sides.
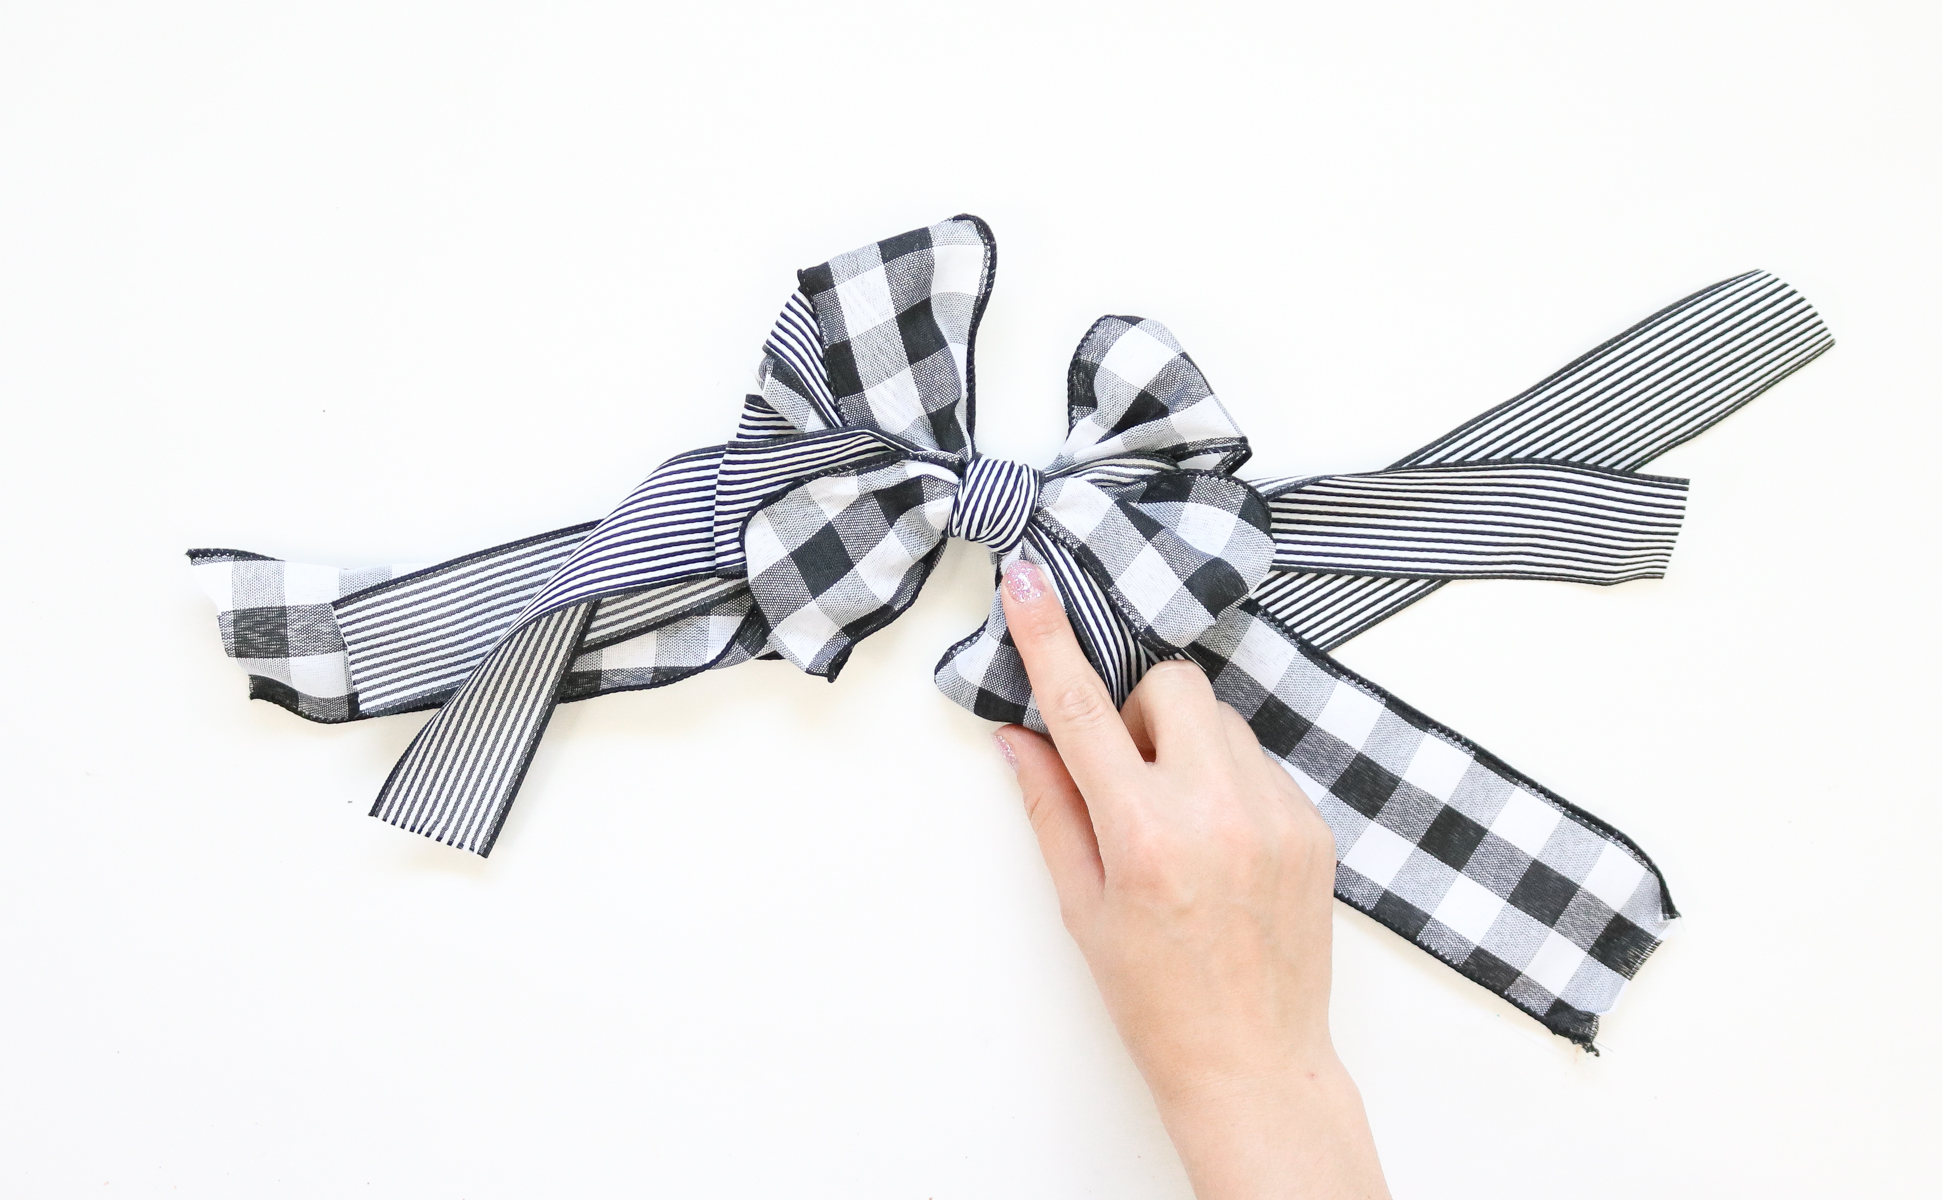
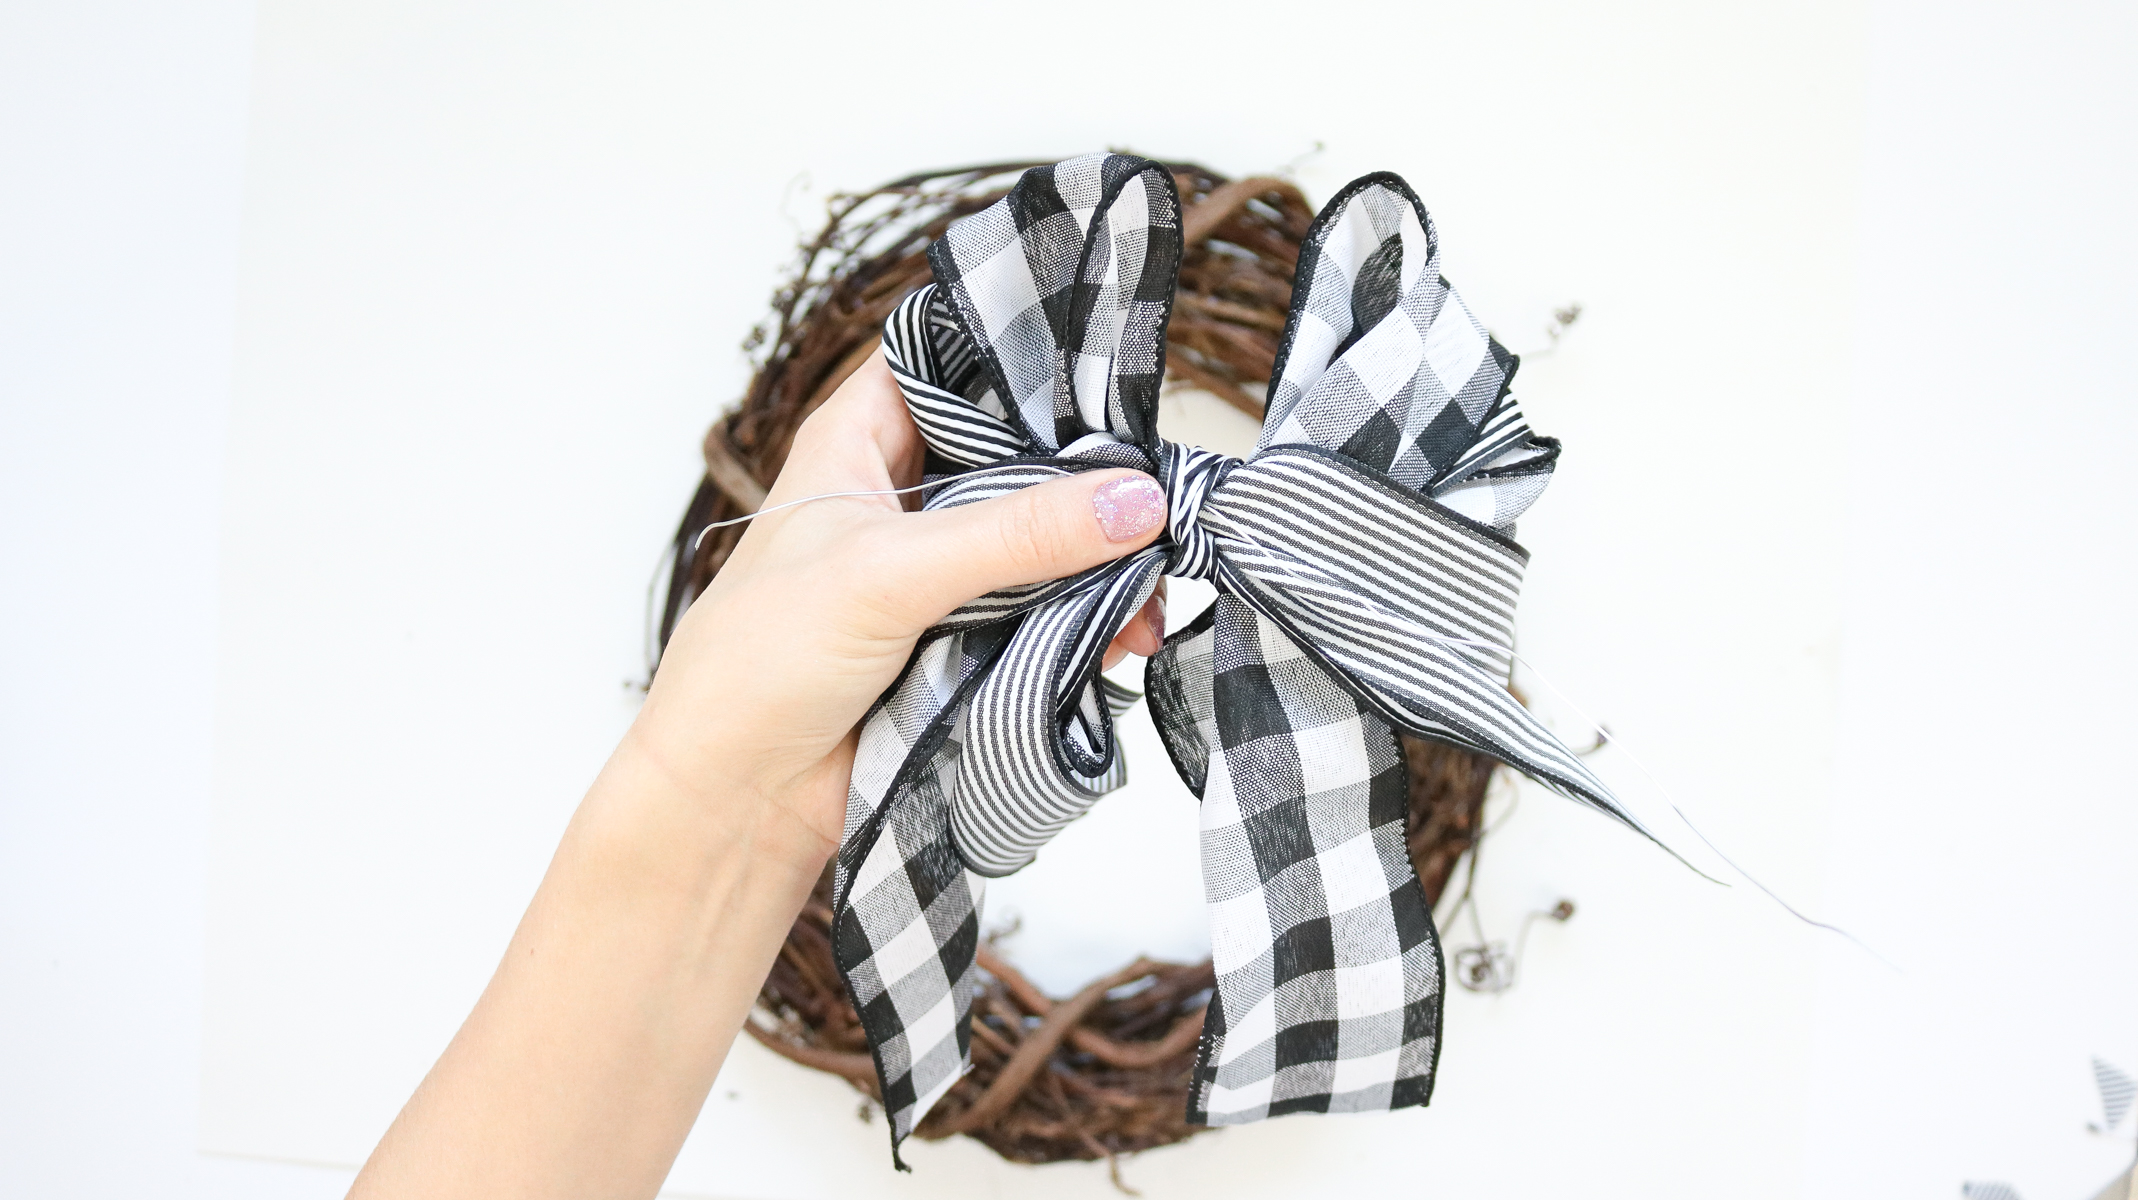
Once you spread your loops out here’s what it should look like (photo below) Cut another 14″ piece of ribbon and tie it around the center of the bow. When tying it, make sure your knot is in the back and whatever ribbon is left becomes a part of the bow.
Here’s what it looks like all done (photo below)
To attach it to the wreath stick some wire through the knot in the back and wrap the wire around the wreath!
Assembling your plaid wreath!
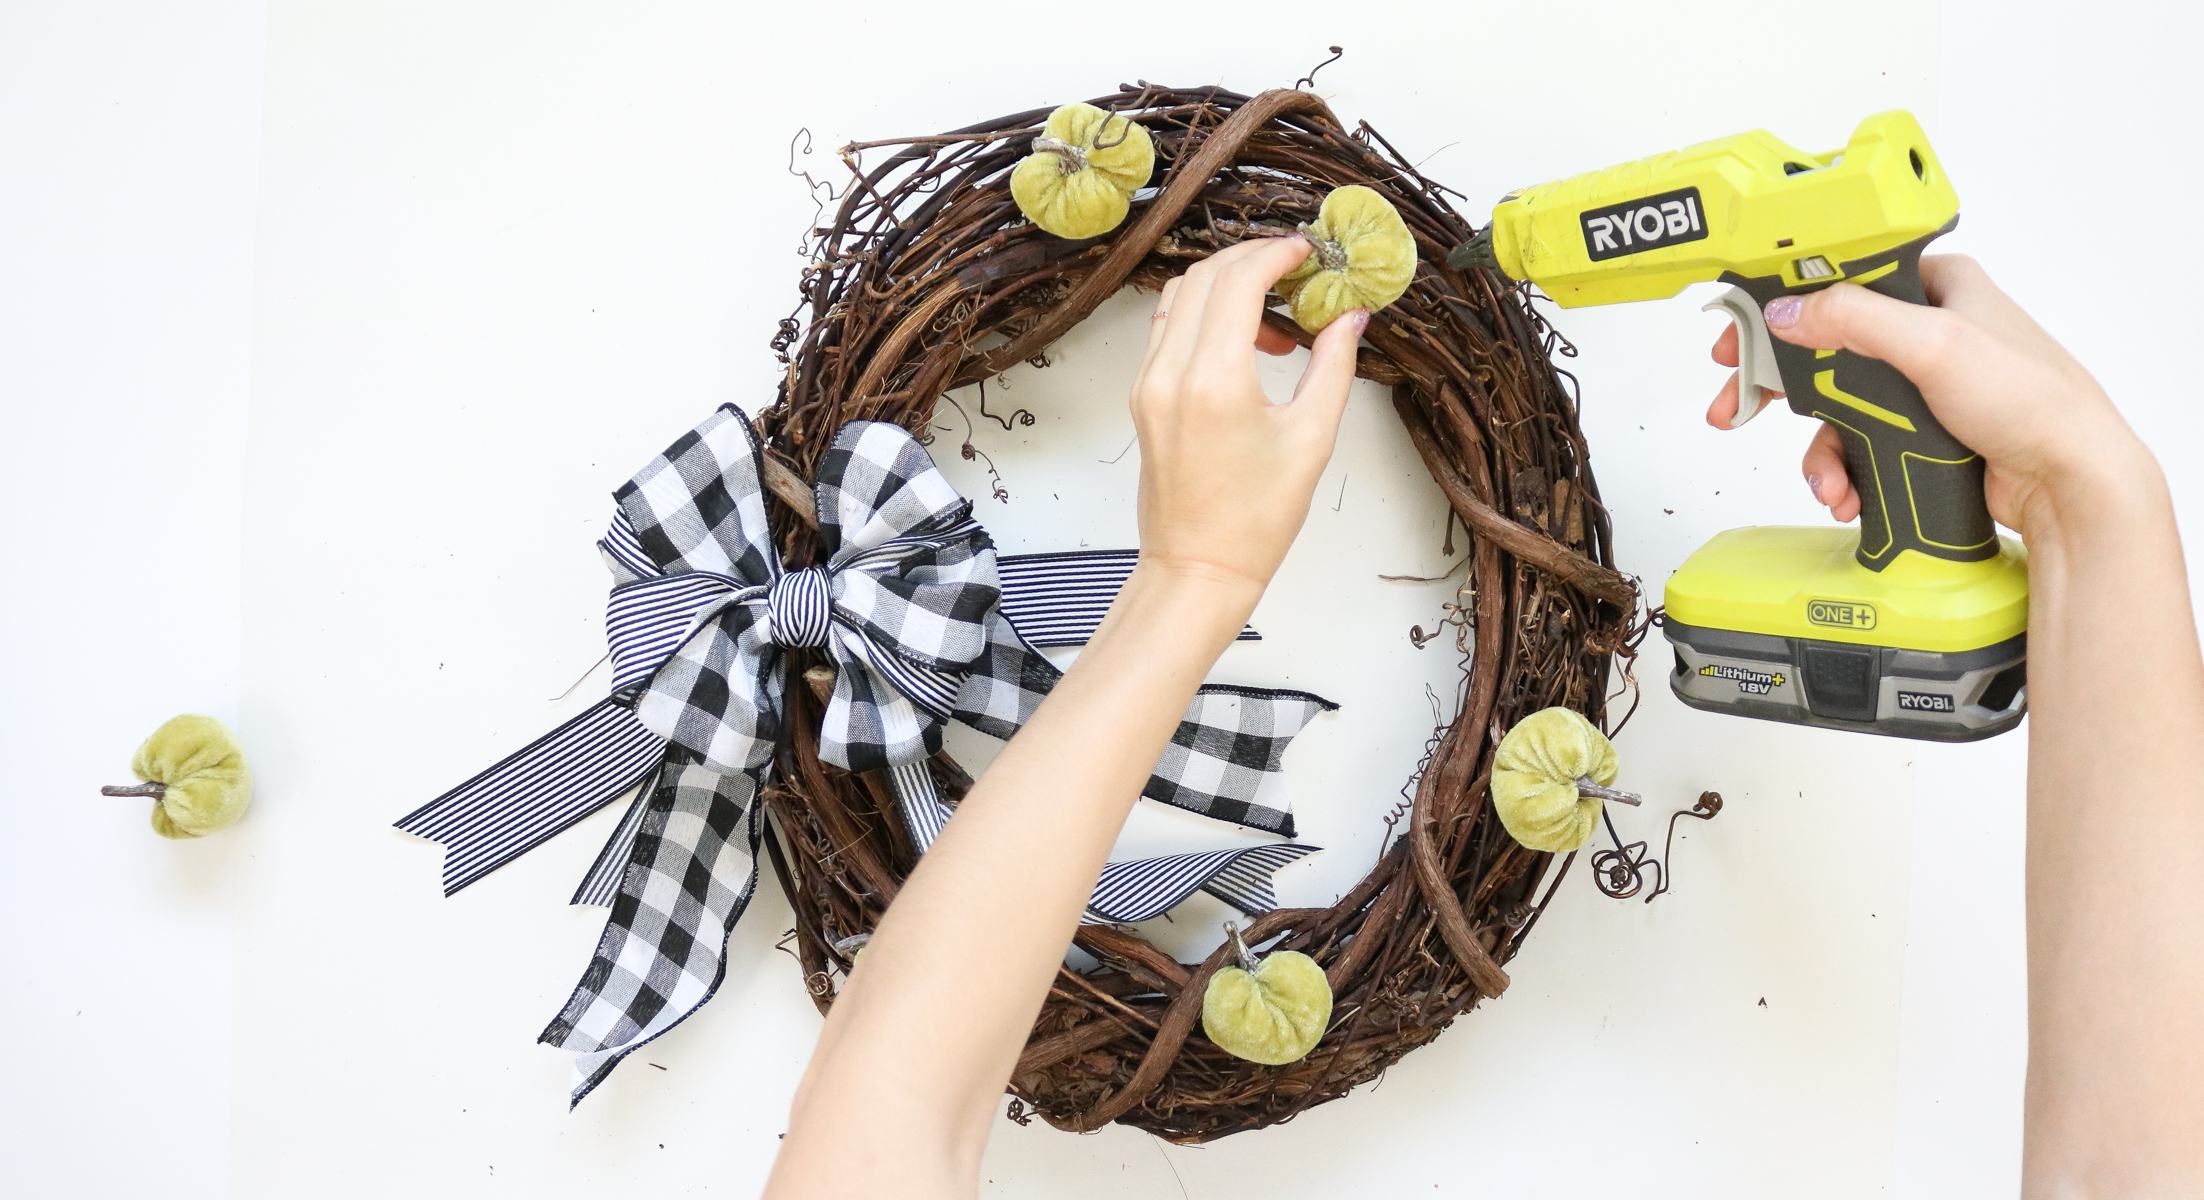
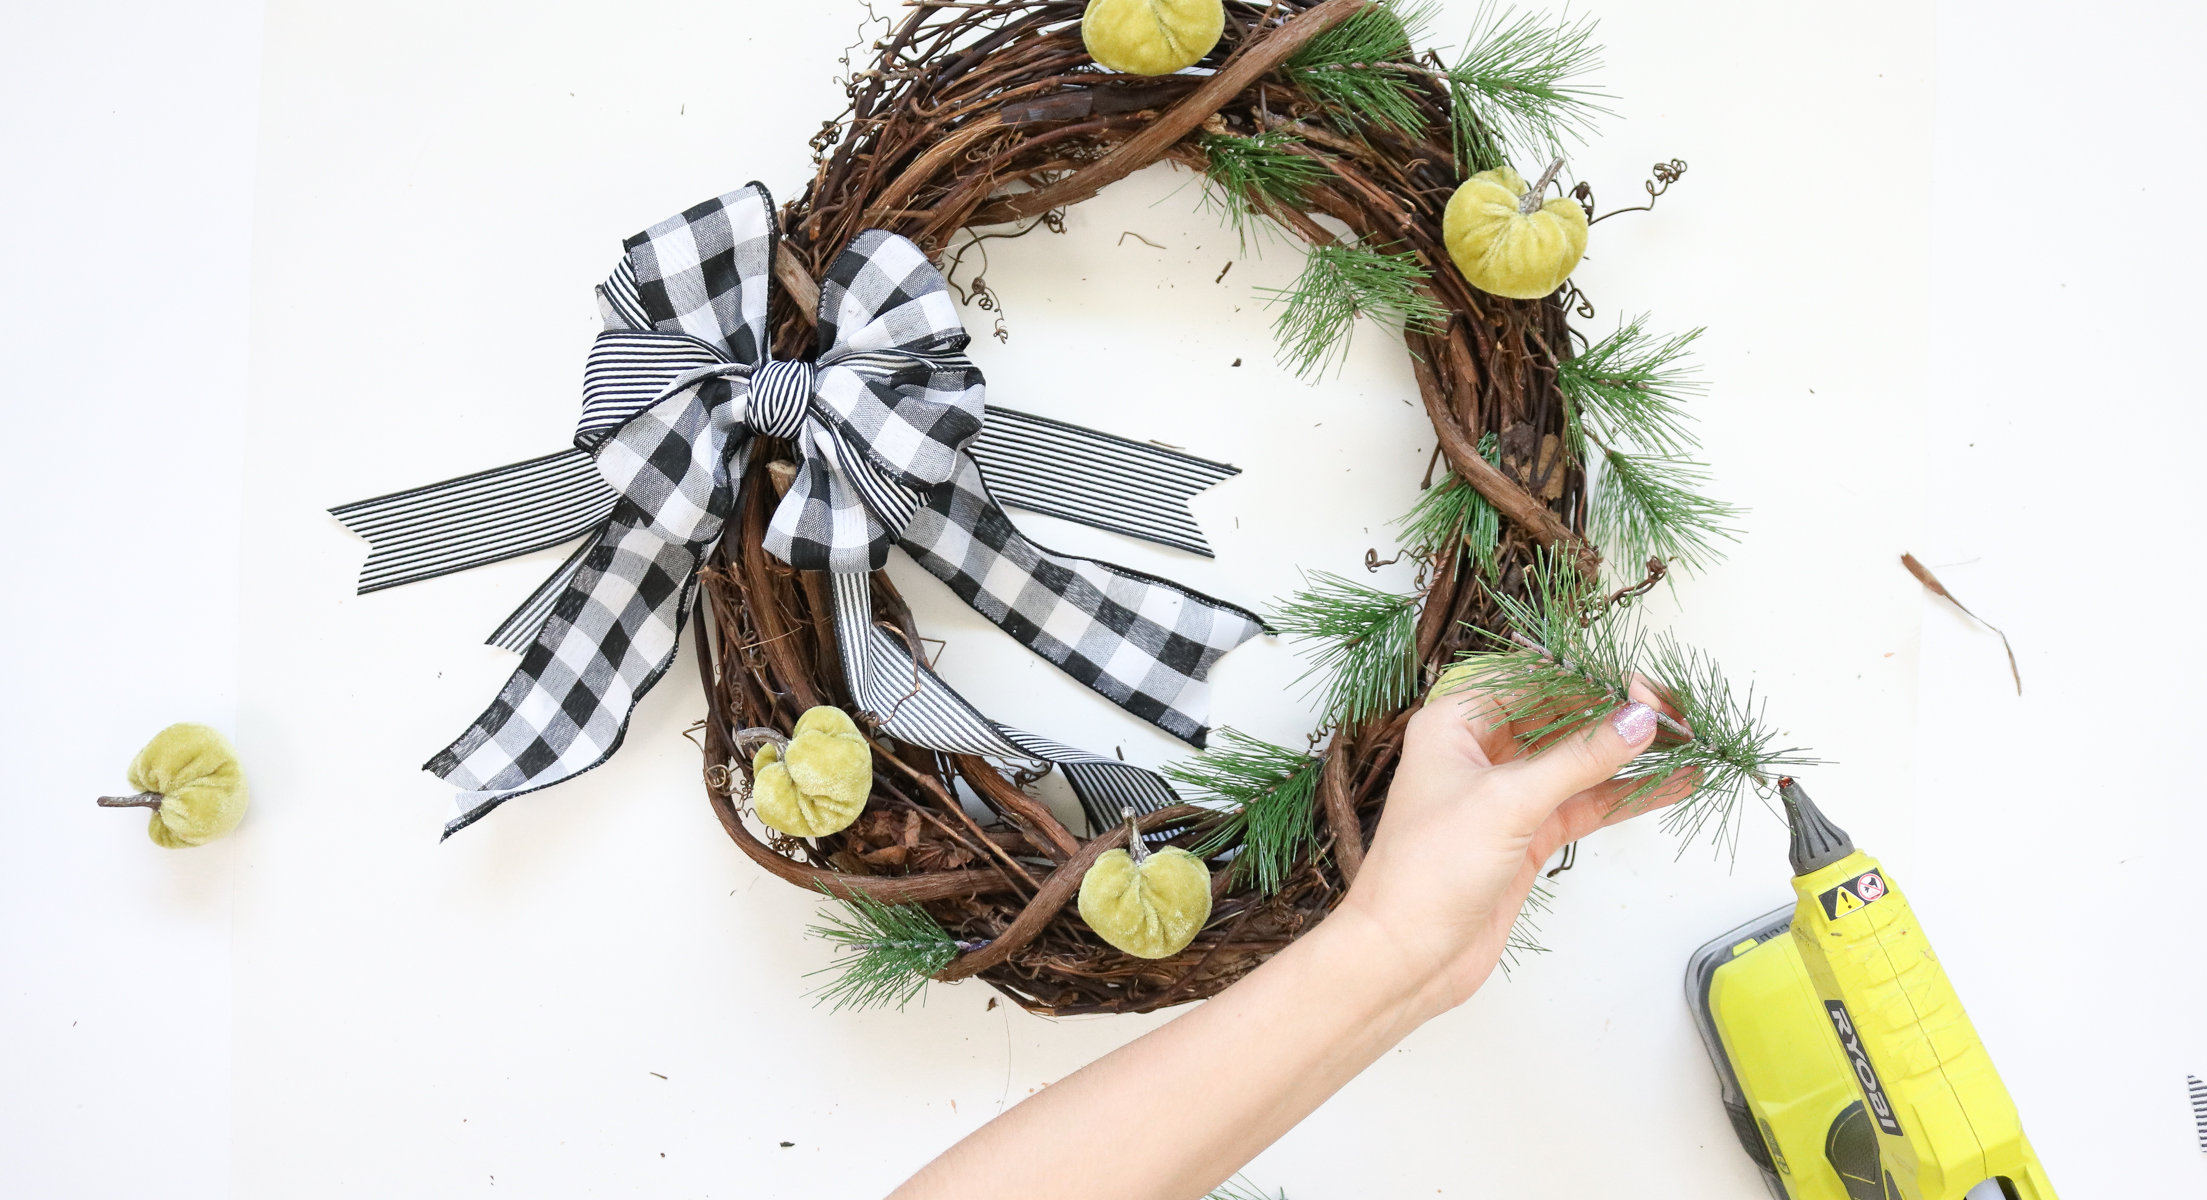
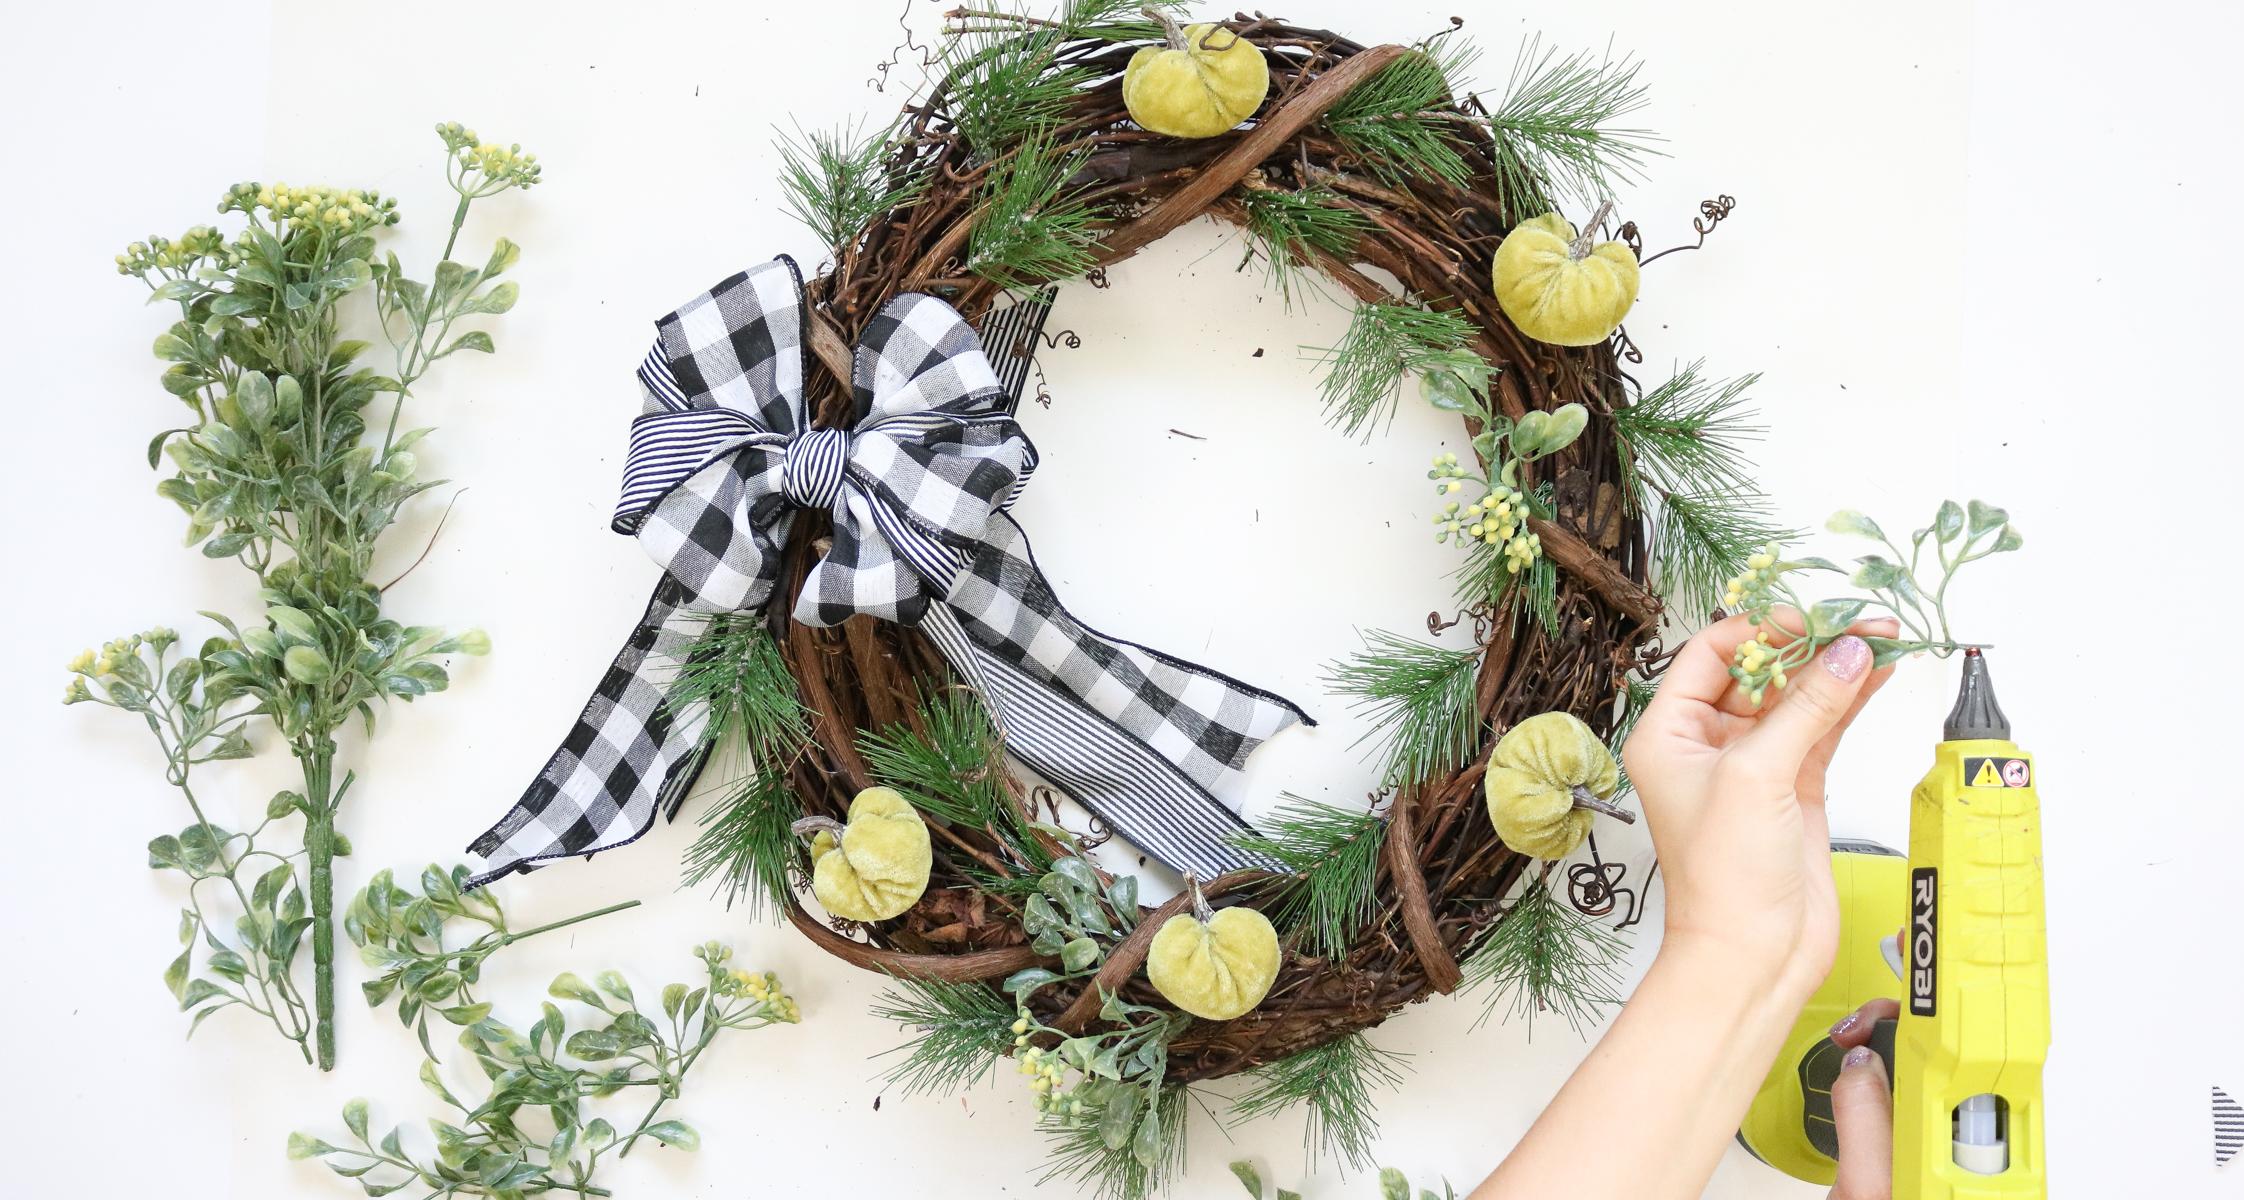
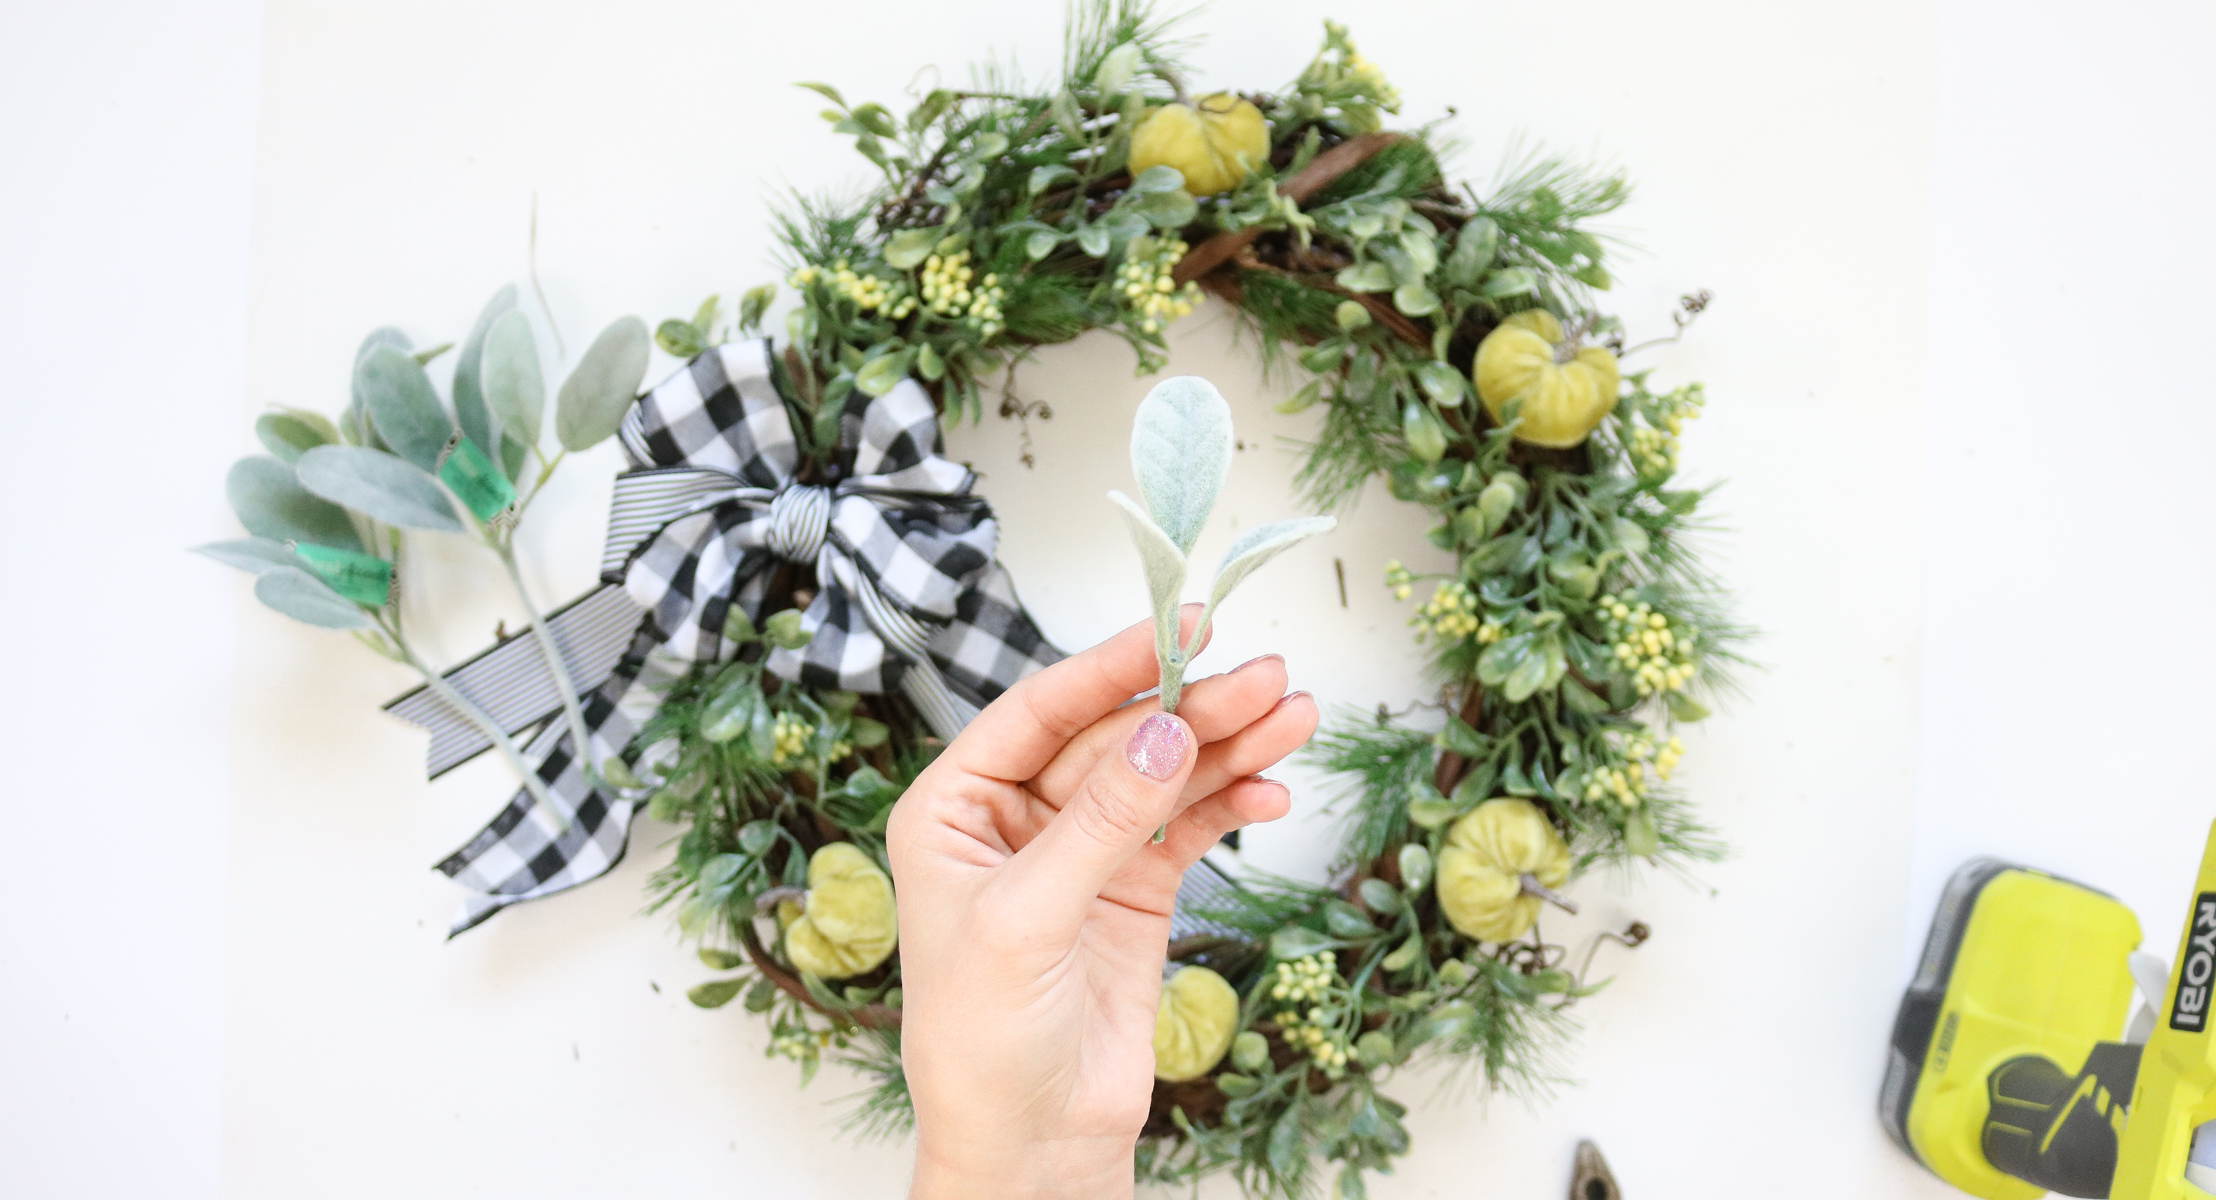
The technique behind this wreath is really simple. First you’ll need to add your bow and pumpkins. Than add all your greenery and that’s it! Just make sure you don’t add to much greenery around the pumpkins. You want them to be visible. I attached my pine sprigs before attaching any other greenery. Keep in mind you don’t need to cover the whole wreath in pine sprigs. I left plenty of gaps and tried to focus on adding more to the edges of the wreath. Than I added my berry sprigs with the small round leaf greenery and last but not least I added eucalyptus.
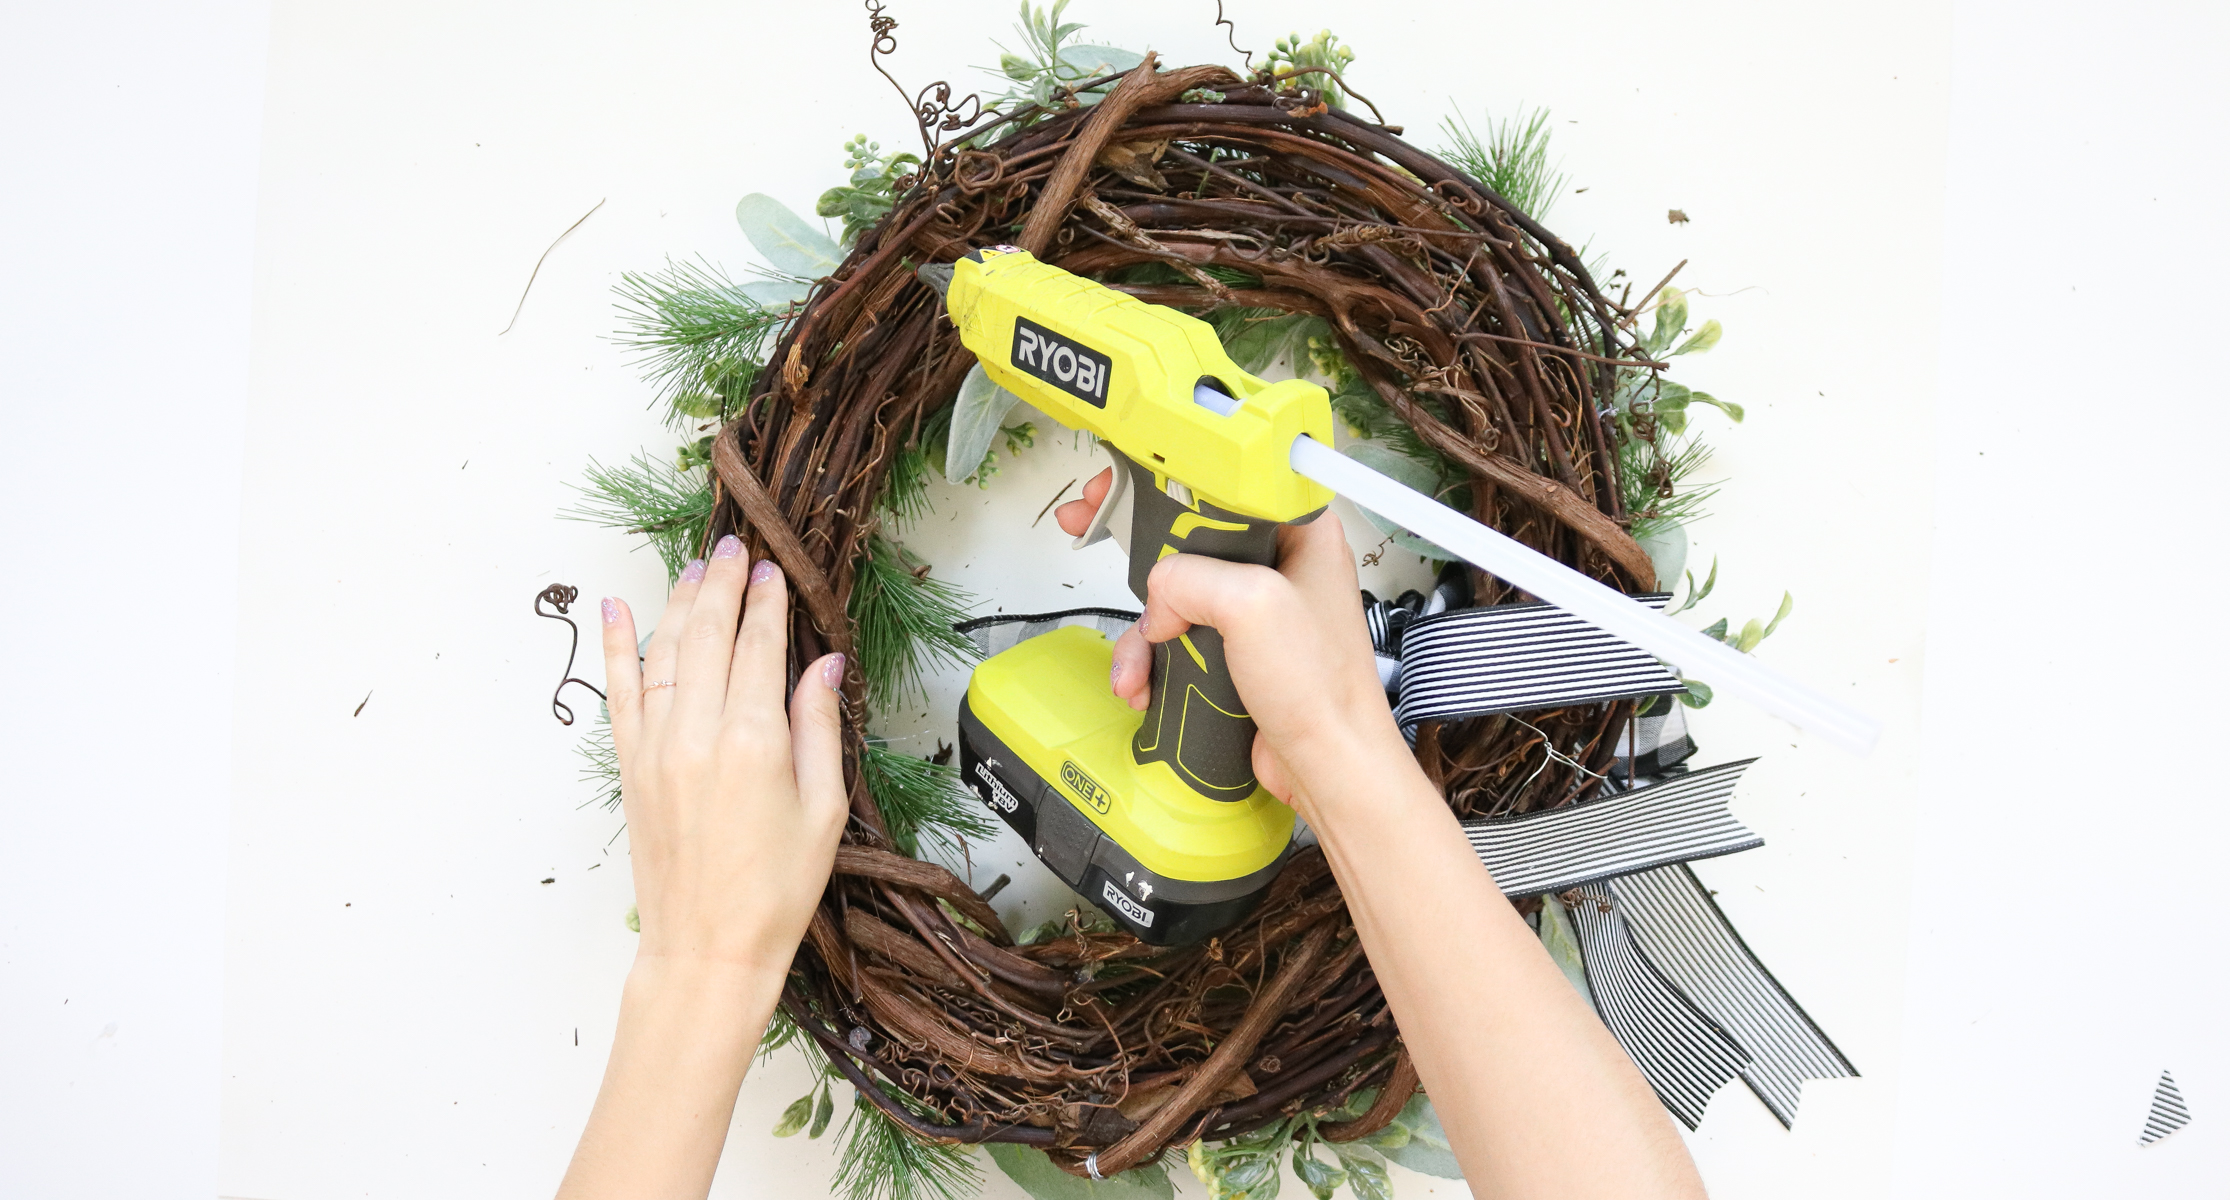
The last step to completing this plaid pumpkin wreath is securing everything on the back. If you have any long sprigs sticking out on the back side be sure to cut them down. That’s it!
HERE’S MORE DIYS YOU’LL LOVE :
- FROSTED CRANBERRY WREATH
- DIY CHUNKY KNIT PLANTER
- RECYCLED WINE BOTTLE CENTERPIECE
- FAMILY PHOTO CHRISTMAS TREE ALTERNATIVE
- 4 DIY WOOD ORNAMENTS FOR A SIMPLE CHRISTMAS TREE
- DRY CITRUS + DIY WREATH
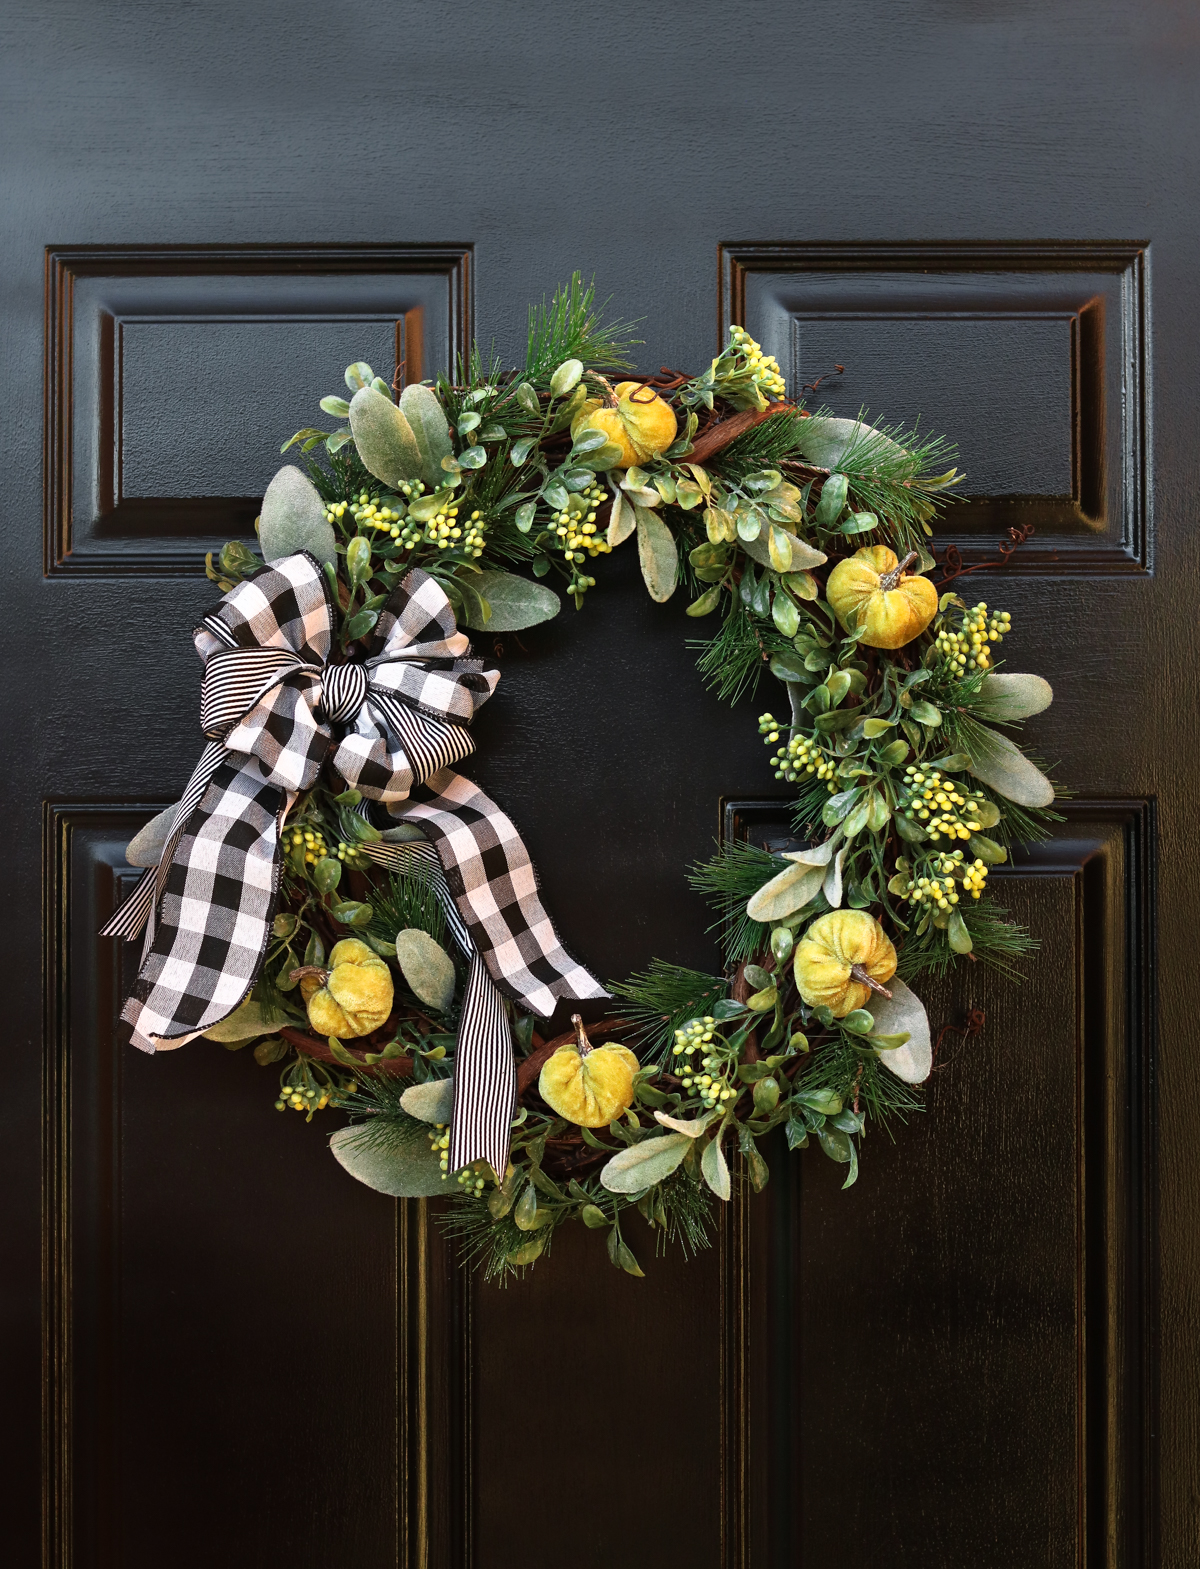
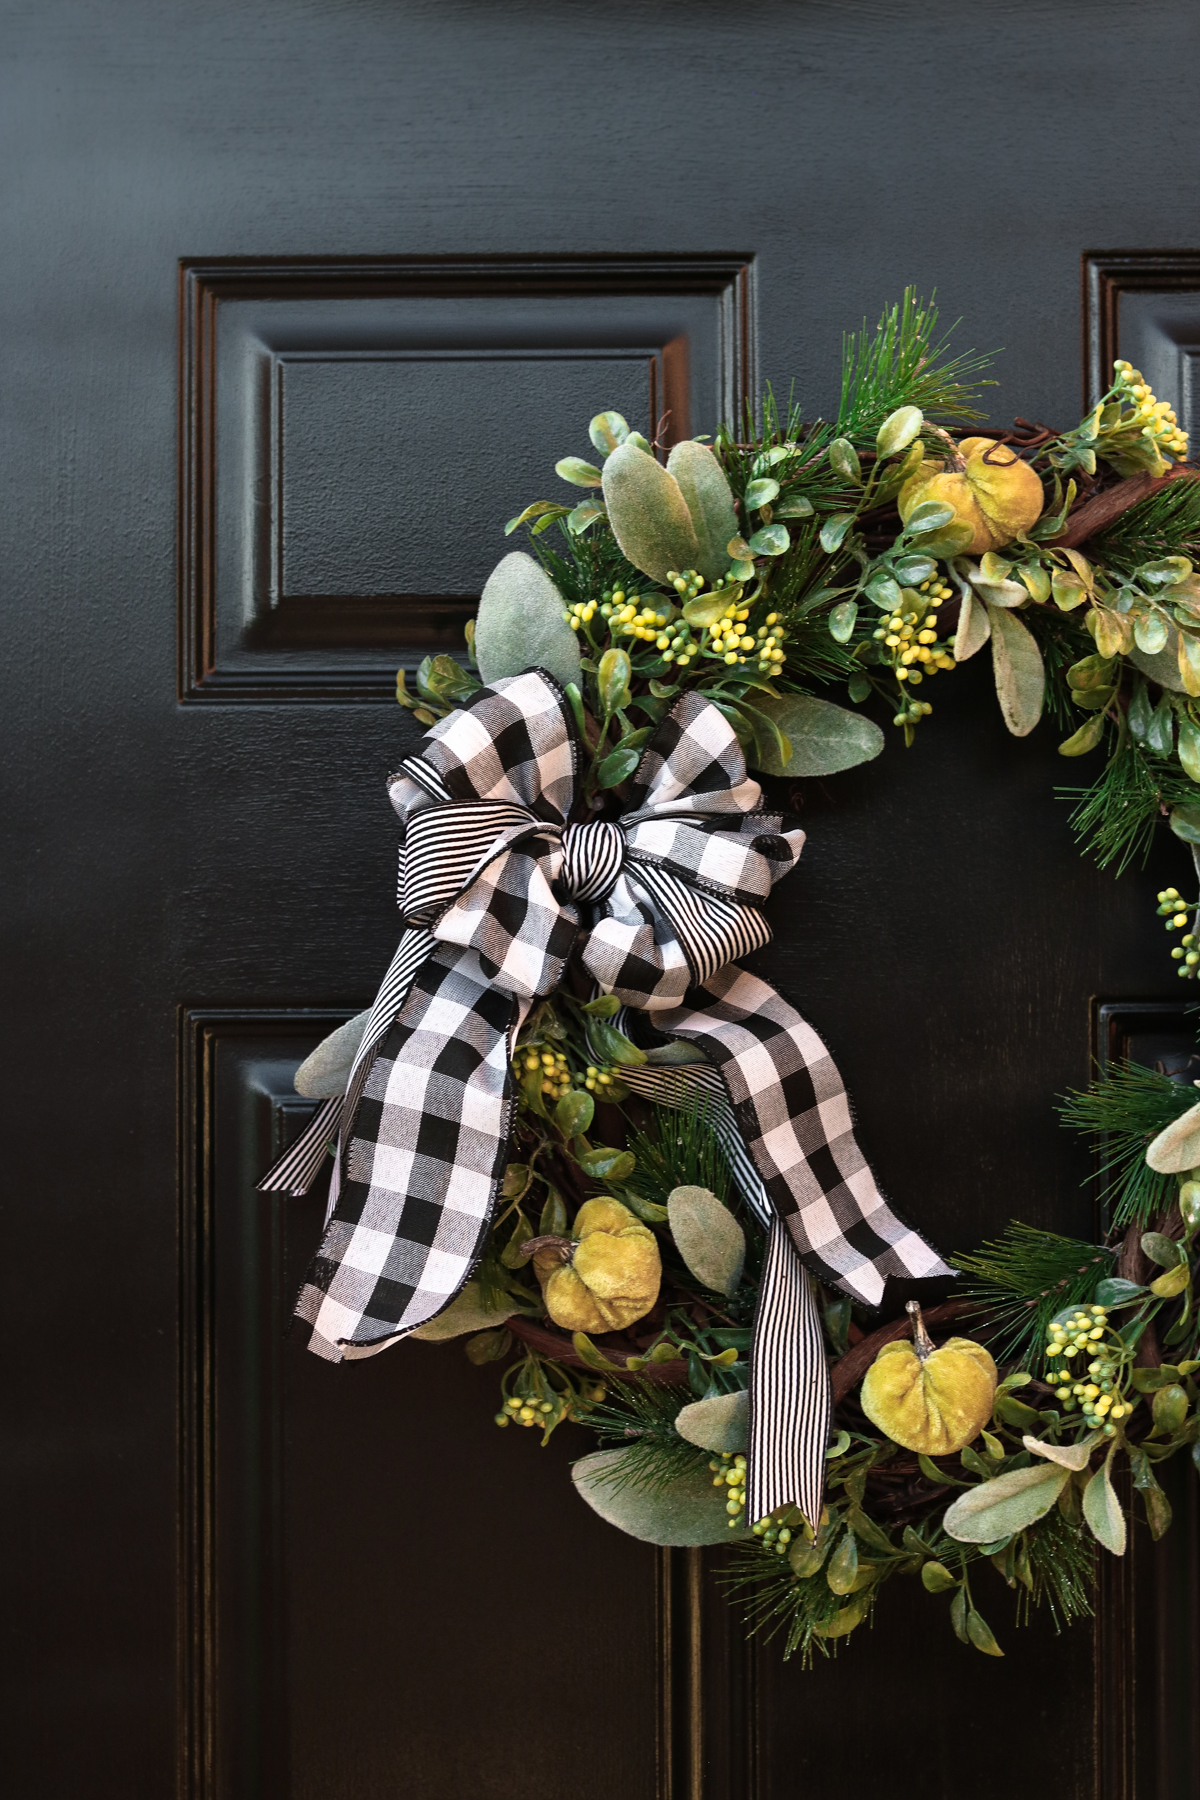
Here it is!! I love this wreath on the black door! Those greens pop so pretty and that plaid looks so cute!!
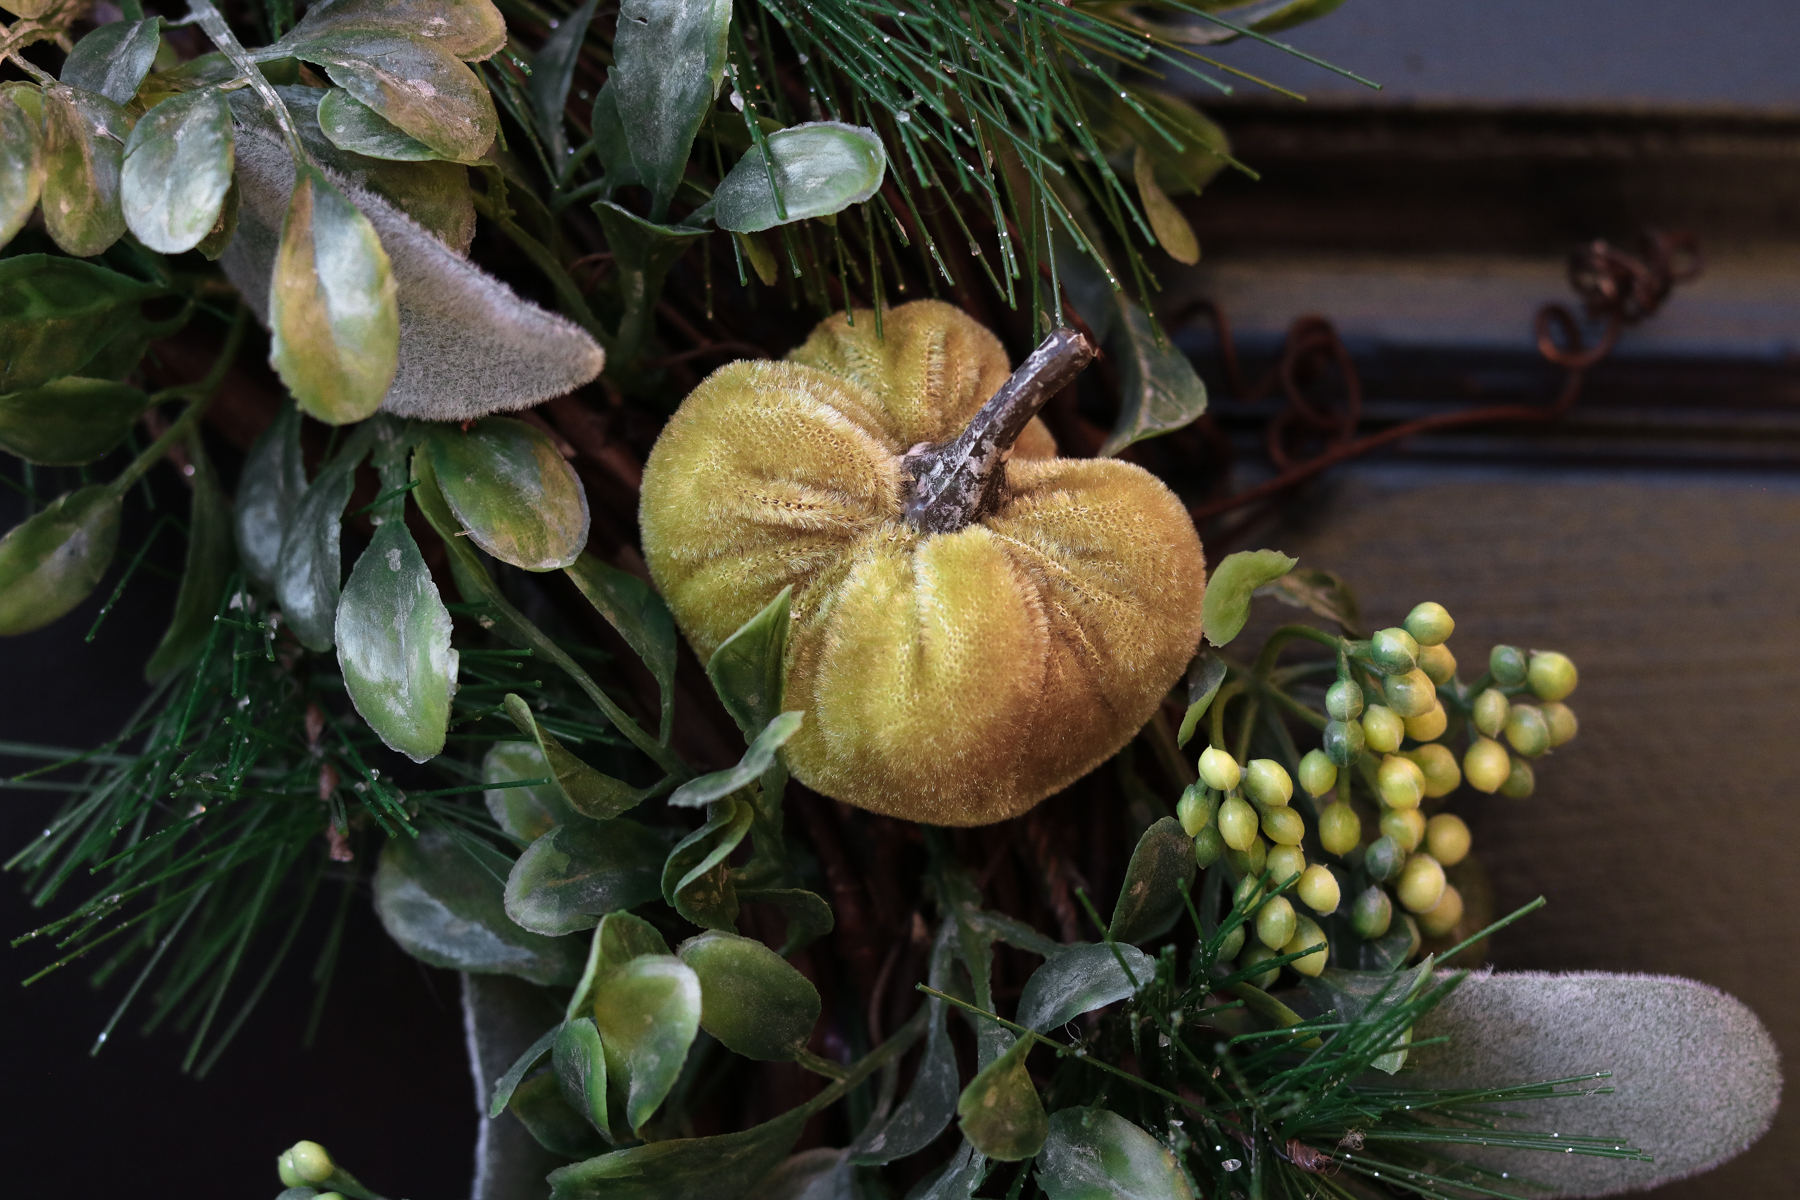
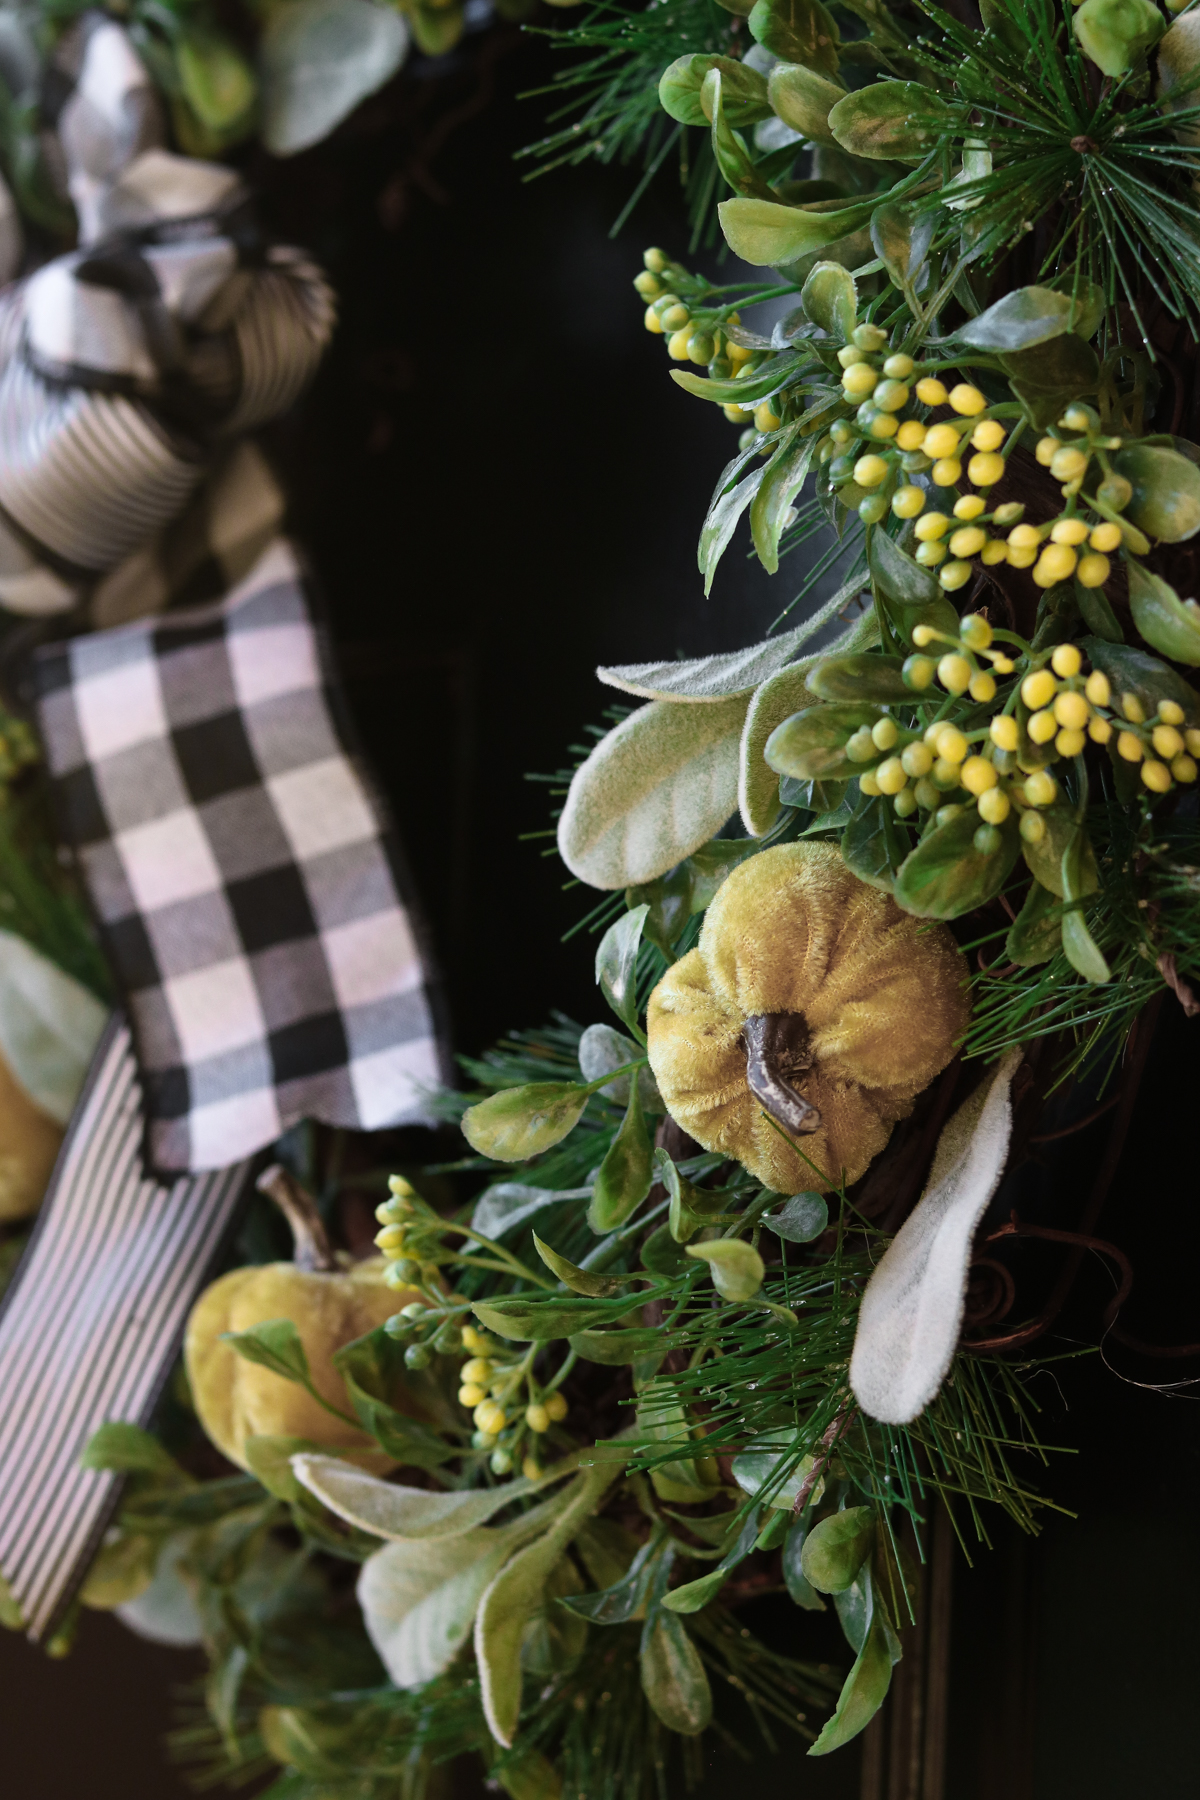
These velvet pumpkins are adorable!! That velvet though 😍😍!!
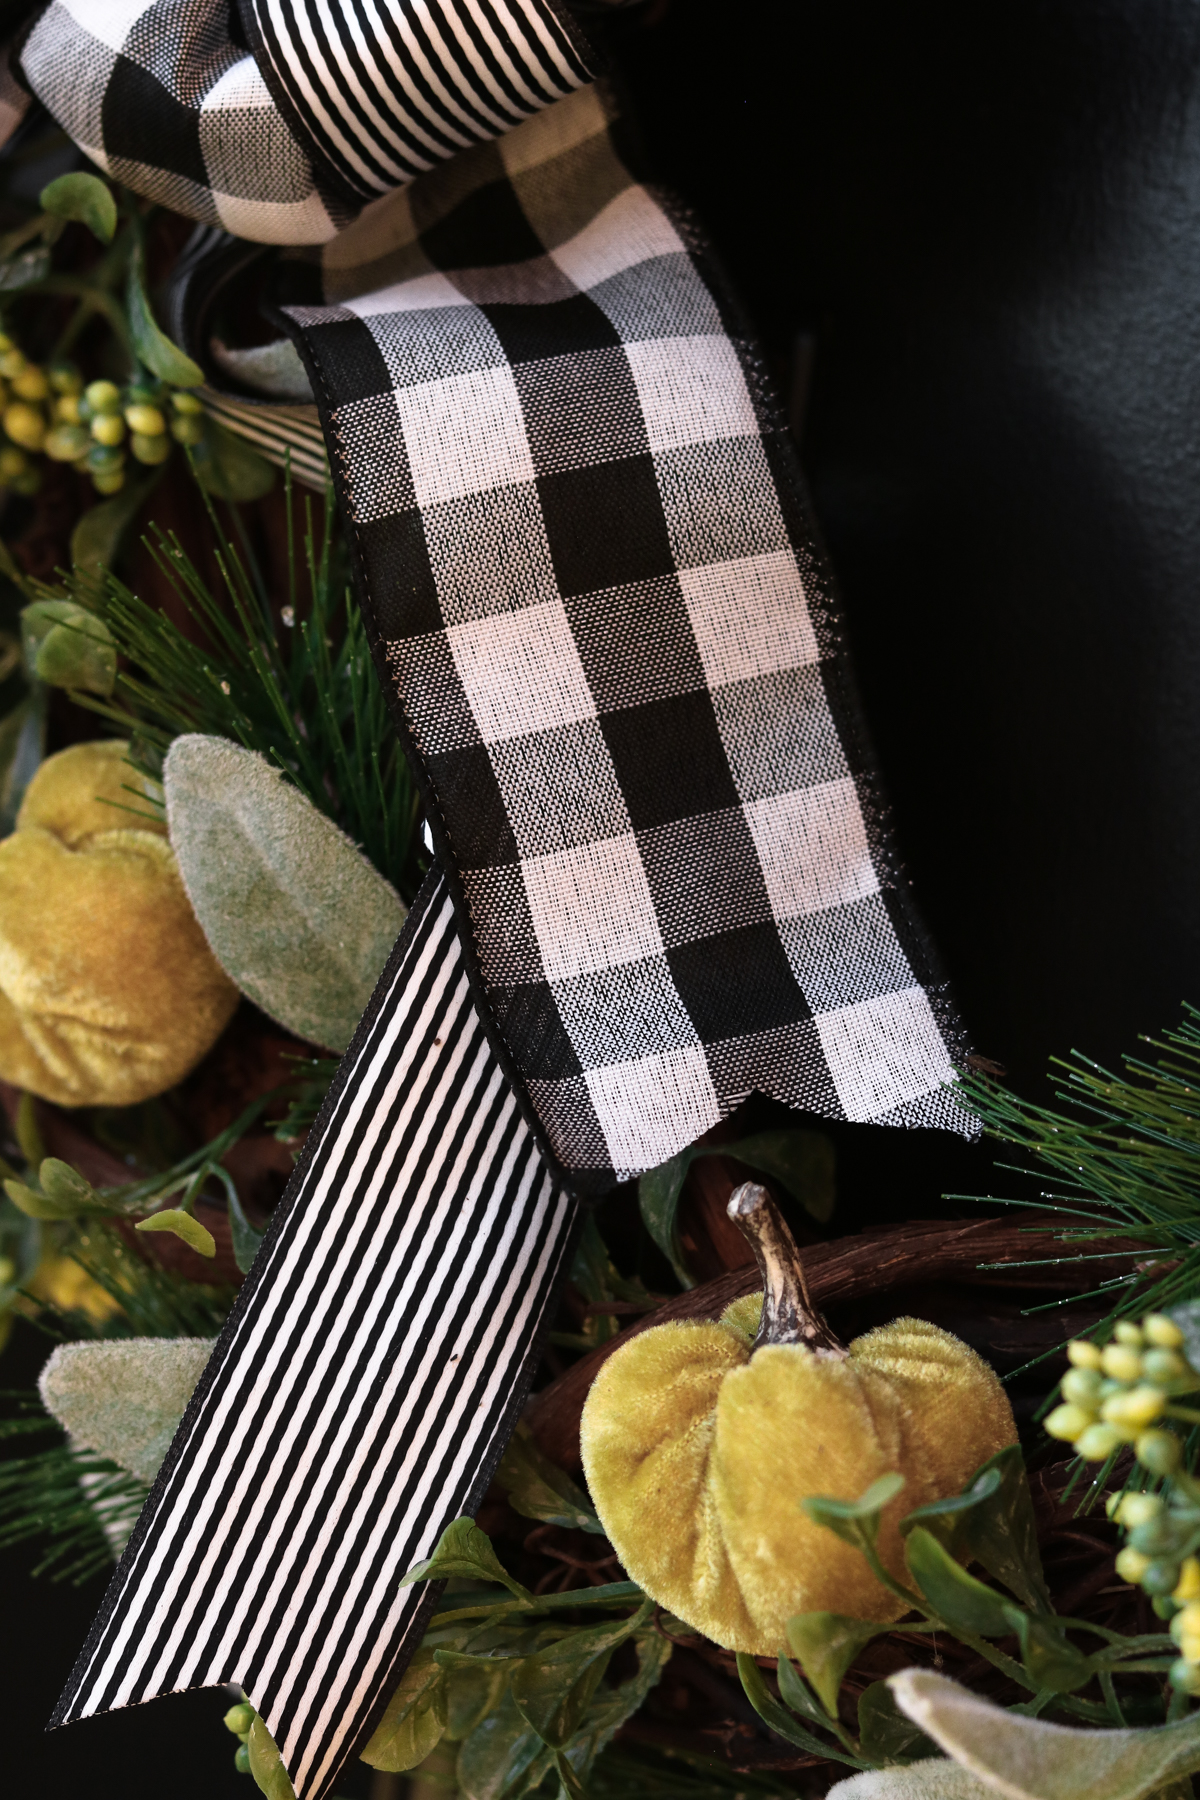
OMG I didn’t think I would love plaid this much!! The stripes and plaid are such a great combo😍!! I got both ribbons at hobby lobby.
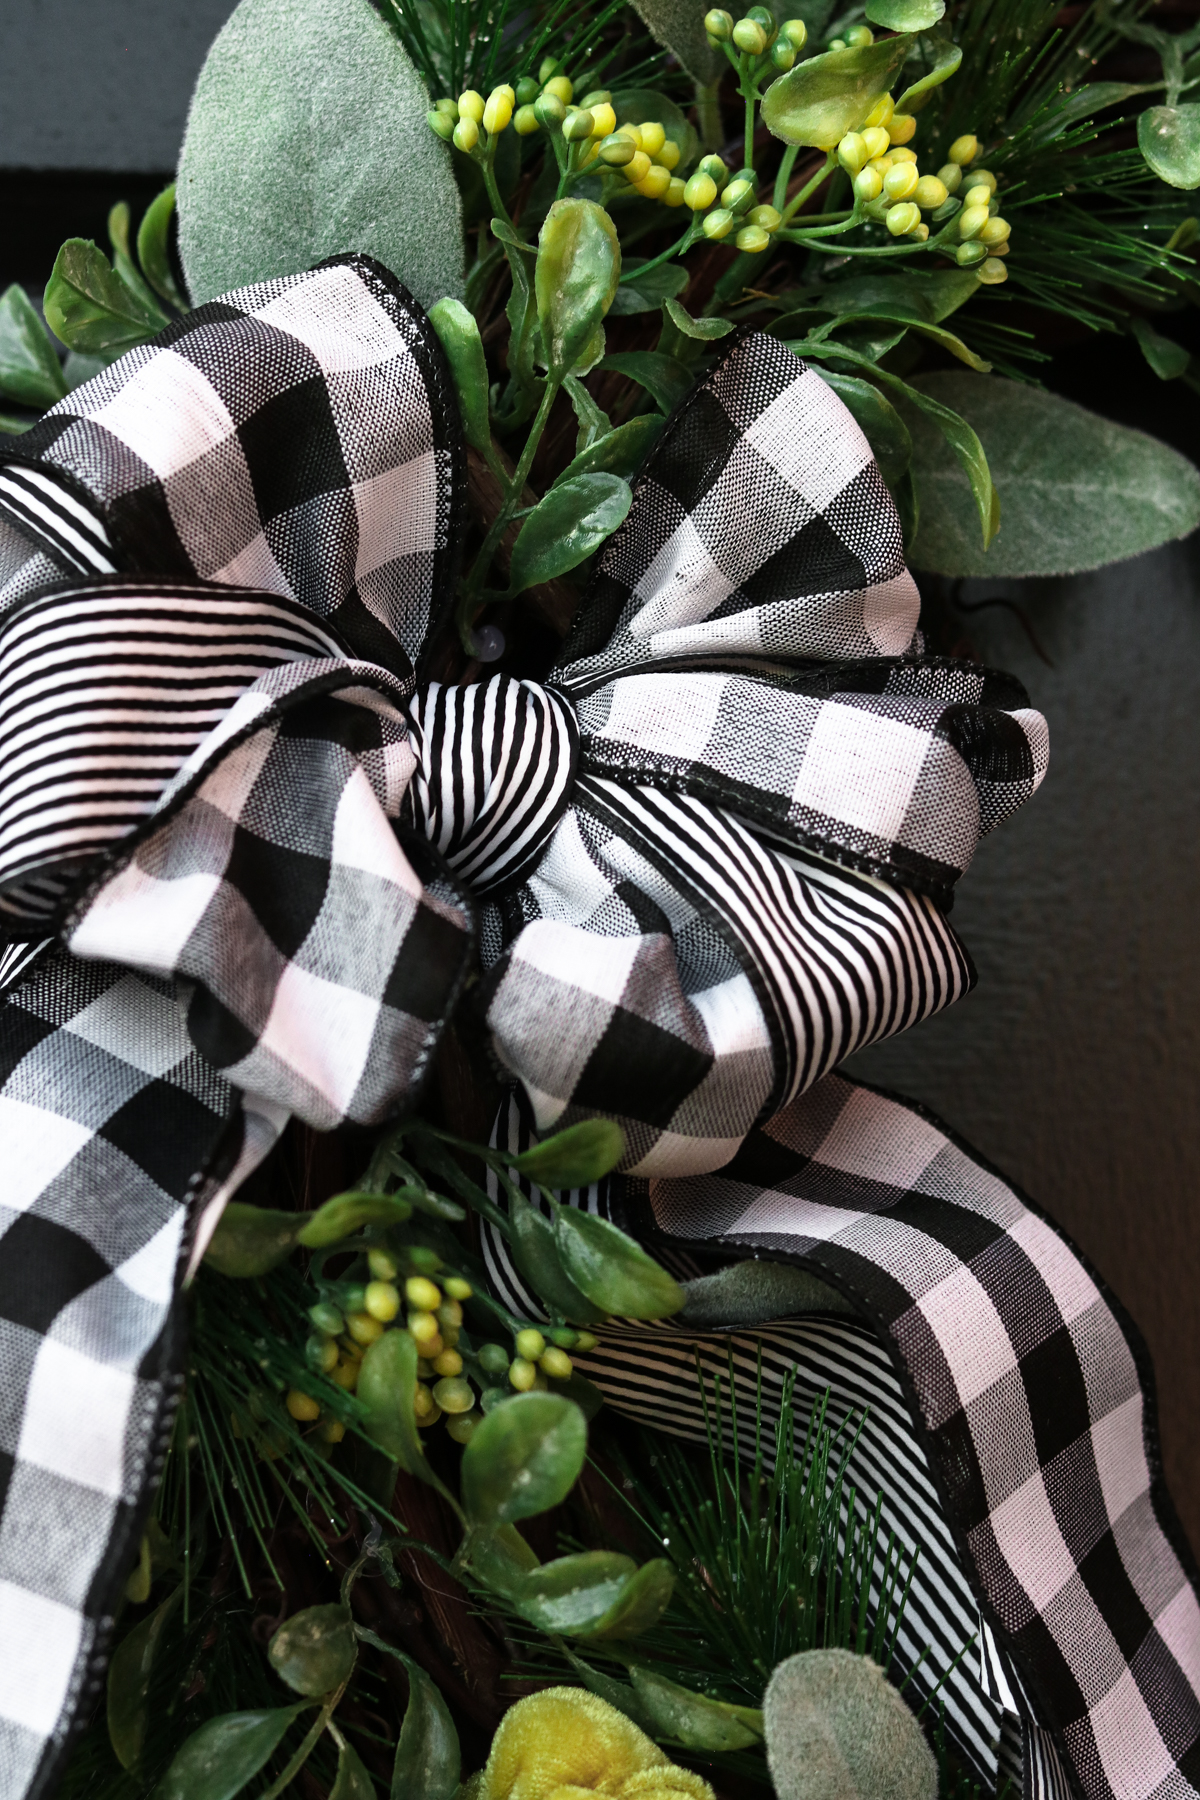
Here’s a close up on the bow!
I love how the berries pop!
That’s all for now! I hope this inspired you to make your own plaid wreath! If you have any questions feel free to ask in the comments below. I have a few more fall DIYs planned and can’t wait to share them with you!!
I’ll see you next time,
Here’s a pin for you to add to your Pinterest board. You can add this to your fall decor board 😃 or diy decor board. CLICK ON PHOTO TO PIN IT!
x
lily-
LOVE this! Thanks so much for the clear bow directions.
Thank you Dyan 😀 Glad it was helpful 🙂
Love this, I think I would like to make it and your instructions are so clear, I might succeed!
YAY! I’m so happy to hear that Linda! You can do it!
I absolutely love this tutorial, you made it so simple, I do use a bow maker at times but also I make most of mine by hand , yours is so much more easier so thank you so much , Blooming Creations by Rhonda ❤️❤️❤️
Thank you Rhonda! I’ve never tried using a bow maker I’m happy to hear you loved this!
Love it. Great instructions. I will try this.
Thank you MArgie 😀
Wow, that bow tie tip is so easy and brilliant! Can’t wait to use for my wreath.
So happy to hear it was helpful! 😀 Happy Crafting 😀
Beautiful wreath and great tutorial on how you made it. A y chance you can share where you found those adorable velvet pumpkins…green is my accent color. Thanks!
Thank you so much Debra! I got the velvet pumpkins at hobby lobby in there fall section. They were in a package with white ones too. 🙂
sorry to hear that
Where did you find those cute velvet pumpkins?
I got them at hobby lobby 😀
i love it.These colors are beautiful together!!!
Thank you 😊
I love the way you made the bow. Original method. Simple directions. It is gorgeous! This is the way I’m making my bows going forward. Thank you!
thank you so much Lucy! I’m so happy to hear you like this technique and it was helpful 😀
Do you get your greenery at hobby lobby? I’ve tried to buy silk flowers and greenery there but it always is so expensive!
Yes I as far as I remember I got these at hobby lobby. Oh gosh I know what you mean. I usually use their 40% off coupon for my most expensive item ( you can get it by googling hobby lobby coupon) . They also have 50% off sales on there floral quite often. I always call a check to see when they’re having that sale if I plan to buy a lot. Definitely saves good penny this way.
Do you buy when it is on sale? Floral is on sale every other week.I buy pretty much all of mine because they have the most amazing selection.
I agree on the off weeks I can’t shop there either.
Go to their web site and it will tell you what is on sale that week from Mon- Sat.
YAY! I’m so happy to hear this was helpful! I can totally relate. I tried making a bow following a few youtube videos and as like there’s gotta be an easier way! Thank you 🙂
Thank you for such easy to follow directions. I can never get them this turned out perfect!
I’m so happy to hear this was helpful 🙂
Very good tutorial. Thank you!
Thank you Cory
Thanks so much for your wonderful DIY on making bows! I’ve tried quite a few of the other tutorials and I just had so much trouble! But then came your easy to do bows. Thanks again!
YAY! I’m so happy to hear this! You’re so welcome.