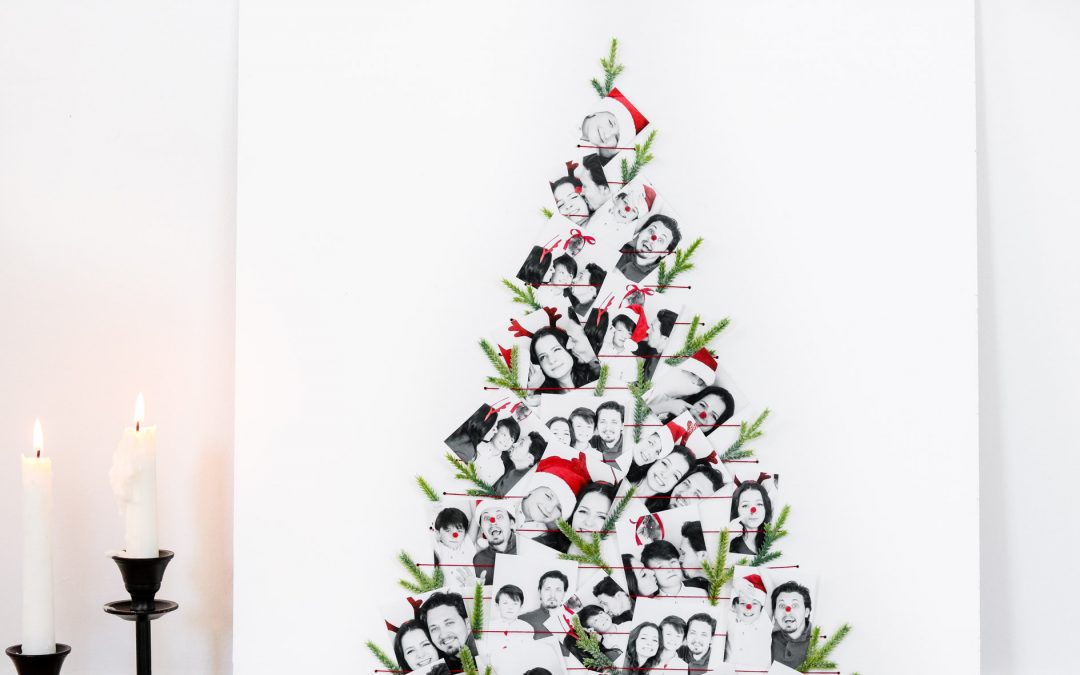
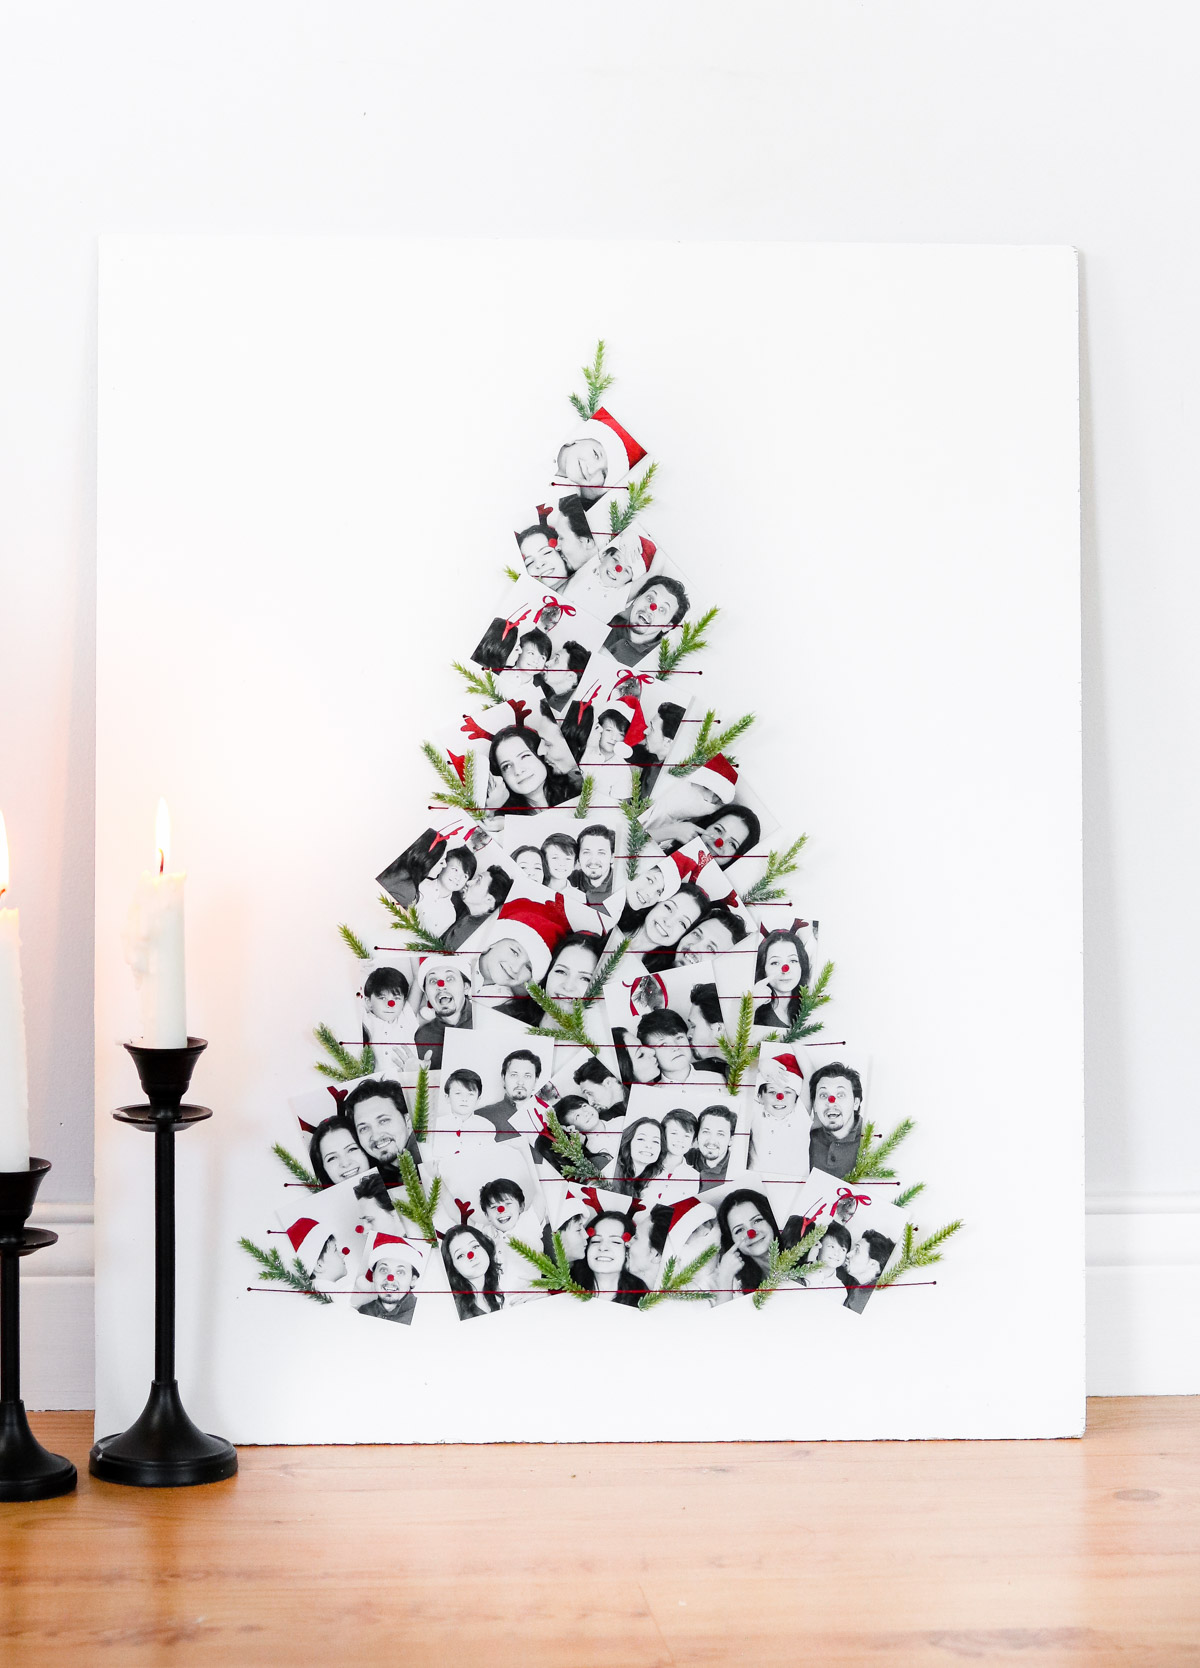
Today’s project is this DIY Christmas tree alternative!
Happy Nov 1st!! I hope you’re doing well and enjoying this wonderful cozy weather! We’ve been firing up the wood stove every day and I can’t get enough of it!
During the Christmas season I would have to say my favorite types of projects are ones that are personalized. So I thought! Why not make a Christmas tree from photos!
( this post contains affiliate links* visit my disclose policy for more info )
TIME NEEDED:
About 40 minutes.
TOTAL COST:
Around $20.
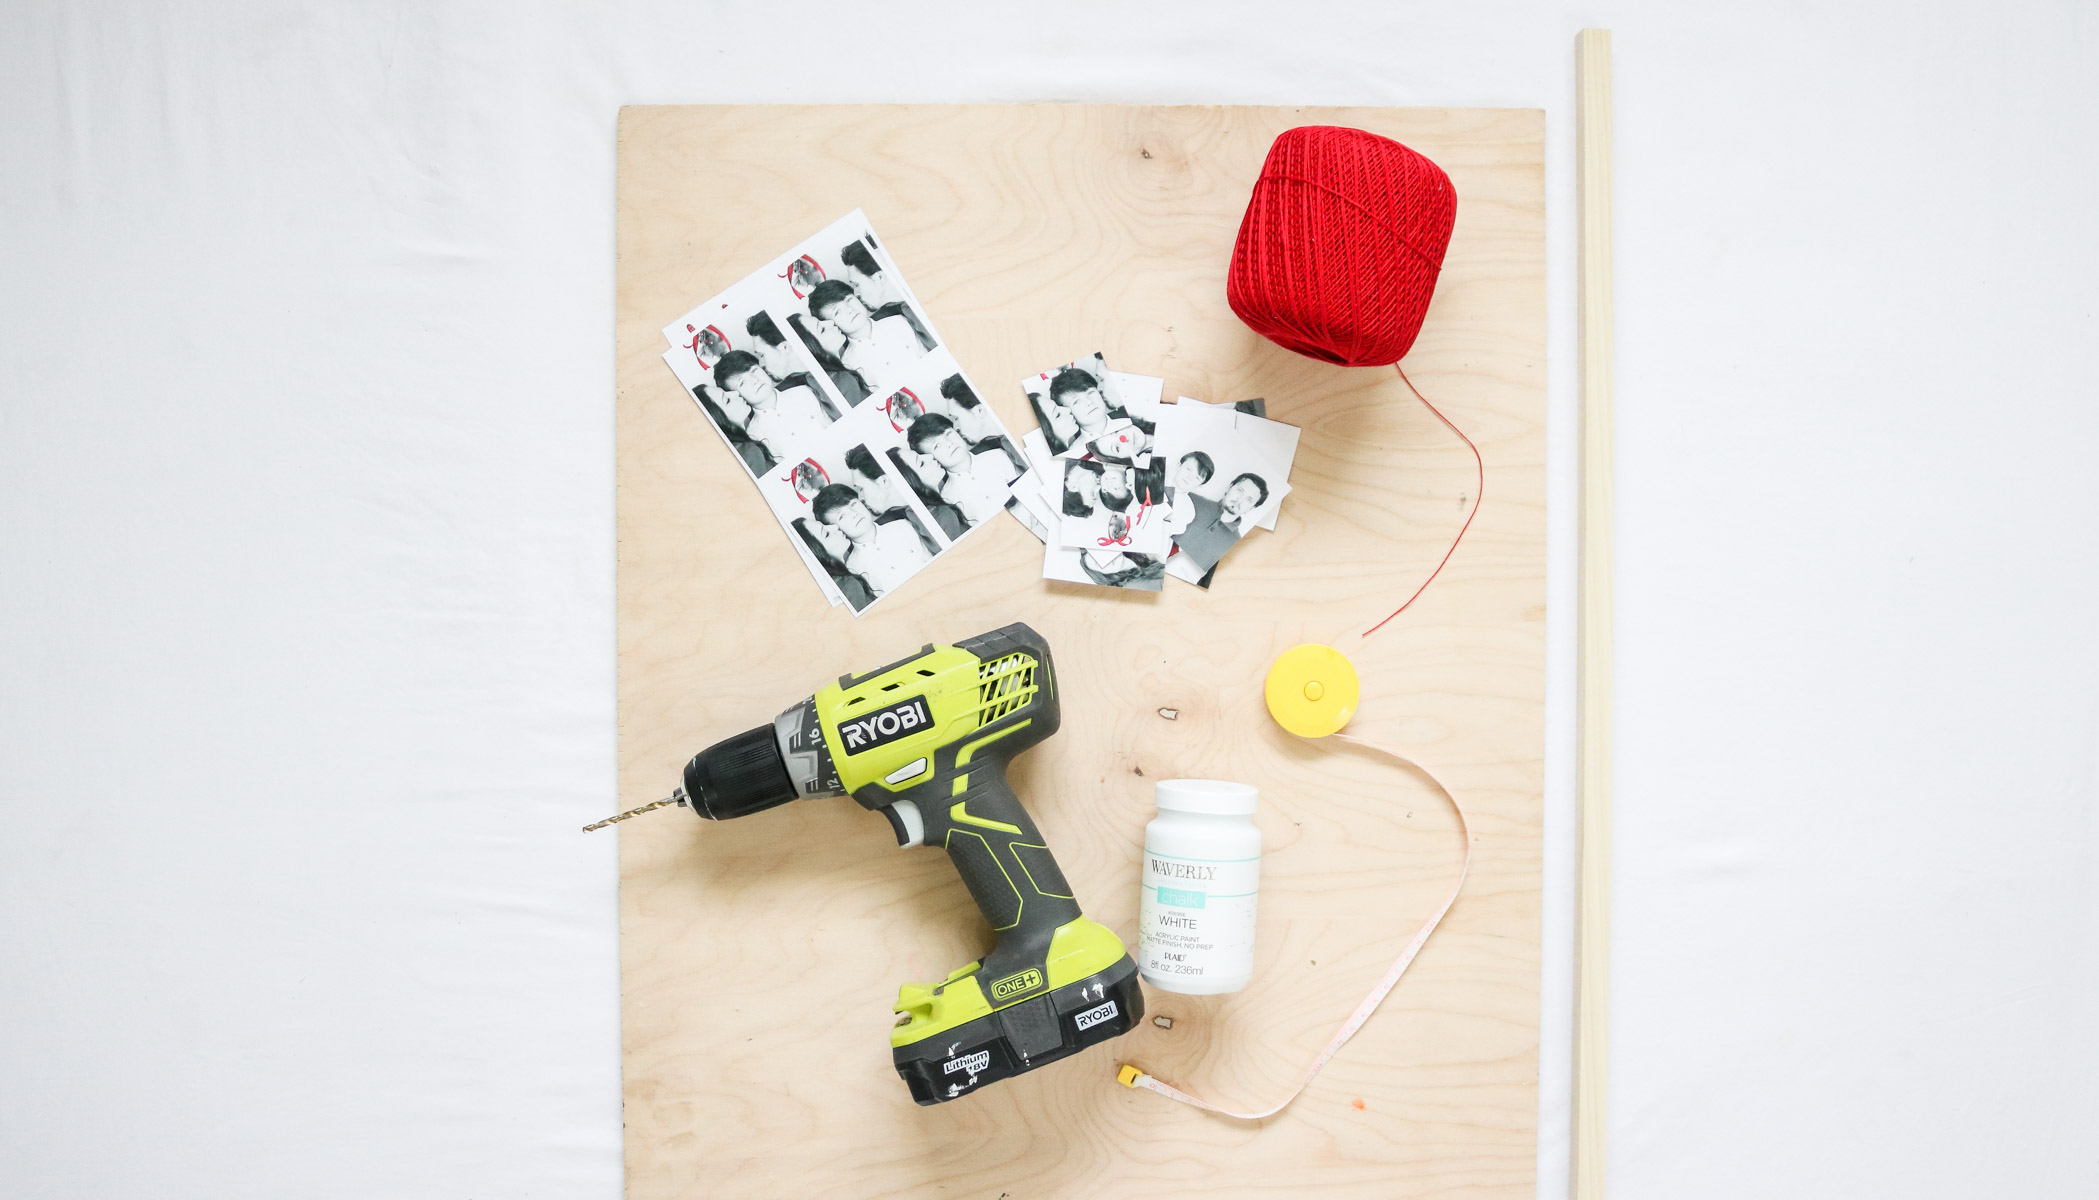
SUPPLIES:
- wall prints
- embroidery yarn ( you can get yarn here on amazon – https://amzn.to/2DbBbLB)
- wood board
- white paint
- measuring tape
- drill ( My favorite drill could be found here – https://amzn.to/2XDKIEG )
- yard stick
- bobbin pin or big needle
- pine sprigs
- pencil + eraser
OKAY HERE WE GO!
This DIY is super easy!
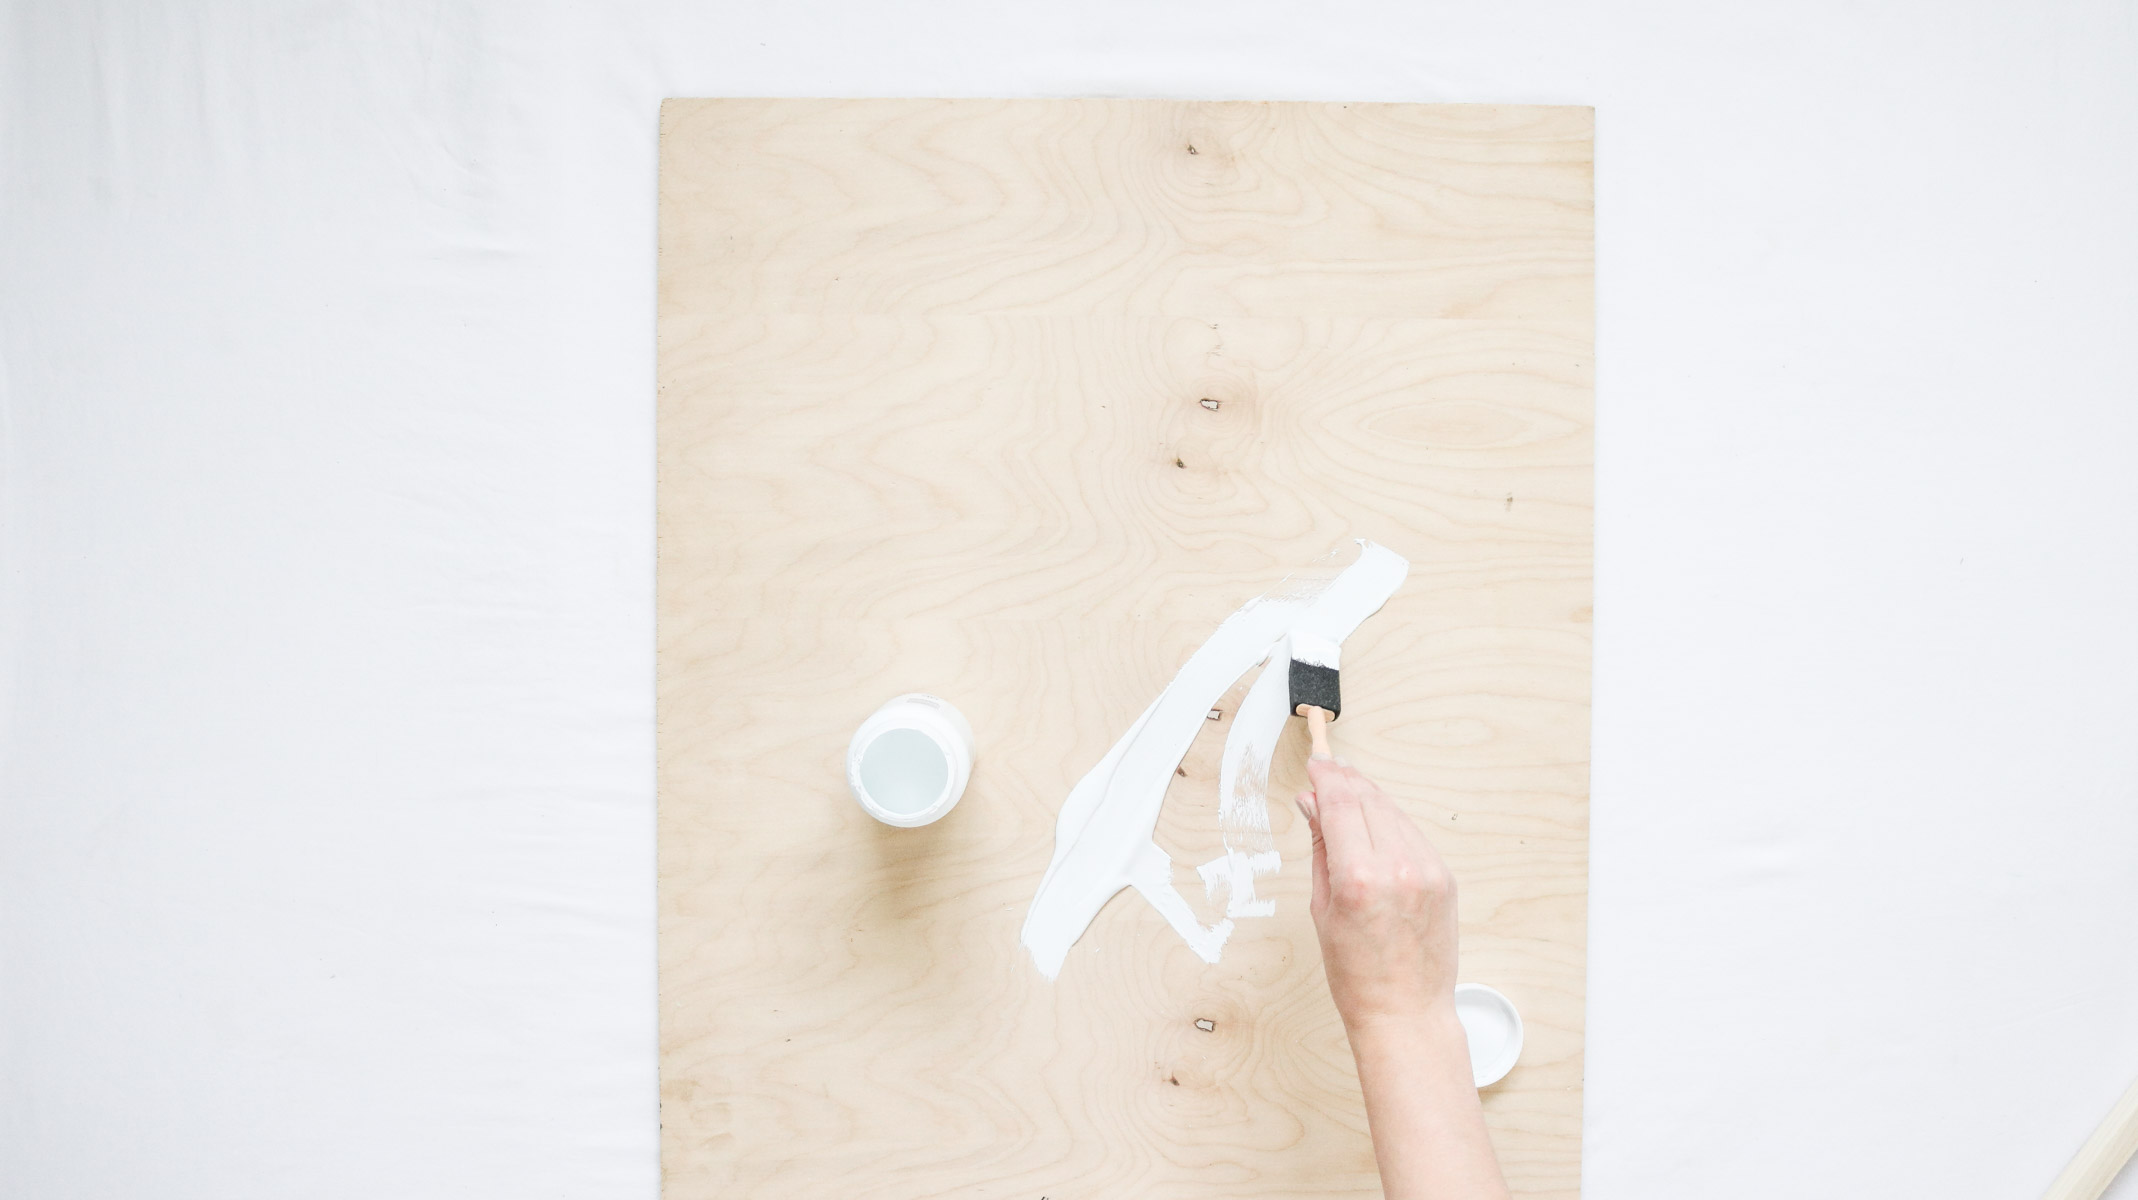
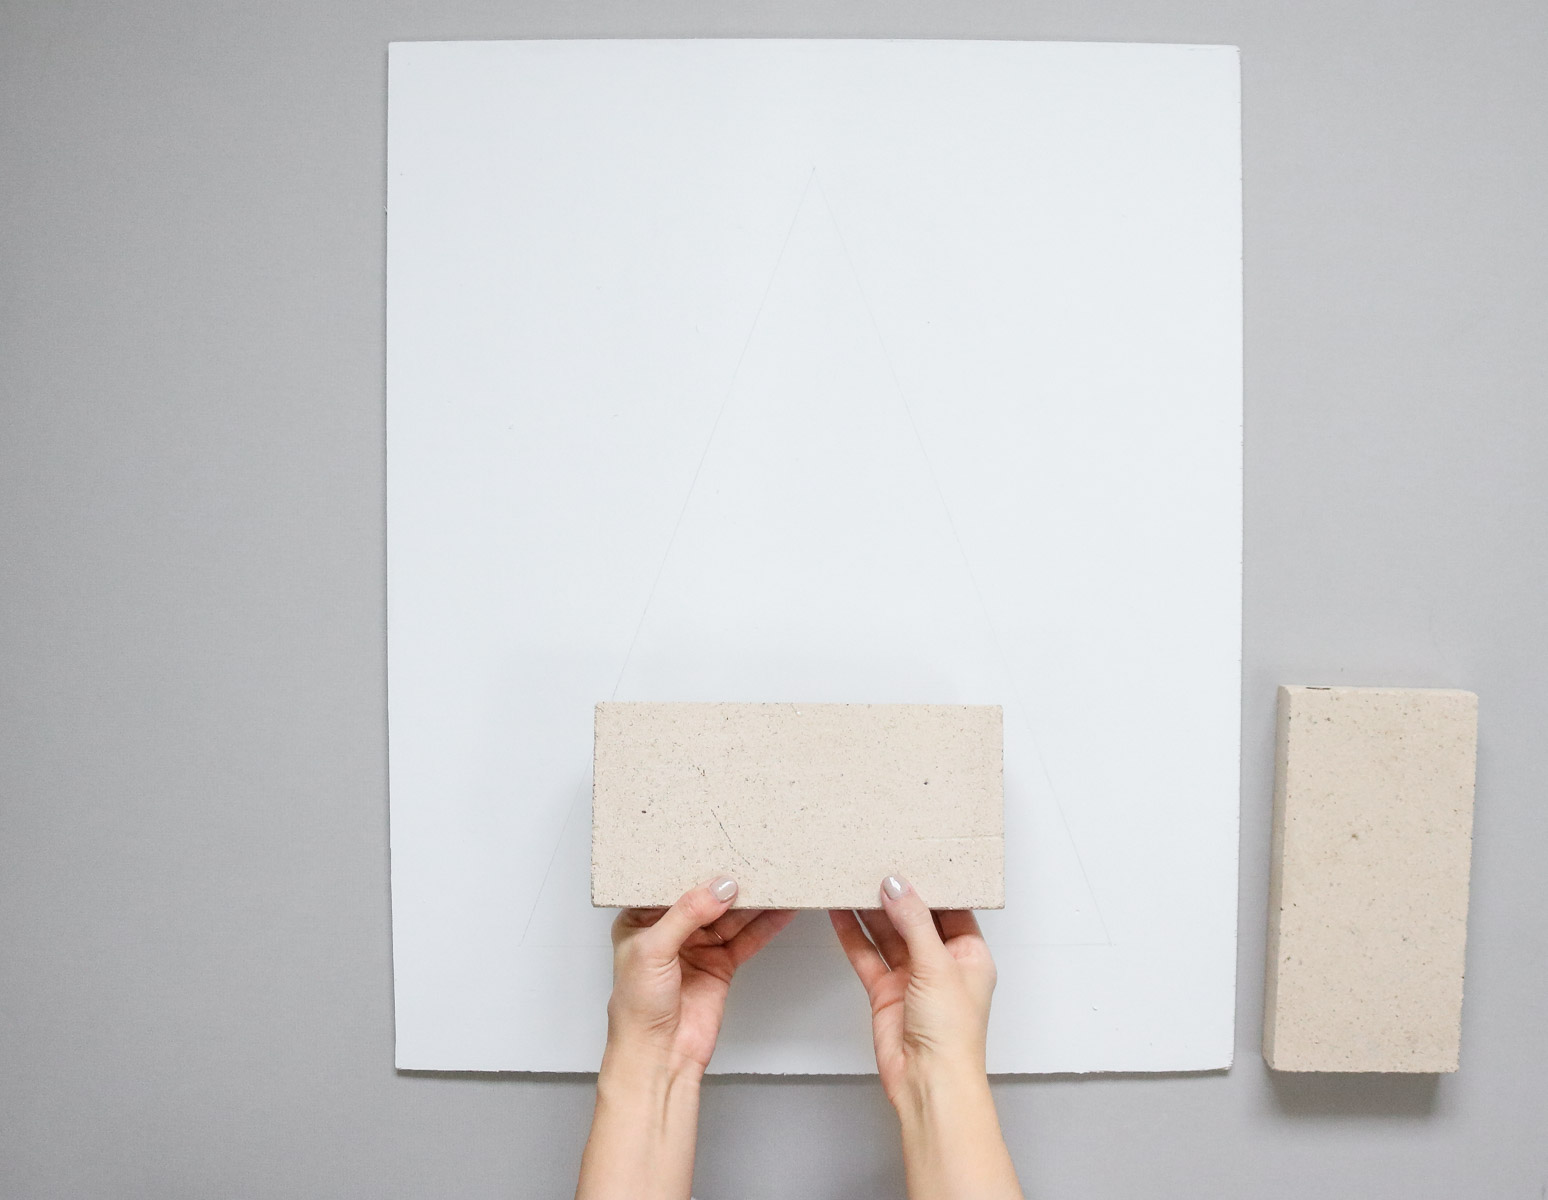
I started by painting the board white with some chalk paint. Once it was dry I used my yard stick to measure and mark my Christmas Tree shape with a pencil.
Prepping the wood to drill holes!
I also used my yard stick to mark one inch apart along the sides of the Christmas tree shape. Make sure the dots are about the same height from the bottom of the tree on both sides as you’ll be attaching yarn to them and you’ll see if one side is lower than the other.
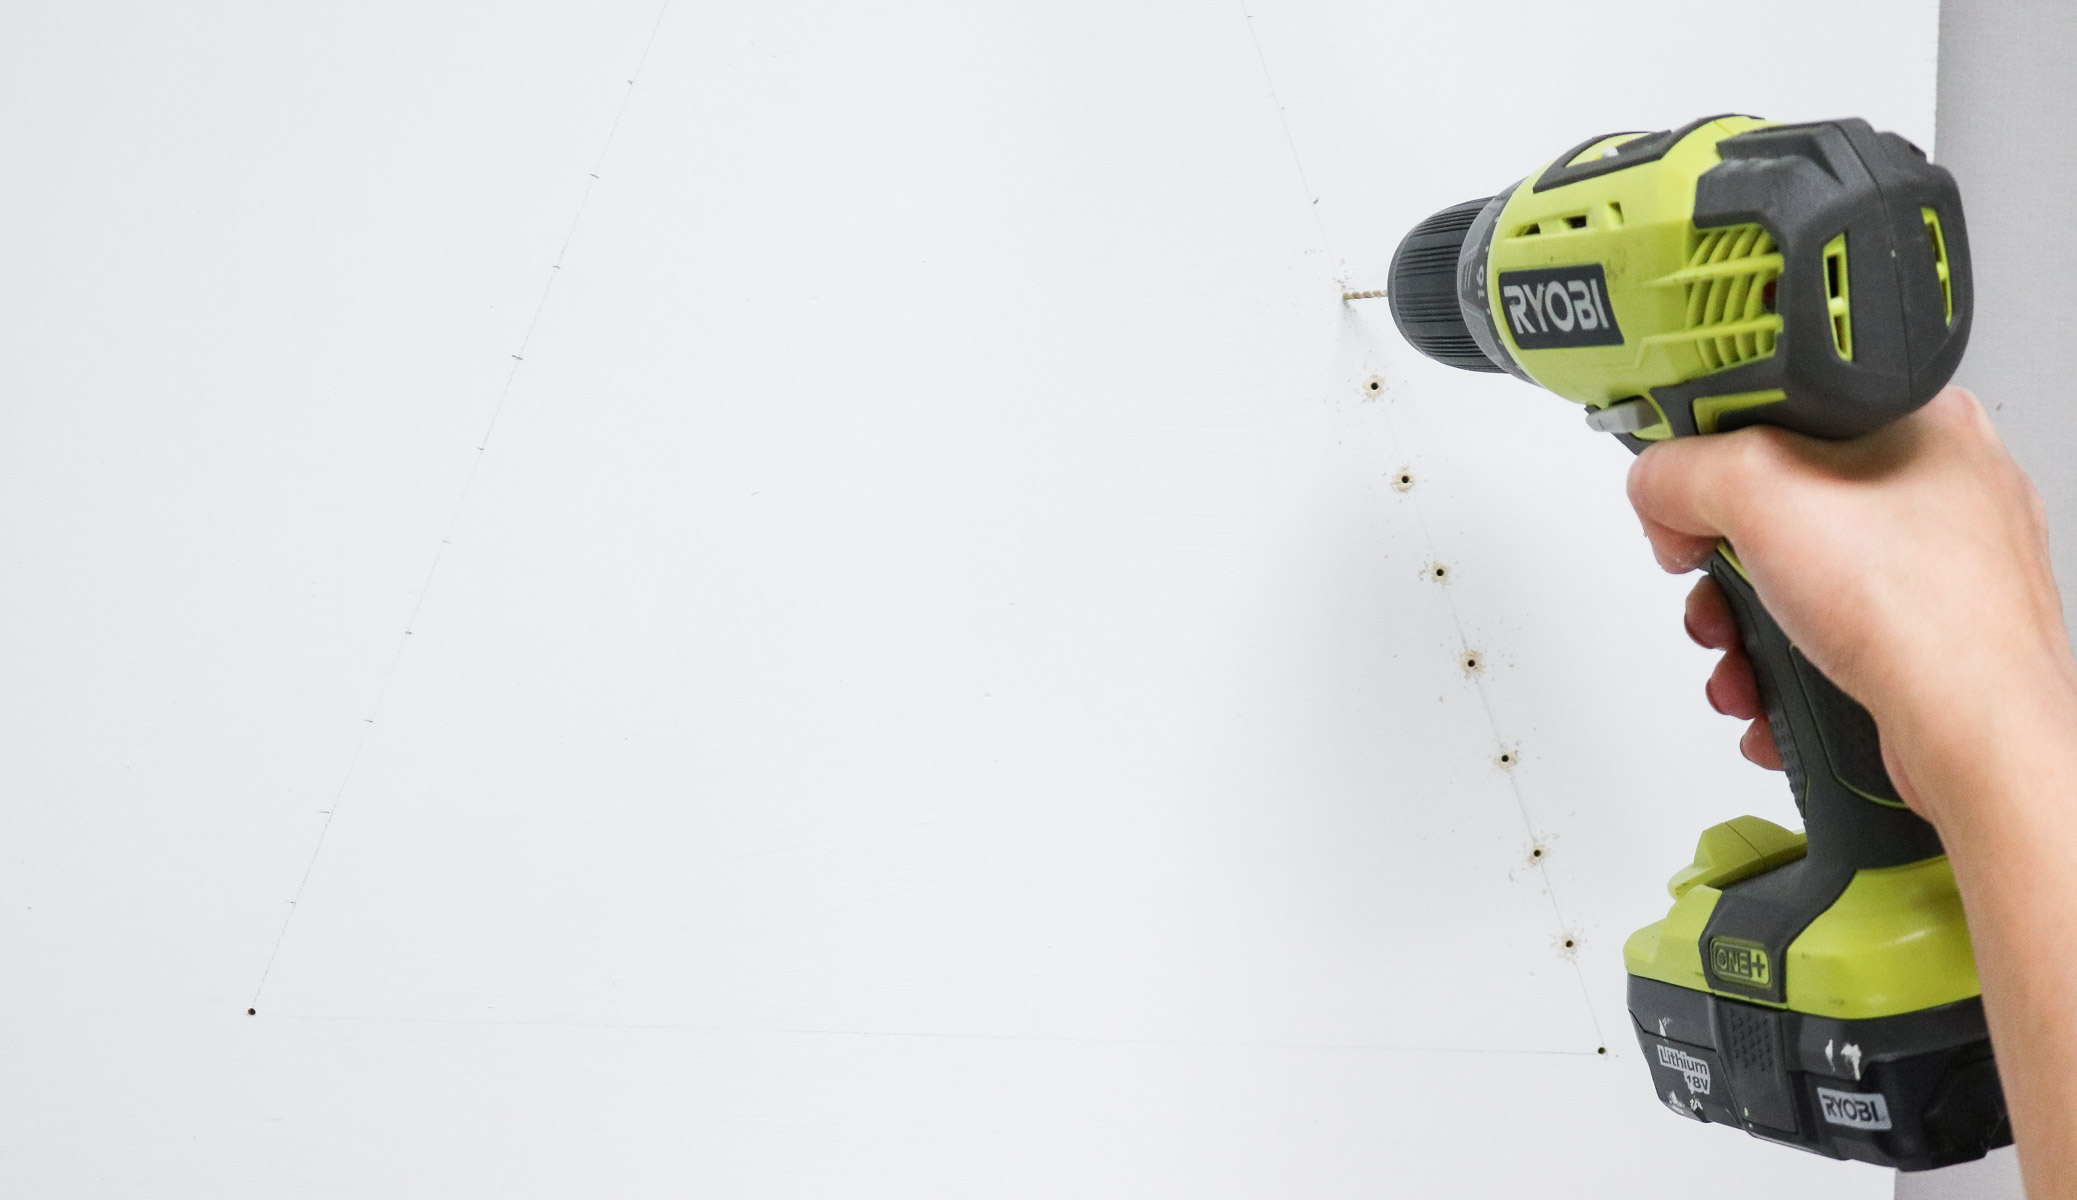
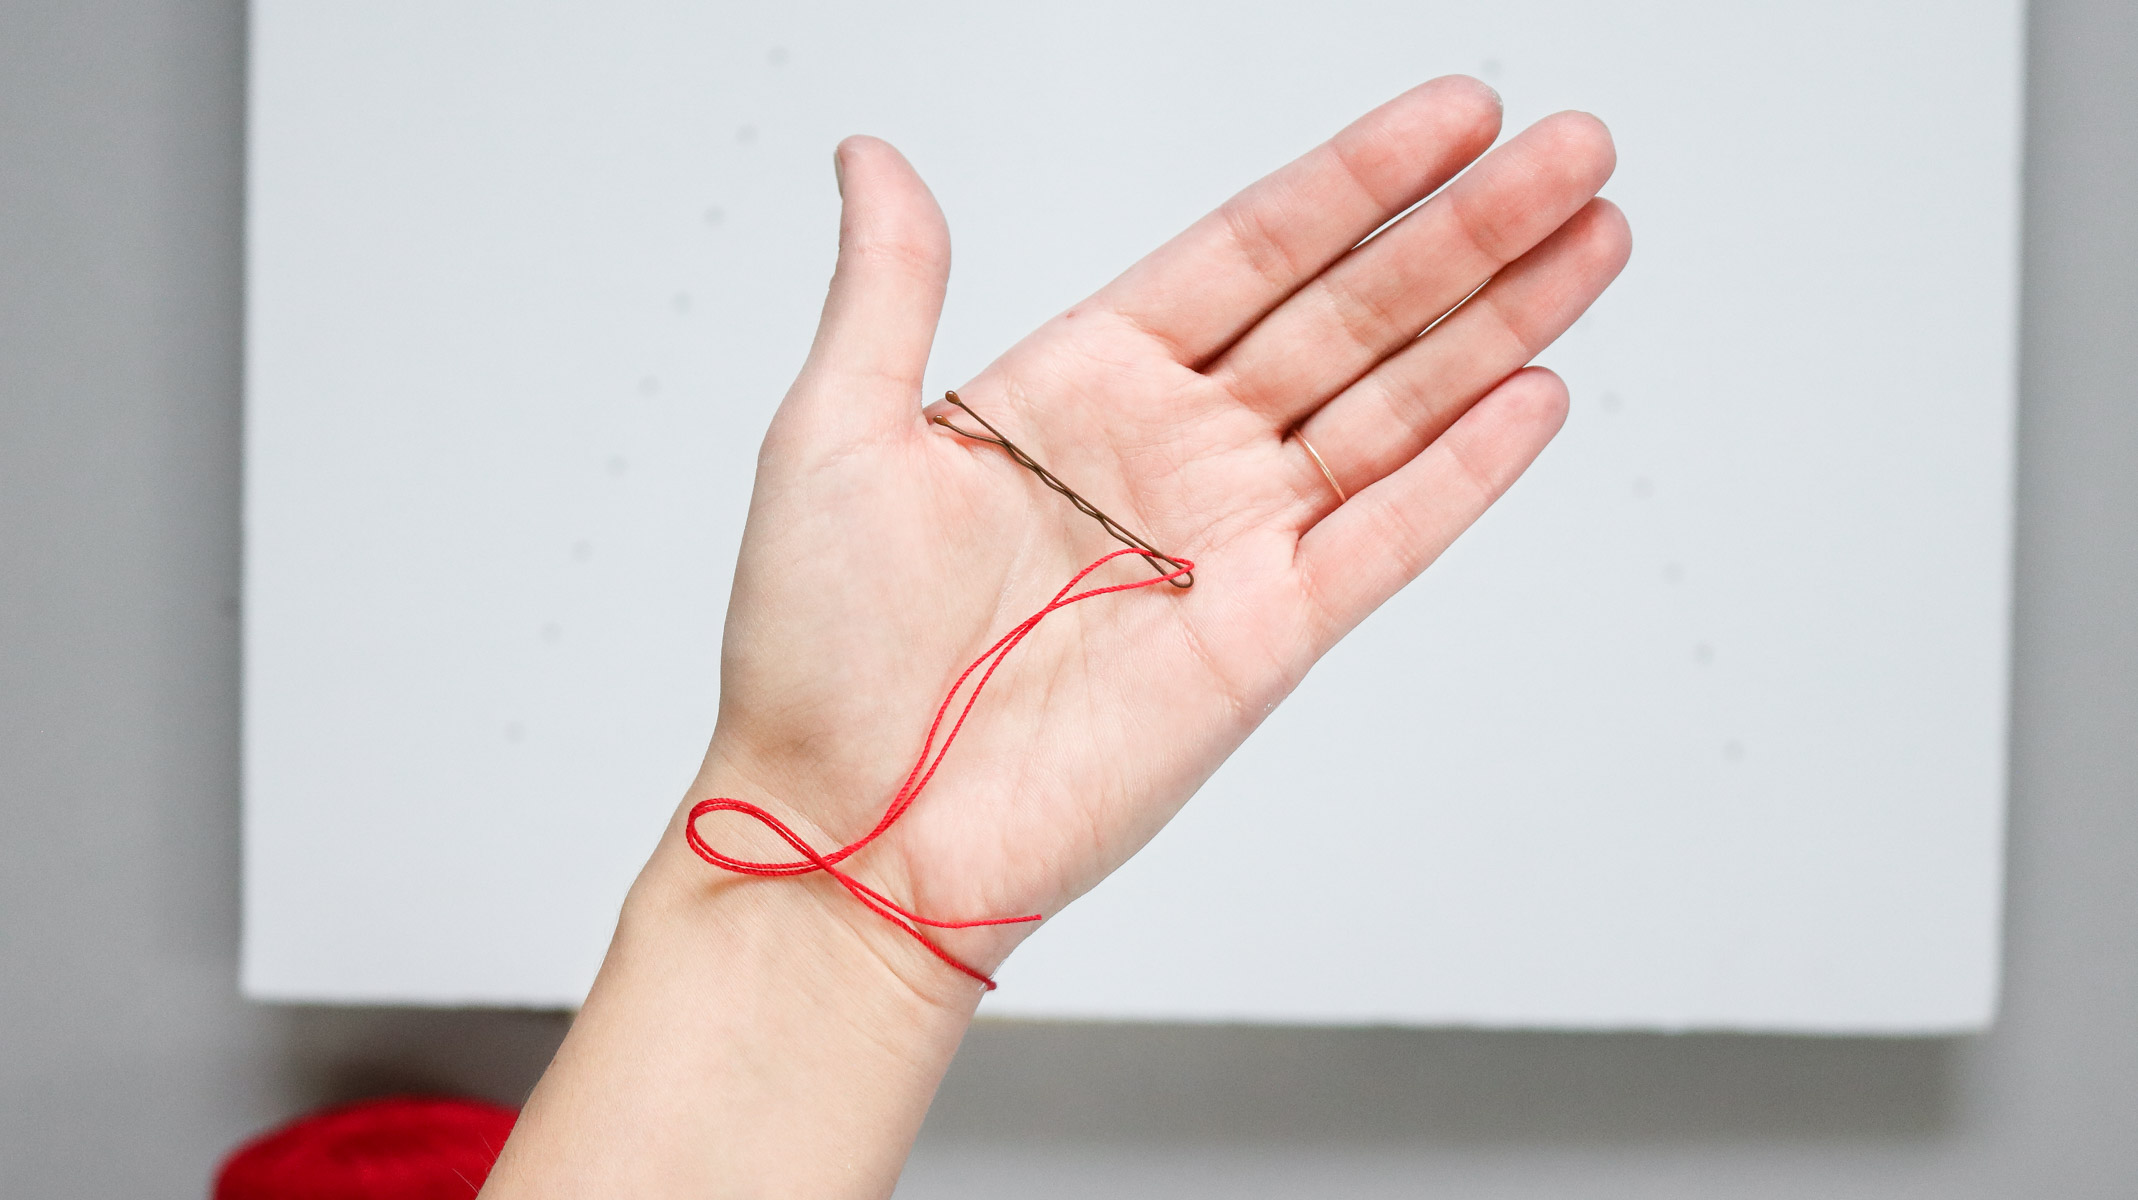
Before drilling holes in the wood I propped it up with some bricks on both sides. For my holes I decided to make tiny ones for an elegant look. This actually made the project a little harder because I had to use a needle to feed my thread through them. If you make your holes big enough for a bobby pin to fit through it’ll make your project a lot easier.
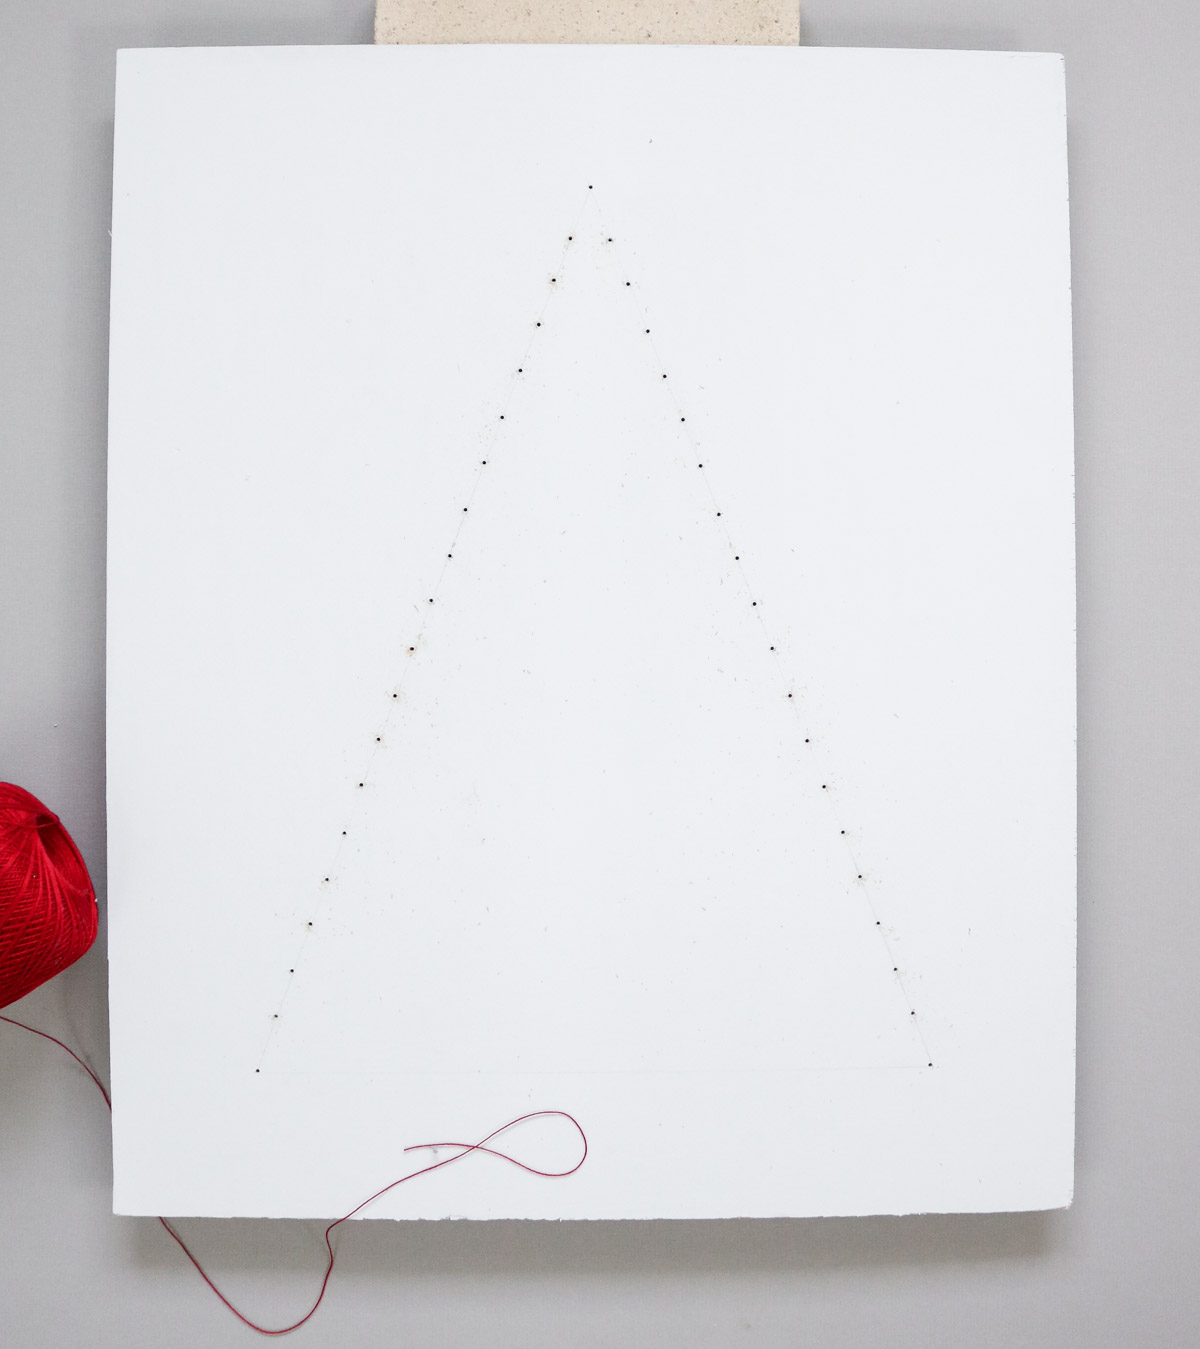
Here’s what the tree looks like once all the holes were drilled. To remove all my pencil markings I used an eraser. No need to paint over it again the eraser removes most of the pencil marks and once you attach photos you don’t see it at all.
Threading The Christmas Tree
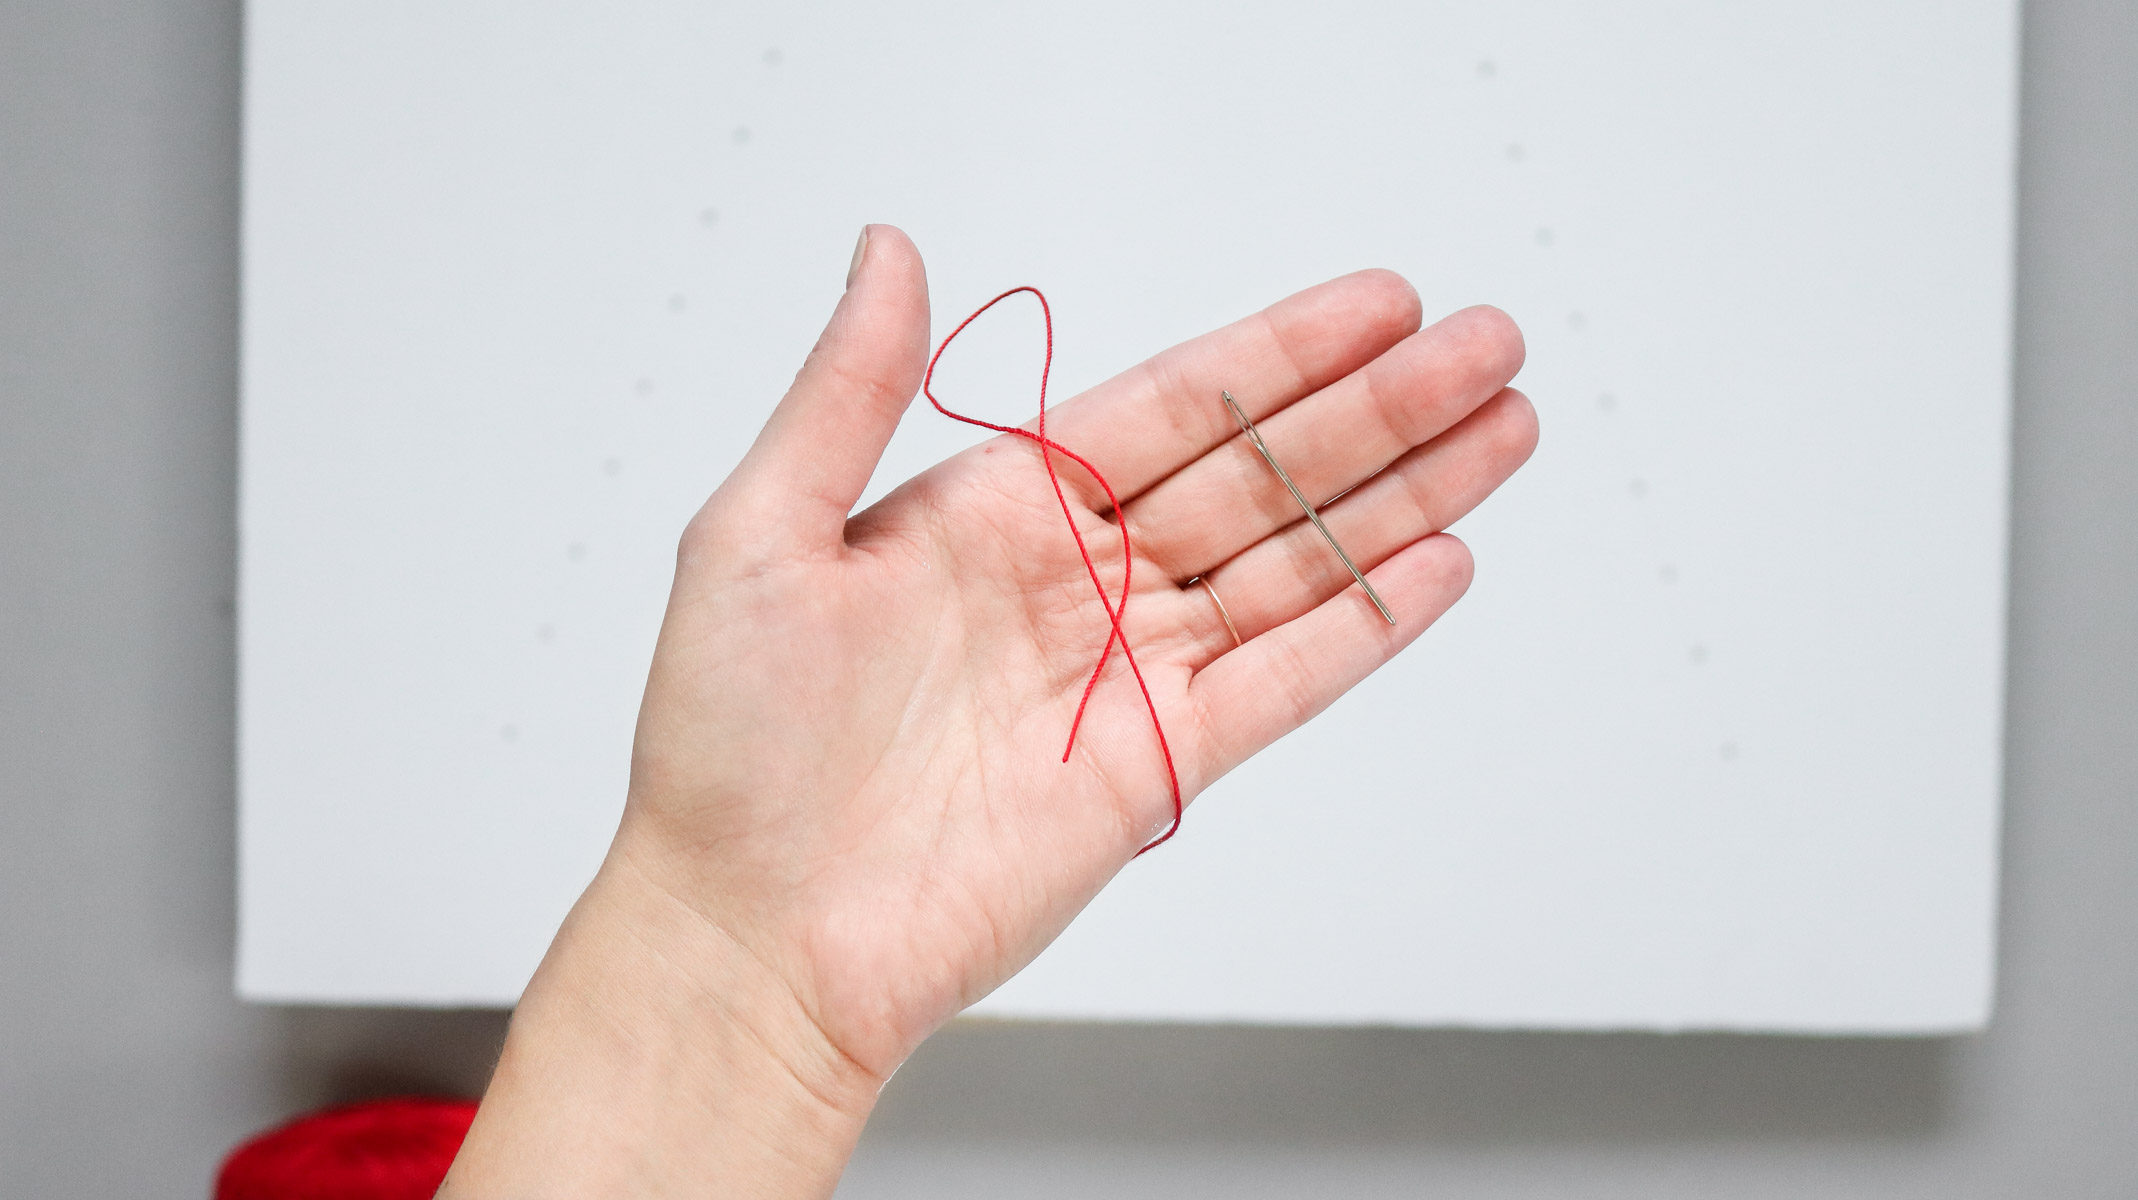
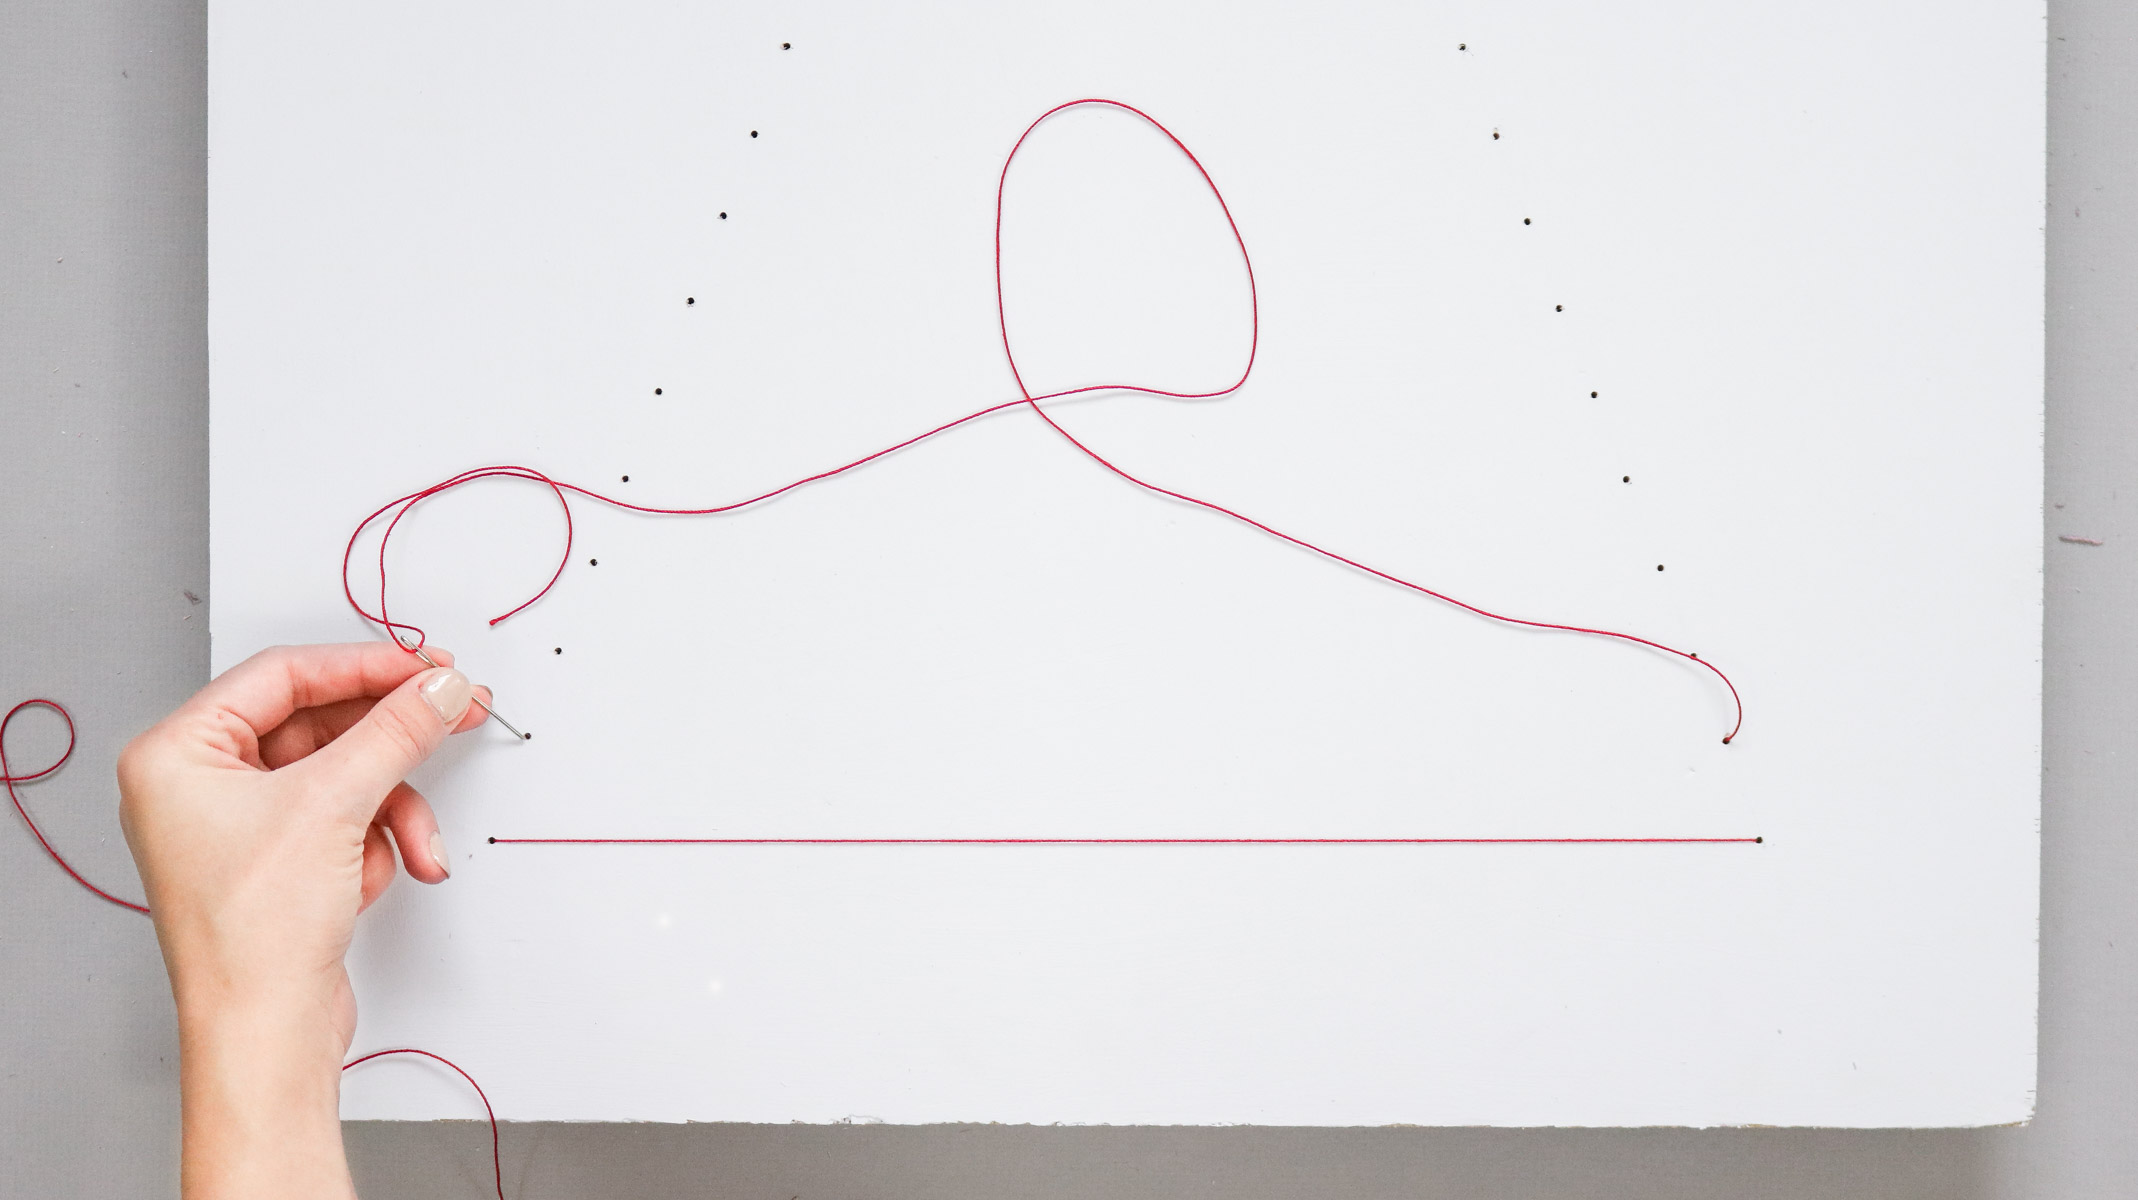
Okay this is the hardest part of the project. Because the holes I drilled were so small I had to feed my thread through with a needle. As mentioned before you can also use a bobby pin if you make your holes big enough. Having to thread the needle each time kind of takes a long time.
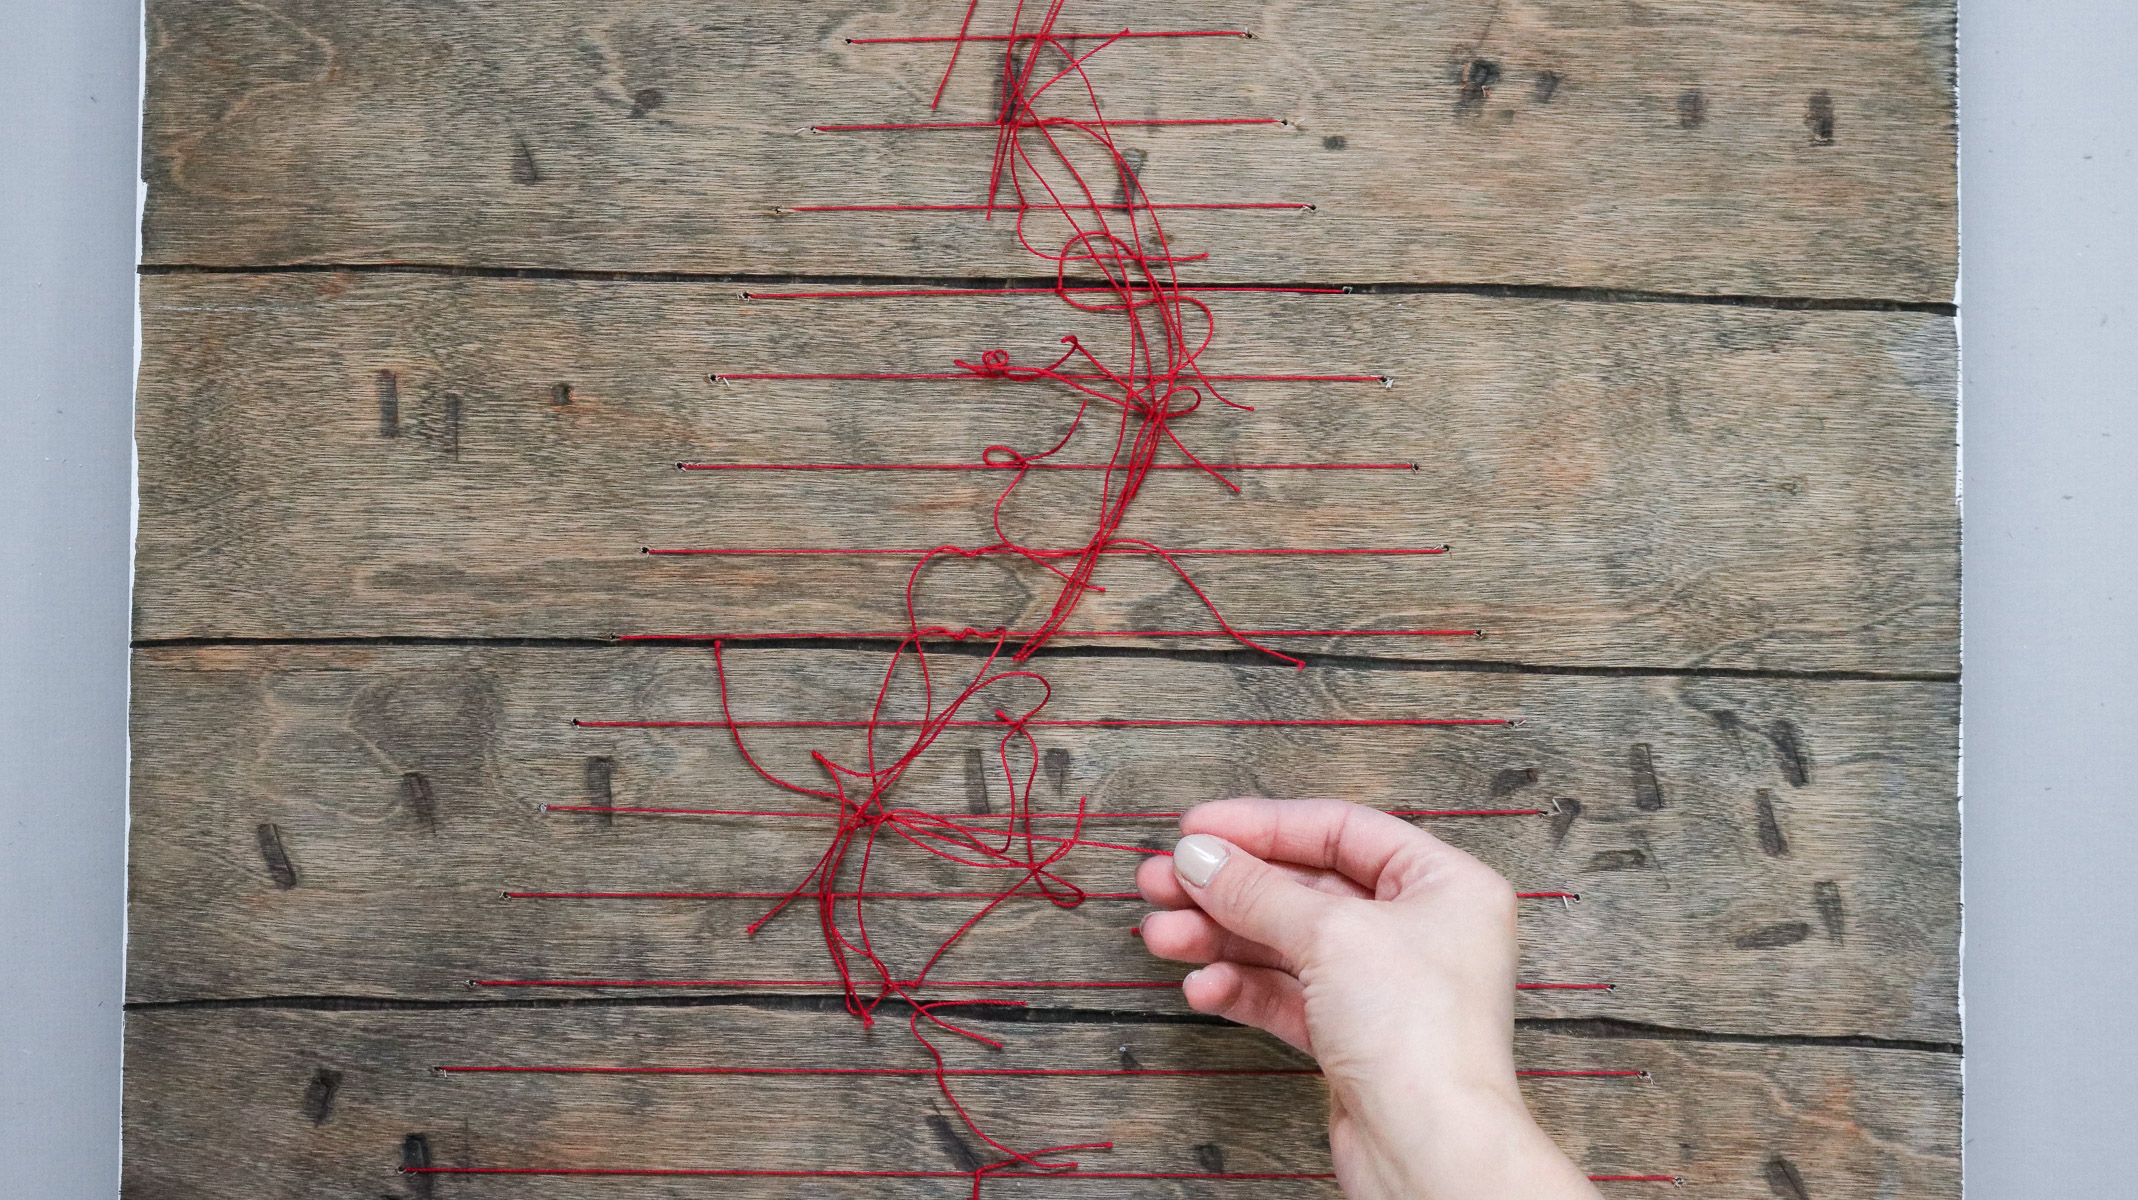
To secure the thread I just tied them in the back. Make sure you get it as tight as possible. Then cut off any loose ends and that’s it!
Adding Photos!
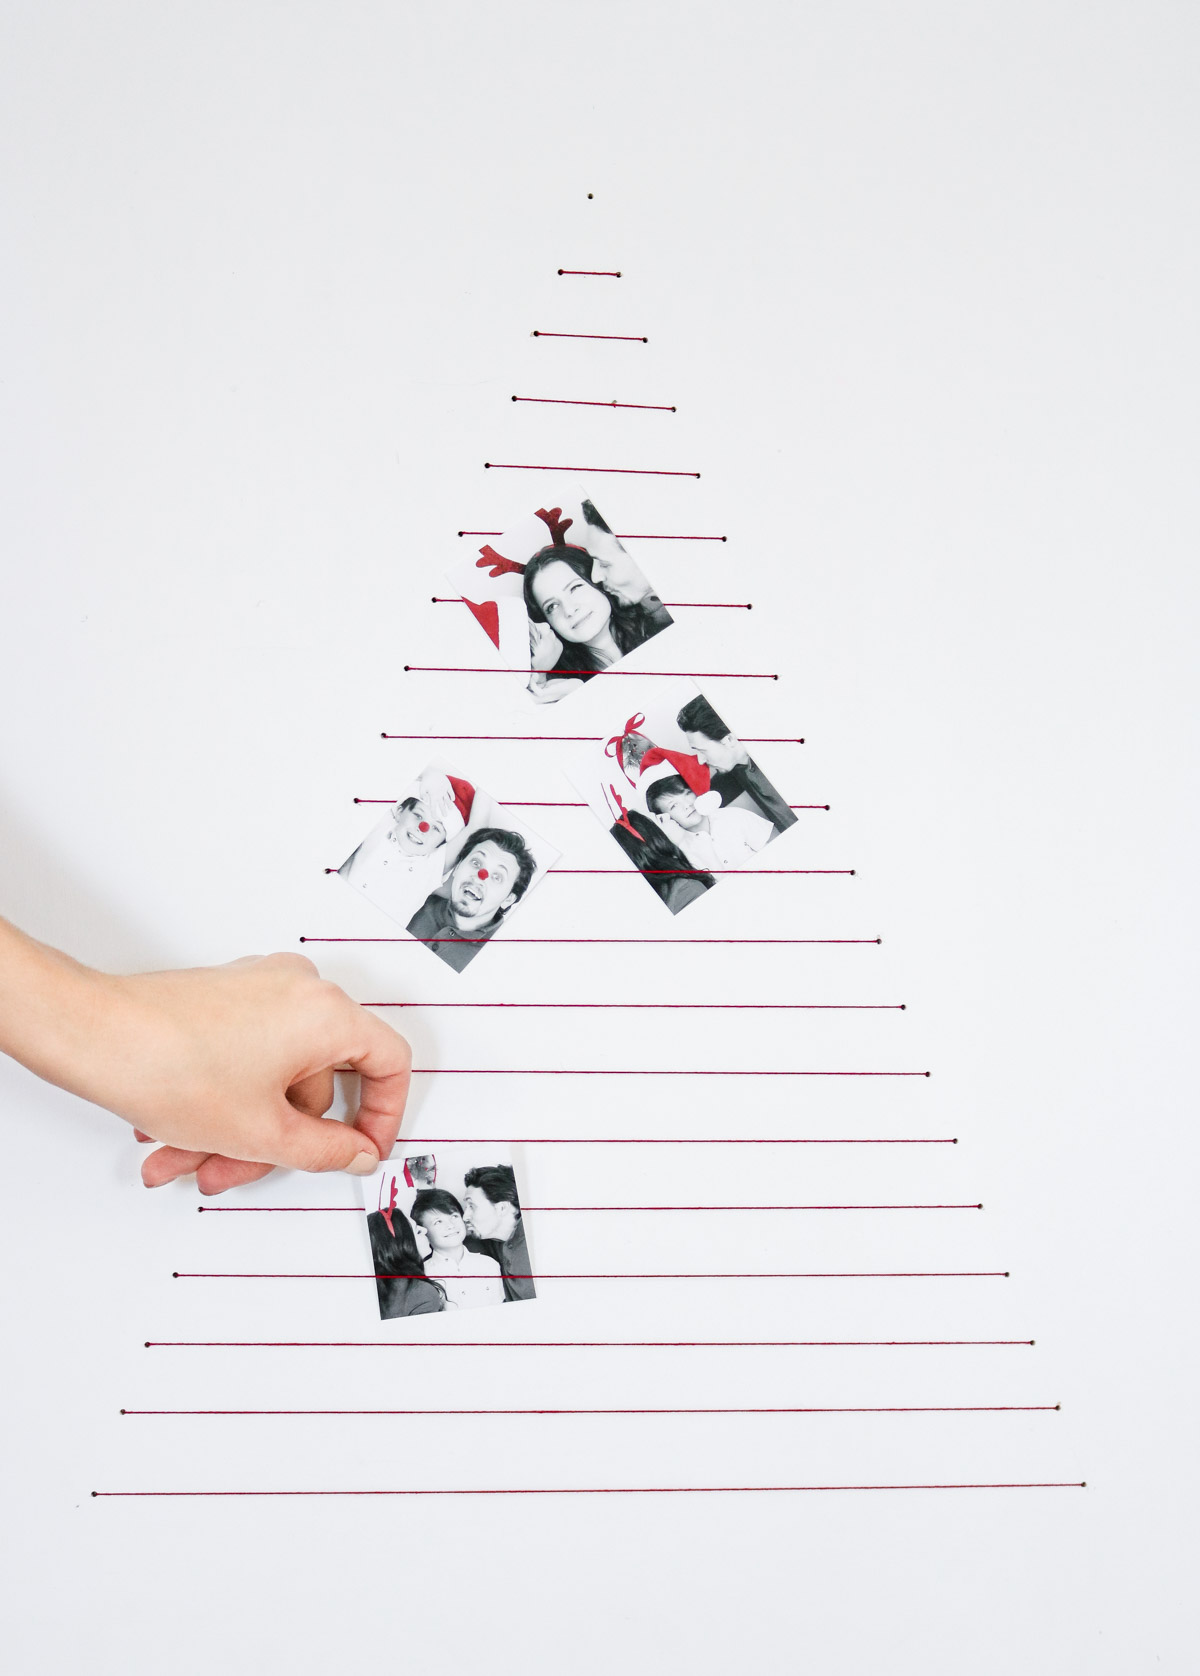
You can leave the thread on the tree without photos or slip in some photos under the yarn. If your photos keep slipping out use some double tape to attach them to the board. I also made sure to cut my wallet prints all different sizes as long as they were somewhat squares it filled out the shape of the tree really well.
I noticed my photos kept slipping after adding some greenery under the yarn. The double tape worked perfect to secure them.
Quick Video
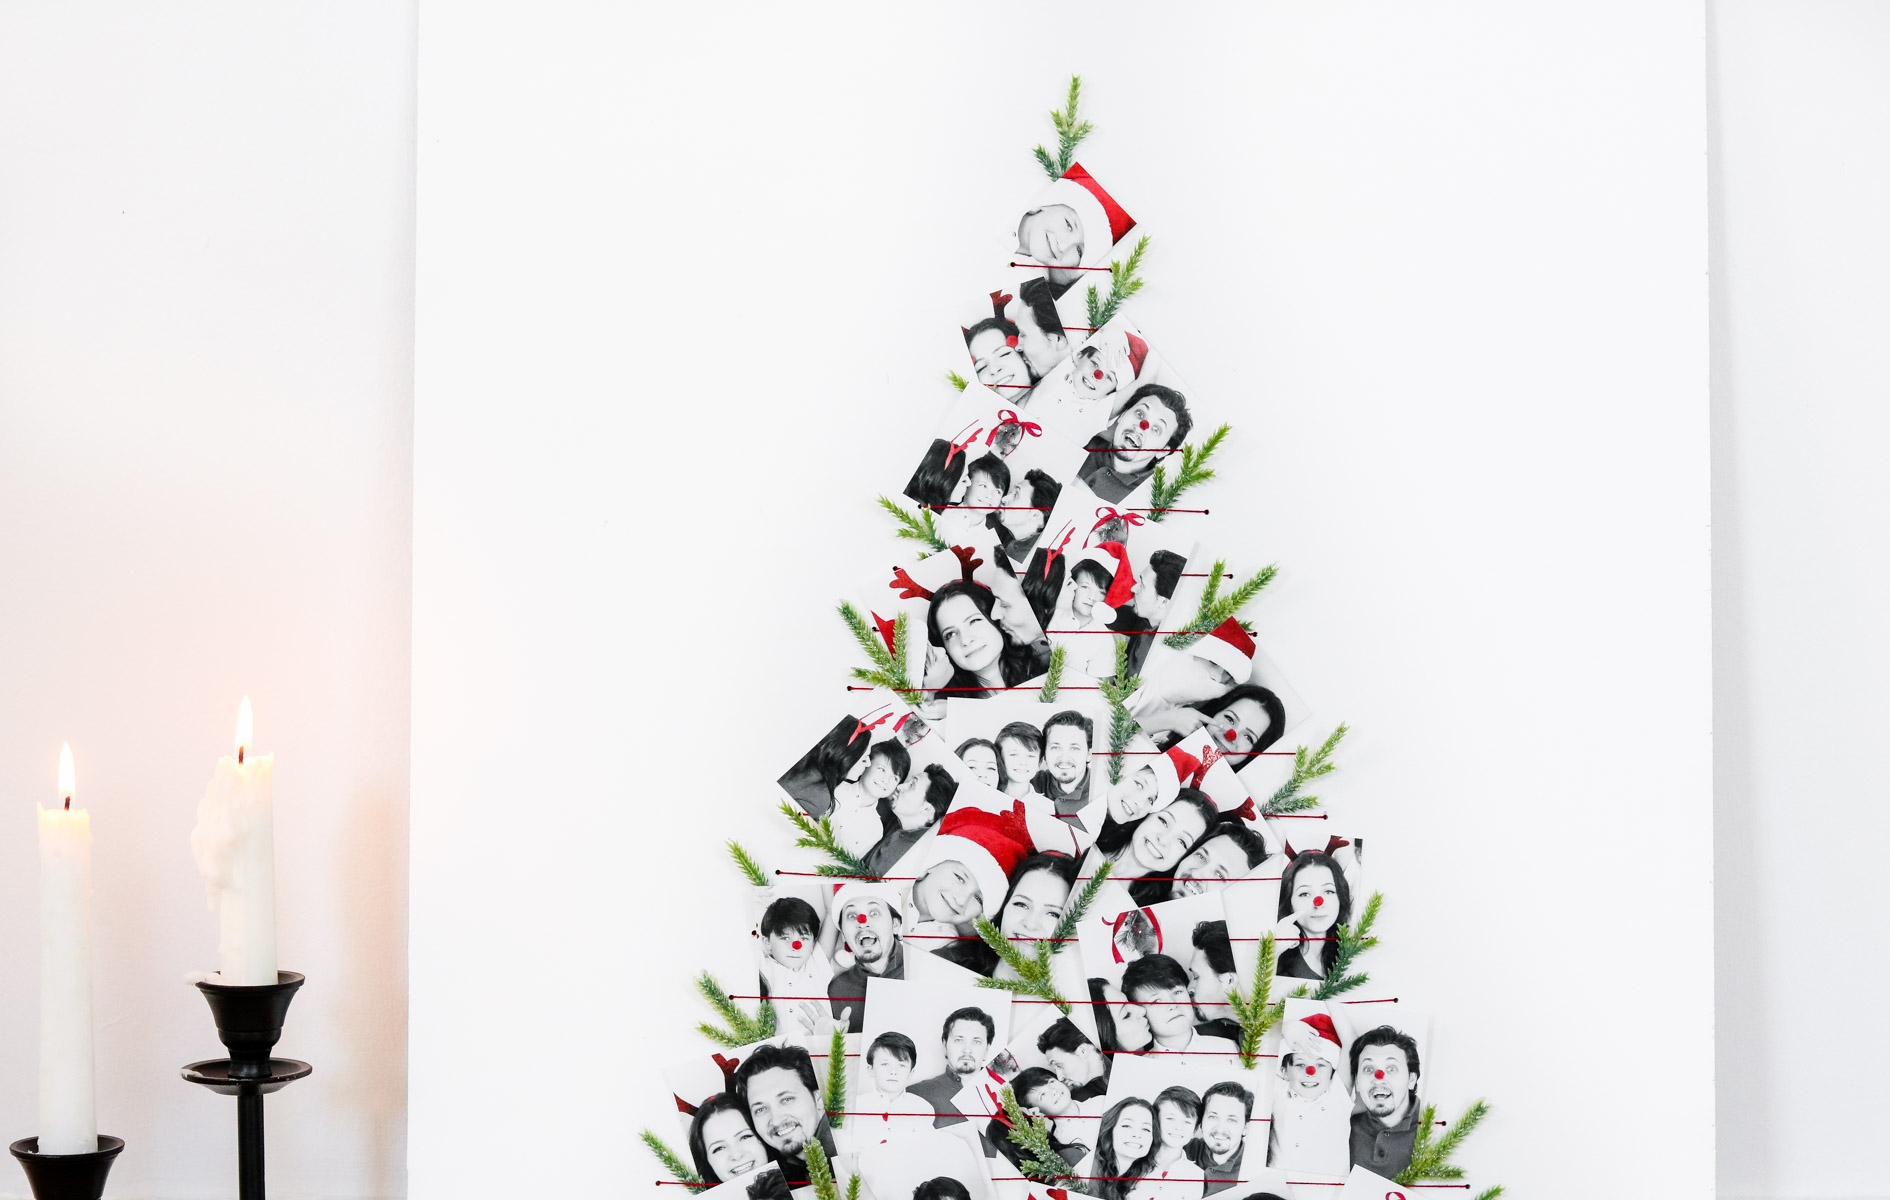
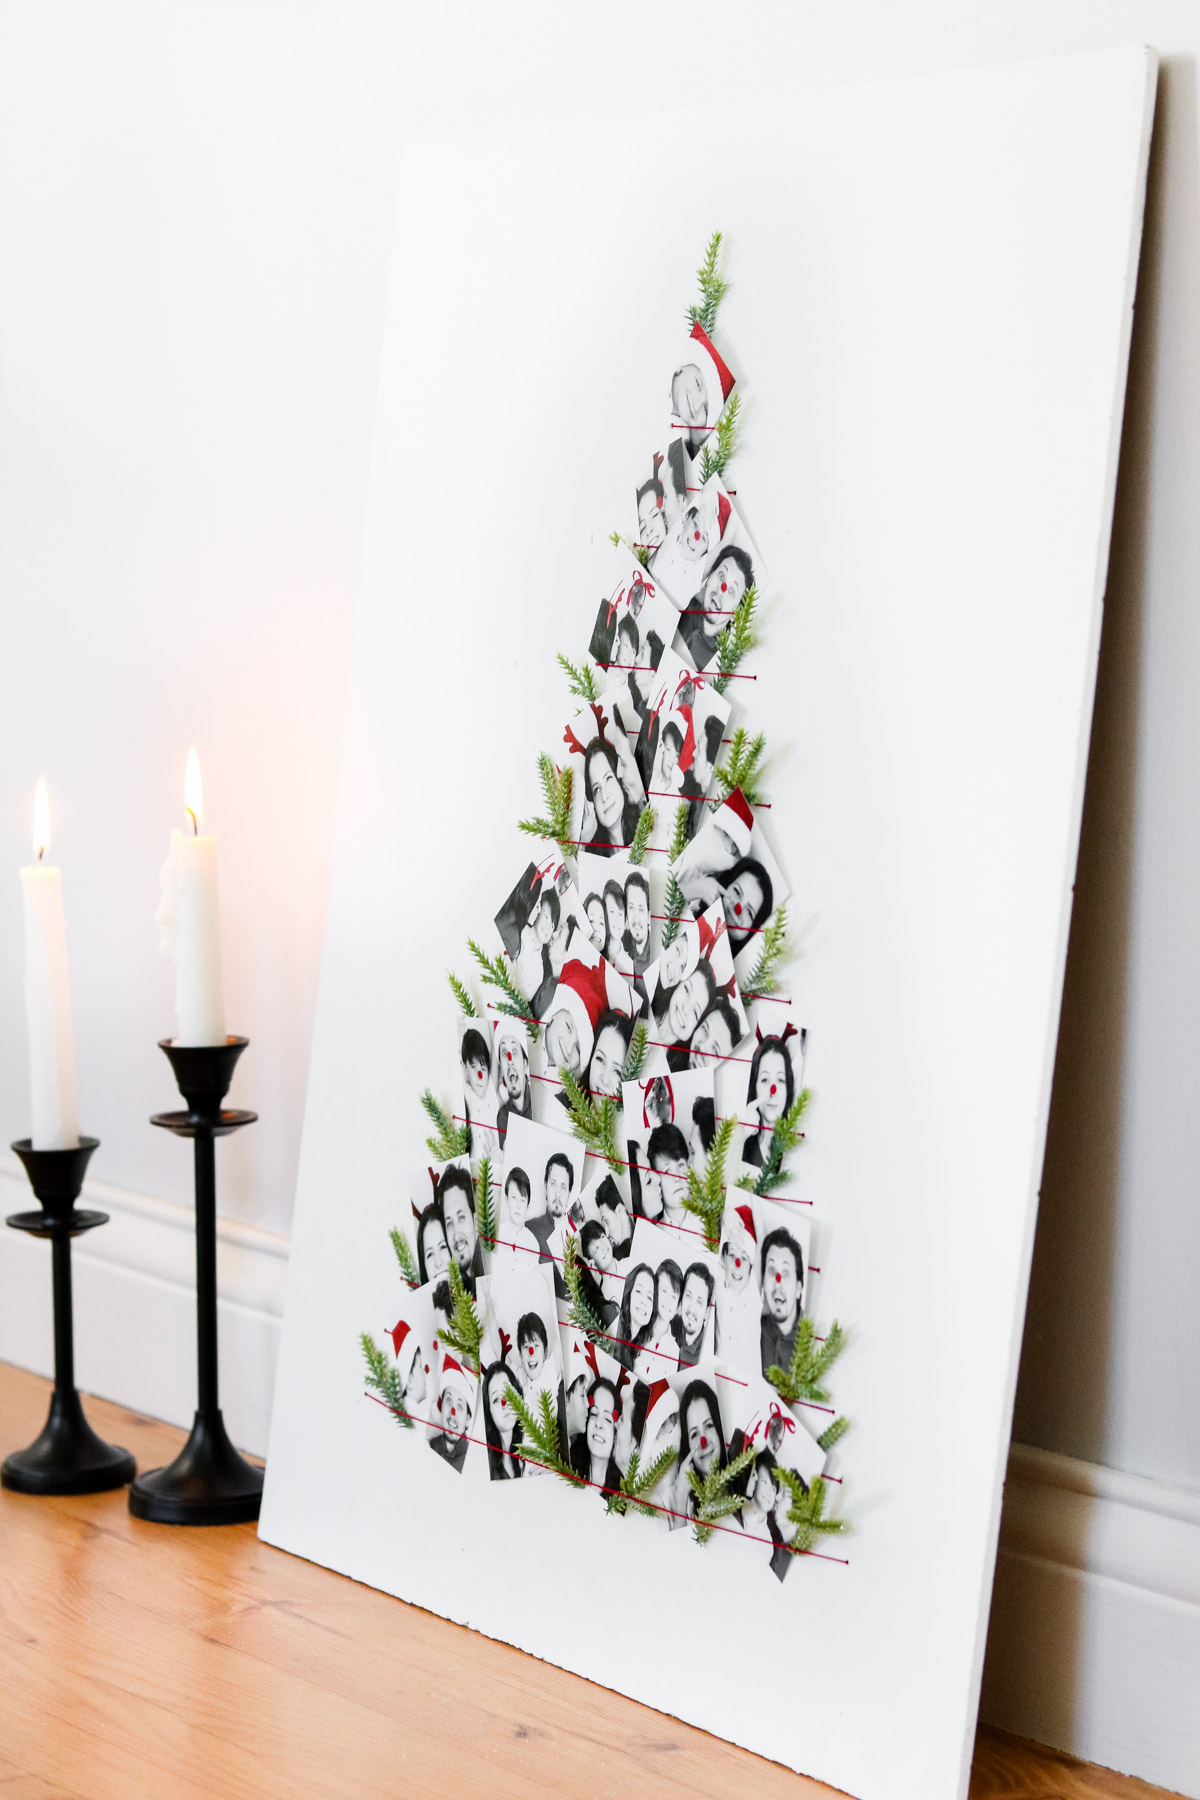
Okay here’s how it looks!! I know I say this about all my crafts but, seriously I’M IN LOVE 😍😬 This one’s got me feelin all Christmasy!
LOL😅 It probably looks like we planned these photos just for this Christmas tree but, we didn’t! They were taken last year by our trusted tripod😬 for Christmas cards. Yep we set a timer on the camera and goofed off for Christmas cards🙈! Have you ever used a tripod for family photos? They ended up working perfect for this project! I LOVE the pops of red!
I’ll be honest this project felt like a fail at one point! I couldn’t figure out what was wrong with it until my friend pointed out it needed some greenery! I love the touch of green! And thanks to my friend. She the best food blogger @ www.munchkintimeblog.com .
It just looks so cute!! From every angle! I’m wondering how a huge one would look on the wall instead! Let me know if you try it! 😀 😀
If you’re looking for another Christmas tree alternative , I made these a few years back. A Christmas tree from pallets https://www.lilyardor.com/light-up-christmas-tree/ . And a Christmas tree from dowels https://www.lilyardor.com/space-saving-christmas-tree/ .
That’s it!! It’s a super easy DIY and I can’t wait for Christmas NOW! I hope this inspired you to make your own Christmas tree alternative 🙂 . Oh by the way almost forget. If you’re wondering where I got my photos printed. I got them printed at costco! Love the quality of there photos. I’ll see you all next time! bye 😍






Love this. Hoping my husband will help me make this. Thanks for sharing.