Coming into focus..
Oh my gosh where do I begin. This has been such a long process. I knew from the start it wouldn’t be an easy project but I thought I’d give it a shot. I bet anyone I explained it too probably thought I was crazy until I showed them the finished product. 😀 So… what got me inspired to do a piece of artwork like this were these vintage bowls I eyeballed a couple months ago. Not knowing they were bowls I already had planned out to do a gold leafed eggshell art piece.. It wasn’t until later that I found out those weren’t eggshells .. LOL. I’m glad it was a misunderstanding. hehe.
I knew I wanted a fairly big piece of art. I have a huge empty wall in my living room that drives me nuts. My living room is fairly long and when that wall is empty it makes my house look like a long big hallway. So since my style has shifted drastically I knew that my old decor had to go, but when I removed all my old decor.. once again that mysterious long hallway appeared.
Canvas Battle..
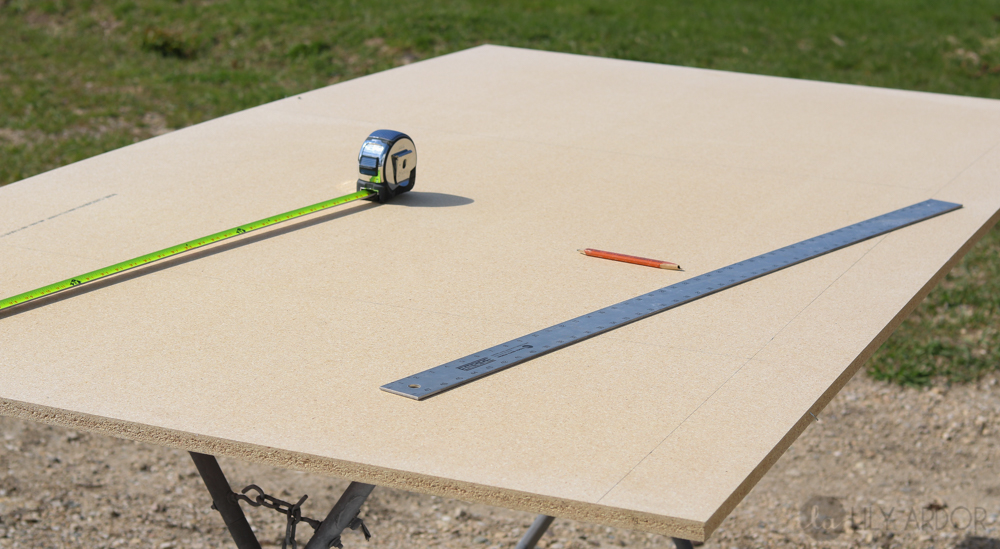
Let’s just start off with this… Canvas’s aren’t exactly budget friendly. My hunt for the perfect size canvas that fit my budget completely failed. So I ventured out zooming through the home depot aisles only to find out that they sell particle board for $17 a sheet. ” LIGHT BULB” Perfect that was my answer. I got myself one of those baby’s with some extra wood to frame it with. Before I started any cutting I measured to make sure what size I wanted my art.. That was when I decided I wanted a two piece abstract.
What you’ll need
There is a lot of things that are optional and I apologize in advance if I missed something. It’s alota stuff.
-
- Particle baord
- measuring tape
- ruler
- pencil
- plaster of paris
- wood trim (for frame)
- Interior paint (satin finish)
- Egg shells
- Gold leaf and gilding adhesive
- nails
- screws
Before I jump into the tutorial I want to point of that this huge art piece cost me under $60. Each canvas measures 43″ by 37″. I purchased most of my supplies from the homedepot and local hardware store. I purchased my Gold leaf on amazon and got a super good deal on it. Keep in mind $60 is with some of the supplies already in hand. (I’ve attached an affiliate link down below of the gold leaf I purchased.)
BIG MISTAKE #1
I’m glad I get to make the mistakes so you don’t have to. My biggest regret is that I used particle board that was too thick. When I made my run to the home depot the gentlemen mentioned this stuff is prone to breaking easily…The only thing he didn’t mention was.. THEY ARE STINKIN HEAVY, and I mean HEAVY. Let’s just say that by the time I was done with this project from all the lifting I’ve acquired a new set of abs. 😀 Awesome right… Here’s the downside.. I’m pretty sure my wall is feeling it too and pretty soon there might be holes unless walls get abs too. hehe So go with something thinner. There’s almost no way you can break this thing unless you literally take a hammer to it or throw it around. My particle board was 3/4″ thickness.

Home depot Secret..
This might not be a secret to most, but if your like me and don’t know most things 😀 Home depot will actually cut your boards to the size you need. I don’t know if it’s only my home depot that does this but, I’ve had this done multiple times. I decided to have my awesome hubby cut mine since he was super friendly and offered…wink.wink. As you can see this project was so awesome our friendly neighbor joined in to help. Aren’t my handymen awesome!!?. 😀 😀 😀
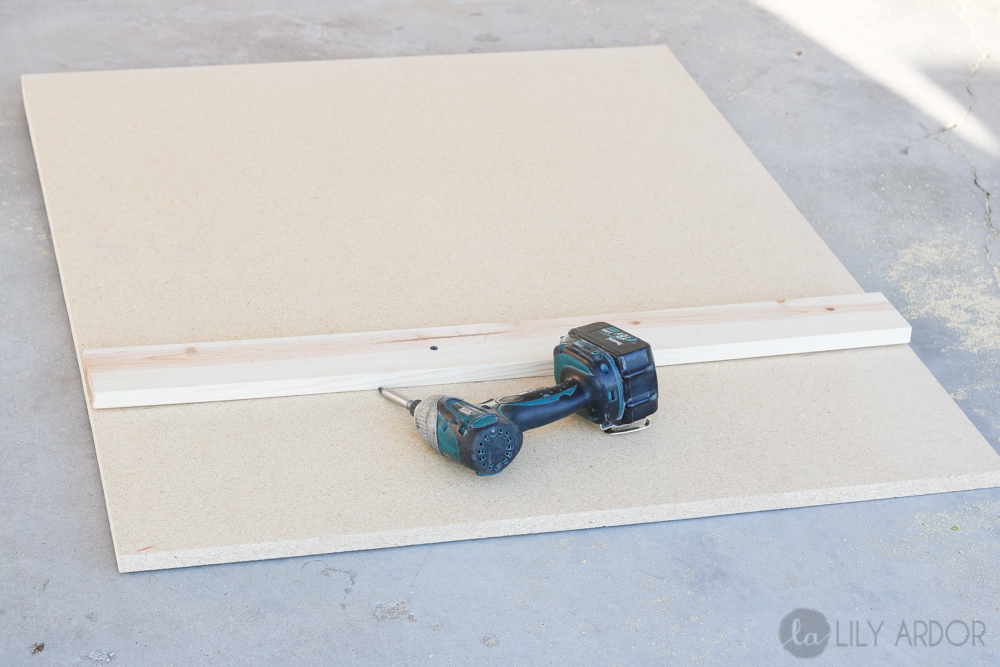
Keep those baby’s secure..
I knew I needed to have a strong support system in the back. I couldn’t just screw screws right into the particle board. Not with each one weighing around 40 pounds. So I used a 1 x 4 for the backside and 6 screws to secure it. That did the job. 😀
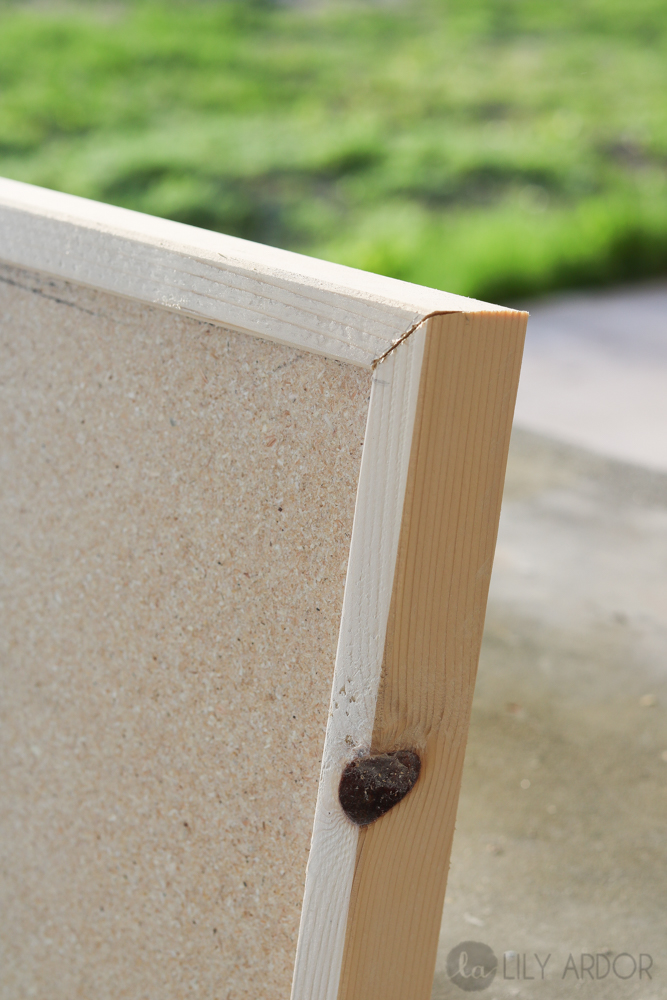
I am no pro when it comes to 45 degree angles, but I have to say this wasn’t that hard.. just very tedious. I fixed that big chunk of wood missing wood in the frame with some plaster of paris. 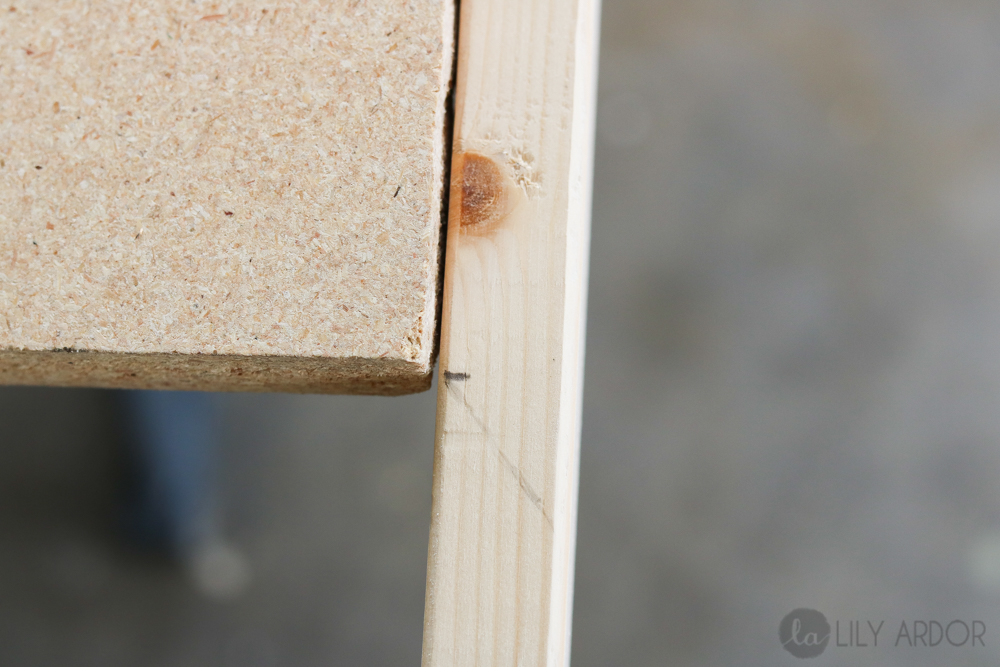
MINI TIP
For those of you who are new to this. Before cutting your 45 degree angles mark lightly with a pencil which direction it should approximately be cut at. Nothing fancy this is to keep the confusion away. It definitely helped me from getting confused and cutting in the wrong direction.. 😀 Or maybe it’s just me because I’m always overthinking things. 😀
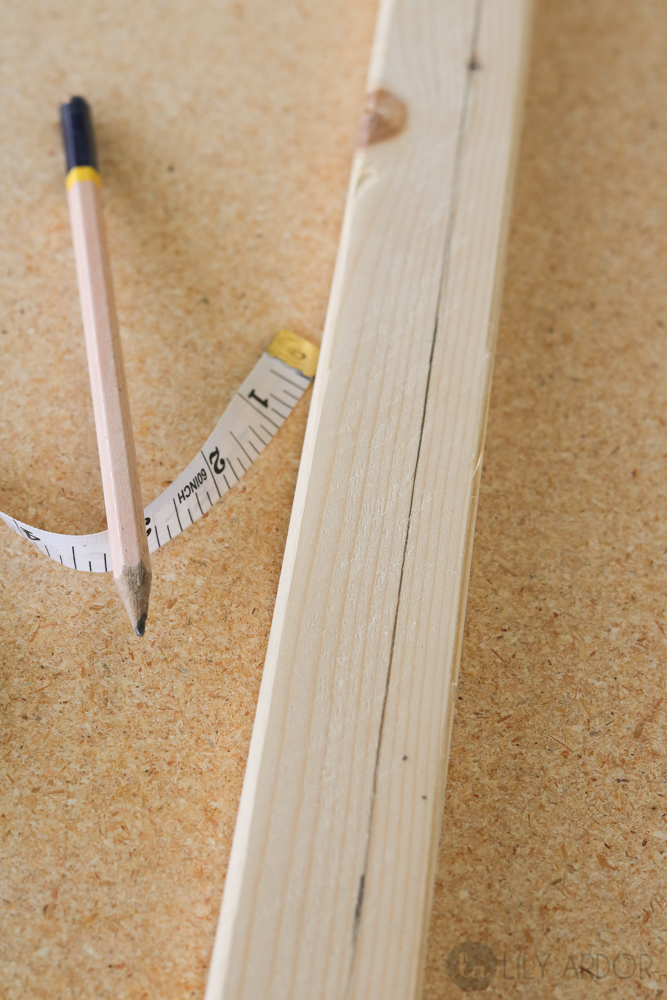
Once my frame was set and ready to go. I measured and marked how far out I wanted the frame to stick out.

I then used the MIGHTY Gorilla Glue to attach it to the Canvas (particle board)

Yep I used straps to hold them still while I did the same thing with the other two sides. Keep in mind don’t start nailing in any nails until you have all 4 sides strapped down to see if everything is even. (tip:I also used the straps when I was cutting the frame to size)
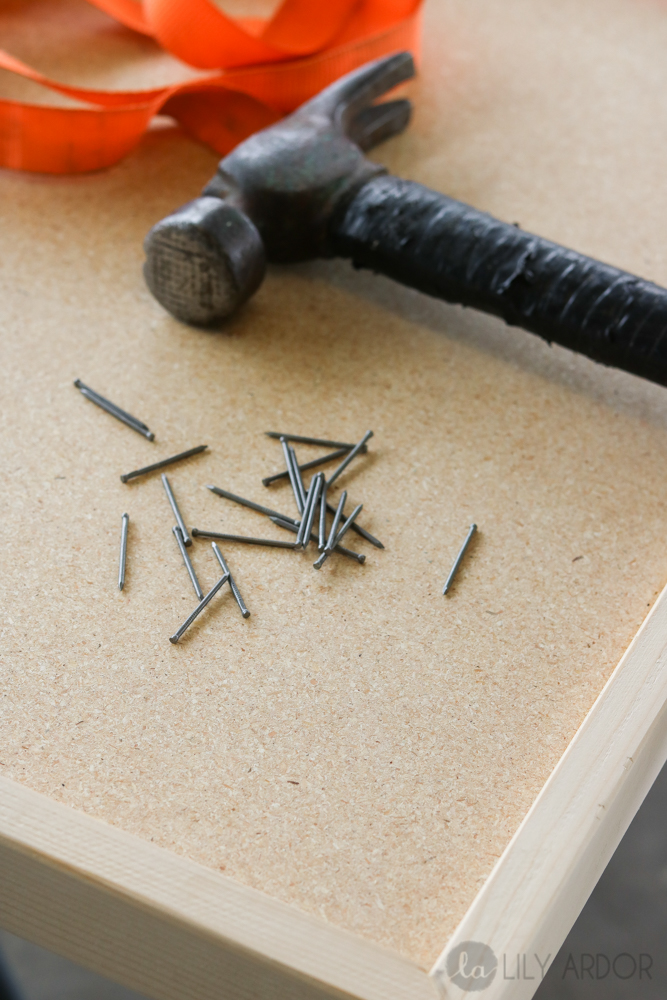
These are the nails I went with. Make sure they don’t heave big heads 😀 .. The less visibility the better.
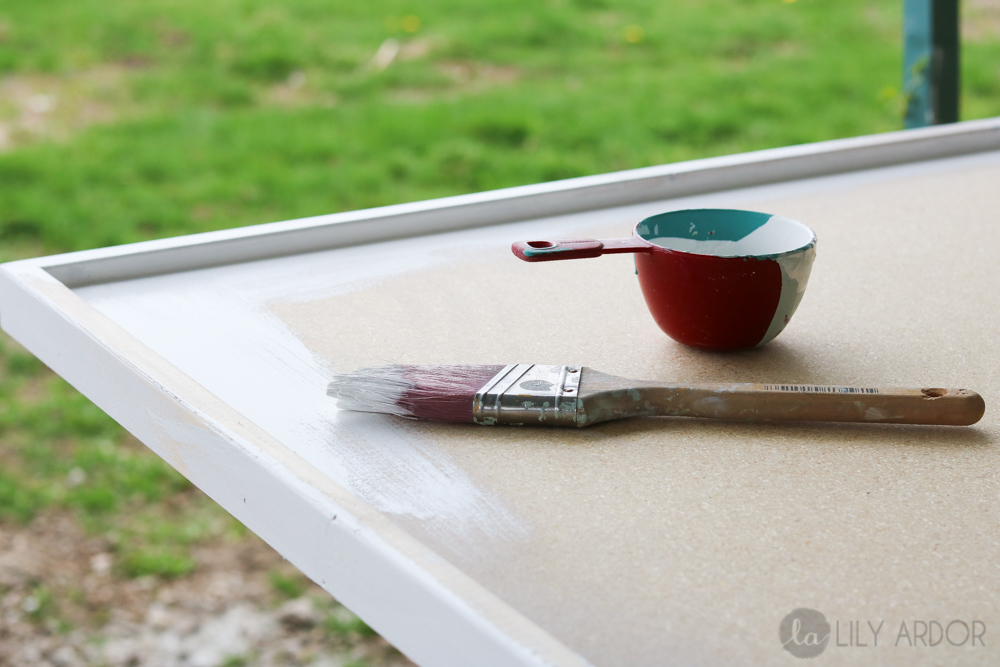
And the DREADFULL process begins…
Oh my gosh I can’t say enough about good paint… PLEASE PLEASE PLEASE get good paint if you’ll be doing this project. I ended up wasting one whole day and 4 coats of paint just for this process. I always use the Olympic brand from Lowe’s but, for some weird reason someone told me to try Behir from Homedepot. The darker colors I purchased were okay, but the white color..Oh boy lets just say it was so bad I called in to get a return and instead got another free gallon.. 😀 should’ve went for the return. Ehhh. regrets..regrets. Lesson learned. (oh and that pretty worn out little brush is the awesome ” PURDY” brand brush..That is my favorite for all my projects)
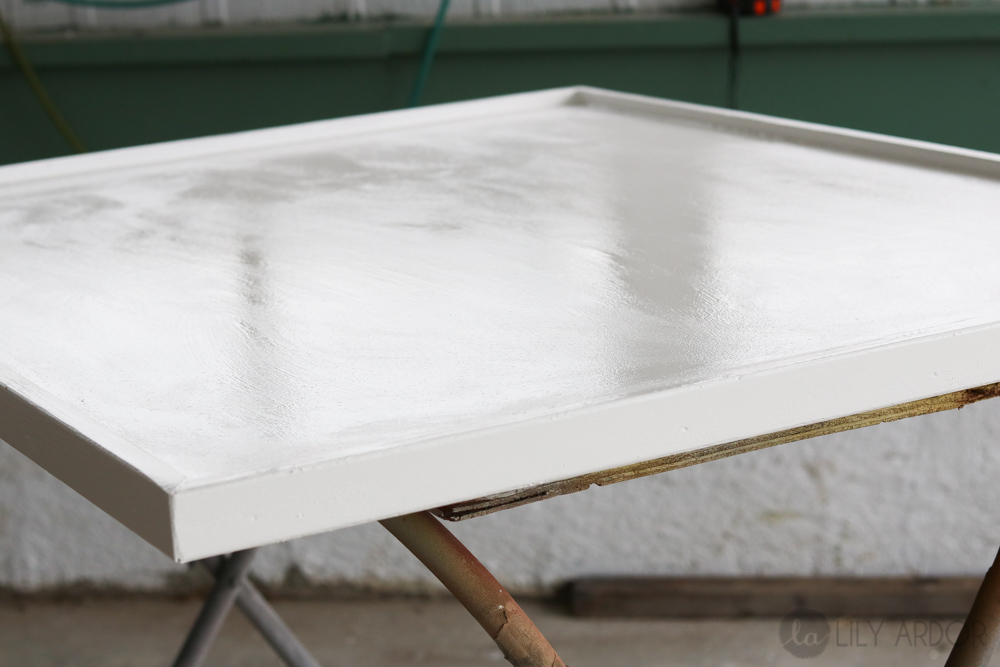
Oh and if your wondering. I used Satin Finish Paint. As you can see I wasn’t trying to be perfect with my brush strokes the messier the better. It’s art not rocket science. 😀 At least that’s what I tell myself to keep my OCD at bay.. 😀 (here’s an affiliate link for the gold leaf I purchased…. 100 sheets for $6 bucks..can’t beat that )
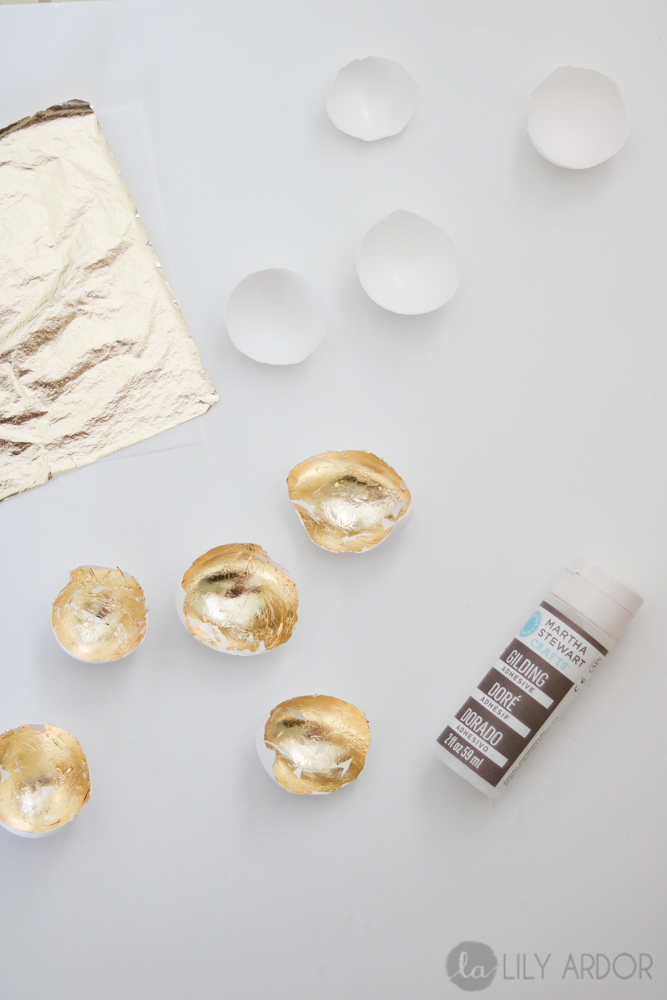
I love the reflection these eggs give off. My next step was separating the bigger eggs from the smaller ones. Which in the end was totally pointless but like I’ve said before I usually totally overthink things.
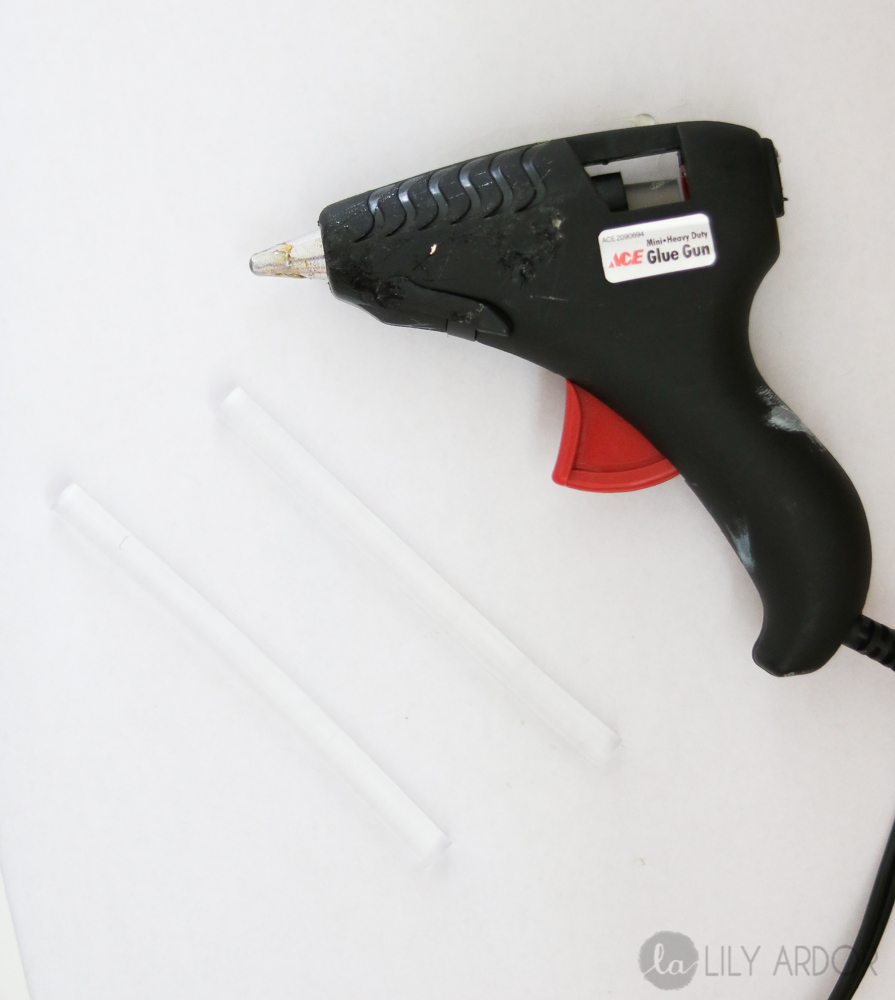
My mini glue gun helped get the job done.
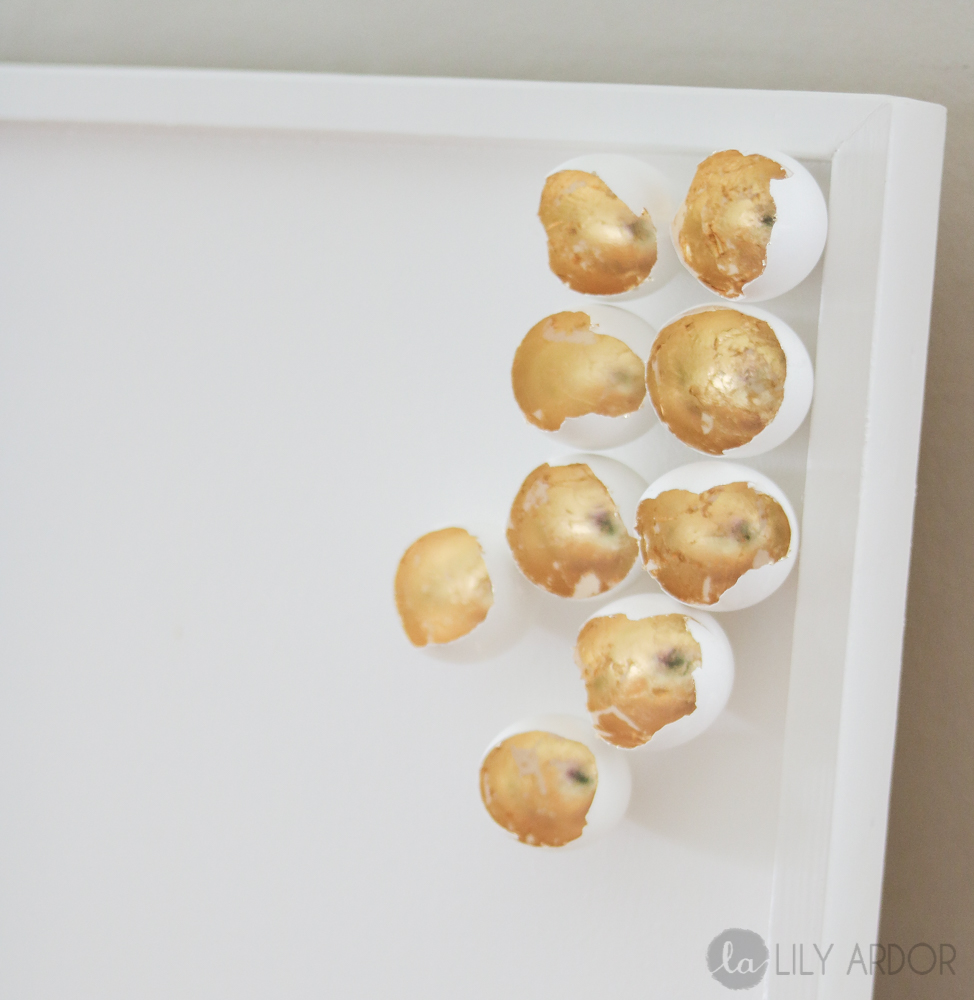
Mistake #2
So I started off by gluing them onto the canvas in a uniform fashion. What I mean by that is very evenly in rows… Big NO NO. If your aiming for your art piece to look like a honeycomb then go right ahead.. But what I had envisioned was an abstract piece.. A MESSY ONE . hehe 😀 So start from one corner LEAVING spaces in between.
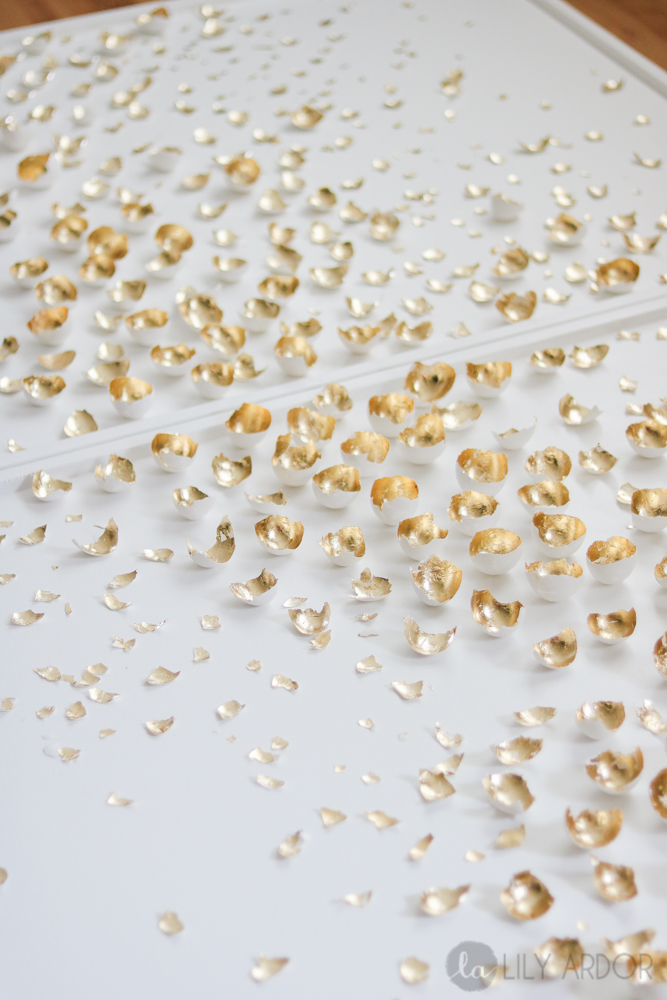
If you look close at the previous picture YES I had the canvas standing up, but then I decided to lay it down flat for the splatter effect I wanted to achieve. I lay all my eggshells out and snapped a pic to show to my hubby. It took three tries before my better-half okayed it, but it was totally worth all the effort because when it comes to things like this I’m way to indecisive.
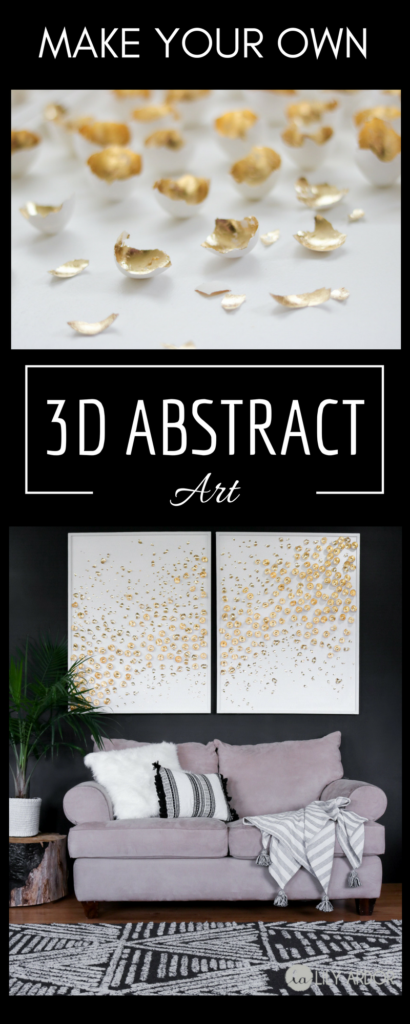
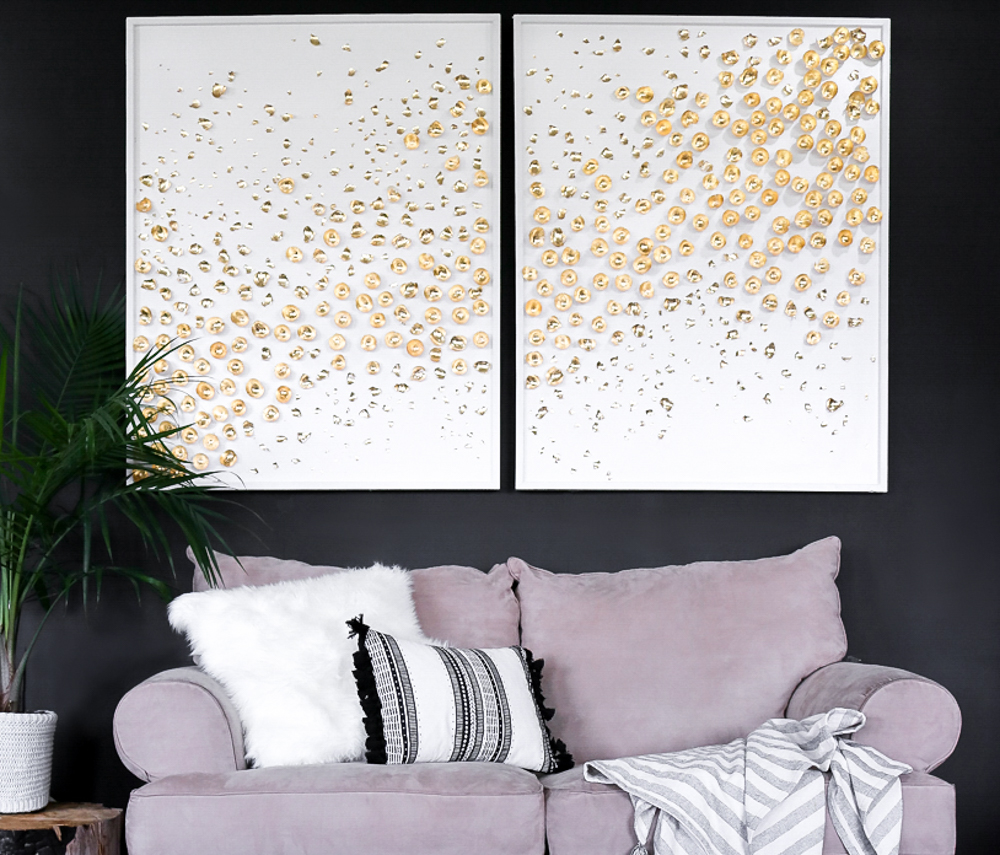
Are you ready for the finished product… Drum roll !!!! Oh wait.. lol Never mind I spoiled it with the featured image. 😀

There she is 😀 My gold goddess has the whole room glowing. If you make one of these don’t forget to watch it at sunset. It literally glows. 😀
Is it a hard project?!!.. YES.. Was it worth it? TOTALLY.. I can’t get enough.

LOOKS ESpeNsIVe!! 😀

Oh yeh. Don’t you love my crazy plant stand :D. I love that it evens out the masculinity and femininity in the room. 😀 Whatever that means:D hehe.

My newest plant is this beautiful palm. We aren’t new to plants but, my husband’s first reaction was “hawaii” lol Anyone else get those vibes.. ?

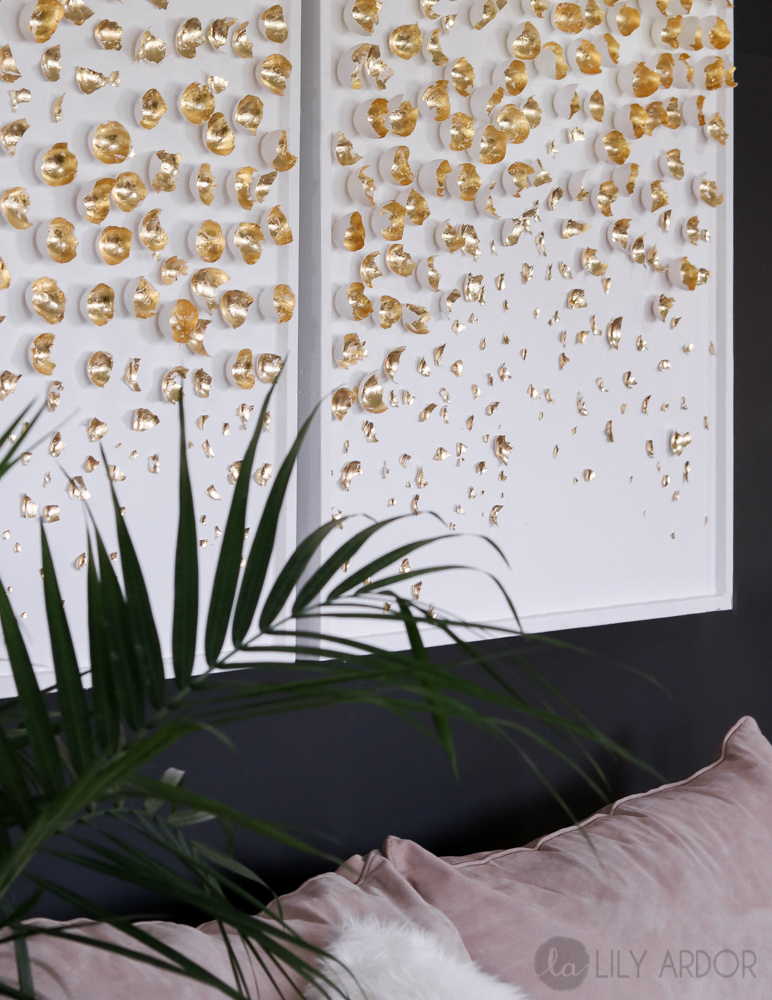

and if you haven’t had enough… 😀 here’s one more.

Let me know what you think? I would love to hear some feedback on this gold beauty 😀 !!
Don’t forget to tag me on Instagram if you decide to make one of your own 😀 Let’s start a new trend 3D art 😀 yes or no?
And last but not least.. Here’s a cute pinnable to pin to your favorite board .
HI LILY
YOUR DISPLAY OF ALL OF YOUR HARD WORK TURNED OUT
BEAUTIFULLY. I DO LIKE THE BLACK BACKGROUND BETTER.
I HOPE EVERYONE THAT CHECKS IN WITH YOUR DESIGNS
REALLY APPRECIATE WHAT THEY ARE LOOKING AT. YOU ARE
A VERY TALENTED PERSON WITH GREAT IDEAS.
Awe Thank you Pat. I appreciate all the kind words. Melts my heart. 😀
Wow! That is downright gorgeous! You are an artist with a great talent and imagination…thank you so much, Lily.
Thank you Cheryl.
I have to admit I REALY love this look. I think I’d use broken Christmas silver bulbs which are gold inside!!
Oh thank you I’m so glad you love it. Yes that would also be a great idea 😀 .
Thanks for sharing the best posts they very nice and very useful to us. You made a good site it’s very interesting one. I am very impressed with your site and your posts they amazing.
Thank you 😀
Did you paint the glue into eggs and then press the leaf in? Can you explain your process? Was thinking of doing it on a canvas. Do you recommend painting the canvas white, first?
I used a little brush to brush on the gilding.. it is made not to dry completely (unlike glue) I let it set for 15-30 minutes (should become tacky to the touch) and attach the leaf smoothing it out with either another clean brush or my finger. I would recommend painting the canvas just in case you get it a bit dirty eventually it will be easier to wipe off or clean if there i some kind of paint on it.
1) Same question
2) did you spray paint the eggs white, if so what color
Was that front and backside as well. Definitely make it sturdier
[email protected]
No I didn’t spraypaint the eggs. 🙂 They were white already I just added the gold leaf inside each egg 🙂 If you want them sturdier maybe a thin coat of plaster of paris would be nice. 😀 Just thought.
I am planning on making one. I painted the outer wall eggshell white. I find using gold leaf a challenge, but won’t let that stop me.
If you would of just used canvas. Would you still have to paint like you did the particale board ? I bough canvas because it was on sale at Micheal’s 50% off.
Hi Robin. If the canvas is white probably not. The only thing I’m thinking is if you were to ever get a little dirt or fingerprints on it then it would be easier to wipe it off if the surface had some sort of sheen on it. Paint or clear coat would help with that. (they sell clear coat in spray paint cans.. maybe try that) 😀
That is the most nifty thing !! It looks fabulous!
Awe thank you Mary. 😀 Glad you liked it! 😀
Hi there, I found your site via Google at the same time as looking for a similar subject, your site came up, it appears great. I have bookmarked it in my google bookmarks.
Hi, I LOVE your piece of art.
I do consider to do it myself but I had a question.
How did you get all your eggs? Were they white in the first place or you painted them? Because in my country, the eggs are brown 😂 Other question, how did you cleaned them up inside? Because there is always a sort of thin layer within the eggshell.
Thanks for your help!!!
Hi Marie, I’m so happy to hear you liked the art work. Yes all my eggs were white to start off with. You can spray paint yours white if you’d like of use different color gold leaf maybe a silver leaf would look cute with brown eggs. I simply rinsed my eggs out right after cracking and let them dry before working with them. If there’s a little bit of skin left it’s ok it won’t be that noticeable.
This is amazing. I’m trying to figure how you prevent the shells from further cracking. What did you use the plaster of Paris for?
I didn’t but that sounds like a great idea. I left mine as is and just did the gold leaf on the inside.
I see you have plaster of Paris listed on your materials. How did you use that? Beautiful work.
Thank you Gina, Oops totally forget to mention I used it to seal all the little holes and cracks in the wood before painting.
Love this artwork. well done but does it get dusty & how would you clean it?
Thank you so much Carmen. There is a few ways to dust it. You can use compressed air ( sold in cans) or get the artwork displayed in acrylic glass. I simply just used my feather duster worked great 😀