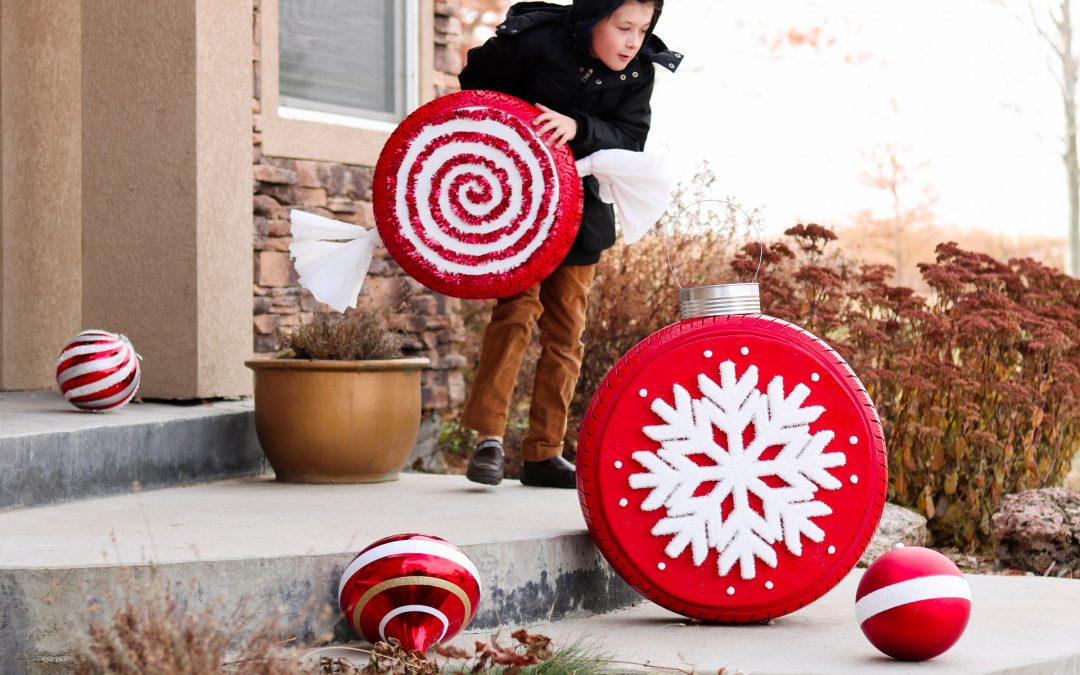
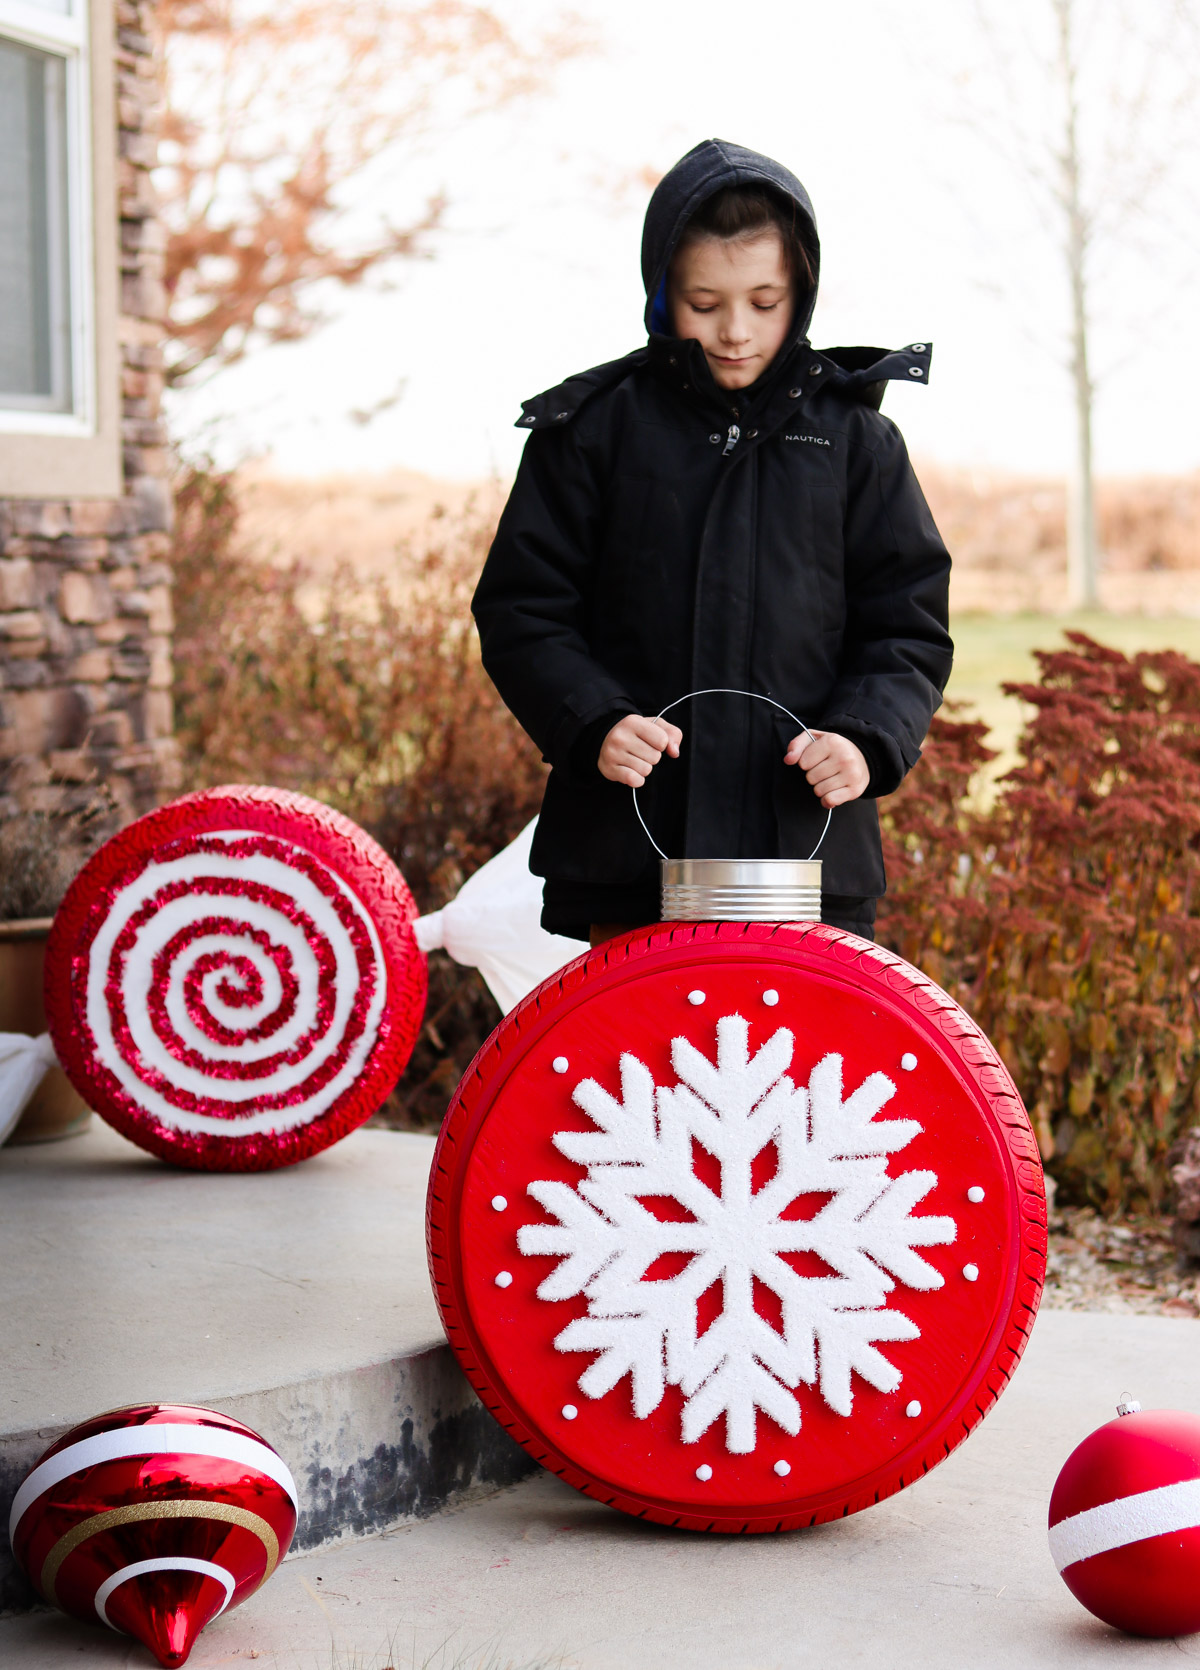
Don’t throw away your tires! Instead transform them in Christmas Tire decorations ” AKA ” giant ornaments! 😁
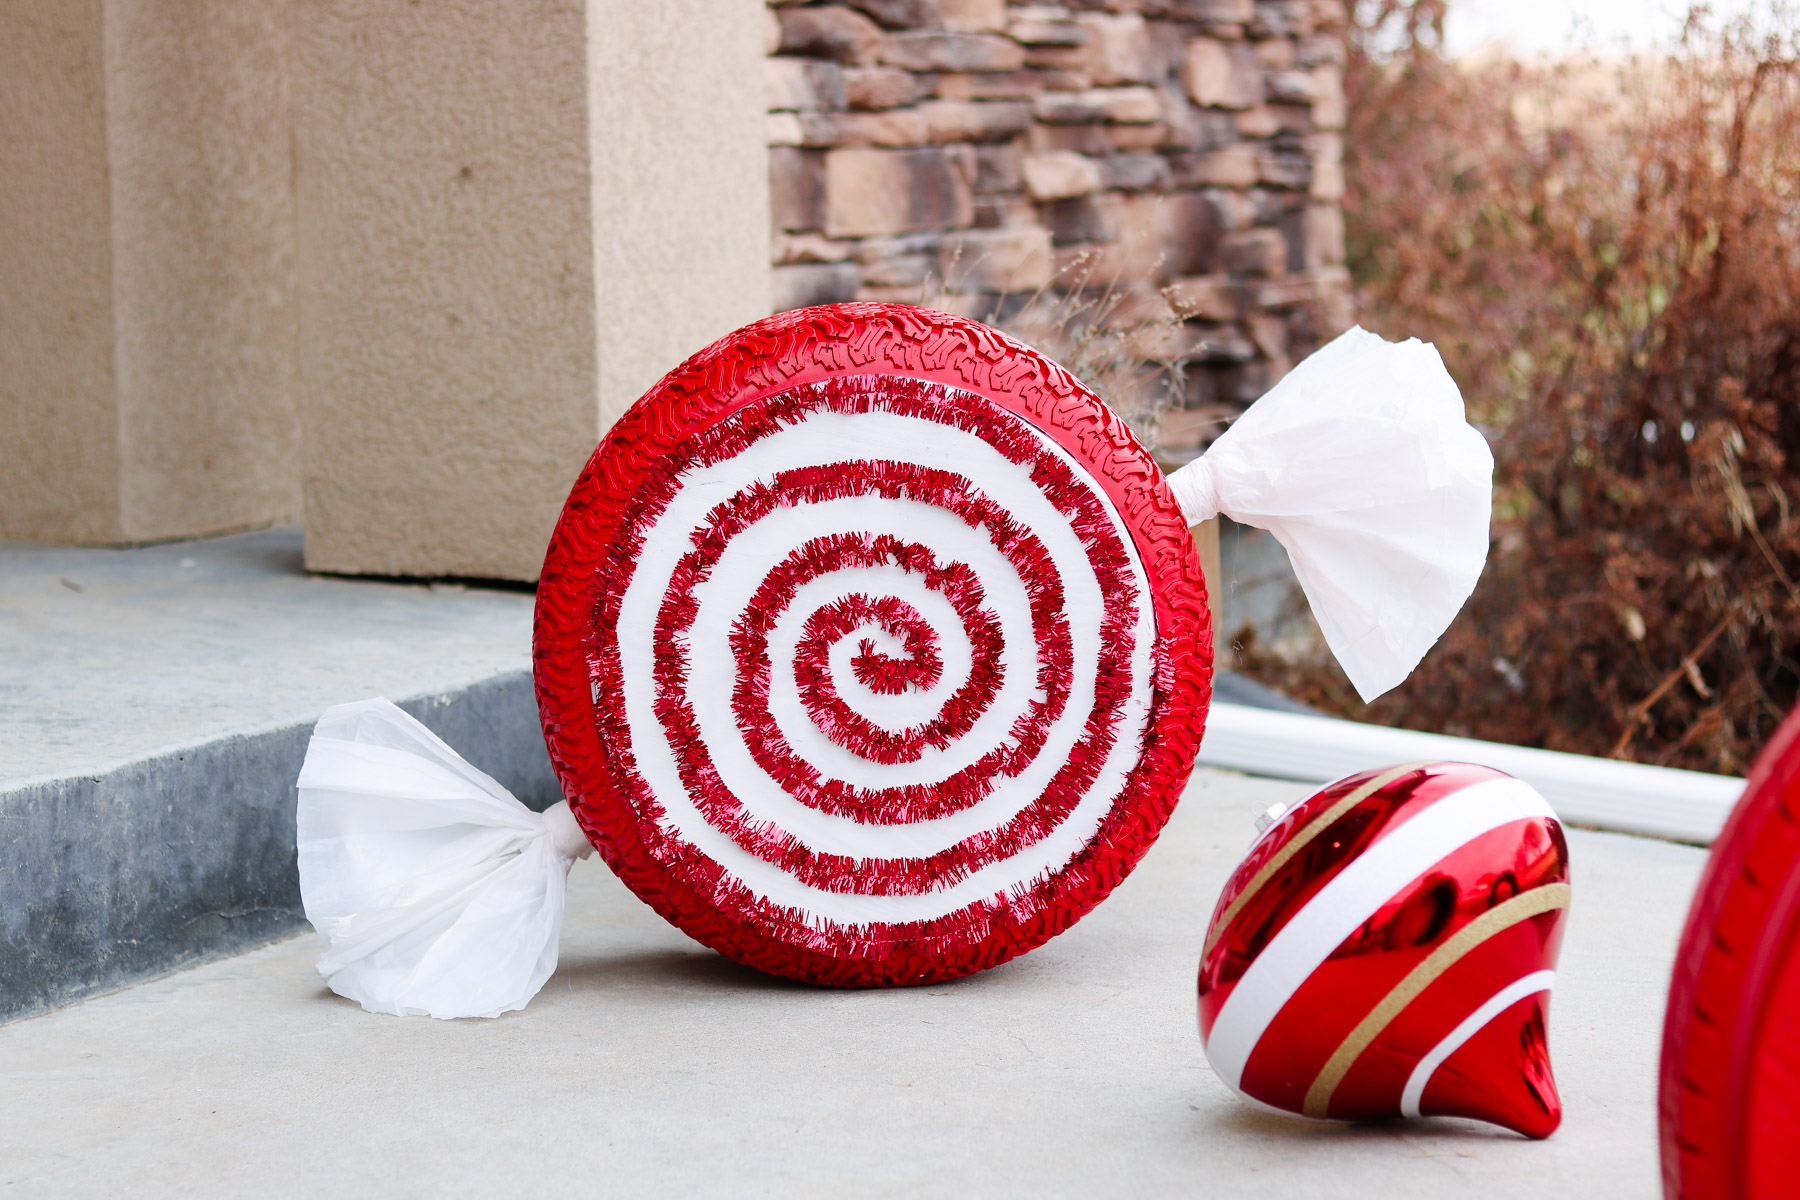
CAUTION don’t leave candy in your yard without camera supervision! We all know kids can’t keep their hands off candy🙈😂.
Would explain why Oleg is running off with it in the photo above 😂 !
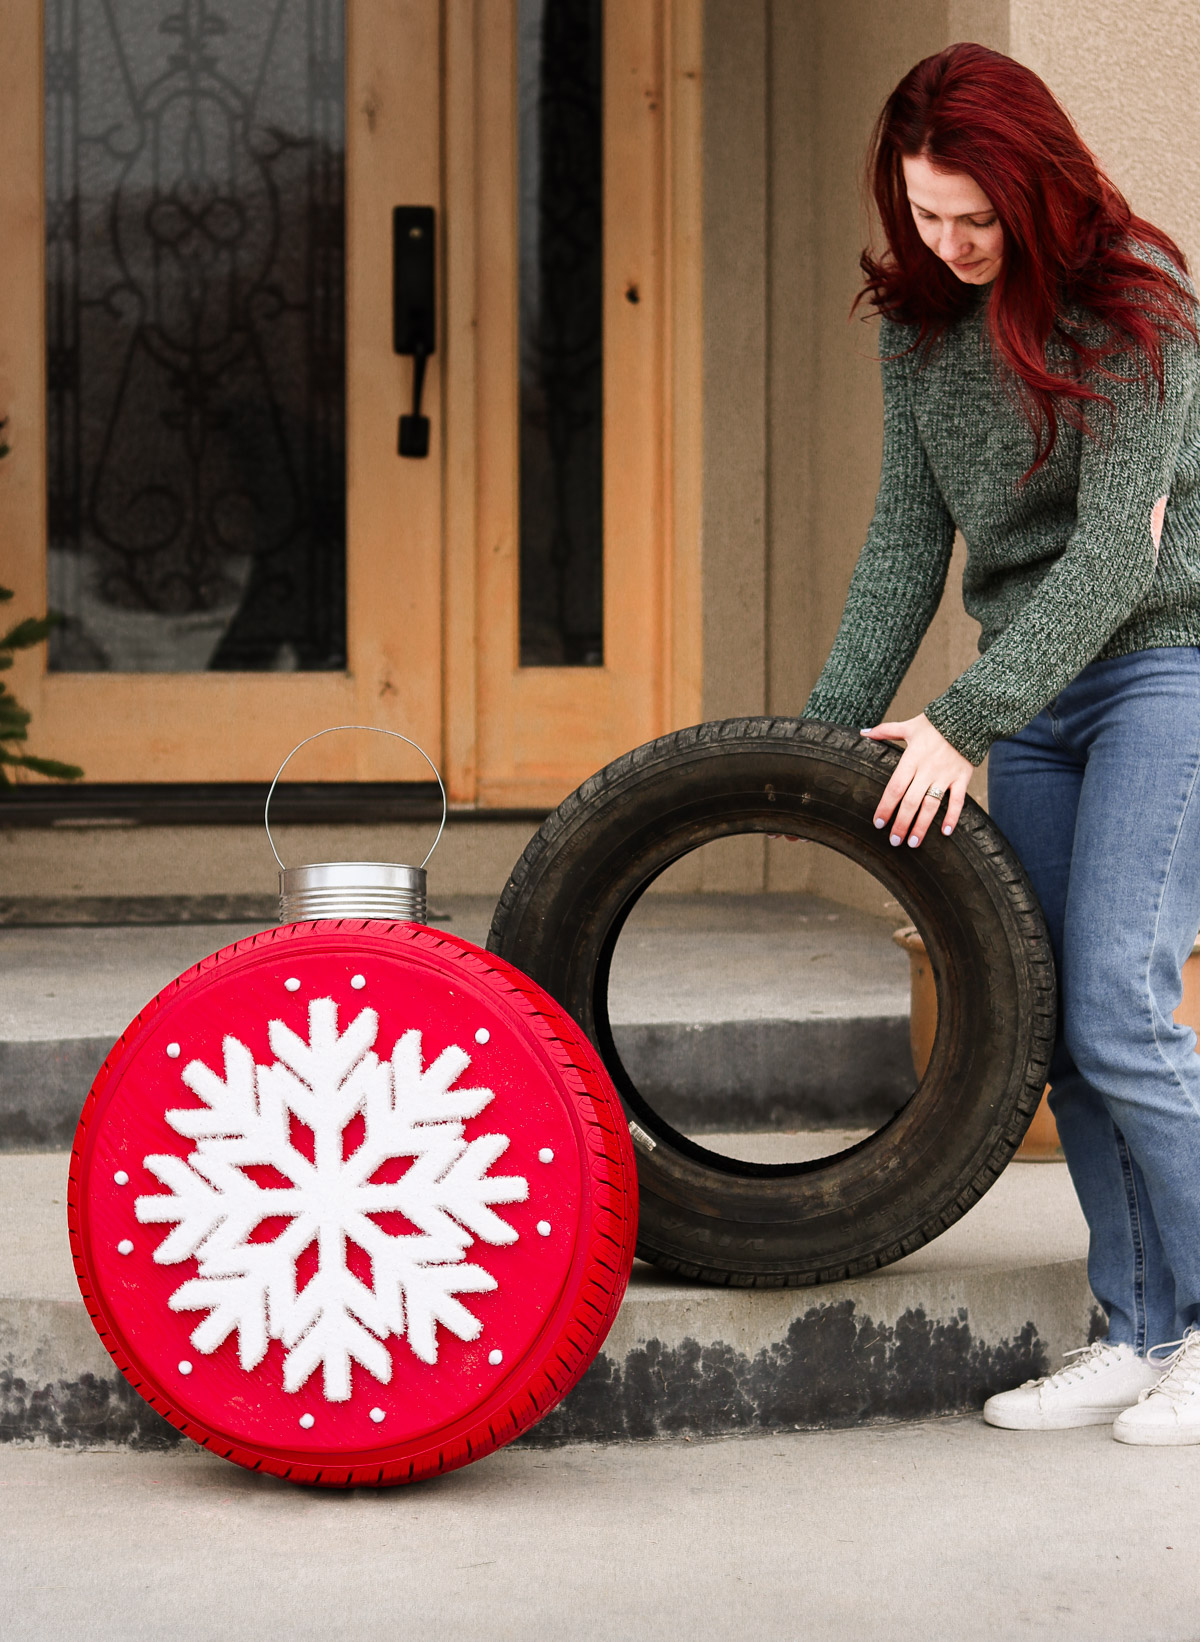
We have a pile of tires in the back yard that I’ve had my eye on for a while now. When hometalk contacted me with the idea of transforming some old tires I was super excited to make christmas tire decor. Seriously though! The possibilities are endless! You can make your tire ornament any color, with any design.
👉 You can also drill holes in the plywood and add Christmas lights if you want the ornaments to light up your yard 😍 ! OH YEH!! Game changer 😉 !
Also him ( photo below) ” MOM take a picture of me! ”
Ok so I wasn’t expecting to make a gaint candy but, when the idea came to me I couldn’t help but make one😊!! I was thinking tires would make super cute giant wreaths too🤔! You won’t need plywood in the center. Simply spray paint your tire green. Wrap it with Christmas lights, add mini ornaments and a big bow on top. 😬 This might be my next DIY!Cost:
Because these ornaments were made from recycled tires they are pretty budget friendly. The total cost per ornament is about $22.
Time Needed:
These ornaments can be done in one day, however you’ll need to take into consideration the drying times after washing and painting.
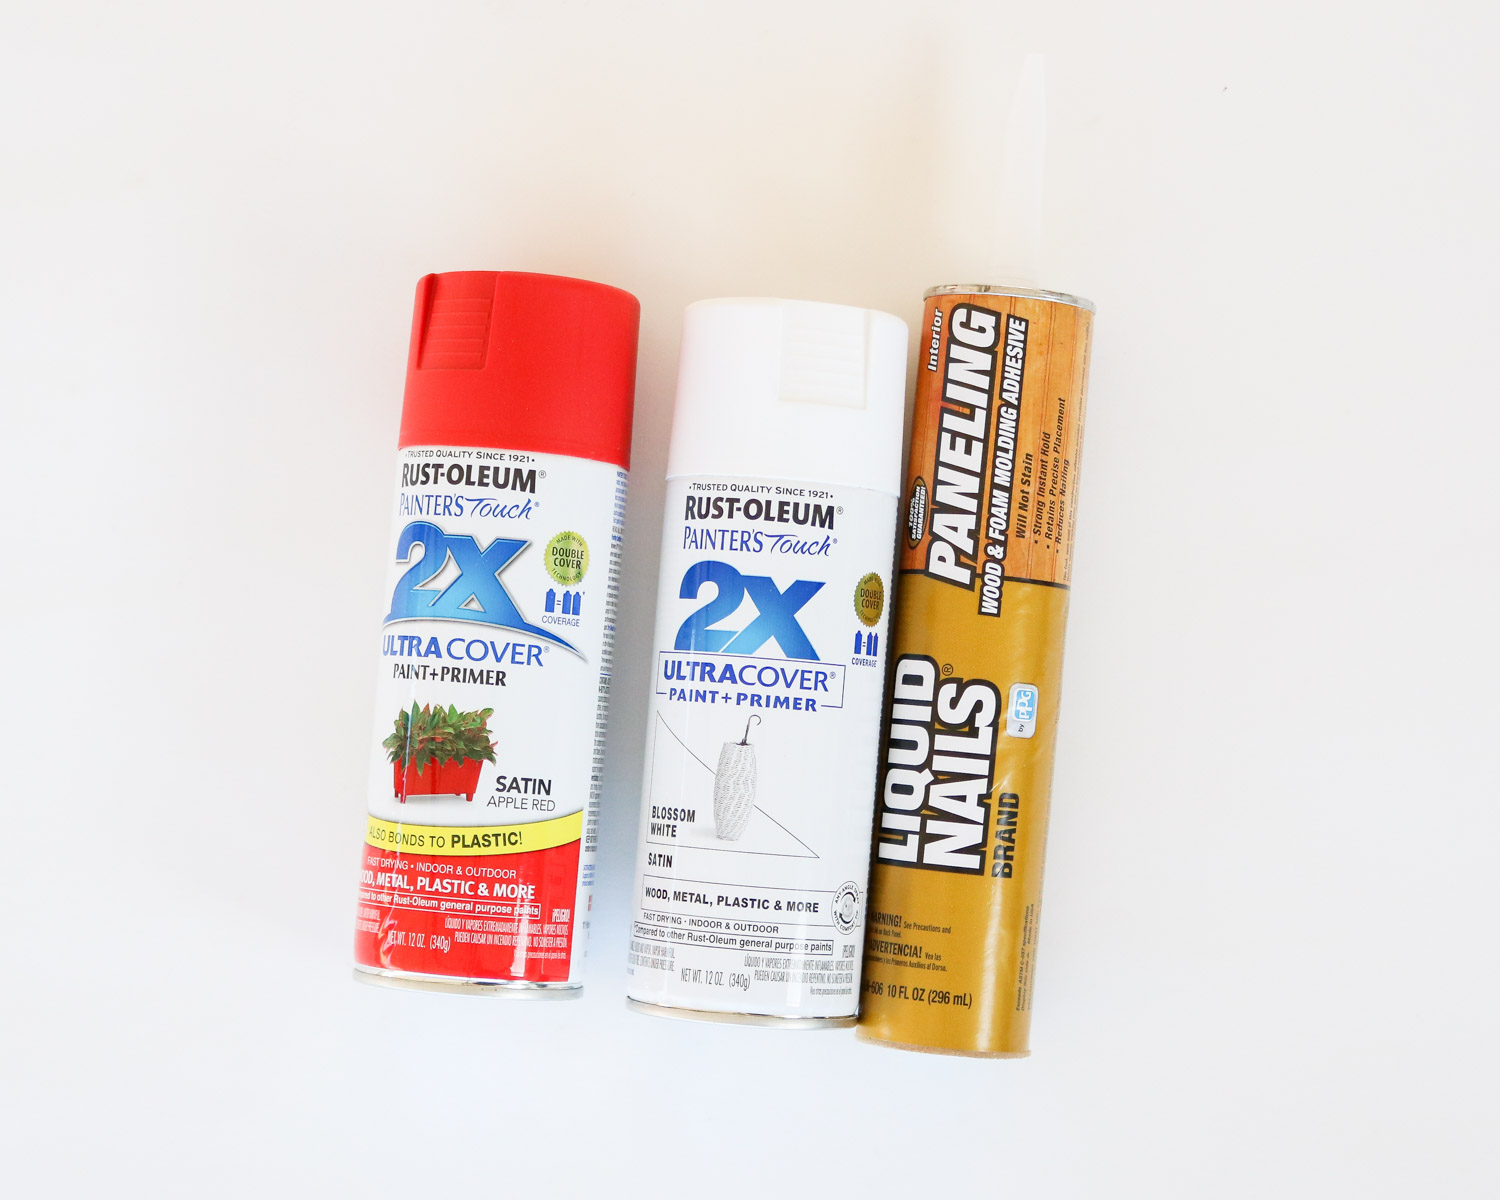
Supplies for your Christmas Tire:
If you’re making the snowflake ornament
- old tire
- spray paint
- tin can
- wire
- plywood
- liquid nails or silicone
- hotglue
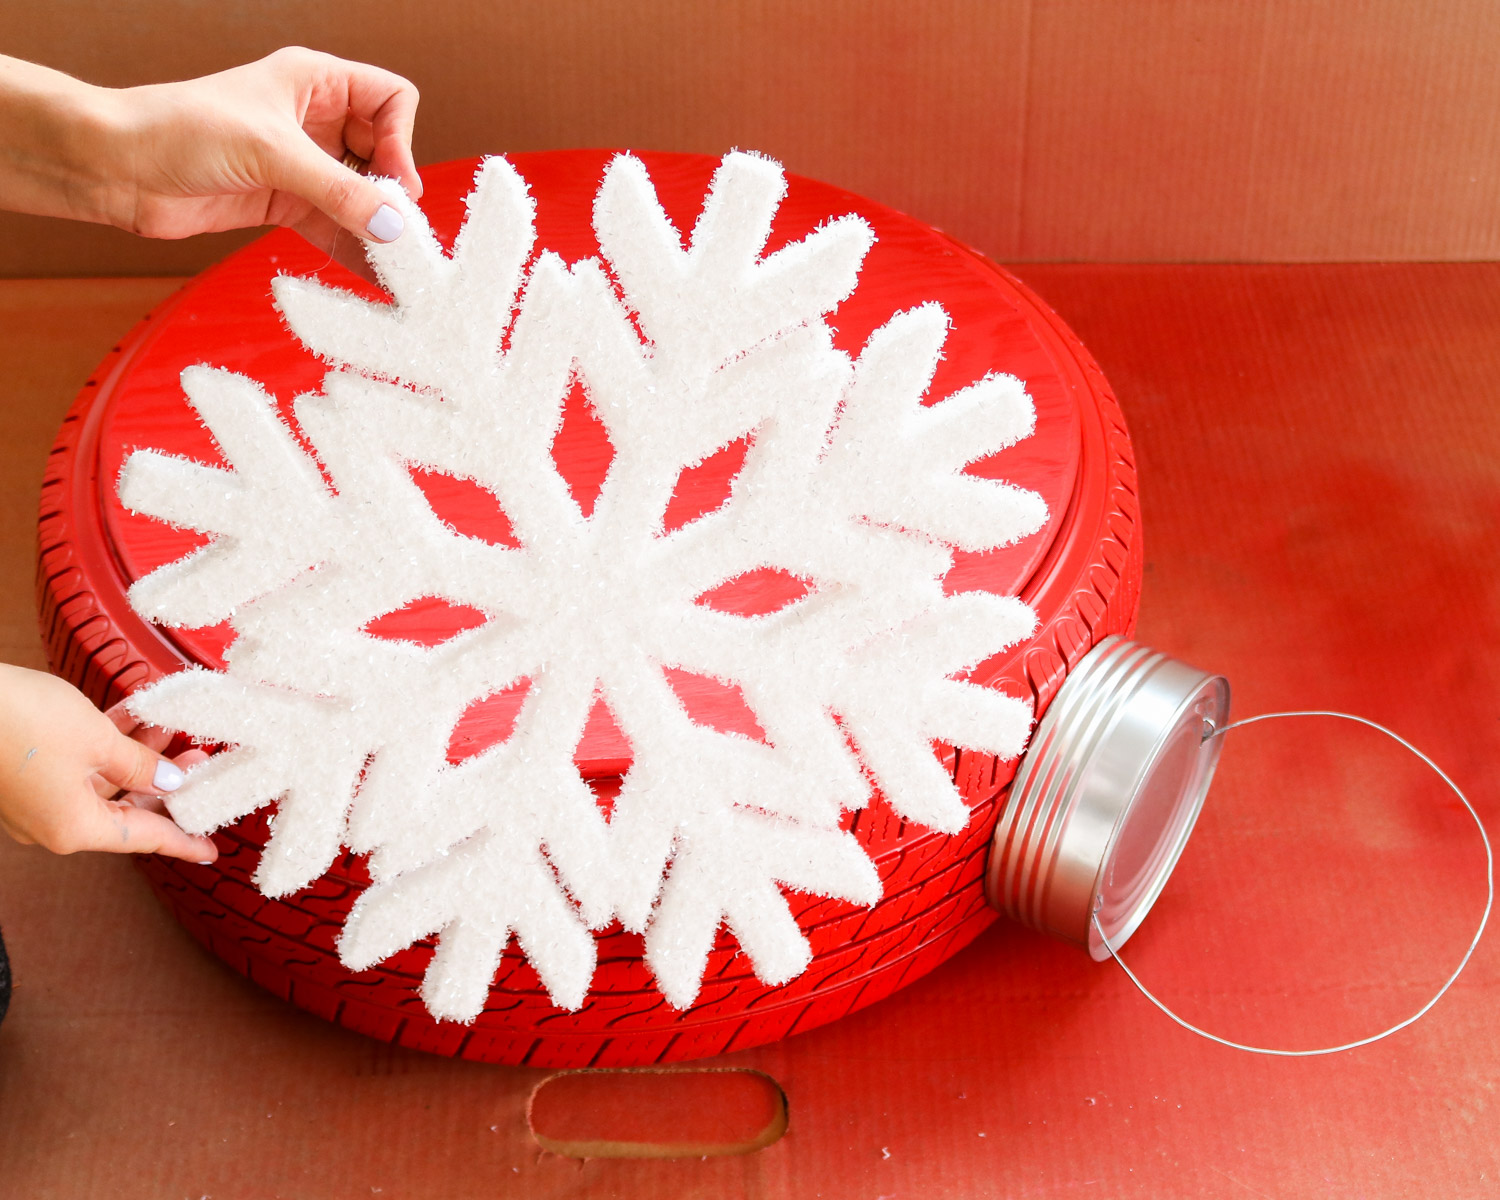
- snowflake
- tiny pom poms
If you’re making the candy
- grocery bags
- tinsel or red rope
- spray paint red+ white
- liquid nails adhesive
- hot glue
- 2 pieces of 2″ inch dowel
tools:
- jigsaw
- drill
- nail gun or screws
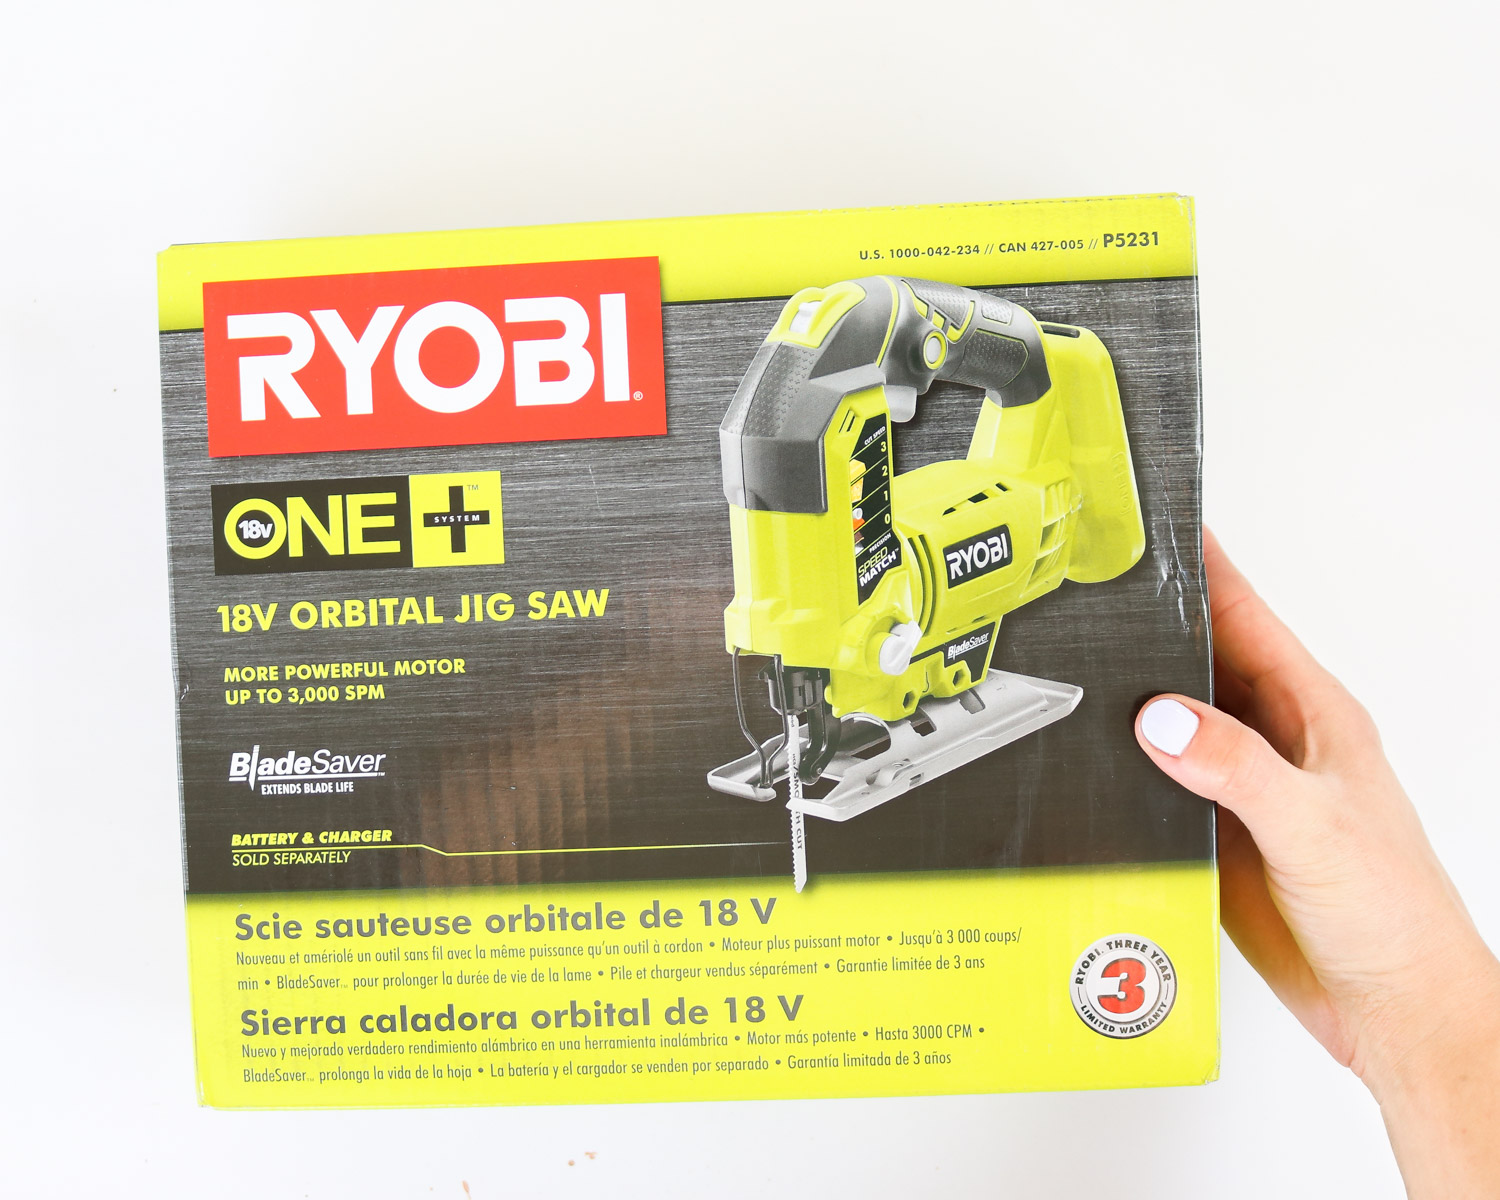
I know tools can get rather pricey so😬, I did some research and if you’re on a budget I have some AHHMAZING NEWS! The hyper tough brand jigsaw is only $24 and from what it looks like it’s rated 4 stars which is pretty darn good. Last time I was at walmart they even had it on sale for $16🙀. You can also order it on amazon here – https://amzn.to/2CLScvy Because I have a lot of my tools from ryobi and a set of batteries already I ended up getting a ryobi jigsaw. It is so easy to use! I was able to cut all the circles I needed all by myself from the first try 😬 ( patting my self on the back as I’m writing this) ! Love this thing and I can’t wait to make more projects with it! You can get it on amazon here – https://amzn.to/371aPtv
How to measure and cut plywood for the ornament!
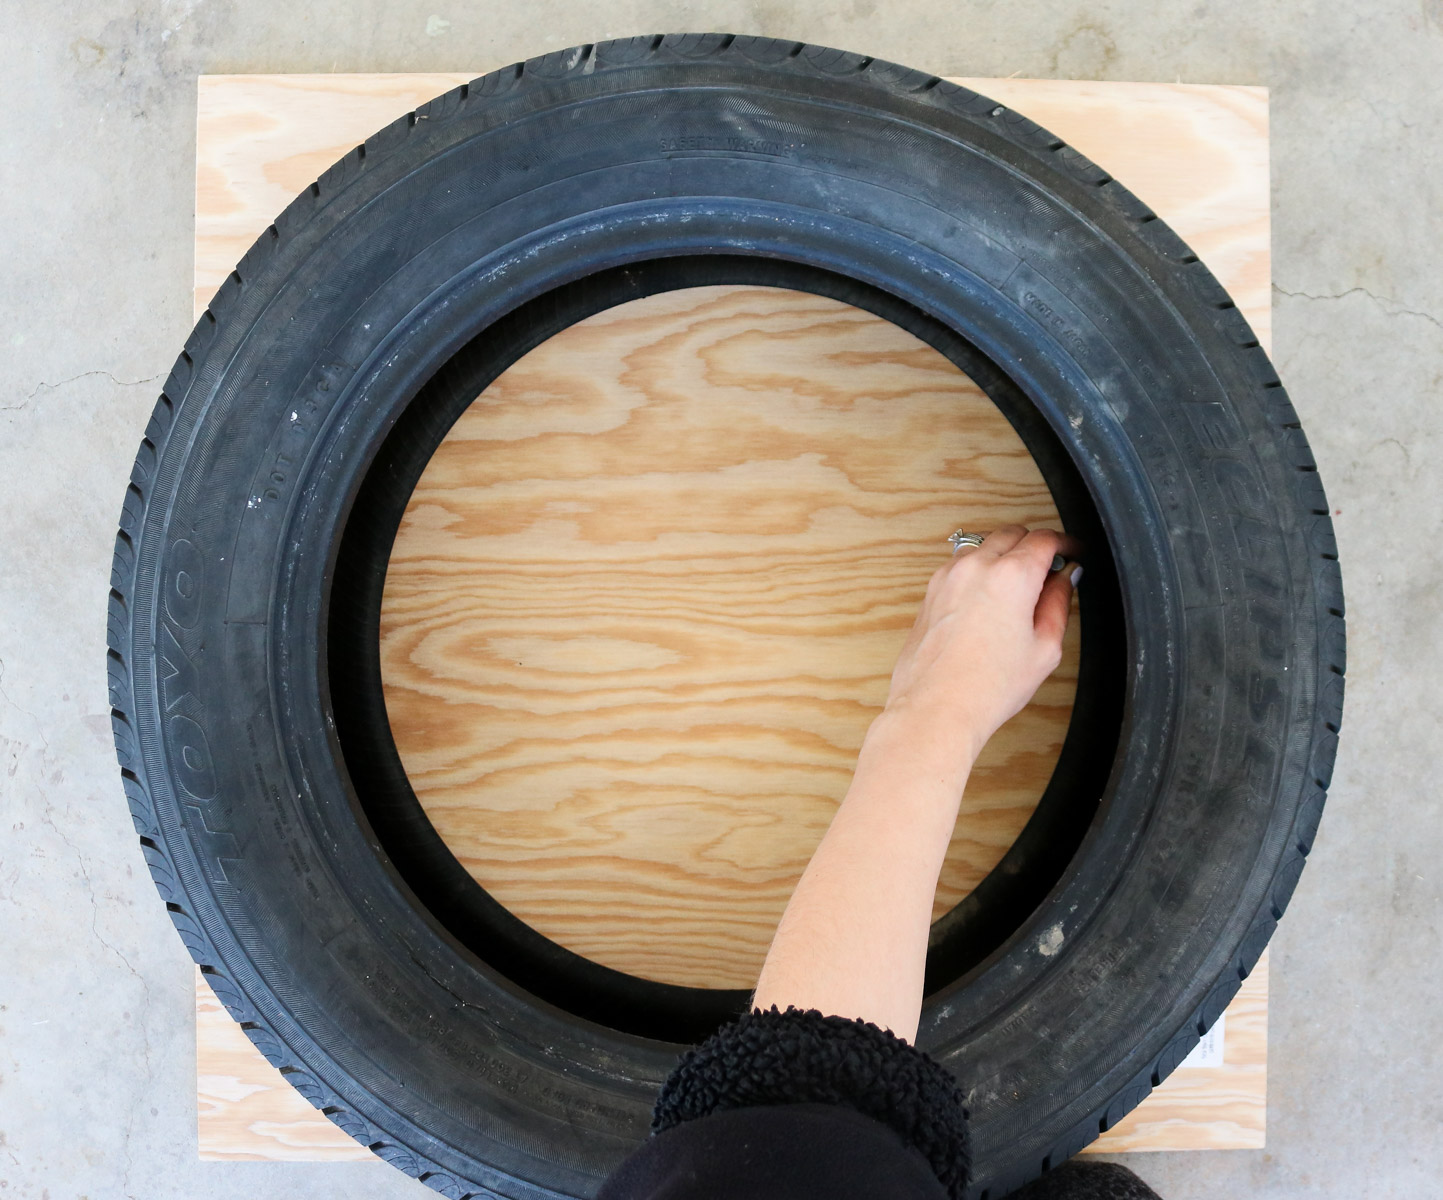
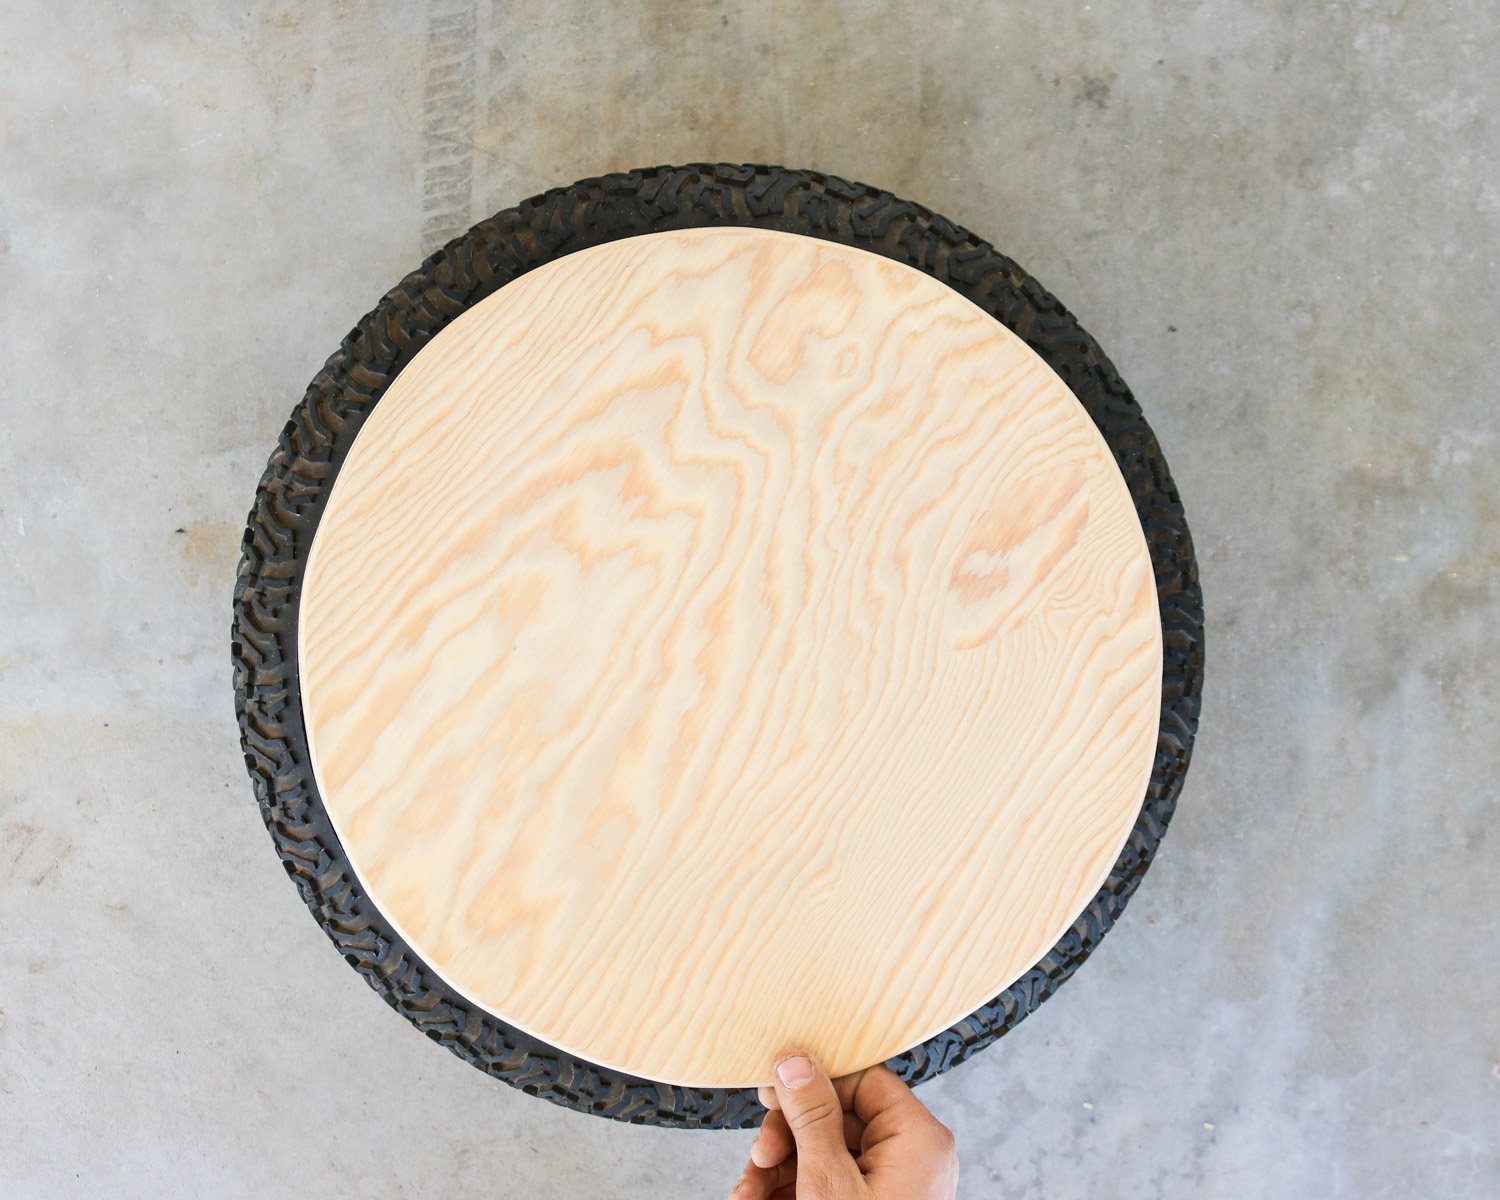
I purchased my plywood at homedepot. It was 2’x2′. Which ended up being perfect for my tires since I wasn’t going to cover the front of the tire completely. I wanted the plywood circle to be about 2 inches inches smaller all around so there would be some visible tread.
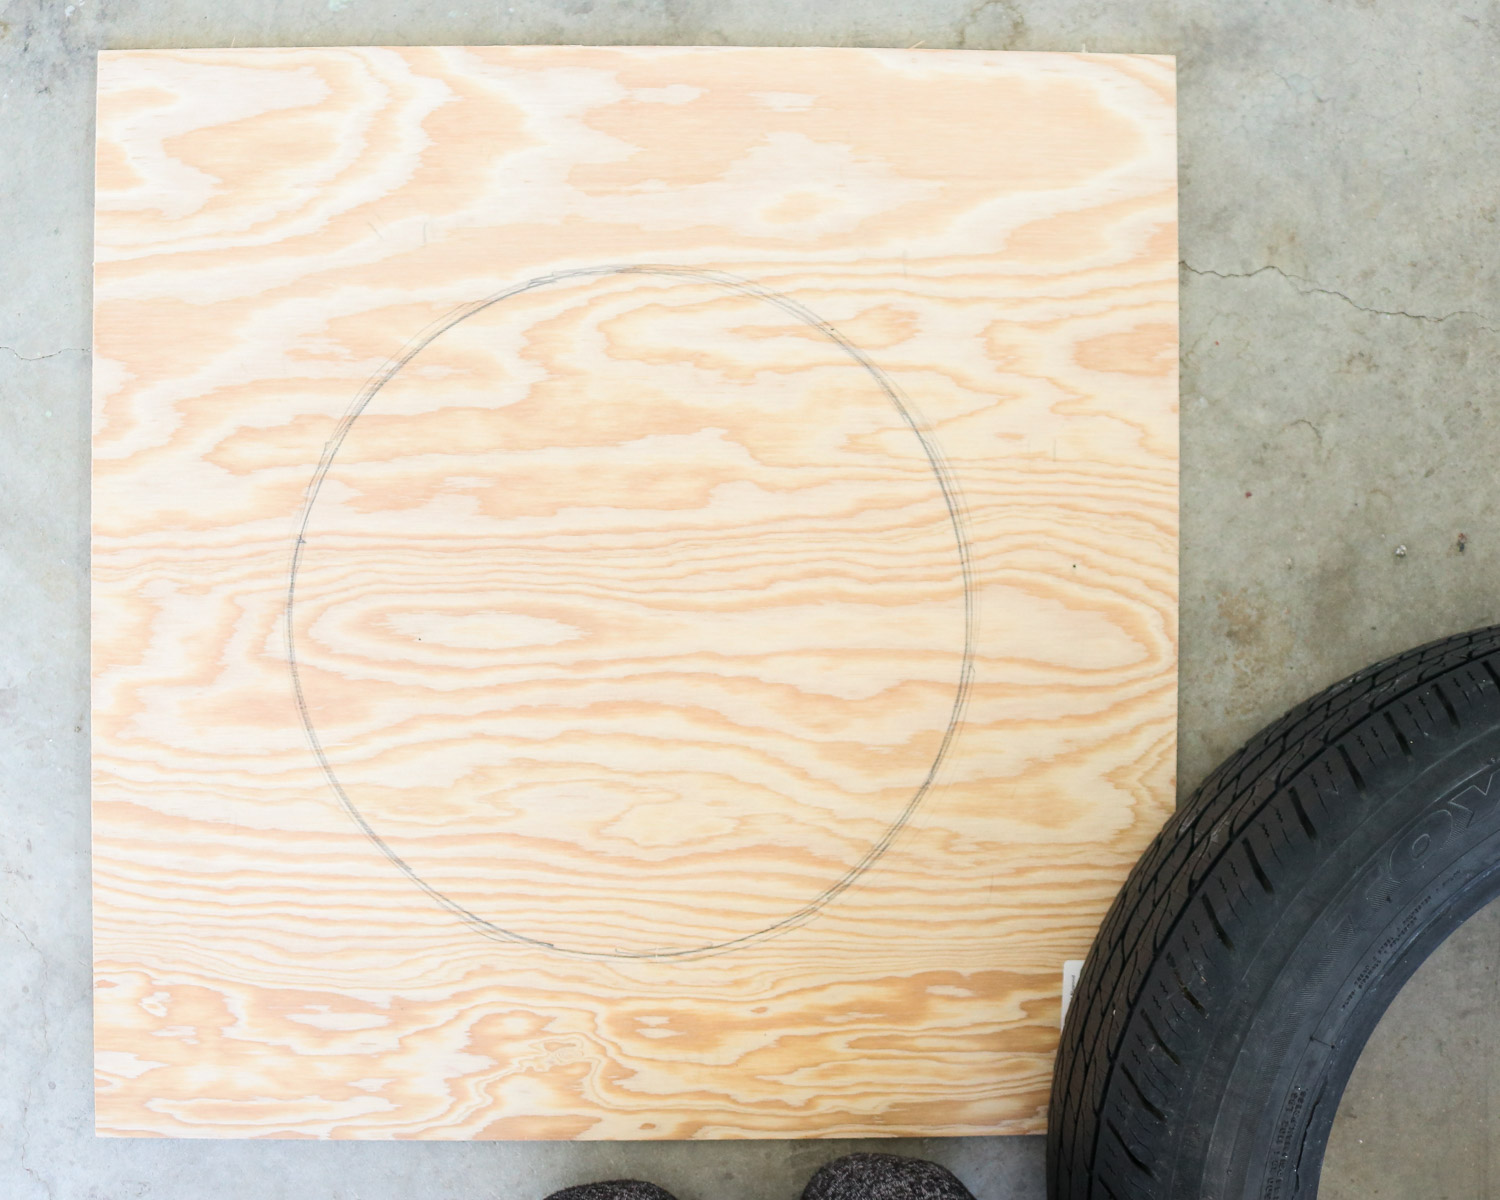
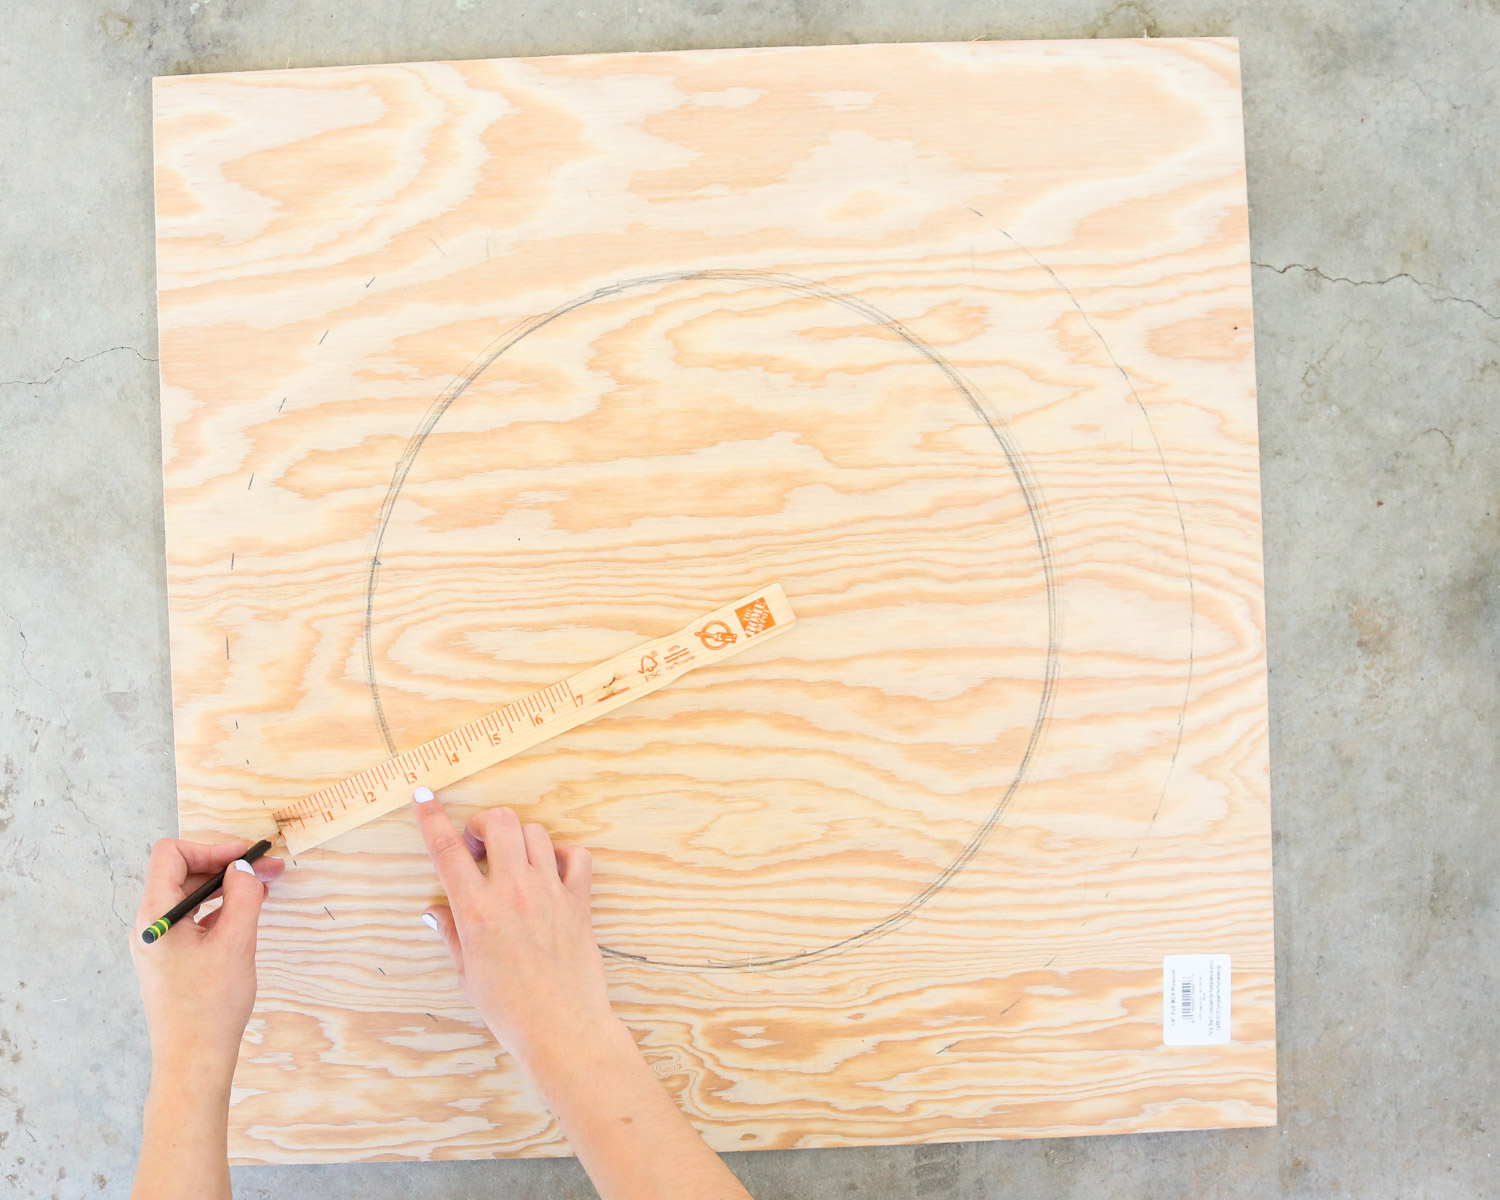
To begin make sure your tire is some what centered on the plywood and use a pencil to trace the inside of the tire onto the plywood. Doesn’t need to be perfect 😉 Okay now I measured how many inches I needed to add to my traced circle. In my case this was 3 inches. I used a ruler and measured 3 inches away from the traced circle and added markings all around the circle. Than I connected the dots to create a solid outer circle and it was ready to cut. Make sure you measure and compare the circle size with your tire before cutting. ( just in case)How to cut out your plywood circle!
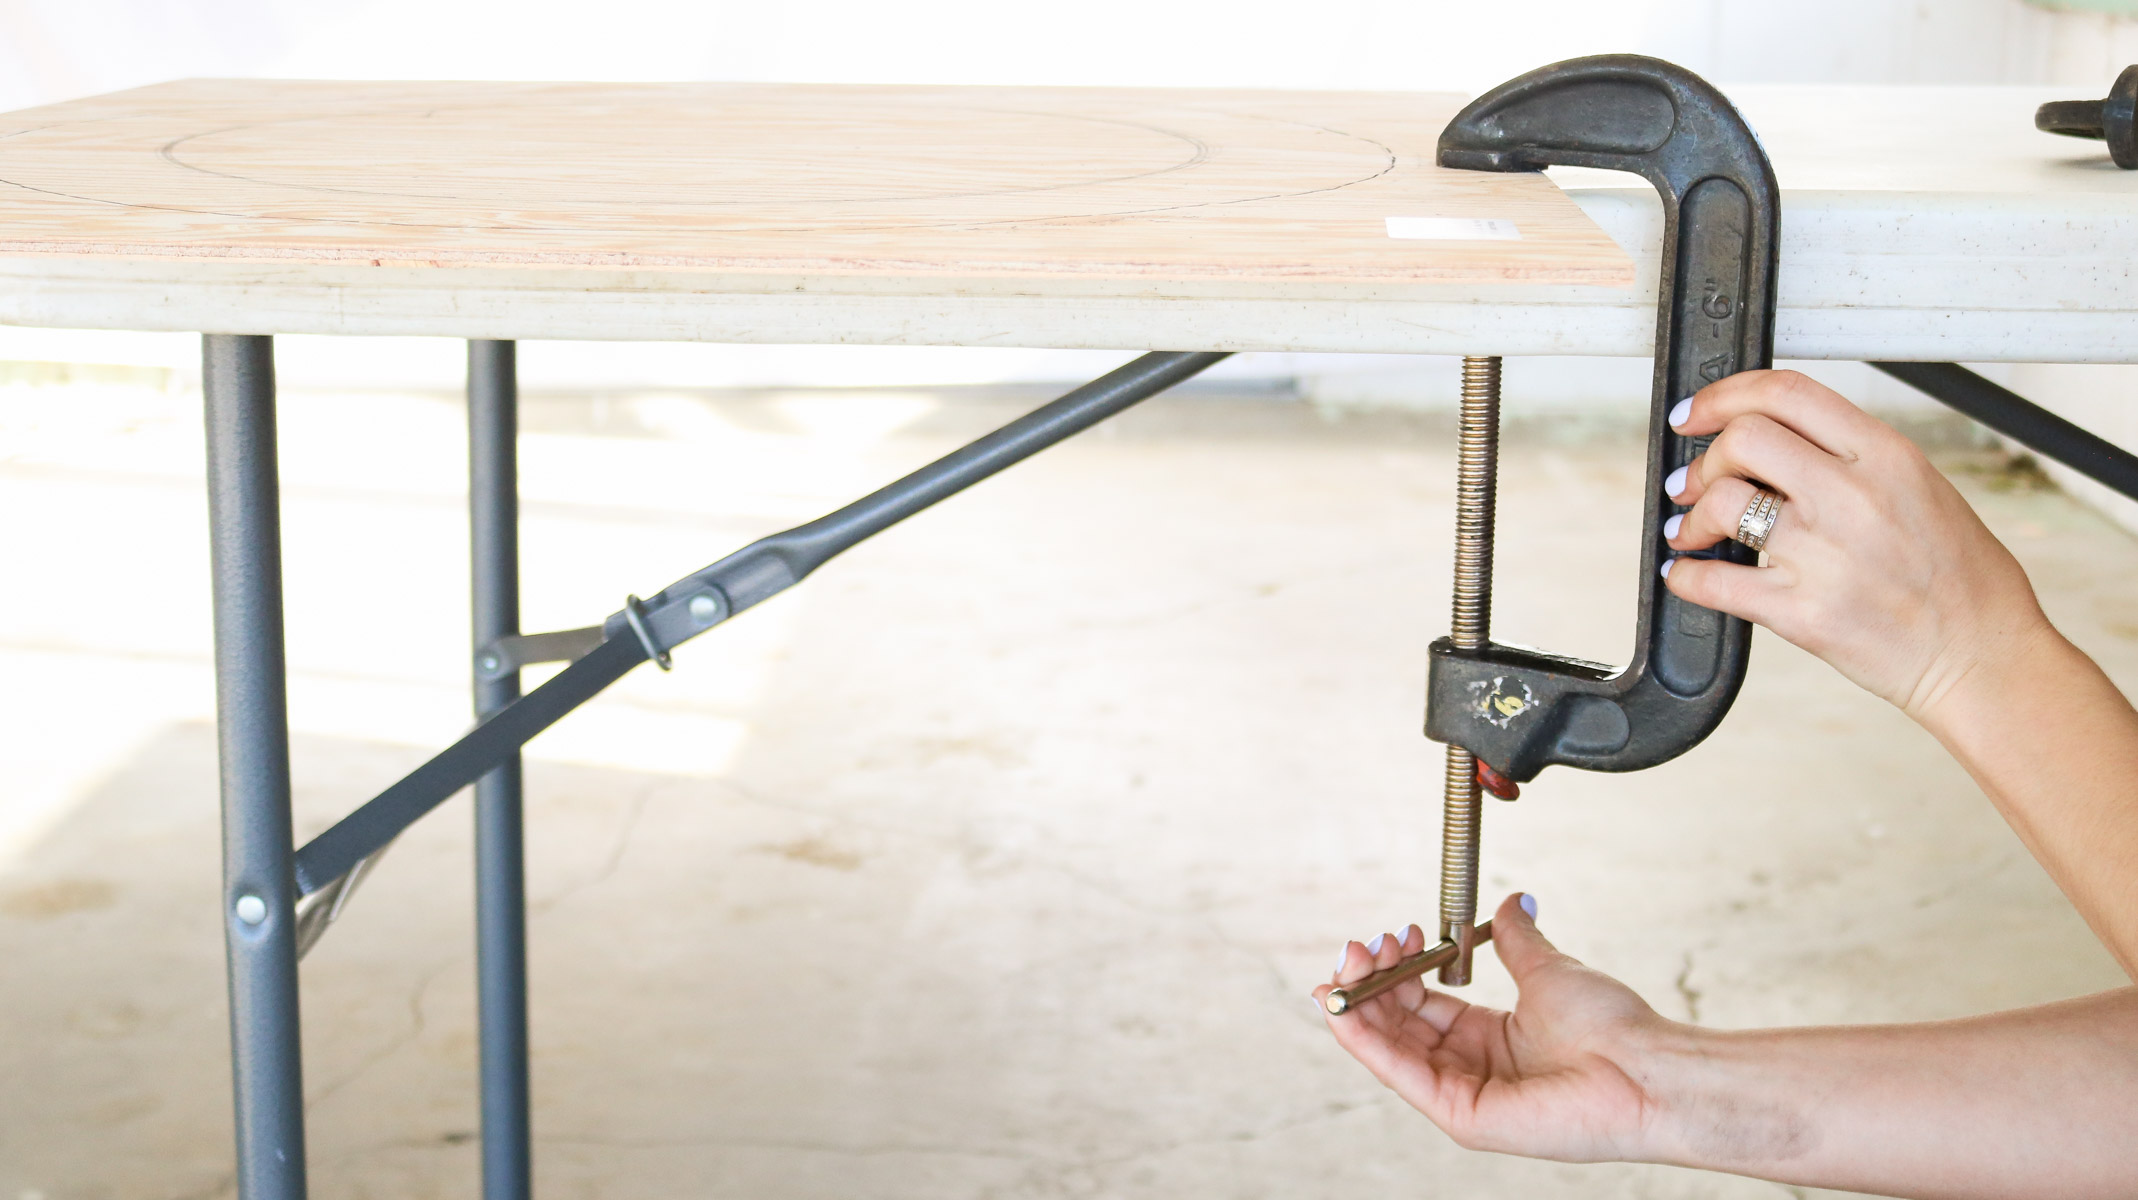
To cut out my plywood I used some clamps to attach it to a solid surface. I made sure my plywood was hanging off the edge of the table about 6 inches. This gave me room to cut.
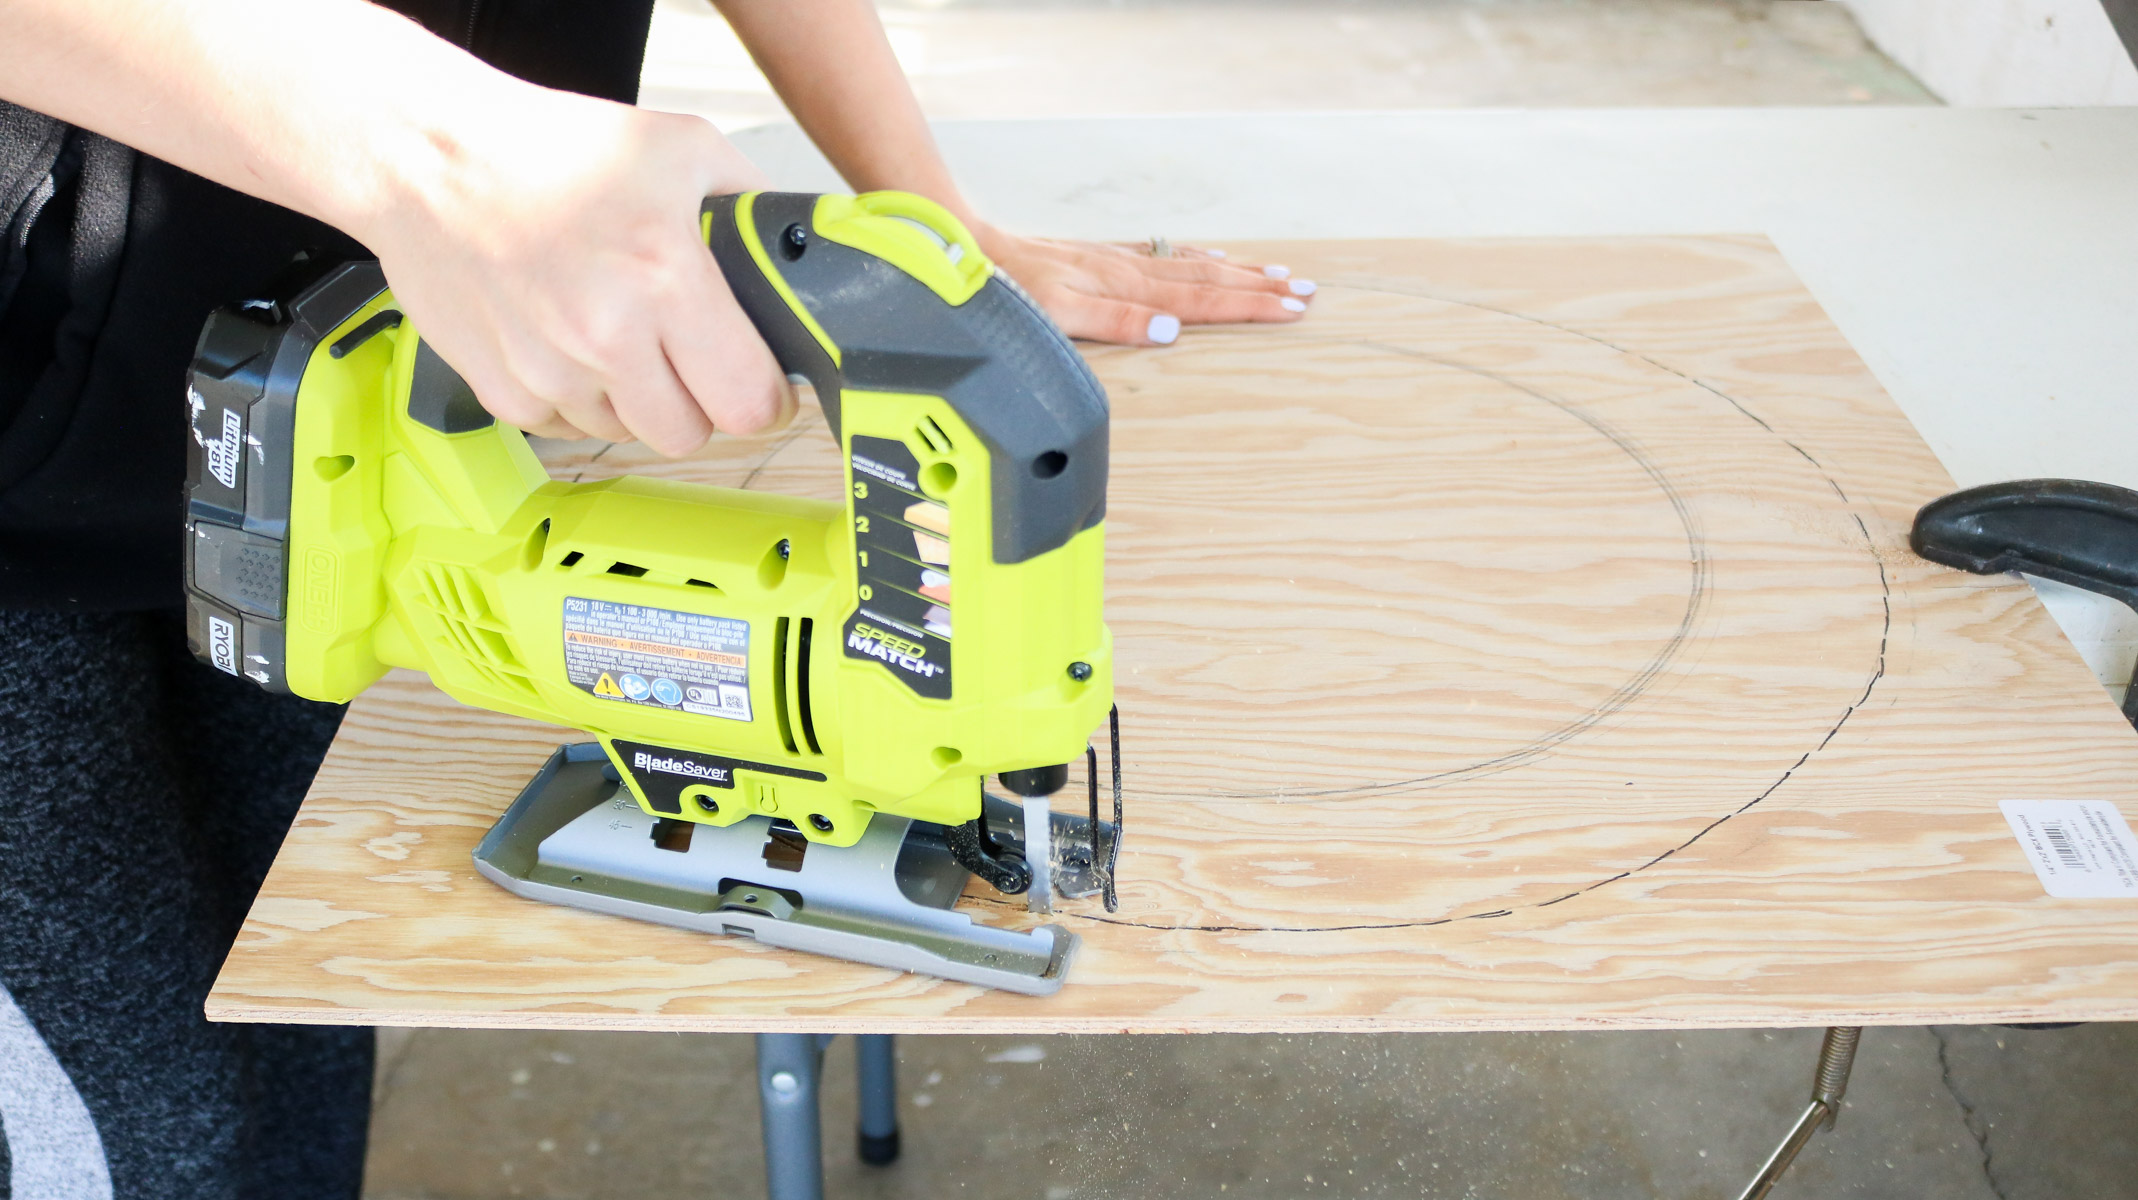
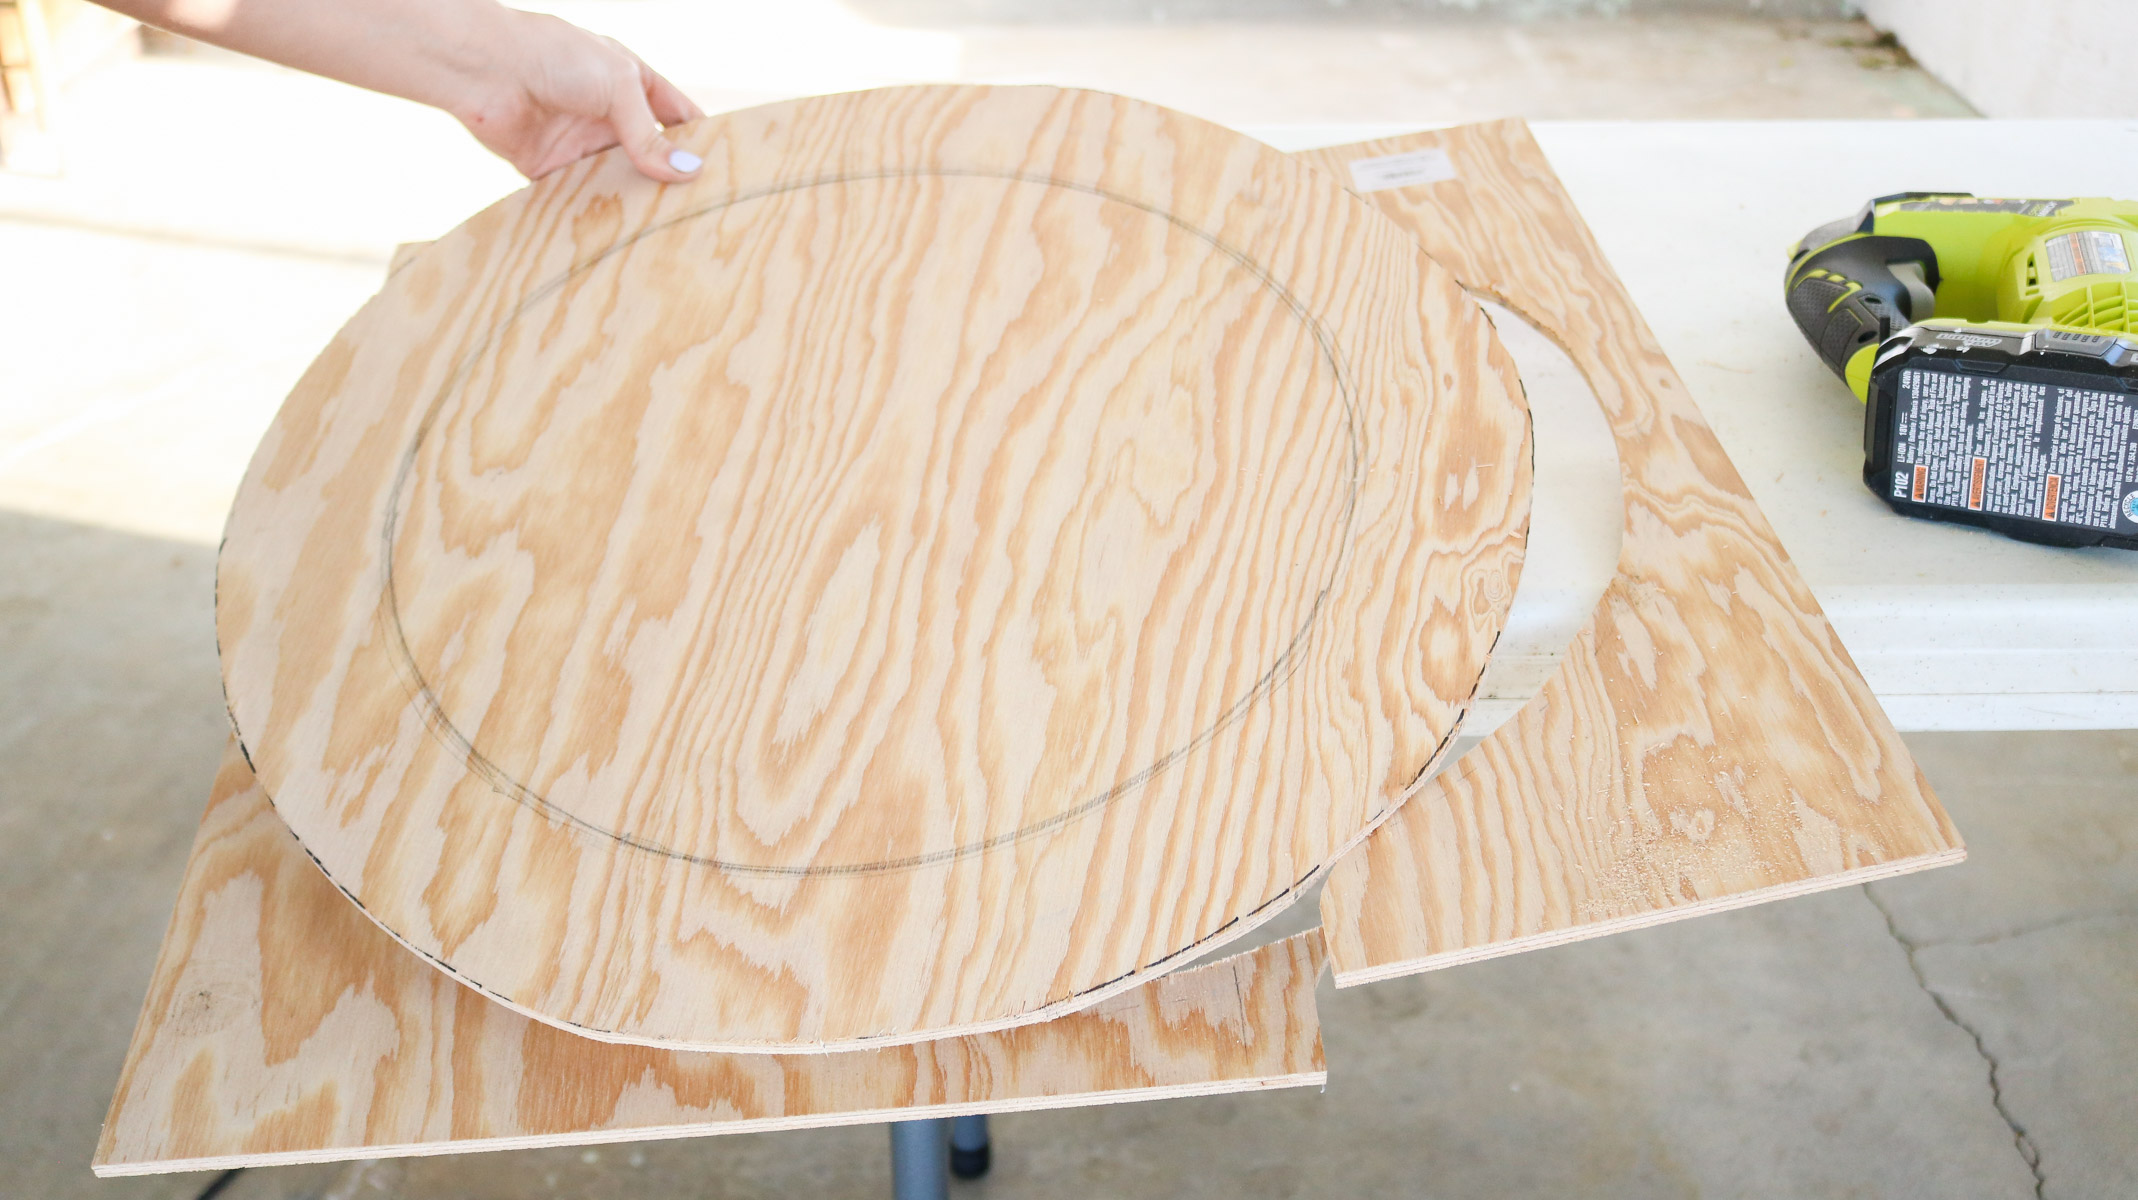
Than I used my jigsaw to cut out my circle. Once I was getting to close to the table I rearranged my plywood and re-clamped it before cutting again. I repeated these steps until the circle was cut out. Like I said this jigsaw cuts like BUTTER 😊👌How to attach the plywood to the tire!
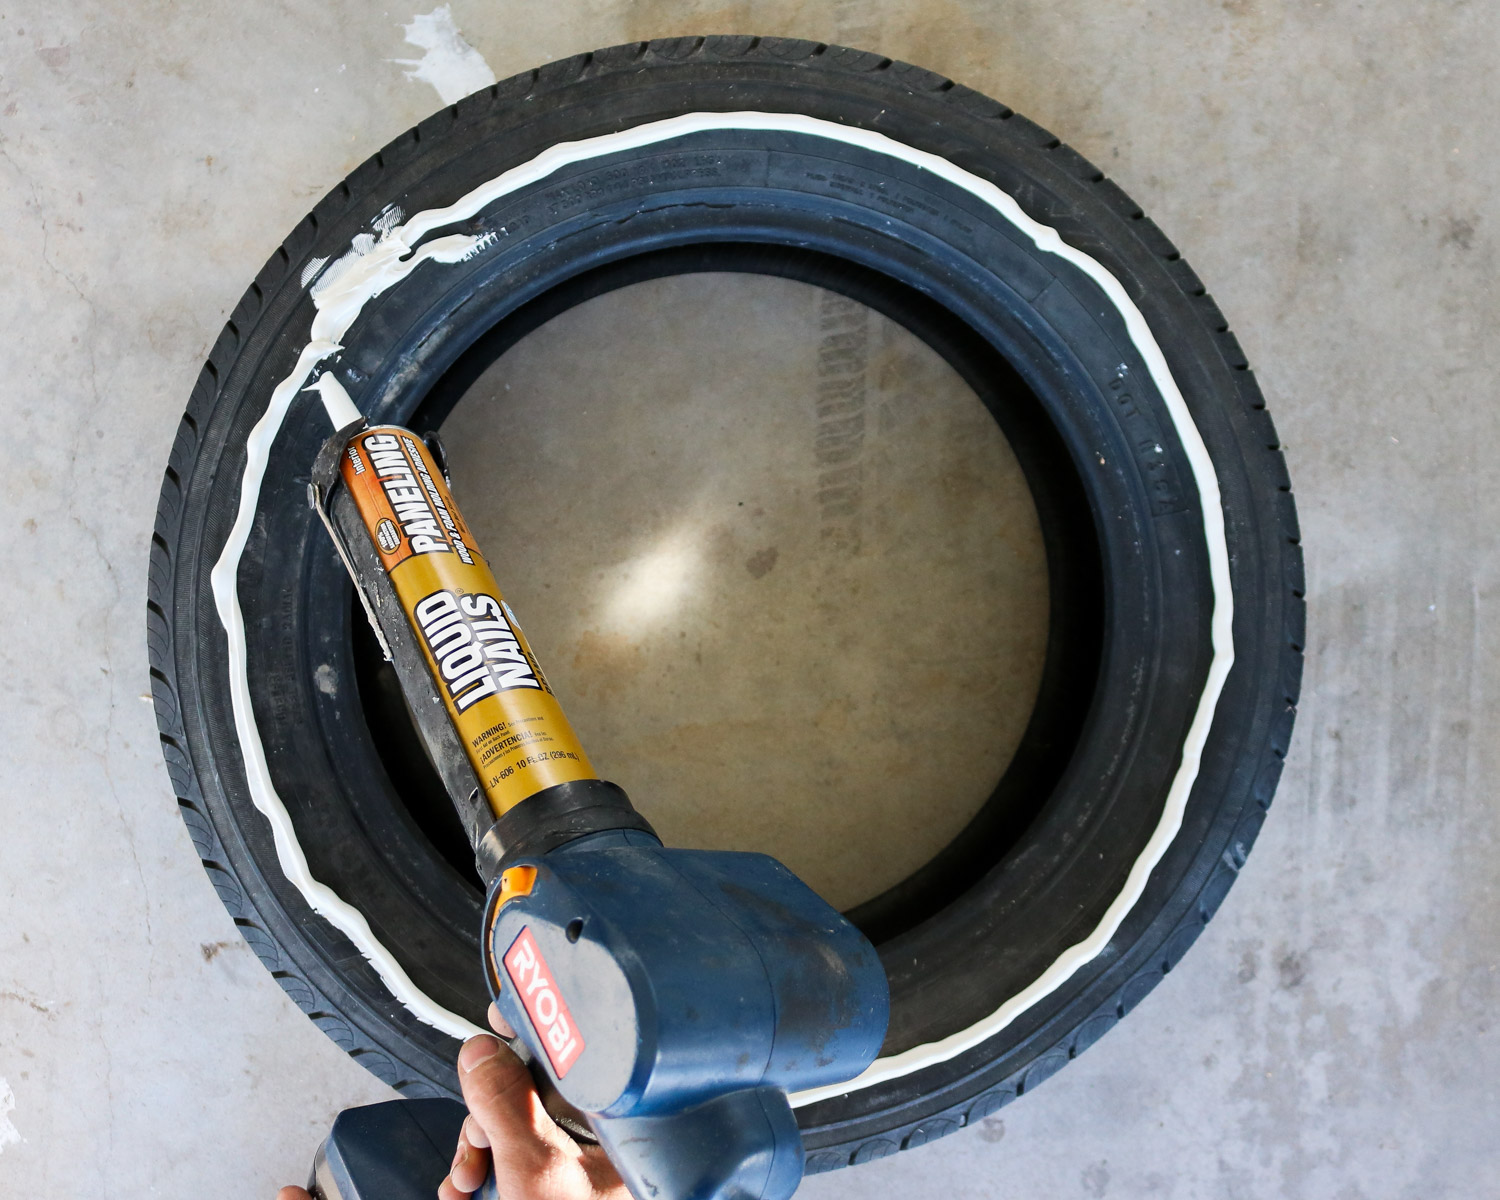
To attach my plywood I used liquid nails adhesive and we applied a strip around the tire. Than we lay the plywood over it and pushed down. So this was my first time using liquid nails. I’ve heard so much about it and was pretty excited to use it. Sad to say I was a bit disappointed😑. After applying the adhesive and painting the tires I left them outdoors to dry overnight. When I checked on it the next morning the glue hasn’t set at all. It was like silicone calking that never set😛. So, I had to use a staple gun to help secure the plywood. OH WELL😕! I checked again after another 24 hours and found the adhesive was set completely. Not sure if the setting time head to do with the cold weather. Our temperature outside was about 50 f. That said if you have regular silicone. Use it😉! I don’t see the difference between this nail adhesive stuff or plain silicone caulking.
How to paint your tires!
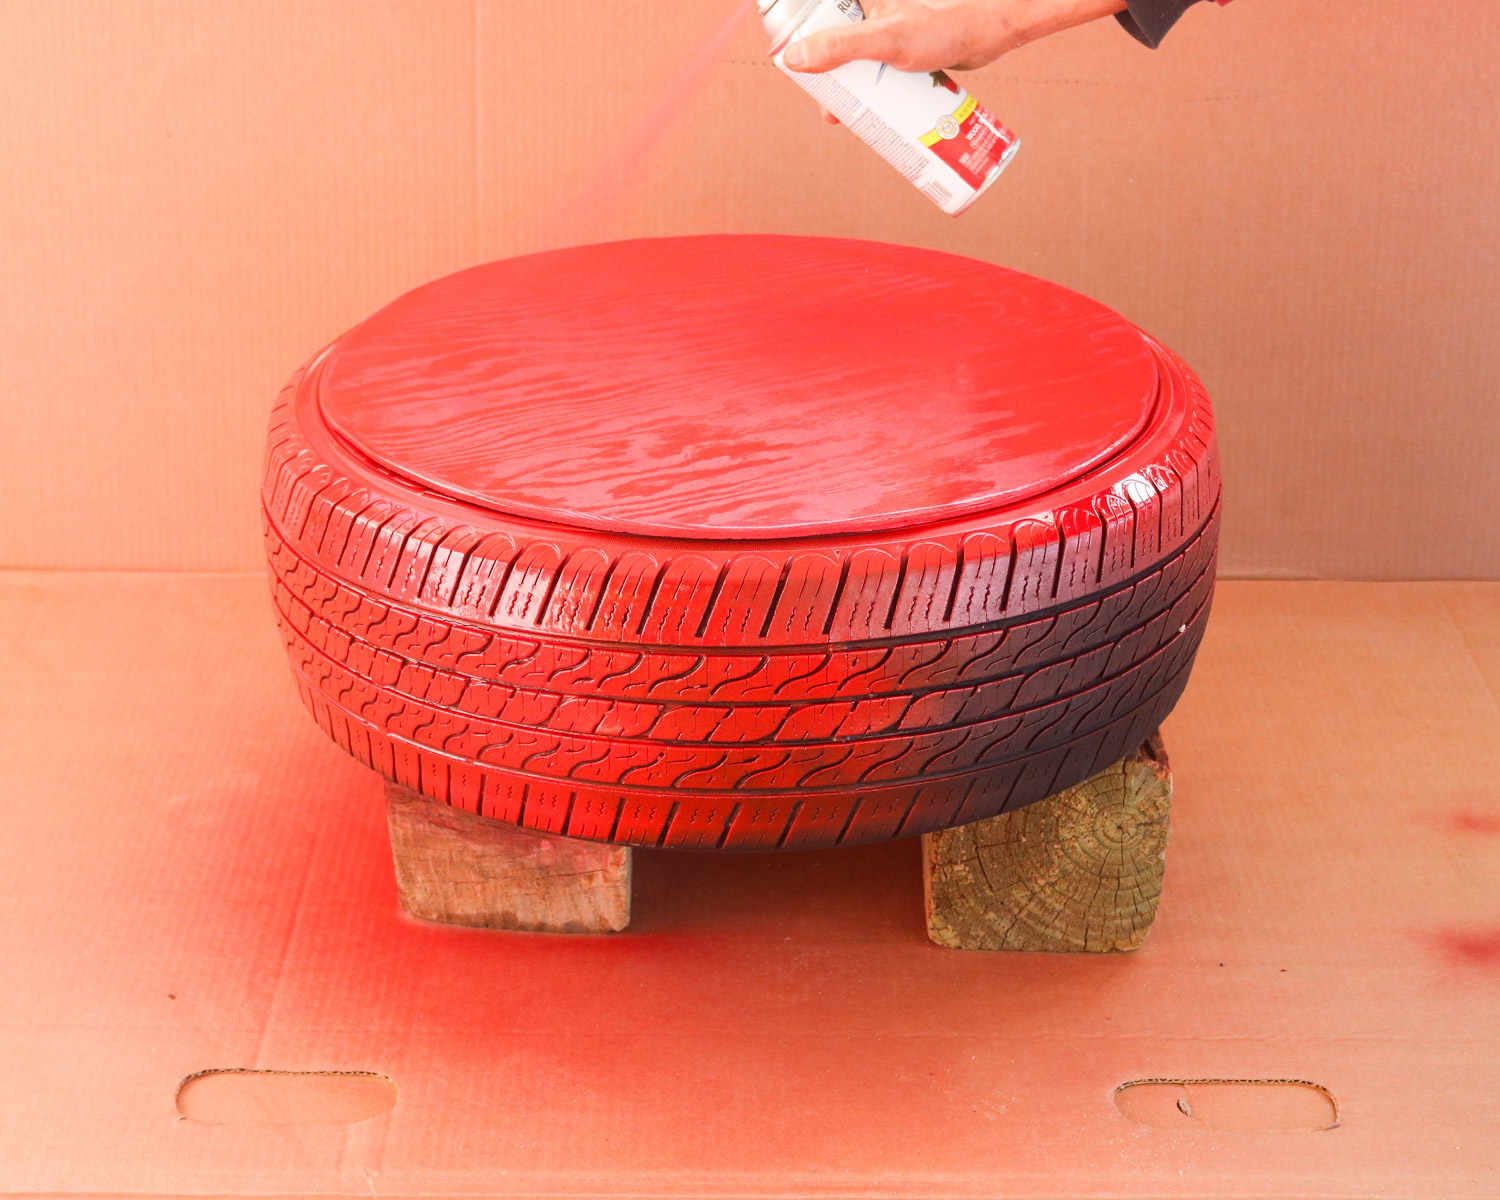
I picked rustoleum spray paint to paint my tires. Of because rustoleum is my favorite😎! The satin finish seems to adhere better than the gloss finish. We picked the color apple red and it was the perfect shade of red.
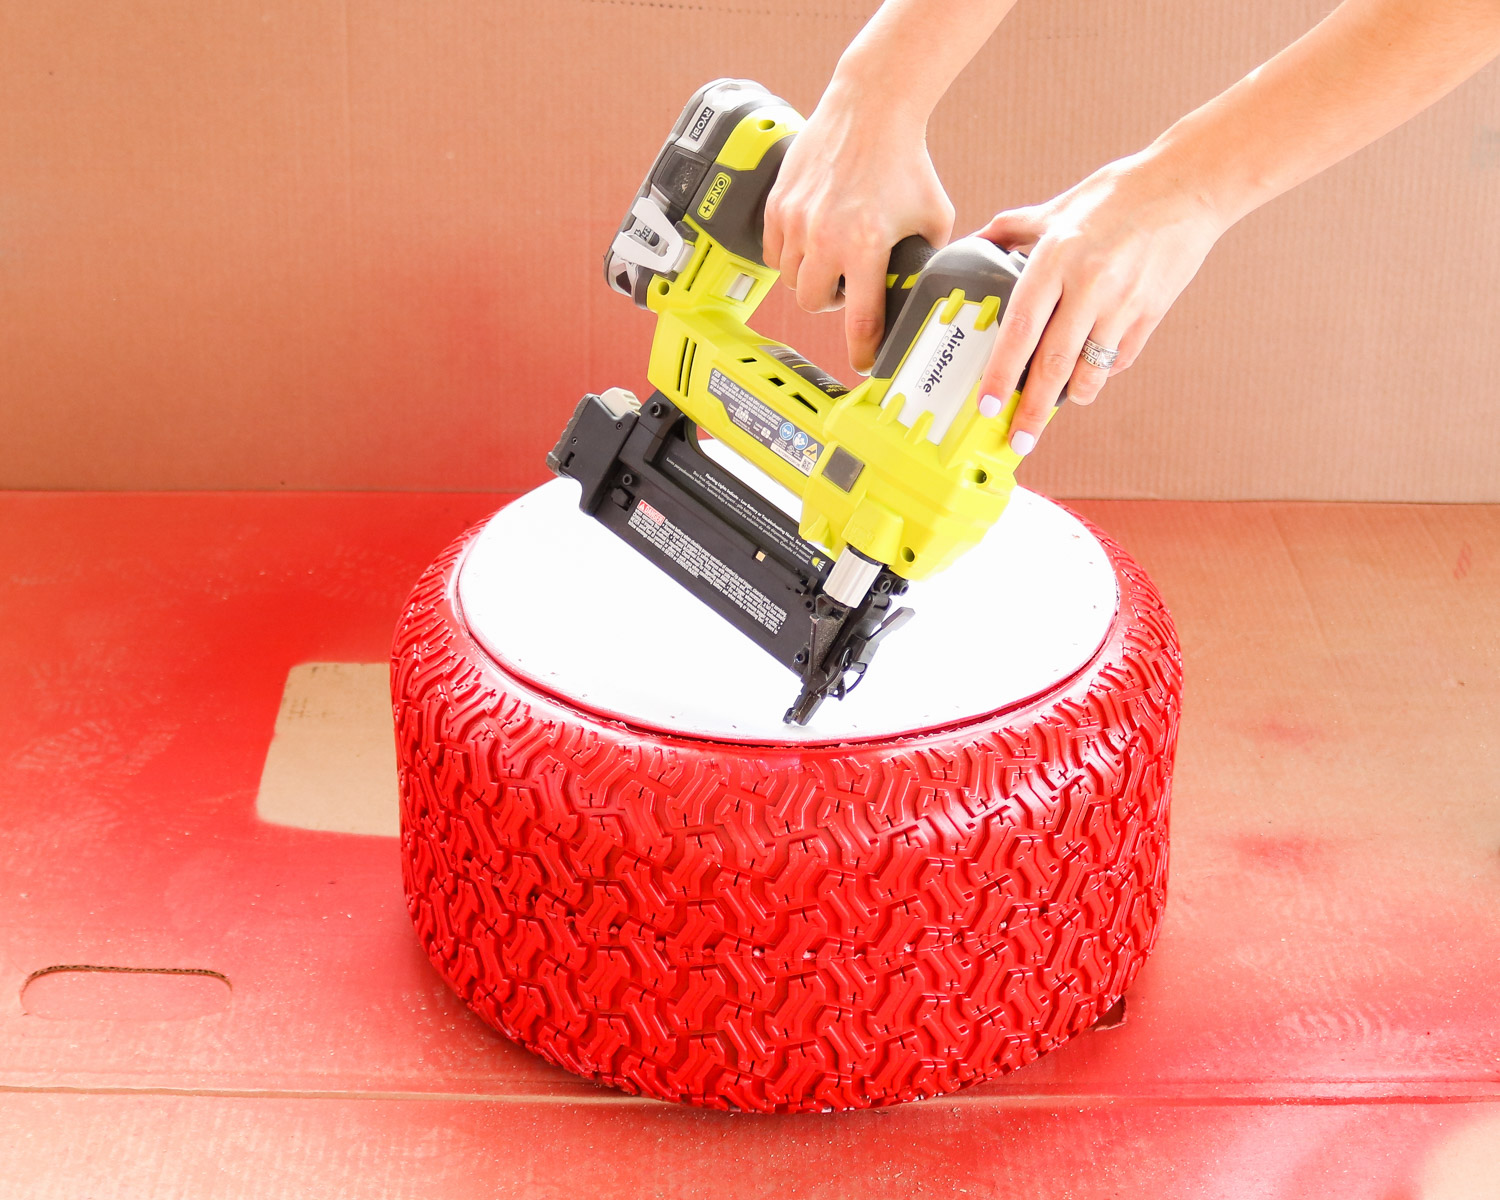
Here’s me nailing the plywood to the tire. Yeh it’s probably best to do this prior to painting! Learn from my mistakes 😉😬 ! Honestly the nails I used were not that visible so I guess it’s ok but, If you don’t have a nail gun some screws will work great too. Definitely best to add screws before painting 🙃.How to make a giant ornament cap!
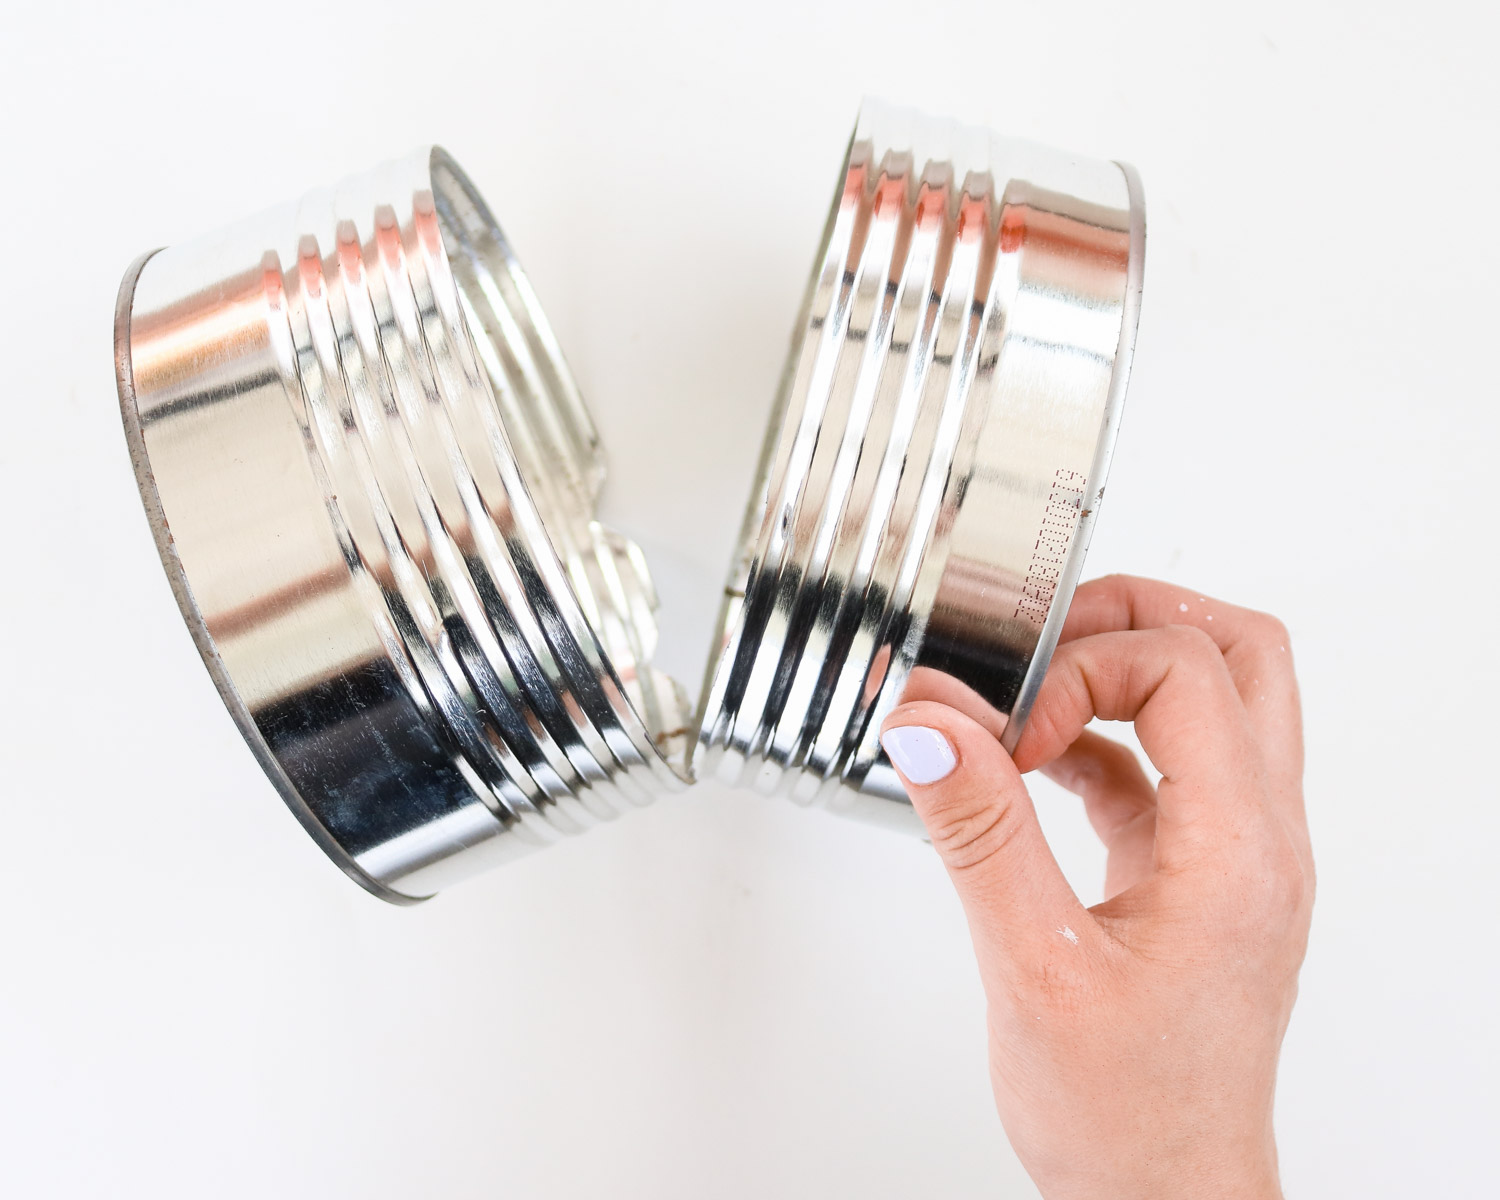
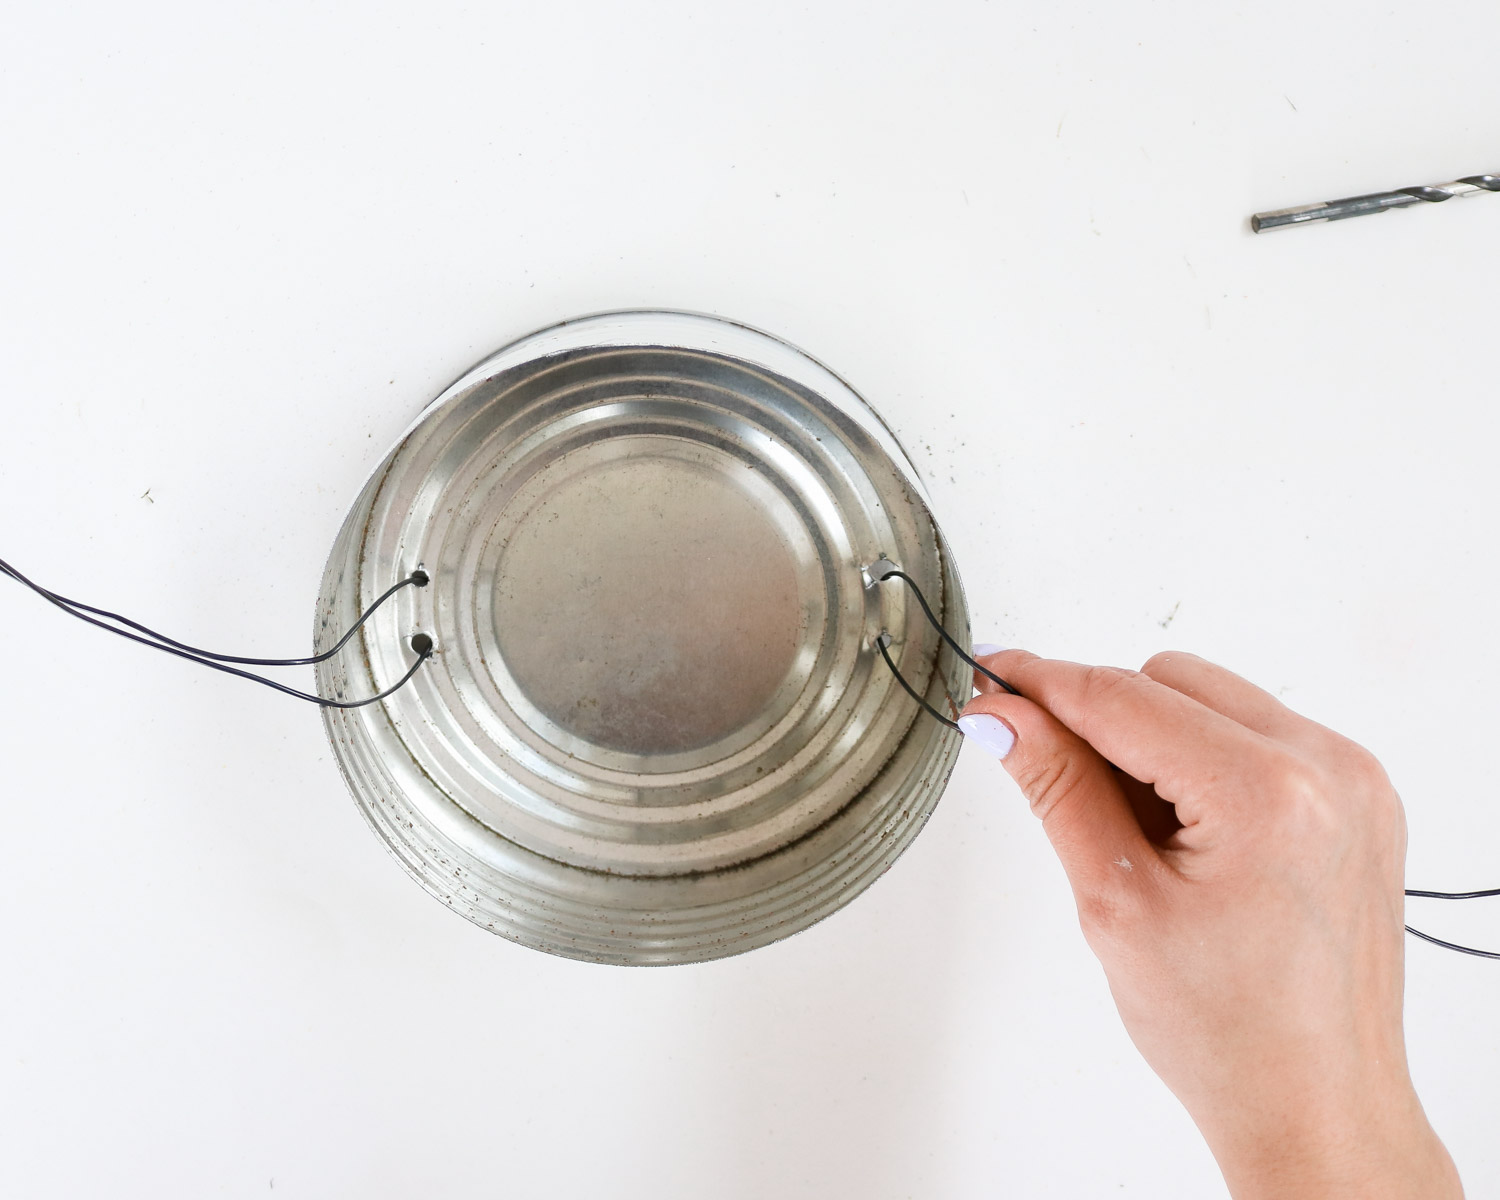
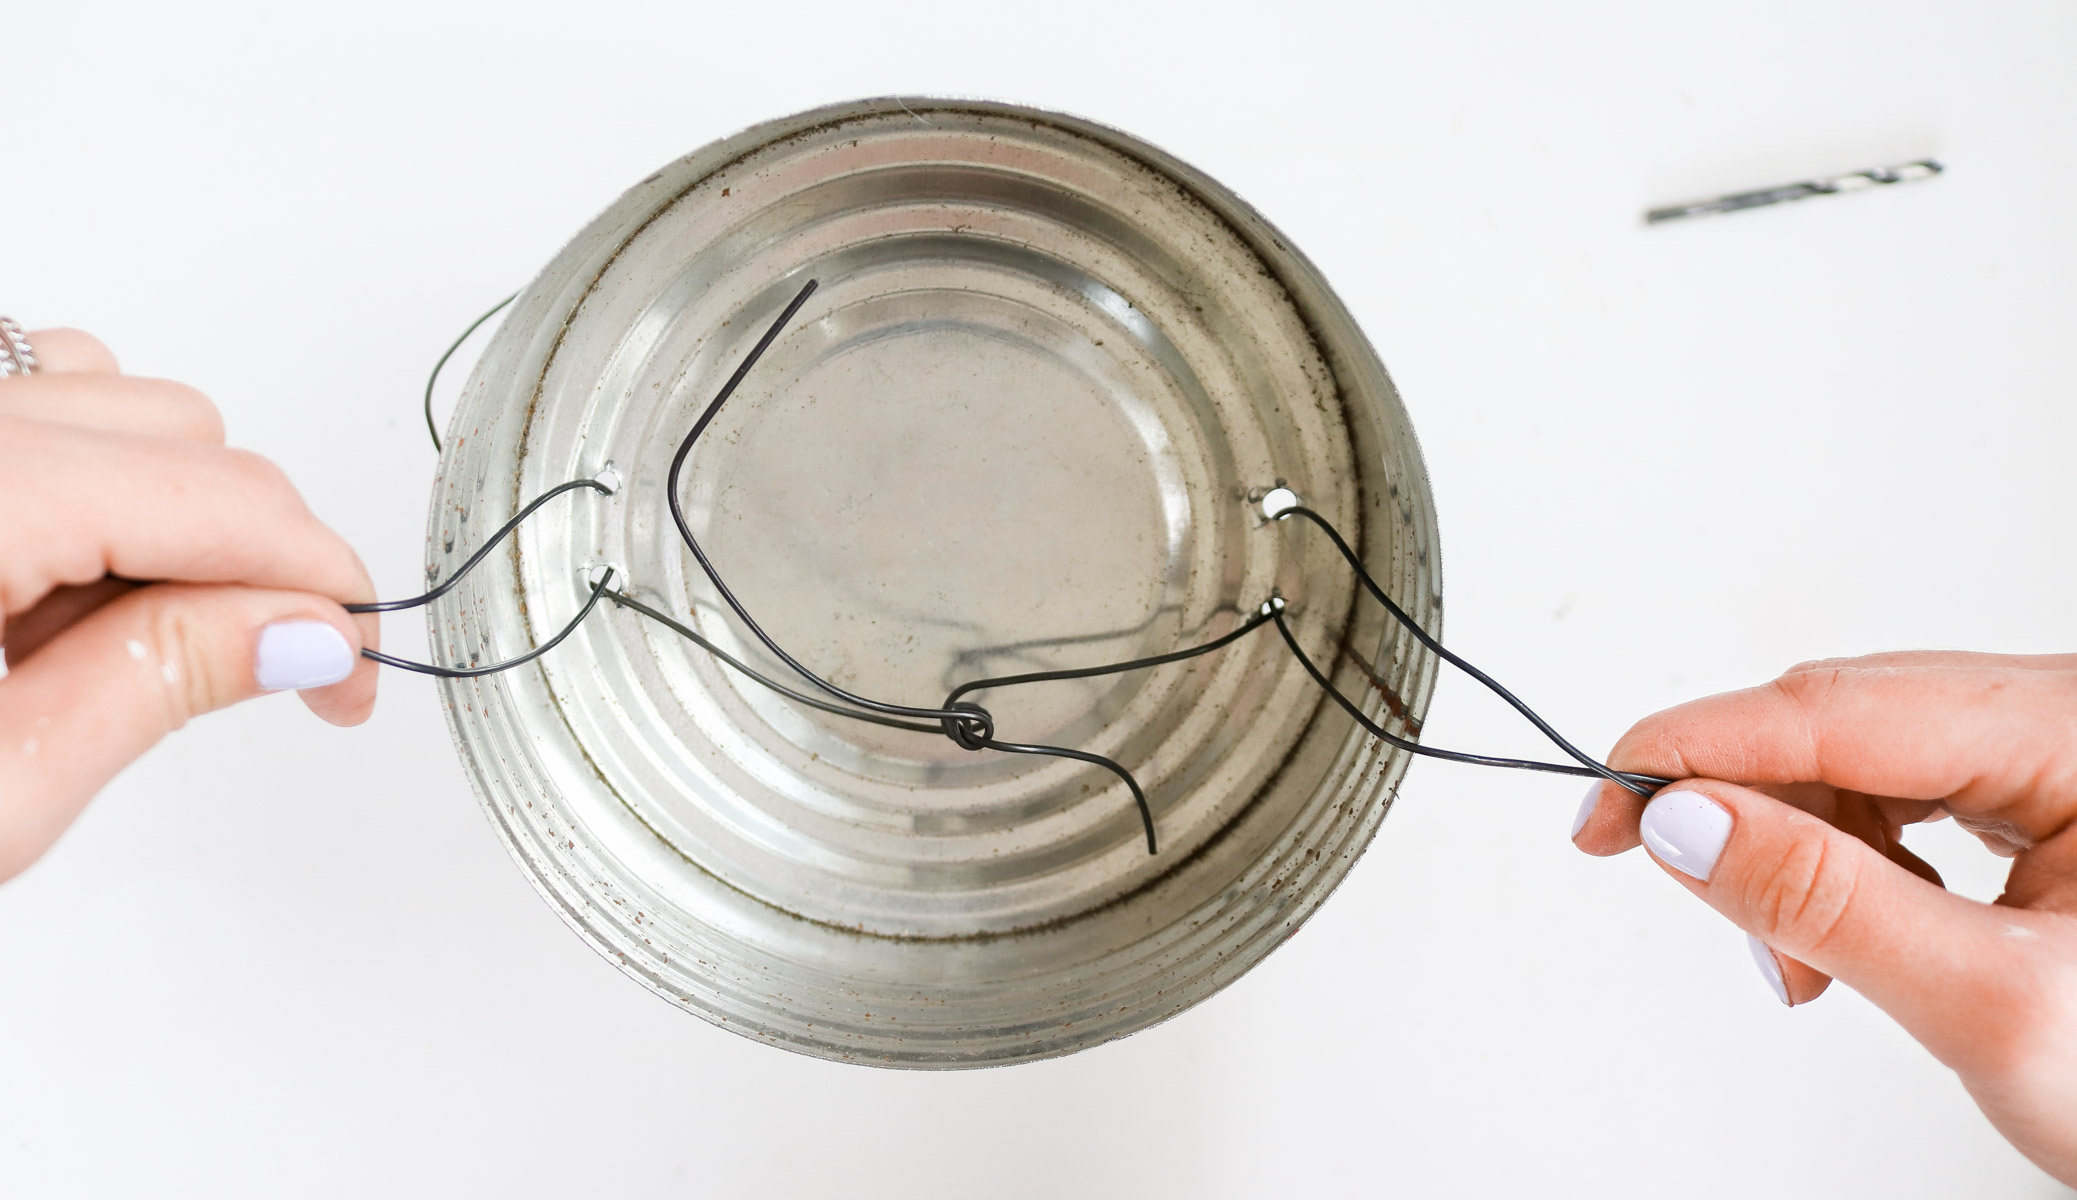
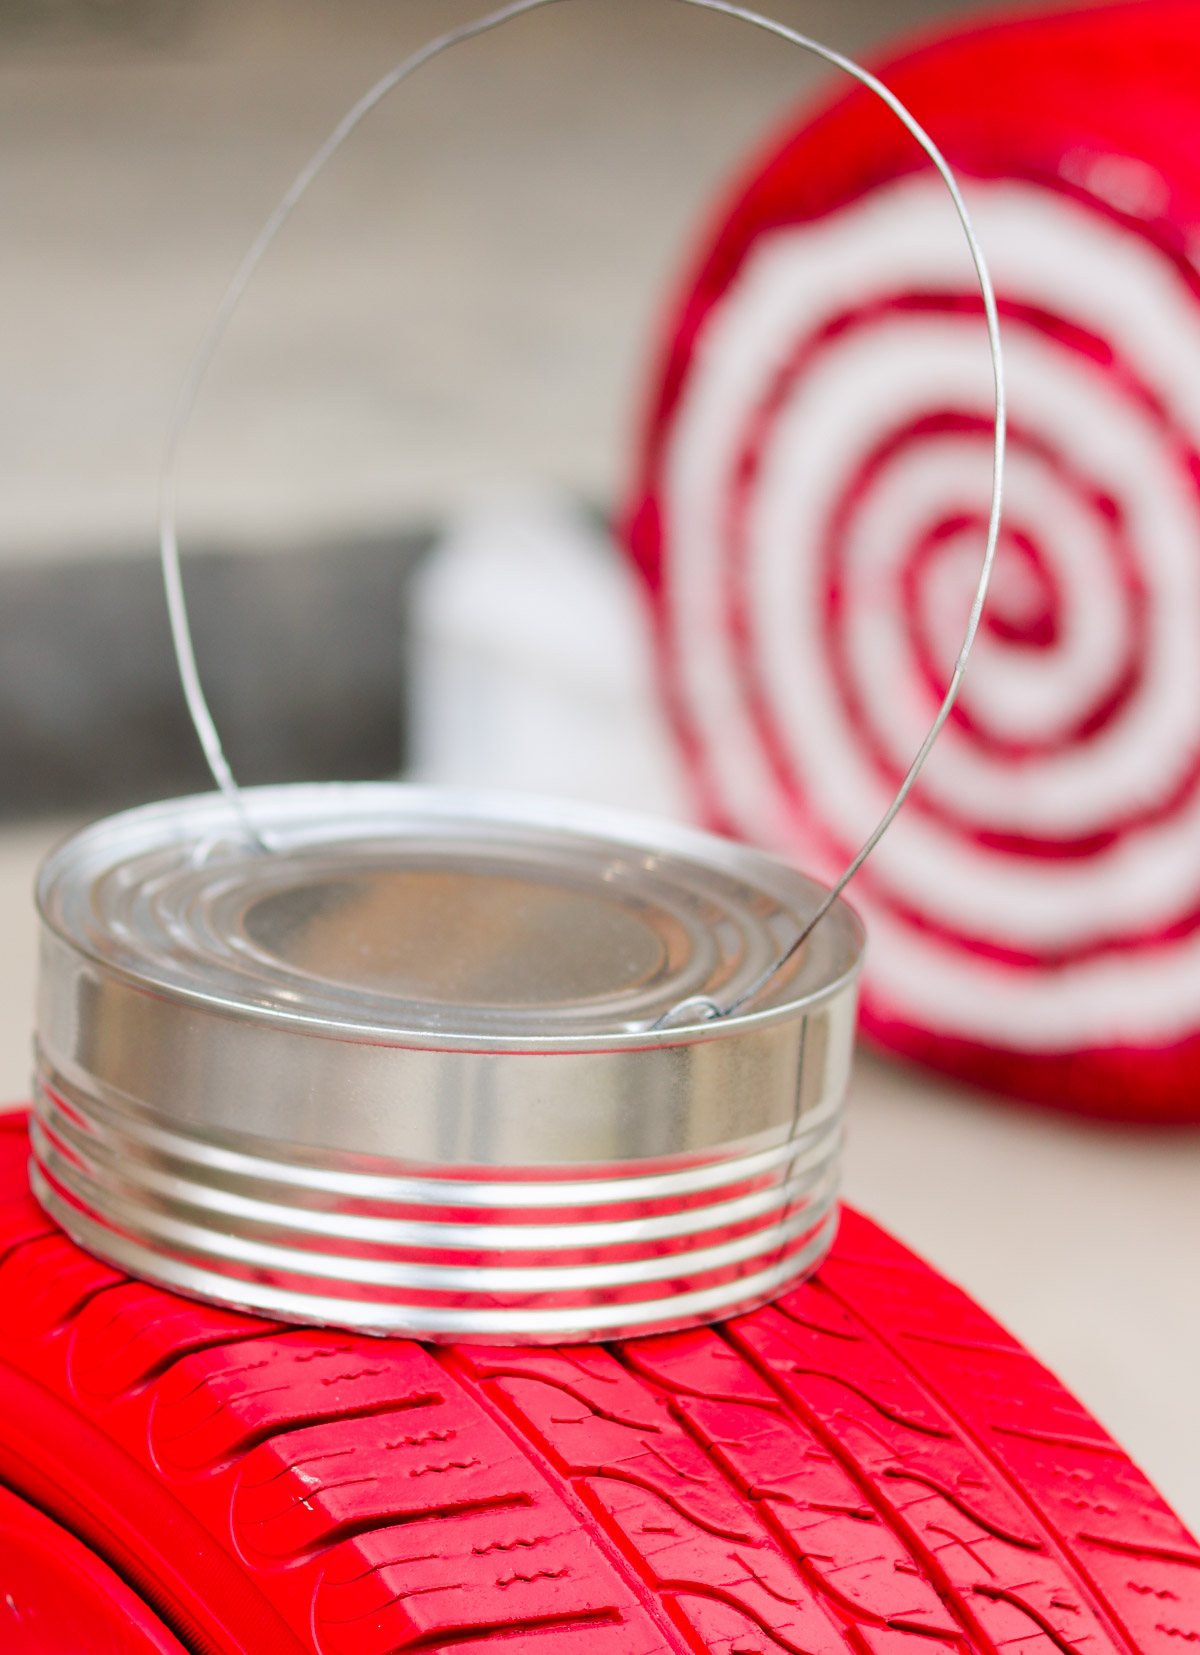
For my ornament cap I used an old tin can. You can also use a metal bucket if you find the perfect size. To begin I cut my tin can in half with a grinder. ( ps. this tin can stored pistachios in it’s past life) Than I drilled two holes on both sides of the bottom of the can and feed through two long pieces of wire.
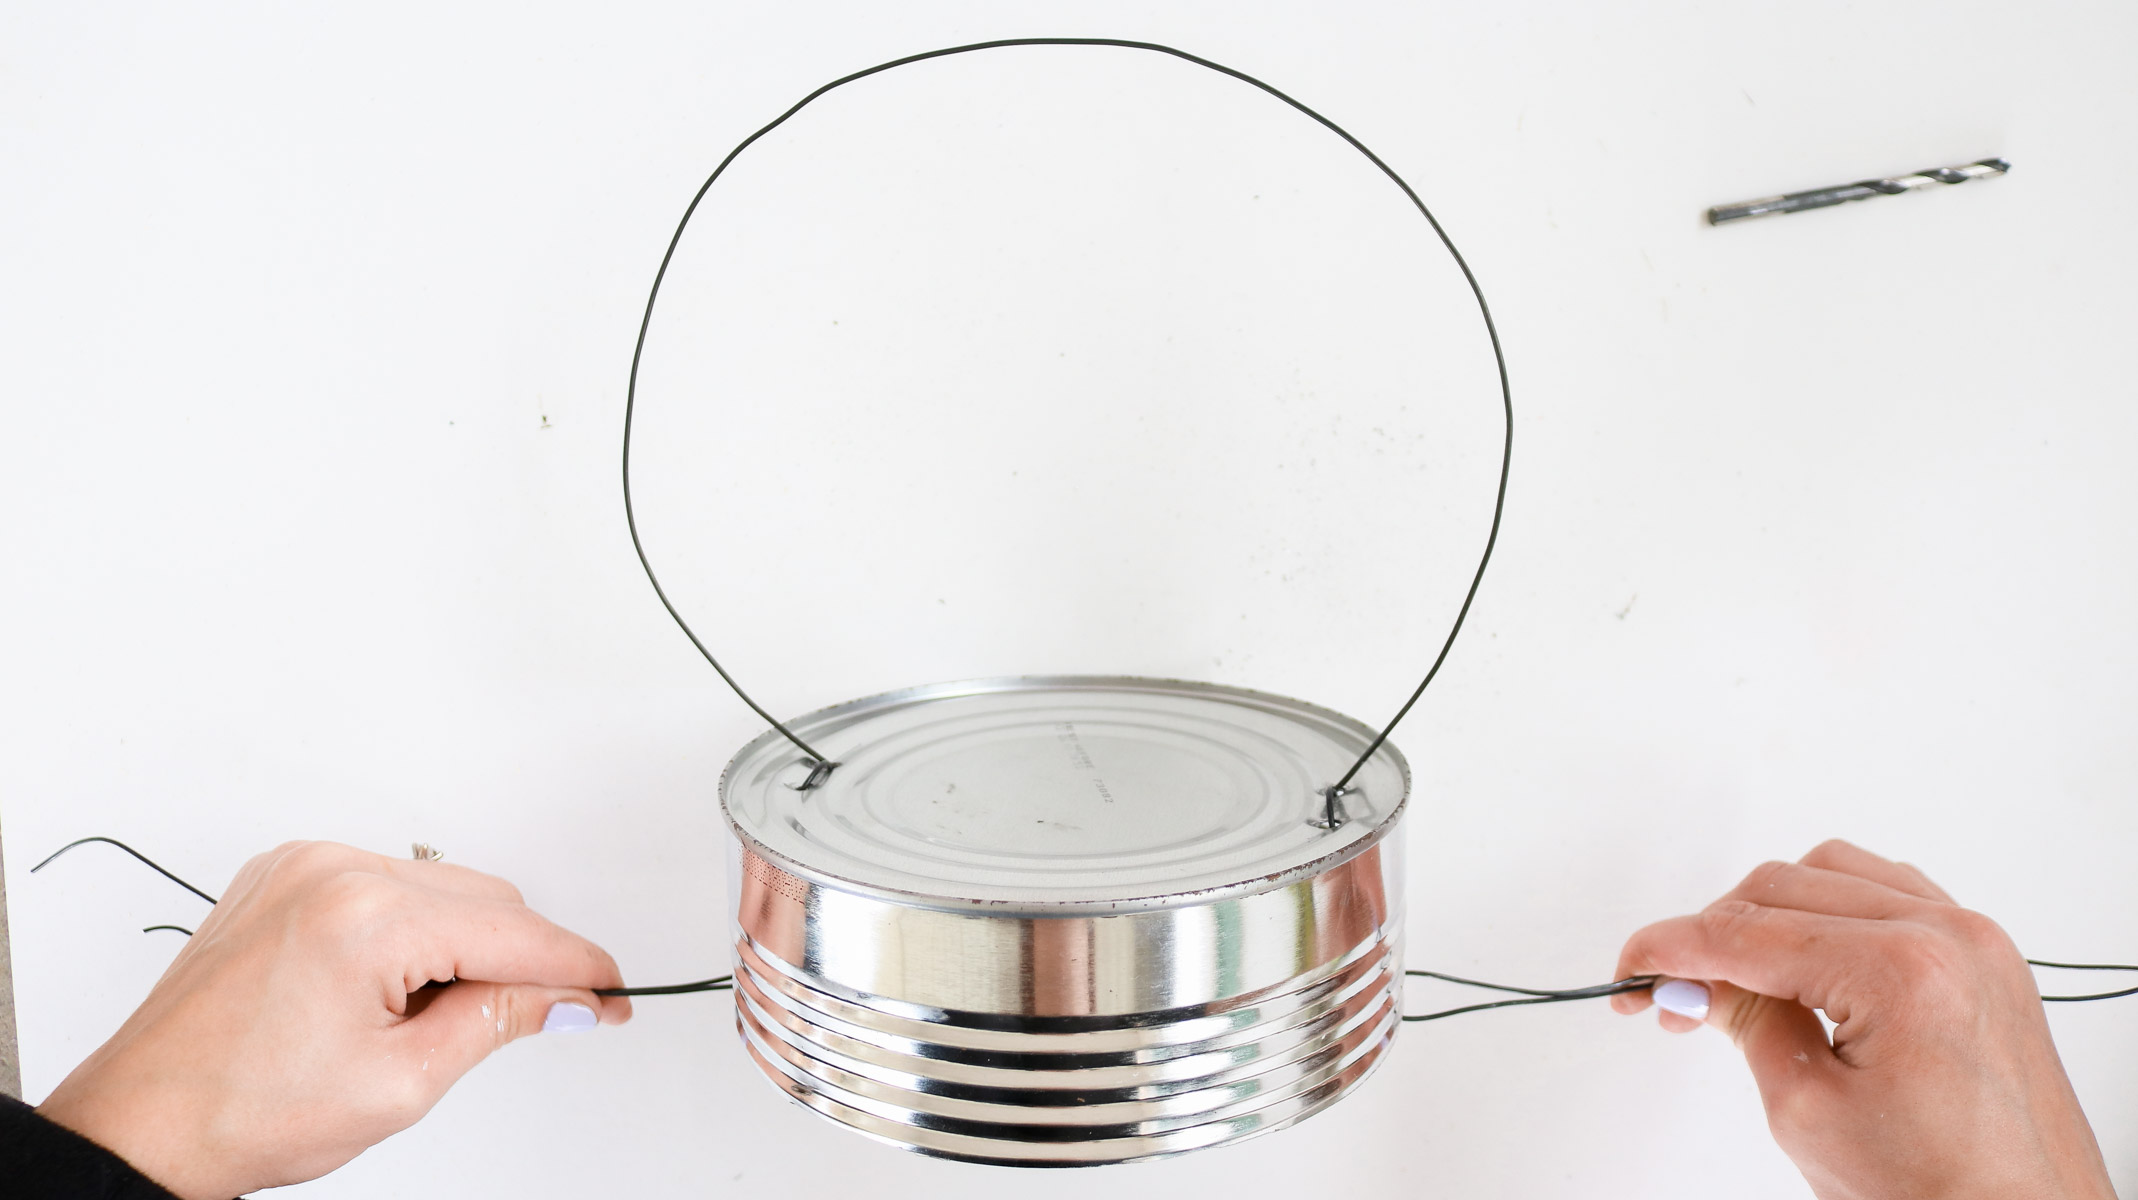
Like this! 😃 Next I made a half circle with another piece of wire and feed in into the tin can as well. I flipped the tin can over and twisted the two wires from the circle together. Than I spray painted the whole thing with metallic silver spray paint and it was ready to go on the tire.How to attach the ornament cap!
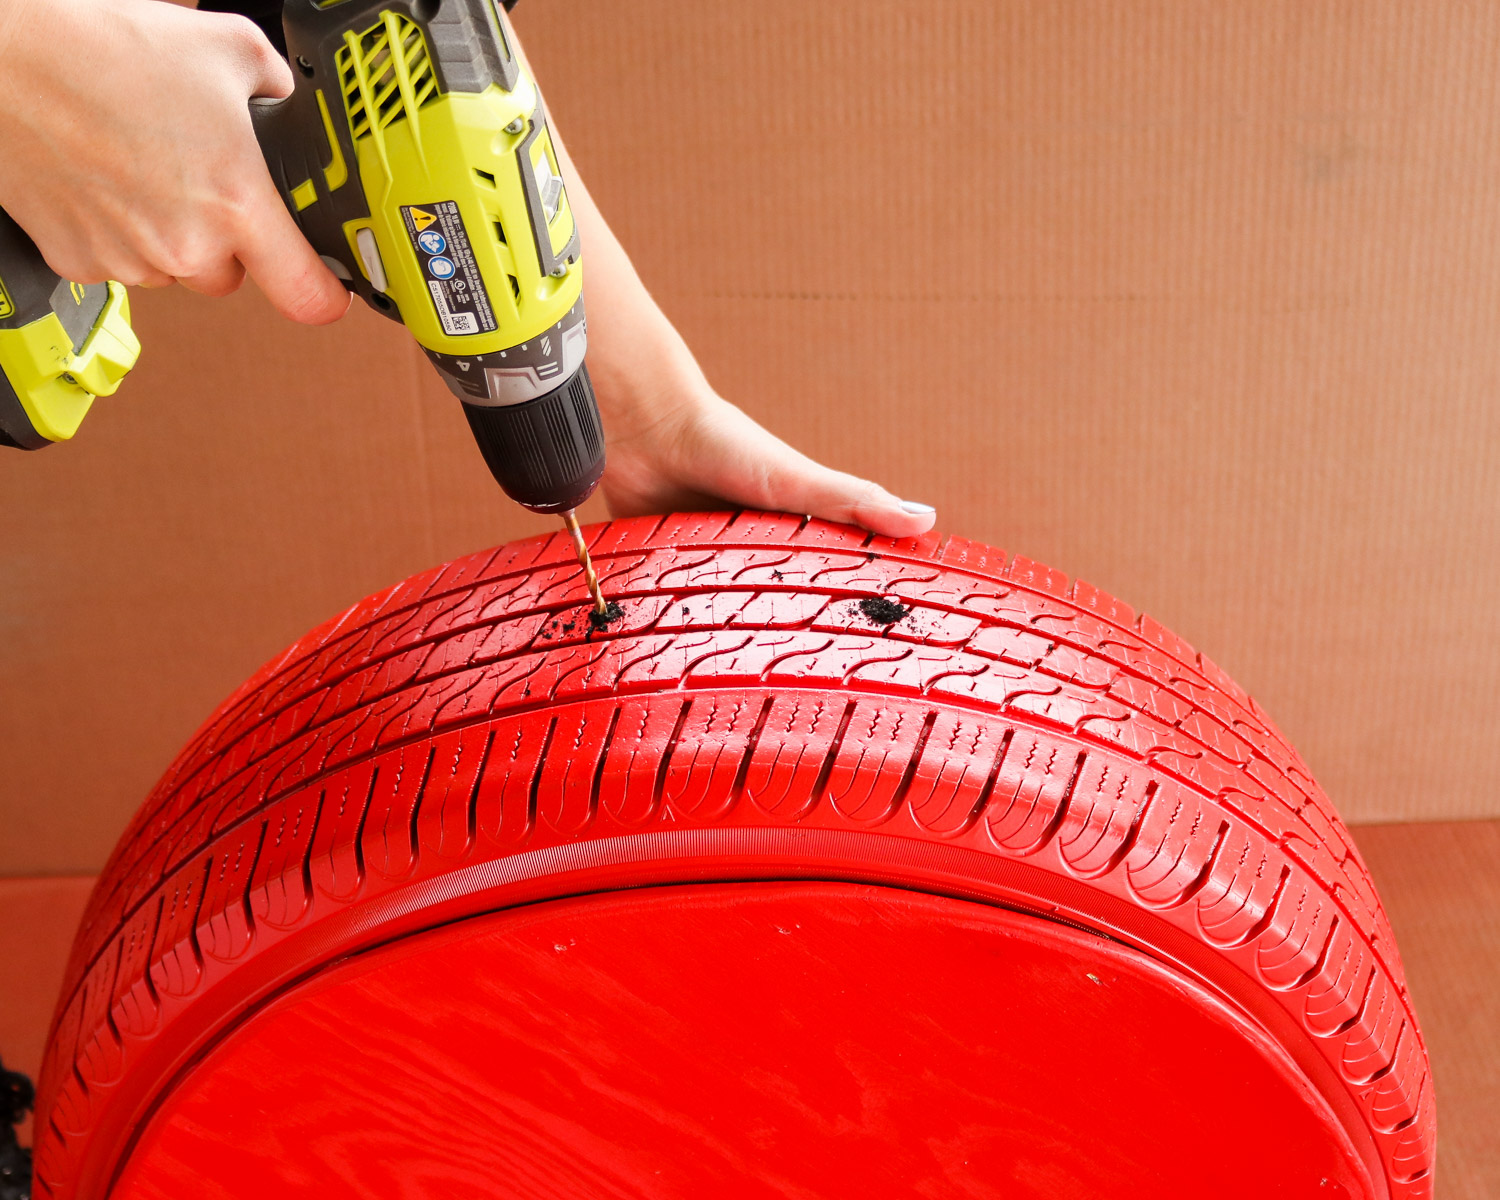
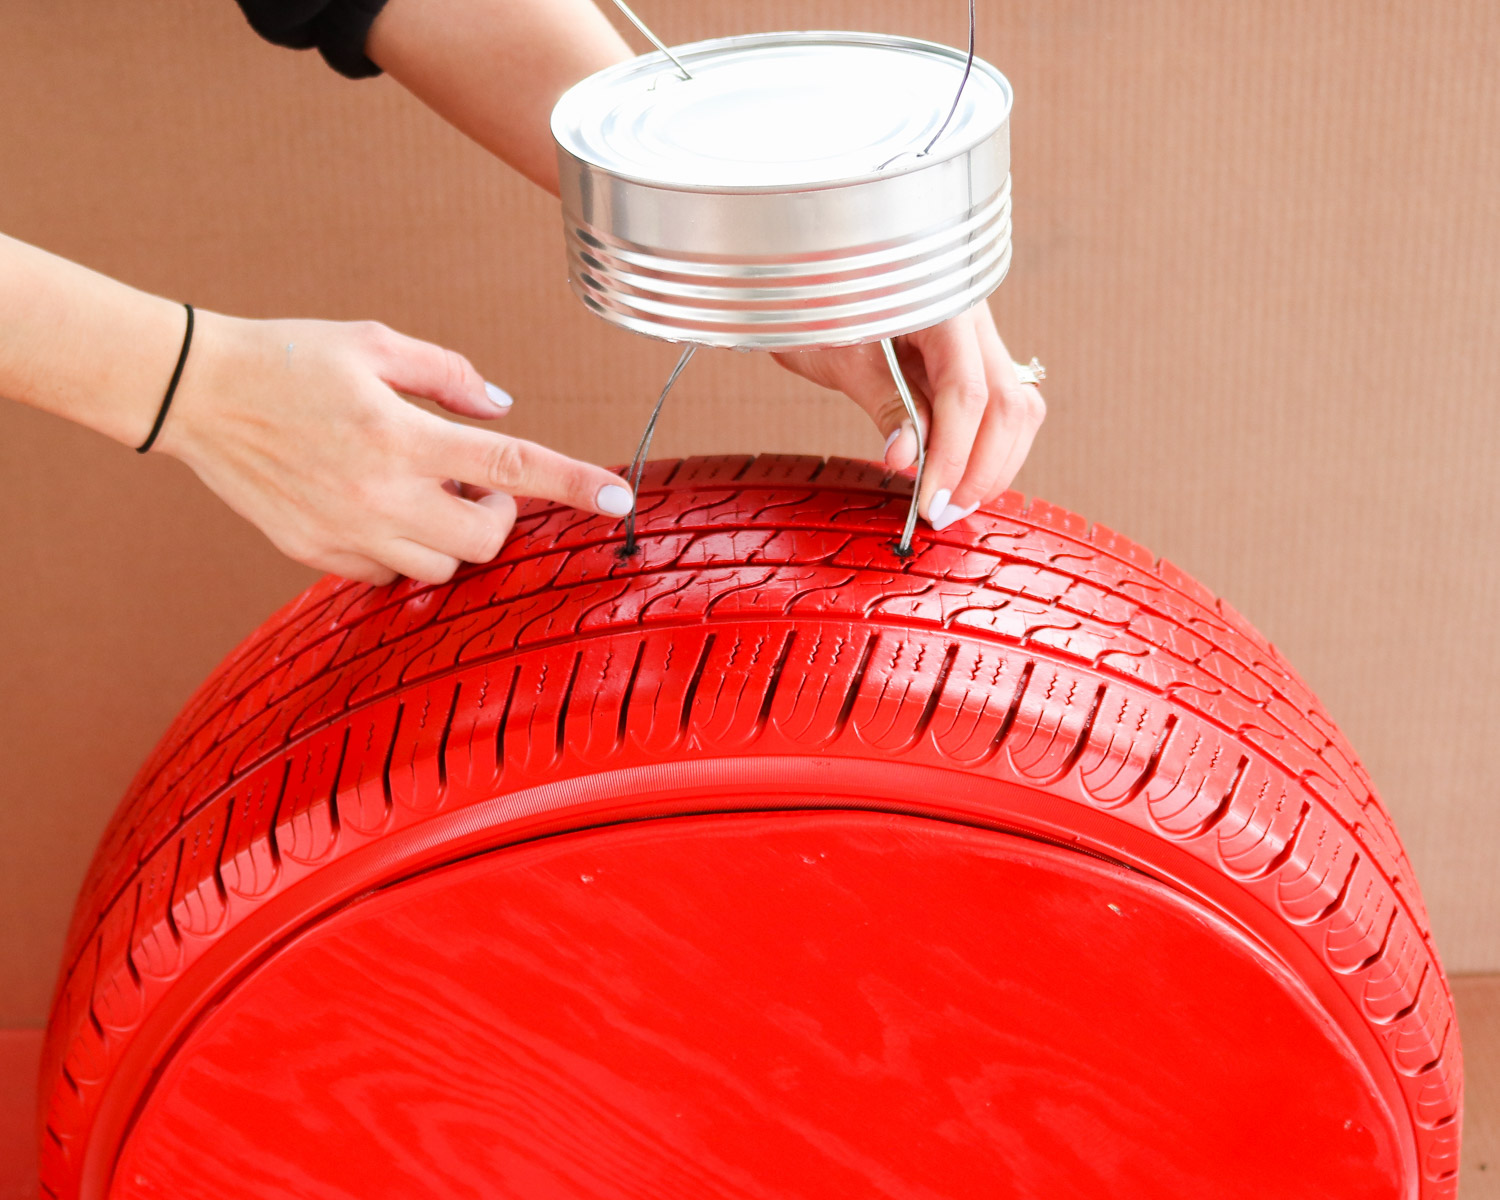
To attach it to the tire I drilled two holes at the top of the tire about 3 inches apart. Make sure you don’t drill your holes to far apart or else you’ll see them past the tin can.
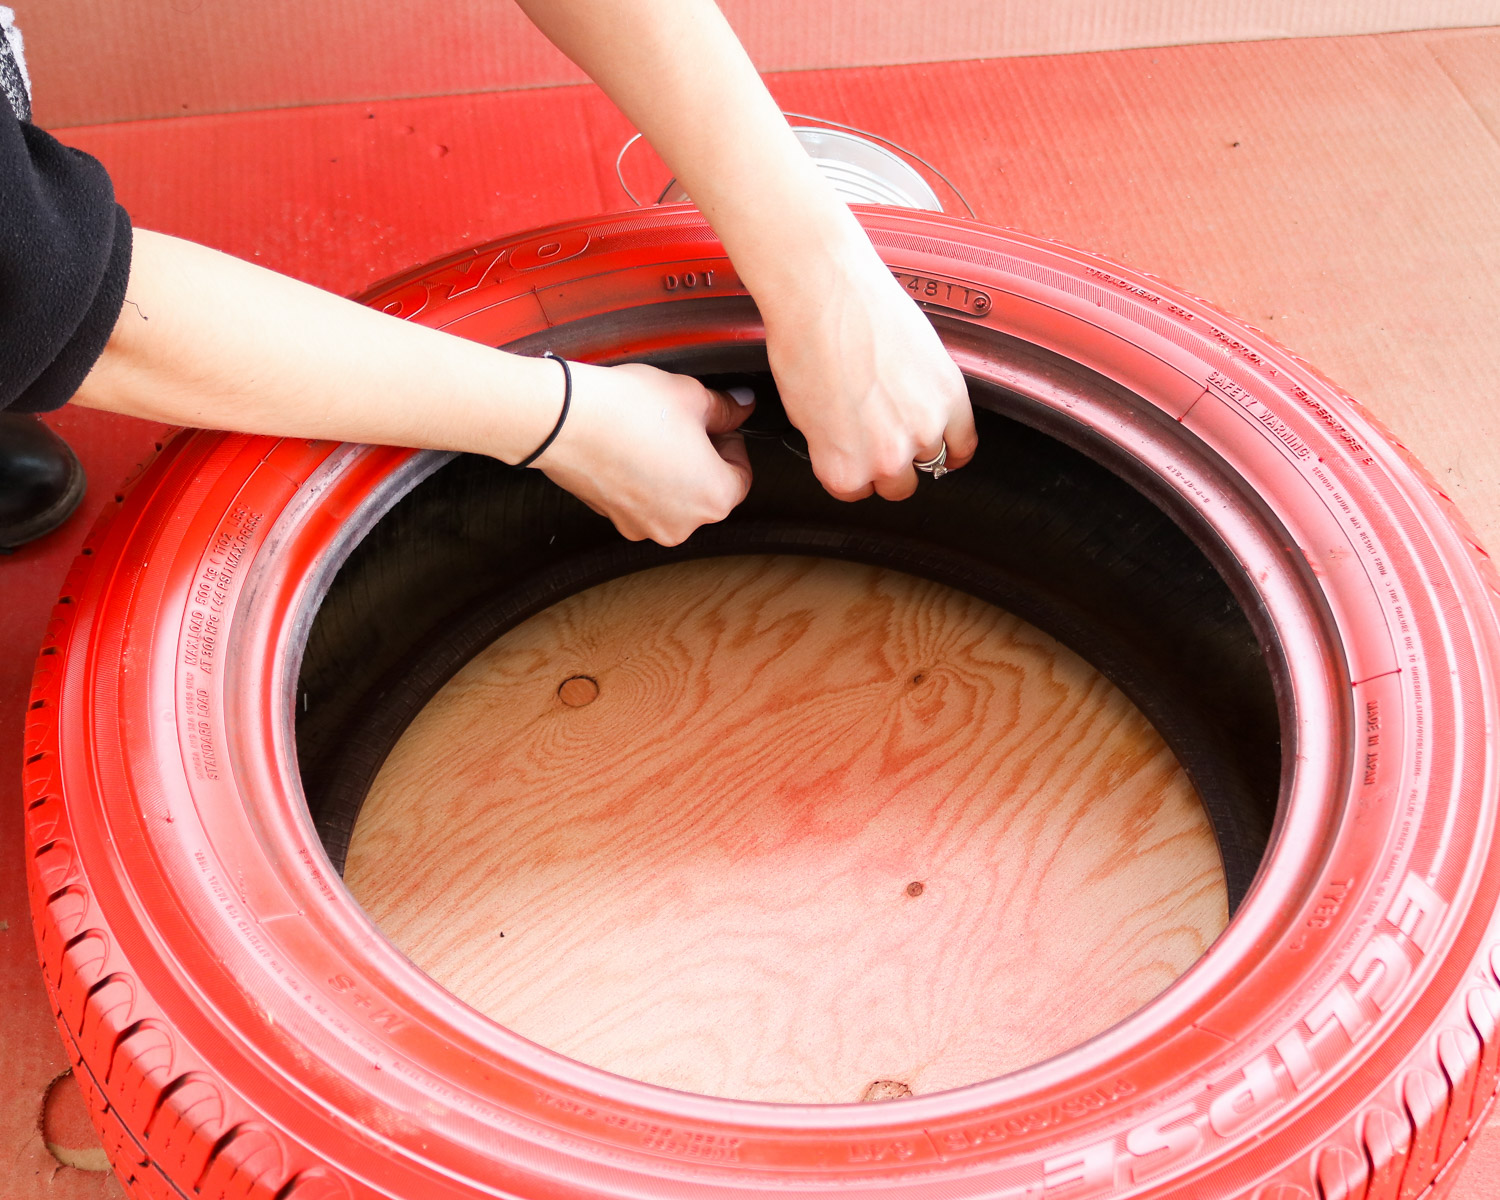
Then I fed the two wire tales that were sticking out from the bottom of the cap into the tire holes. I lay the tire down and twisted the two wires together to secure them.Decorating The Christmas Tire!
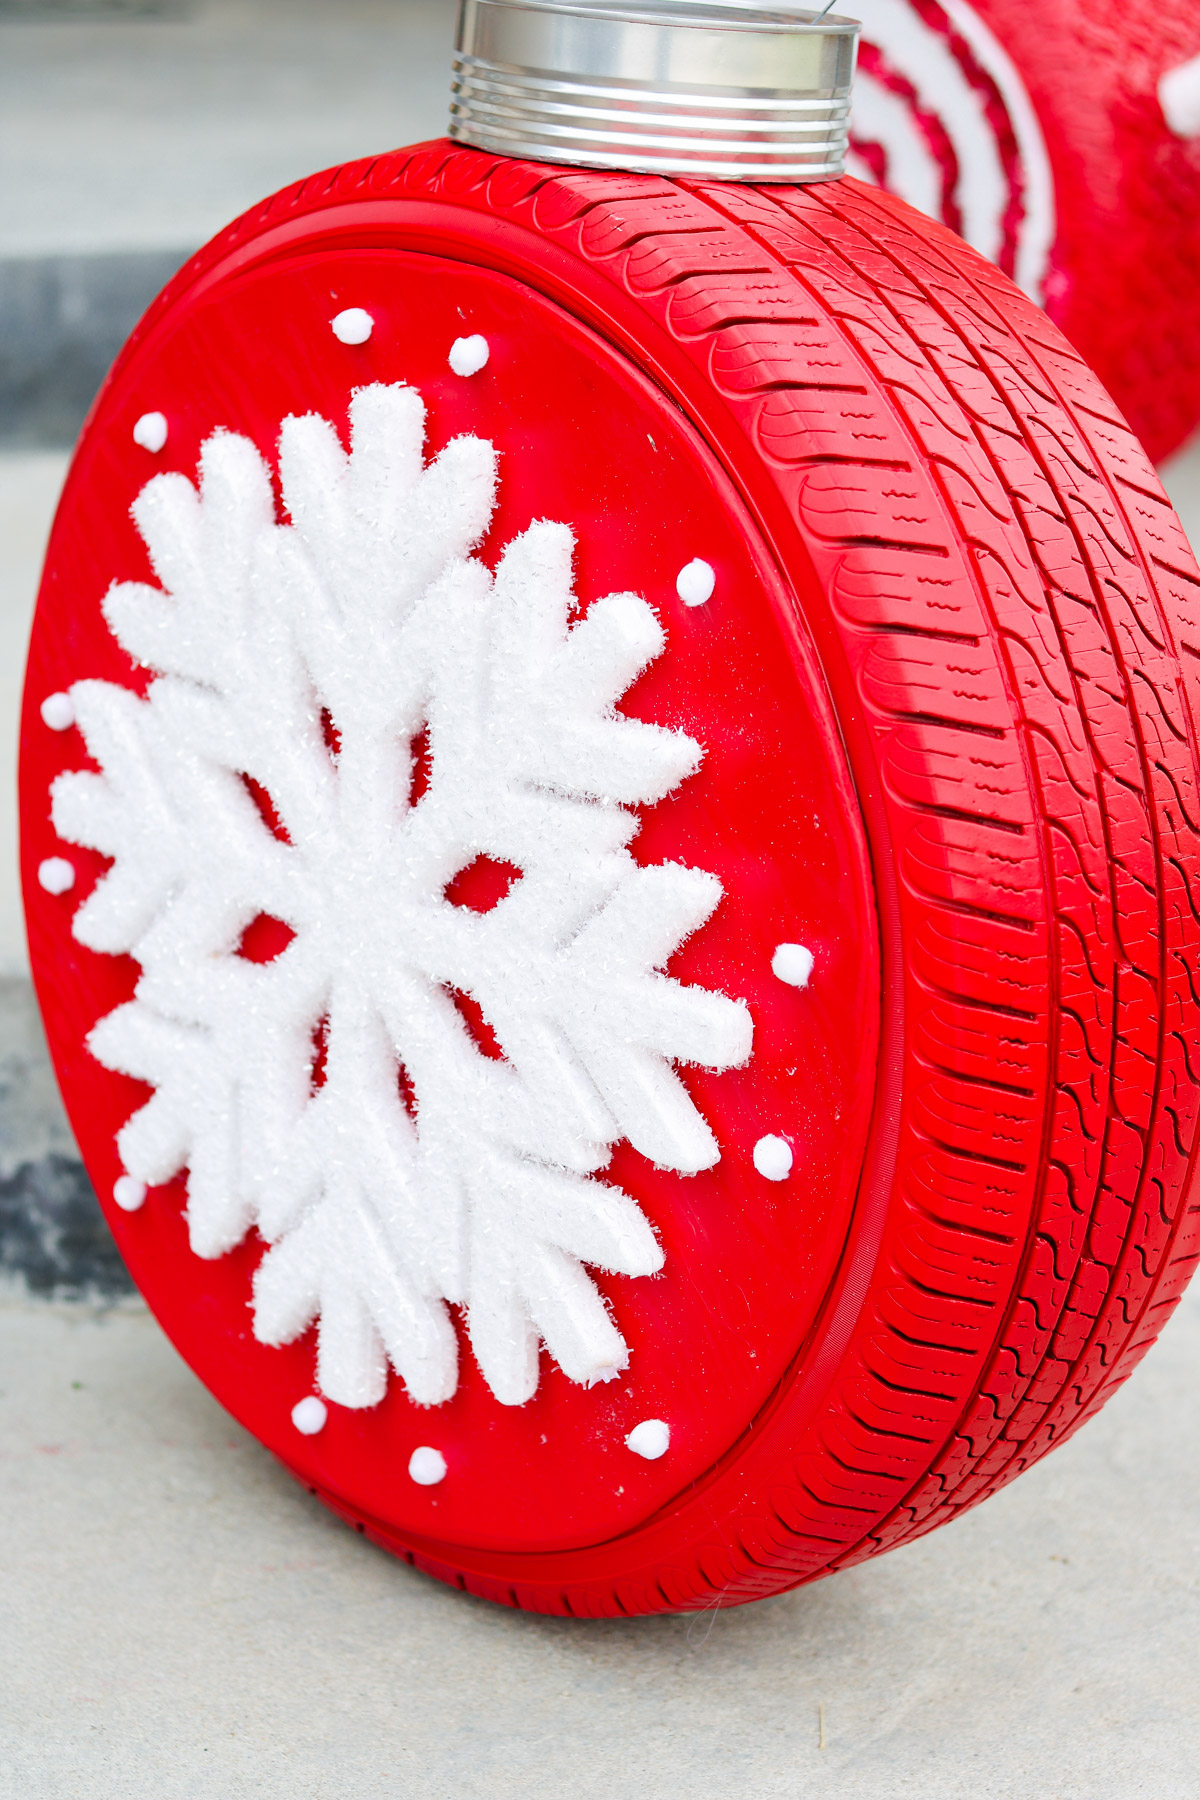
I got this snowflake at michaels. They also had some super cute place mat snowflakes that were a little bit smaller. If you want to add a qoute the dollar store sells some wooden signs with christmas qoutes. To attach my snowflake I just hot glued it with some pom poms around. If you’re worried about the hot glue not holding up so well outside you can use E6000 glue. That stuff is super strong!
Creating Wrappers For The Candy Christmas Tire!
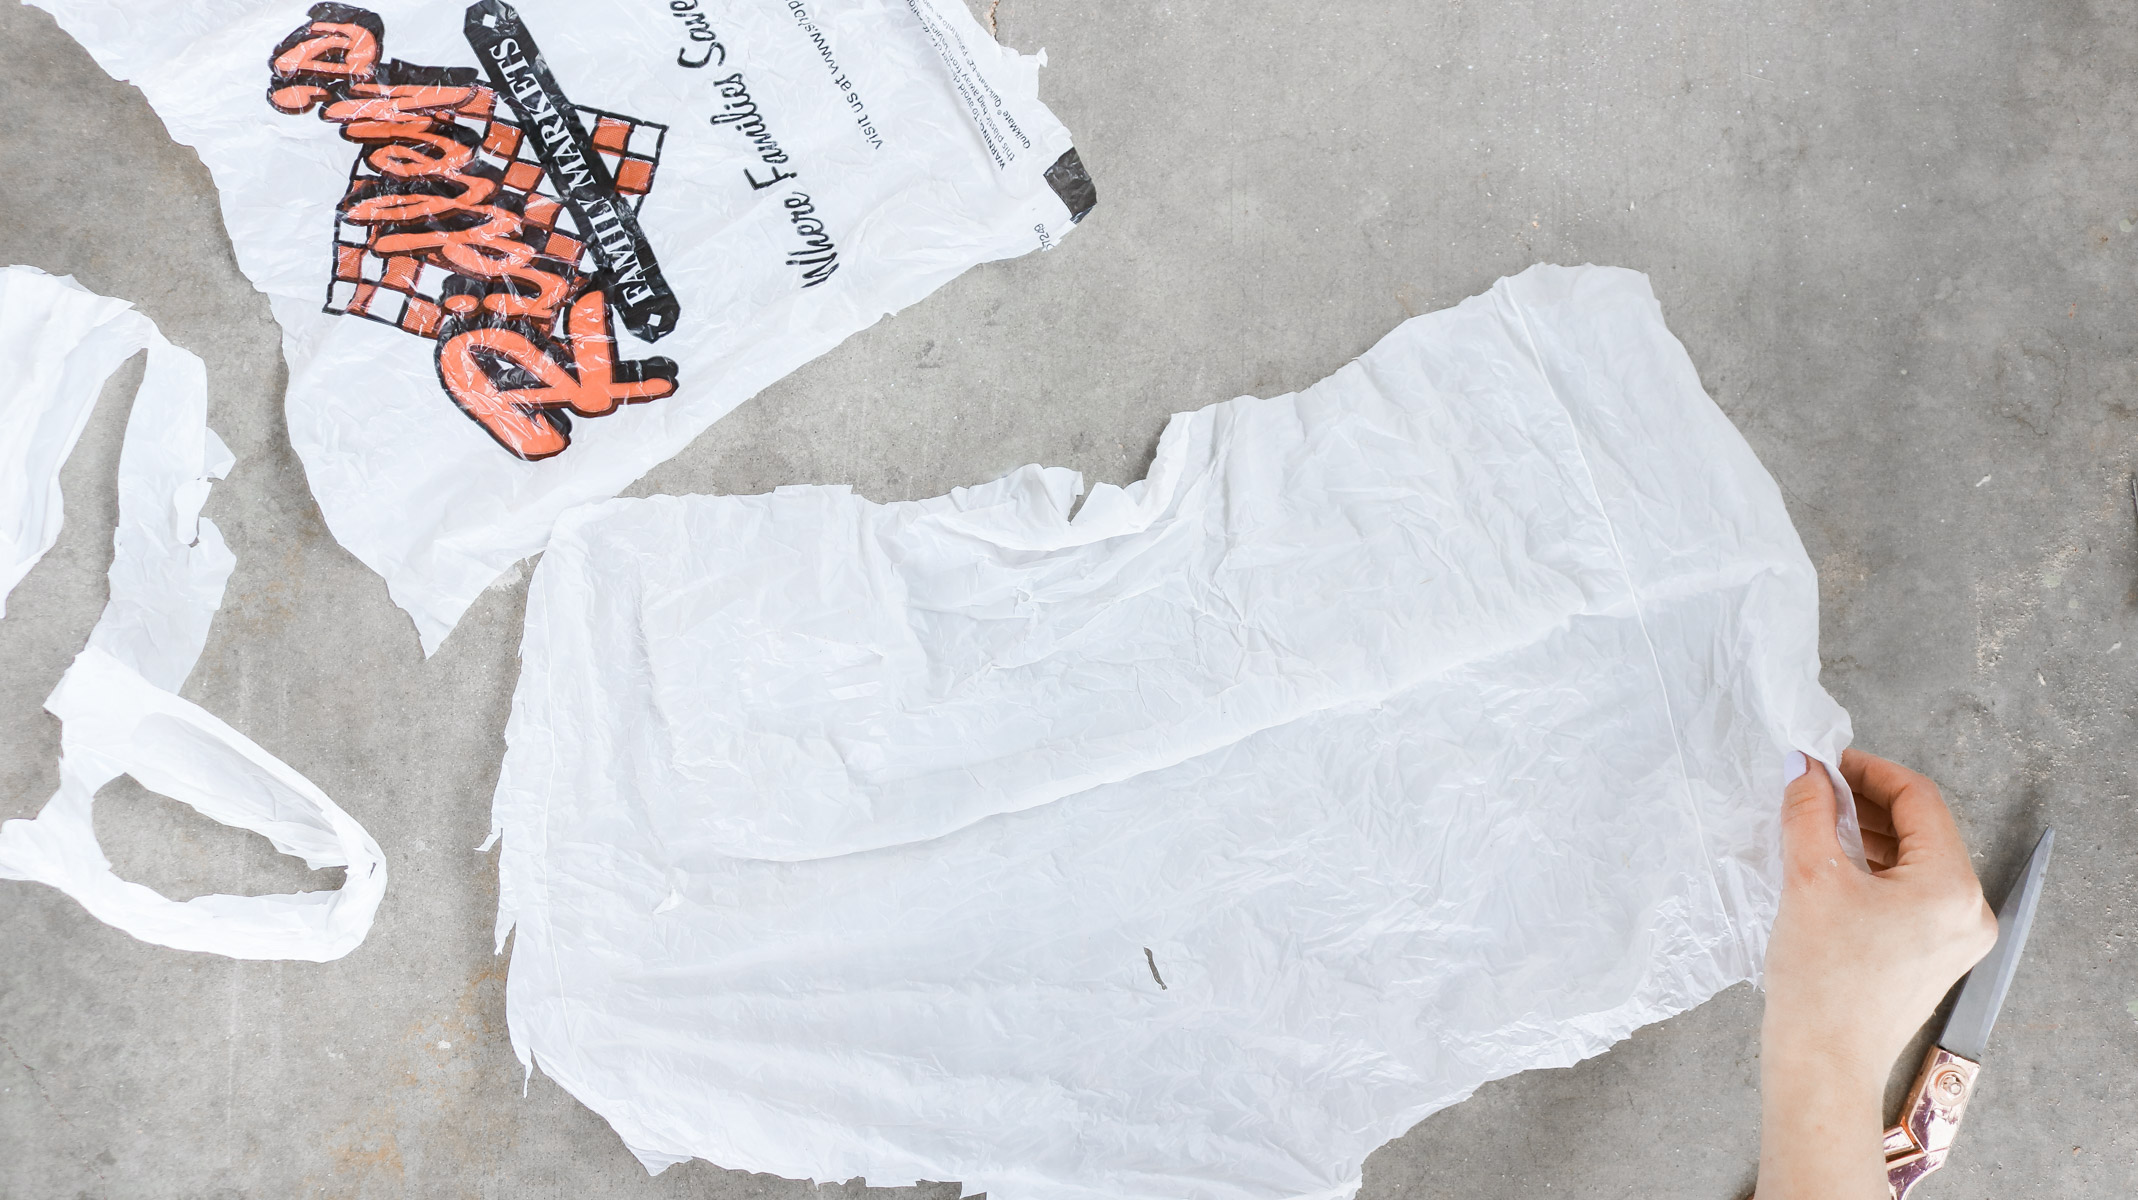
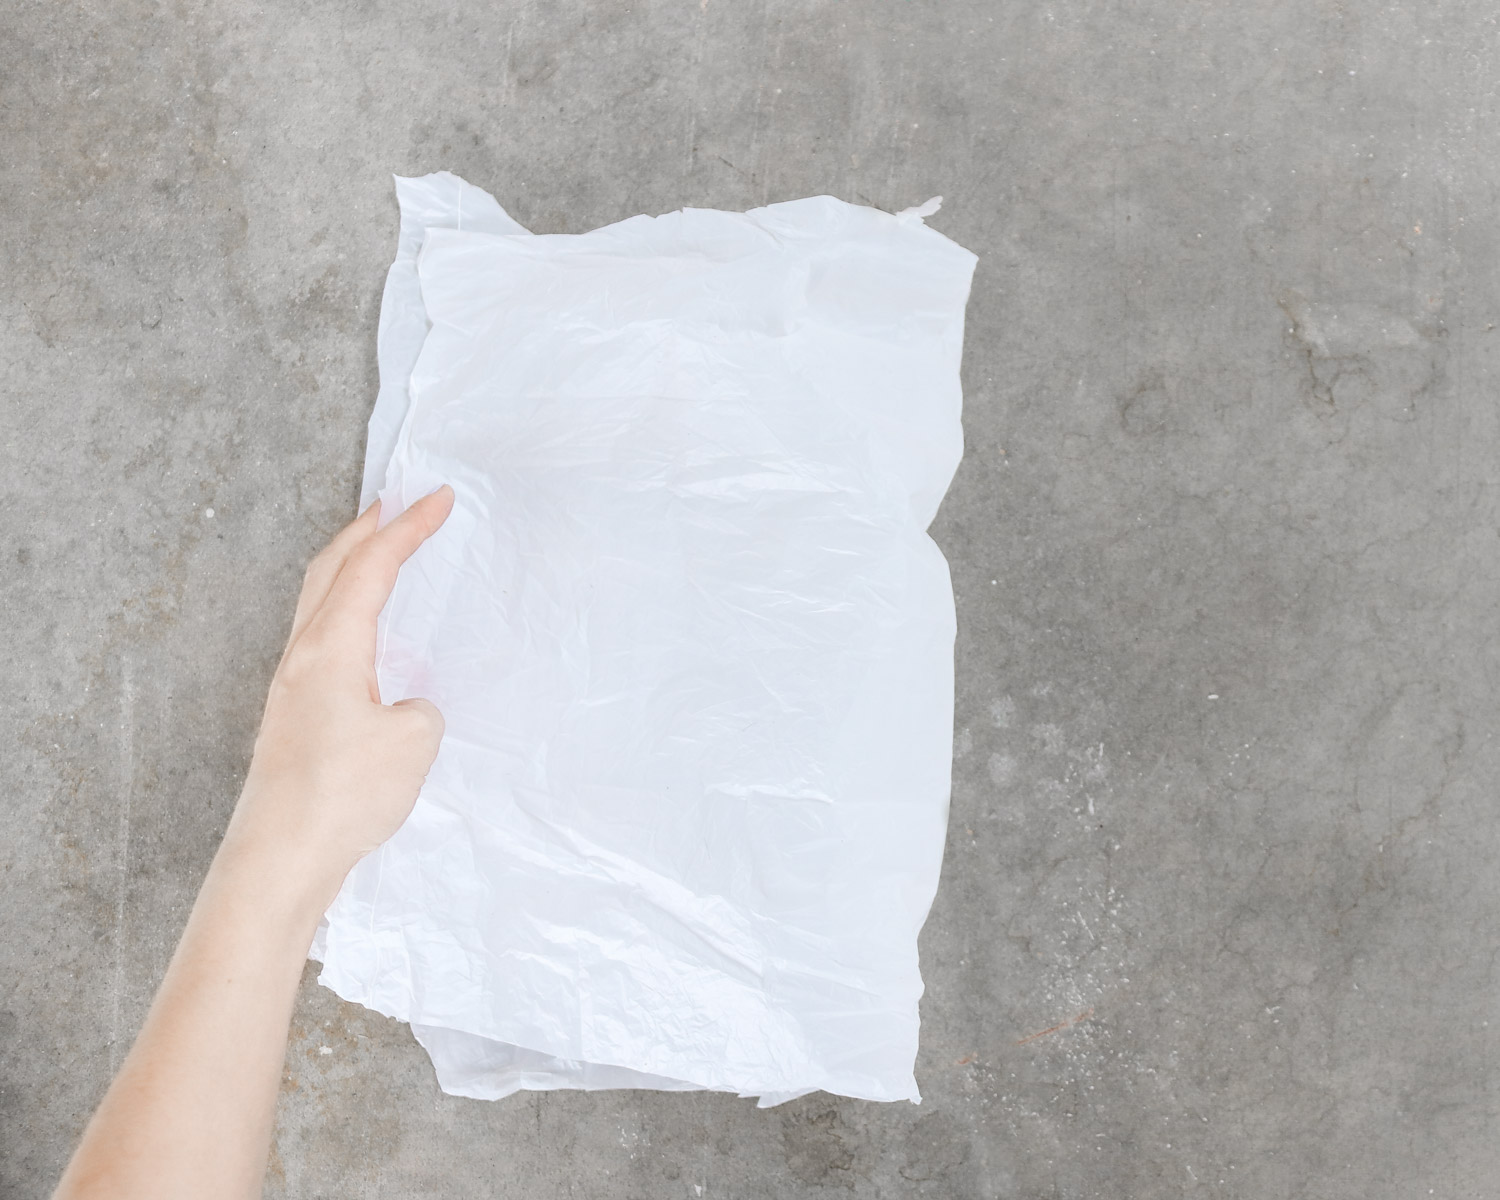
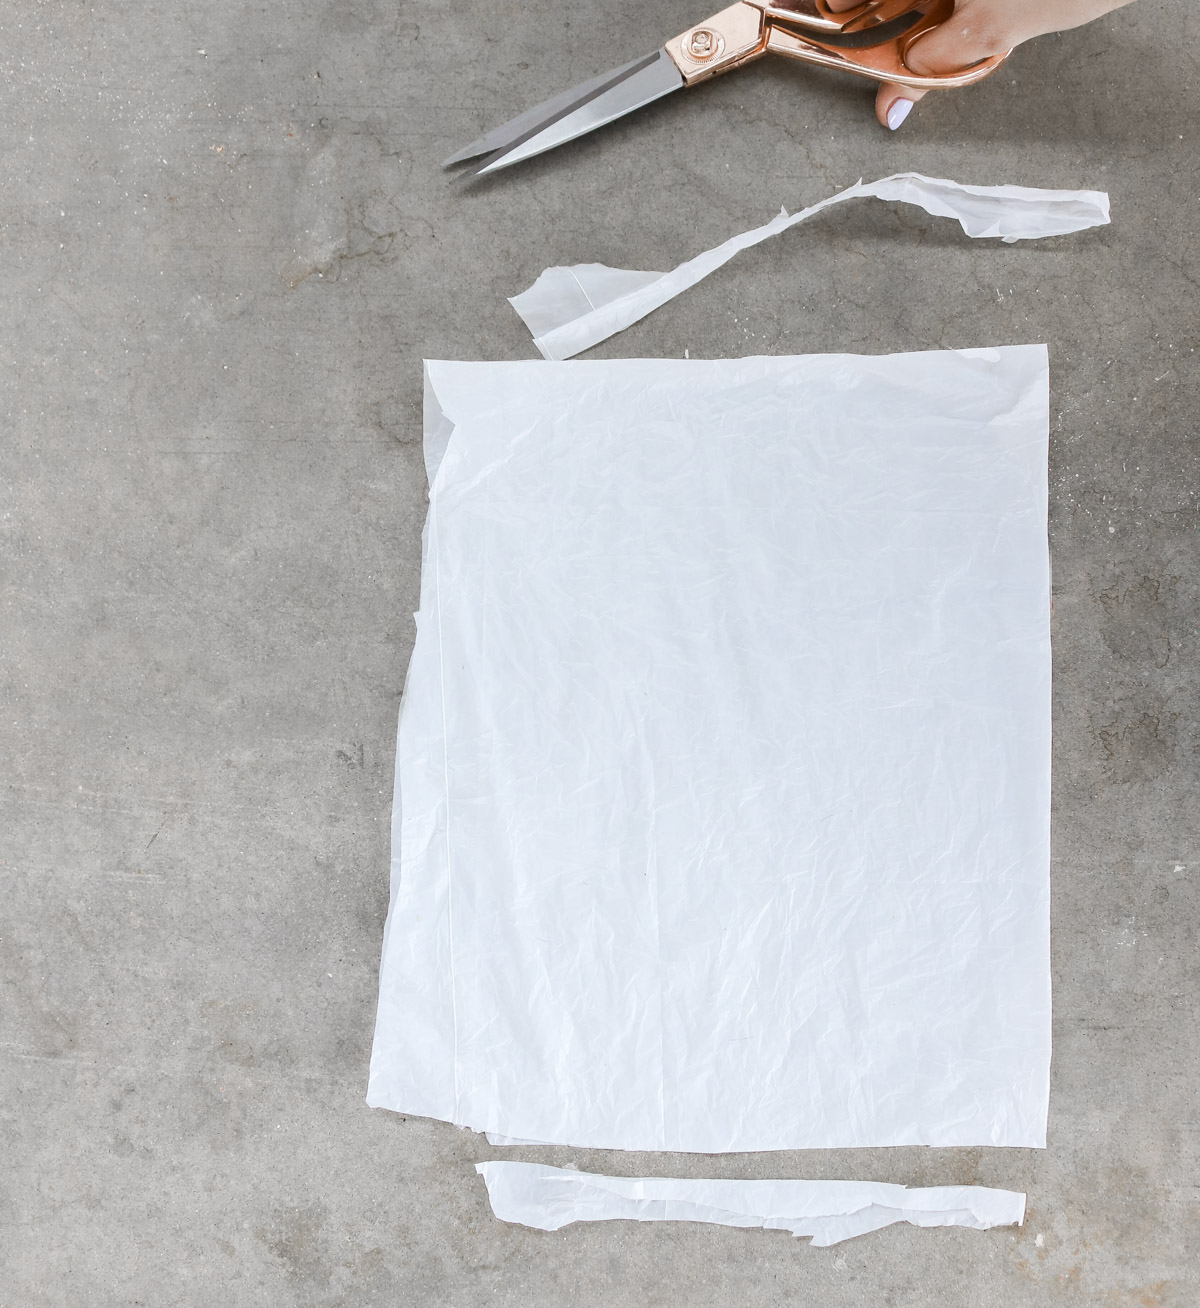
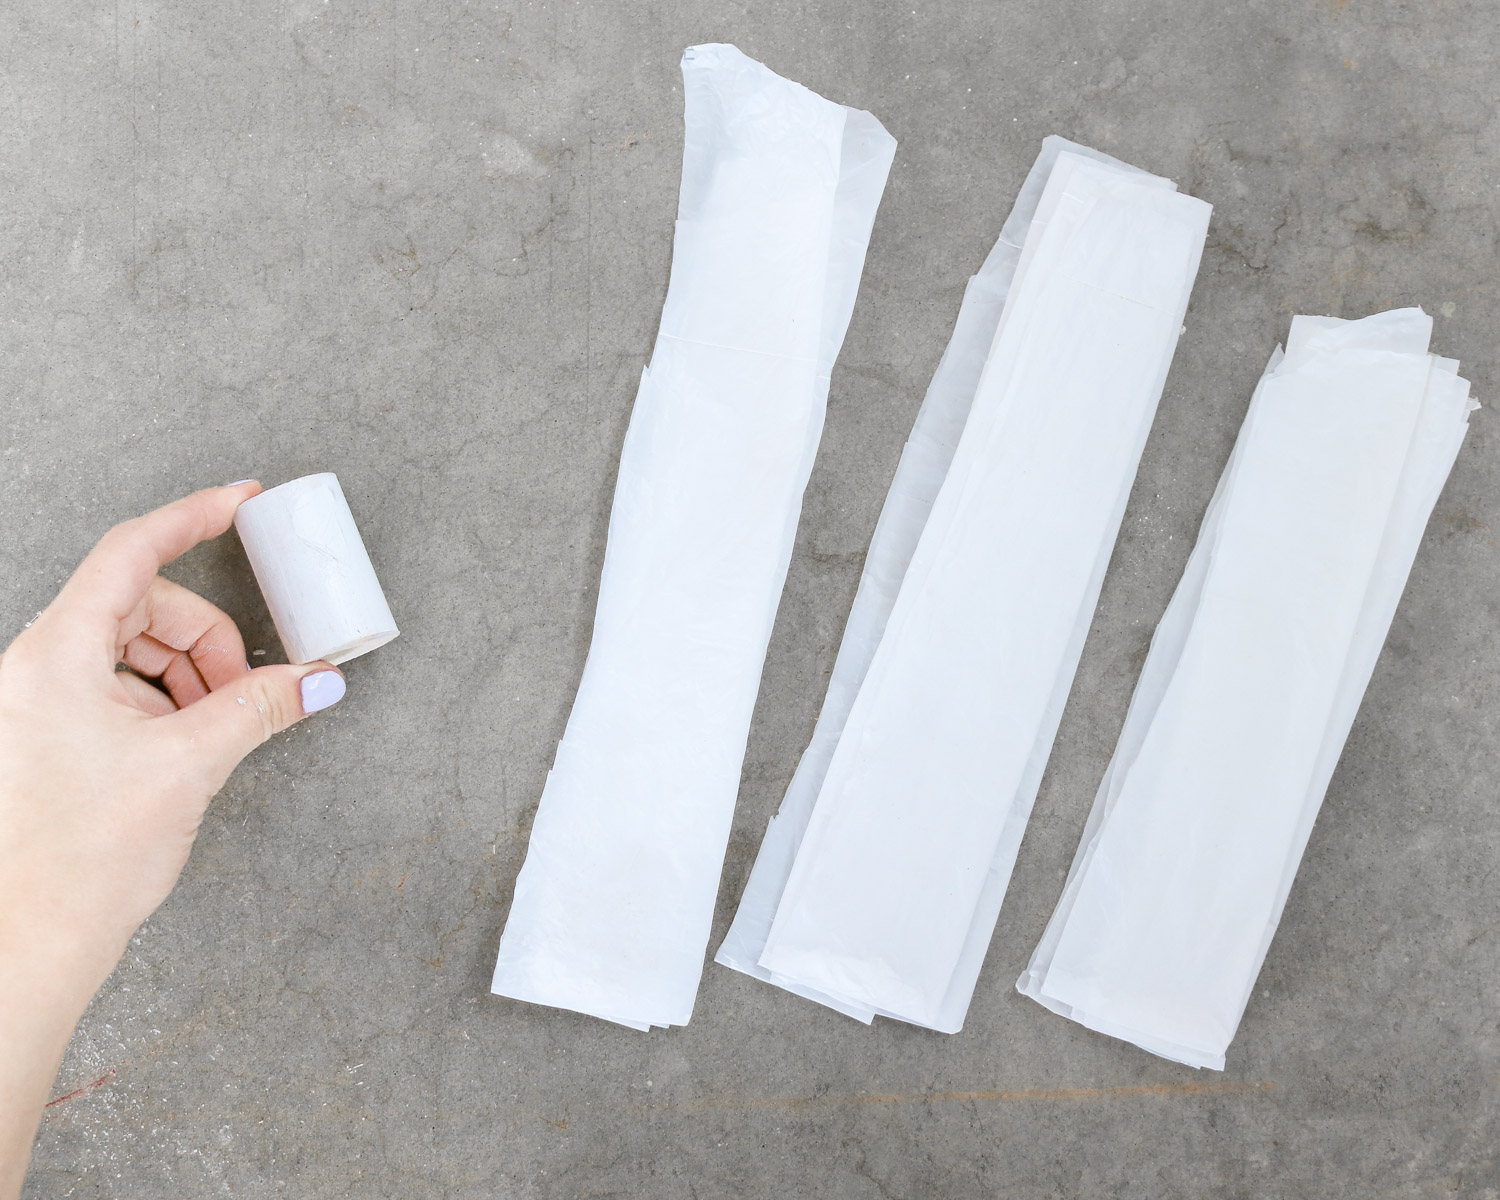
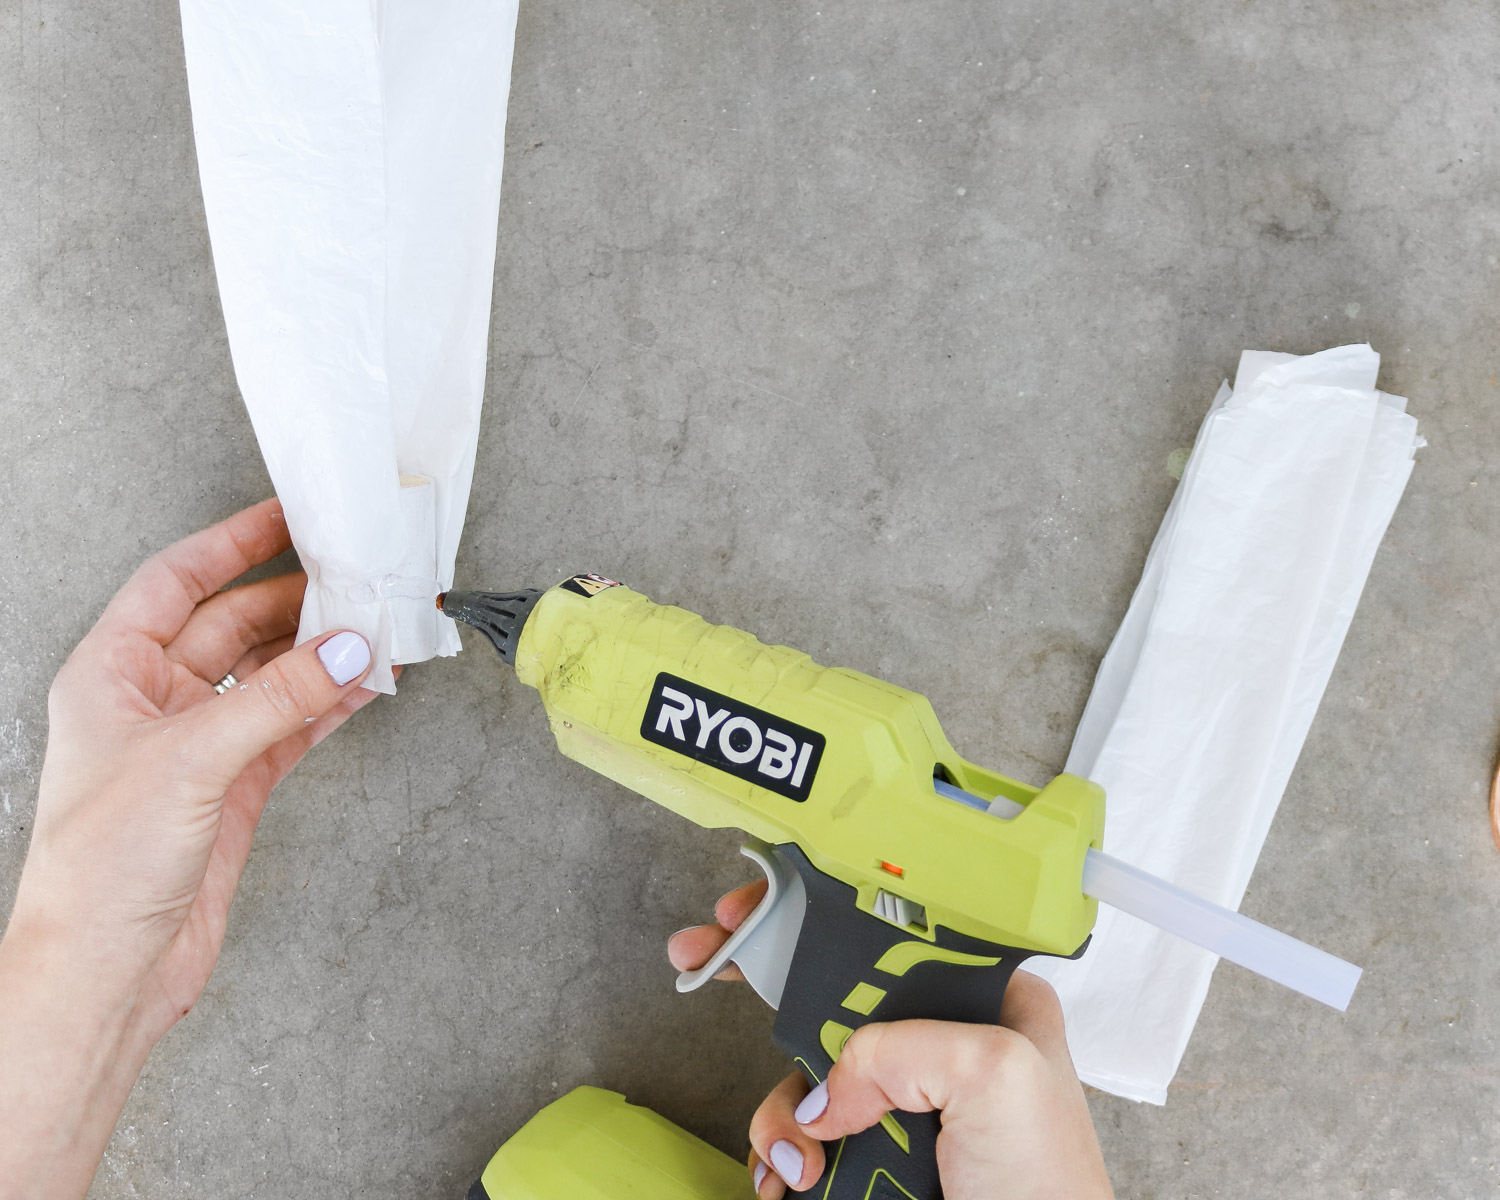
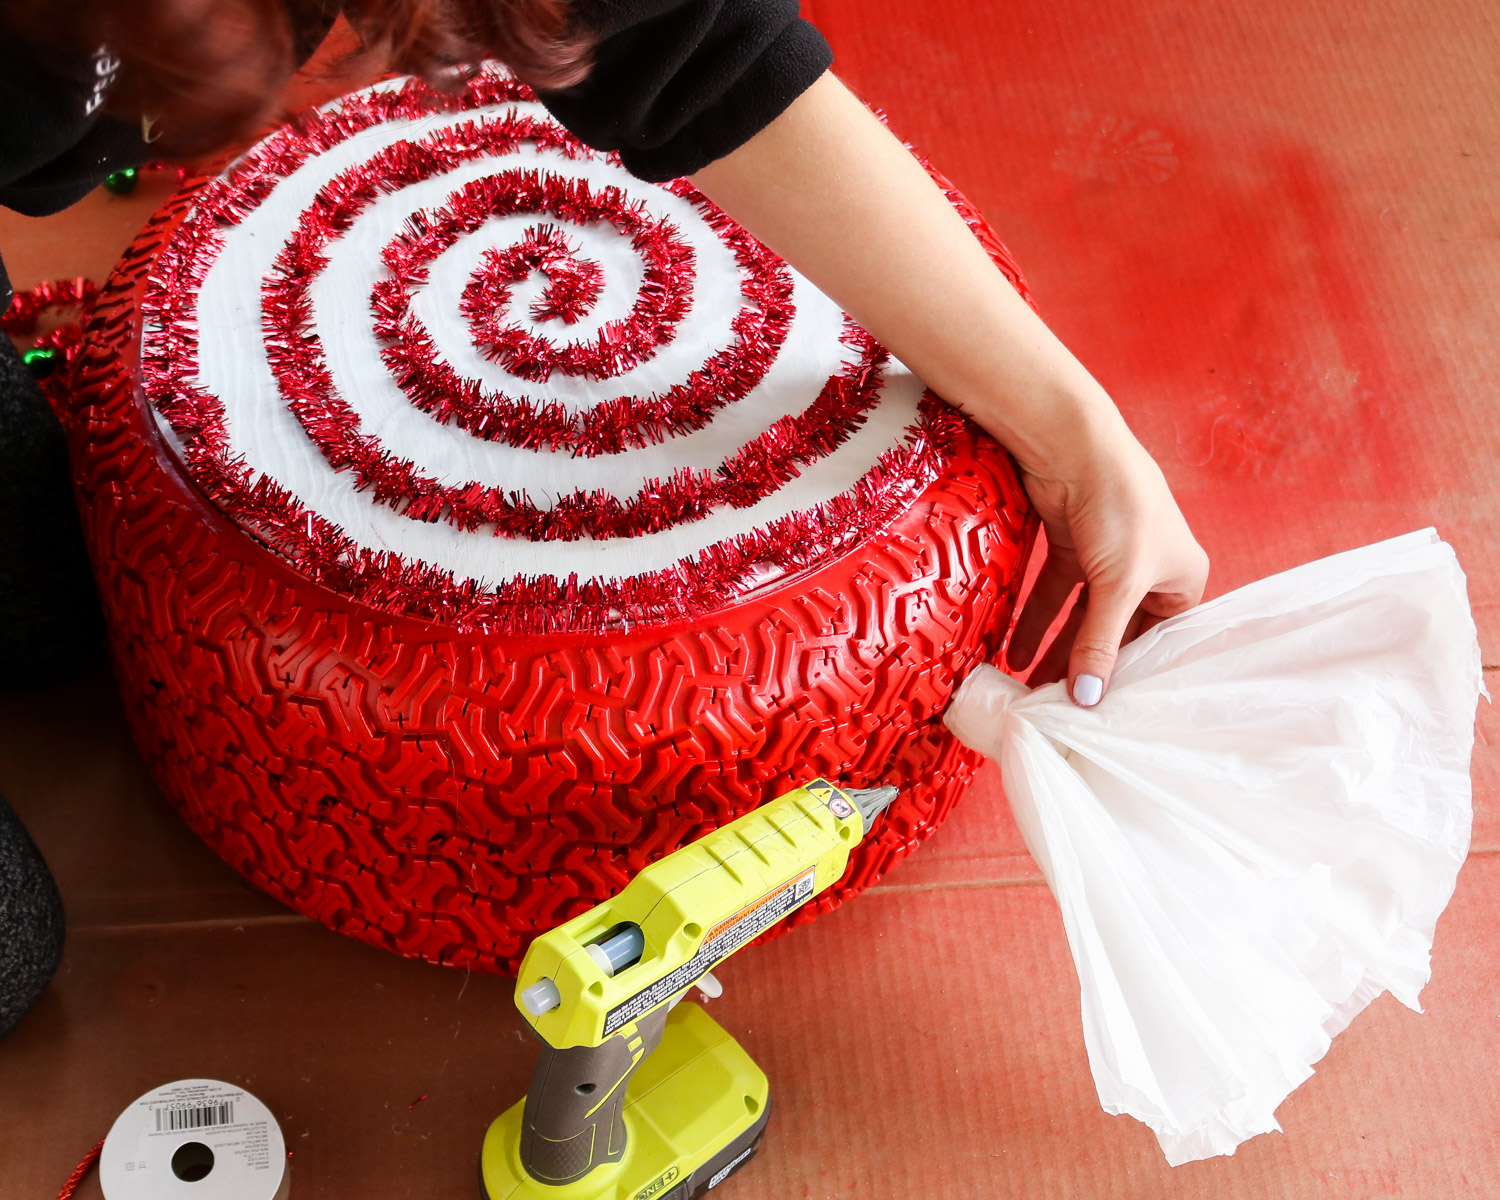
To make my wrappers for the candy ornament I decided to recycle some plastic grocery bags. Love this idea😋!! It’s super budget friendly. I started by cutting the top and bottom off the bag. Than I cut off all the writing. I folded it in half and additionally trimmed the edges so it would be neat. I folded the trimmed piece with an accordion fold about 2 inches in width. To cover the dowel I made 3 pieces like this than I hot glued them to the dowel all around. You can also add a strip of plastic to the bottom over the dowel. That’s what I did. Okay now trim the edges or shorten it and fluff up the plastic and the wrappers are ready to go on the tire. To attach them to the tire I used hot glue.Creating the spiral for the candy ornament!
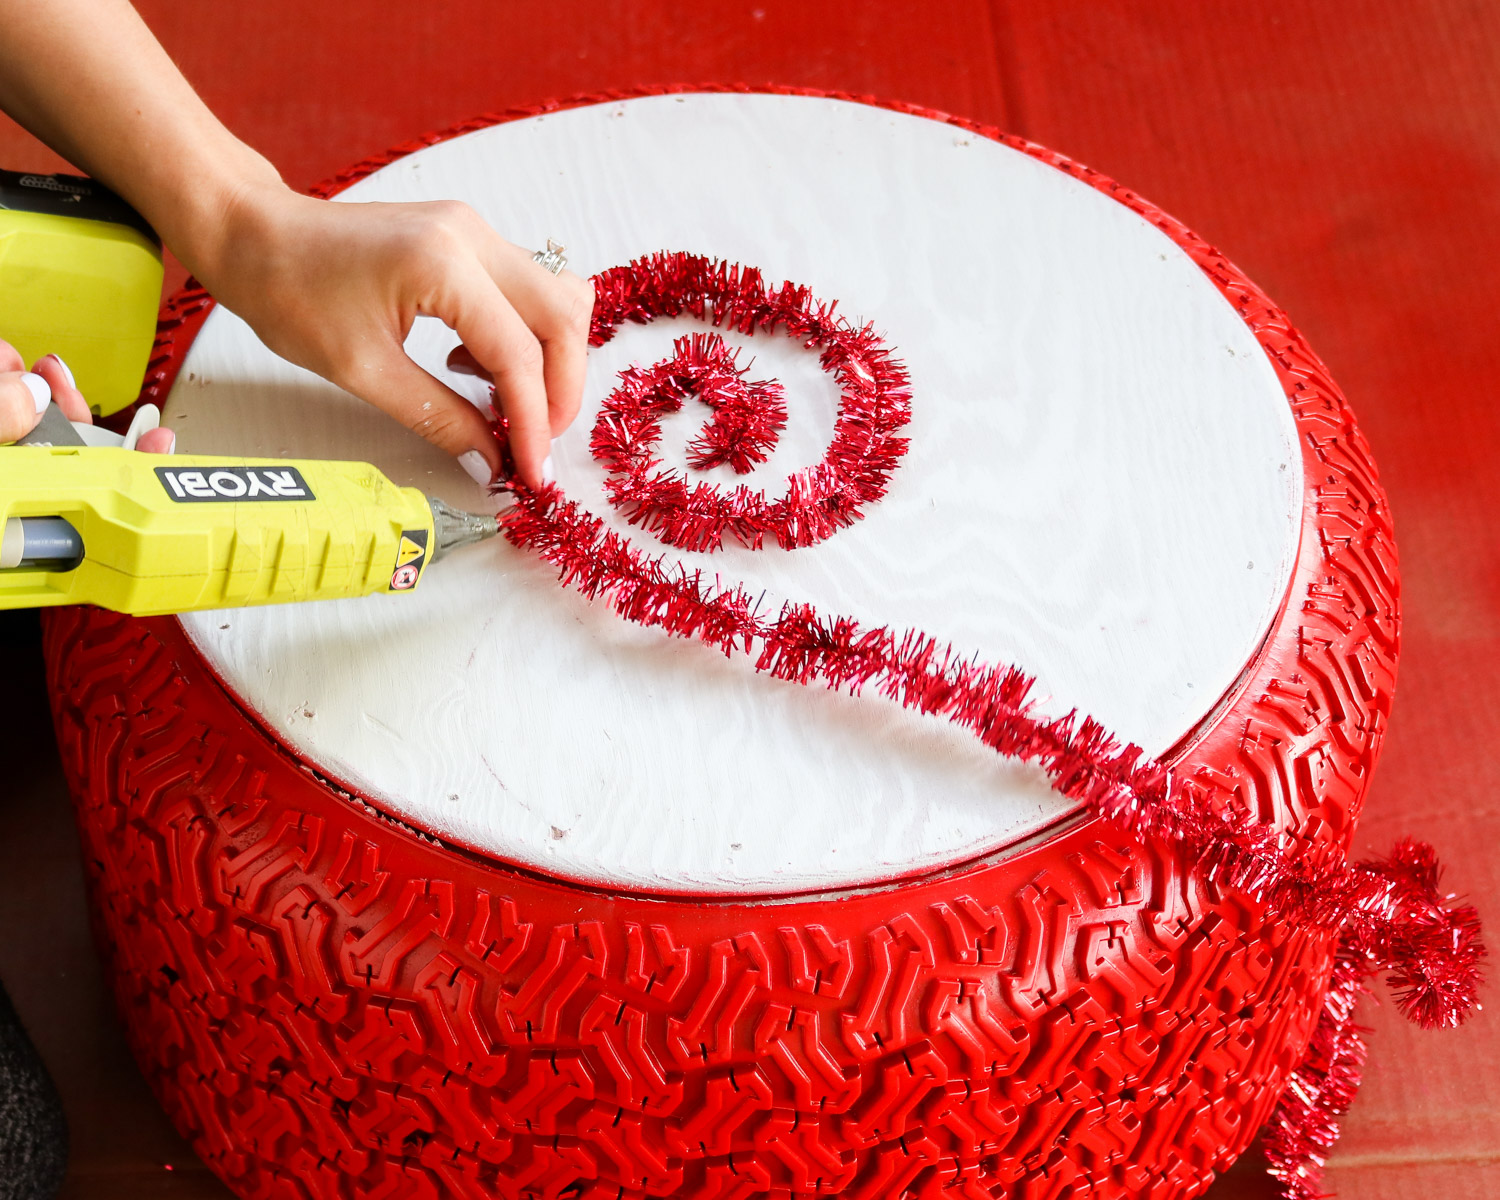
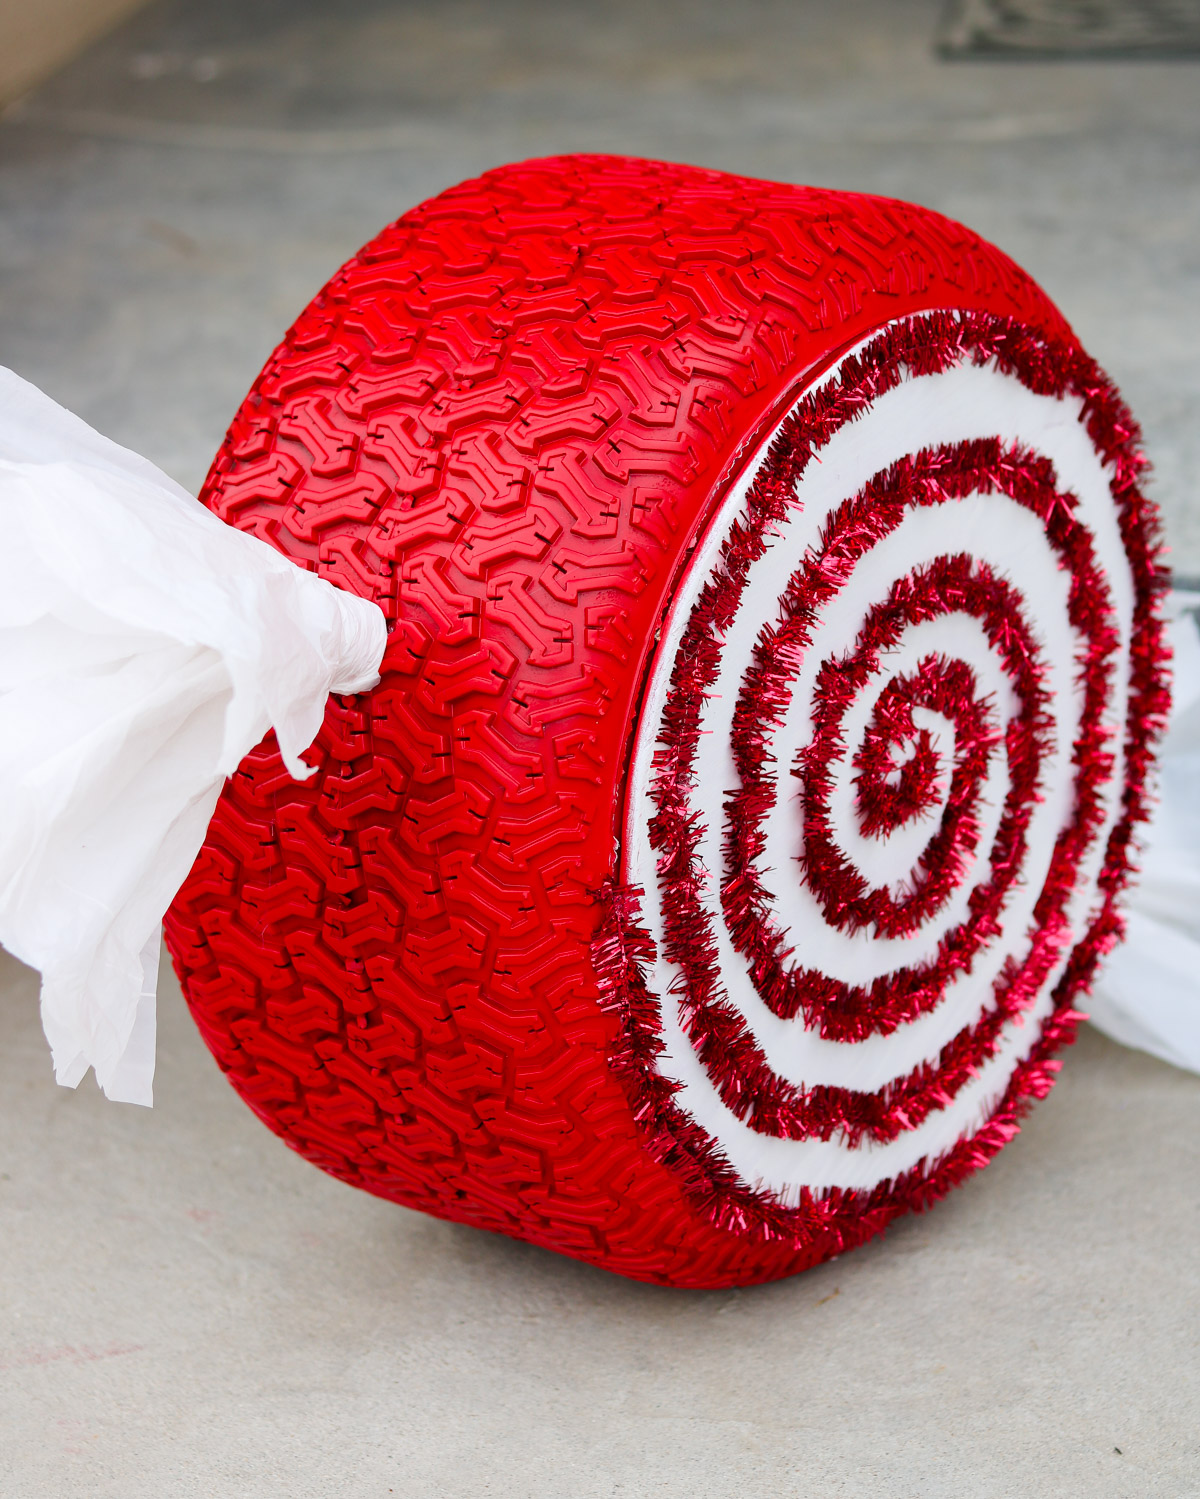
I was debating between using red rope or red tinsel to get this spiral effect. Of course I went with tinsel because it seems more festive😍🌲 and would match my Christmas tire more! That idea I had was to create a spiral on the front of the tire with tinsel. Because the tinsel is lightly wired I wrapped it around a wooden dowel to get that spiral started.
Than I lay the tinsel out onto the tire and hot glued it every other inch until the spiral covered the front of the tire. A quick video version of both Christmas tire DIYS.The finished look of my Christmas Tire!
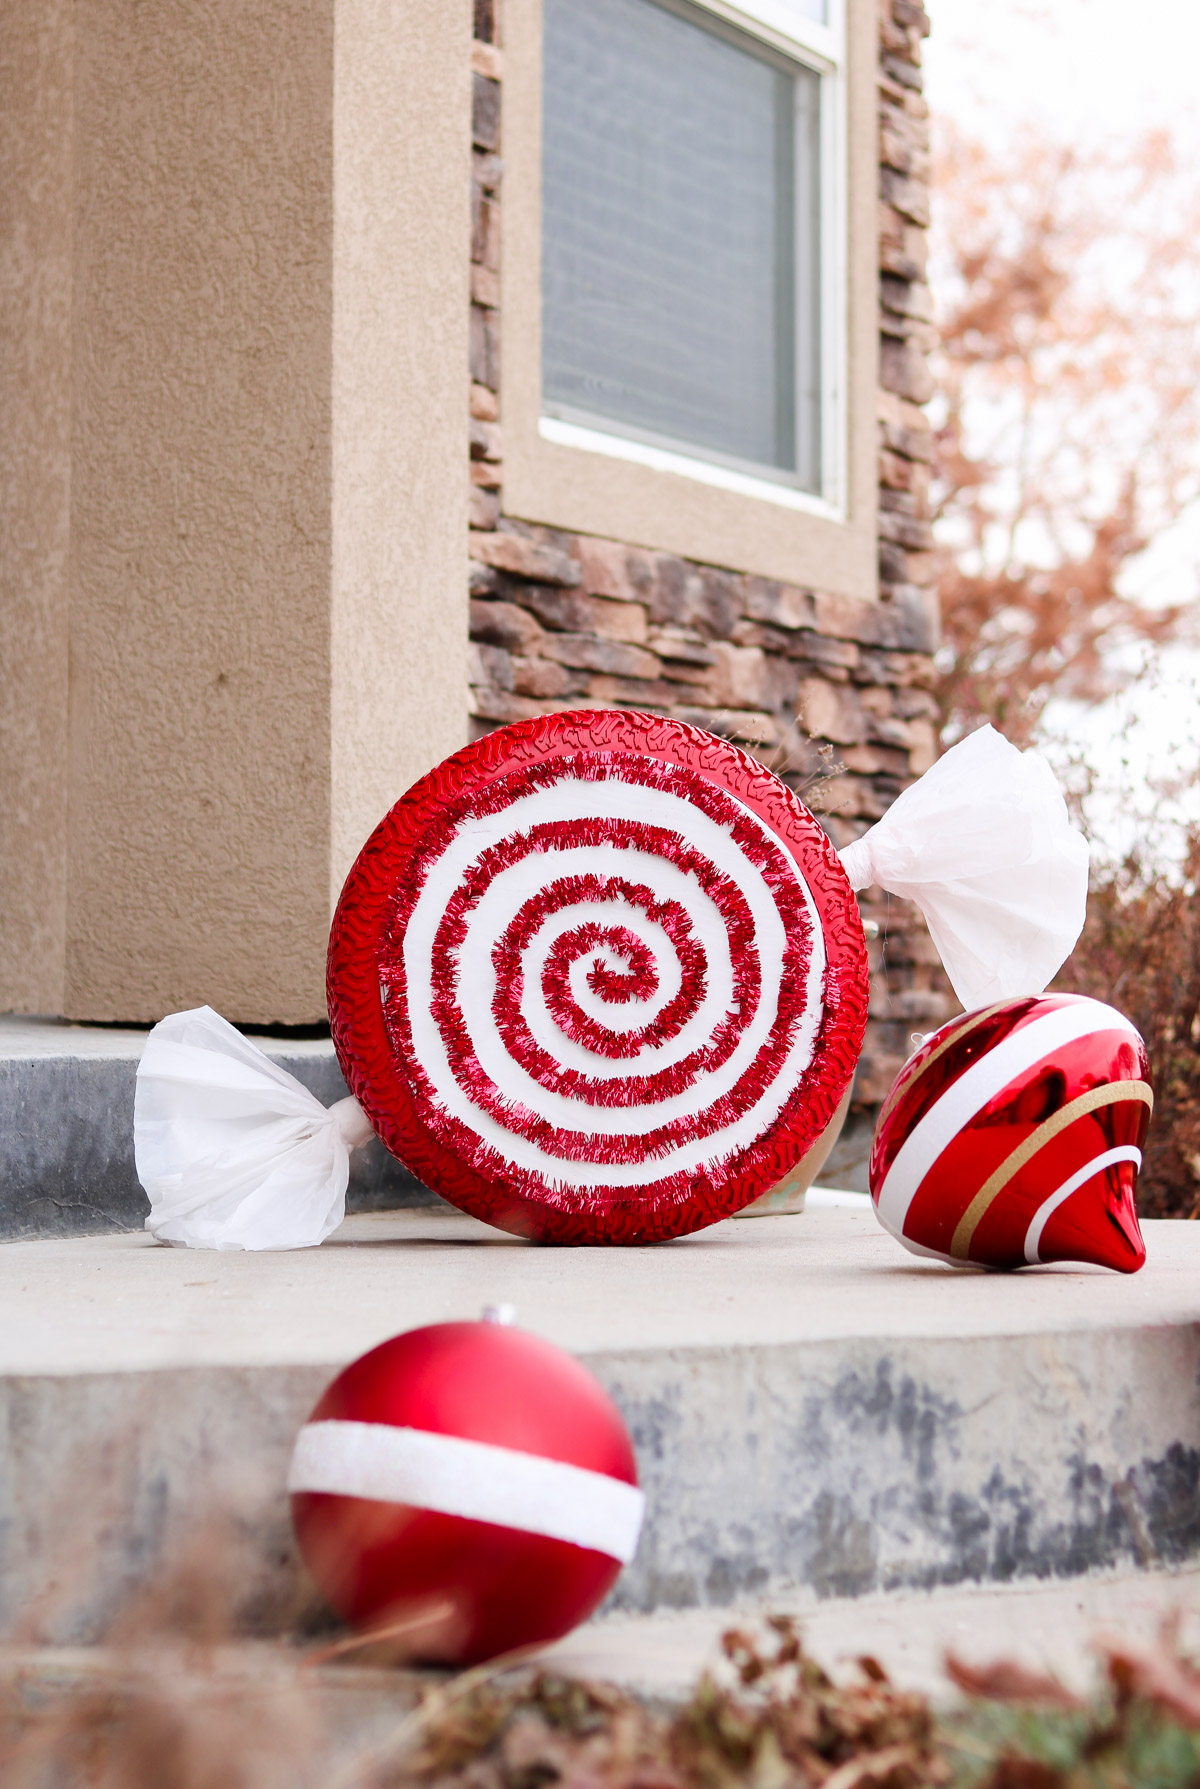
That’s it! I love how GIANT they look!
We made the snow flake ornament from a car tire. The candy was made from a lawnmower tire😬. I’m in love with these Christmas Tires and they’re so easy to make. I hope you enjoyed these Christmas Tire Ornaments and got inspired by them ! If you make your own don’t forget to tag me on instagram @lilyardor! That’s all for today. I’ll see you soon! Stay tuned for the next DIY 🙂
Here’s another Christmas DIY you might love… A Christmas Tree Made From Family Photos !







Wow, girl! This DIY looks amazing!!! I love how you took the old tires and turned them into something so beautiful and sweet! Great work, Lily!
AWWW thanks girl!! So happy you loved them!
I love it! Gotta make some. Thanks.
Lily
I AM MAKING THESE TONIGHT. CAN YOU USE SCREWS TO PUT PLYWOOD ON TIRE?
Yes of course. 🙂 Hope you have fun 😀 Merry Christmas
…just found this!!! Made my day. I want to make a rainbow of them! Thanks so much,
Betsy G.
OOOH that sounds fun!! Happy DIYing Betsy 😀 Your yard will be stunning!
I believe we used 2 cans from what I remember. It’s been so long I can’t remember for sure. Sorry I should take note of things like that. Oh yes this would be perfect although you might need to lean them on something.
Love this project
Thank you Debbie 🙂
I love, love, love this idea. The tires look so good and you are recycling something so ugly to our world! You rock!!! The yard must look Amaaazzziiinnnggg!
Awe you’re to sweet thank you ssso much!
Think you could cut the tire in half to be able to get two out of a single tire?
Thank you very much for sharing, I learned a lot from your article. Very cool. Thanks. nimabi
These giant tire ornaments are perfect for adding some festive cheer to your outdoor space during the holiday season! They’re sure to make a statement and bring smiles to all who see them.