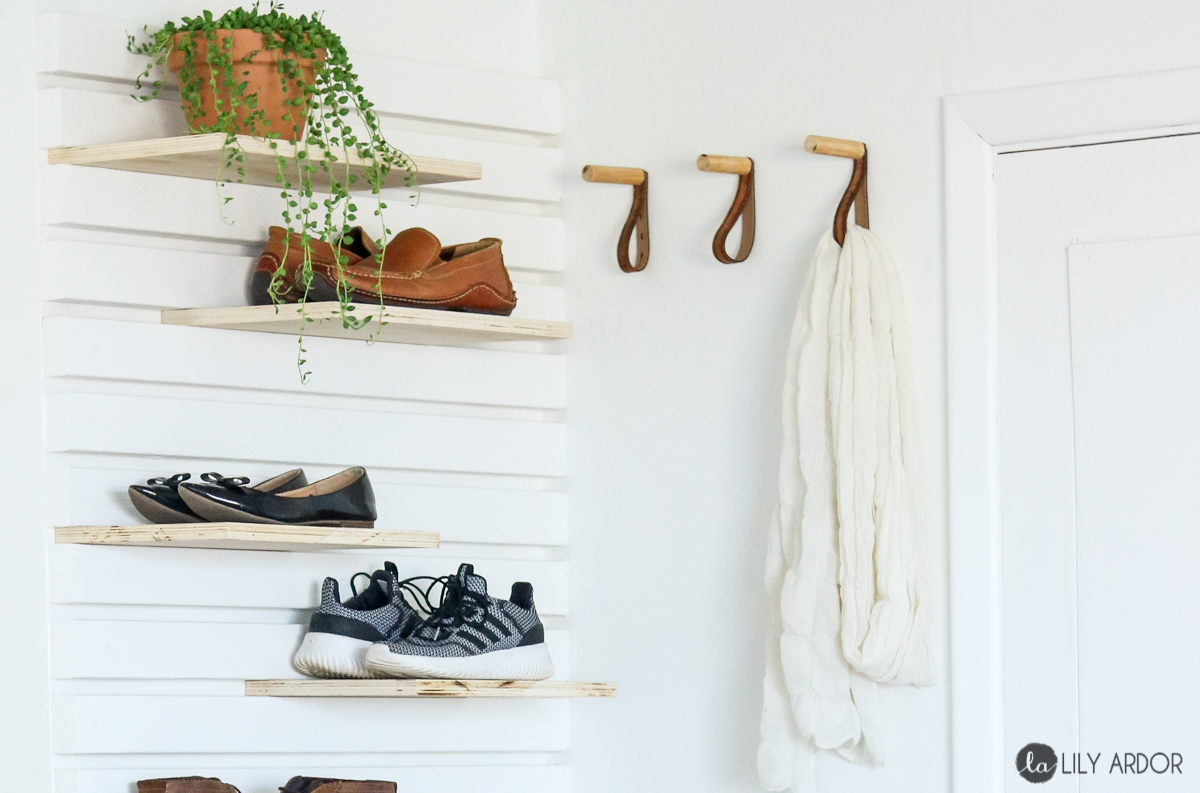
DIY Coat, Hat, and Scarf Rack
Hello, my lovely readers as many of you probably already know last week we transformed a little corner in our entryway into a real mudroom. With the intentions of making it as functional as possible I had to come up with some coat hooks. I’m not a big fan of having a lot going on in the entryway so, I tried to keep it as minimalist as possible. That said I didn’t want a huge visible coat rack right when you enter the home. I figured a few coat hooks would be perfect to keep our most used coats and hats their. The rest would be stored in the back room closet.
Wooden Hooks
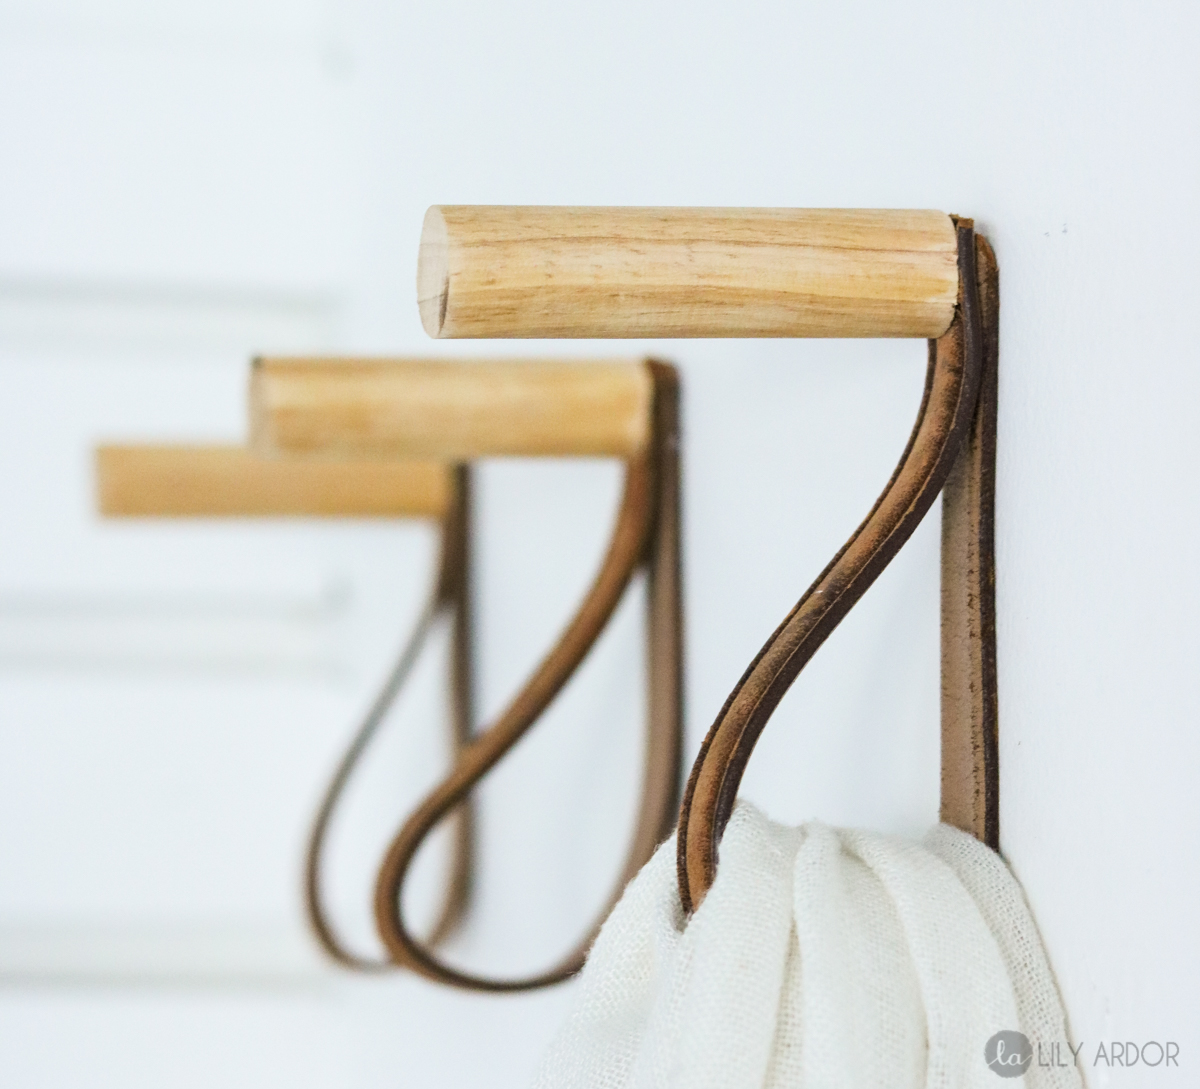
That’s how I came up with these coat hooks. This was kind of a rush DIY and surprisingly I didn’t have time to overthink this one. LOL. Since I’m a big fan of bringing the nature indoors I always try to implement natural textures. Leather, wood, different metals etc… Pinterest is my best friend for quick inspiration. I used two of my favorite materials wood and leather to bring the DIY together. HAHA Trust me I thought of metal but couldn’t get around it not looking to industrial. I love an industrial vibe but, in this case it would have been to much. Unless you want to include the screw. LOL.
DIY GOALS
I’ll be honest I usually don’t post smaller DIYS like these because, I feel like they’re so easy to make they speak for themselves. It takes a lot of time to make a video, write a post, and take photos. At times I end up doing additional photo-shoots because first time isn’t always a go. So, lately I’ve been trying to be more active on instagram and every once in a while I’ll share my smaller projects on their. To my surprise when I asked if you guys wanted a tutorial for these coat hooks the response was so positive I was a bit taken away. My thoughts! NEW GOAL!! Post all DIYS. No matter BIG or small! 😀 😀
Here’s the video 😀
What you’ll Need
- old belt
- wooden dowel
- drill
- dowel screw
- scissors
- Pliers
Since this is such an easy DIY you can get it done in three easy steps.

Step 1
To begin start by pre-drilling holes into your dowels for your dowel screws. I cut my dowel down into 3 inch sections. You can make your hooks longer or shorter to your liking.
Step 2
Following that take your pliers into one hand and firmly hold your screw with them. With your other hand hold your dowel firmly and install your screw into the pre-drilled hole. (I’m sure their are special tools out their for this but this is all I had to work with)
Step 3
Cut your leather belt into equal sections for the straps and drill a hole through both ends of your straps. Then secure it to your wooden hook and that’s it.
Easy right?!! I love how simple these coat hooks are.

Also love the combo of leather, wood , and greens. 😀

Here you can see the coat hooks towards the right of our new shoe shelf.

If you missed the tutorial here are a few more pictures. Oh also he’s sitting on the bench we made. It opens up for storage. You won’t believe what this little corner looked like before.

Here’s how the floating shelves look from the side.

Okay then that’s it for this week. Stay tuned for next weeks easter egg DIYS. I’ve been trying really hard to keep the posts coming every Friday. Lots of blogging goals to meet. Have a great weekend! Till next week. 😀
Here are some affiliate links for similar products used to make this project. (If you purchase anything from my affiliate link I might get a small commission. However this DOES NOT result in any additional charges to you. For more info read my disclosure policy)


Would you happen to know what size dowel screw you used? 🙂
No sorry I have no idea. 🙁
Thank you very much for sharing, I learned a lot from your article. Very cool. Thanks. nimabi