Creative Living..
I can’t say enough about this floor lamp… The pictures truly don’t do this baby 🙁 justice. I couldn’t be happier with the outcome. In fact my husband loved it so much he keeps asking me to make a twin to match this one. 😀 😀 lol. I’m actually considering it. 😀 I’m not going to get into to much detail because I am super excited to share this DIY.
Lets jump right in…
What you’ll need
I’m apologizing in advance if I missed something. give me a heads up if you notice anything missing.. Thanks. 😀
- Measuring Tape
- Pencil
- Miter saw
- Wood Glue
- Ruler
- Stain
- Dowel Joints
- Clear coat
- Lampshade (to see how I made this lampshade visit this link)
- Floor lamp kit (home depot sells them.. I spray paint mine copper)
- 5x 2.5 by 8 feet boards (mine were 3/4 inches in thickness
1. cut 4 pieces at 50″ inches in length… ( optional: Angled 10 degrees at the bottoms)
2. cut 2 pieces at 18″ MUST be angled 10 degrees at the edges
3. cut 2 pieces at 7.5″ MUST be angled 10 degrees at the edges
4. Cut 1 piece measuring 2.5″ by 2.5″
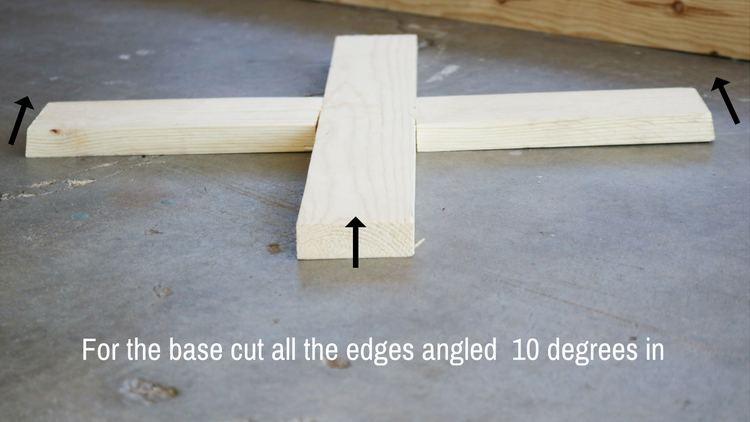
Here’s and example to show you the angles for the base.
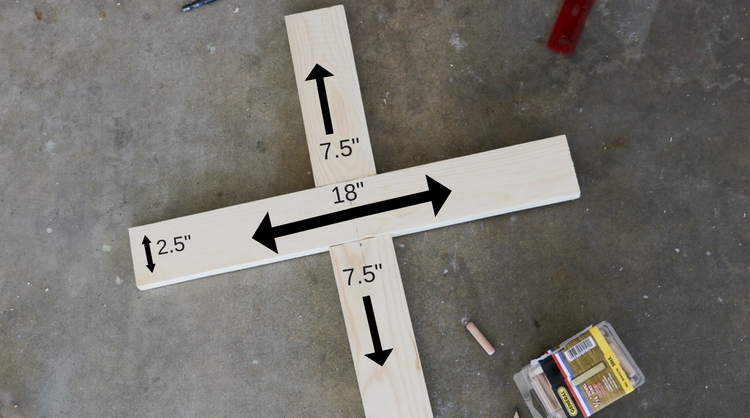
Here’s a snippet to show you the measurements you’ll need for the base.

Use a ruler to mark the center for each piece of wood. To get the holes drilled evenly.

I then drilled two holes on each side to insert my dowel joints. I started with a smaller drill bit and worked my way up until the hole was big enough to fit the dowel joints.
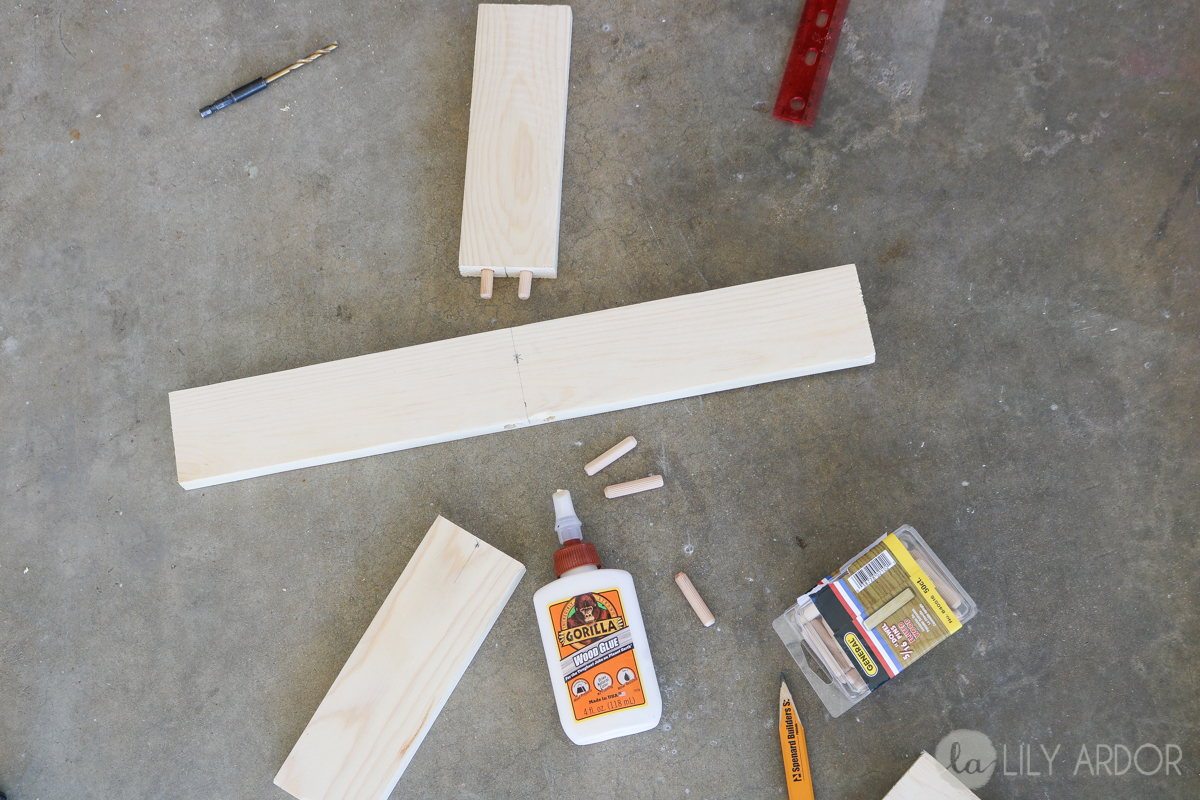
Don’t forget to use glue. I used gorilla wood glue.. LOVE IT.

This is how the top looks. 😀 Once I was done putting the base together I cut my 4 pieces measuring 50″ long and assembled the floorlamp together. Watch my video to see how I did it. 😀
Well what do you guys think?
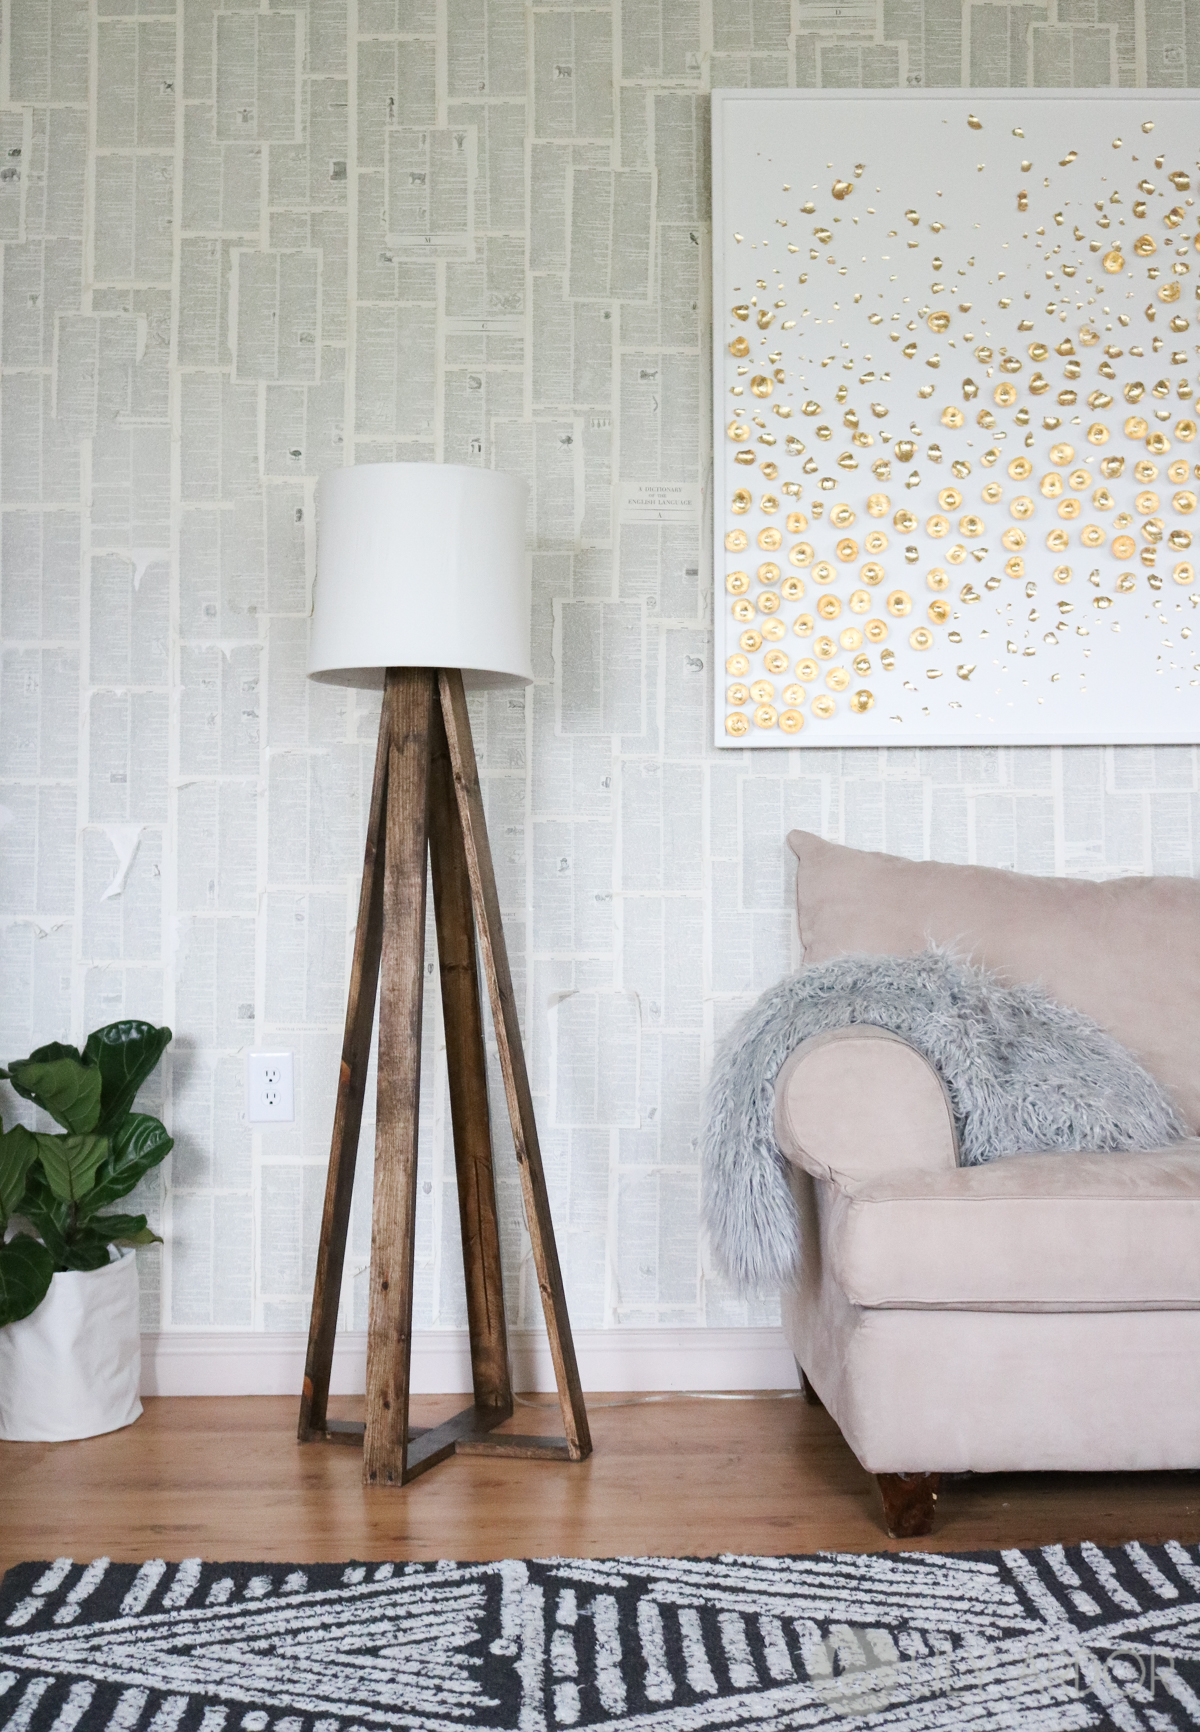
I love the details in the wood grain. So beautiful. It definitely has a rustic feel.
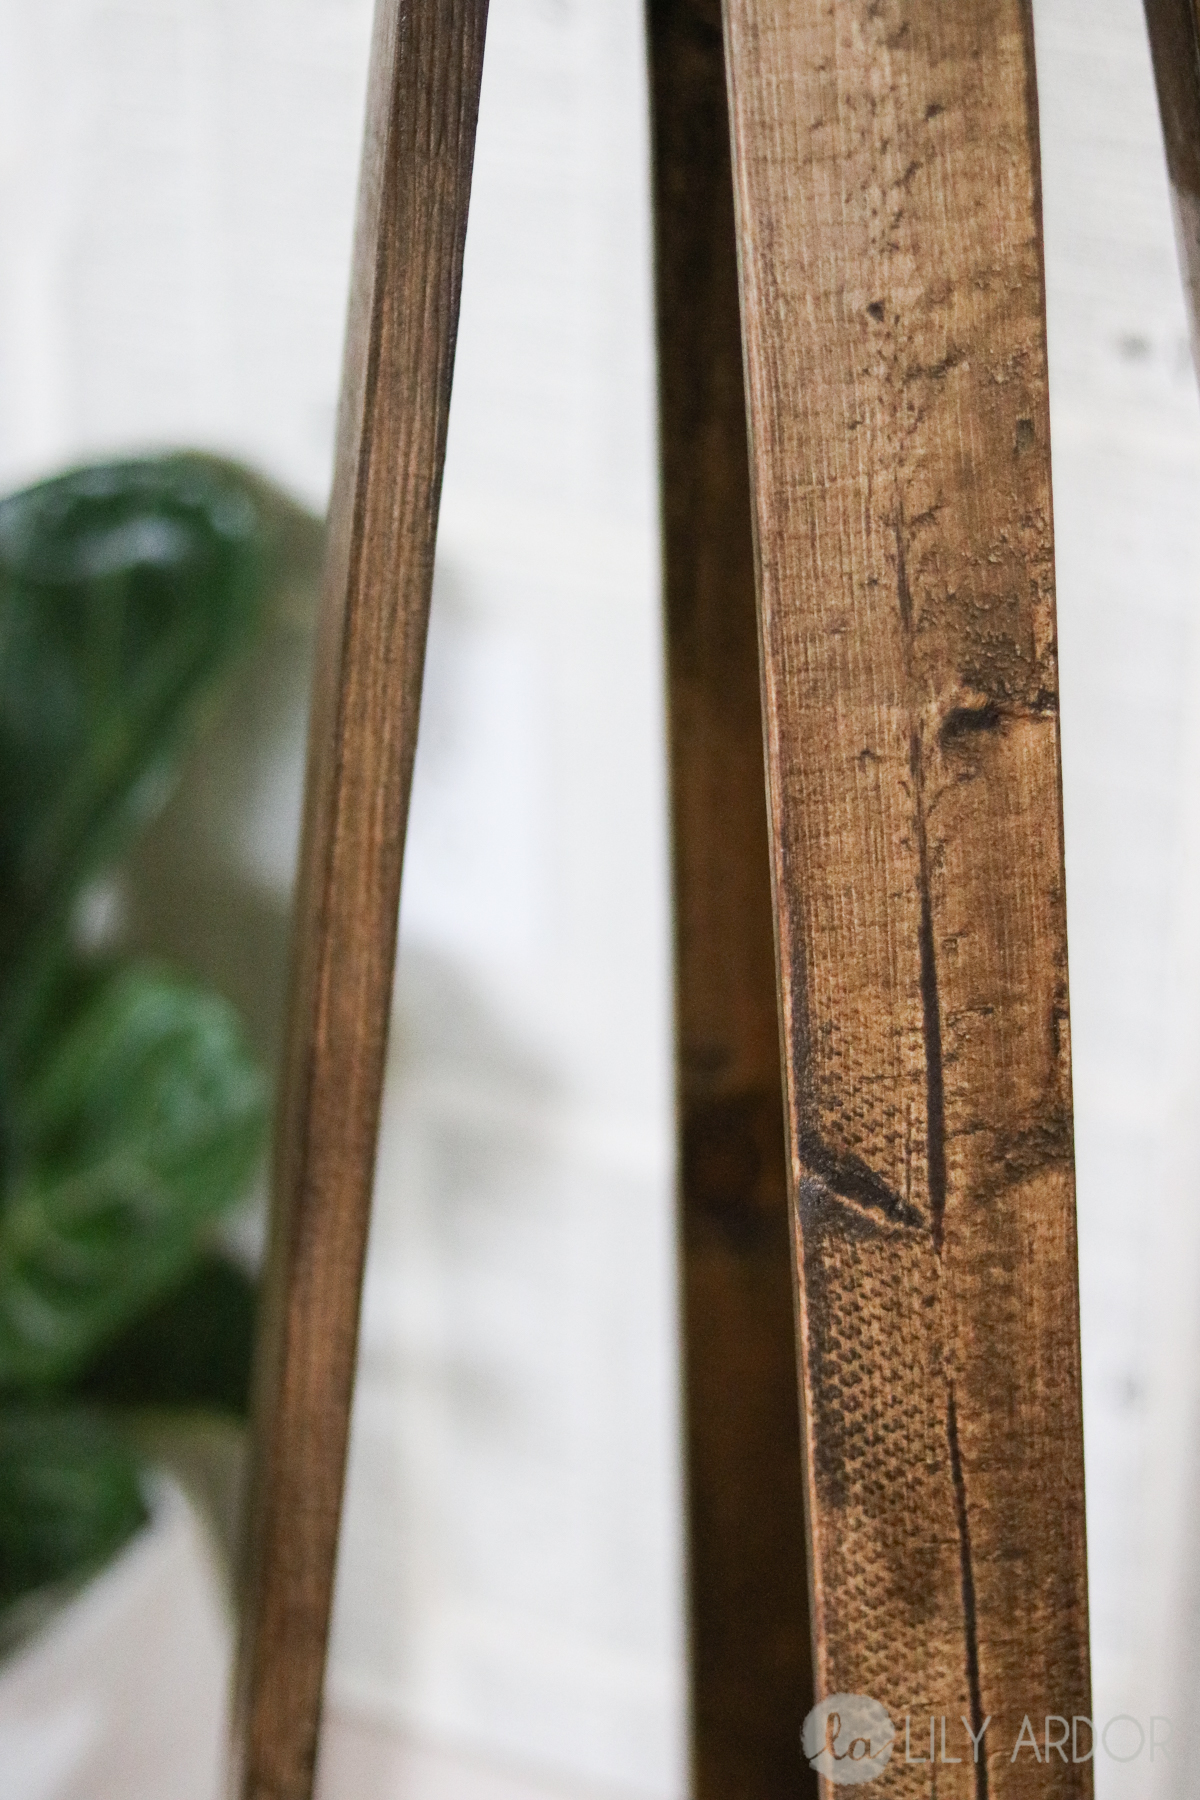
It’s a pretty cool floor lamp to have around 😀
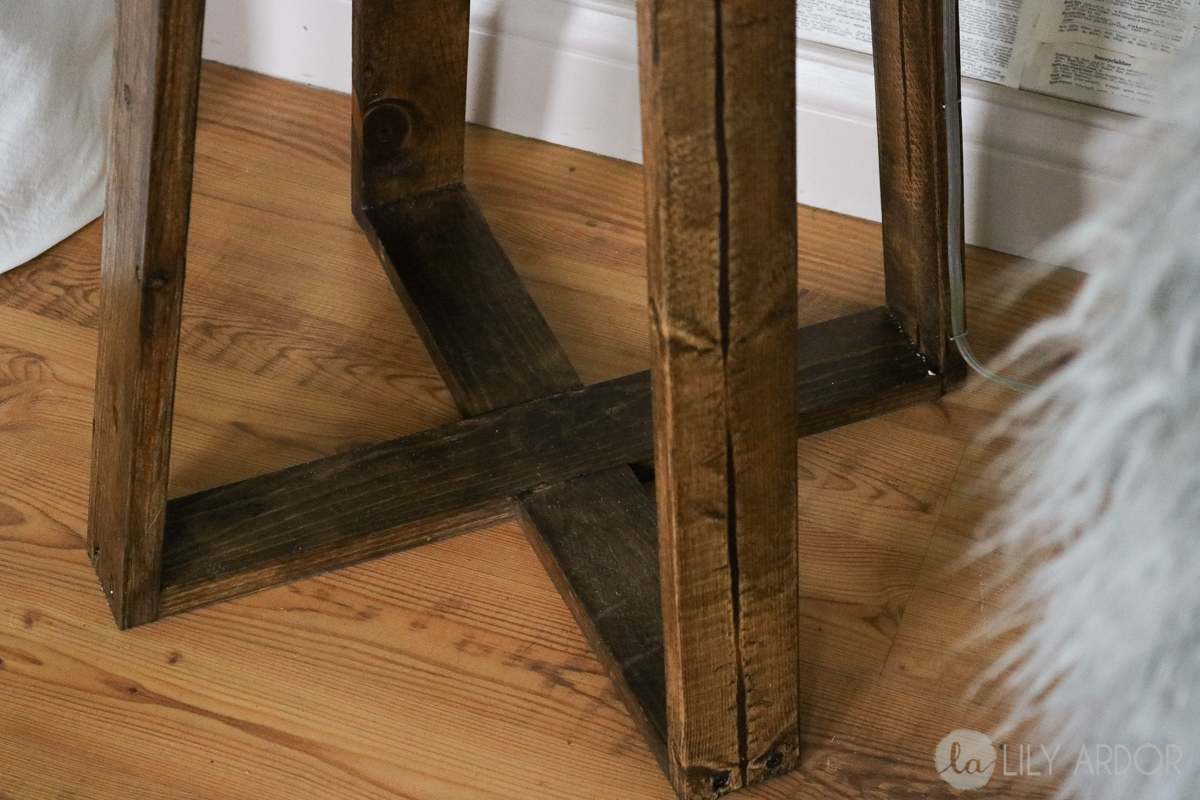
This is totally optional… I also stapled the cording on the backside of one of the boards.

See you can barely see it this way.. 😀
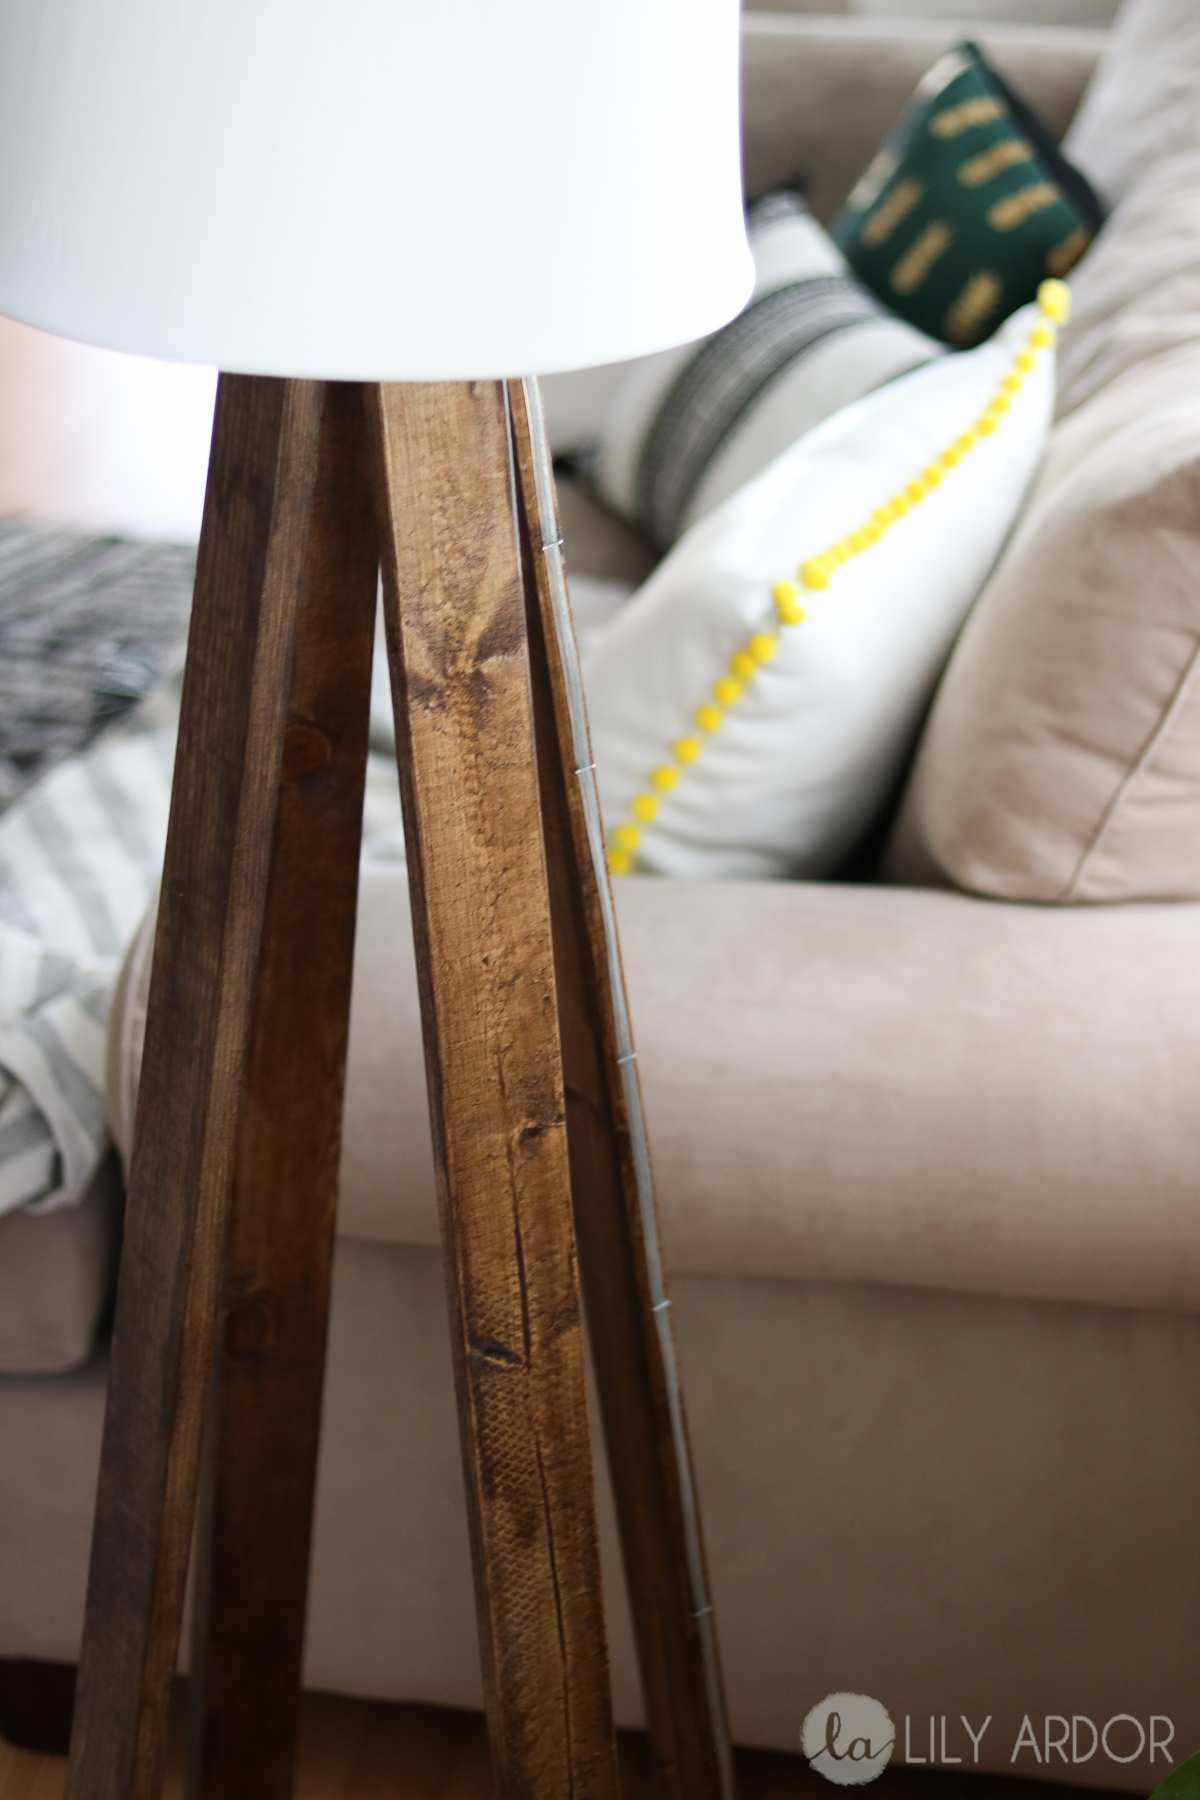
And this is where it currently lives in our home. Right next to our bible reading spot. I love using it in the evenings to read the bible to our little guy.. It’s been very handy,…because let me tell ya… our house ain’t all that nice and the lighting is horrible. So this is the perfect home decor piece that is much needed in our home.

Thanks for tuning in. Till next time.

What size is your shade? I made the lamp just like you said and I can’t find a shade to fit it without paying an arm and a leg
I think it’s 14″-16″ inches I got it at goodwill from an old lamp.