Photo Display Idea
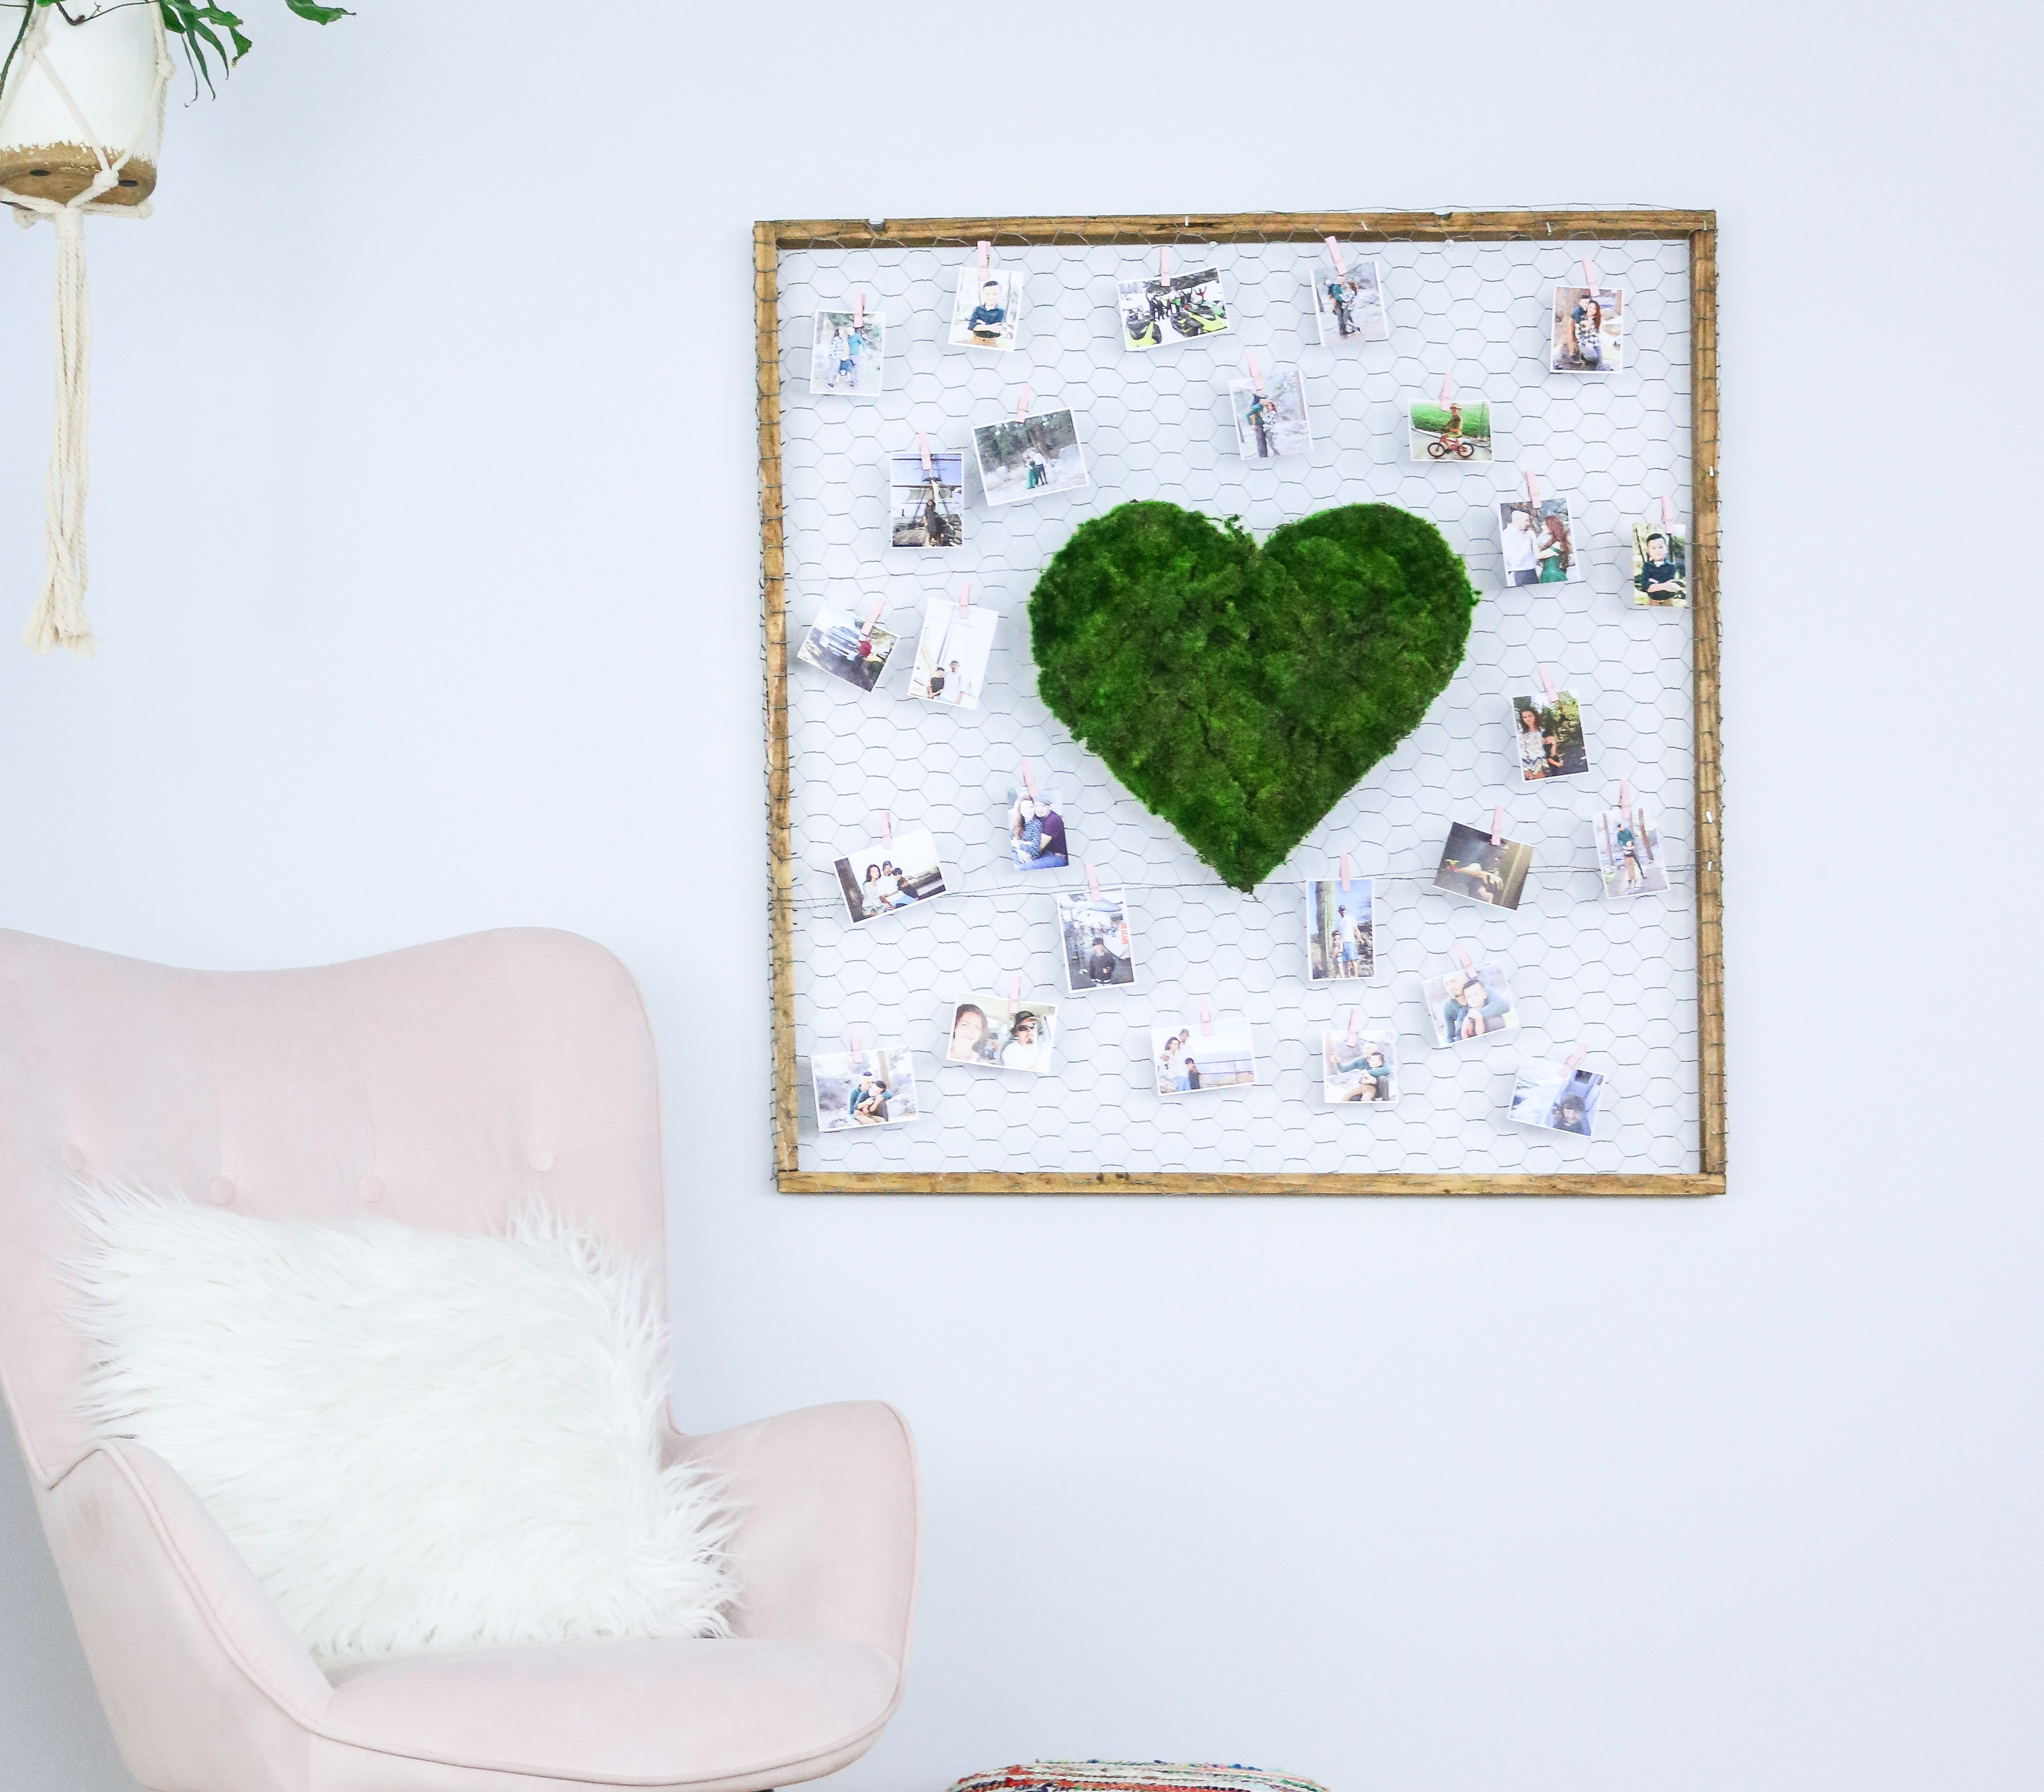
I was debating on whether to decorate for valentines or not for a few weeks. I even had you guys vote on my Instagram and YES most of you voted that you don’t decorate for Valentines. It was about 70% that voted no. I totally get it I’m the same way. I’m all into decorating for big holidays. Valentines is something I hold dear in my heart. Not so much on my walls. HAHA. 😀 Well.., after much thought I came up with this transitional piece of photo wall art. You can choose to add the heart or not. It’s just a cute and creative way to bring your memories to life. I love wall decor that includes displaying photos. Since this is such a transitional piece of art in my opinion you could display it all year round. I think it would be perfect for room decor. Okay let’s get started! 😀 😀
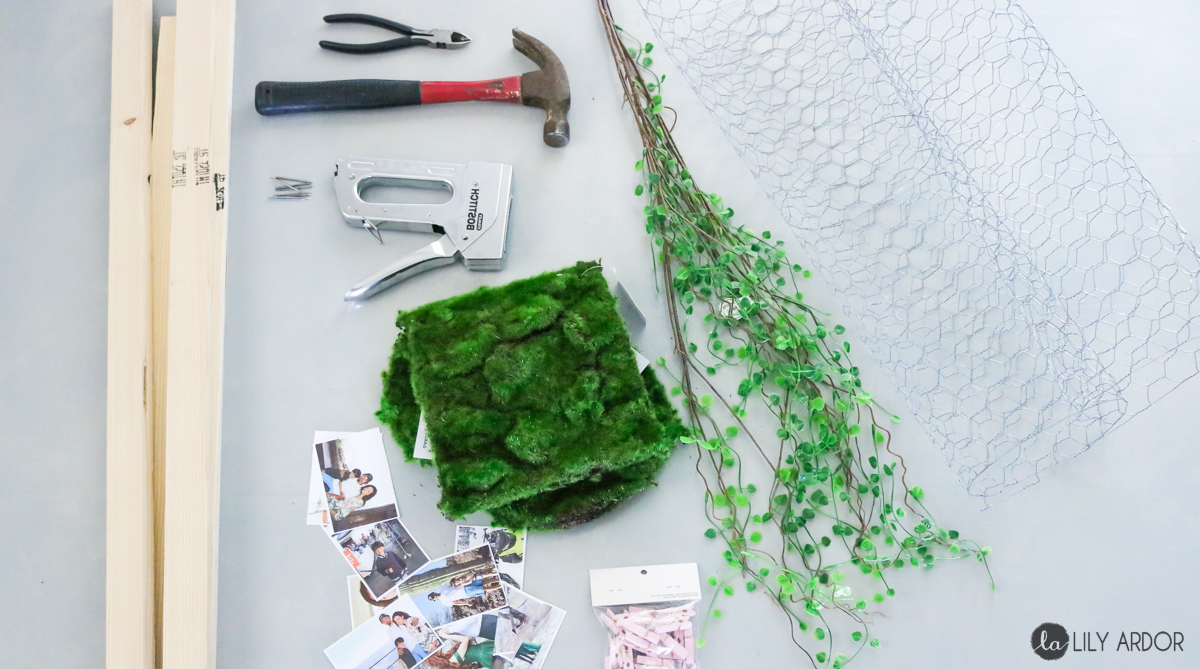
What you’ll Need
- 1″x 2″ common wood ( You’ll need 4 pieces measuring at 33″ each) or size to your preference.
- Chicken wire
- Stapler
- Moss
- Photo prints
- Greenery (optional)
- Hot glue
- Mini Clothes pins
- Wood Stain (optional : You could leave your wood raw)
- nails and hammer
Let’s Make Valentines Decor
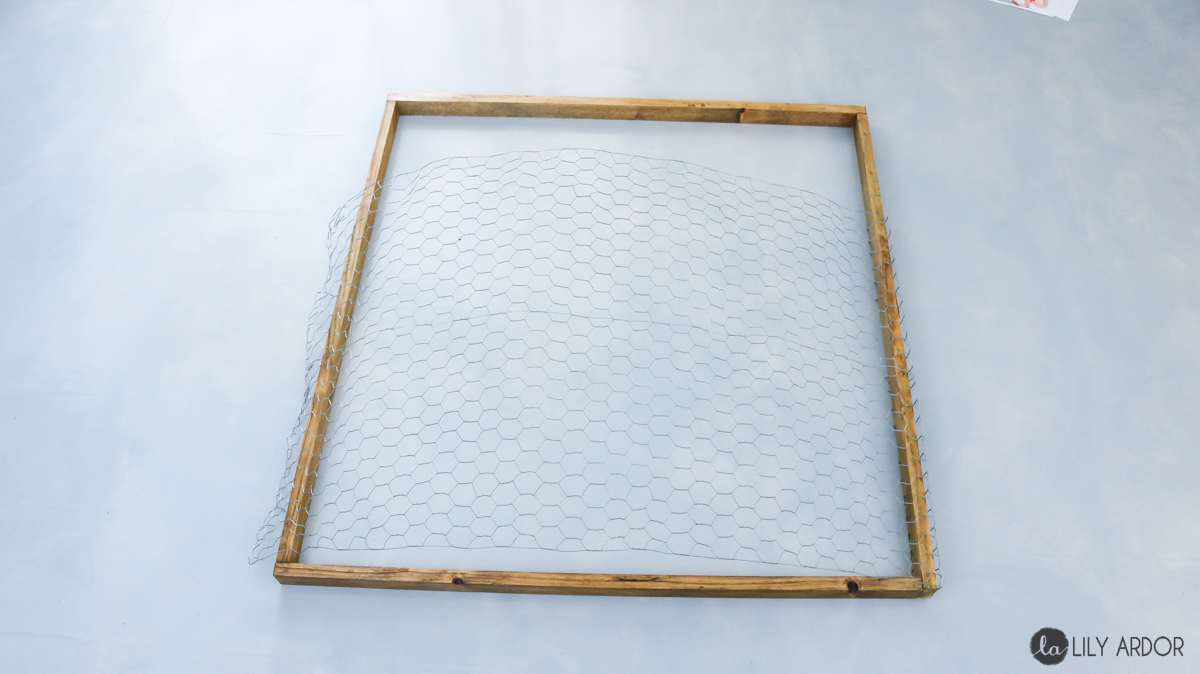
To begin start off by nailing your wood pieces together to create a wood frame. You can give your wood a nice coat of stain if you want.
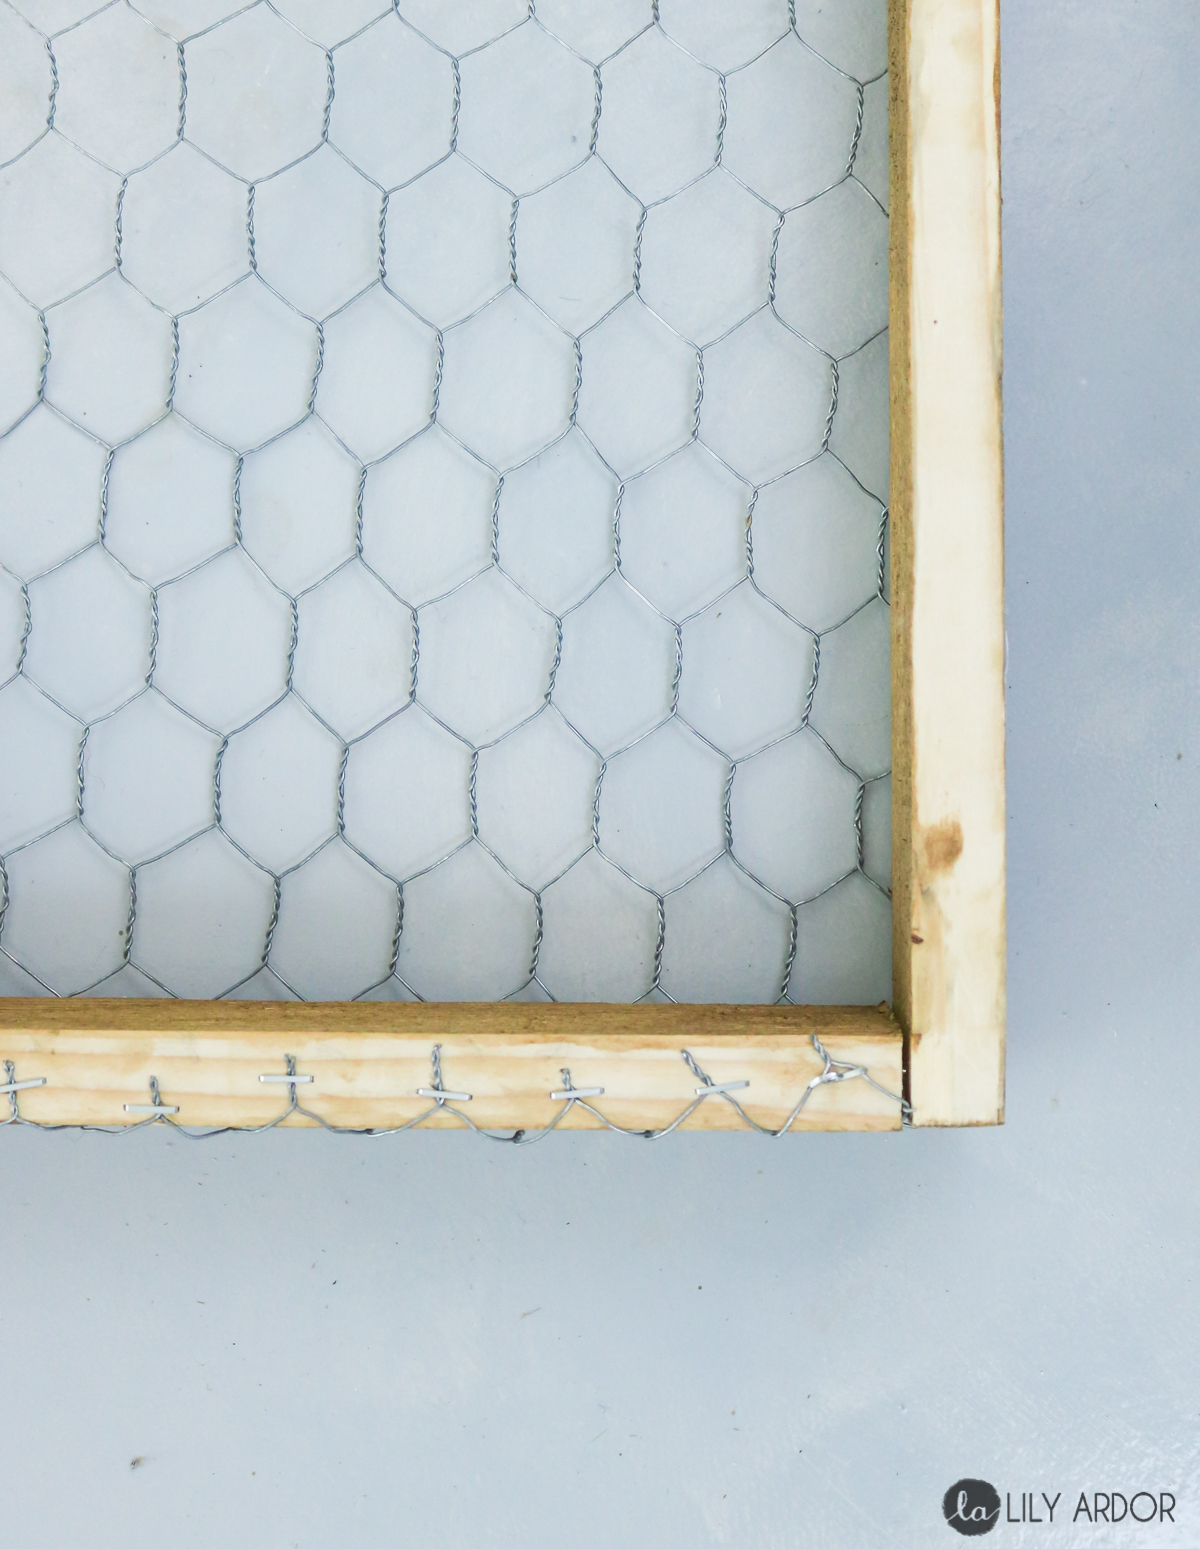
Following that flatten out your chicken wire as much as you can and start attaching it to your frame with your stapler. You need to attach it to the front of your frame and wrap it around the edges then secure it with staples on the back side. You don’t have to wrap it around the edges although that’s what I did because I didn’t want the staples to be visible on the front of the frame. Cut off any extra wire and hammer it into the wood. (here’s what the back side looks like. below. ) If you still have sharp edges sticking out try applying some hot glue to it or maybe even glue a strip of felt fabric on the back. This would be safer if you have little ones that could get to it. If your having a hard time shaping your chicken wire around the edges use your hammer to shape it into place.
Making the Heart
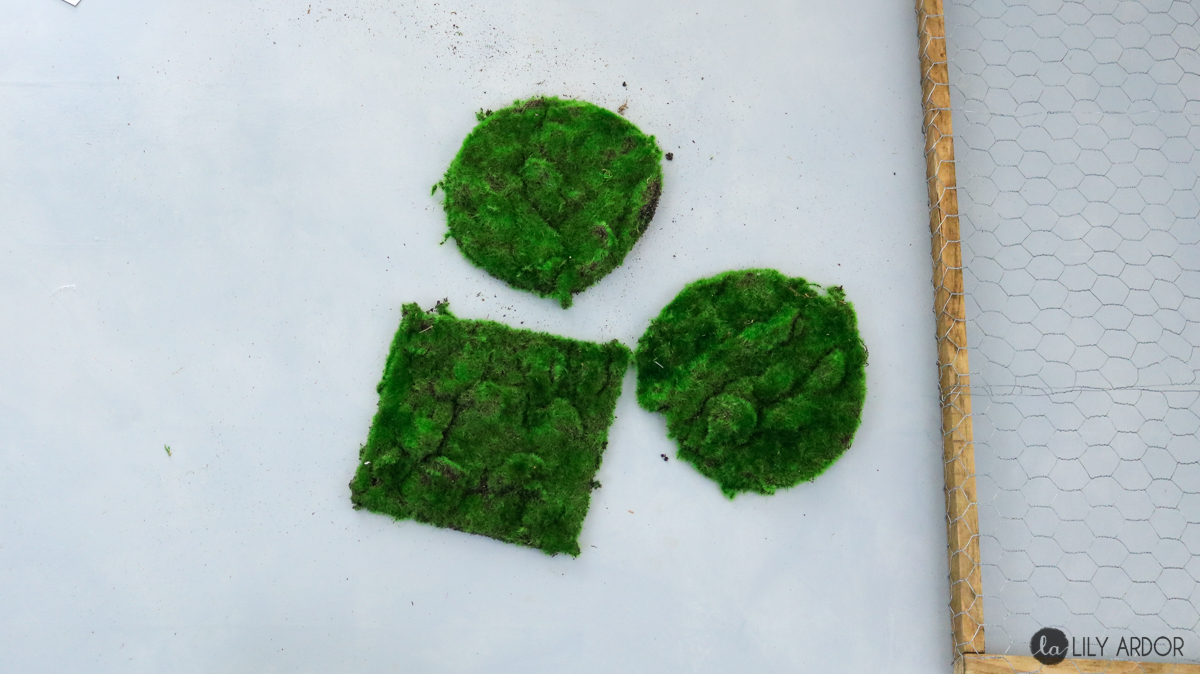
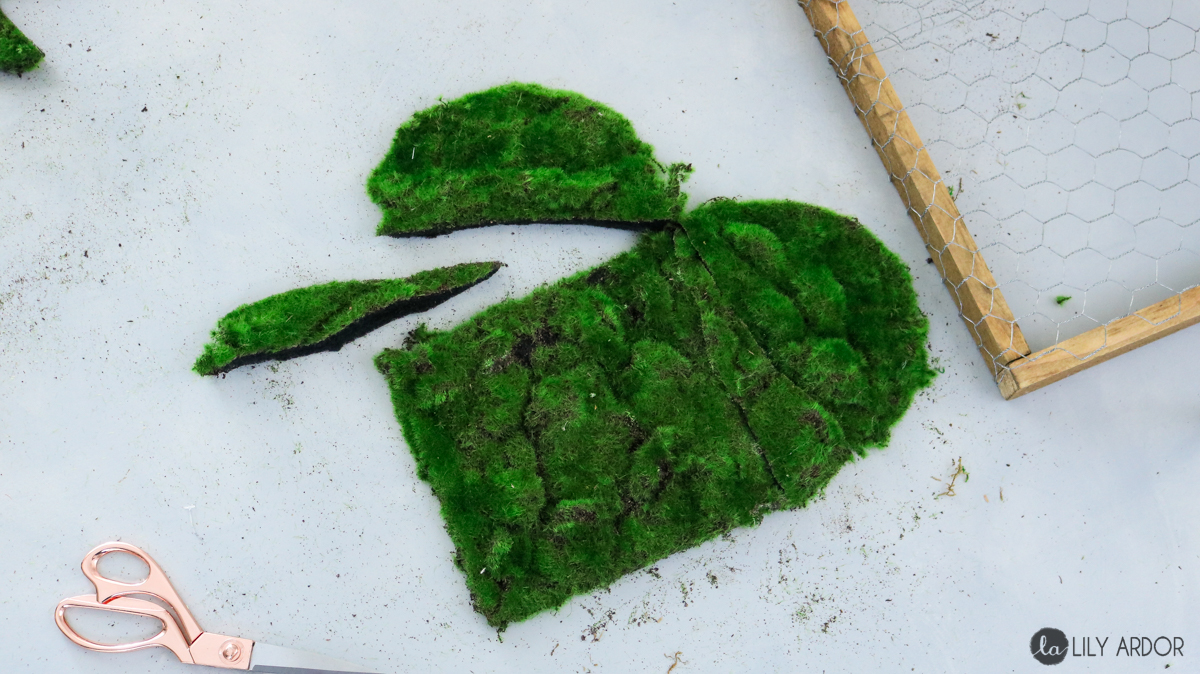
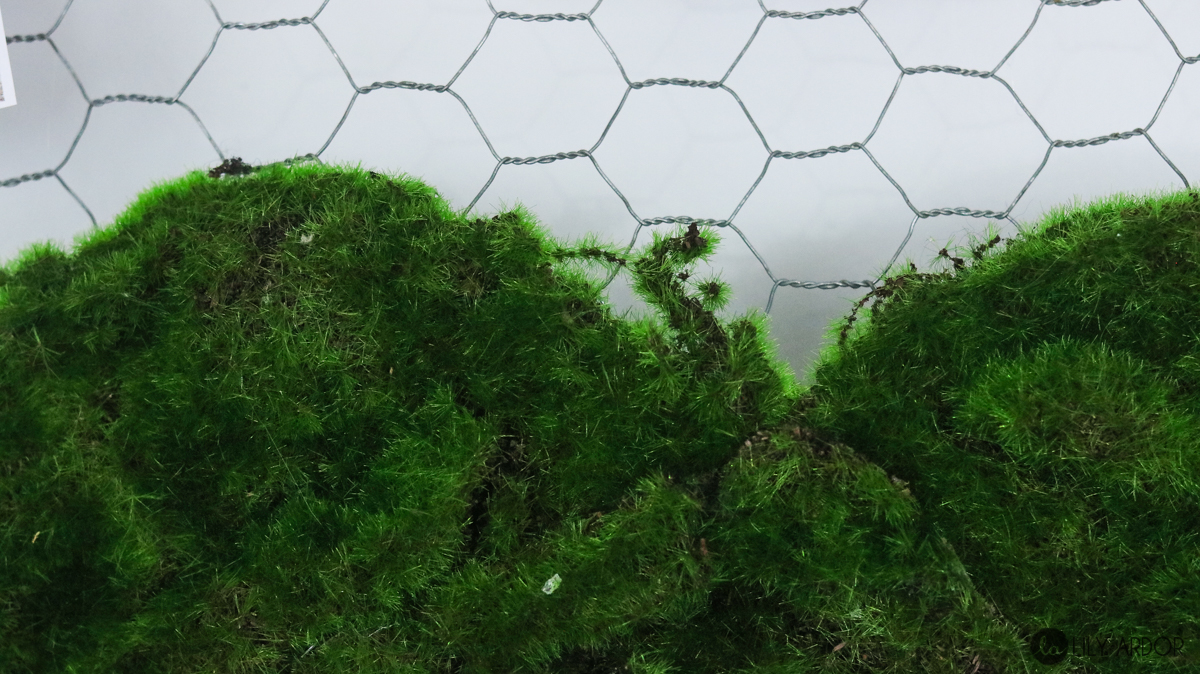
This is where it gets exciting. You can choose to make your heart from whatever you’d like. I chose to go with moss since it’s more on the neutral side but, if you’re into pinks and reds you can make your heart with flowers or tissue paper. 😀 😀 I purchased my moss at Micheals and orginally I was hoping to cut one circle in half and hot glue it to the square to make the heart but, that was a fail. The heart was looking a bit droopy so I ended up adding more moss until I got what I liked.
Piecing it together…
I don’t know if this makes sense but, I added two slits of moss between the square and my half circles. Just like in the photo below.
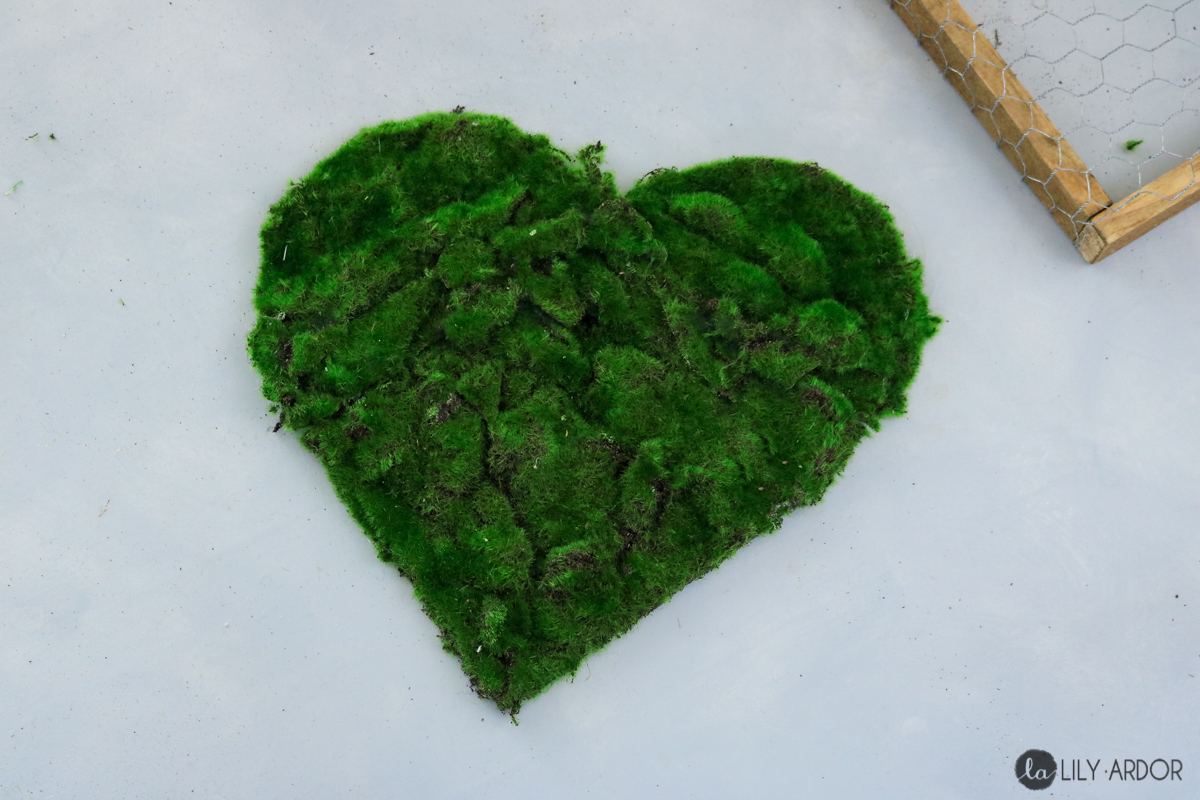
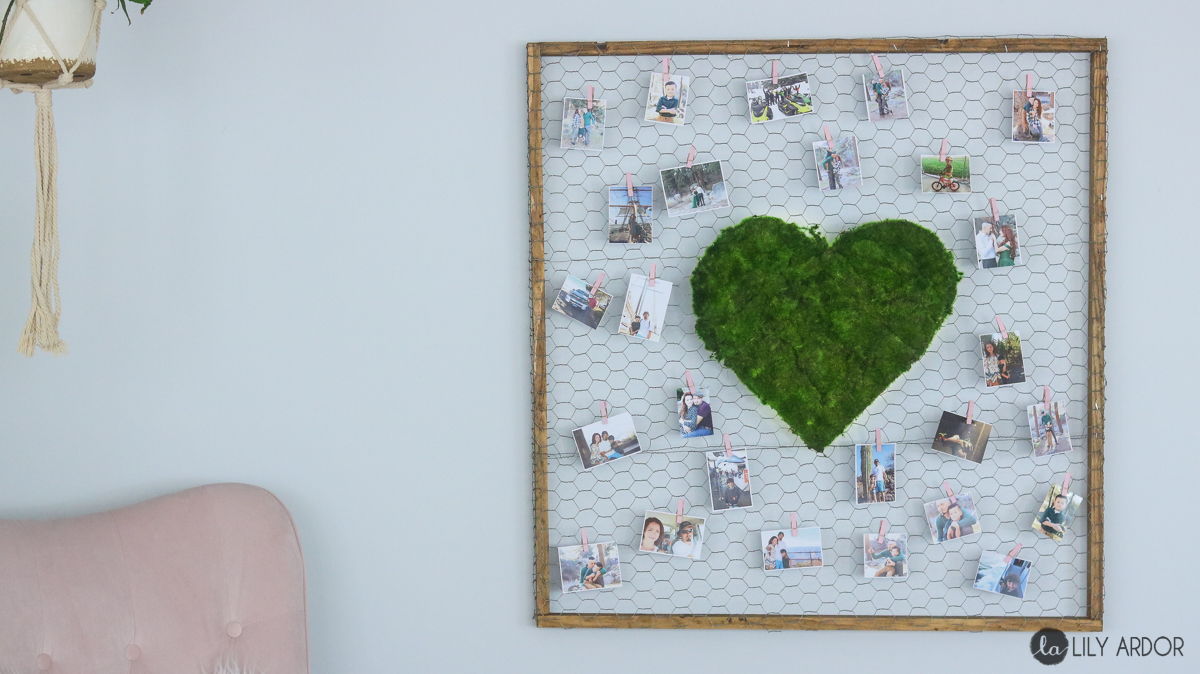
Here’s what it looked like once it was all done.
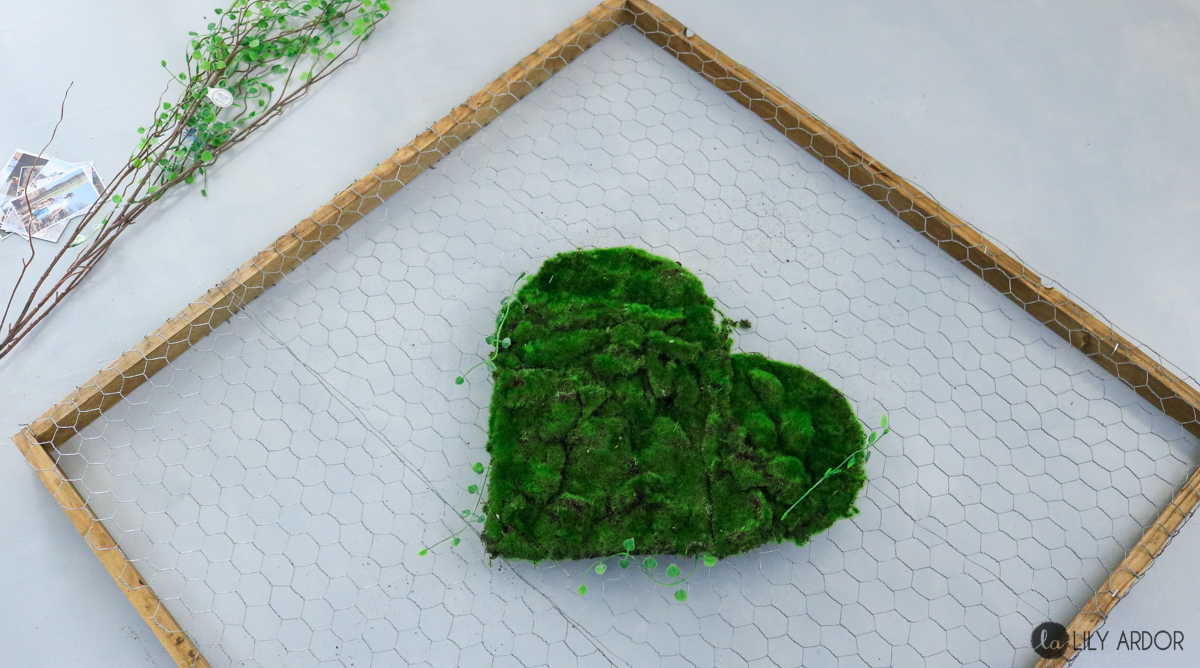
I also tried to add some green vines around the heart but, it didn’t look to cute. It was really throwing off the whole natural feel of the moss.
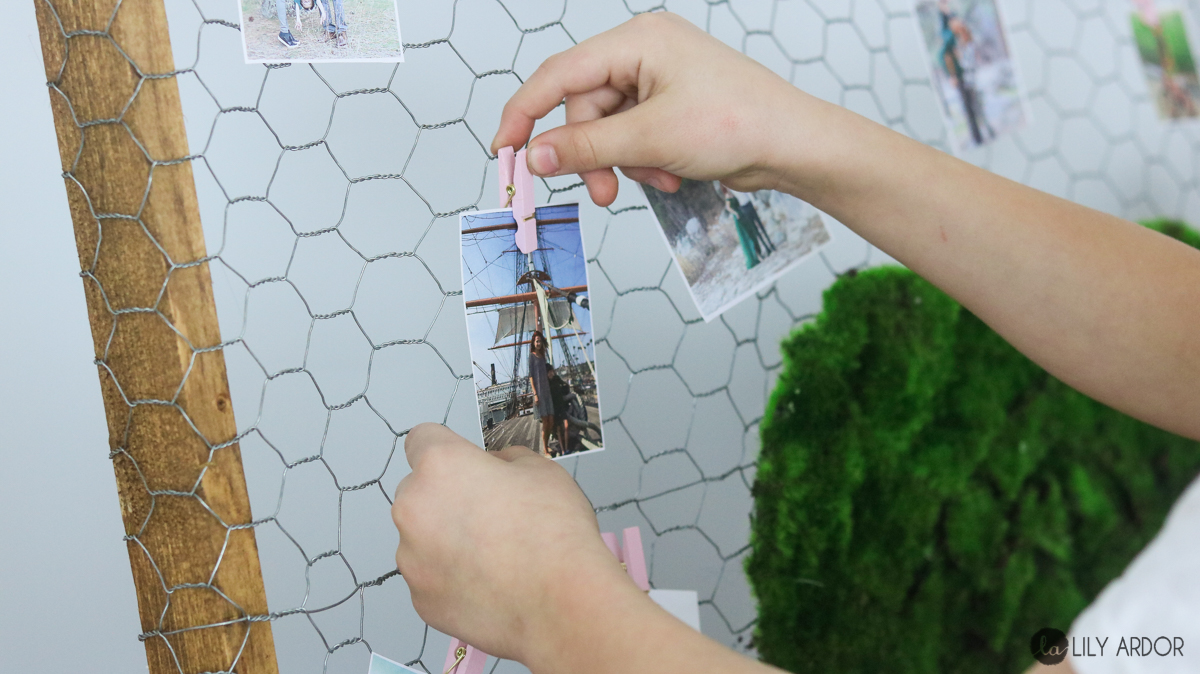
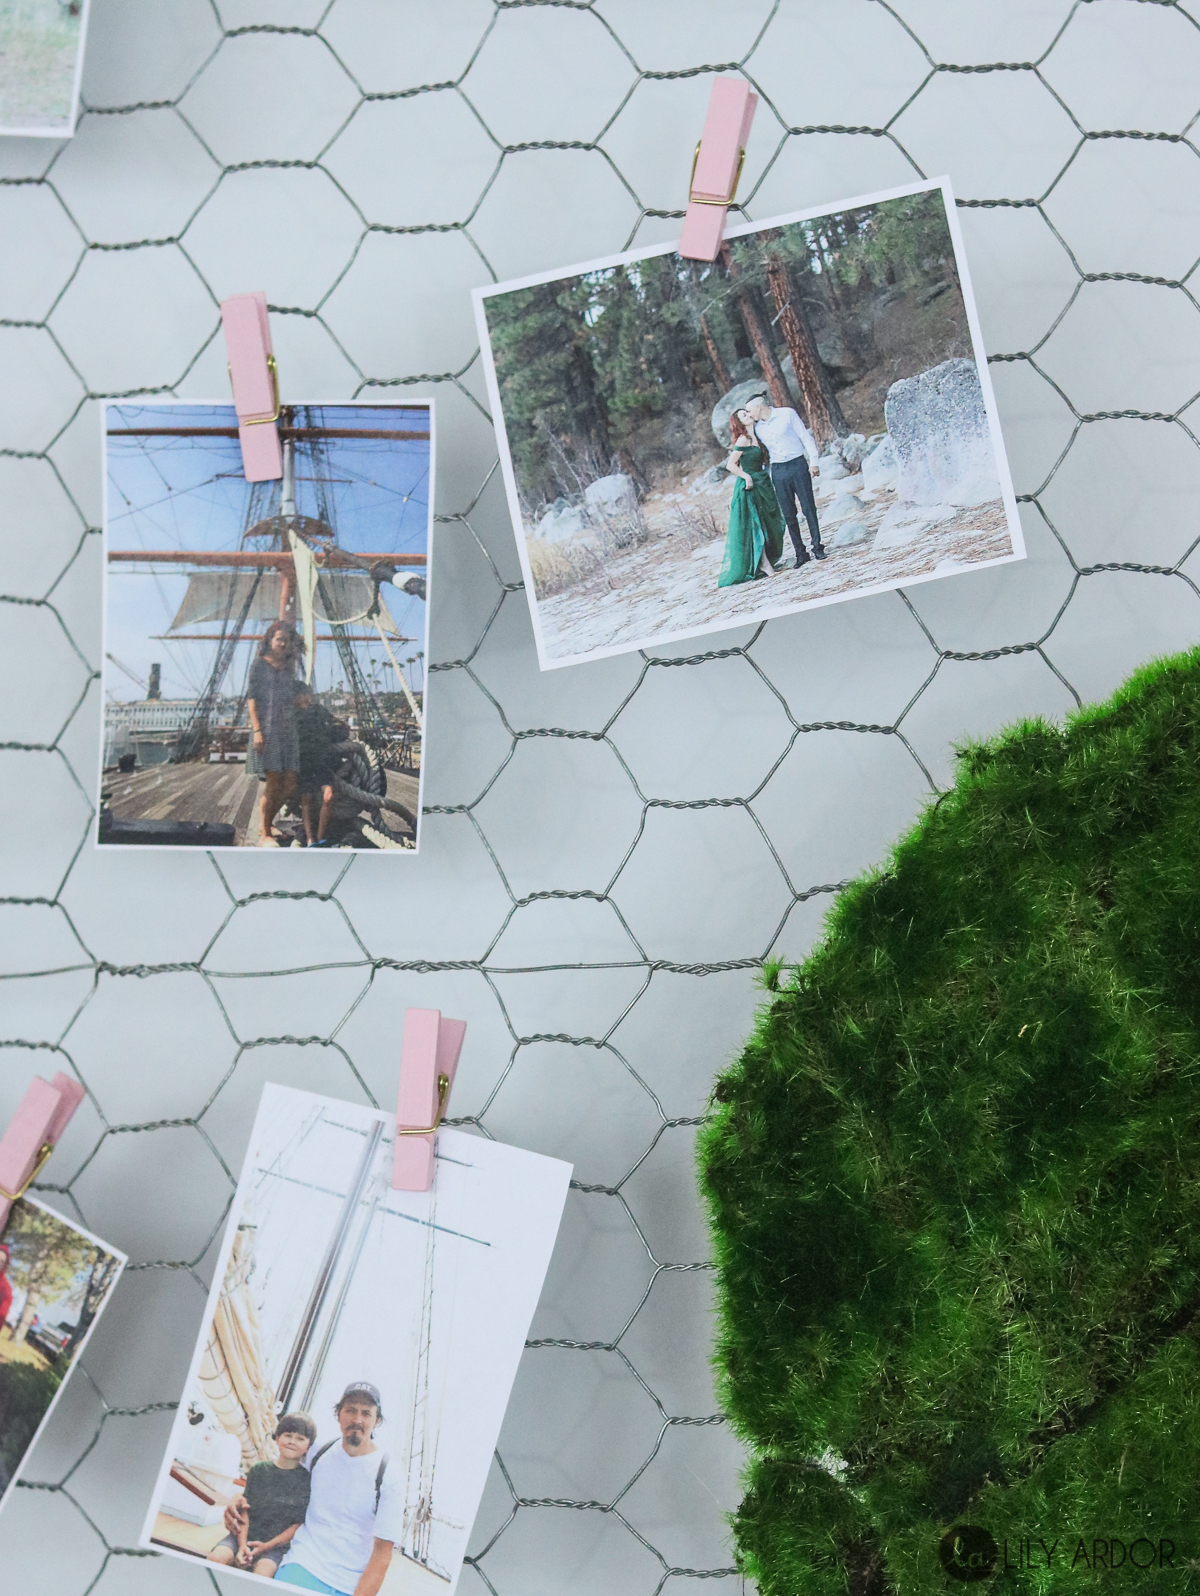
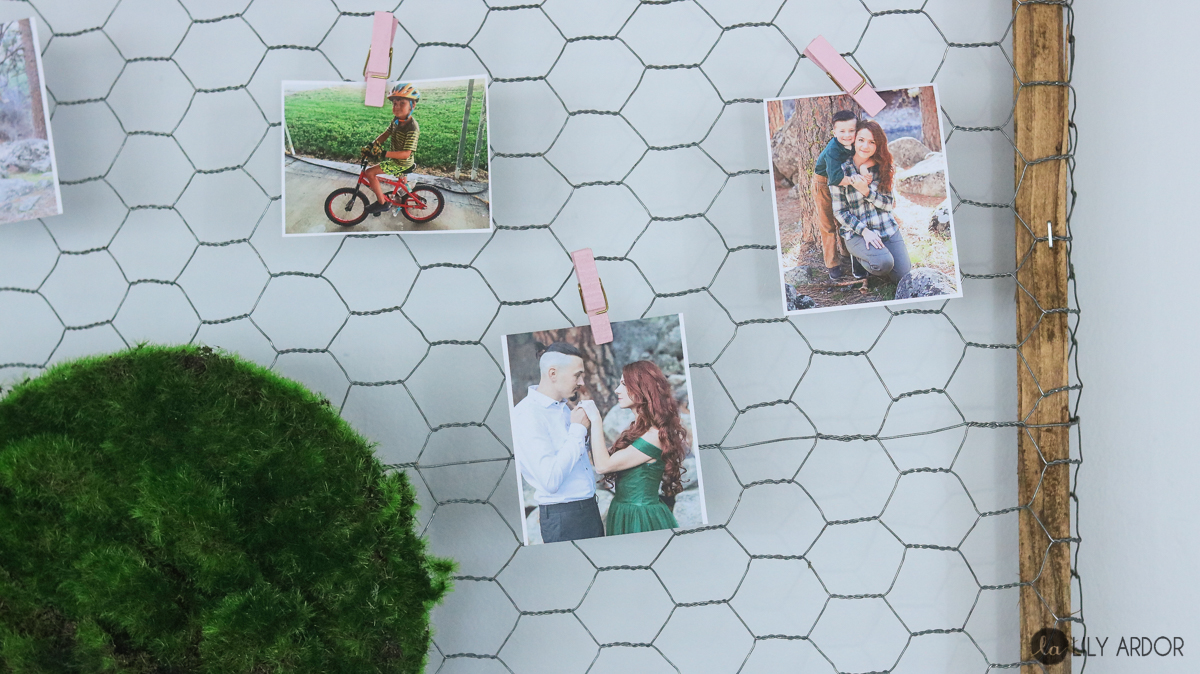
Then simply attach your photos with mini clothespins. I got my cute clothespins at hobby lobby. That’s it!! Wasn’t that easy!!
Here’s a quick video. 😀
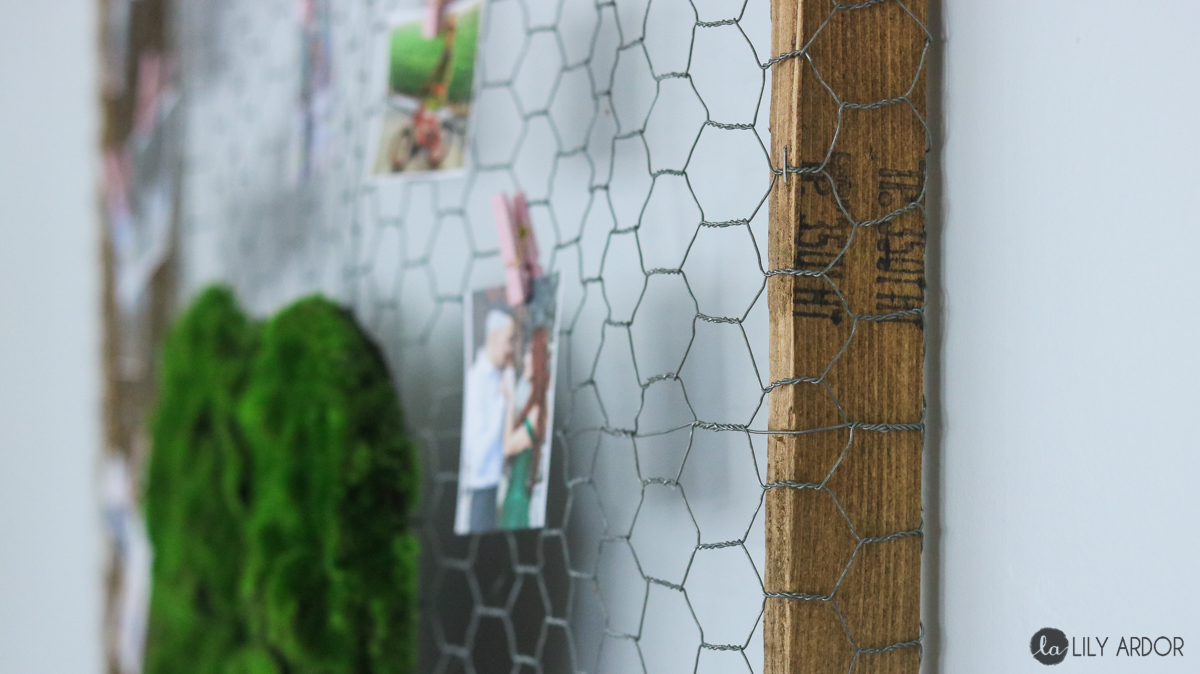
I usually always sand off any stamped wording on new wood but, to add to the rustic feel I left it this time. I kinda like it! 😀 😀
Okay so this moss is super weird!!! I had an itch attack after touching it at the store. I didn’t realize what it was until I got home. It’s like after giving someone a haircut and you get a million little hairs stuck in your clothes! 😀 😀 I learned to handle with care. It’s weird but, love how it looks!
True Rustic..
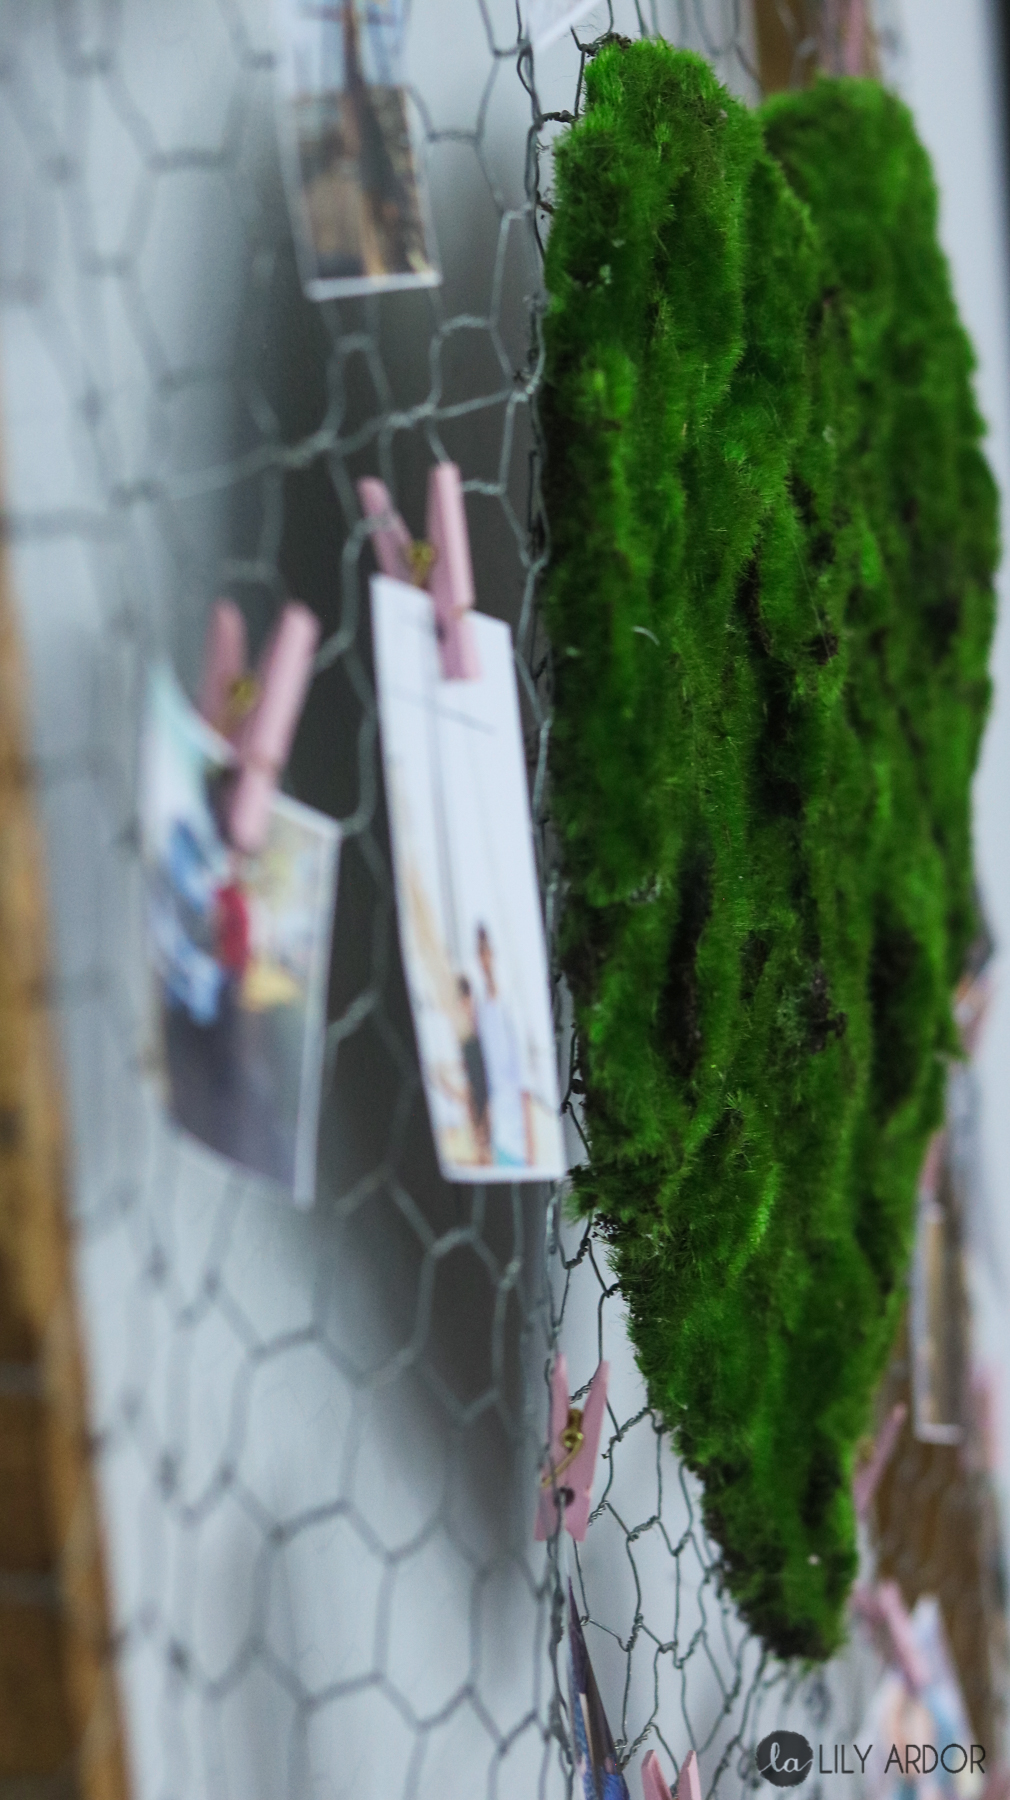
Just wanted to give you a heads up if you’ll be making this don’t expect the chicken wire to be perfectly flat. Here’s a photo to show you from a different angle. It still looks super cute even if the chicken wire has a few ripples here and there. It’s impossible to get it flat! So don’t freak out! HAHA 😀
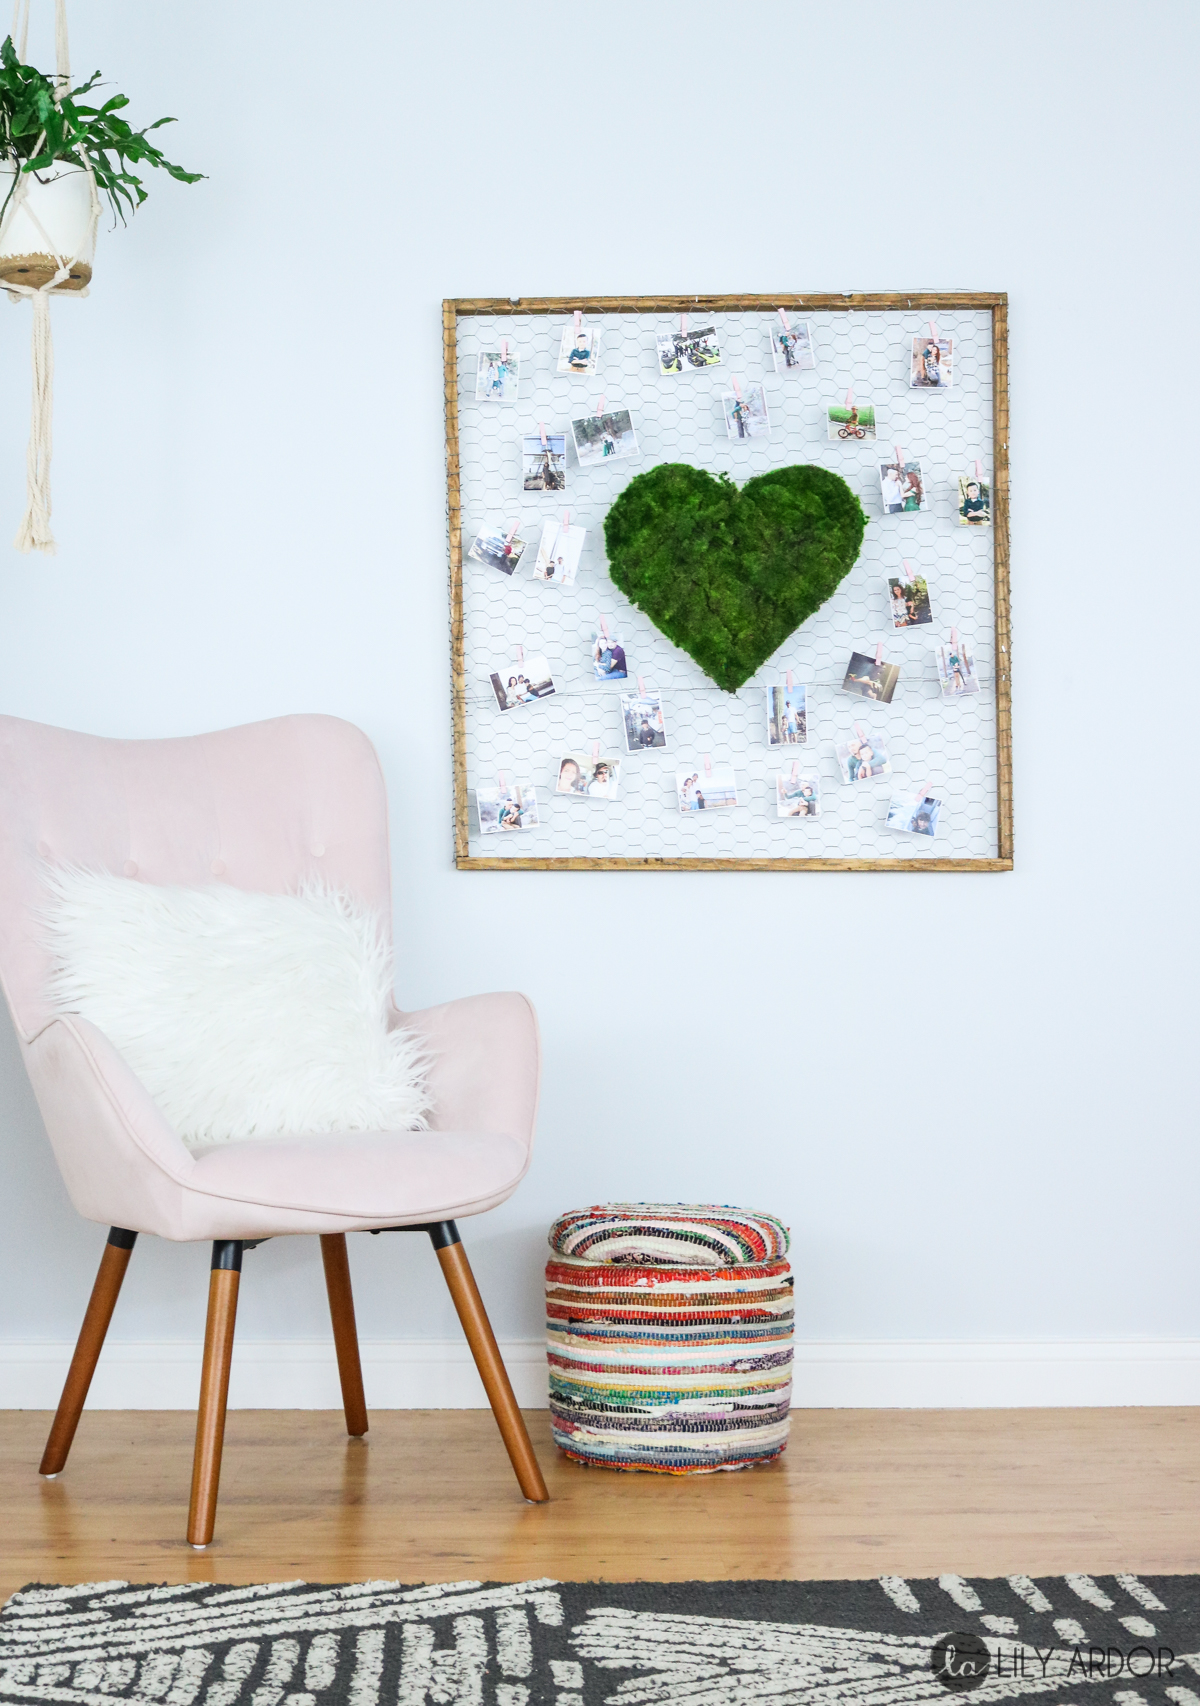
And here’s this beauty in my living room. I’ll probably be transferring this beauty to my office for note keeping in the near future! 😀
That’s it for this DIY Valentines Photo Display. What will you be making your heart from?
PS. If you liked this DIY then I have good news for you!! There’s more to come…Sign up for my newsletter and I’ll email you all of my DIYS. ENJOY! 😀 😀
