Satchel Planters..
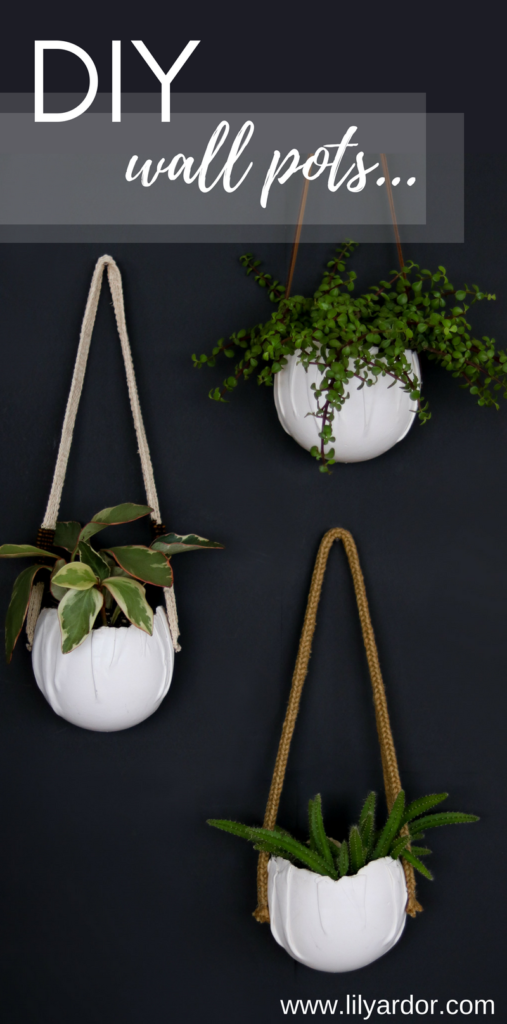
These DIY wall pots are breathtaking.. I just can’t get enough.. I’ve seen the wall planter trend buzzing for quite a while now and it has become a wish of mine to acquire a cute wallscape like those featured at west elm and pottery barn, except this time I wanted something so specific I couldn’t find it at any store not even the high end ones.
The Painful Truth!!
Scroll down to get to the fun stuff or read on to hear about the unbelievable evolution of these pots…
Where do I begin?!!.. This has been quite an experience. I don’t think I’ve come across a project that has given me this many brick walls.. 🙁 Although It could have seemed that way because I didn’t want to give up.. It took me a total of three attempts. I guess you can say three fails before I finally got a winner. Thanks my to Hubs these wall pots probably wouldn’t have been a reality. 😀
Raw content!!
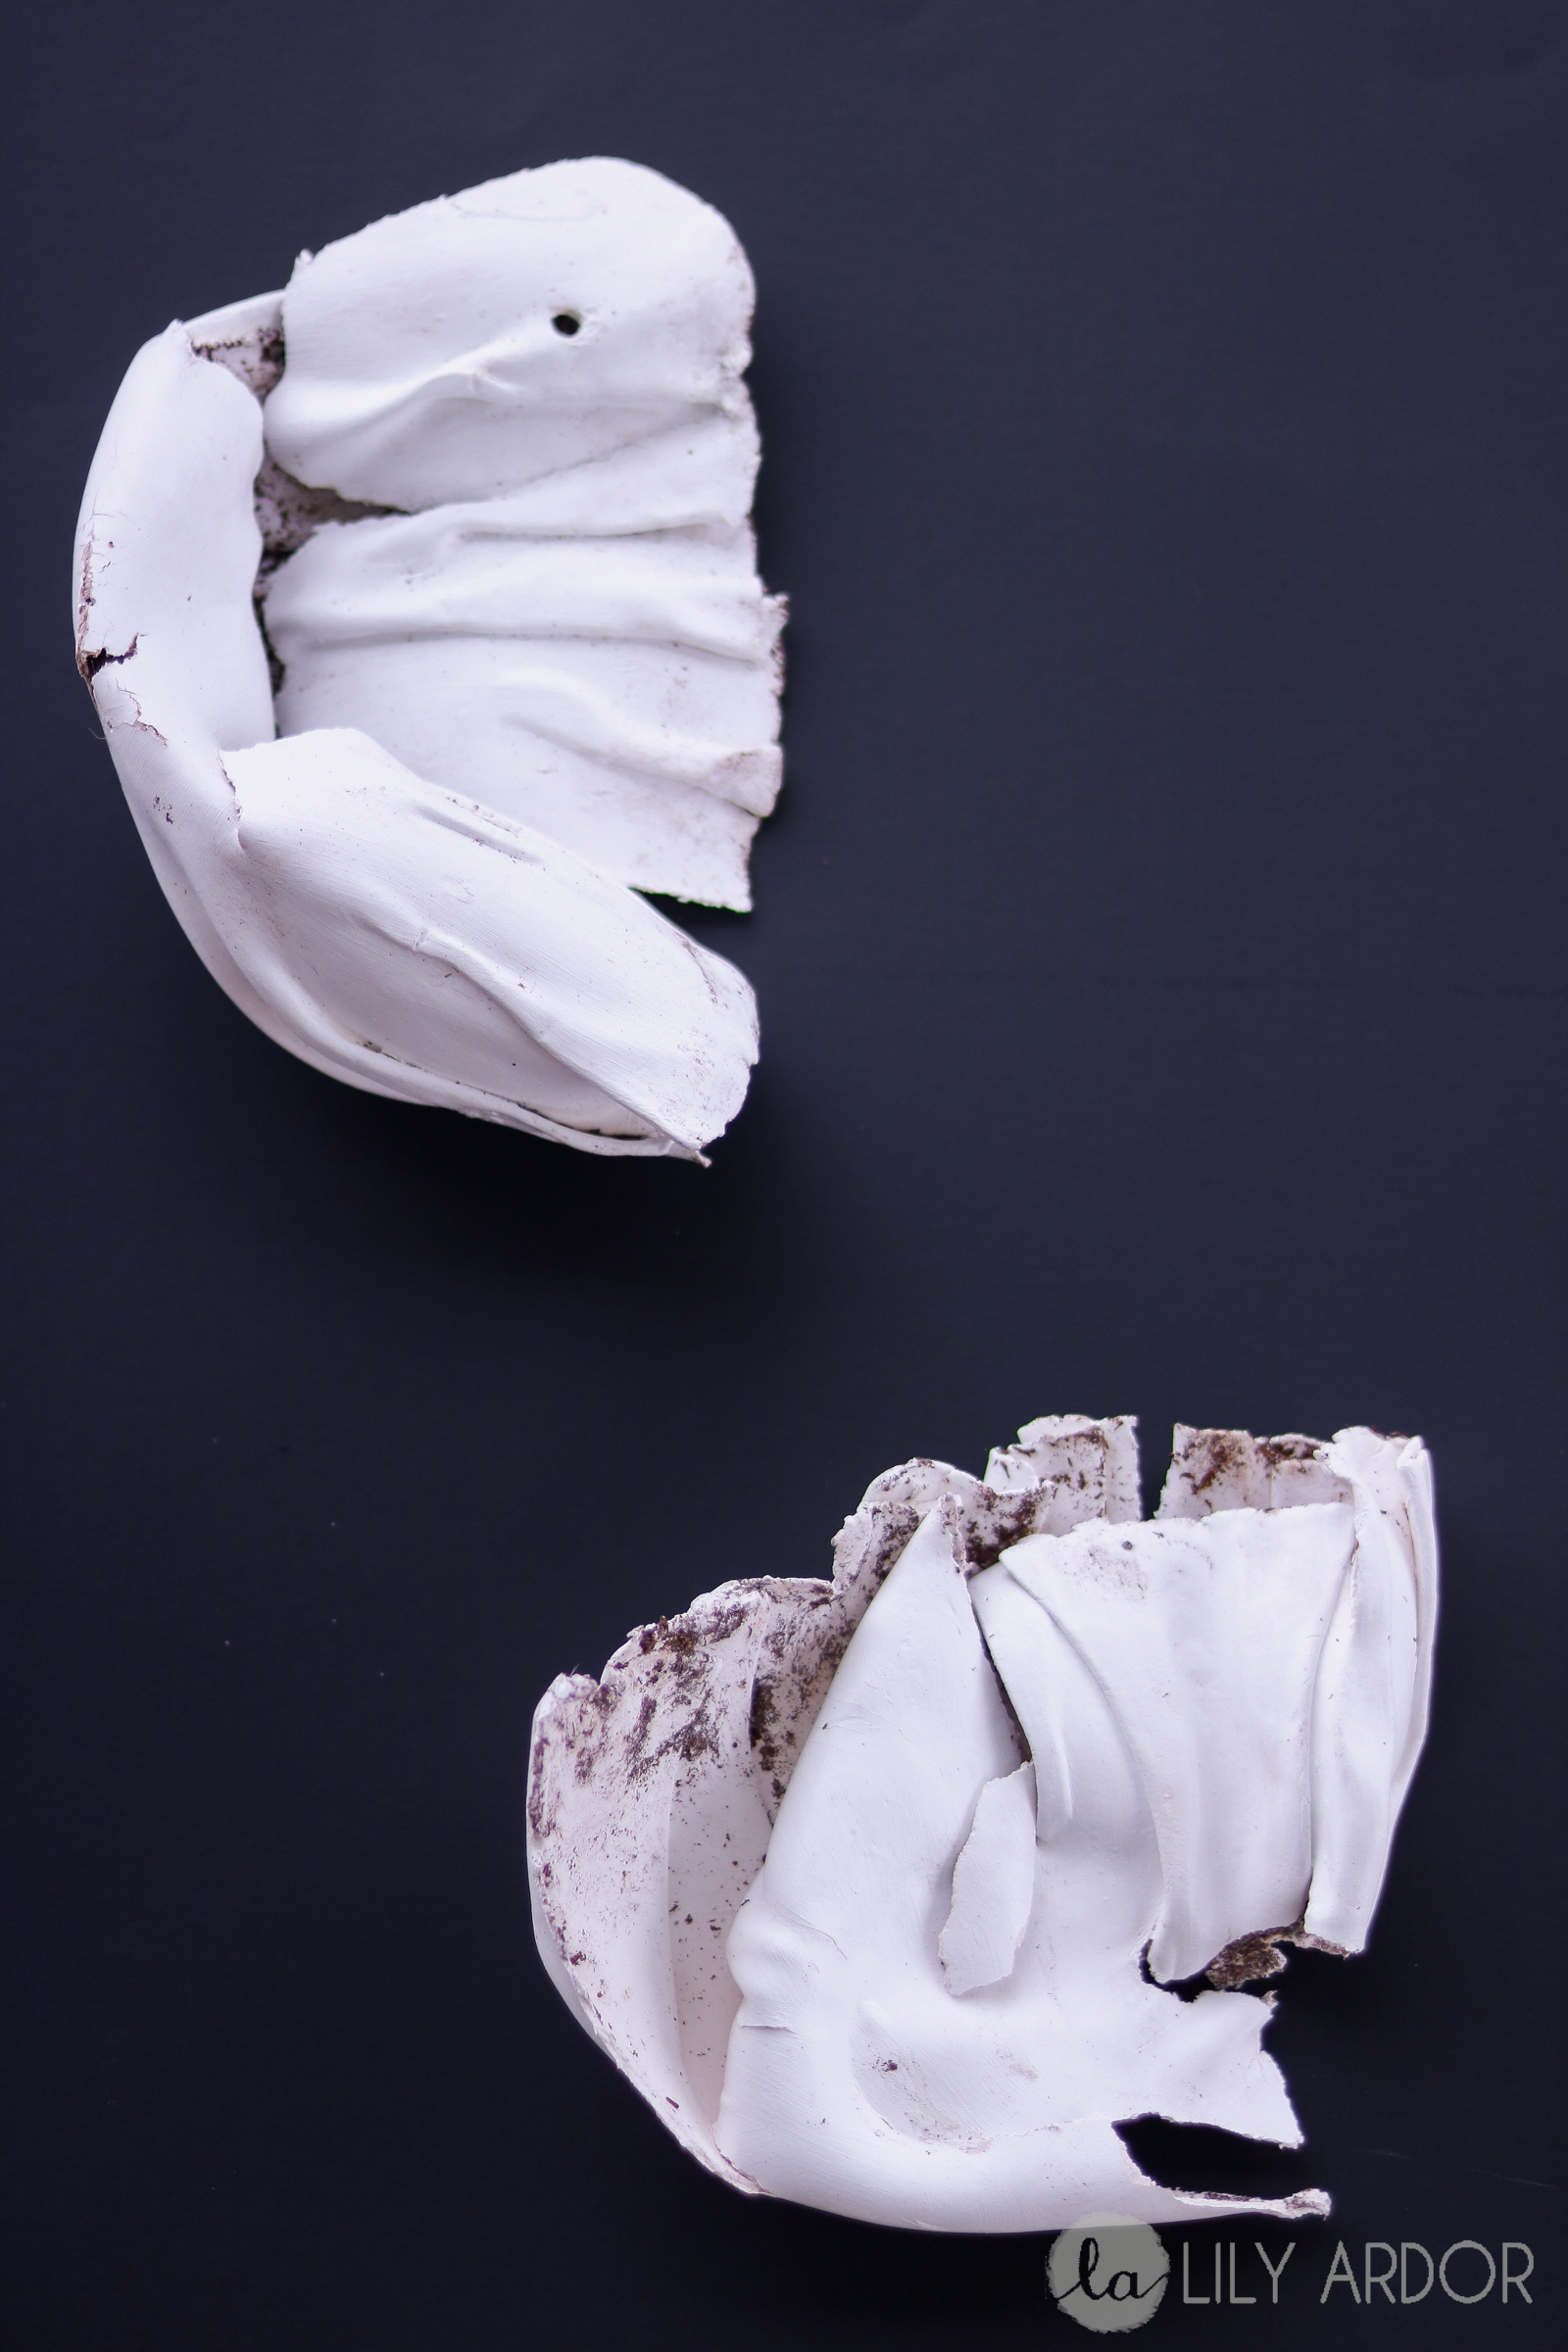
Before we get to the pretty stuff let me show you the ugly truth… You see the picture below?? Yep that was my first attempt.. After a week of molding, drying, painting, clear-coating, and planting I woke up in the morning to this.. Oh and if this wasn’t bad enough my plants got all broken up too. 🙁 Unfortunately the Clay I made the pots with and cured in the oven wasn’t meant to get wet.. but who knew?!!
There’s hope…they say
That was one of those poopy days.. Ehh. Slouched around half the day procrastinating on all things possible. 🙁 lol Until my hubby came up and mentioned how much he liked the pots and encouraged me to give it another try.. OFF I went buying another batch of porcelain clay. I came home and molded another batch of pots. This time my husband suggested to try and clear coat the insides with polyurethane and I did,.. then once again planted my pots.. Woke up in the morning.. and ehhhh not so good. They were turning soft on me again.. slowly but surely. I couldn’t believe it.. !! Not again. As I sat and thought what went wrong I realized the polyurethane I used was satin finish and not gloss. Which means it’s not completely waterproof.. AHHH.. DON’T rush your projects.. Lesson learned.
The true meaning of persistence..
Before going off to the store again I decided to plaster the insides of the pots to make them super durable because honestly that porcelain clay felt like dry dough… NOT very durable. After plastering I let them set for another day and went on to clear coat with gloss finish polyurethane.. AND guess what.. THAT didn’t work neither. Soaked it right in and left no sheen whatsoever..In this case not waterproofing it.. OH my gosh I thought to myself.. what do I need to do to make this work?!. So finally the strongest stuff I could think of was resin that my husband had in his shop. After giving that a try.. guess what .. YEYY it worked. The pots turned out hard as a rock. YES very durable. There Now… now you know the story behind the invention of these cute pots.. (PS. Learn from my mistakes)
What you’ll need
- porcelain clay ($6 with coupon : Micheals craft store)
- rolling pin
- four 12 inch balloons , ($1 dollar store)
- four thick rubber bands , ($1 dollar store)
- resin
- plaster of paris
- 4 screws w/thread stoppers
- Spray paint ($3 with coupon)
- Recycled belts ($5 Thrift store)
- pushpins
- Straw ($1 dollar store)
- Drill (or sharp tipped knife)
My total cost was $17.. (I had a lot of the materials on hand)
Let’s do this!!
Okay so for the first step you will need to blow up your balloon and hold for 1 minute to stretch it out before filling it up with water. Then start filling with water and as soon as you see the water overflowing stop filling it up any further and blow the balloon up to the size you want. When tying make sure and tie in a thick rubber band to hang it by.
For the next step I used this Model Air clay. Separated it into 4 secitons and rolled each section out trying to keep the shape round.
Like this.. 😀
Then I lay the balloon as centered as possible on the circle and wrapped the rolled out clay around the balloon…
Shaping the pot
I than taped the balloon to the wall attaching a strip of paper under the tape not to touch the clay. This step is to make the shape of the pot a bit more flat on the back side to lay nicer against the wall.
See Like this..
Then I took a straw and poked holes on both sides for the screws to go in when attaching the belt.. (TIP: They don’t have to be perfectly even.. Just make sure and don’t do them to far back a little closer towards the front makes the pot hang nicer)
Recycling 😀 😀
Here’s my beautiful mess of recycled belts.
I cut them to size.. The fabric and crochet belts included some sewing. Very miner. (length depends on how long you want it. Mines were all uneven and measured between 18″-22″ )
Then I made holes in the leather using my drill and pushed the screws through.. (you could also use a sharp knife to make the holes)
CURE CURE CURE
Big tip.. After letting the pots hang taped to the wall overnight.. The spots where the tape is won’t be completely dry.. You will need to remove them and let them air dry a little more ( I let mine dry in front of a fan for an hour) Then stick them in your oven to cure for 20 minutes at 200 F. (or until hard)
I then mixed a small batch of plaster of paris and applied it to the insides of the pots. I tried to make it runny enough to spin around in the pot but it didn’t do a well job at spinning so I rubbed the rest around with a spoon.. No need to make thick layers. I did two thin layers let them cure 30 minutes in between.. Then I left them overnight to cure more.
Durability at it’s fullest
Once the plaster of paris was cured I mixed up a small batch of resin and coated the insides of the pots with one coat of resin. I pre-drilled all my holes before coating with resin.. (if your making drainage holes make sure and do this step before the resin.. you want to waterproof as much as possible) I let my resin set overnight and in the morning flipped them upside down and spray painted them in bright white satin.. Then I attached all my belts and planted my plants. 😀 😀
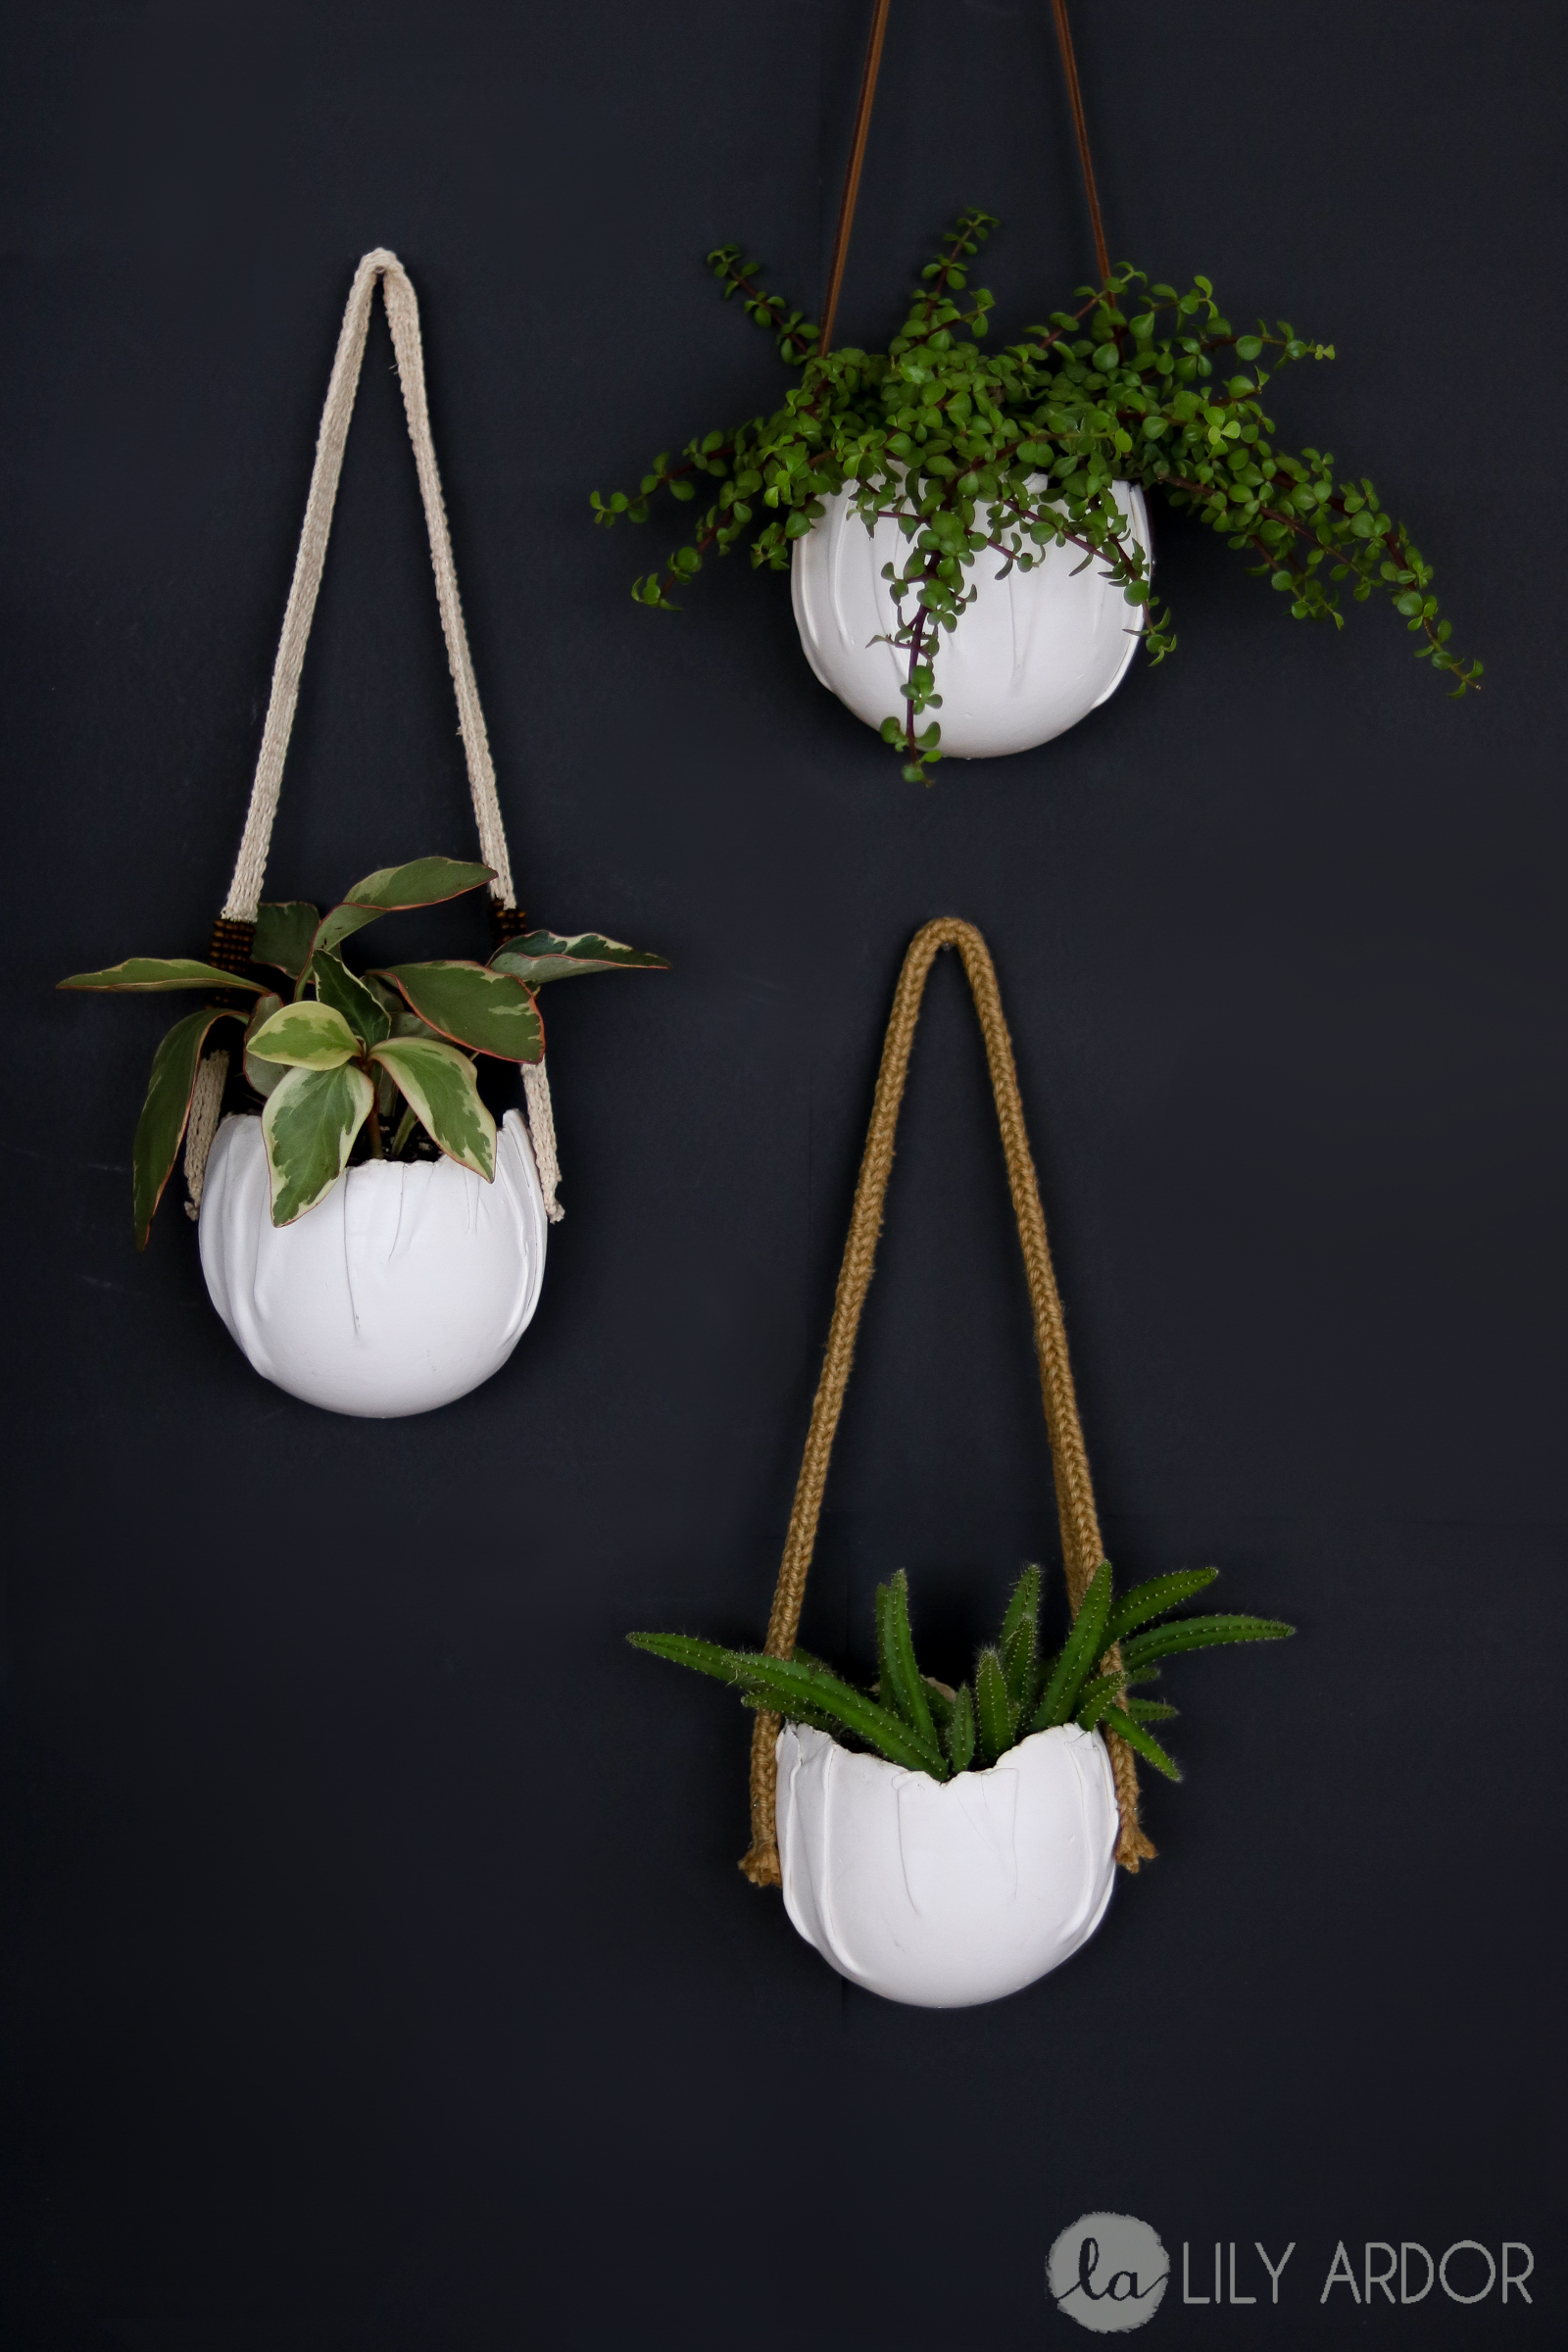
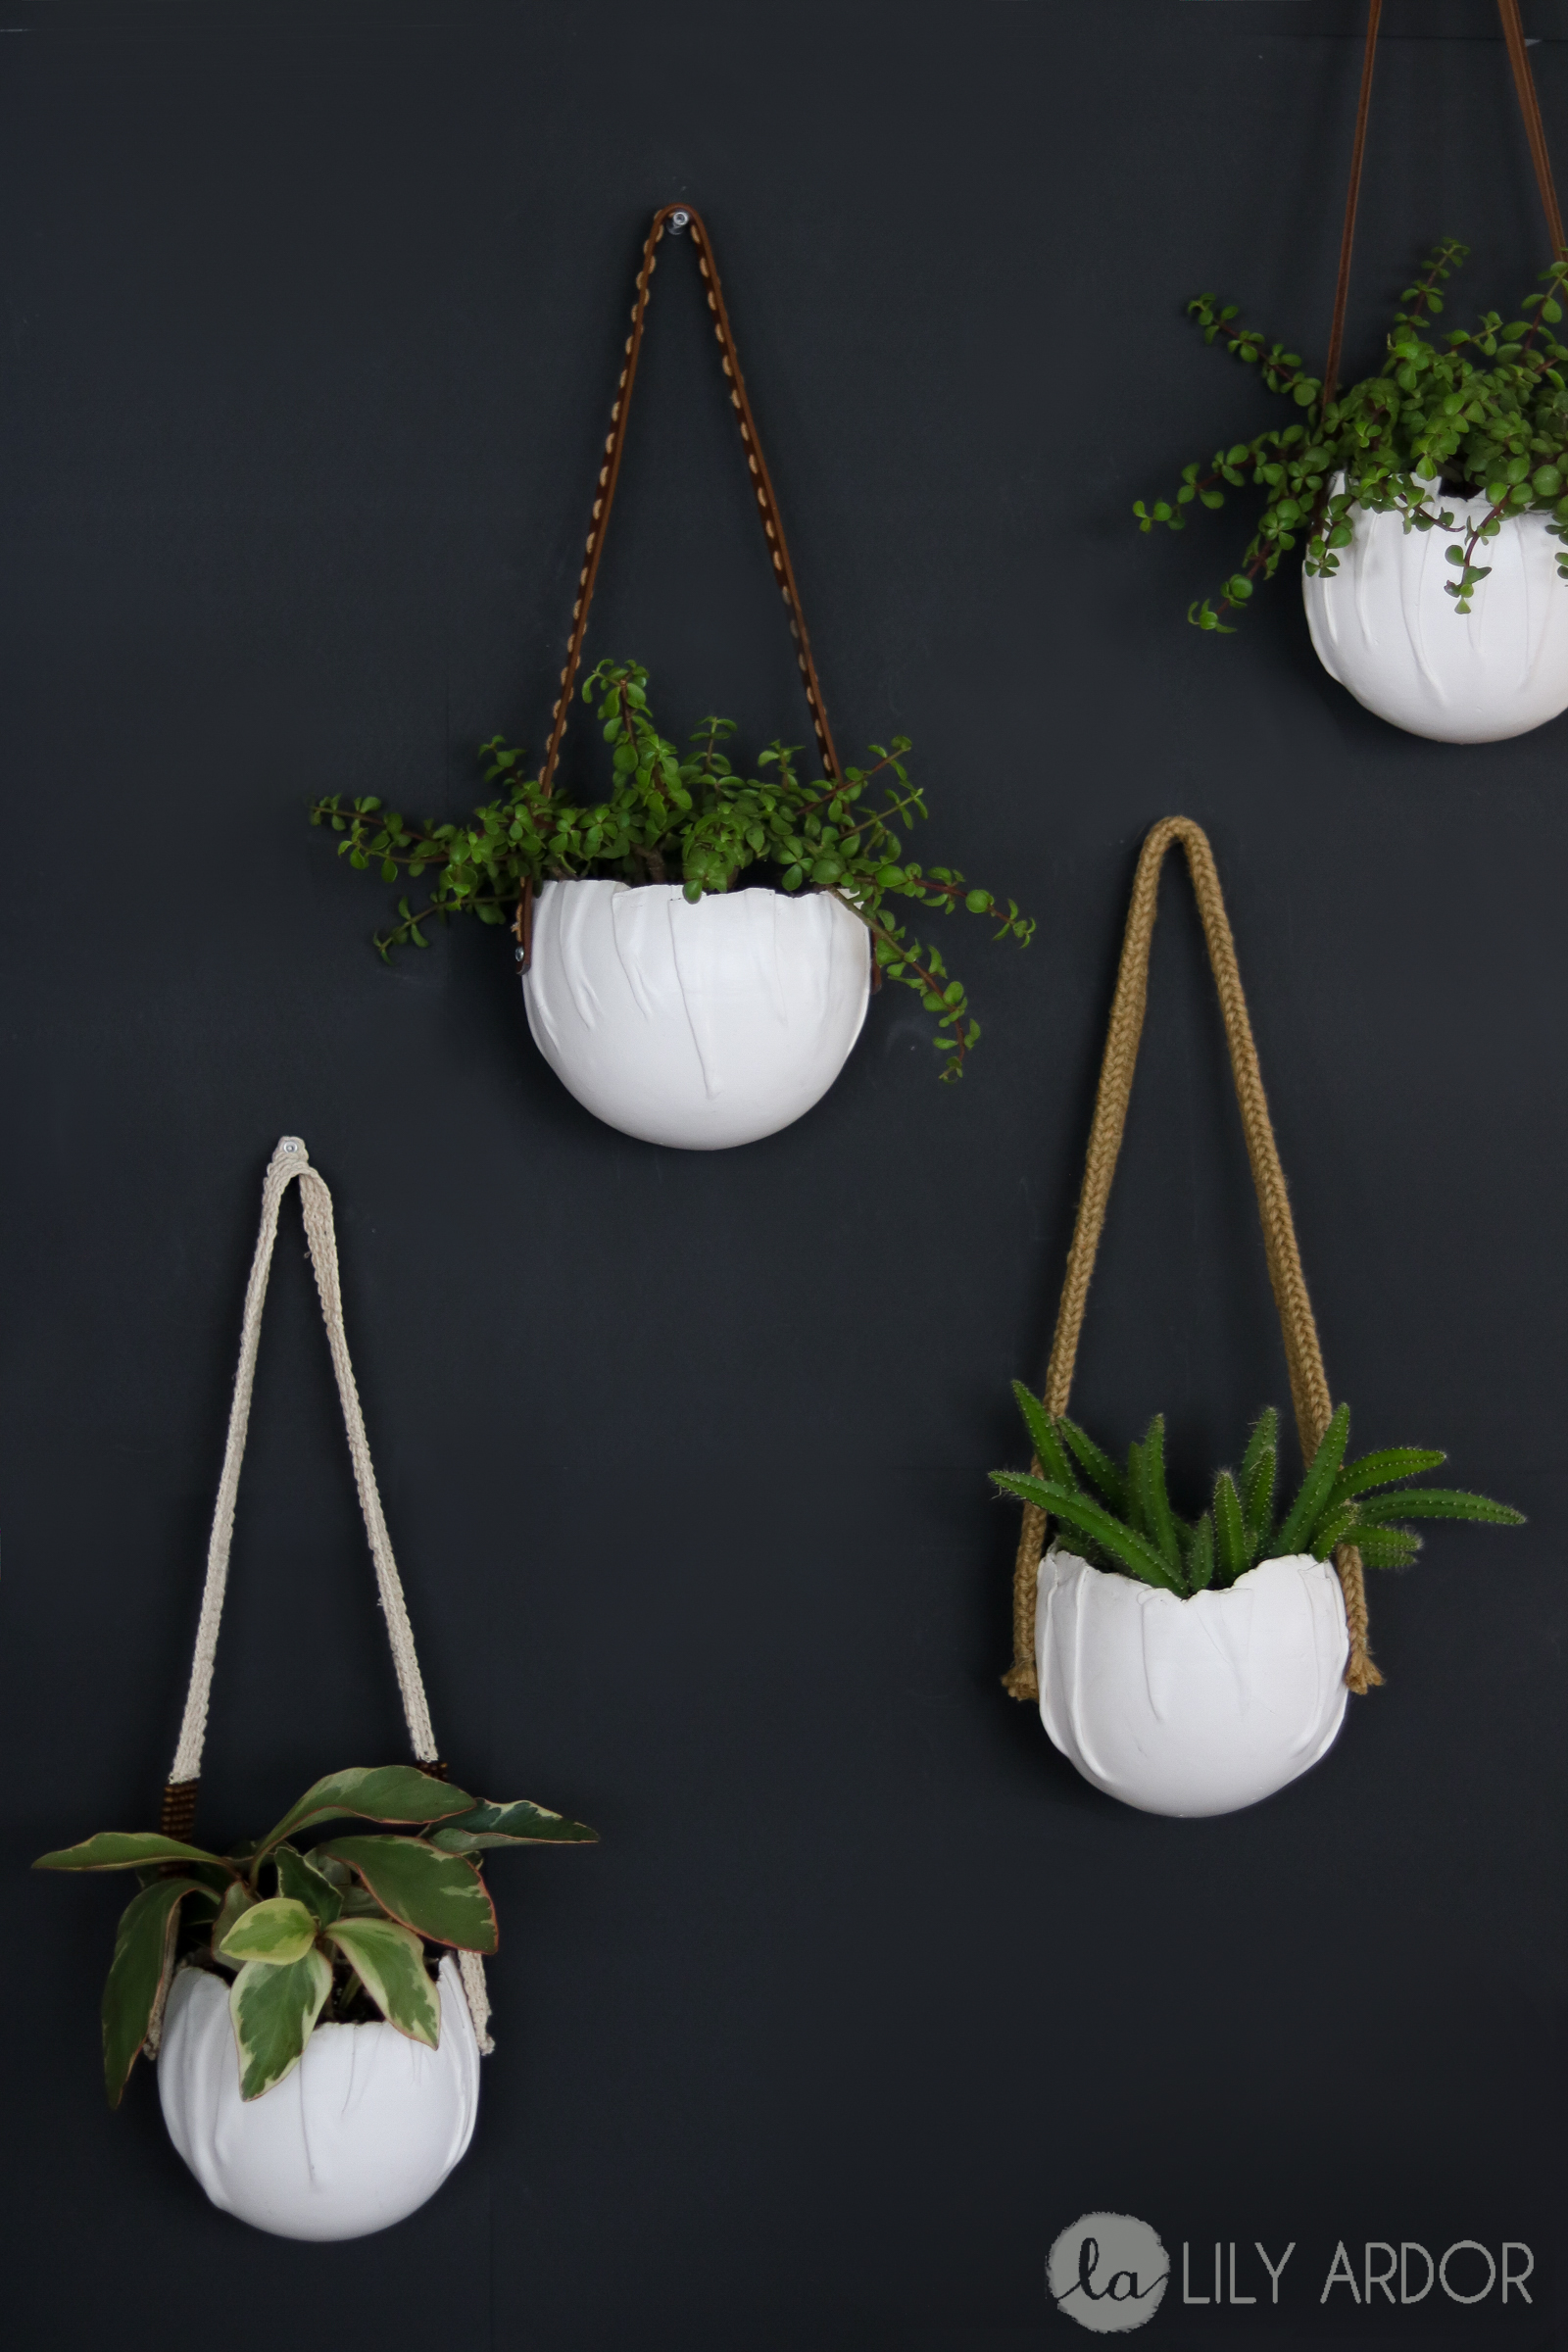
AND THE WINNER IS… (drum-roll please!!!!!)
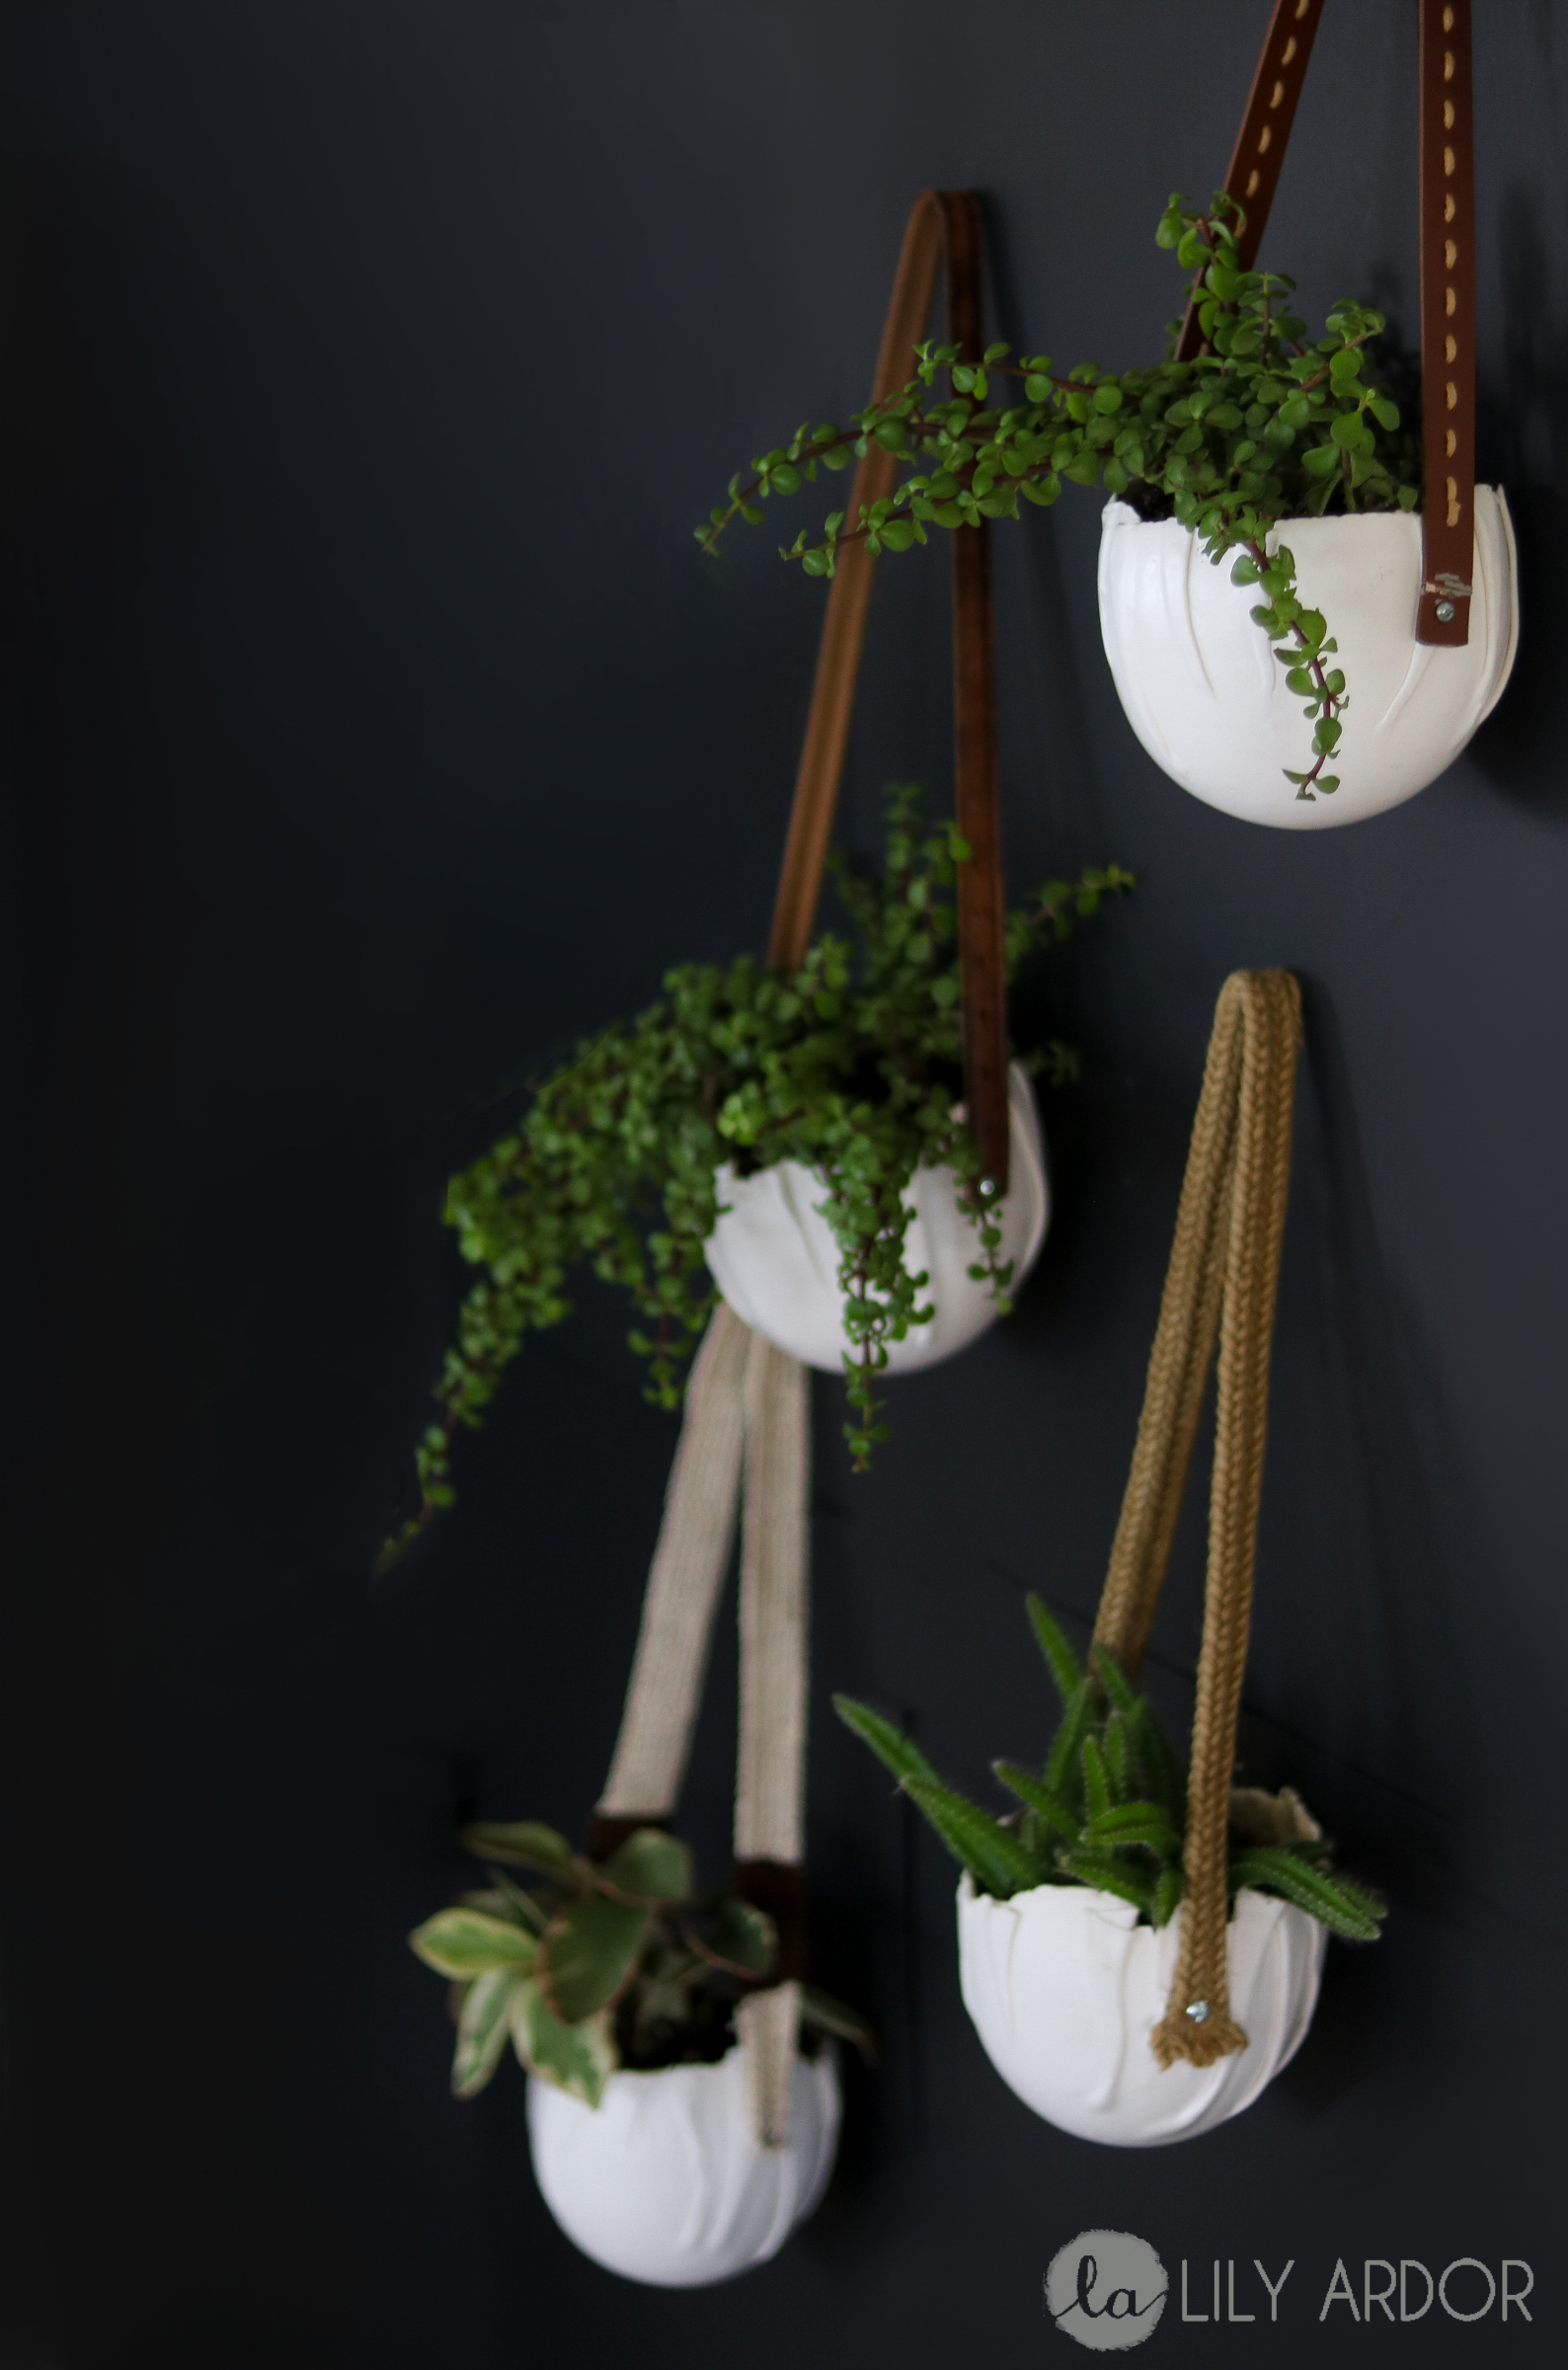
Well? What do you guys think? I was debating on maybe making them gray, but decided to stay on the safe side and go with white. 😀 I love the way it looks like a satchel.. So cool. 😀 (by the way that’s my awesome “dog tail cactus” )
I love that I got to use recycled materials. Making old things new is always fun.
I love the fold details on the pots. 😀
What do you think? Were these DIY wall pots worth all the effort? Would you make some?
That’s a wrap for today. Don’t forget to tag me on Instagram when you make these DIY wall pots 😀 😀 I would love to see what colors and plants you go with. 😀
Here’s are the products I used and some of my favorite finds. 😀
Loved this recycled materials project? You might also like my recycled Silverware Caddy project.
Here’s an awesome pinnable 😀







Lily, do you think this would still work if hung off the ceiling. I’m definitely not as persistent as you😅. But I’m thinking about giving these a try!
😀 Yes it would work.. Only you would need a strap that connects to 4 sides to keep the balance instead of two sides. Can’t wait to see them 😀
Awesome! Thanks! 🙂
Super cute. Gotta try.
Awe Thanks Mary 😀 You should. 😀
Beautiful job! What kind of resin did you use? Thanks!
Thank you Ruth. I used the “Bondo brand” called- Fiberglass Resin. (I attached an affiliate link to show you.. It’s towards the bottom of the page and it’s the second link in the first row.)
I love the wall pot pictures and tried to make them but didn’t get past step one….how did you get the clay to adhere to the balloon?
I can’t wait to make these!!!!
Thank you Jane. Here’s a few tips. The thickness of the rolled out dough should be about 1/8 to 1/4 inches thickness. Before folding your dough onto your balloon make sure it’s not stuck to your table or flat surface. Then center your balloon and start folding around the balloon making sure each fold holds good because that’s pretty much what will hold the pot together. If your folds keep falling apart try using some water to get the area moist and sticky. Another thing I try and focus on is to make sure your pot wraps around more then half of the balloon. So try and cover up at about 2/3 of your balloon. To remove your balloon you’ll be popping it anyways so don’t worry about the hole being to small to remove it. Don’t forget to tape your balloon to the wall this will help the clay stay on the balloon while drying. Let me know if these tips help. 😀 Would love to know how it goes 😀
Hi there, You have done an incredible job. I will definitely digg it and individually
suggest to my friends. I am sure they’ll be benefited from this blog.
Thank you so much. Glad you like it. Much appreciated. 😀
Greetings,
I just seen your project on “Home Talk” and you did an excellent job with your presentation that I signed up for your newsletter. I would have mentioned that I am from Lincoln, Nebraska but I didn’t know how to do that.
I would put in succulents in my new pots.
Hi, welcome. 🙂 So glad you came across my blog. YAY! Happy to hear you signed up, I can’t wait to share more DIYS with you. OOH Nebraska. It’s so beautiful there.
I just wanted to ask, I’m not familiar with these materials… why both plaster of Paris then bondo to line the interior? Don’t they both serve the same purpose, or is one needed for the other to work?
Thanks! Great idea, loved that you taped it against a wall for a flat edge! Genius
Hi, good question. Now that I think about it resin might actually worn on it’s own however I’m afraid it might make the clay melt before it sets. Plaster sets pretty quick. That would be the only reason to use both. Thank you! I’m so glad you loved it!
Hi, I love this idea, but curious if there is a way to make them so they can be outside in a garden. I assume that the clay is not waterproof even after drying. Do you think they would resist rain and moist if painted with waterproof paint?
Thanks!
Hi Jenny, i think they would be fully water proof if you cover the inside and outside with resin. They sell clear casting resin in stores. I’m not sure about water proof paint since I’ve never used it before.
THank you