Hello DIY family! For our project this week we ended up making a DIY wood resin tray! It’s been a rainy week and honestly I can’t complain because I absolutely love rain!
January flew by ssso fast. Seriously though!
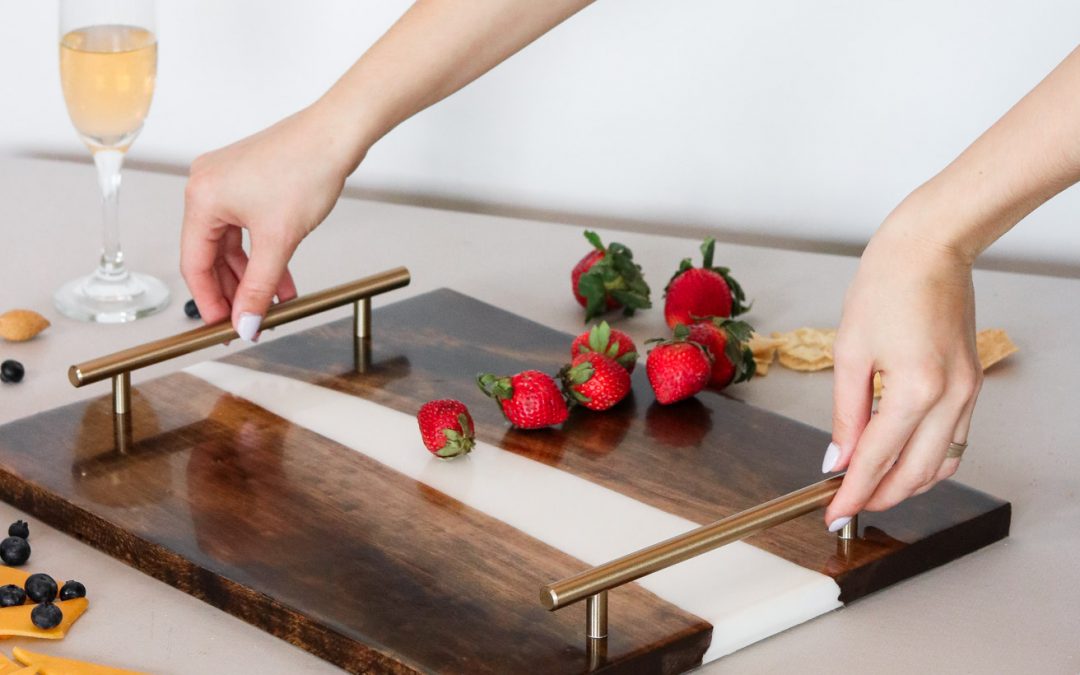
If you’re not familiar with the river table trend you should check it out on pinterest. The idea behind this DIY wood resin tray is to have what looks like a river flowing between two pieces of wood. This is made using resin and it’s what inspired me to make this tray. Although making the center blue was an option I really wanted to make it white for a more neutral look. (Thank you for helping my pick Inta fam! PS. You can follow me on Instagram here – https://www.instagram.com/lilyardor/)
Time Needed
A LOT! I’m not going to lie this project took me way longer than I anticipated. I usually hope to get my DIYs posted on fridays and this one took a few days longer to make than expected. Rolling into my second week. Keep in mind this is with the effort of getting the post and video up. It’s not a super hard DIY. The resin just takes time to set in between layers.
Total Cost
About $40 – $70. Sounds a bit much right? Honestly it can be cheaper. It really depends what you already have. If you want to recycle an old piece of wood that will knock the price down. I also used some cheaper resin then I usually do. Best part is it’s also food safe. ( once fully cured and no colorants are added) If you choose to add hardware the tray will cost you a bit more.
* This post contains affiliate links
Supplies
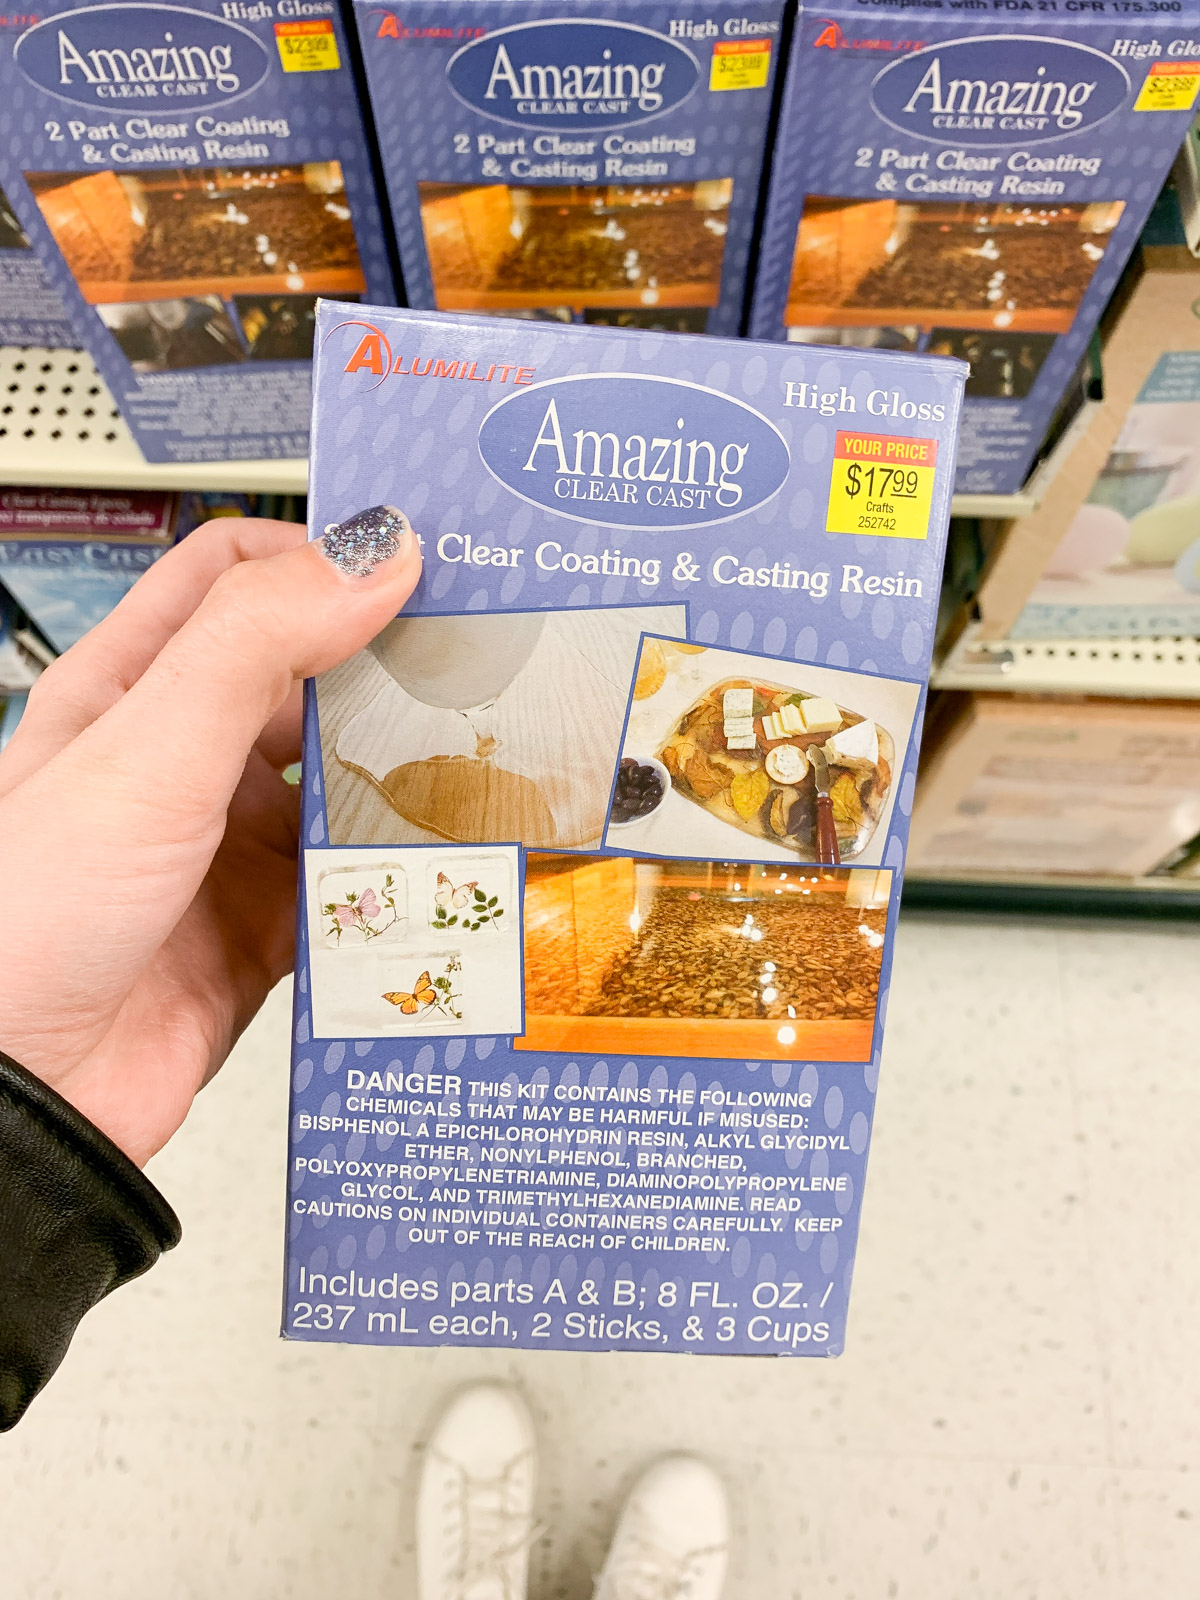
- Resin – Here’s the one I used –https://amzn.to/37Nxjhp
- Wood
- Hammer + Flat head screw Driver
- wood stain
- resin tint – Here’s the tint I used – https://amzn.to/3aXBLw6
- clear tape
- two 5 inch pieces of wood ( for mold )
- silicone ( for the mold)
- sand paper ( I used 220 and 600 grit )
- blow torch or heat gun ( to pop bubbles ) ( here’s a similar heat gun to mine – https://amzn.to/2OjwKEx )
Optional
- handles
Tools
- skill saw (here’s the saw i used – https://amzn.to/2OiXWmF )
- drill
- flat ,smooth, level surface
- da sander
- mask
My Apologies
Taking photos while working with resin isn’t easy. I apologize in advance. We did the best we could. I should also mention half of the footage got deleted due to an sd card malfunction. Apparently if an sd card is older it can delete your footage without you knowing🙈. Thankfully we were recording from two angles so all the footage from one angle got saved! JEeesh that was a close one. I would hate to loose all the footage..
Prepping the wood for your Resin Tray !
Okay let’s do this! ( sorry the photo with all the supplies got deleted ) We started by cutting our wood board in half. I got my wood at hobby lobby. It measured about 14″ by 10″ inches.
Than I used my hammer and screw driver to remove all the bark. I also stained my wood. For my stain color I mixed the two minwax stains “special walnut” and “dark walnut”.Prepping Your Surface!
Next we prepped our surface. You’ll need a flat level and smooth surface. I used an old piece of mdf board we had. Than I applied clear tape in rows to cover the section where the wood will be positioned for pouring resin. I also applied tape to the inside of the 5 inch wood pieces that were used to create the mold. (You can see more on how we made the mold in the video here – https://youtu.be/x6A-uzGatZs ) Basically anything the resin comes into contact with that you don’t want it to stick to should have tape on it.
Positioning the wood!
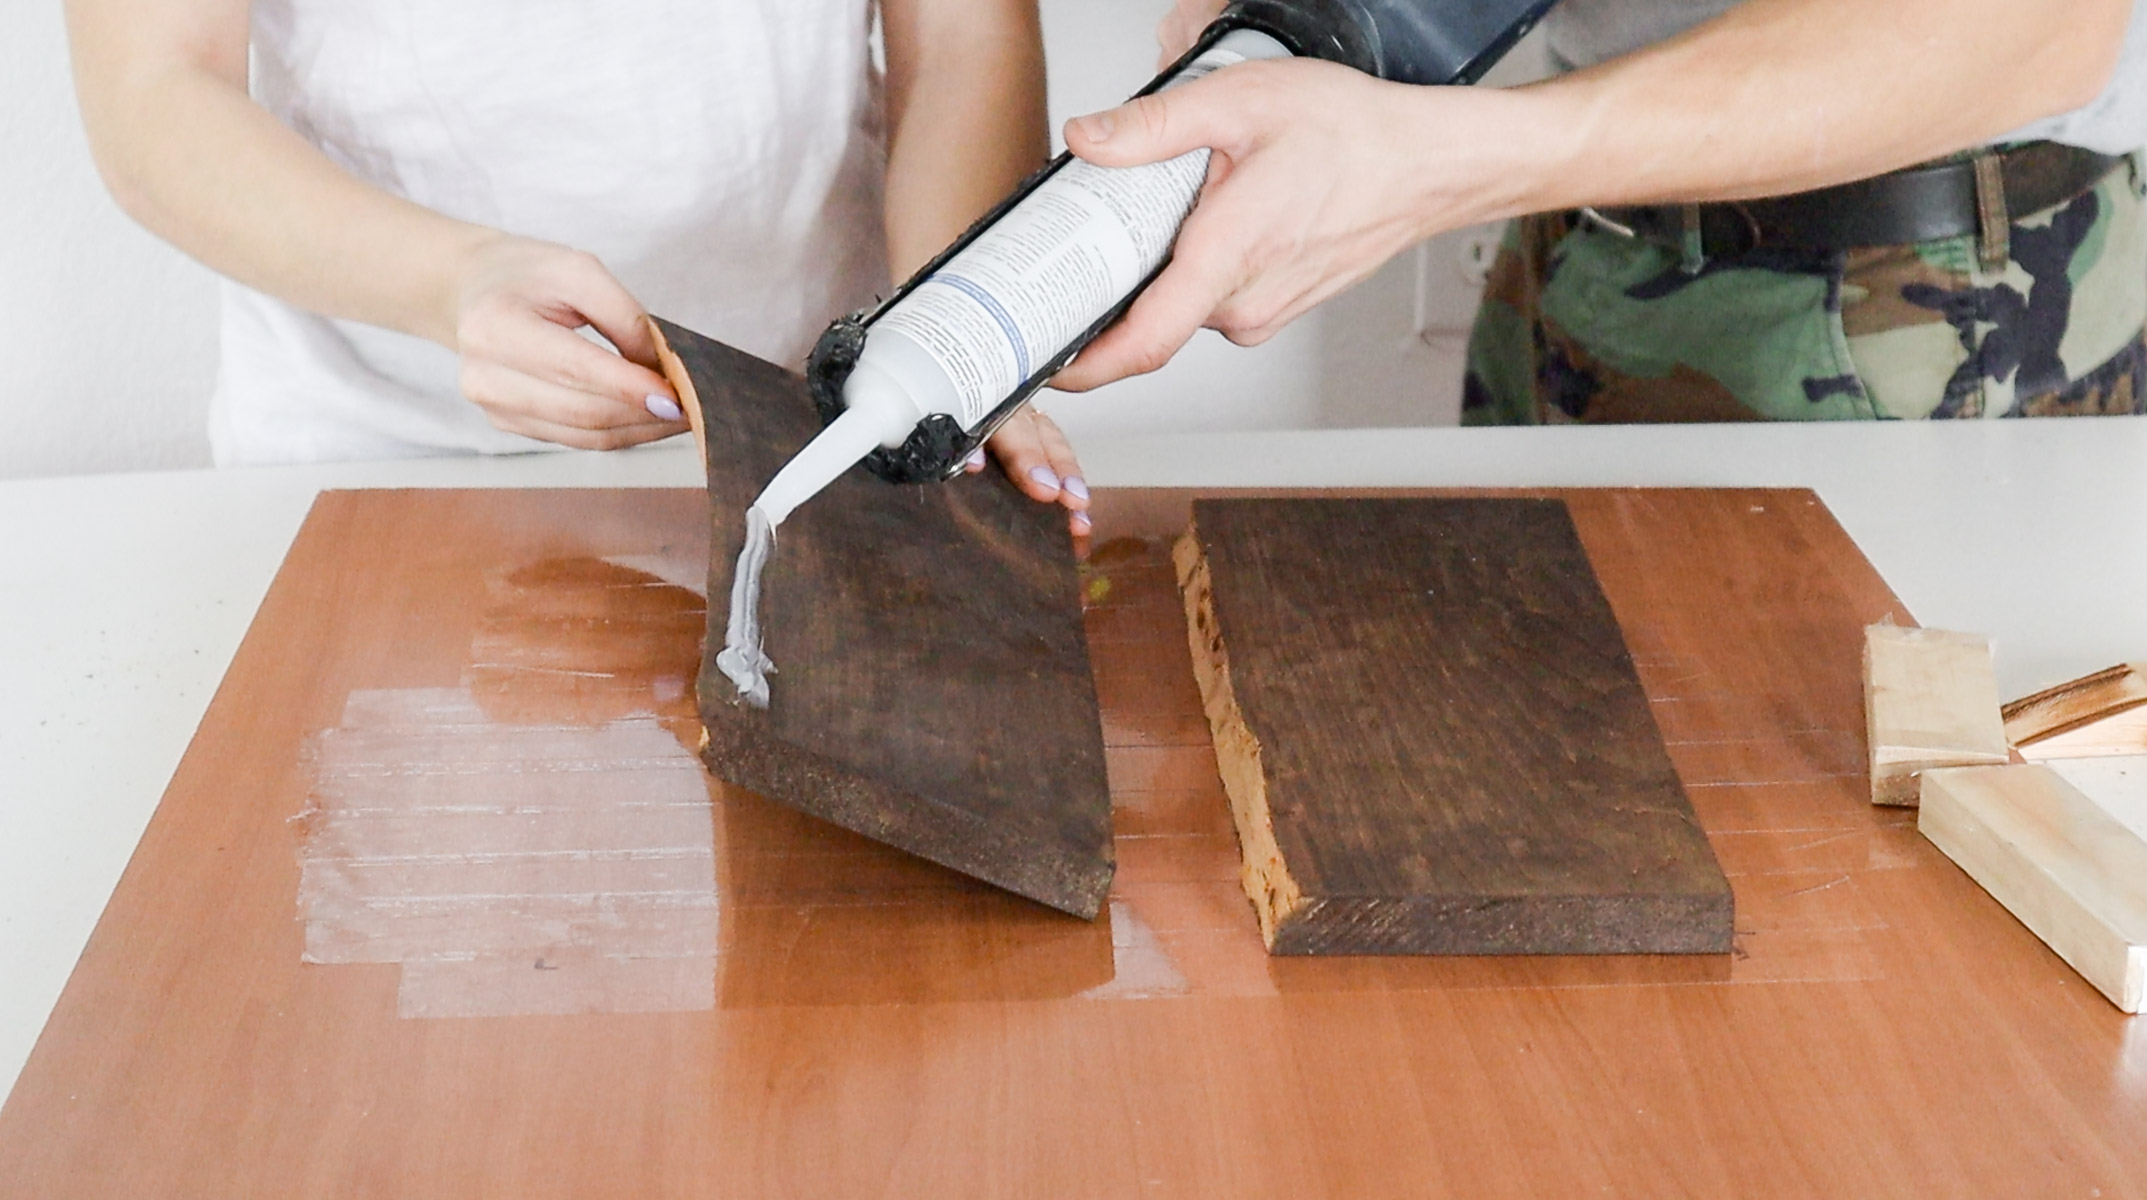
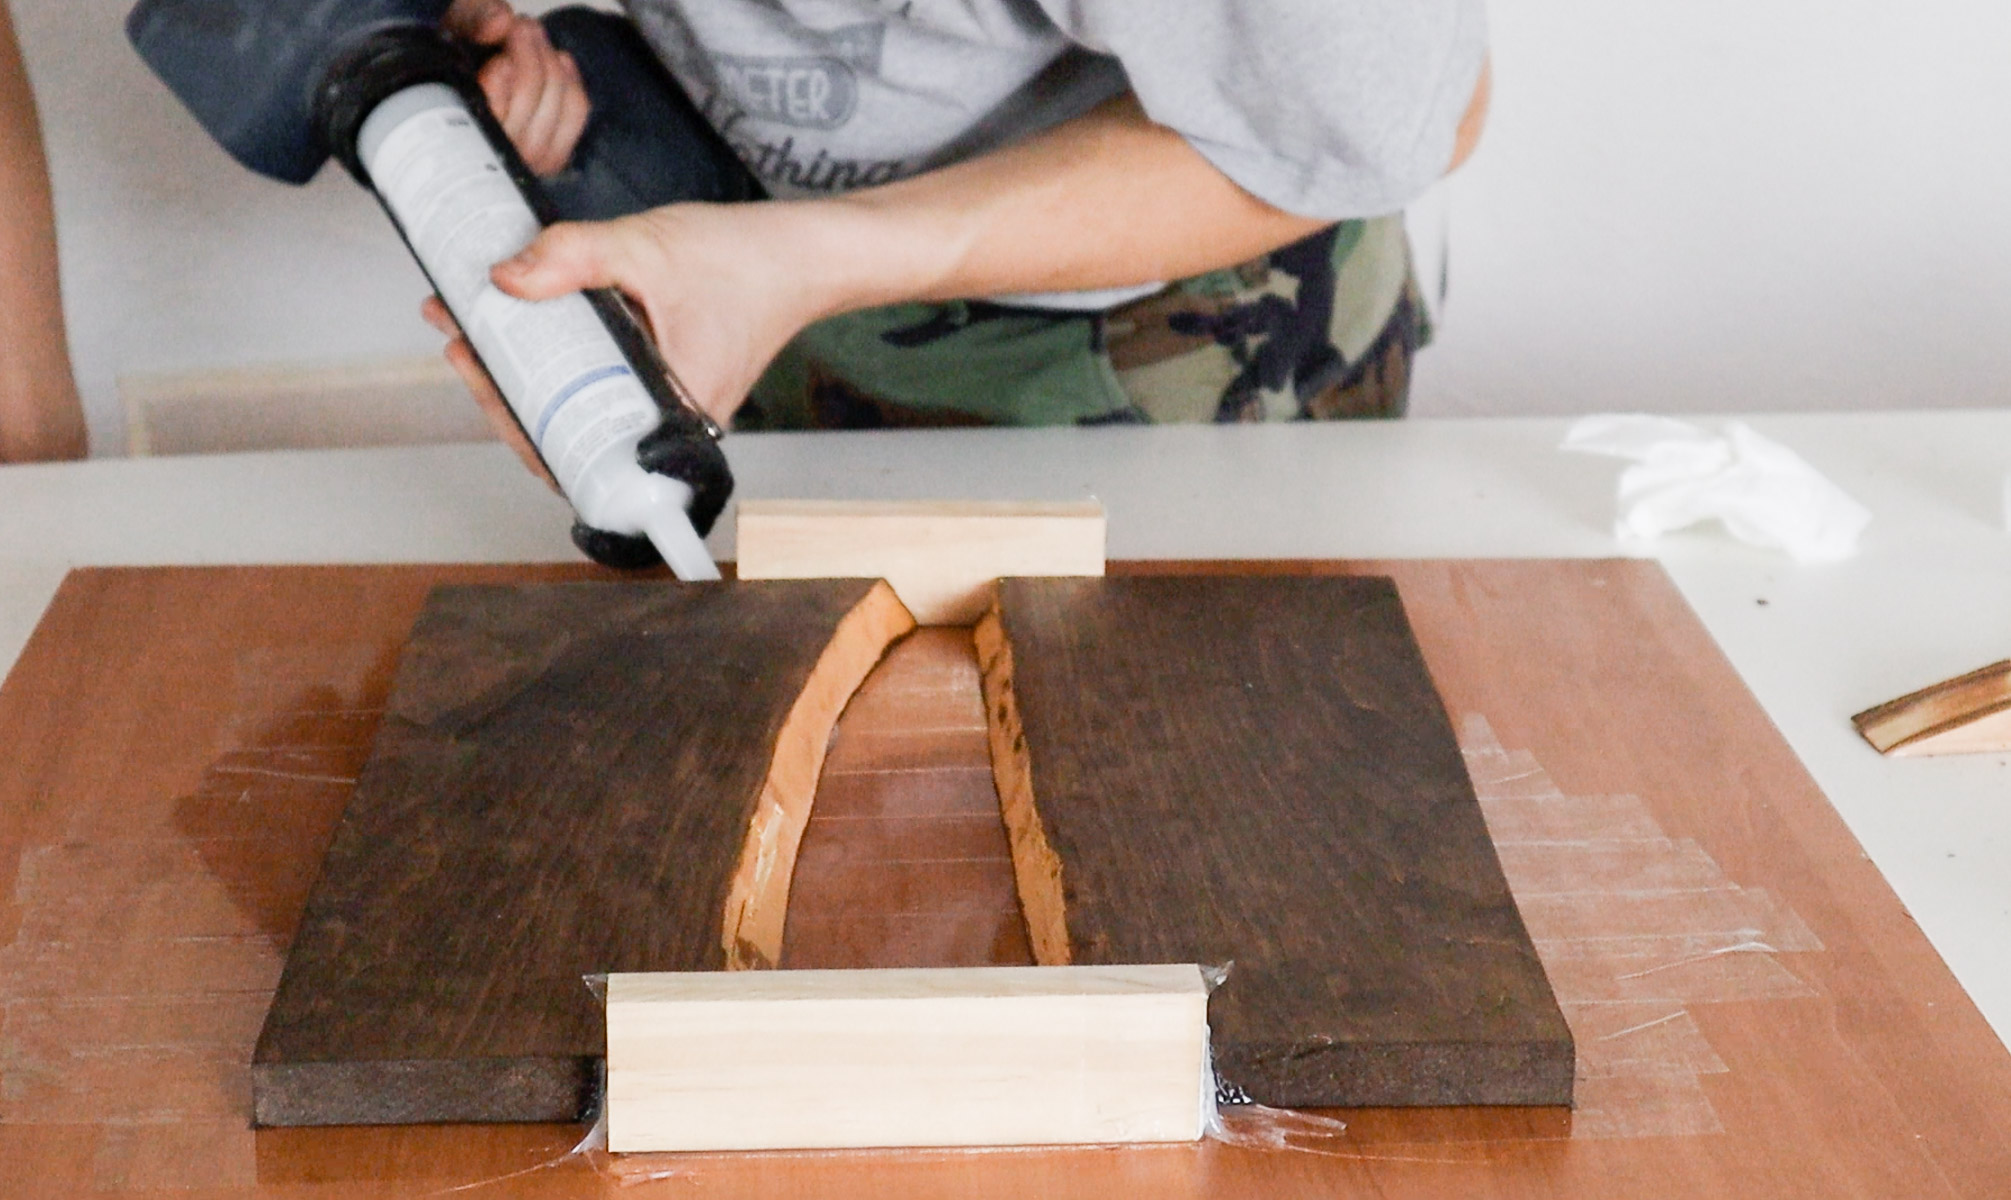
Next we applied silicone to the bottom of the wood. Only one strip of silicone to the inner pieces of the wood to create a barrier wall. This will seal in any holes and avoid the whole bottom from getting soaked in resin. We lay the wood pieces making sure the live edges were on the inside facing each other. Than I used my level to make sure it was level. We also lay the 5 inch wood pieces on both sides of the gap and siliconed it.
Mixing Resin !
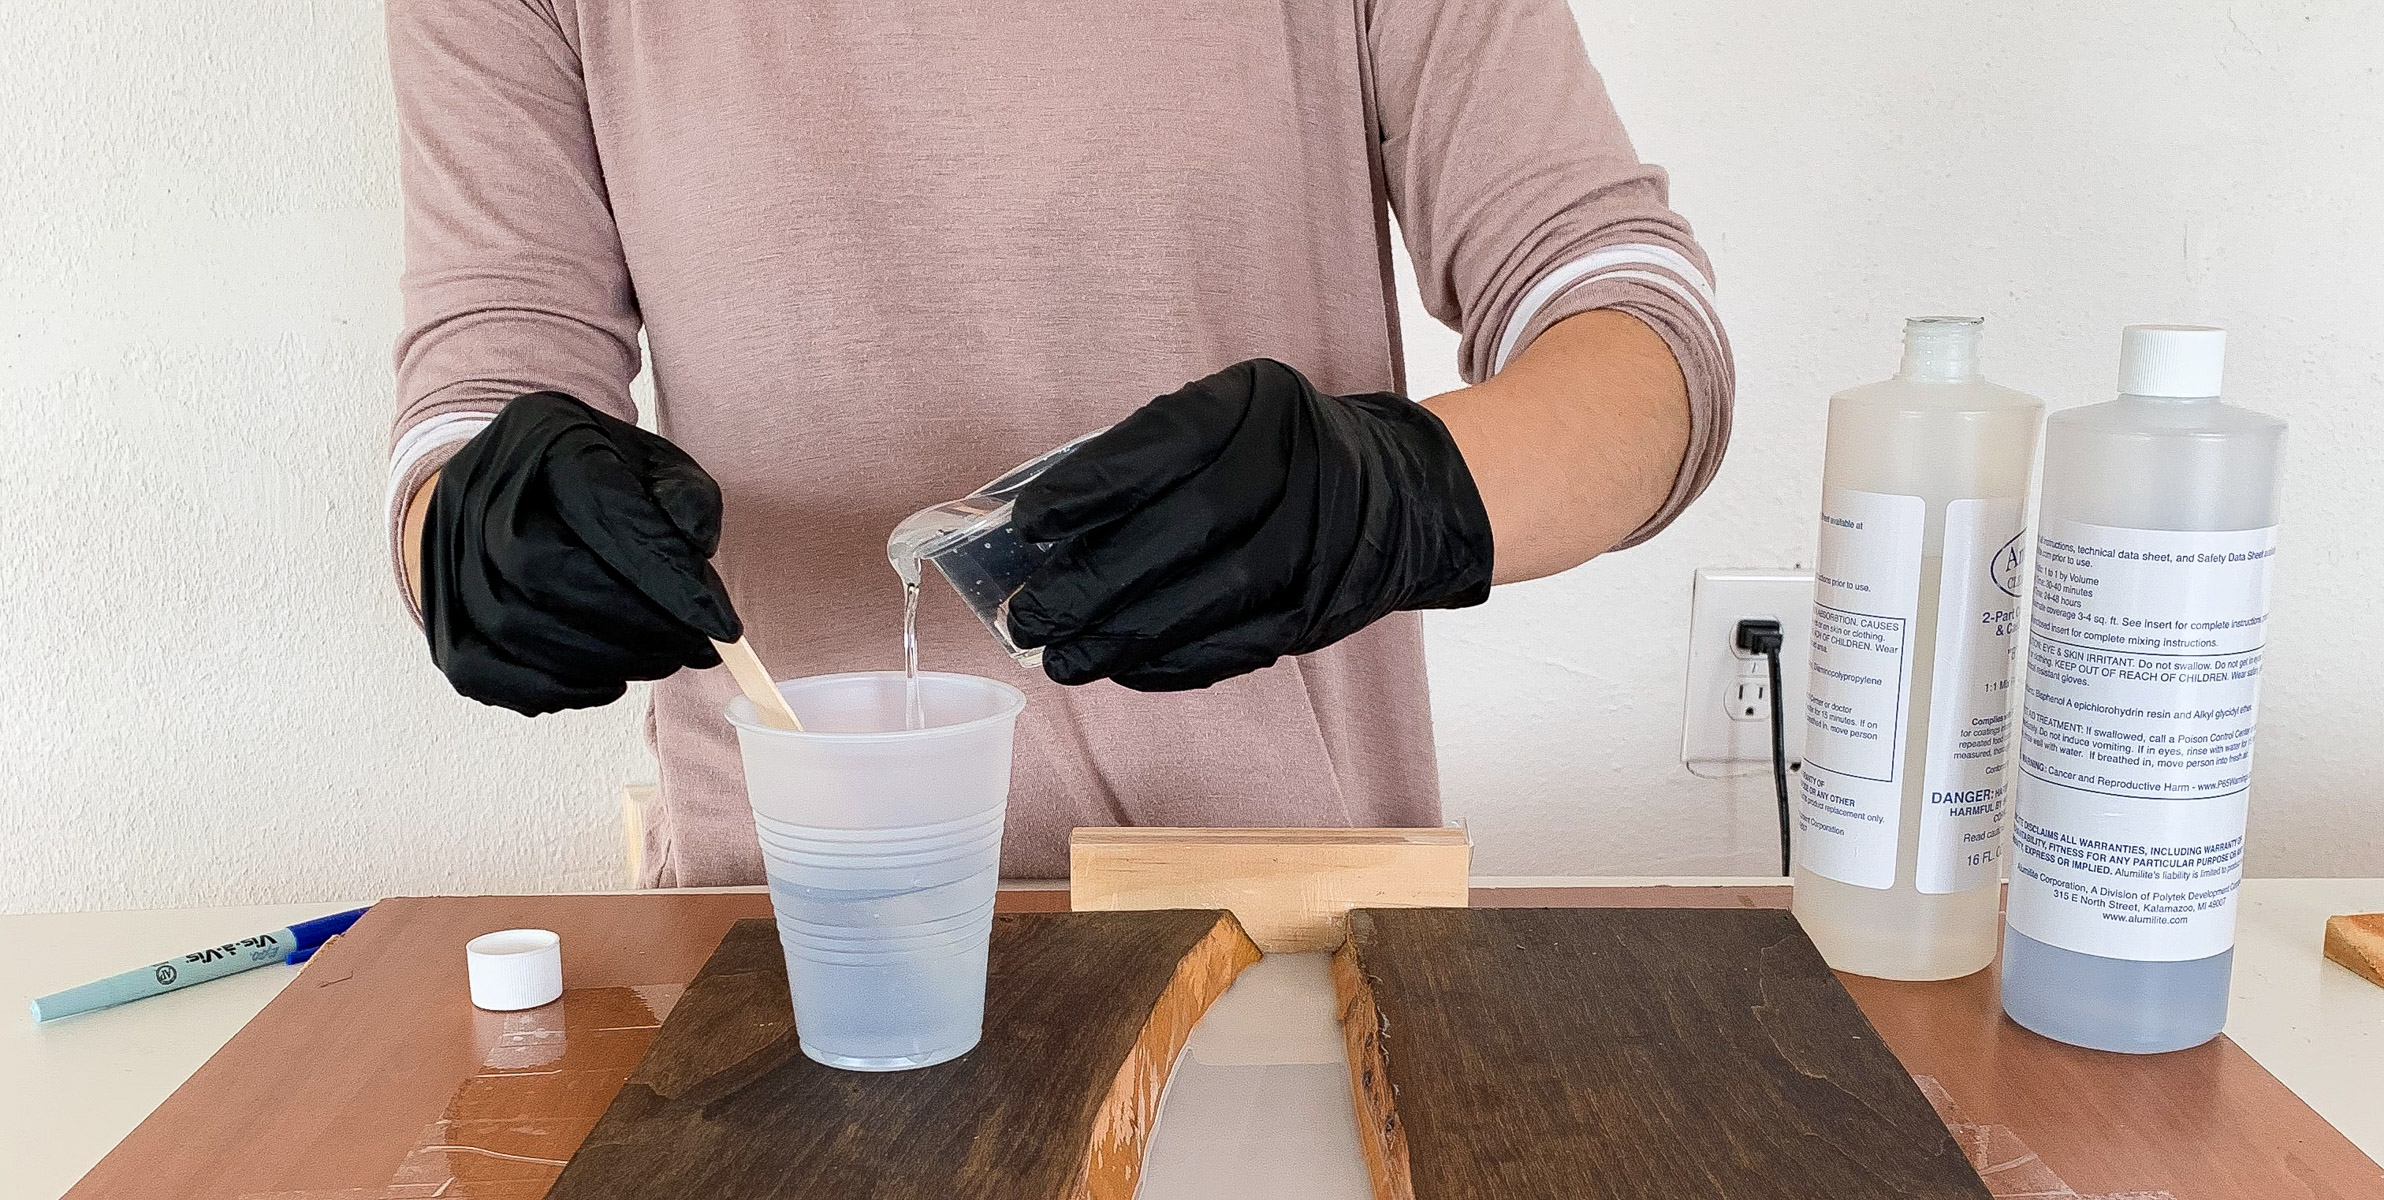
CAUTION : Please wear a respirator, gloves and work in a well ventilated area. ( we opening our door and window while working on this)
If you’re not familiar with resin it’s super easy to work with. It will usually come with two liquids the resin liquid and the hardener. You’ll usually need to combine equal amounts or whatever the manufacturer instructs. To measure out equal amounts you can use a measuring cup. I like to add my liquid into liquid cups and transfer to a big cup. I keep count of the amount of little cups of each liquid added to keep track of equal amounts. Than simply stir for a total of three minutes scraping the sides and bottom. Add any colors you’d like. This can be acrylic paints, resin tint, glitter. Whatever you add be sure to keep the ratio 1/10. So 10% paint and 90% resin. I usually just add a drop at a time. Keep in mind resin hates water! Avoid getting any water in it.
Some resins will set really quick and some may take longer to set. In any case you’ll need to let the resin sit for a few minutes before pouring to let all the bubbles come to the top of the cup. After you have combined the two liquids your resin should fully set in 48 hours. It should be dry to touch after 24 hours. Keep in mind you’ll only have a working time of about 10-40 minutes before the resin starts to harden. This will depend on the brand of resin used. The resin I used had about a 15 minute working time and than it would become very tacky and hard to work with. So don’t wait too long to pour.
Sealing in Loose Dirt !
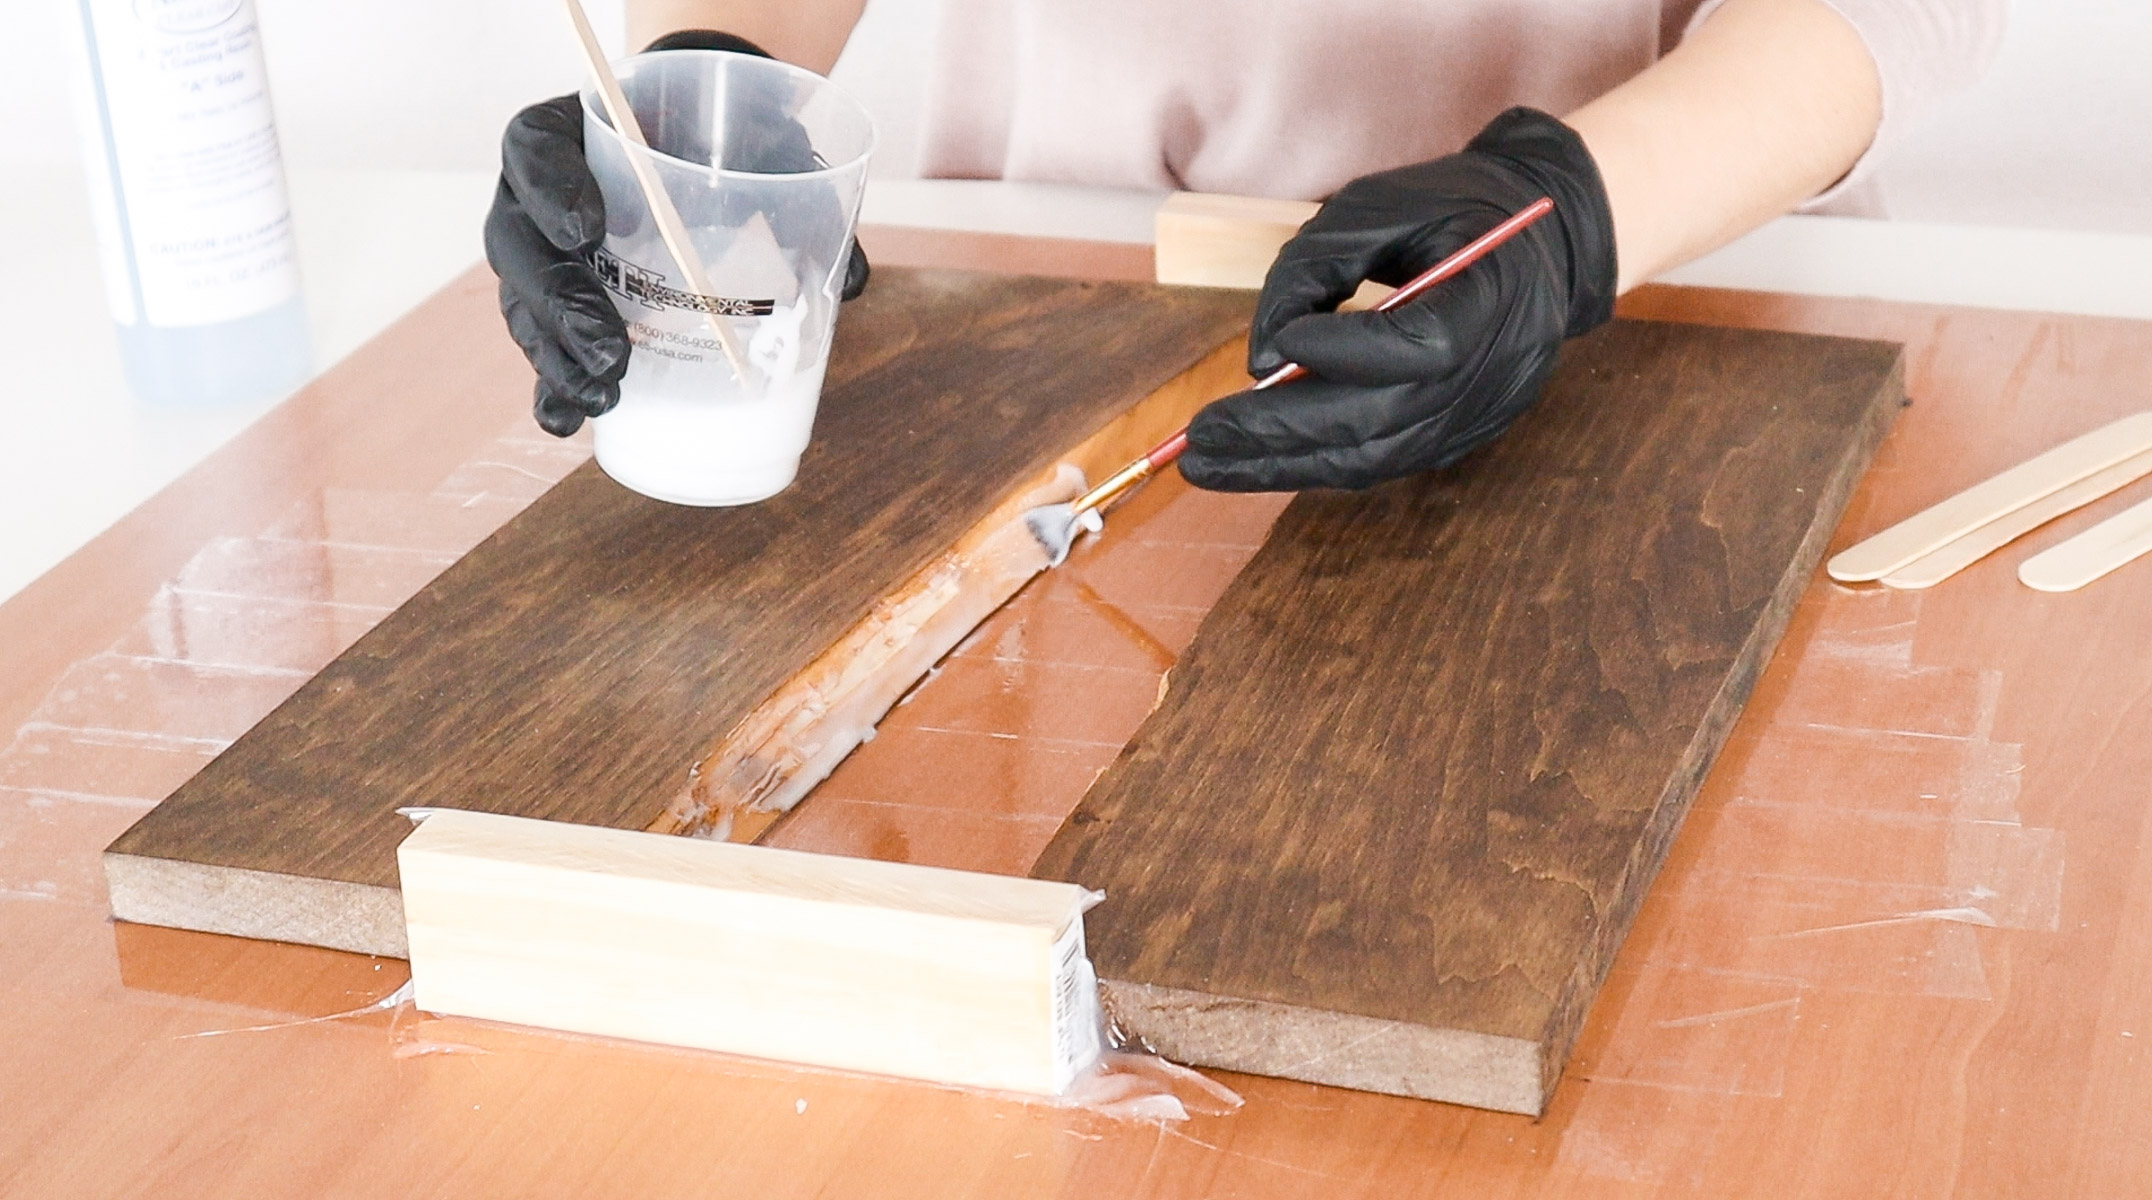
Even though I removed my bark I was worried some loose dirt from the live edges might float up once the resin started setting. So I decided to seal in all the dirt by applying a layer of resin to the edges of the wood inside. I let this first coat of resin set for about 3 hours before pouring my white resin.
Pouring Your Resin Tray!
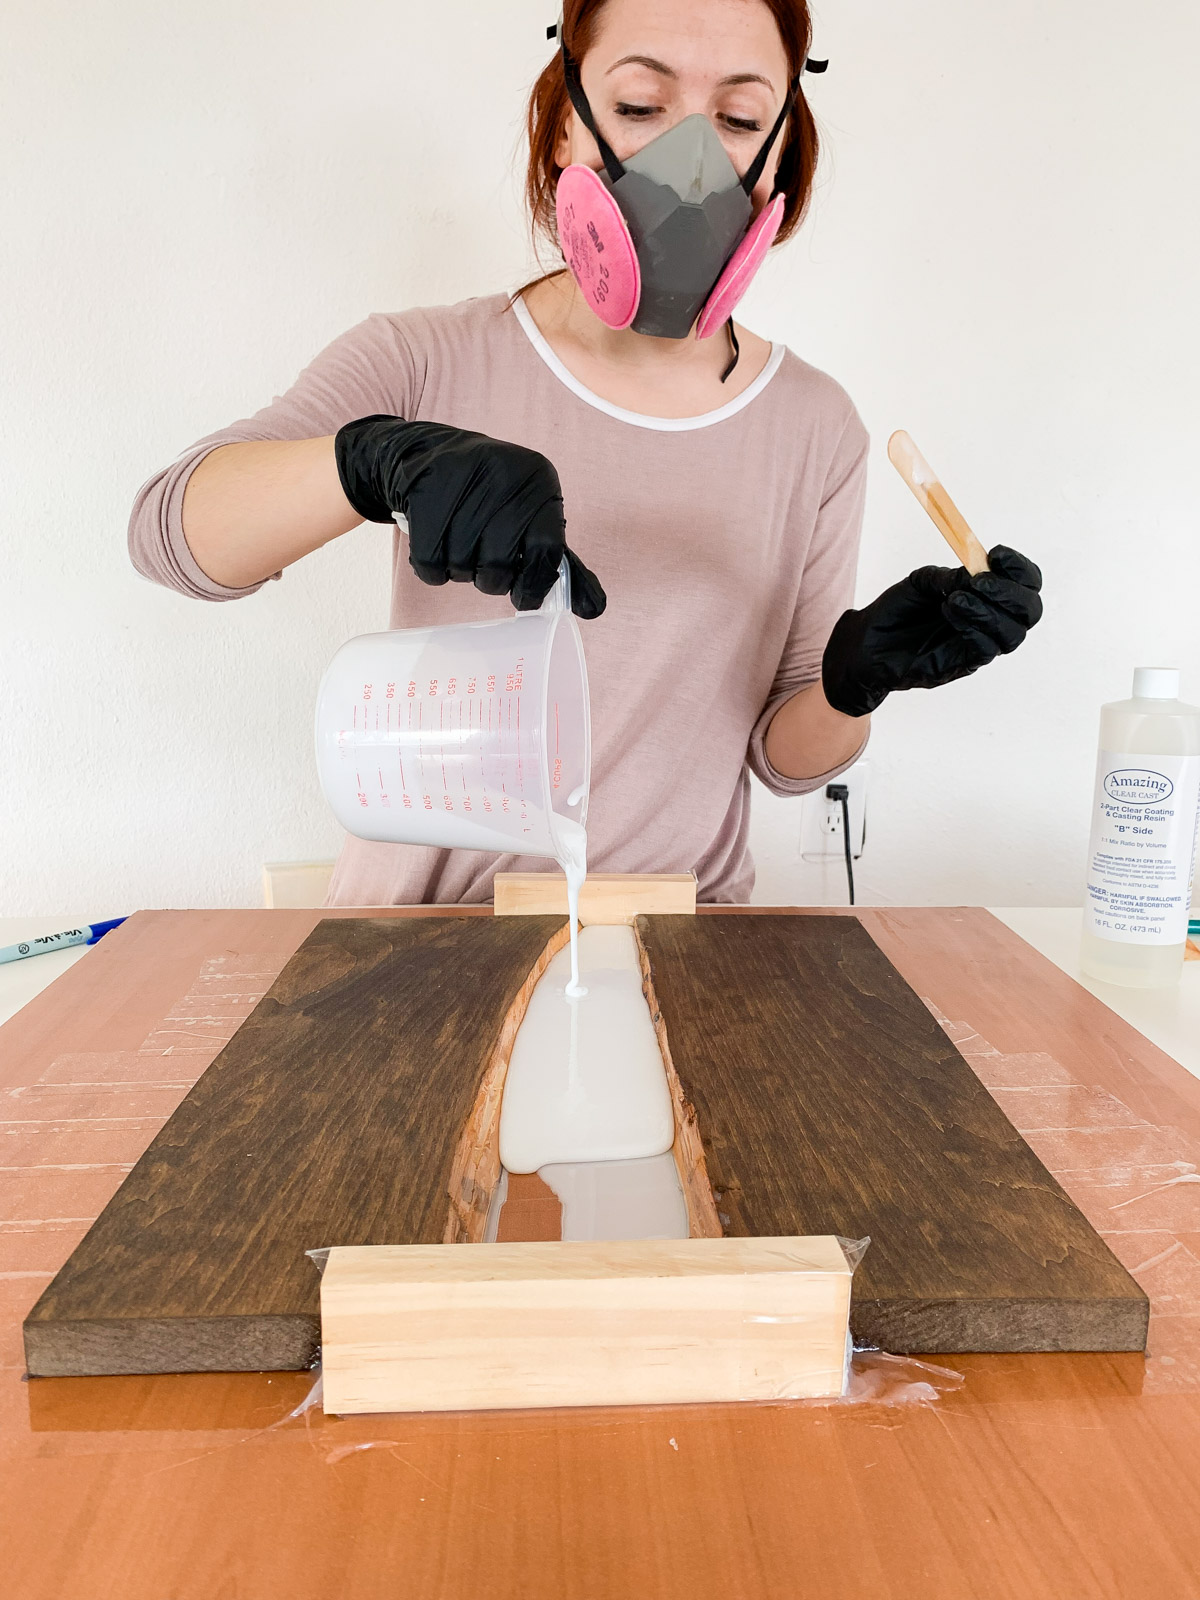
After three hours the first coat of resin was pretty tacky and stiff. I mixed another batch of resin and filled the center of my tray with white resin. I added a few drops of white resin tint while stirring my resin. ( You can check out the video here for more info – https://youtu.be/x6A-uzGatZs ) I used about a total of 1.5 cups of resin to fill the center completely. ( this will also depend on the size of your tray )
This Resin Doesn’t like heat!!
We filled the center with resin so it overflowed a little. This is actually because we ran into and issue with the resin setting too fast and patchy causing us to have to fill the center with resin a bit over. Our issue was that once the bubbles started coming up to the top in most cases you can use a blow torch to pop them. We used a blow torch and over heated our resin causing it to set to fast in some areas. This might also have something to do with me laying a lid over it not letting the heat to evaporated. The resin pretty much cooked itself in about 20 minutes. The plan was to just pour the resin level with the wood. Then when we would pour clear resin over the top it would even out the surface if we would have tiny surface imperfections. Anywho, lesson learned. Avoid over heating the resin and don’t lay a lid on it too soon. ( lid was to keep dust from landing on it)
Removing the mold!
We used a metal spatula to gently pry the tray away from the mdf. I would recommend using cheap silicone. We used really nice silicone which made this step kind of tough. I assuming the more expensive the silicone the stronger it is. It still came off fairly easy after we pried it a bit. ( photo below shows the bottom of the tray) We removed the silicone and sanded the resin down.
You can use really rough sand paper and work your way to something finer. That’s what I did. It was pretty quick and only took me about 20 minutes per side. I started with 40 grit sand paper and worked my way up to 240 grit. Now the tray was ready for a clear resin pour.Also that little ryobi vacuum is a life saver!! I use it with all my projects to keep the area clean. Best of all there’s no cord attached to it. Just a rechargeable battery! OH YAH😉!! Here’s an affiliate link if you want to check it out – https://amzn.to/2OhqpJG
As you can see most of the stain was removed around the center of the tray. Would of been so much easier if we wouldn’t have poured too much resin in the center. EHH stuff happens. Next time we’ll know not to over heat resin.Touching up the stain!
Because so much of the stain was sanded off in the process I used a paint brush and gently went over the edge of the resin line. Be careful because wood stain will definitely stain your white resin. ( you can lightly sand it if you accidentally get some on the resin)
Adding A Clear Finish!
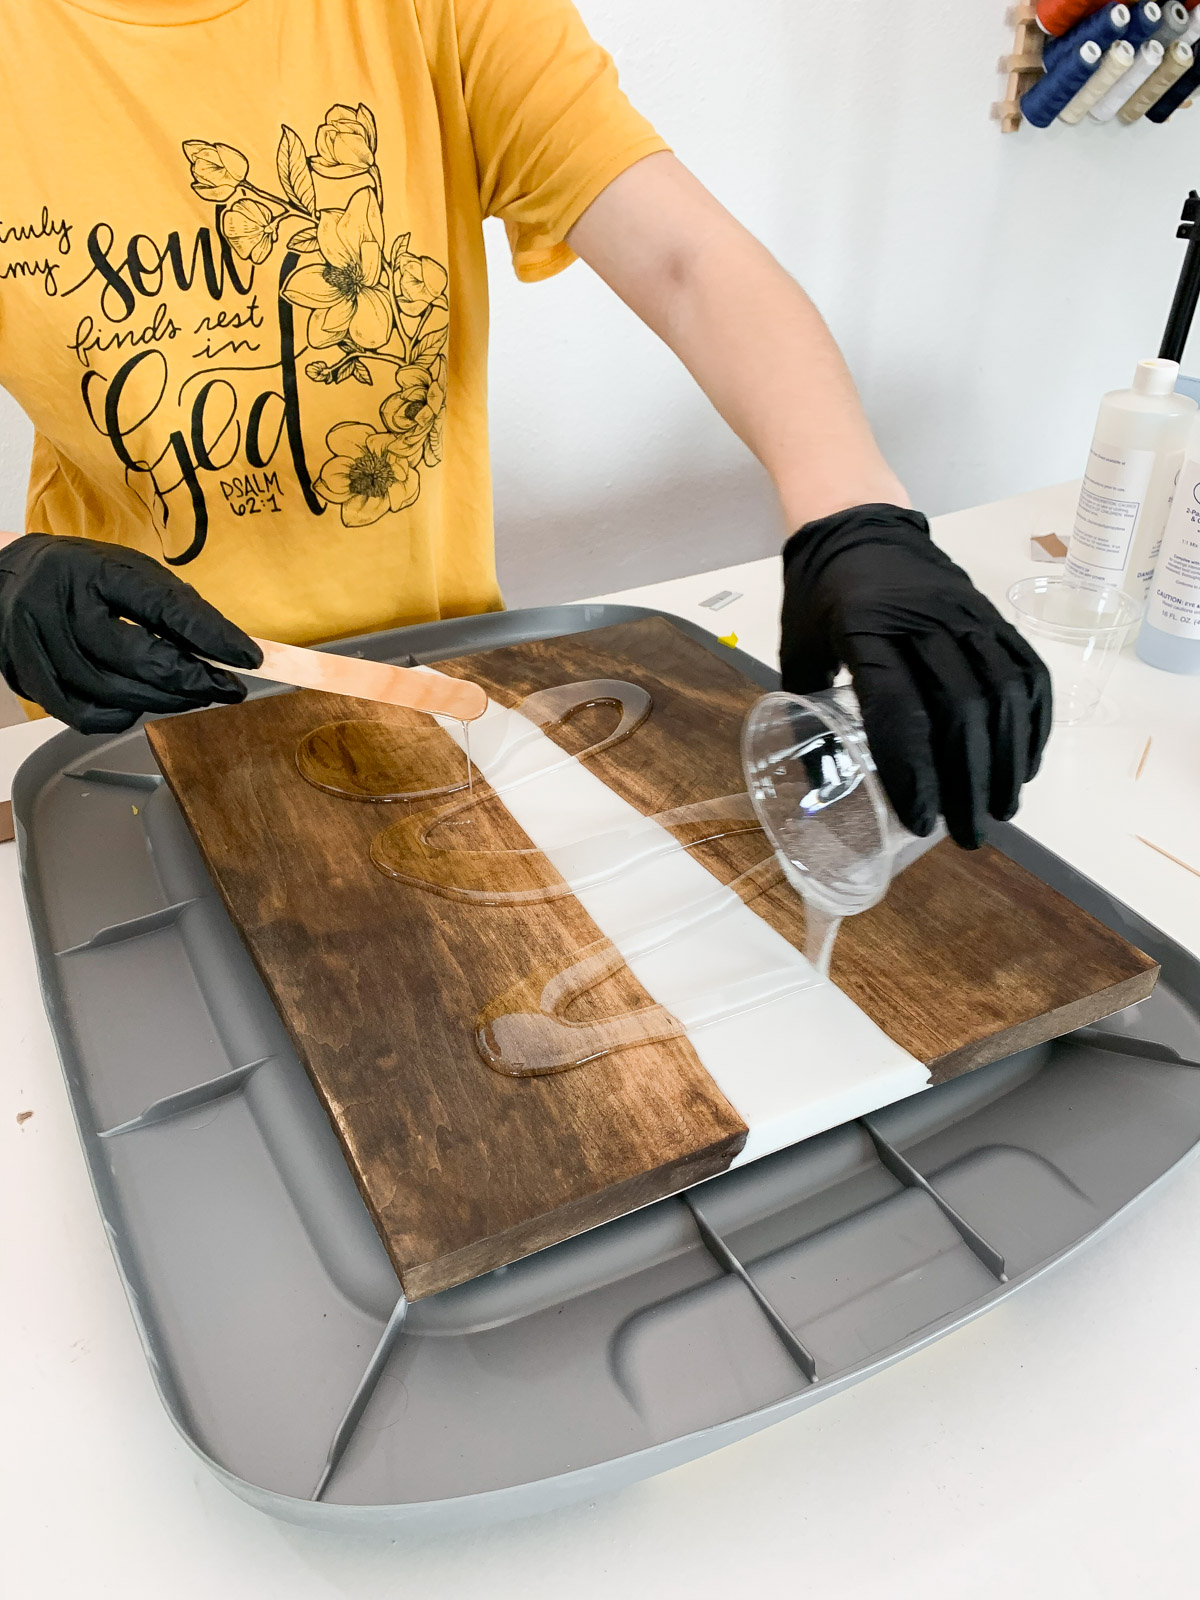
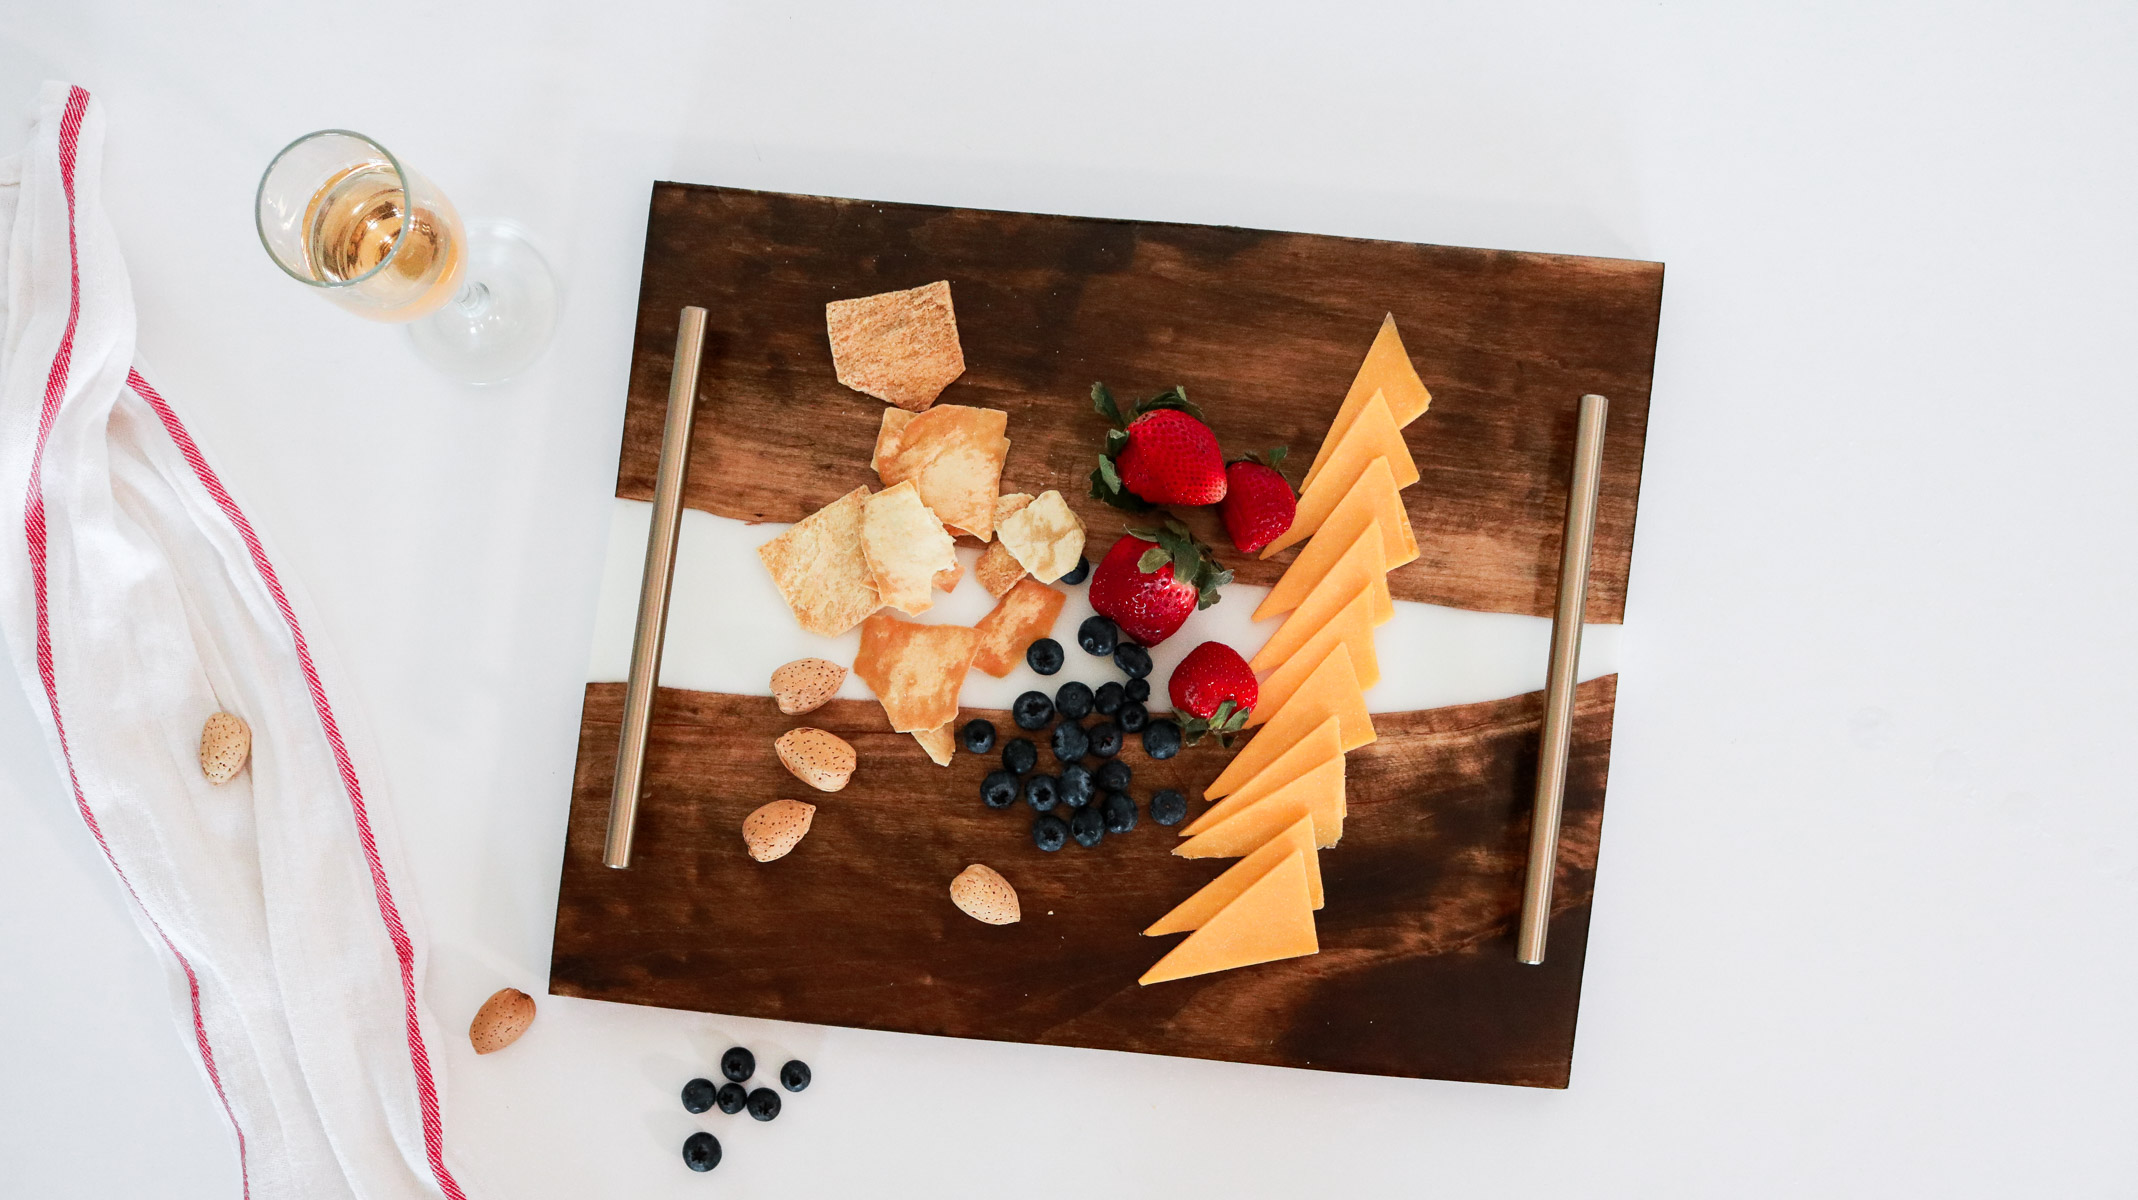
I mixed an additional 4 oz of resin to pour on top of the tray. In the beginning I had originally planned on leaving it without a topcoat but, I was afraid the white resin would stain easily. Adding a clear coat of resin also made it food safe which would make this resin tray a super cute charcuterie board 😍! If I was to do anything different with this DIY wood resin tray I would totally pour the white resin level with the wood, not overheat the resin so I don’t have to overfill it LOL😩😅 ! And pour clear on top to level the whole surface.
OTHER RESIN DIYS YOU’LL LOVE:
- NEED COUNTERS TOP ON A BUDGET? HERE’S HOW TO MAKE IT UNDER $50
- DIY AGATE SLICES WITH RESIN
- WHAT YOU NEED TO KNOW BEFORE WORKING WITH RESIN + MAKE ART!
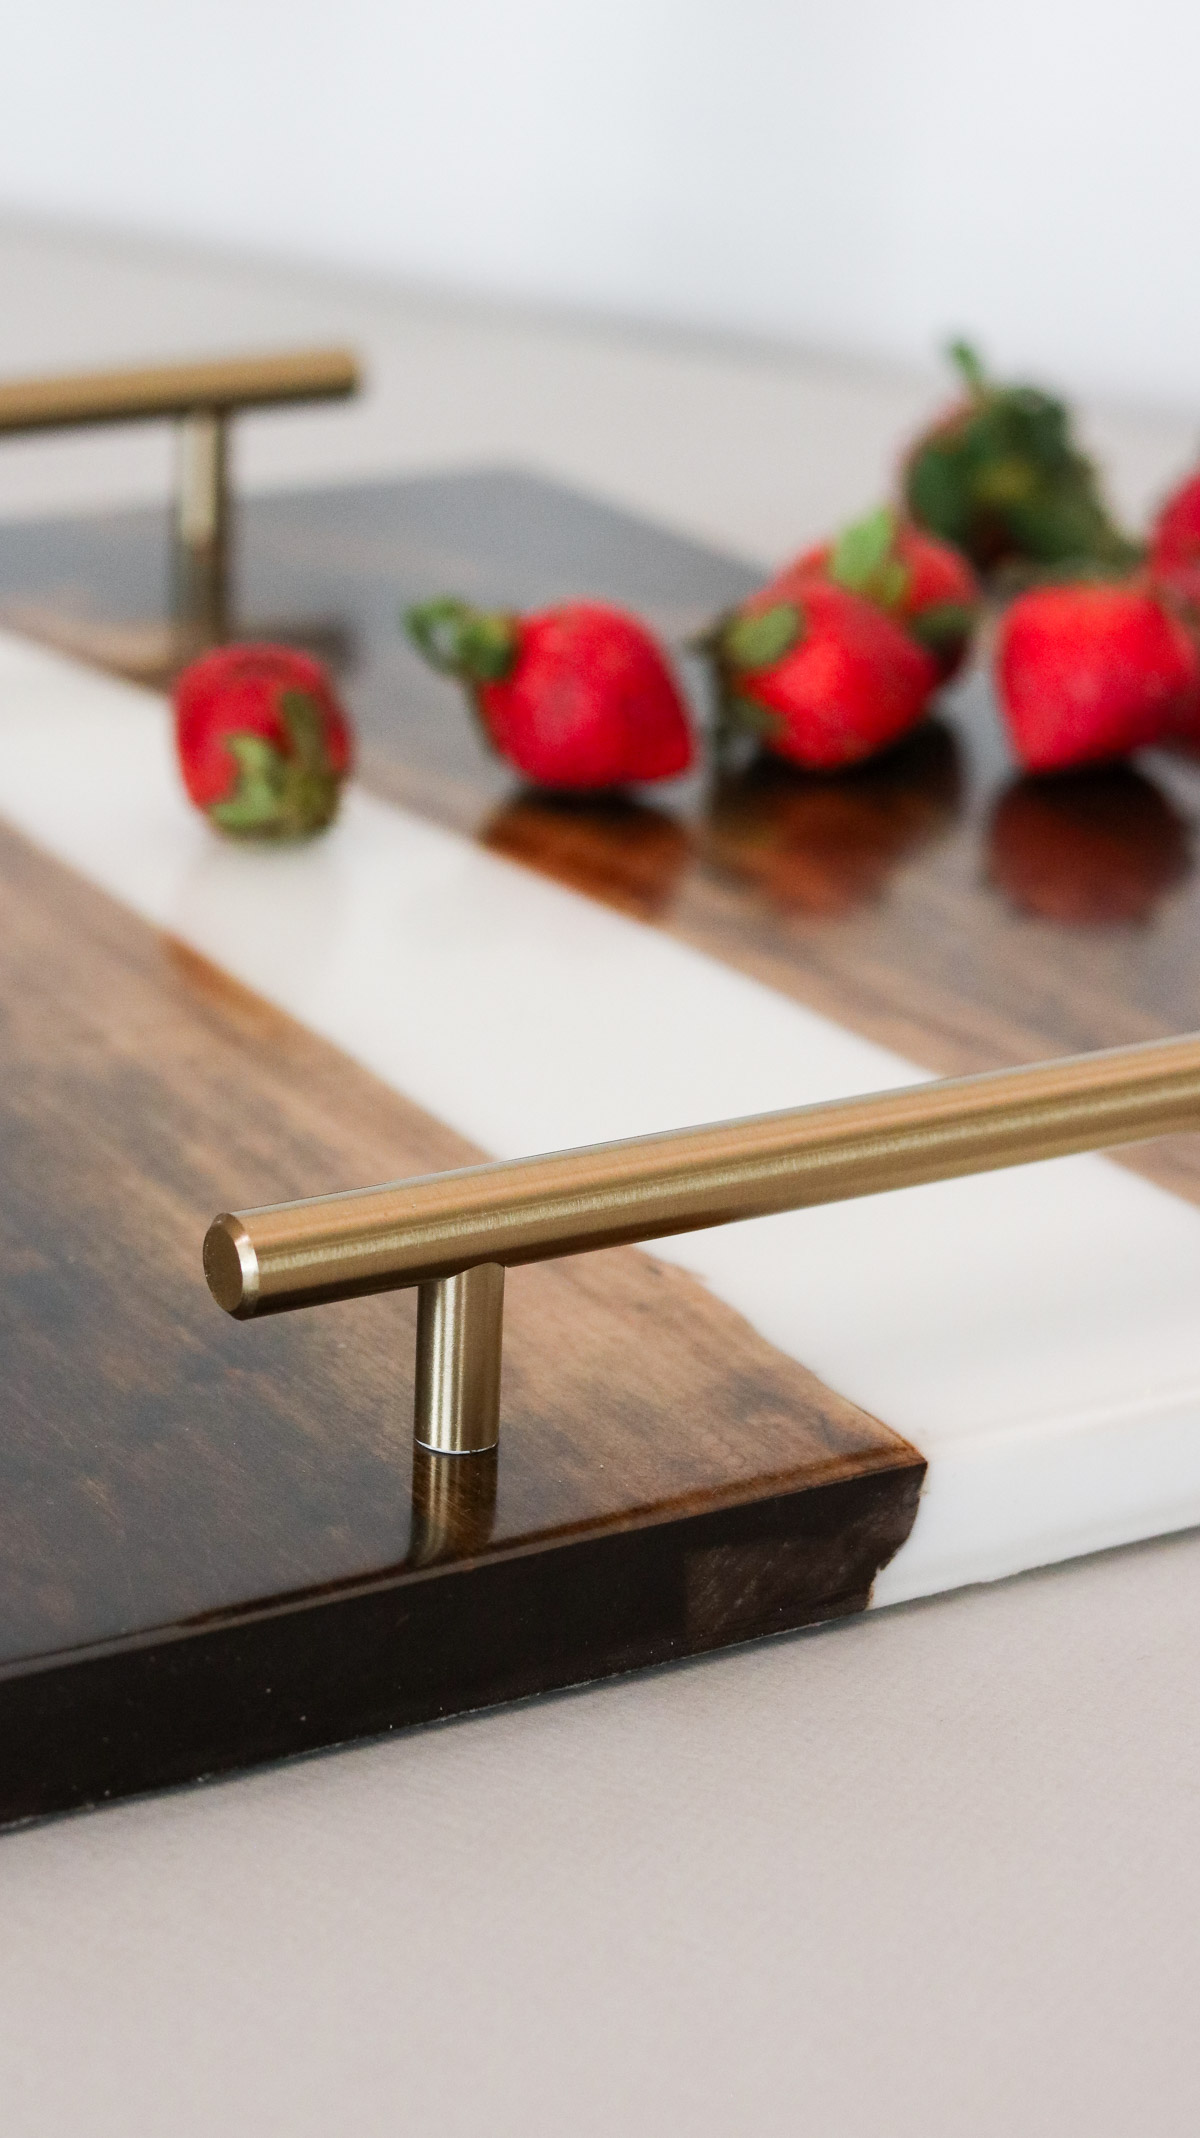
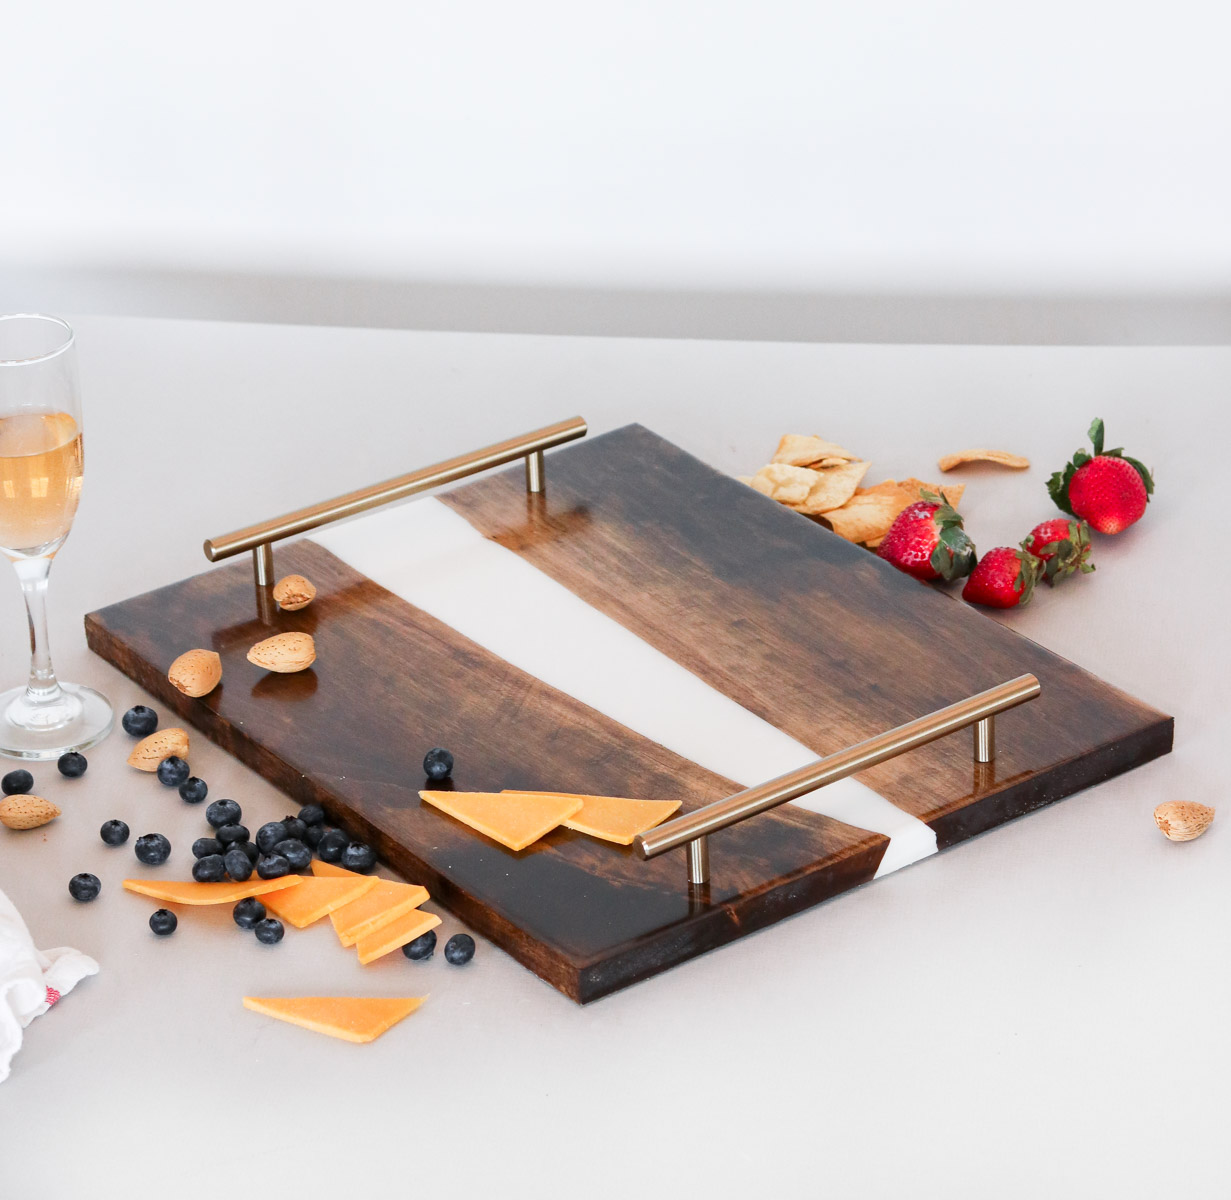
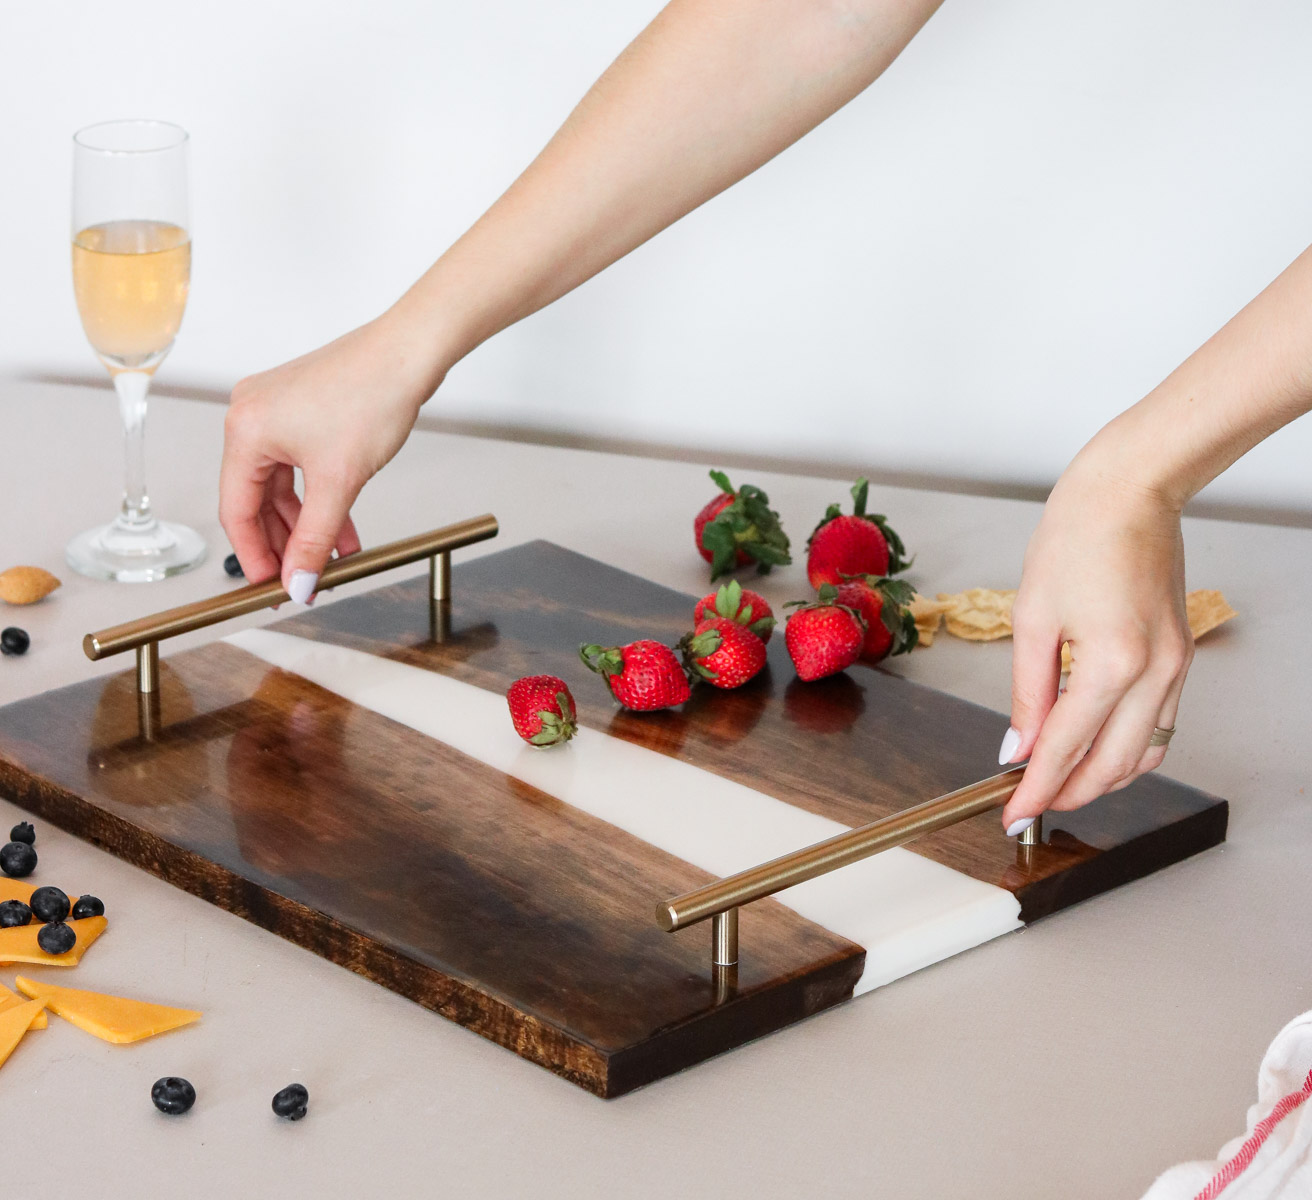
That’s it! Here’s a quick video showing how we made this DIY wood resin tray! You can choose to add hardware to it. I got my handles at homedepot. You can watch the video to see how I installed them 🙂
Okay so I was really iffy about the amount of shine on this tray. In fact I went through the hassle of sanding it down a bit to see if I can get it to look more satin. It was all pointless effort this stuff is hard to matte down. I ended up leaving it glossy and I LOVE IT! ( ps. If you’re wondering what I was drinking in the glass..🙈 it’s actually pedialyte 😂 . Truth is were always out of juice! This is the only colored thing I could find to fill my glass with)
That’s all for now! Thanks for joining me. I hope this inspires DIY Wood Resin Tray inspireS you to create your own and gives you some insight on what to expect. 🙂
xo,
Lily






Hi…
I really like how your tray turned out and…THANK YOU for showing the ‘oops’ moments as well. Usually, people don’t share those and give the impression that they achieved ‘perfection’ on their first try. (LOL)
Question(s) about the final clear coat of resin. Your last pic shows you pouring the resin across the board…do you then use a brush and apply it evenly over the entire board…kind of like applying poly..? Did you put the clear resin on the underside of the tray too..? If yes…how..? Did you have to wait for the top and sides to dry and then do the bottom..?
Hi Hope, LOL! I’m glad you liked the oops moments 😀 ! DIYs are definitely not perfect and I’m glad I could share this with you!
So I didn’t add any resin to the bottom at all. You can if you want but you would need to let the top dry before pouring on the bottom. Once I poured it over the top I just used a Popsicle stick and my hand to move it around. Than to even out all the smears I heated it a bit with the heat gun. Just a tiny bit evenly. That kind of helps the resin melt and evens out the resin surface.
Let me know if you have anymore questions 😀
Hi there… first your stuff is cool…second, I put resin on a canvas for the first time did 2 pieces…one is fine the other won’t dry…I don’t get it…it’s been 3 days and both paintings were done at the same time with same resin…any clue why or how I can fix it?
Hi Amy, thank you so much. That’s super weird. The only thing I can think of is maybe different color additives. I’ve noticed when I use something like alcohol inks or cheaper acrylic paint brands the resin takes longer to dry. Did it ever end up drying?
Do you resin the bottom as well? If so do you do that part first or last? If you don’t rest in the bottom what do you apply to project the underside.
Thank you
I didn’t apply resin to the bottom. Just left it stained. As long as you don’t get it too wet it should hold up great. Mine has been holding up just really good 🙂 . I was thinking you can spray paint it with clear gloss finish or apply a mod podge finish. 🙂
Hmm that’s wierd. Here’s the link again https://amzn.to/37Nxjhp . LEt me know if this one works.
What type of wood did you use?
Just basic pine from hobby lobby.
Hi
So I live in Wisconsin and was hoping to pour in my basement. Is there a strong oder ? Will I stink out the wife and kids?
Thanks
If you have a window you can open and maybe set a fan up I think you should be find as long as the doors aren’t open to the rest of the house. We kind of did the same thing. Use our back room closed it off and opened a window.
IMHO-The wood at HL was most likely basswood not pine, and the epoxy overheated because it was poured too thick. The epoxy shown in the video should only be poured to a max thickness of 3/8″ at a time (ie 2 separate pours). Great video, however, and keep the art flowing!
I love the fact that you used the tub lid – brilliant idea!
The tray turned out fantastic.
Thank you Wendie 🙂
Love this! I have wanted to do something like this for Christmas presents but didn’t know where to begin. (Charcuterie boards) This was great instruction and helpful to see the challenges along the way!
1.Can you get only one board out of the resin you purchased? (If not, how many of a similar size could you make?
2. For a more rustic look, can you leave the bark on? If so, would I use the silicone or resin to cover it? (assuming I wanted to leave it on the outside edges)
3. Can I use a cricut to cut out a logo or personalization or use a thin wood monogram and cover it with the clear resin at the end when I do the face of the charcuterie? I know there may be a raised area if I use the thin wood, but I think I’d be ok with that.
I don’t know for sure how many boards you’d be able to make because the gap and thickness of would change the amount of resin you use for each board. I would saay at least 3-4 boards if you’re making something similar to mine. You can leave the bark on however you’ll need to seal with with something before pouring resin as it will make all the little dirt float up to the top. I would first seal it with a think layer of resin or clear finish let it dry then pour the resin. I would not add silicone because it will come right off. Resin does not adhere to silicone at all. Yes You can use a cricut machine to make something personalized that would be so cute.
Love this project, had quite a big hiccup myself. I had a love edge slab that was about 2” thick and needed quite a bit more resin which was fine. I had plenty, the hiccup happened when I poured and noticed the silicone I used created a space between my slab and the mold so all the resin came pouring out and ended up all over my basement floor. Luckily I have more resin and another piece of the slab to play around with. I’m not looking forward to the cleanup from the first issue though!
OH NO! I had that happen before! Hope it works this next time!
This is so cool! I love how you made the wood resin tray spill milk effect! It’s so realistic!
Thank you so much 🙂
Thank you
Simply desire to say your article is as surprising. The clarity in your post is simply cool and i could suppose you’re knowledgeable in this subject. Fine along with your permission allow me to grasp your RSS feed to keep up to date with coming near near post. Thank you one million and please carry on the rewarding work.