Easter Vibes
I’m sure we aren’t the only family that has the good old painting the eggs tradition. This is probably the highlight of all crafts for your little ones. Our little guy loves painting eggs. While using food coloring and markers is fun we decided to give this easter a modern twist. We had a blast with all the different mediums we used. I gotta say this years Easter eggs turned our pretty darn cute. 😀
Easter egg Diy
There are so many Easter egg DIYS out there making it so hard to pick from. I would love to have one of each 😉 but I’m sure it would probably overwhelm our little guy. lol So we narrowed down our ideas to just three different styles. The first ones we made were the tissue paper eggs. The second ones we made were foiled copper eggs and last but not least we made the fun 3d eggs. Seeing as we would not be eating these and we wanted them simply for display so we used blown out eggs. You can youtube how to do it or they sell pre-blown ones at the craft store.
PS : If your making a lot I probably wouldn’t blow them out unless you invent a machine to blow them out .hehe! 😀 I blew three out and started seeing stars.lol 😀
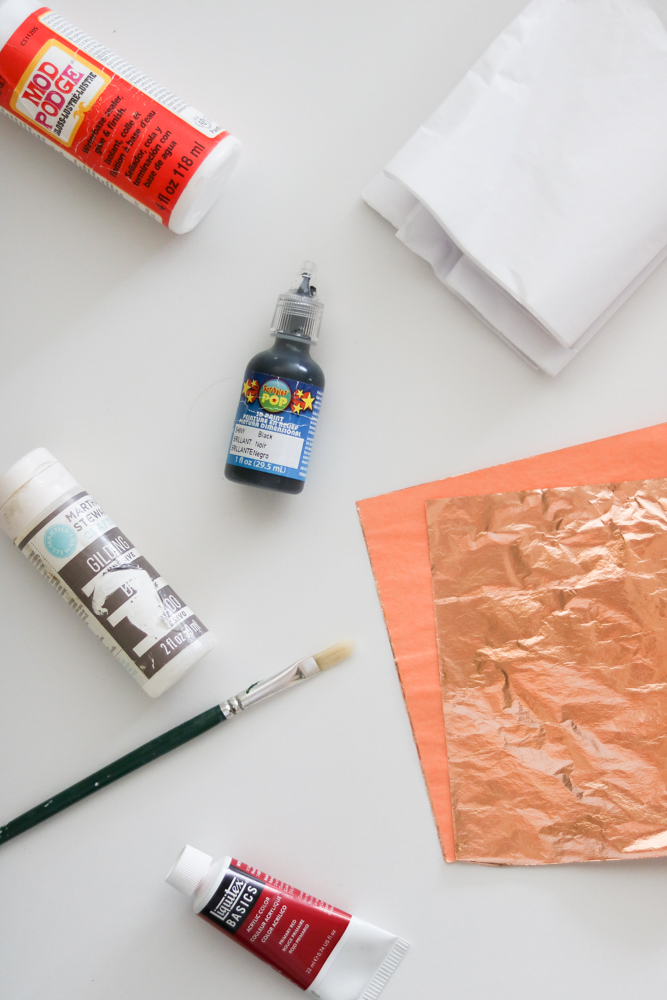
What you’ll need
- gold/copper leaf (we got our copper leaf at Michaels it was actually quite pricey. (don’t forget to use your coupon by simply googling Michaels coupons. I always get at least 40% off 😀 ) (or scroll down to the very bottom I am currently purchasing mine on Amazon for a steal deal)
- Gilding (adhesive for the copper leaf. I had some left from last year which I also purchased at Michaels in the martha stewart section)
- 3 D paint. (at Michaels in the t-shirt making aisle comes in different colors)
- Acrylic paint
- Tissue paper
- Brushes
- Mod Podge
*This post includes affiliate links
CRAFT AWAY
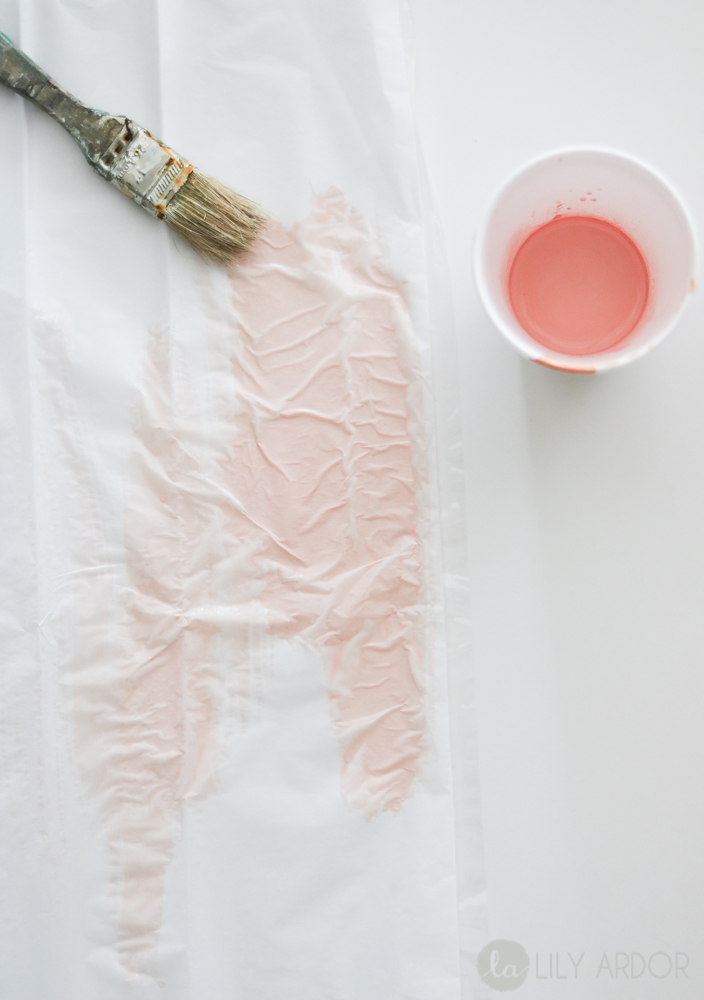
Before painting our tissue paper we separated each piece of tissue and watered down our paint.

Once it dried we ripped it up into little pieces and mod podged it onto the eggs.
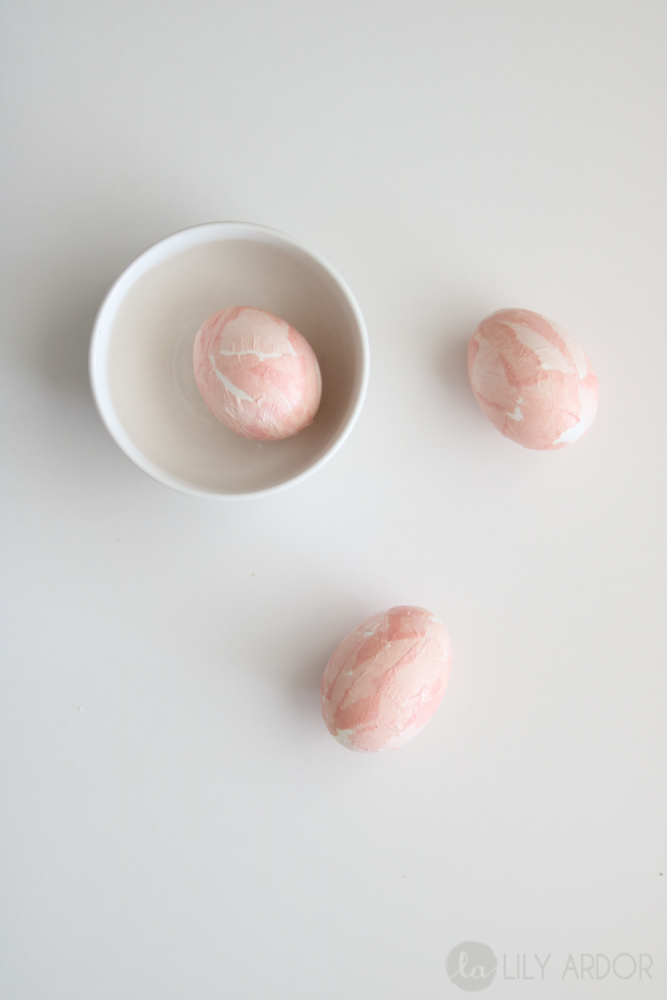
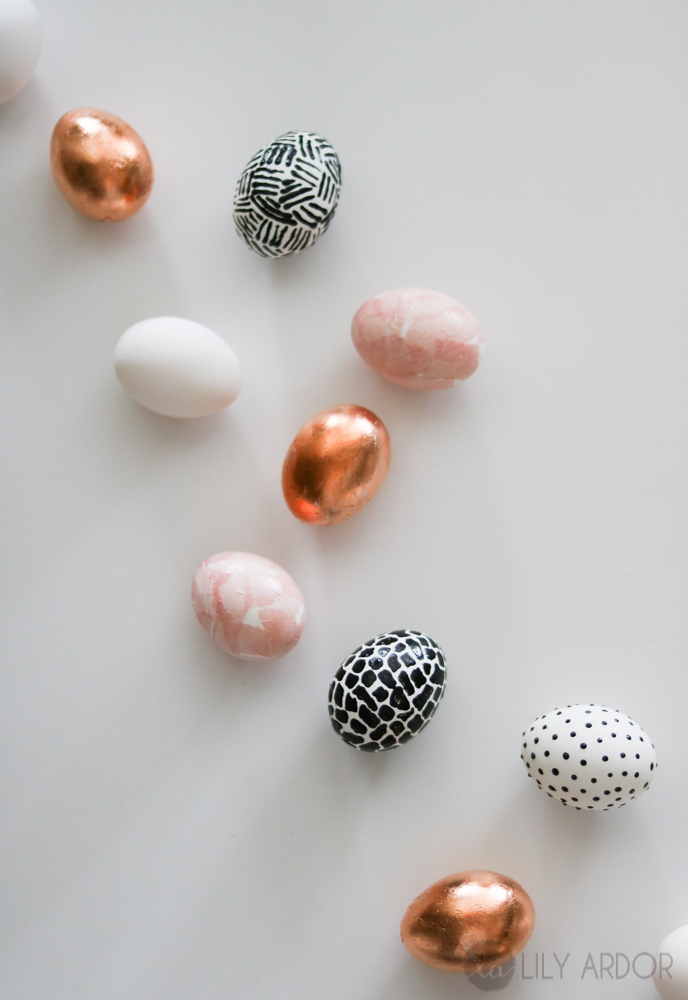
This is how cute this little guys turned out. I love how they look so rustic but still chic.
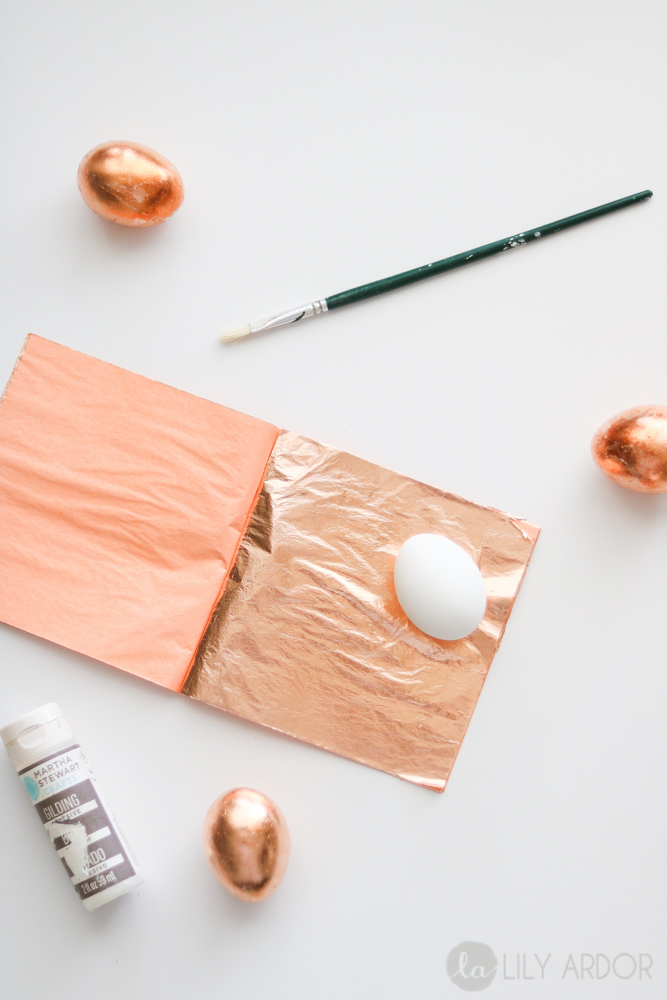
For the Foiled copper eggs we applied our gilding. Let it sit for a good 10-15 minutes and applied the copper leaf. The gilding will not dry completely so don’t worry about it over drying. My mistake was applying the copper leaf to early and when I went over it with a brush to remove the excess, it came right off because it wasn’t dry enough.
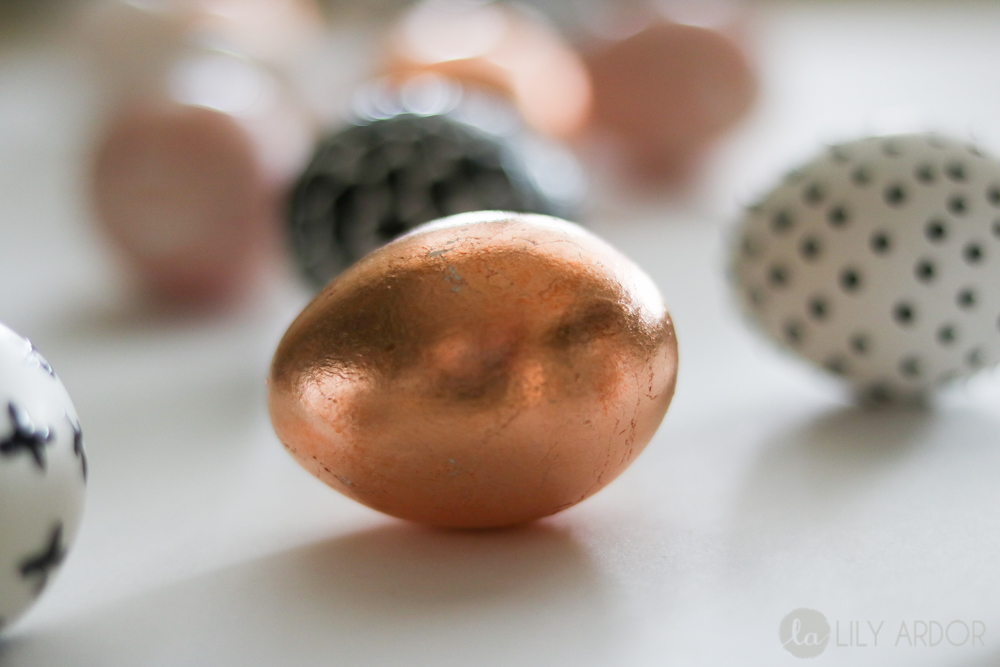
Awe gi-me all things shiny…. I love how these copper ones turned out. They look expensive. I was scared to touch them. hehe! 😀 😀
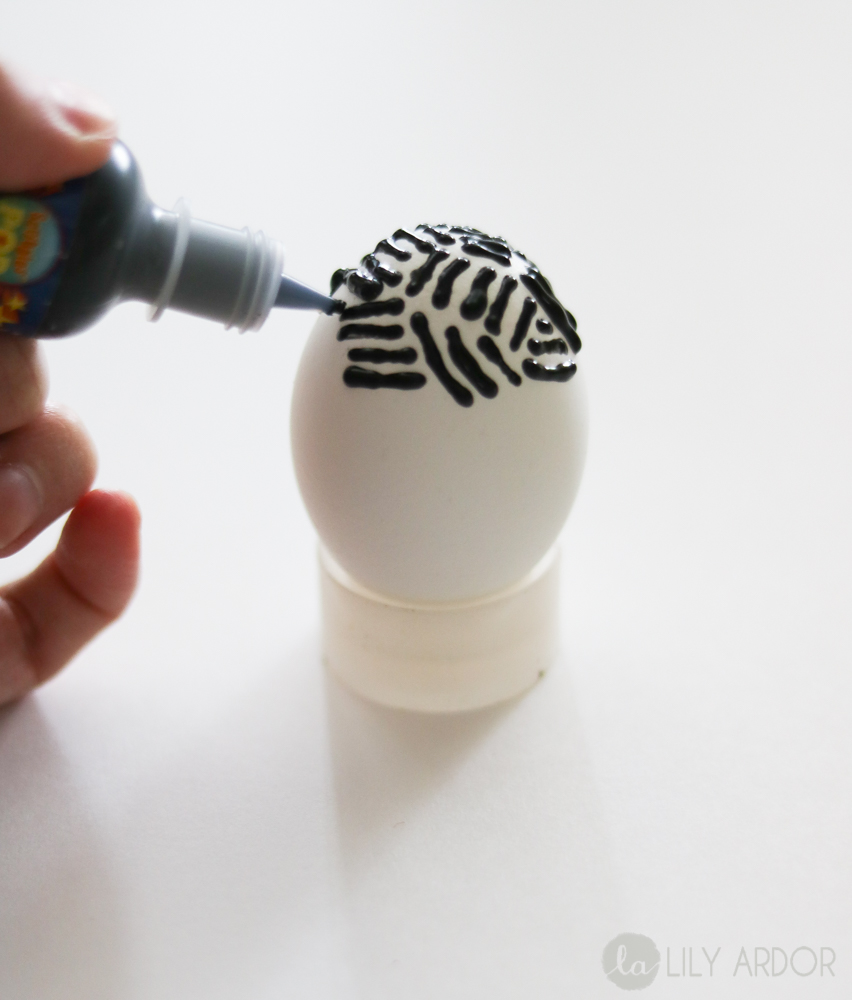
I have to say I think we had the most fun with these because, each one is so different from the other. They did dry for a few hours but, it’s totally worth the wait.
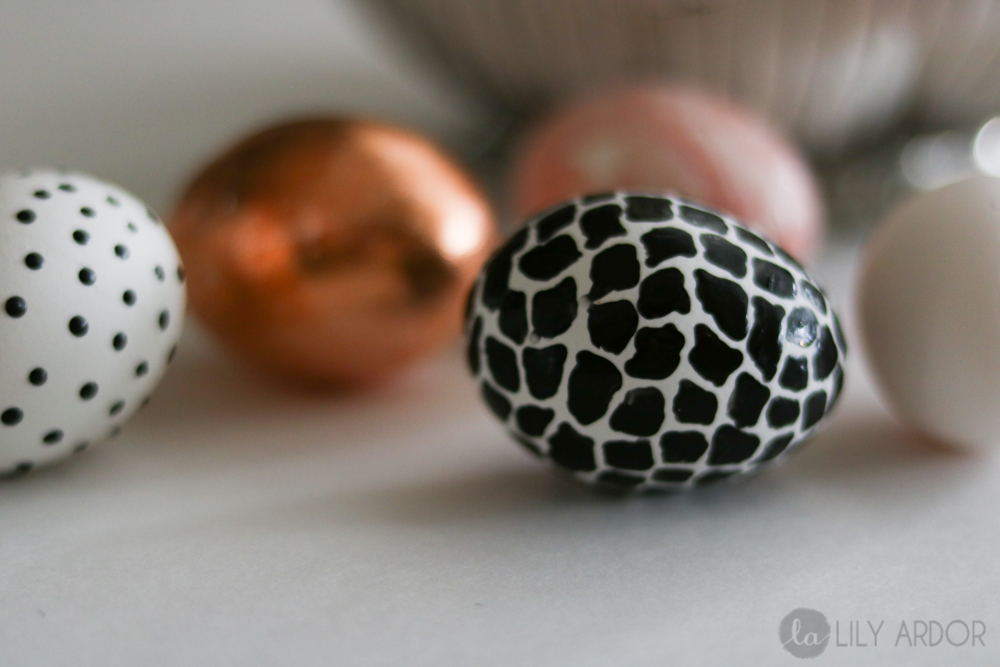
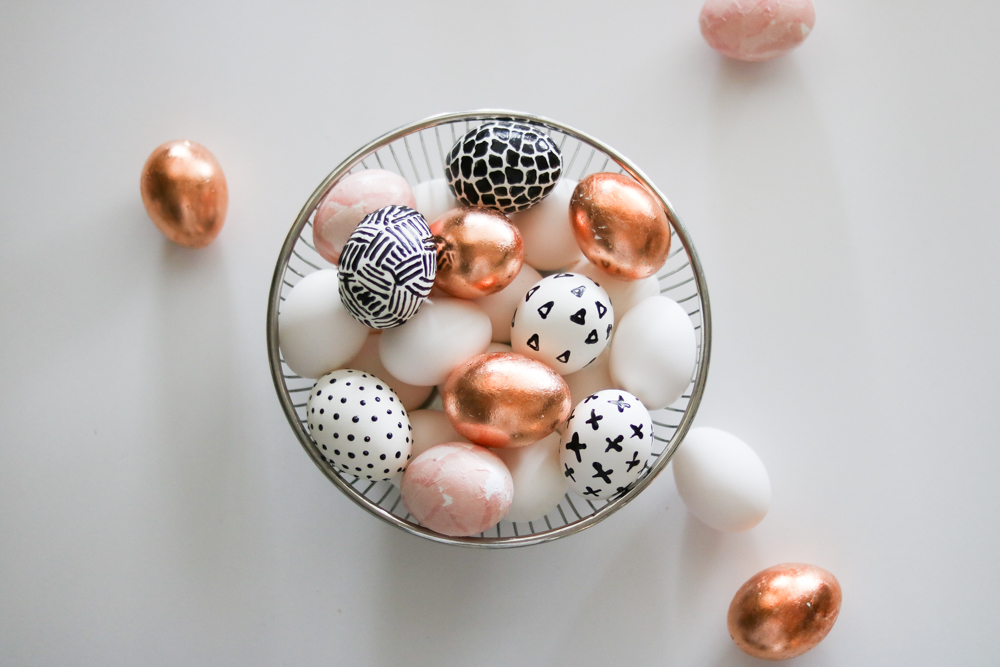
All the eggs that have black are 3d. It’s unusual to see 3d eggs. I’ve seen a lot done with a sharpie and they look awesome too, but it’s always fun to experiment with something different. Right? !
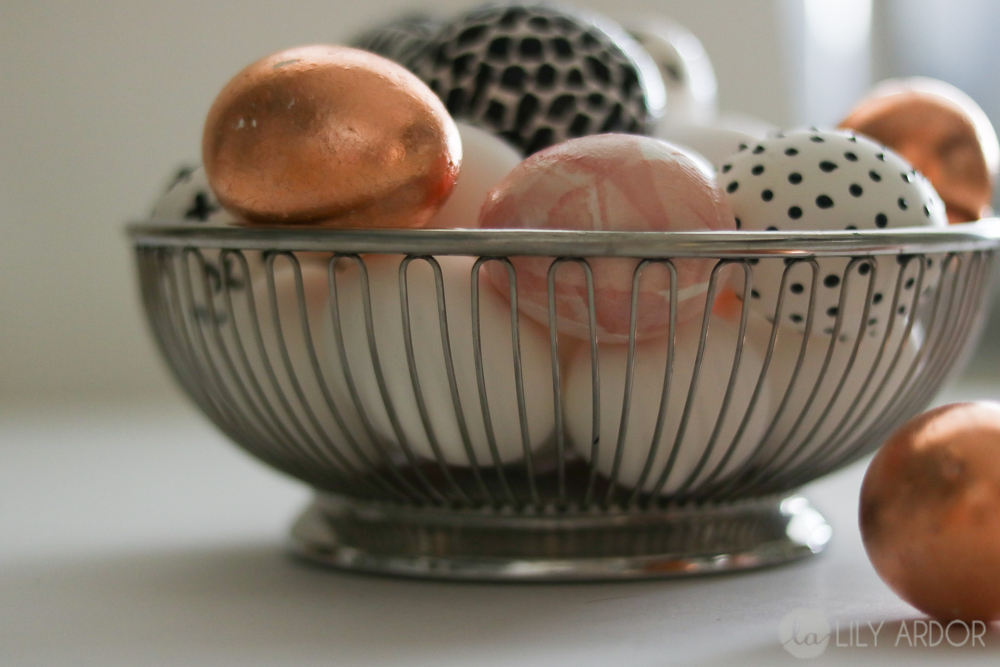
They sure turned out cute.. Don’t forget to use blown out eggs so you can reuse them next year! 😀
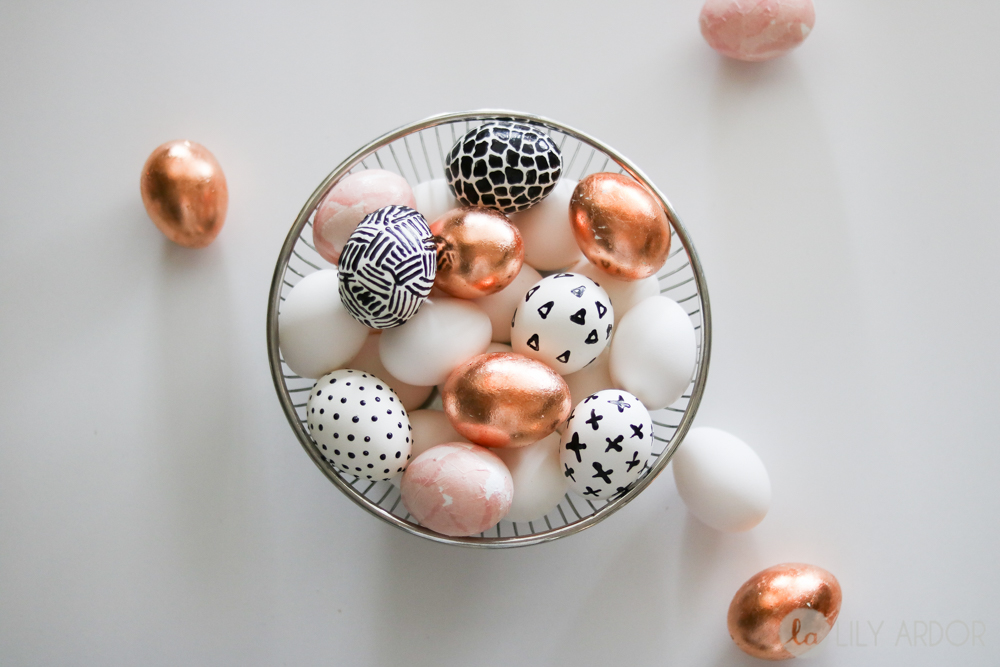
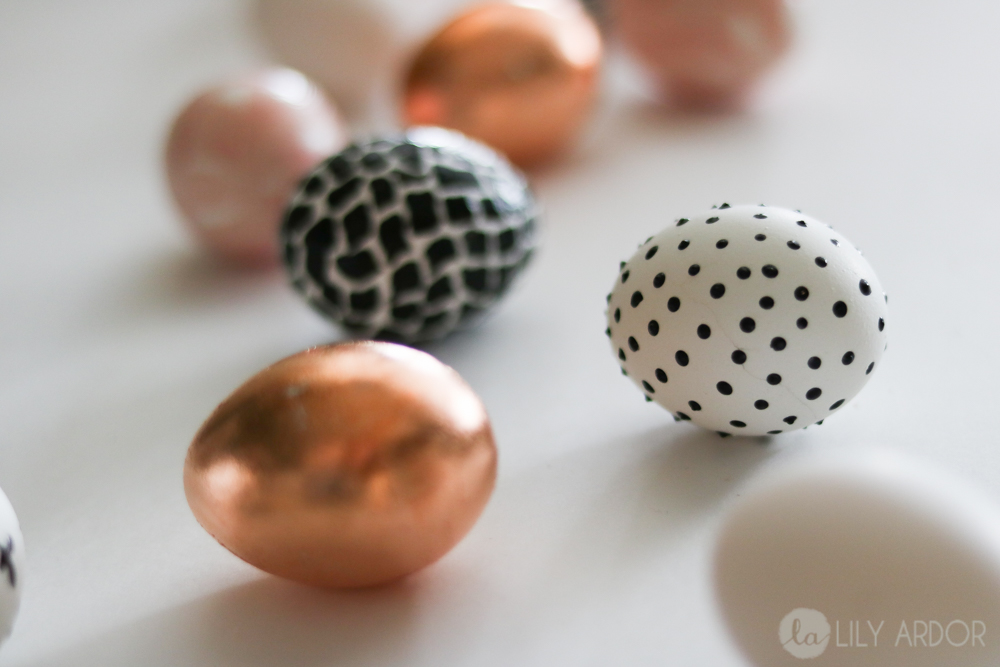
Here’s a snippet to show you some of the 3d texture.
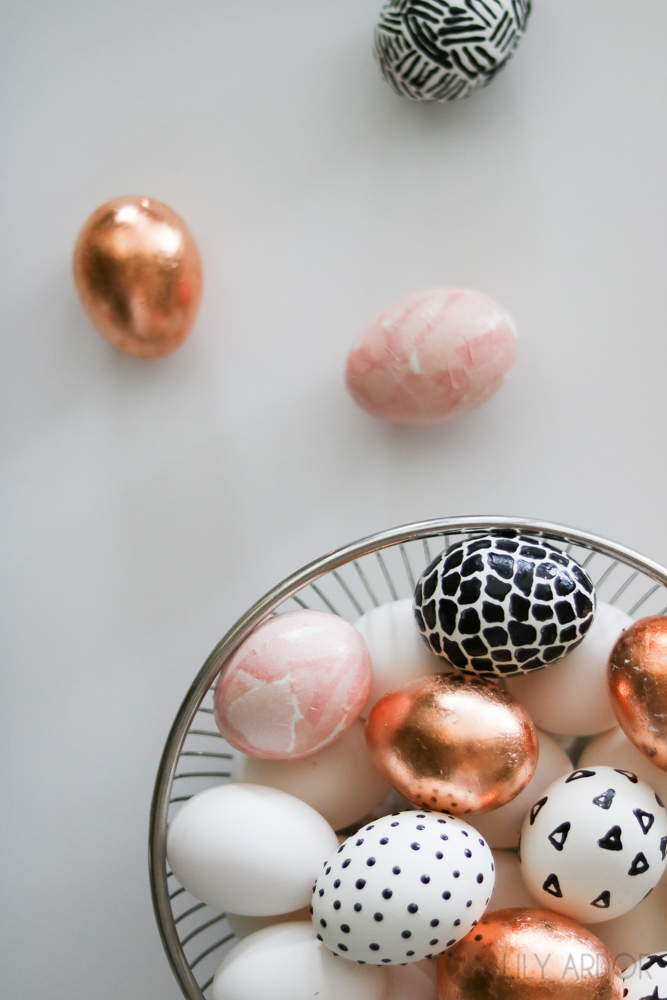
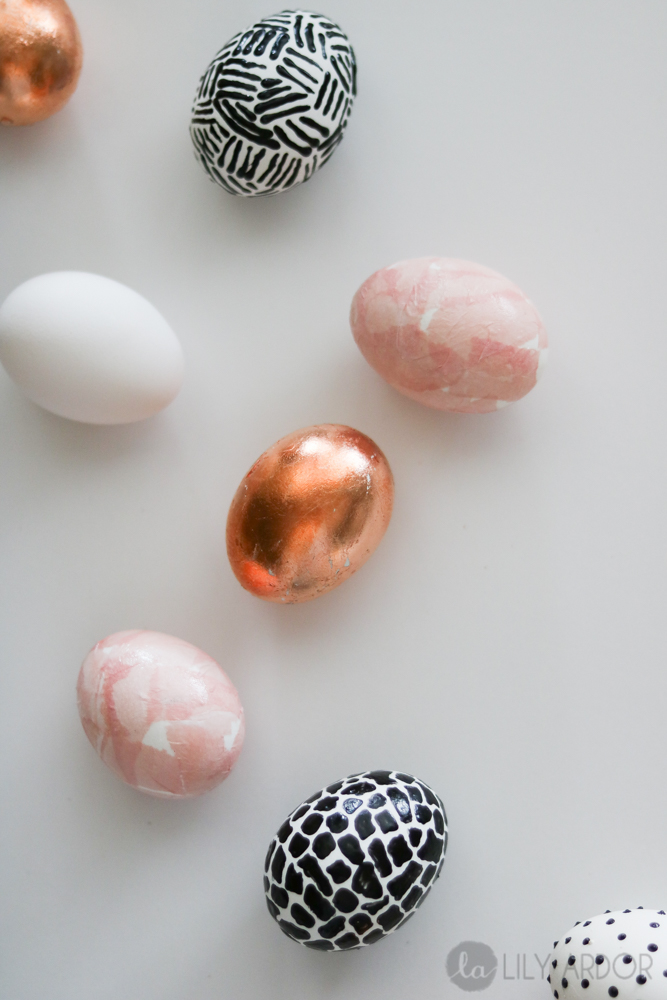
You can purchase the copper leaf on amazon. I’ve purchased from here before and loved it. It’s super affordable. 100 sheets for $6. Can’t beat that 😀
Share your Easter eggs on instagram #lilyardor .

These are absolutely adorable! Can’t wait for spring to finally make its appearance!
xo Mackenzie | ToThe9sFashion.com
Thank you. I’m glad you liked them. Yes me too. This winter is definitely dragging on this year 🙁 .
Hi! I’m one of the co-hosts from the Welcome Home Wednesdays Link Up. I love this idea for decorating Easter eggs, especially the gold ones. My son is 13 now and no longer into decorating eggs for Easter and I kind of miss it so I might do these by myself this year. They’re adorable! Thank you for sharing!
Oh thank you. I’m so delighted that you liked them. Yes.. kid sure do grow fast. Don’t forget to tag me on instagram @lilyardor I would love to see them 🙂
These turned out great for me and everyone loves them! I wrote a blog post on my attempt at your tutorial. So happy with the result! Thanks so much for these dreamy modernized eggs. Perfect centrepiece for my table this Easter. Kindest Regards, Brooke.
OH wow I saw your DIY Those looks awesome. 😀 They look SO PURDY with Gold too. I LOVE IT!! So glad you found my blog 😀 You have a wonderful BLog 😀 Can’t wait to see more.
Thanks Brooke 😀
This is so nice!
Did you use interleaf, loose leaf, or transfer for your copper leaf?
I’m pretty sure it was loose leaf