2 Step Cake Stand
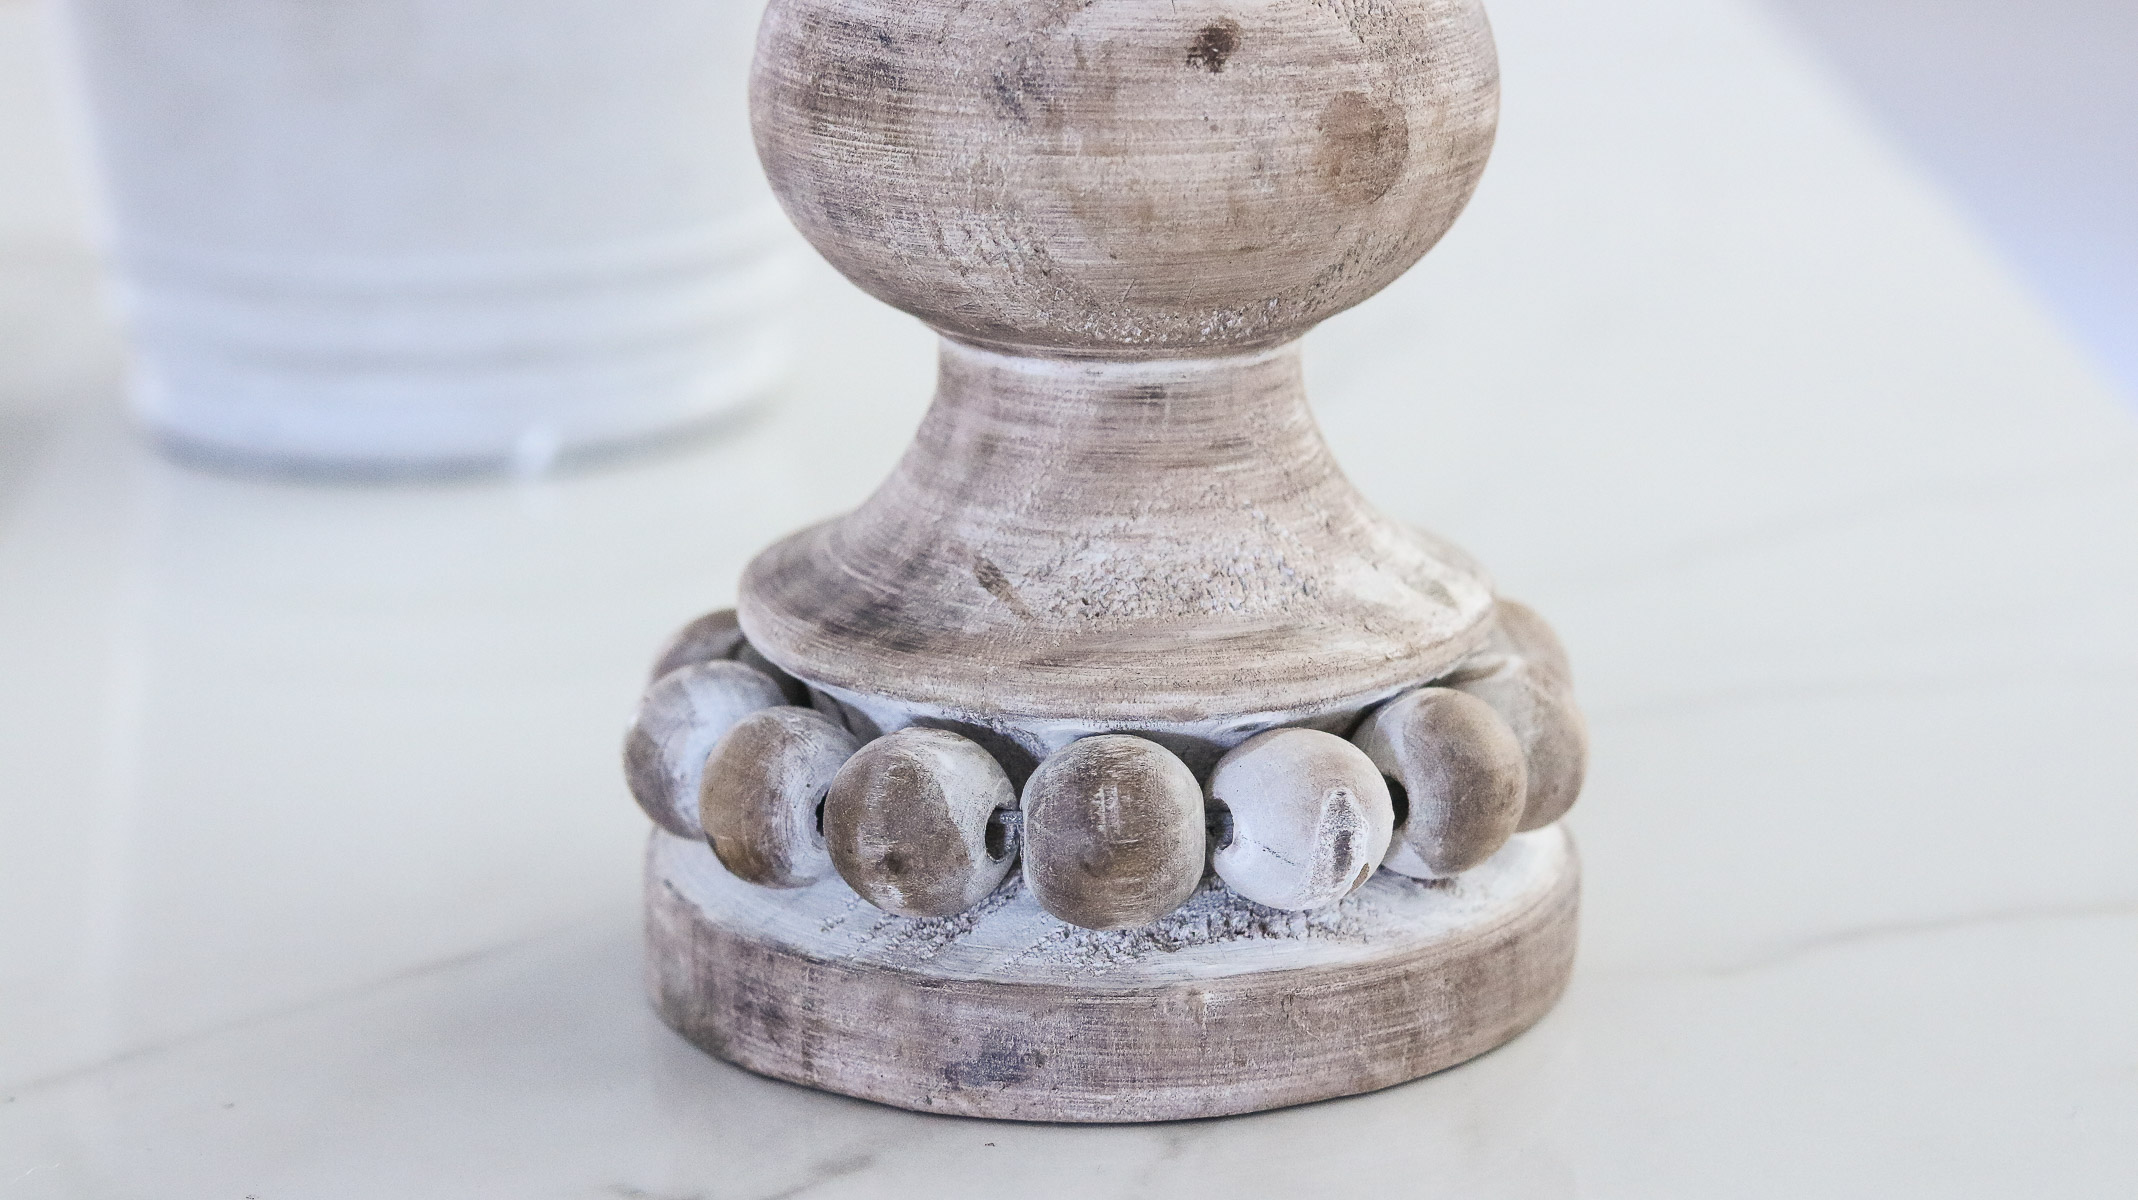
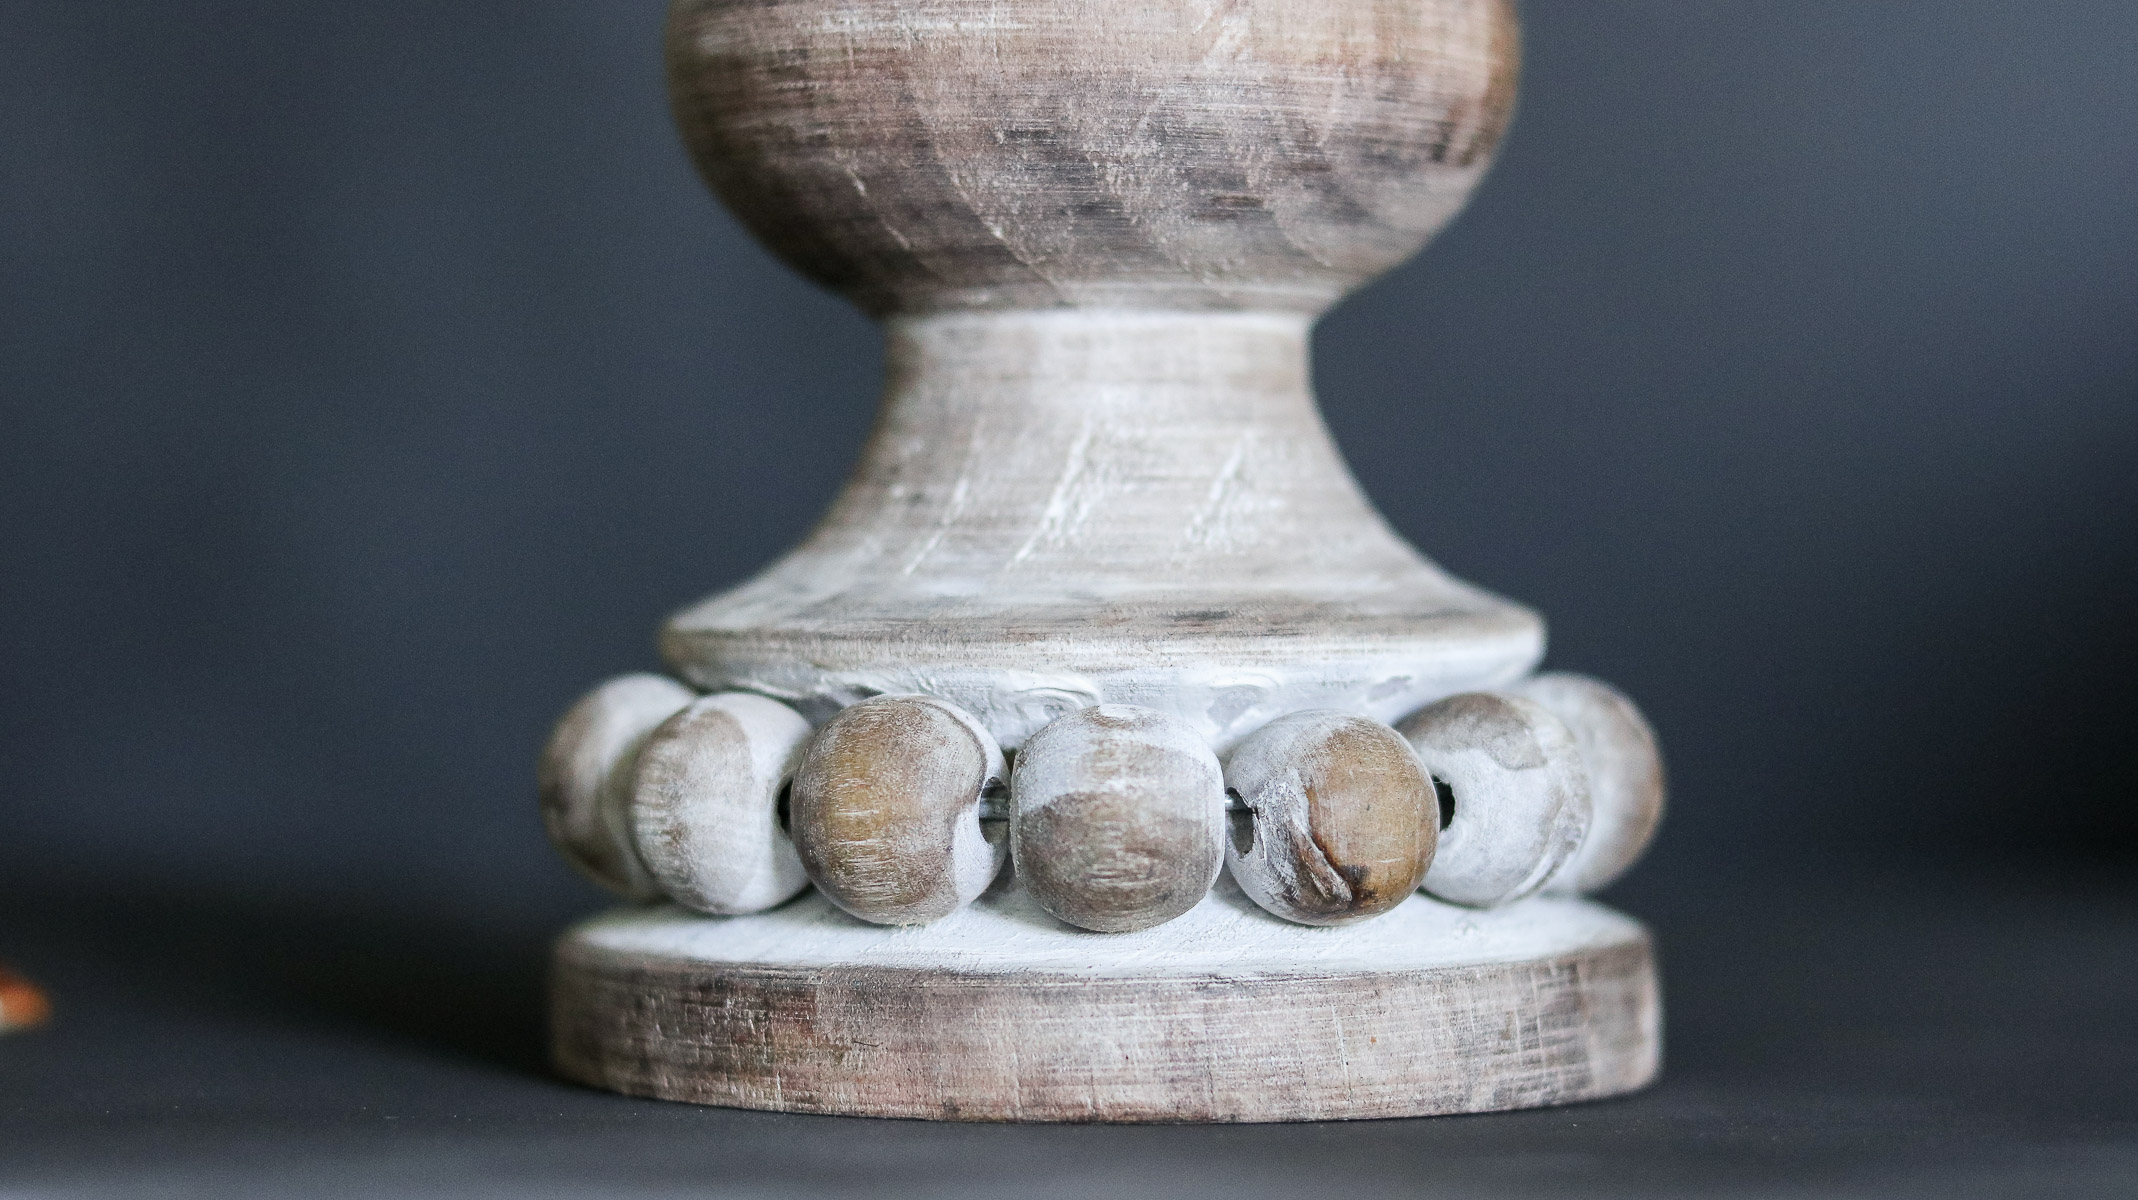
As the holidays are getting closer dessert is on my mind a little more and more each day! When I was a kid my mom would bake all sorts of desserts. From meringue layered cakes to the fluffiest sponge cakes you’ll ever try. She loved baking and teaching. I’ve learned a few baking tricks from her and when the time is right I like to bake a scrumptious dessert. Of all the fancy layered cakes my favorite is the turtle cake. It’s a European cake. Sadly it isn’t sold in stores but, to give you an idea of what it tastes like.. It’s made up of layers of homemade cookies that are than frosted with sour cream frosting and topped of with dark chocolate ganache. The difference between the sweet and sour frosting and bitter sweet ganache give it the perfect balance. I hope to post the recipe on the blog soon. It’s a keeper for sure! 😀 Cake stands are a must have for the holidays especially if you love to bake. However they’re usually pretty expensive which makes it hard to get a nice collection of them going. I’ve made a cake stand before and this time around I decided to go a little fancier than usual. Originally I was planning to make some glass cake stands but after realizing they would match more for spring I decided to go to hobby lobby and see what they had in store. That’s when I came across this pretty candle stand and serving plate. I thought they made a cute combo however after putting it together I do wish I picked a more simpler tray for the top. I still love it though! 😀 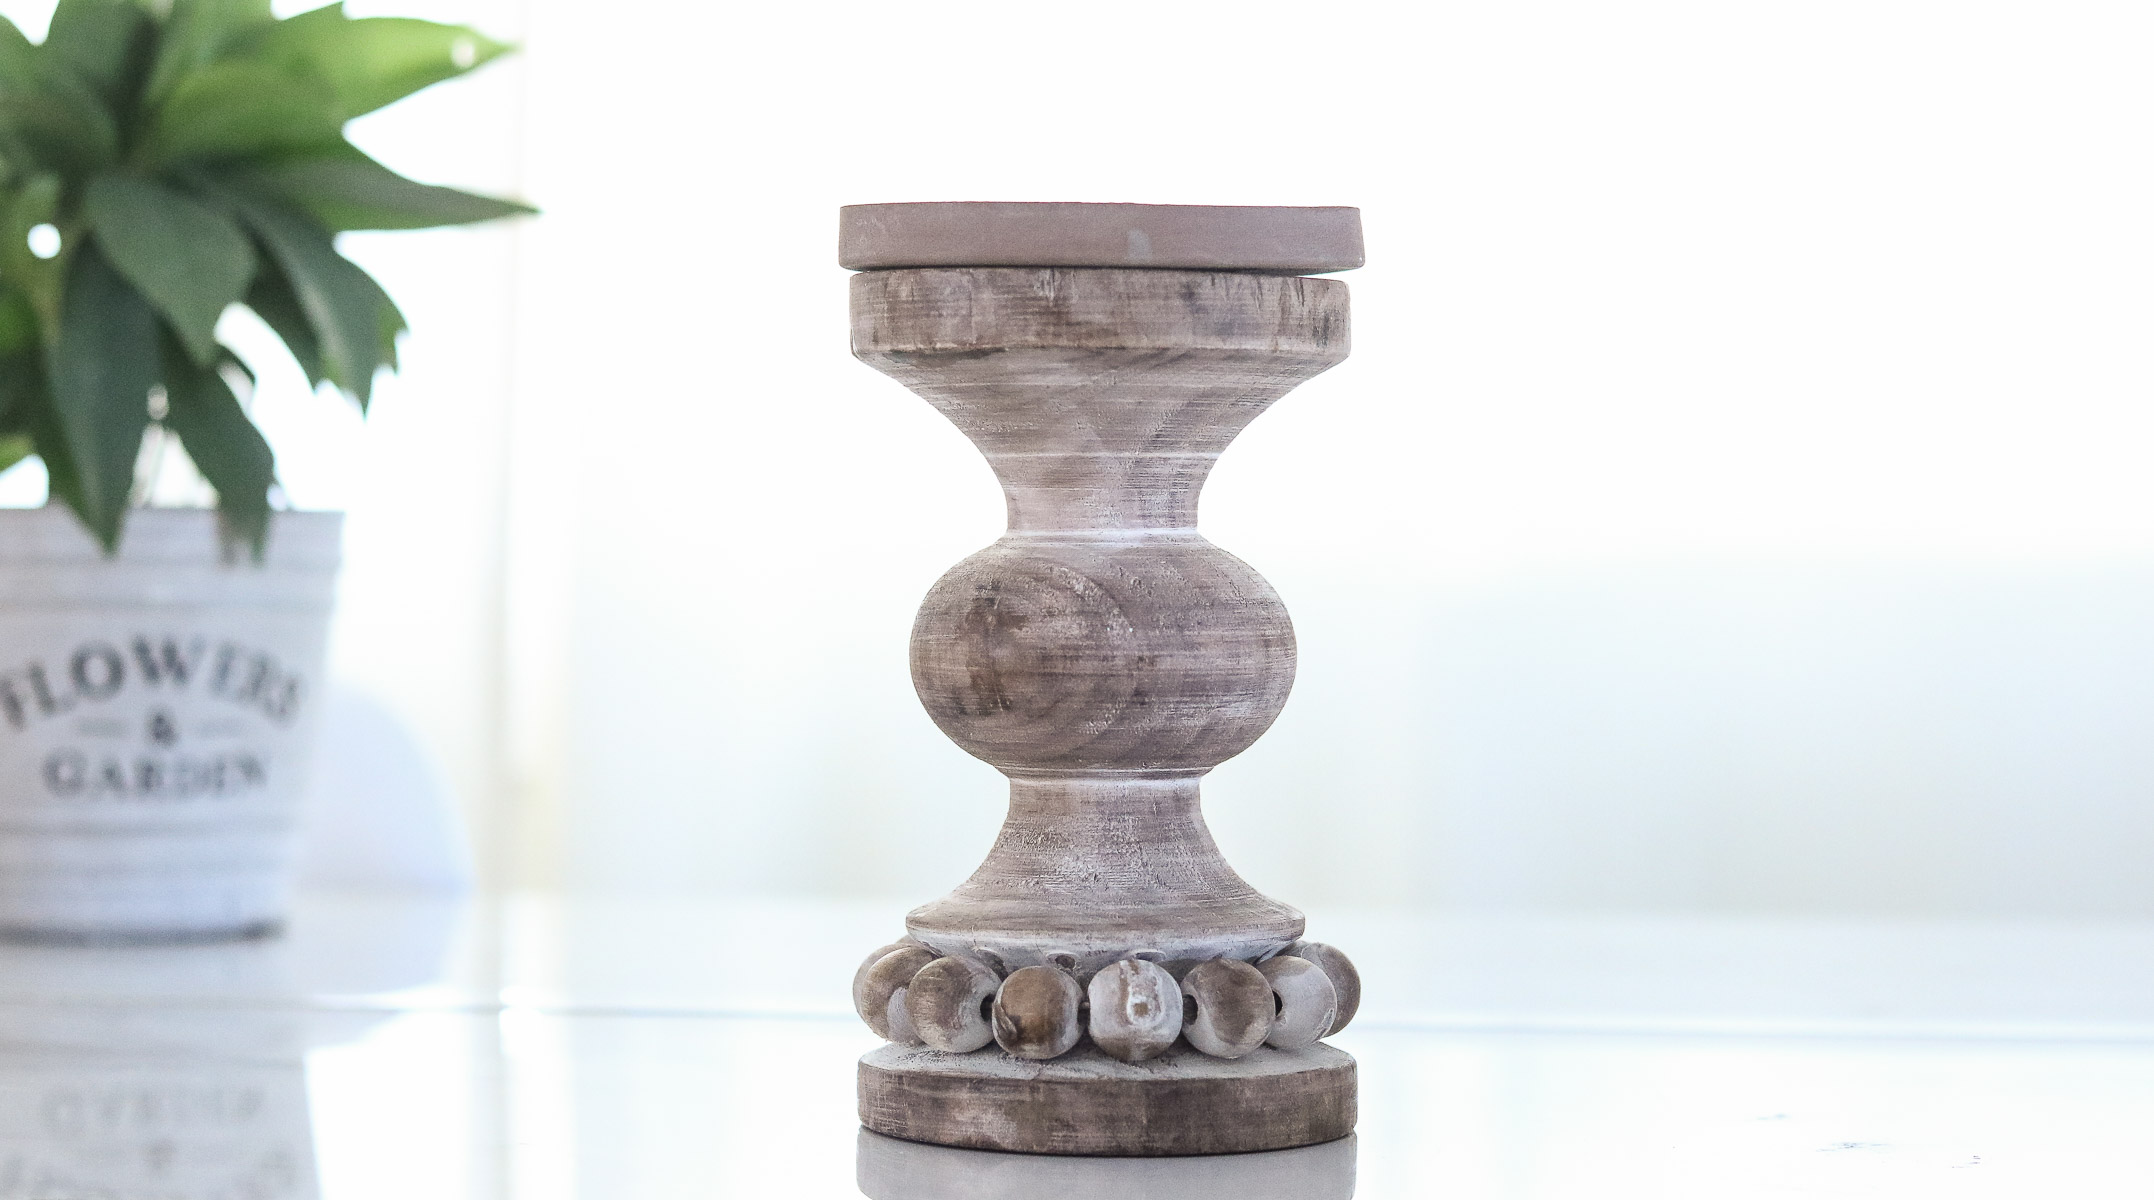 The beads on this candle holder are my favorite. I love the rustic look of the wood. A dresser in that color would be nice! 😀
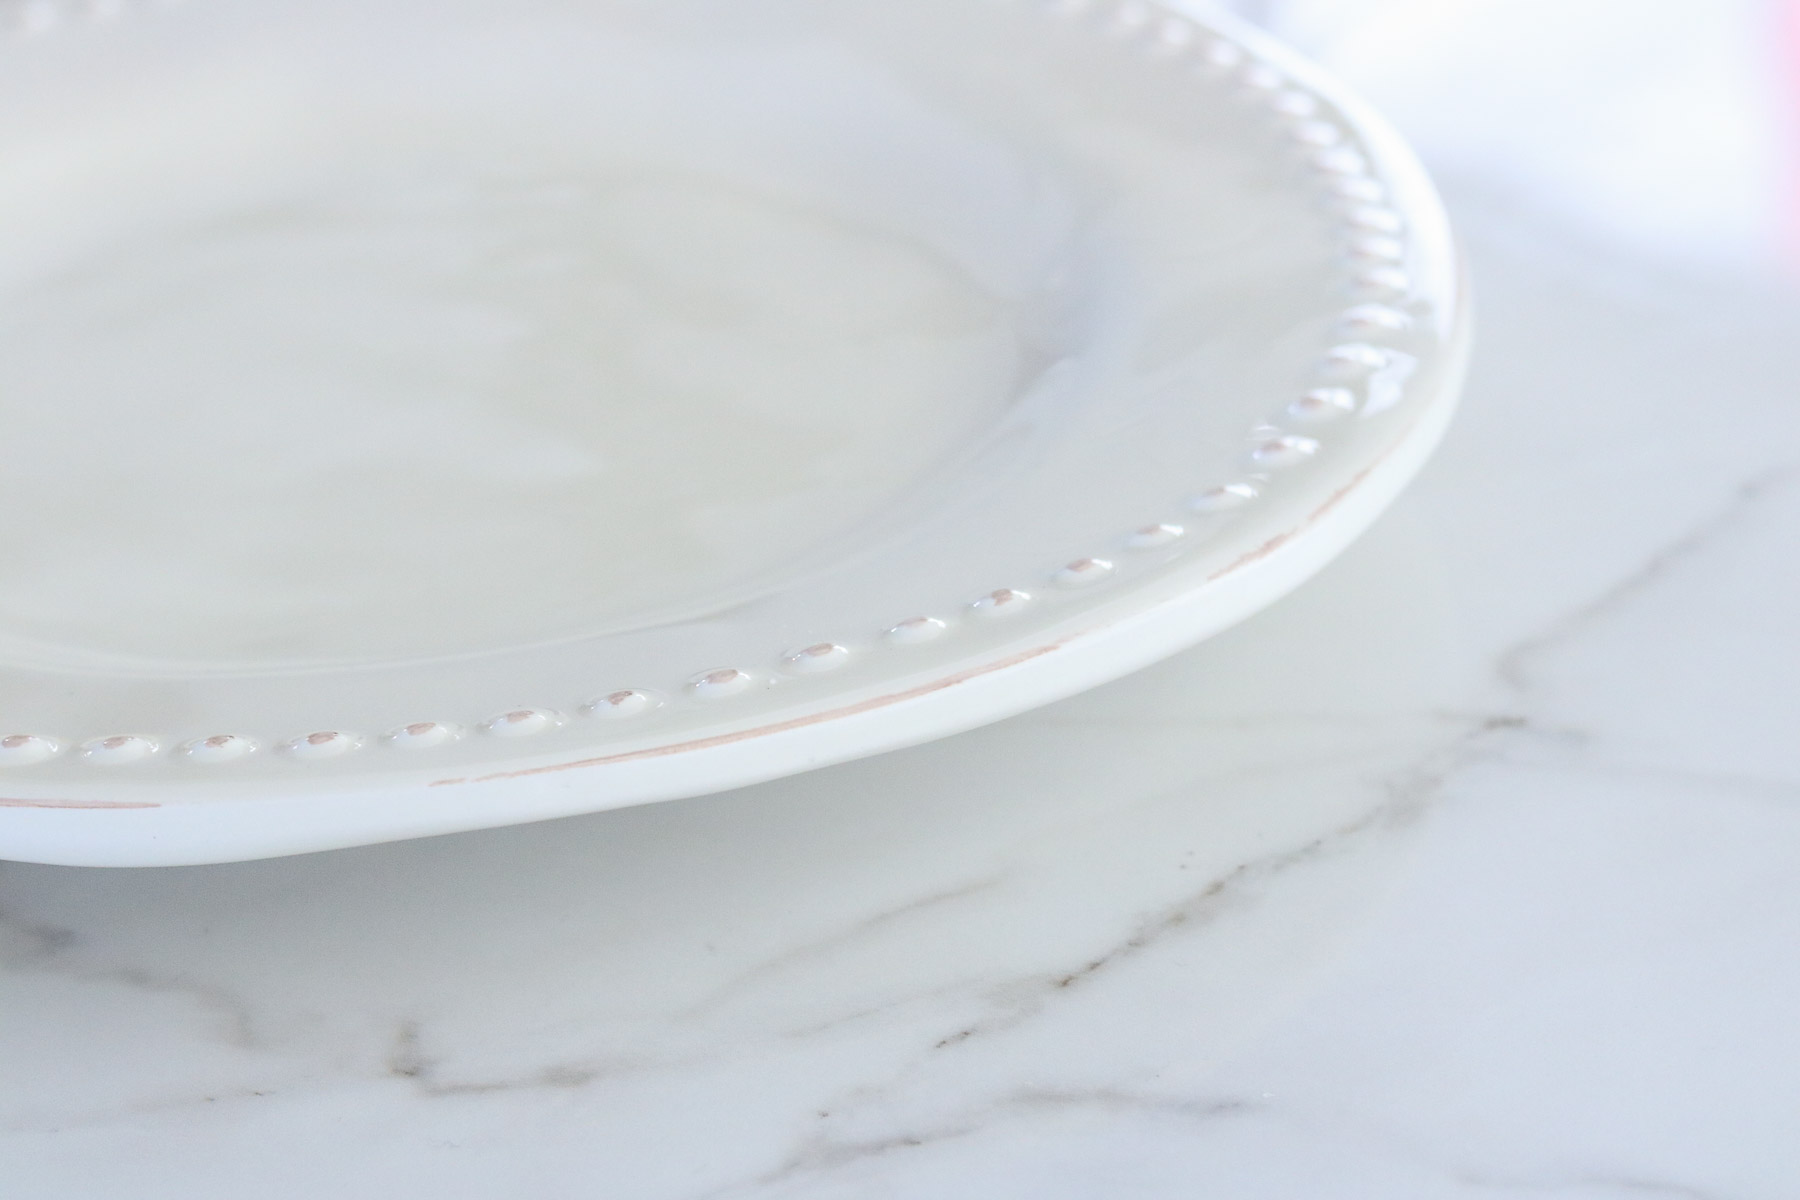
 Here’s the details on the tray.
TIME NEEDED:
If you have similar products about 10 minutes.
Total Cost:
Around $10-$15. (both purchased at hobbylobby) My plate was 40% off and I used my 40% coupon on the candle stand. You can get your 40% off coupon here. 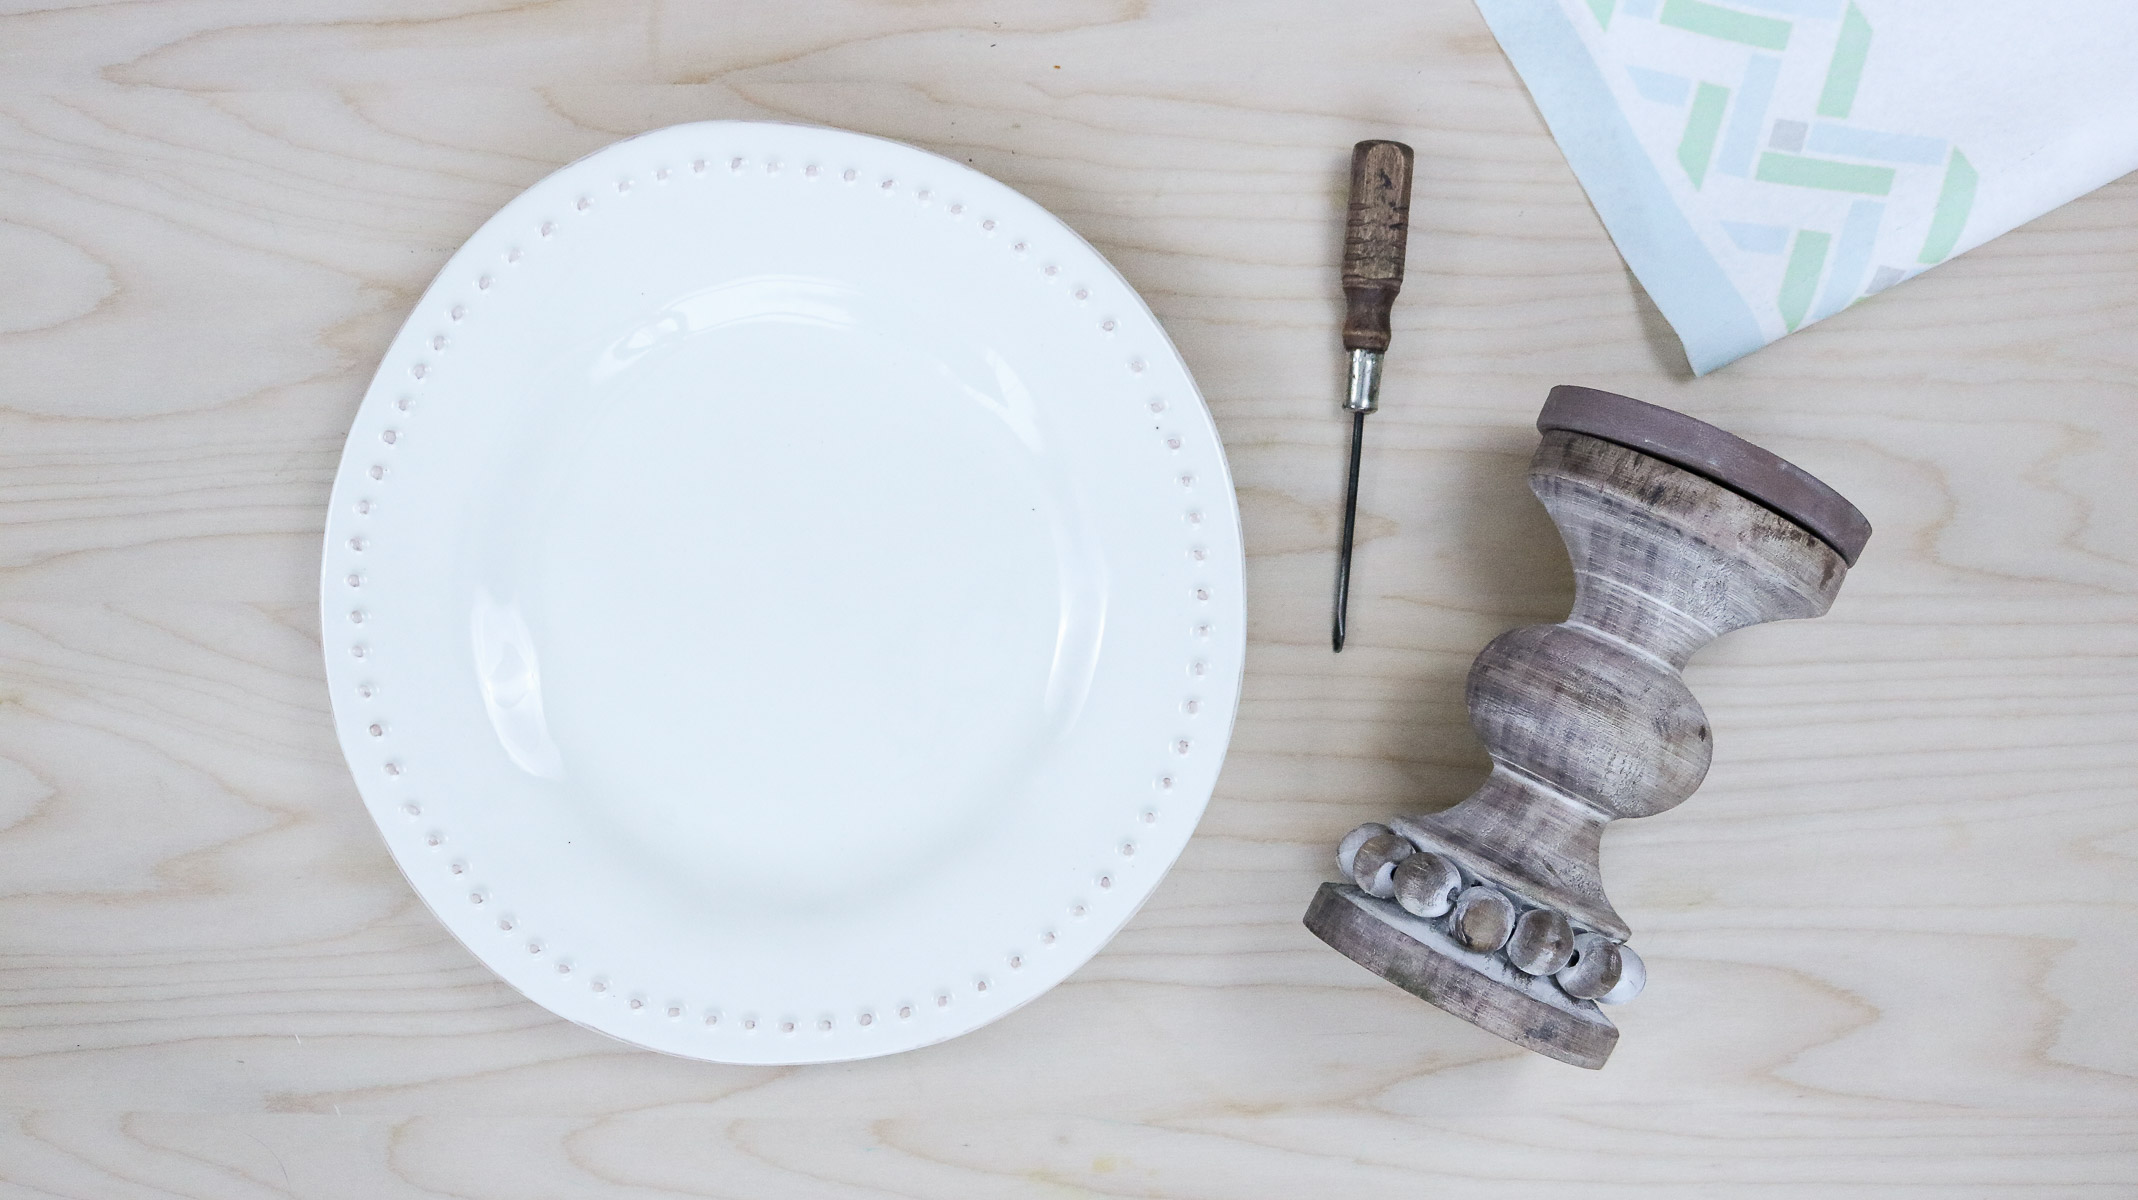
Supplies:
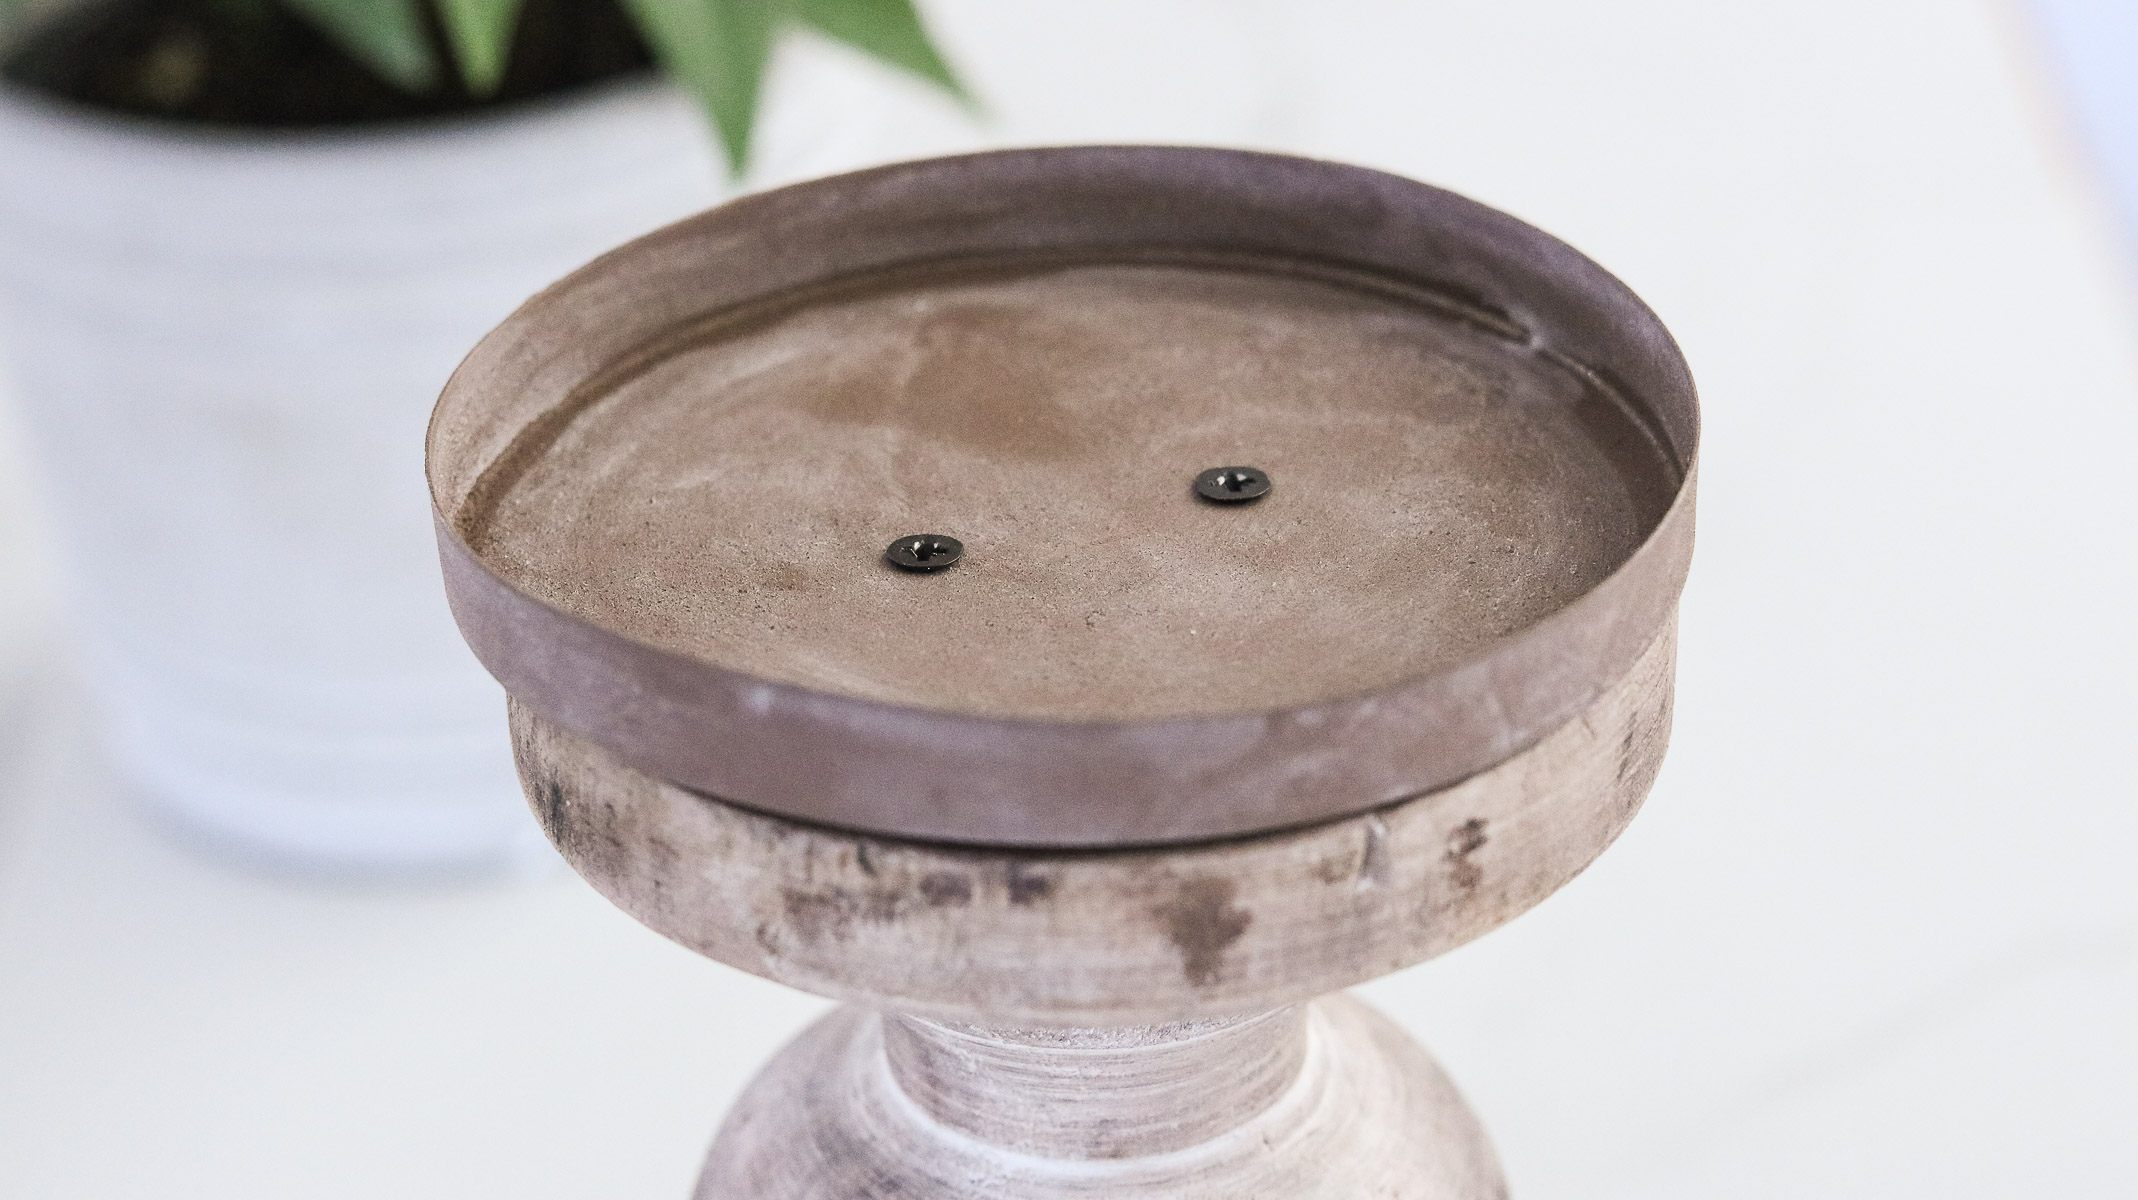
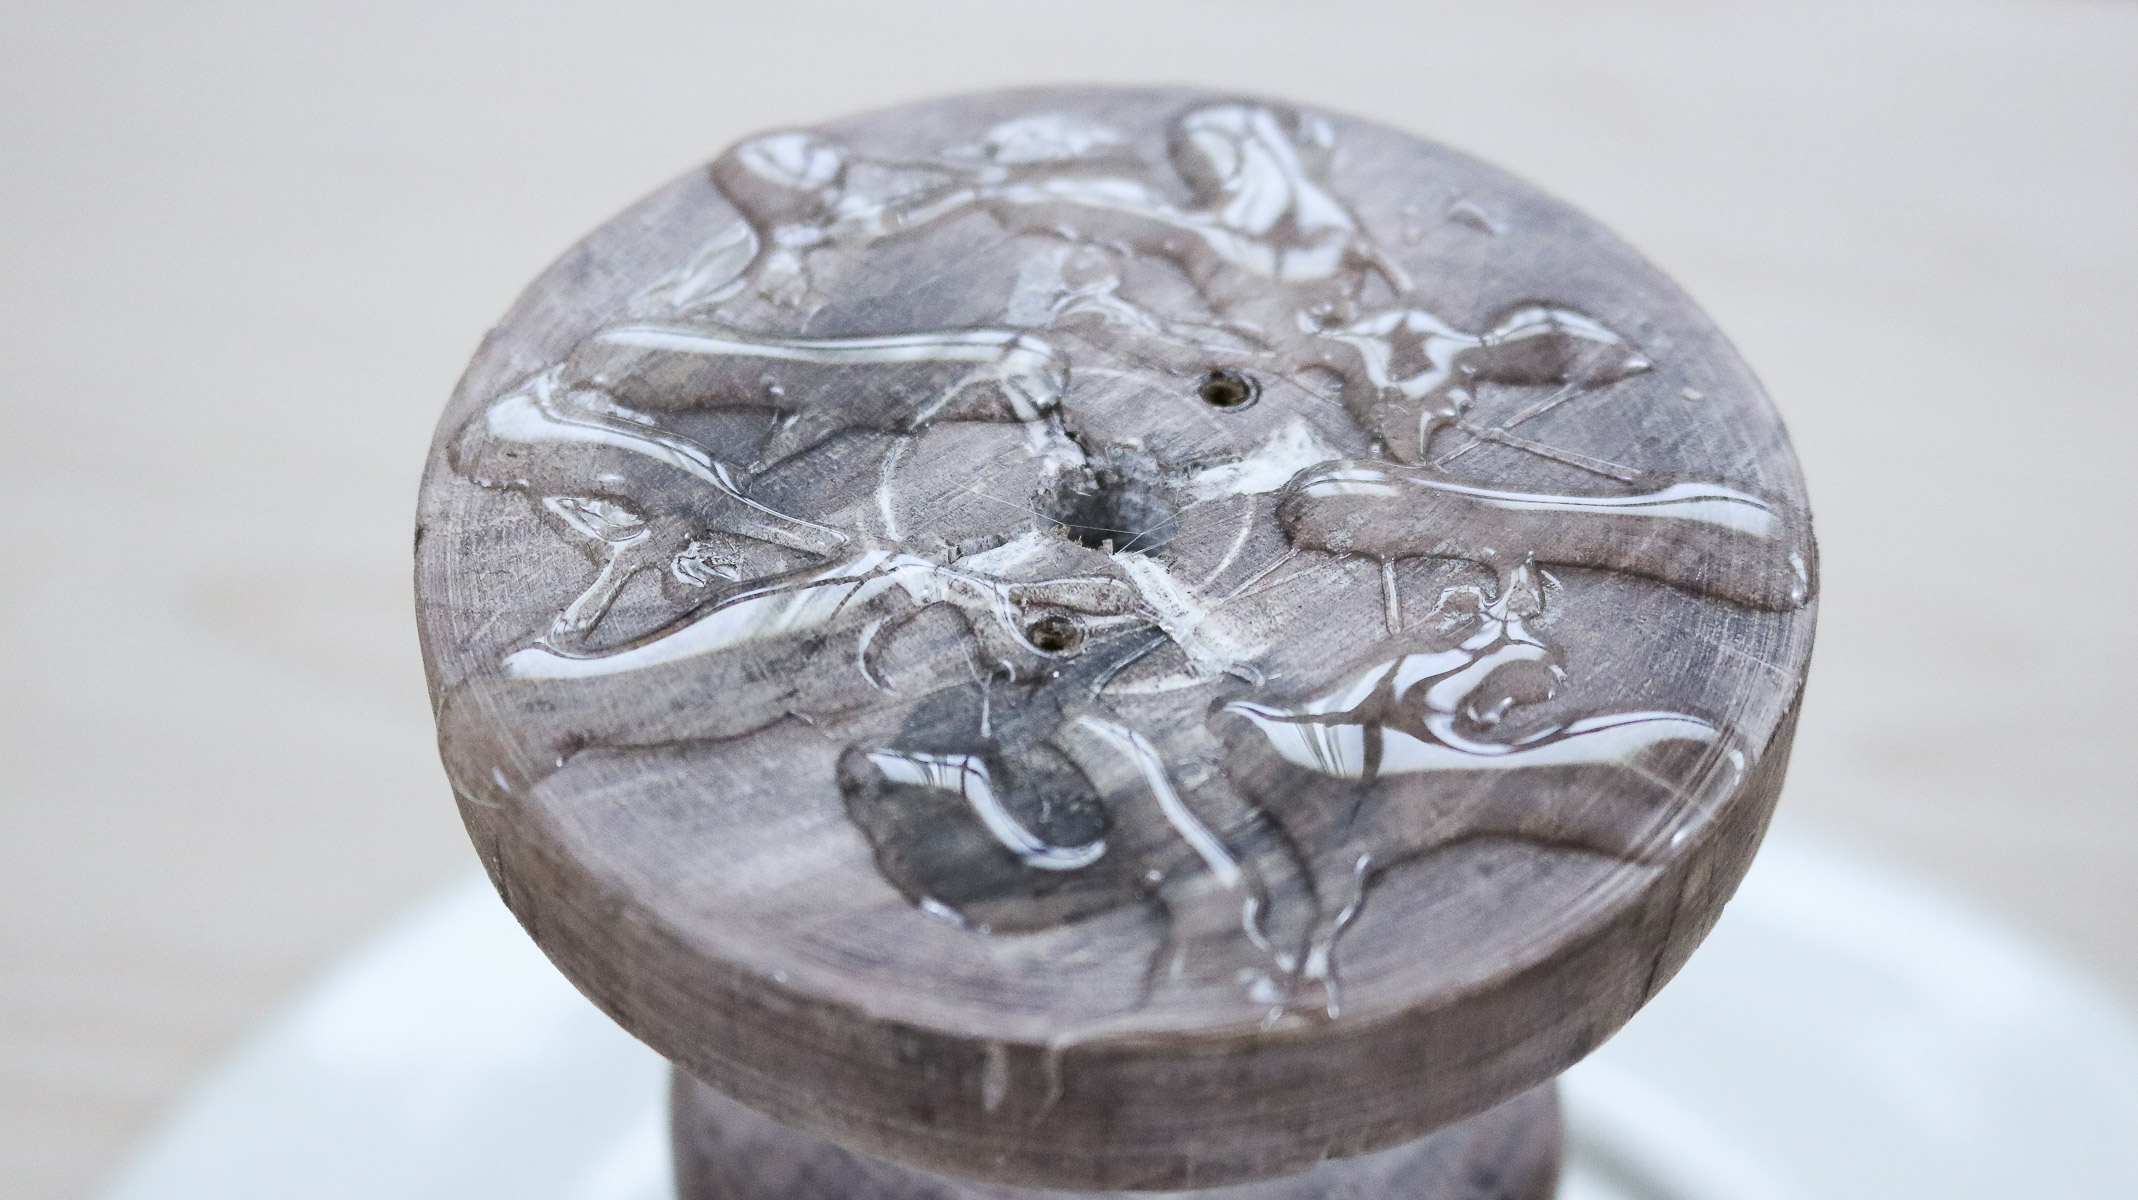
I’ve added hobby lobby links to similar products. You can also check out amazon for supplies if you prefer. Candle stand Plate E6000 Glue Screw Driver The instructions for this DIY couldn’t be simpler. Use a screw driver to remove the candle holder cup. Than add some E6000 glue and attach it to your tray while it’s upside down. Let it set for at least 24 hours and you should be good to use it. The possibilities are endless with this. You can make this with almost any candle holder and tray. 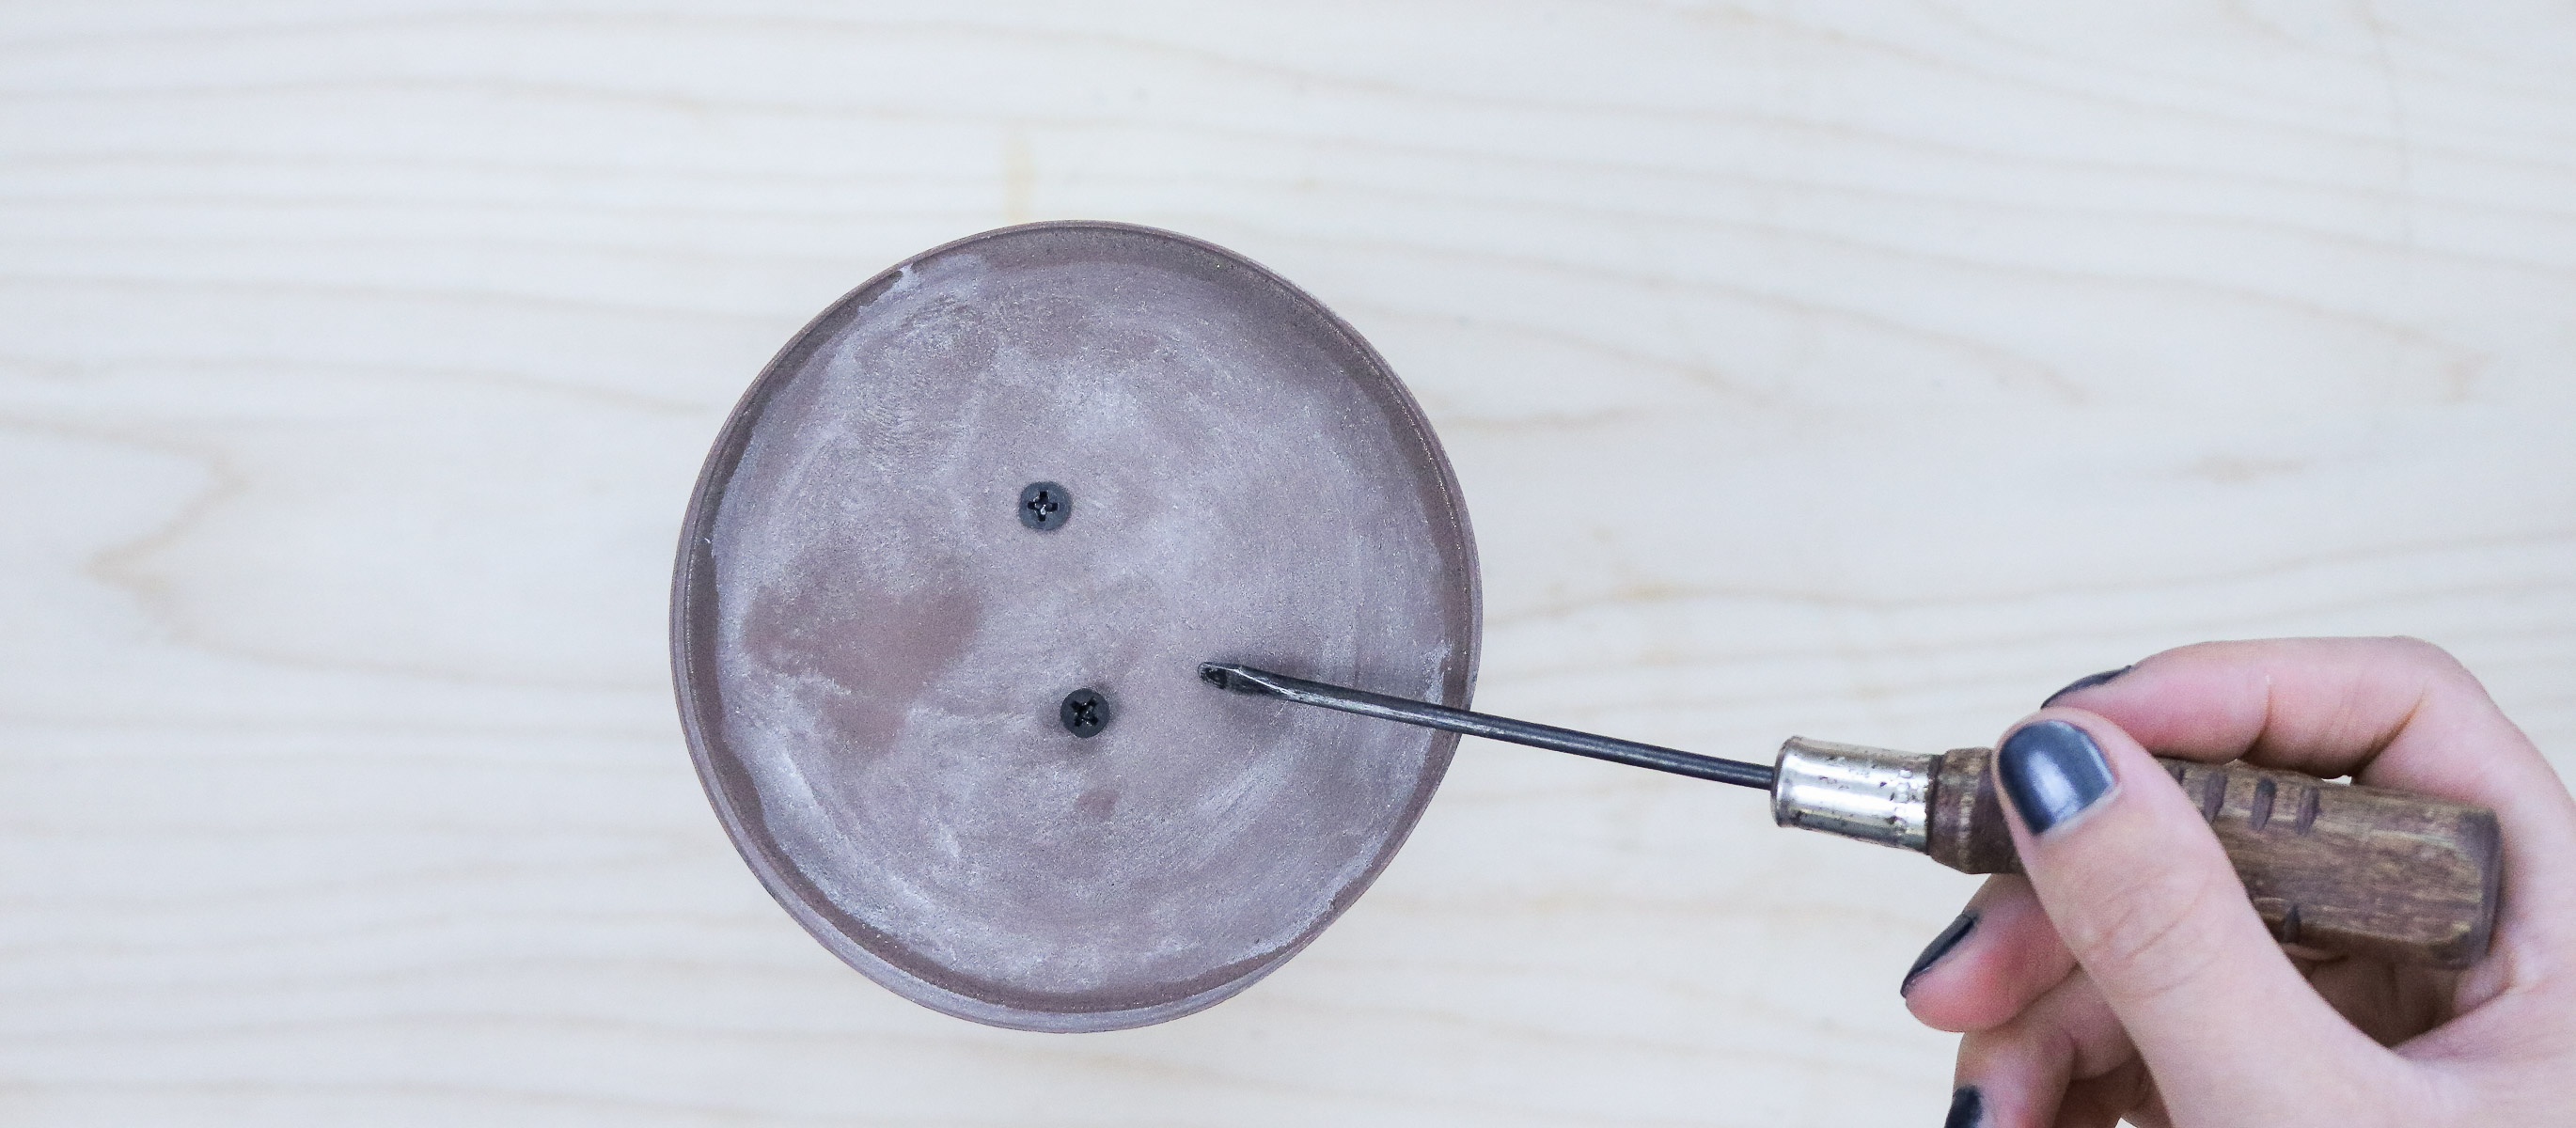
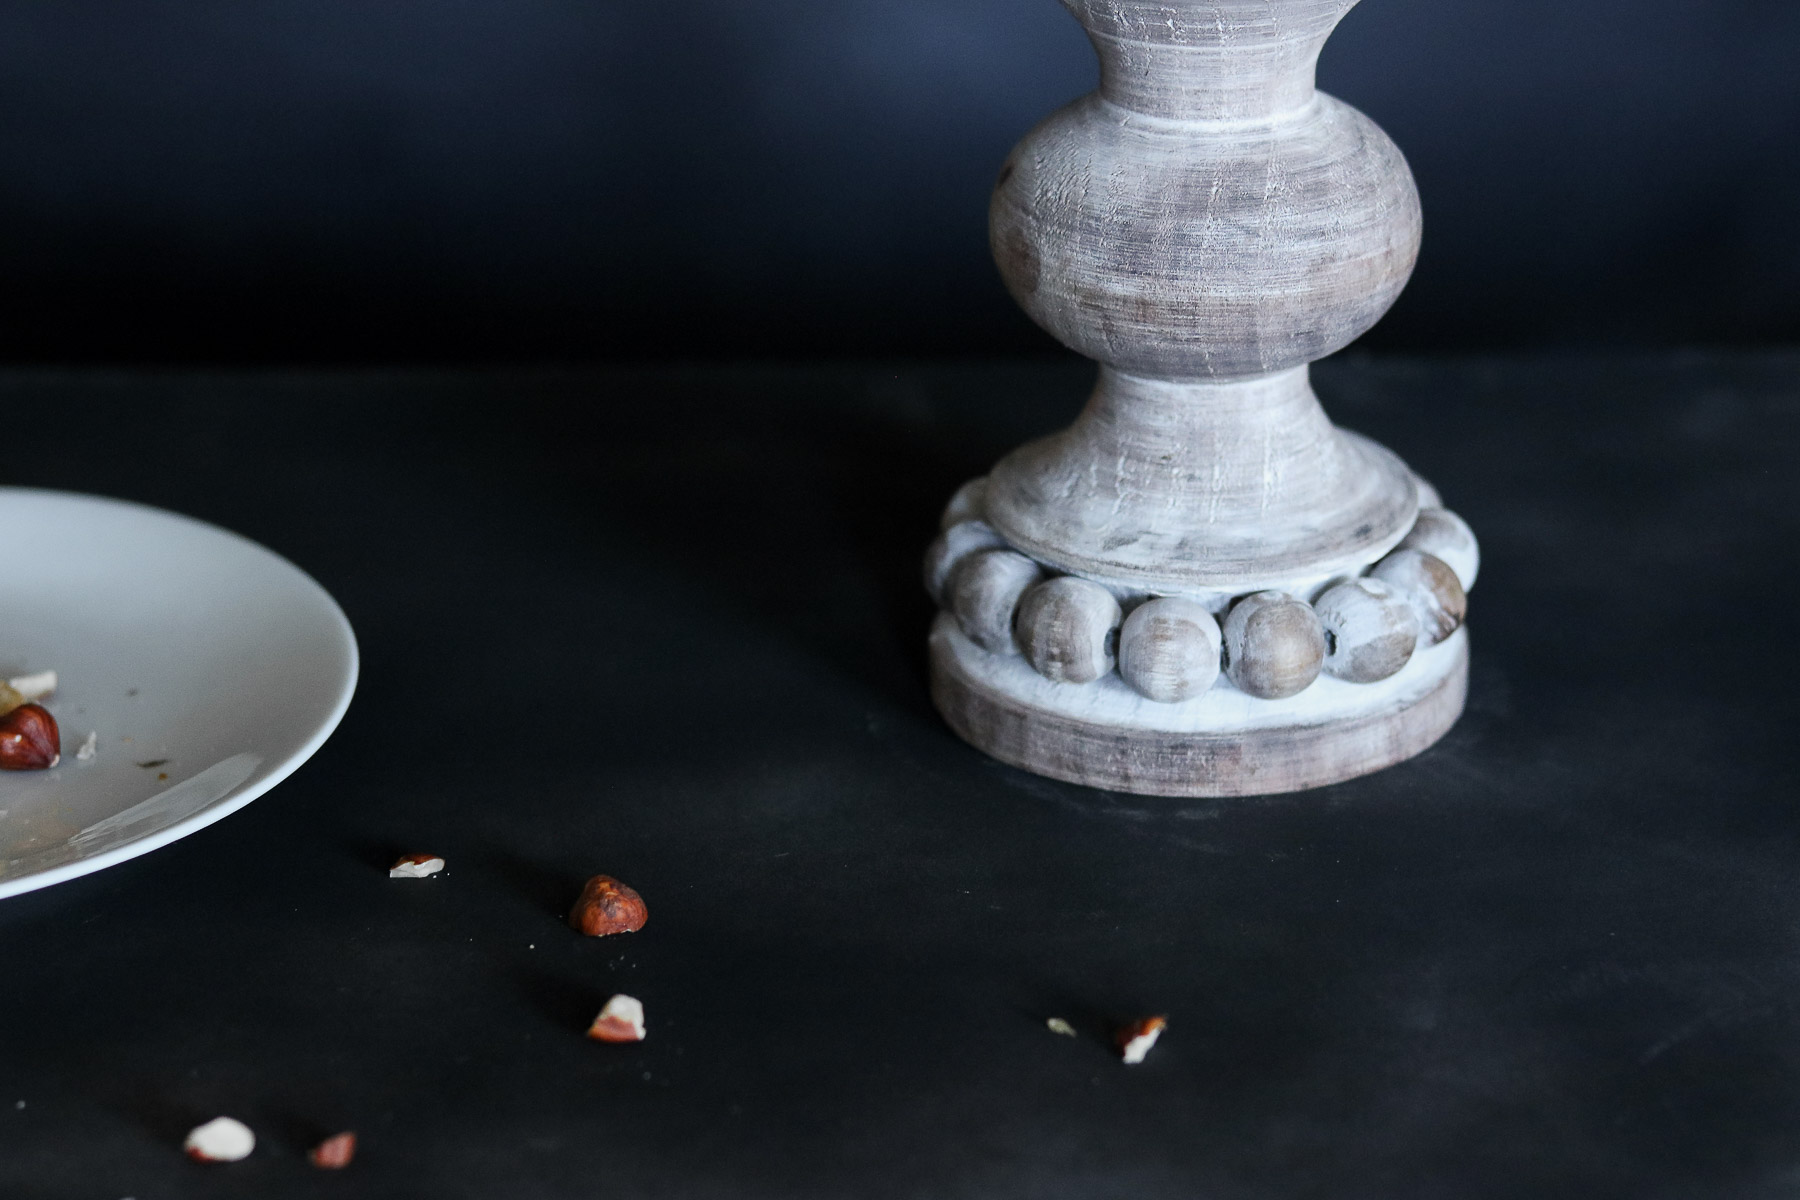
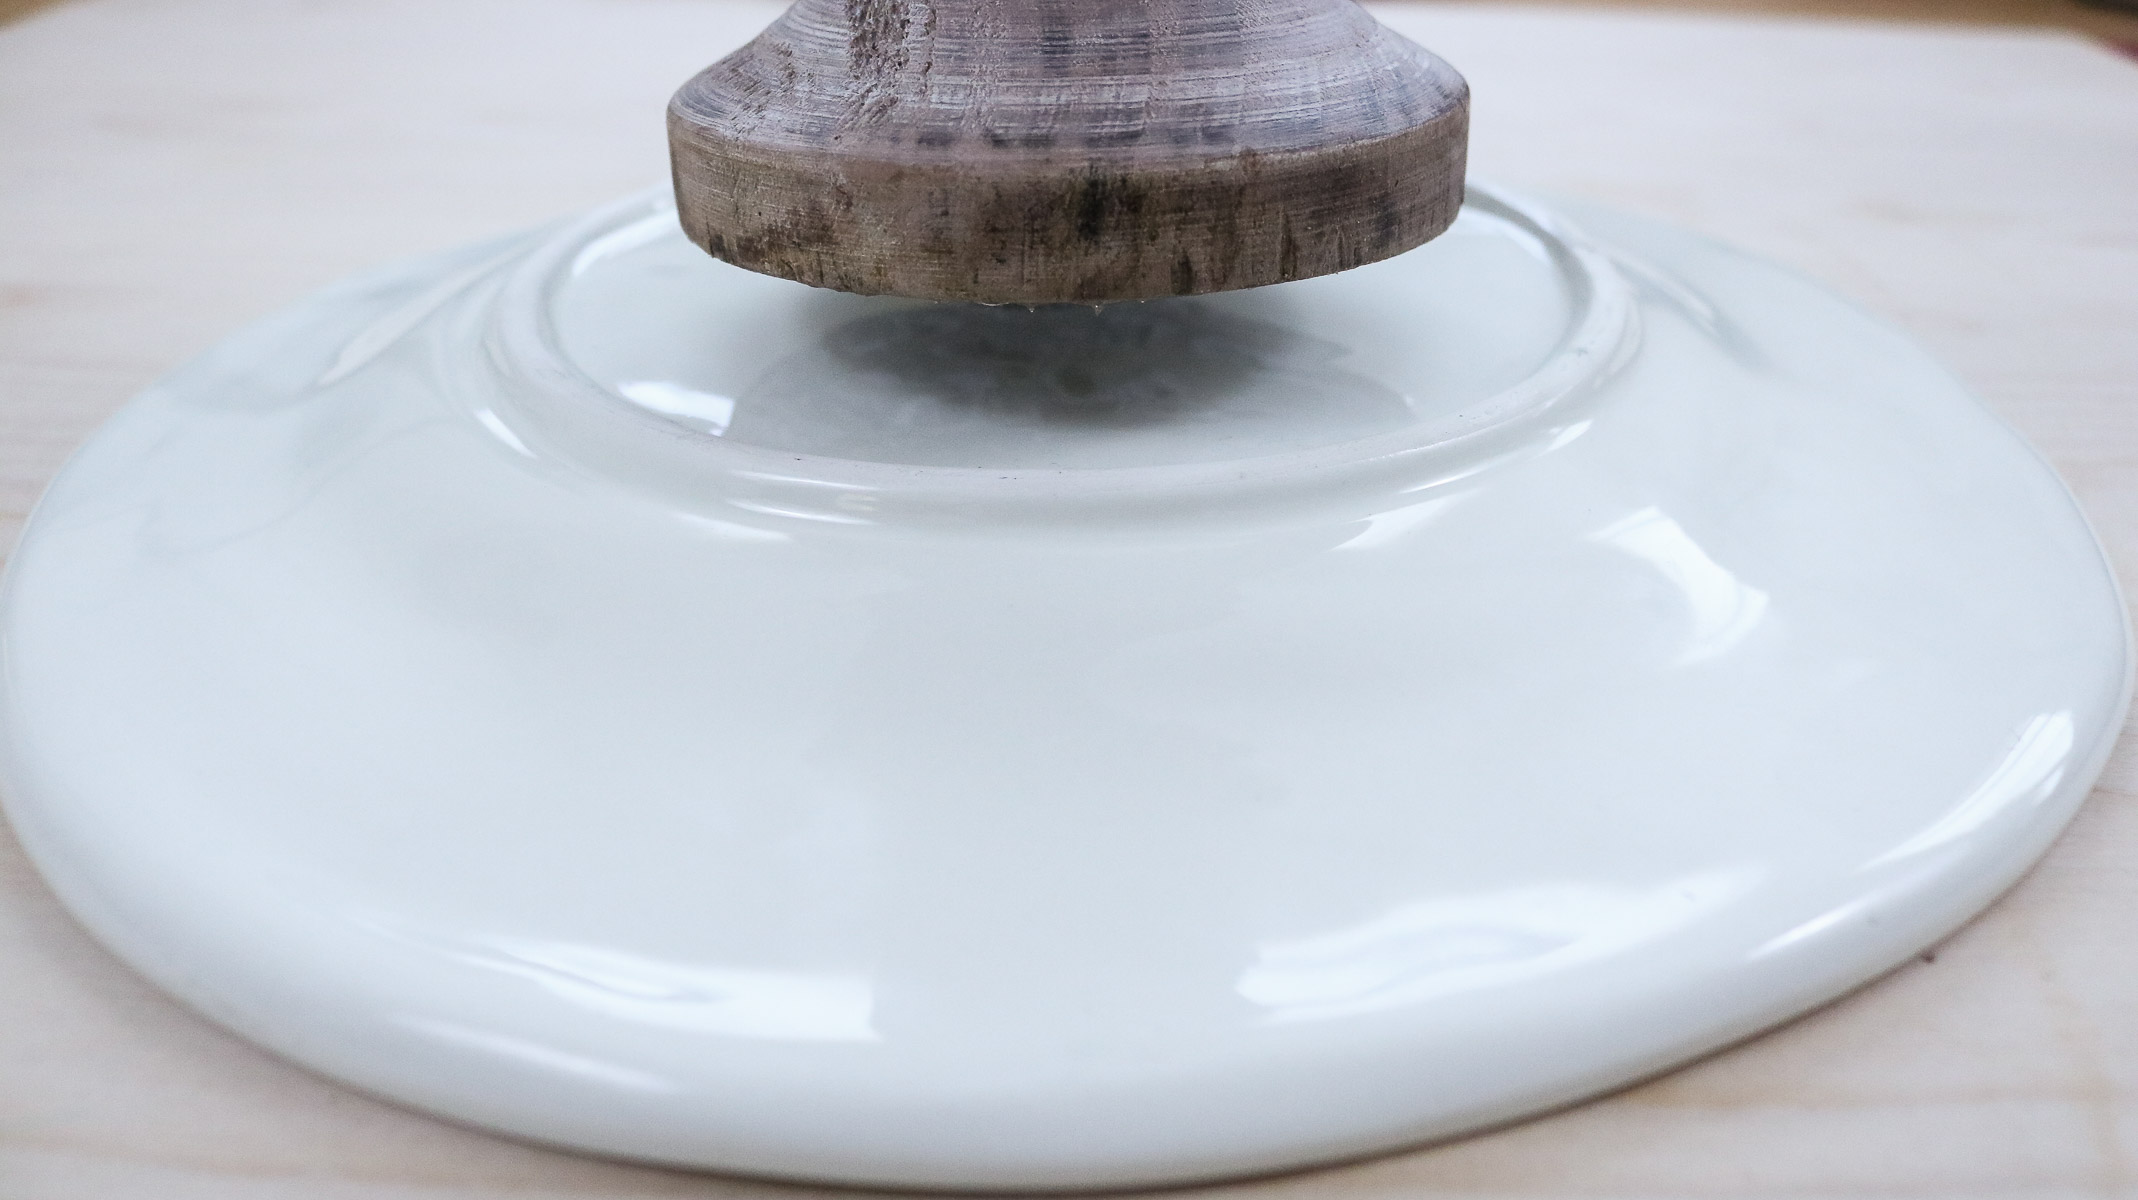 Just look at those beads! I’m a sucker for beads 😀 😀
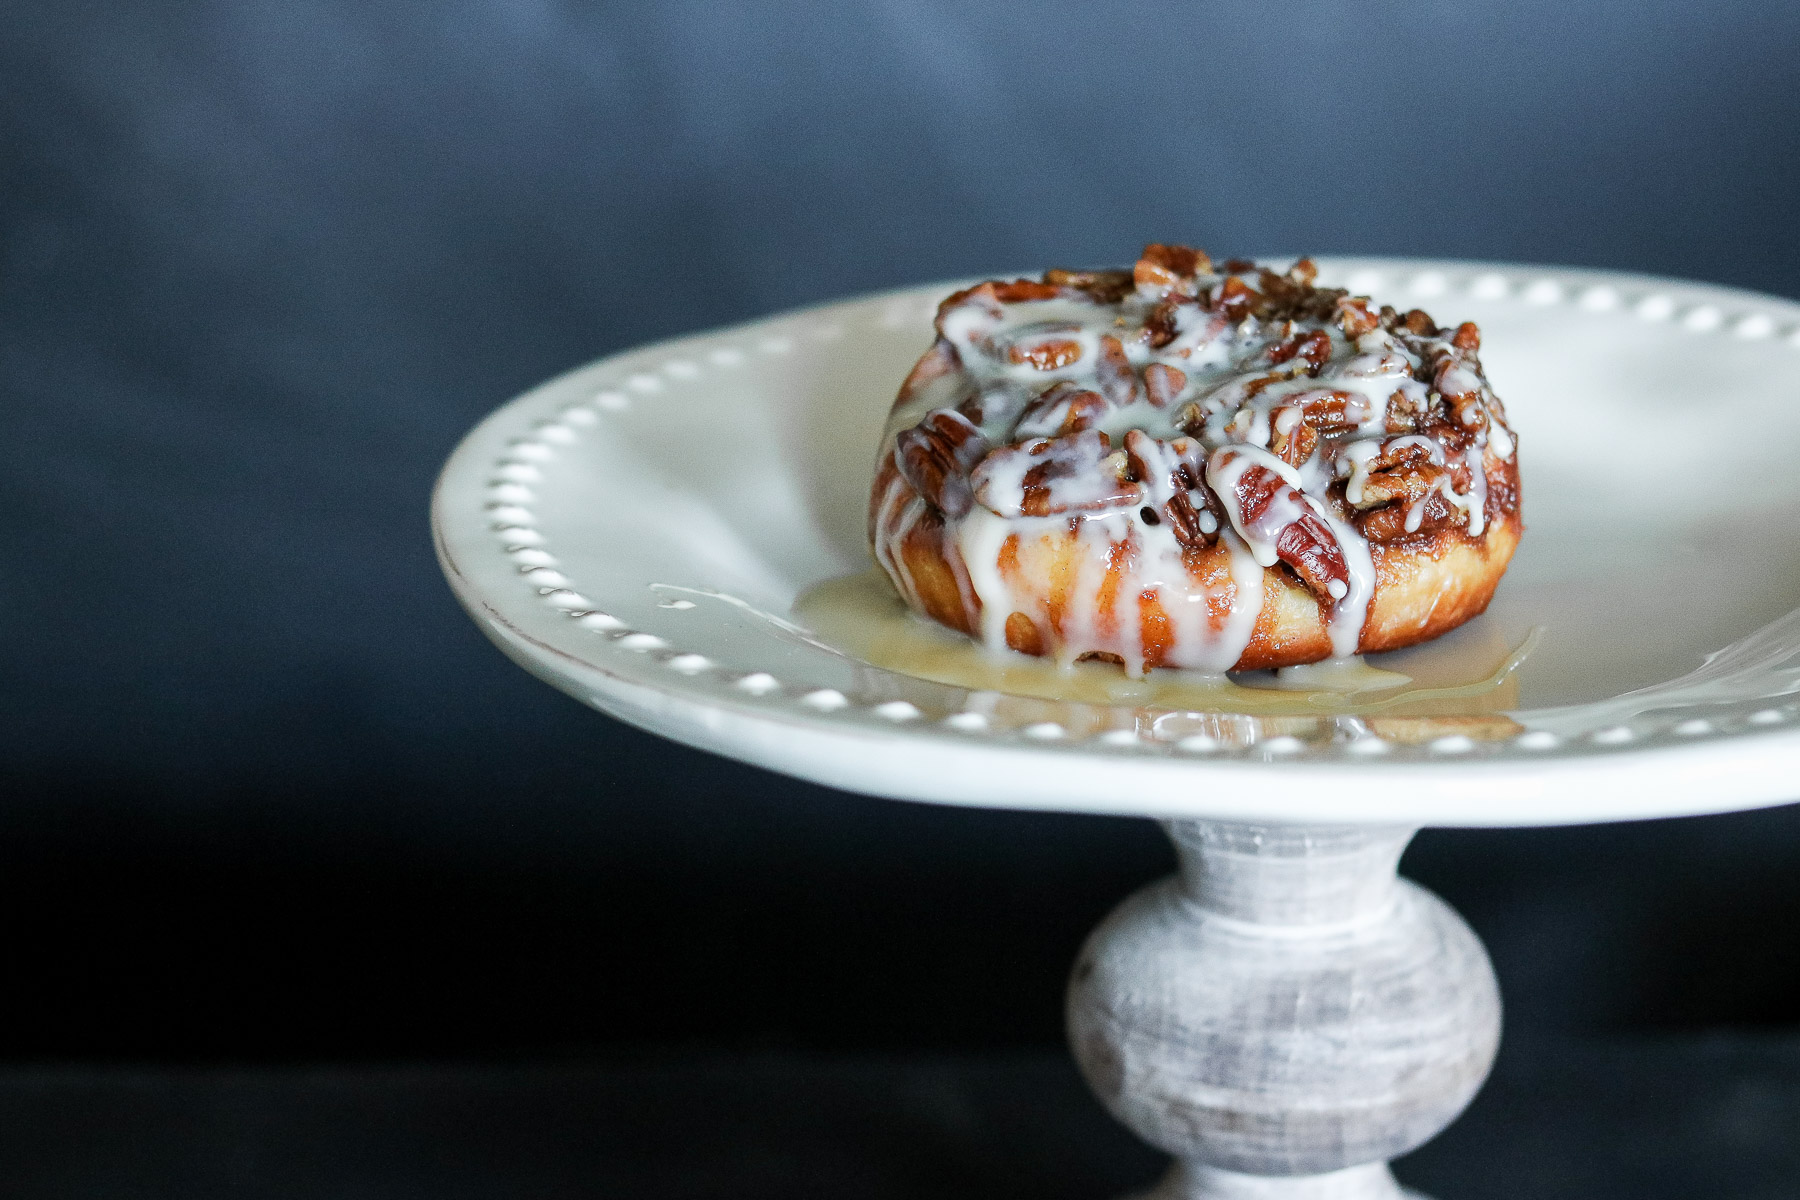
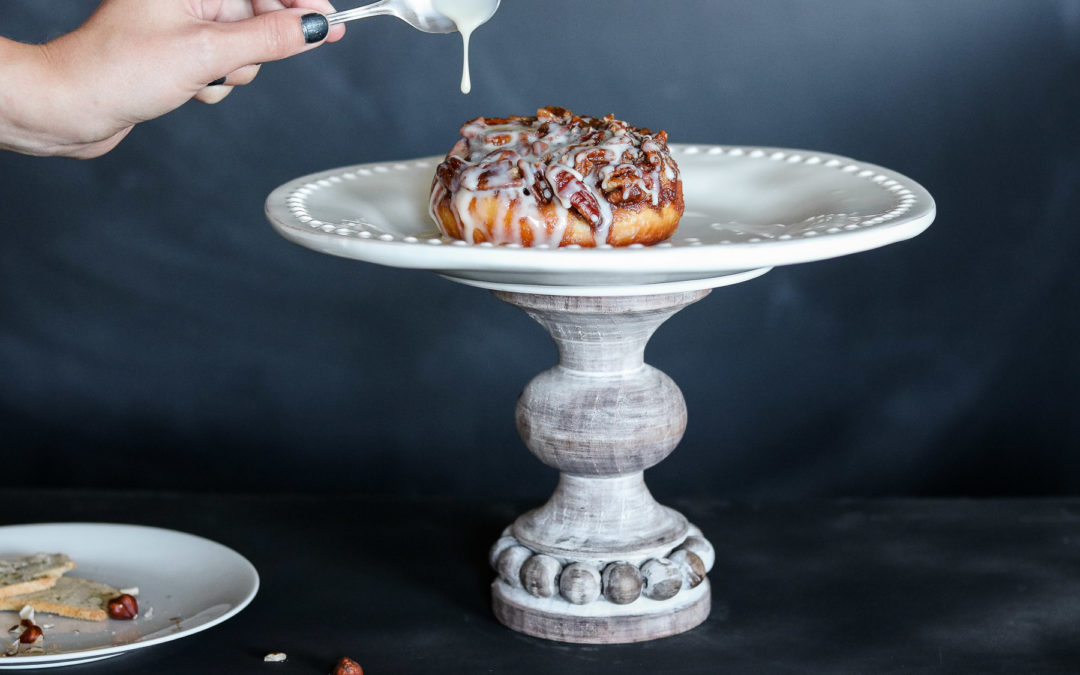
  This tray is sso pretty.
Here’s a quick video tutorial. 😀
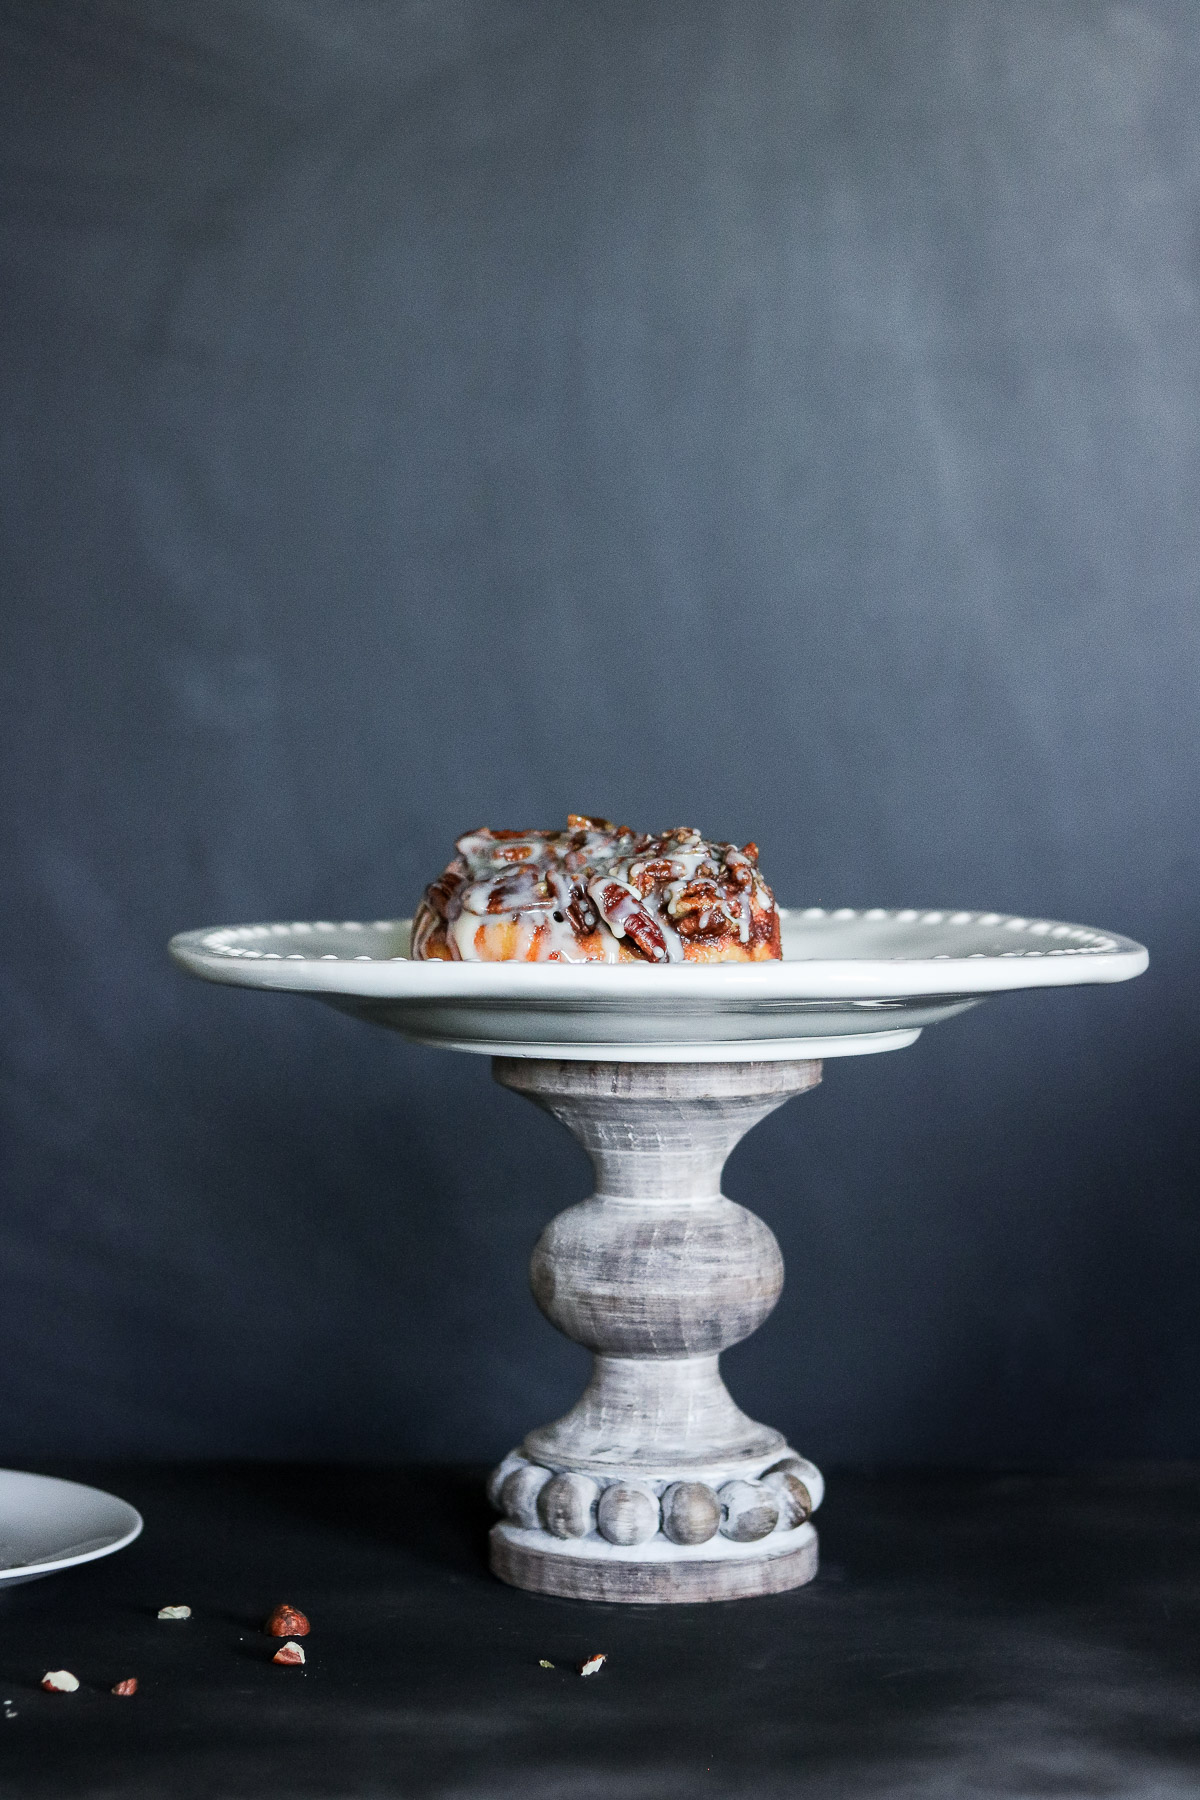
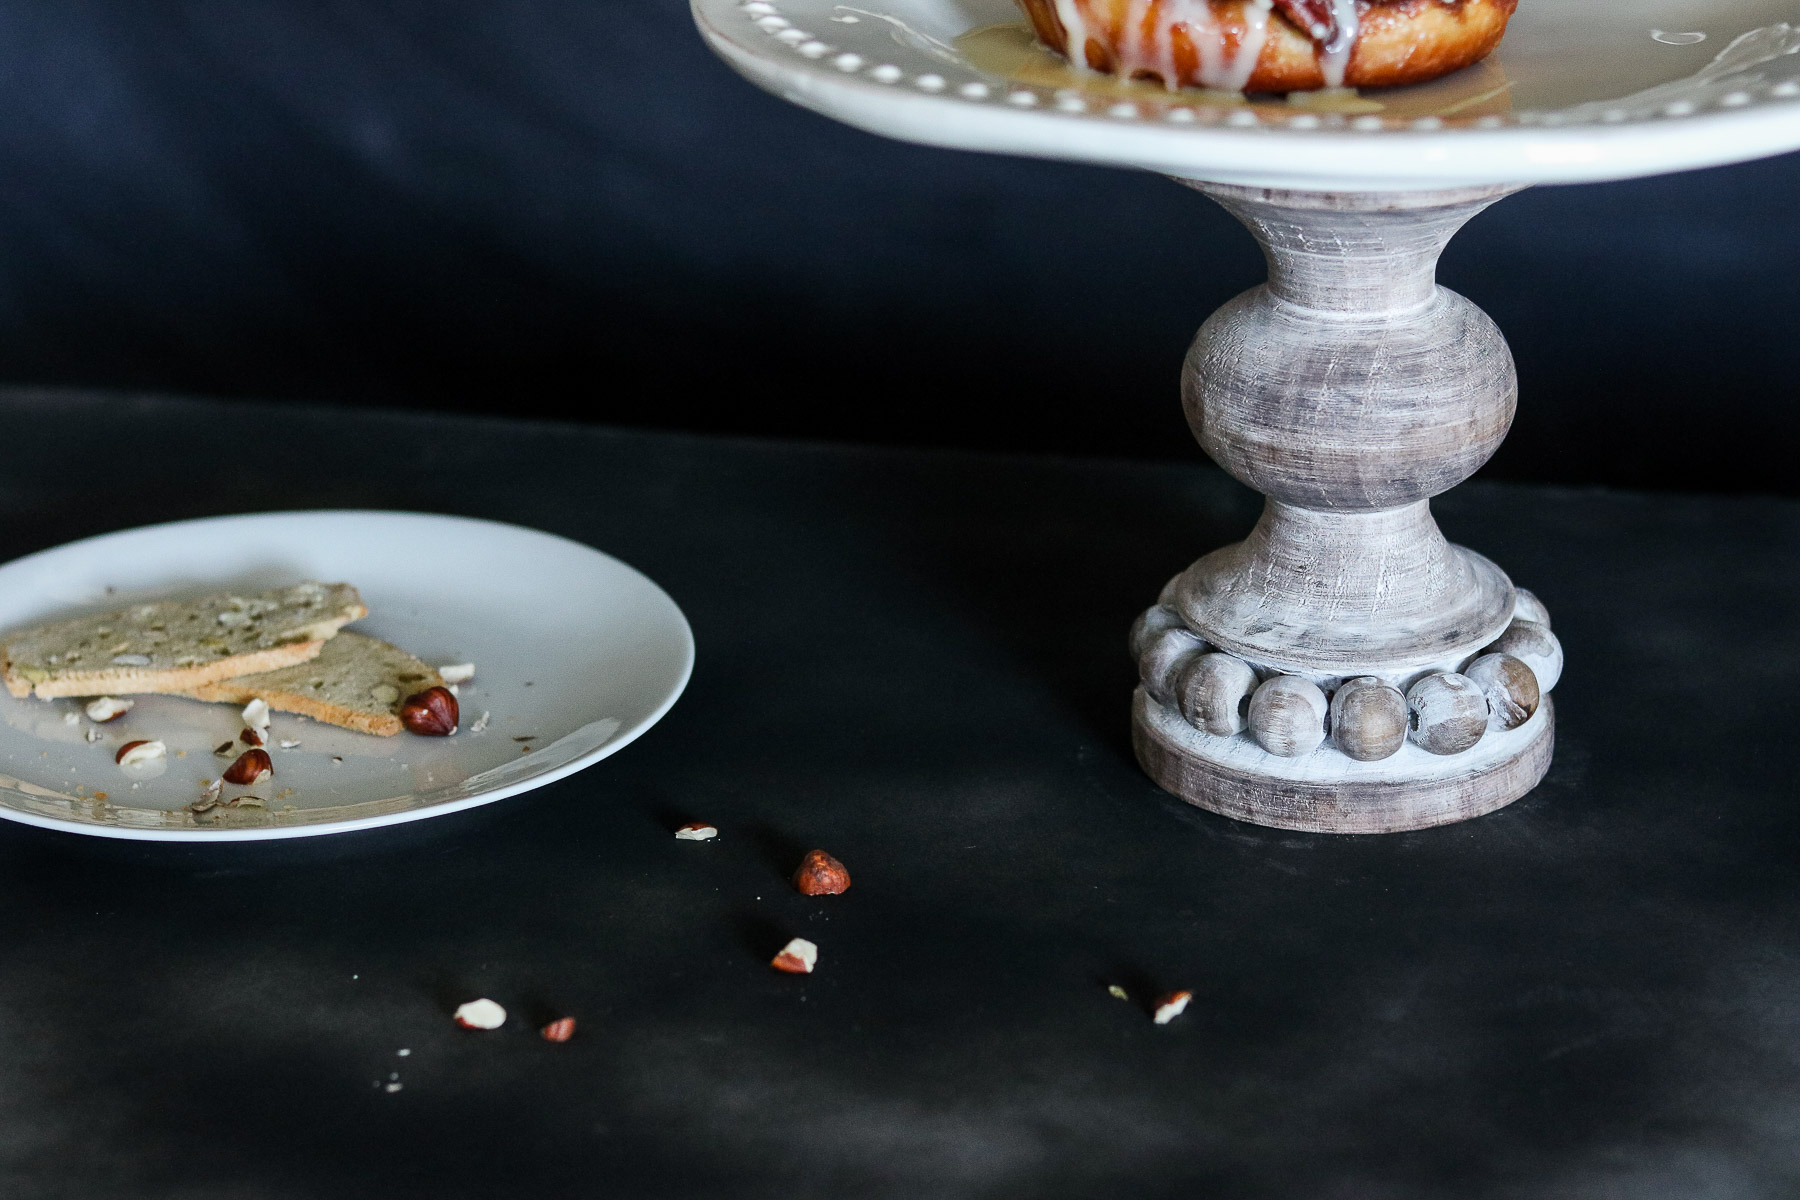

 That’s it for this DIY. I hope you like it. 😀 Have a great weekend and happy crafting everyone! 😀
Great job, once again, Lily! I’ve been following you for about 2 years now and you keep getting better and better. Keep creating!
AWE thank you so much Vicky. It means so much to hear this! 😀 😀
This is so cute. You have such a great eye for decor. It could go it’s practically any design style,even on my modern table. Keep up the good work lily ☮️
AWE thank you Angela. I’m am ssso delighted to hear you loved it! 😀 😀