DIY Herb Wall Planters
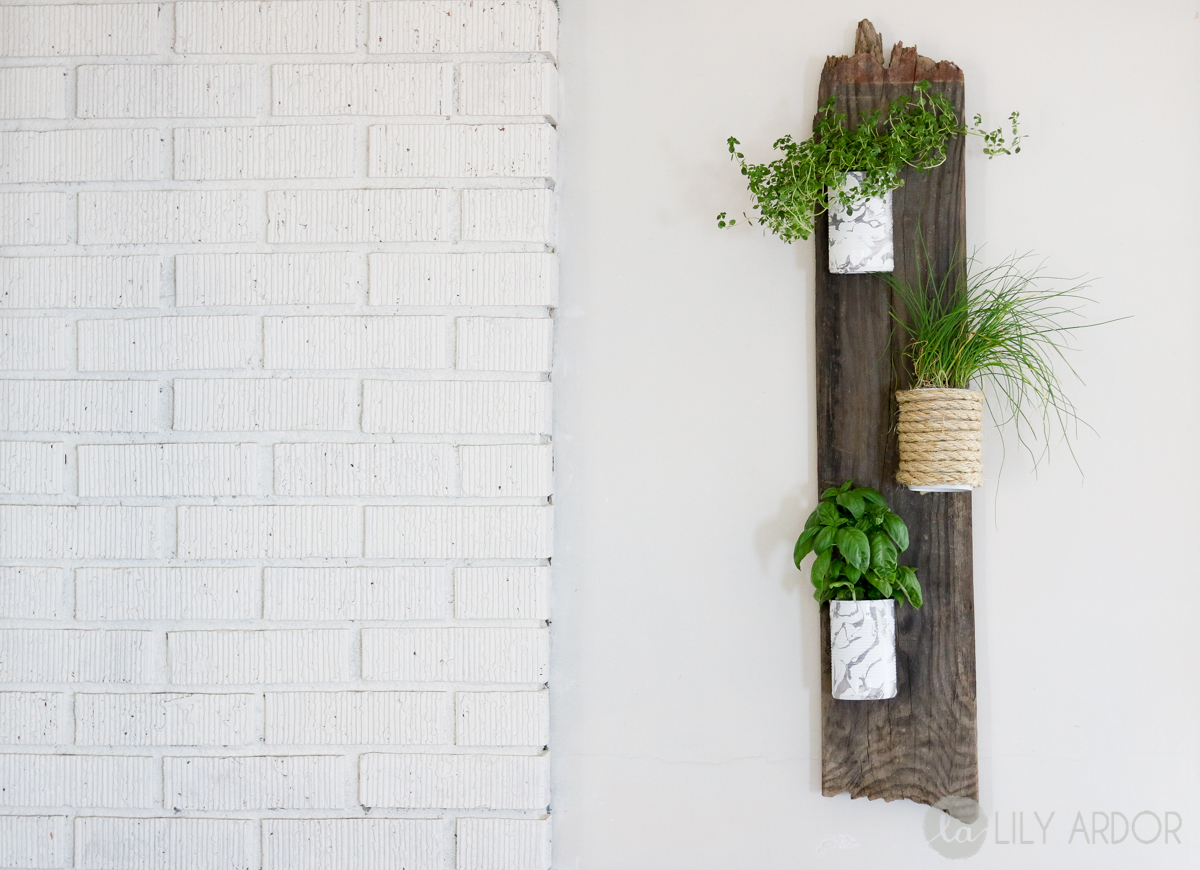
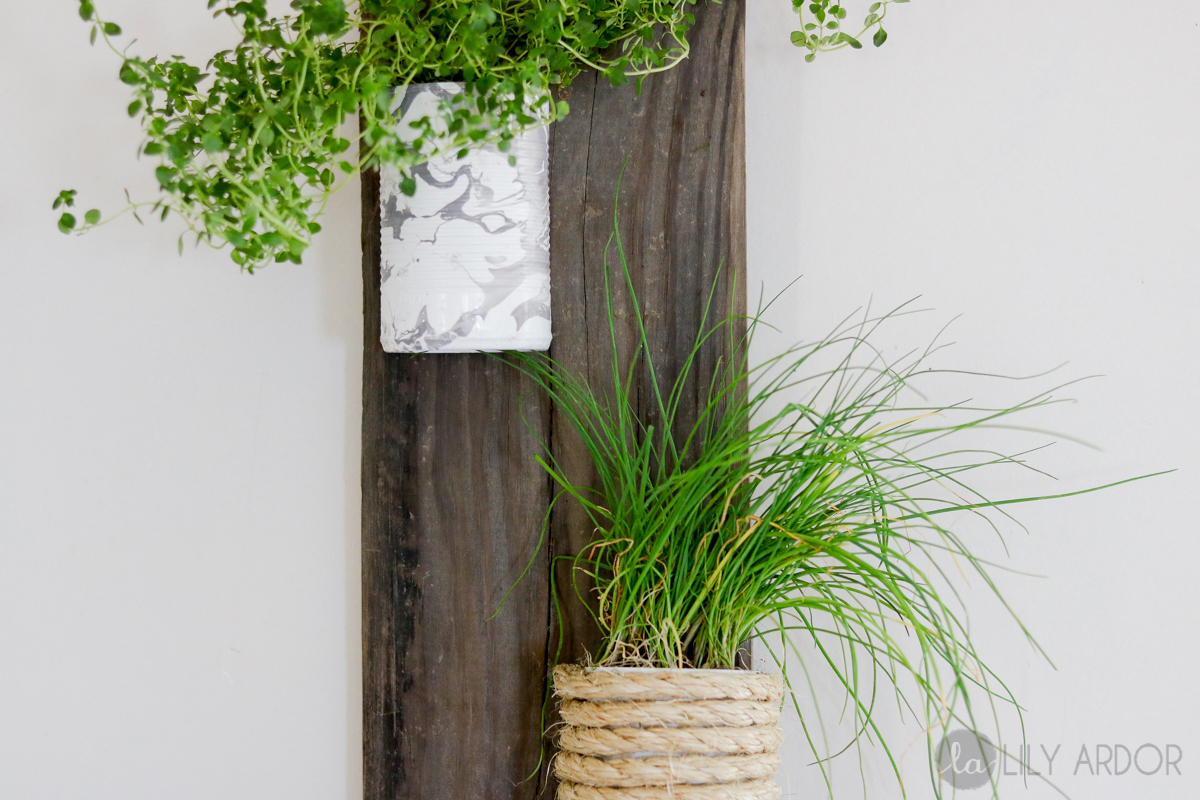
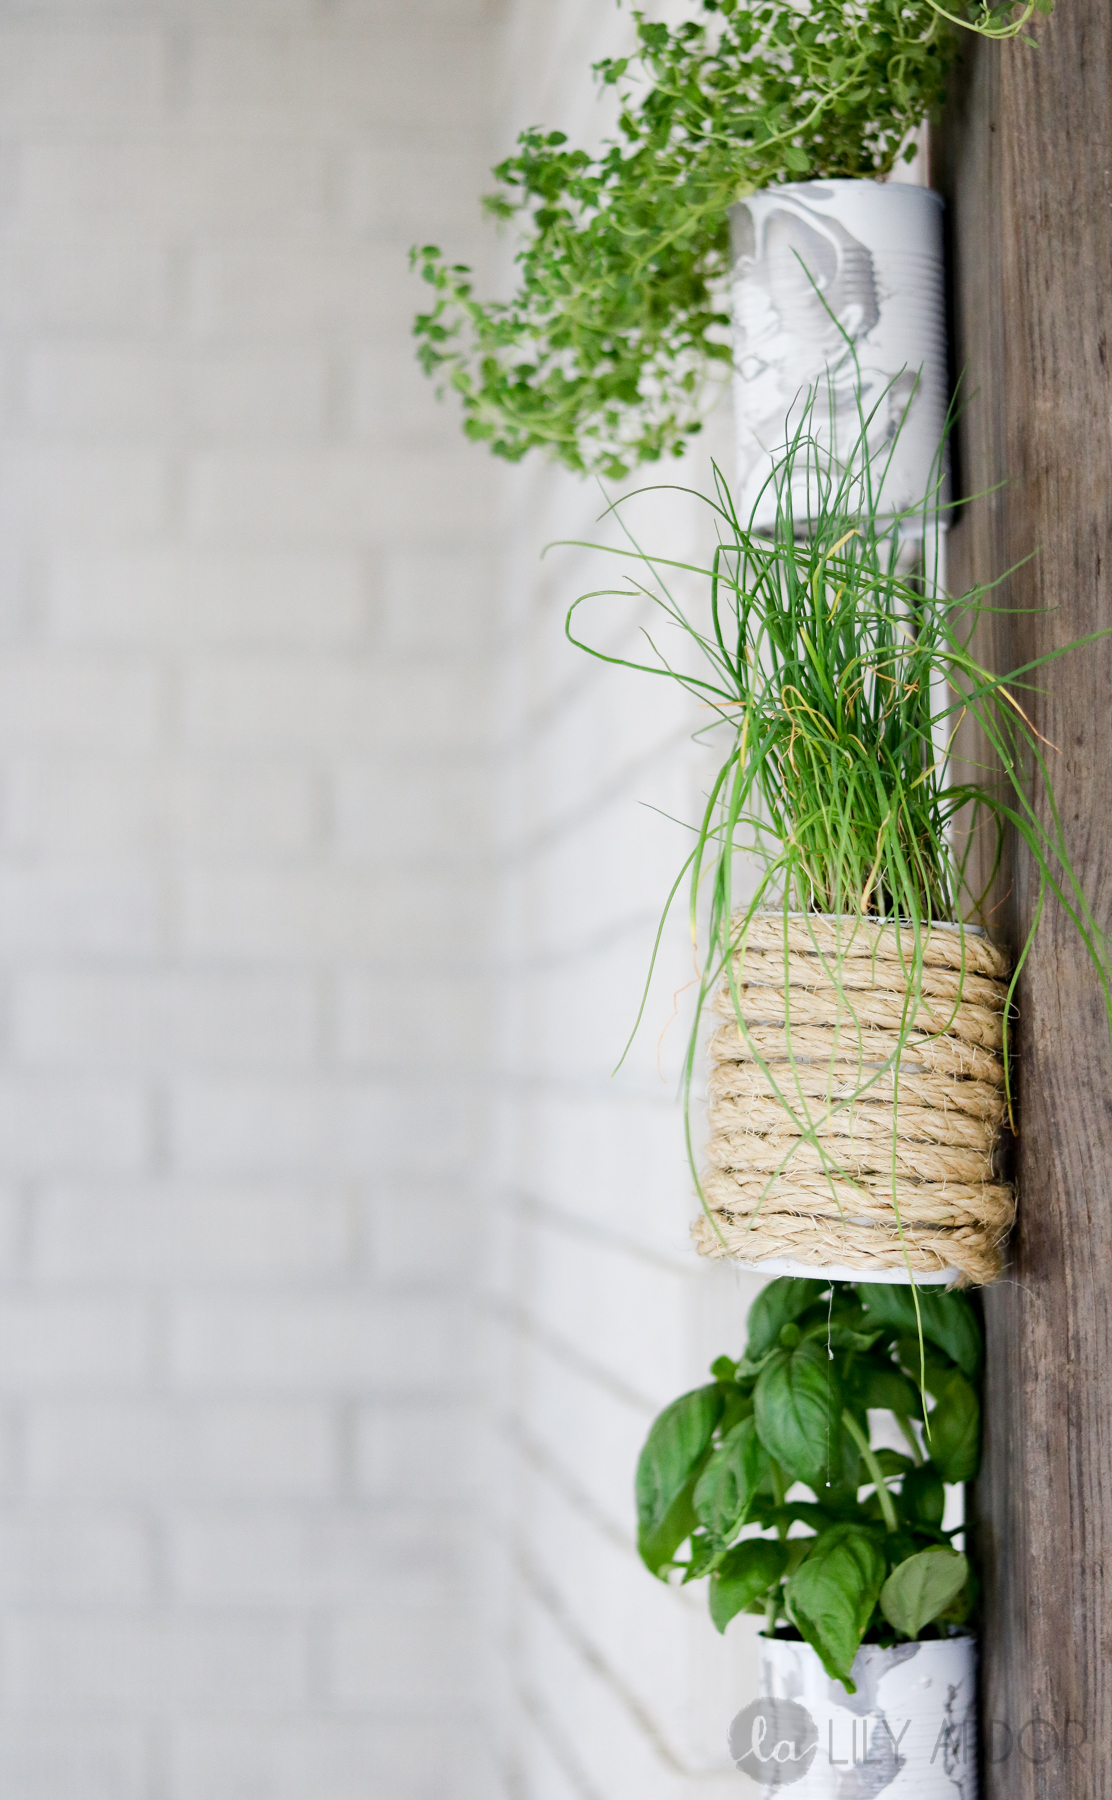
Oh boy I can’t wait to use some of these purdy herbs. 😀 Let me start of by saying 90% of this project is recycled materials. Tin cans, barn wood, and some paint is all you’ll need. The benefits of having a vertical herb garden is that it’s very space friendly. So.. if your living space is super compact this would work great in any kitchen. Fresh herbs to cook with everyday. YEY!!! 😀 Oh and the best part is.. it takes under an hour to make.
What you’ll need
- 3 Tin Cans
- 1 tub of water
- spray paint
- nail polish
- recycled wood
Rope Pot : optional
- hot glue
- rope
First Step:
I used regular 12-14 oz tin cans and spray painted them white.
Second Step:
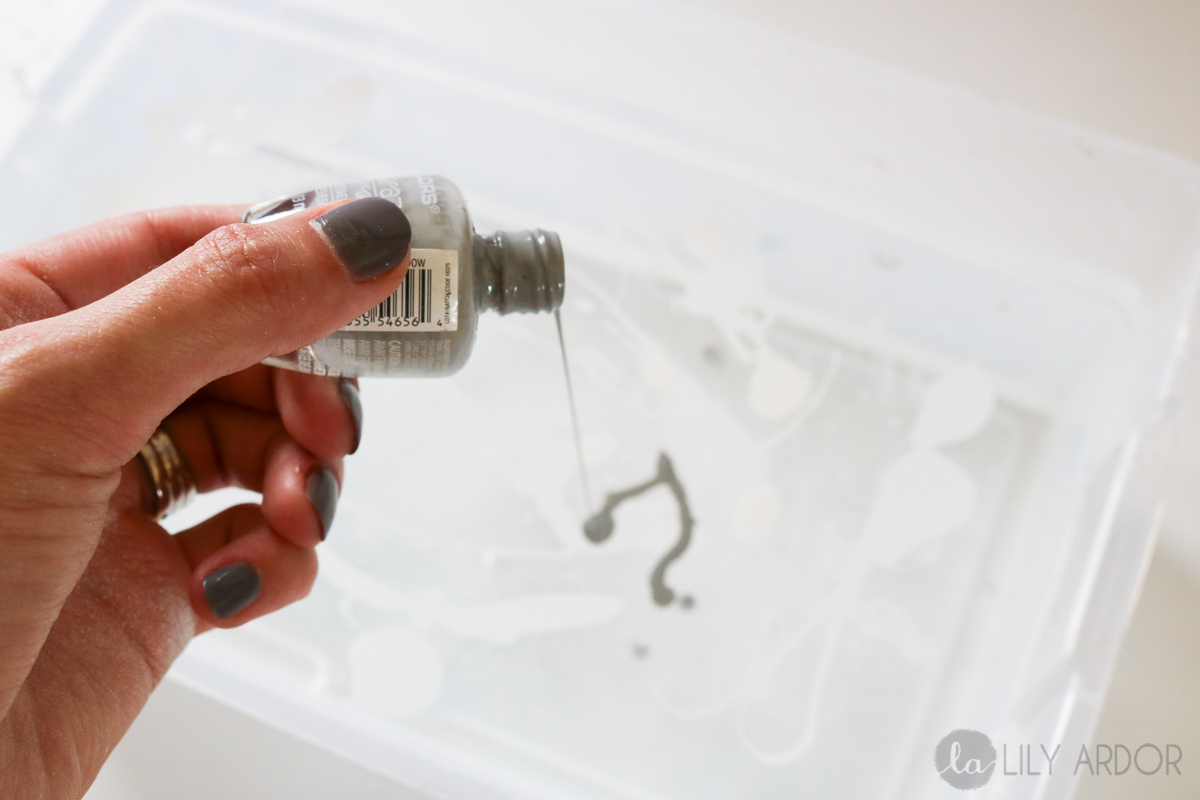
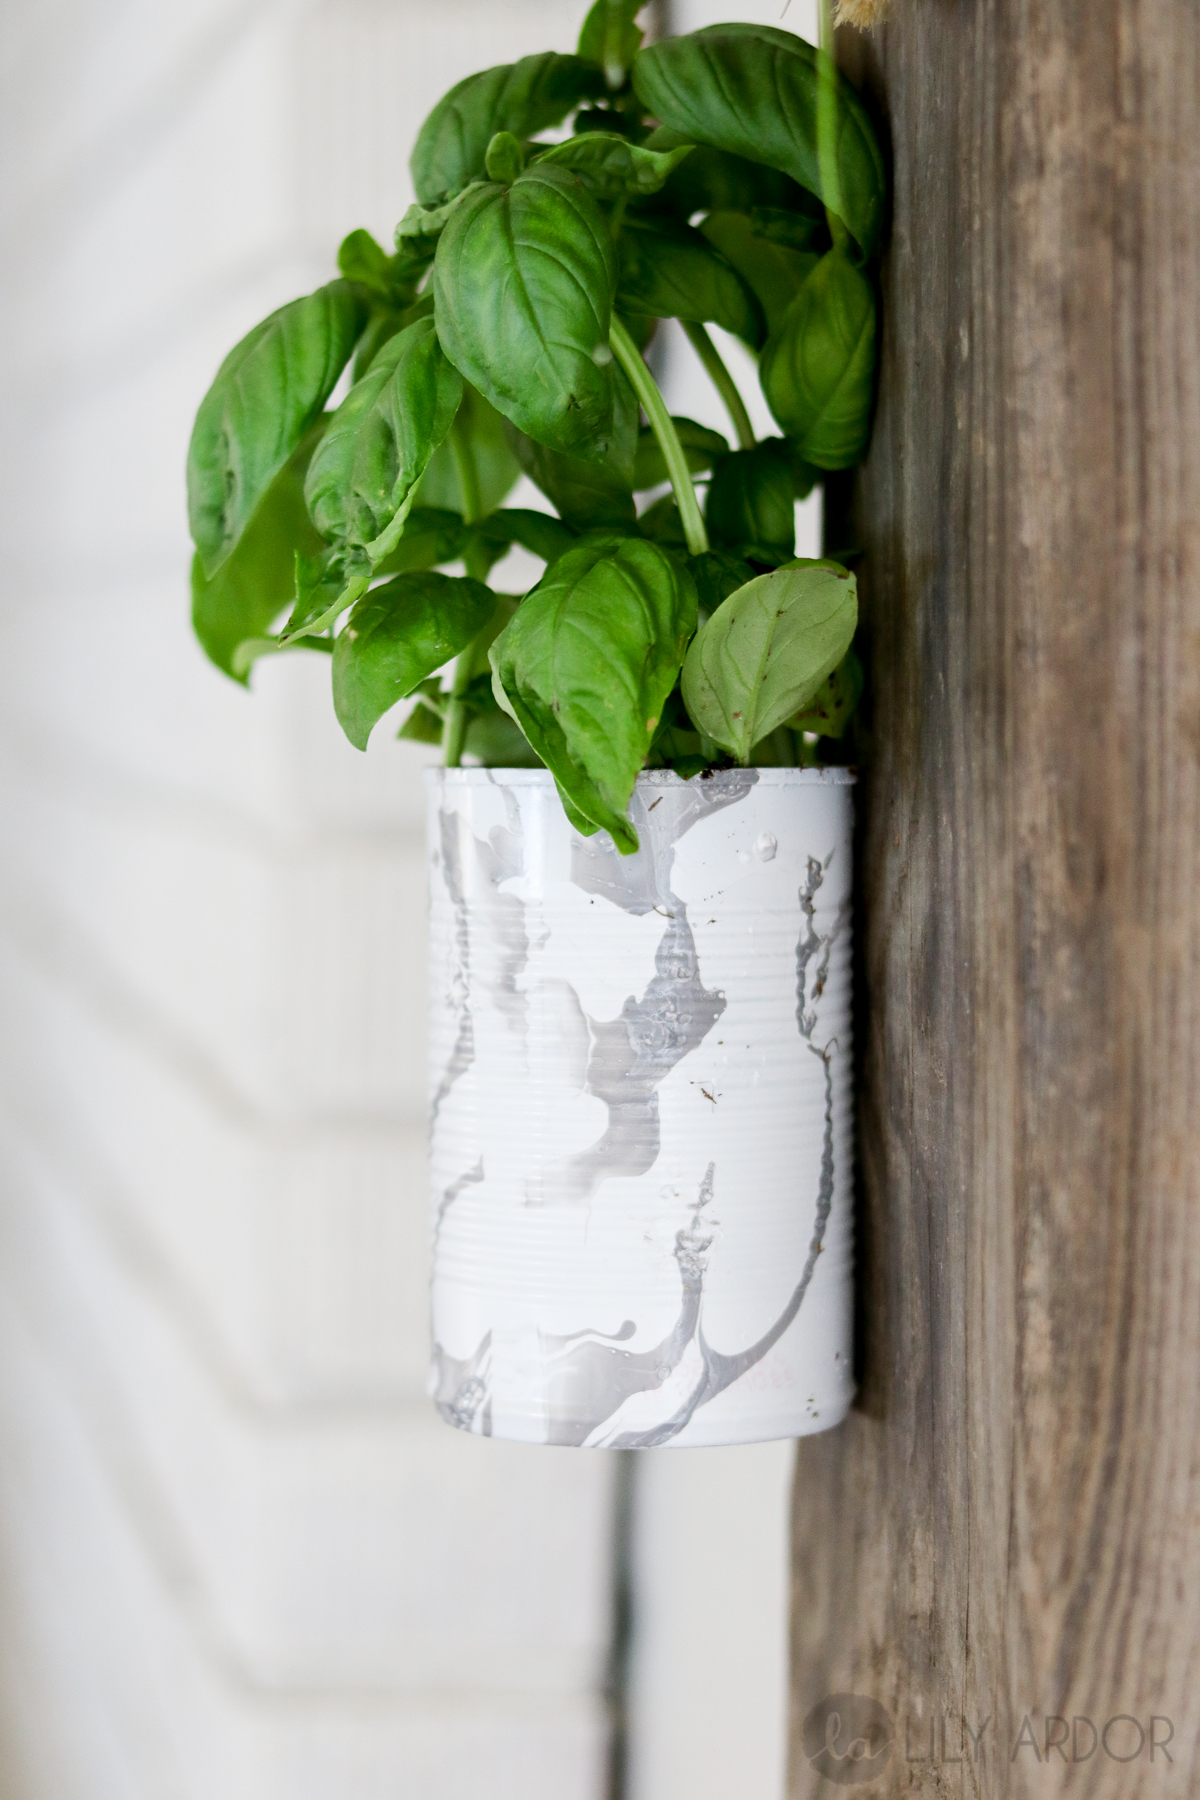
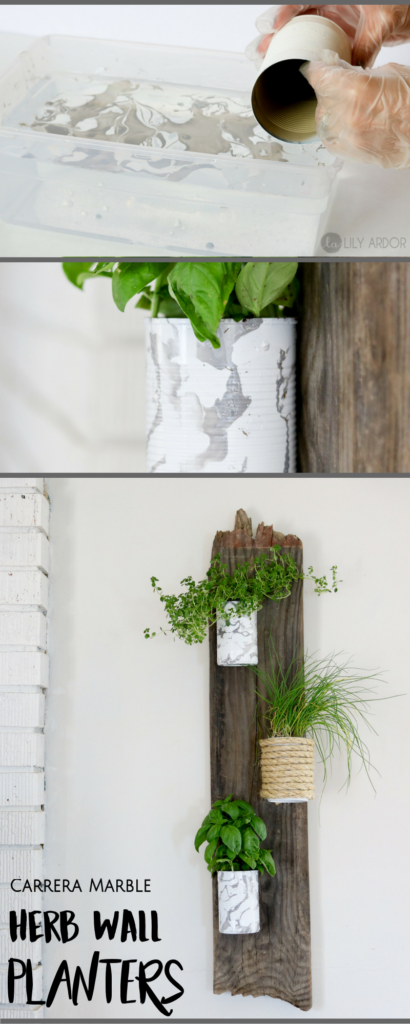
Then I used nail polish and poured some in the tub of water. Any nail polish will work as long as it’s runny. I got mine at the dollar store. Since I wanted to resemble carrera marble I used white and a little bit of light gray. I started off by pouring the white first then topped it off with a few gray stripes.
Third step:
This isn’t supposed to look perfect. The messier the better. Don’t forget to grab a fork (or toothpick) and mess it up a bit more.

Fourth Step:
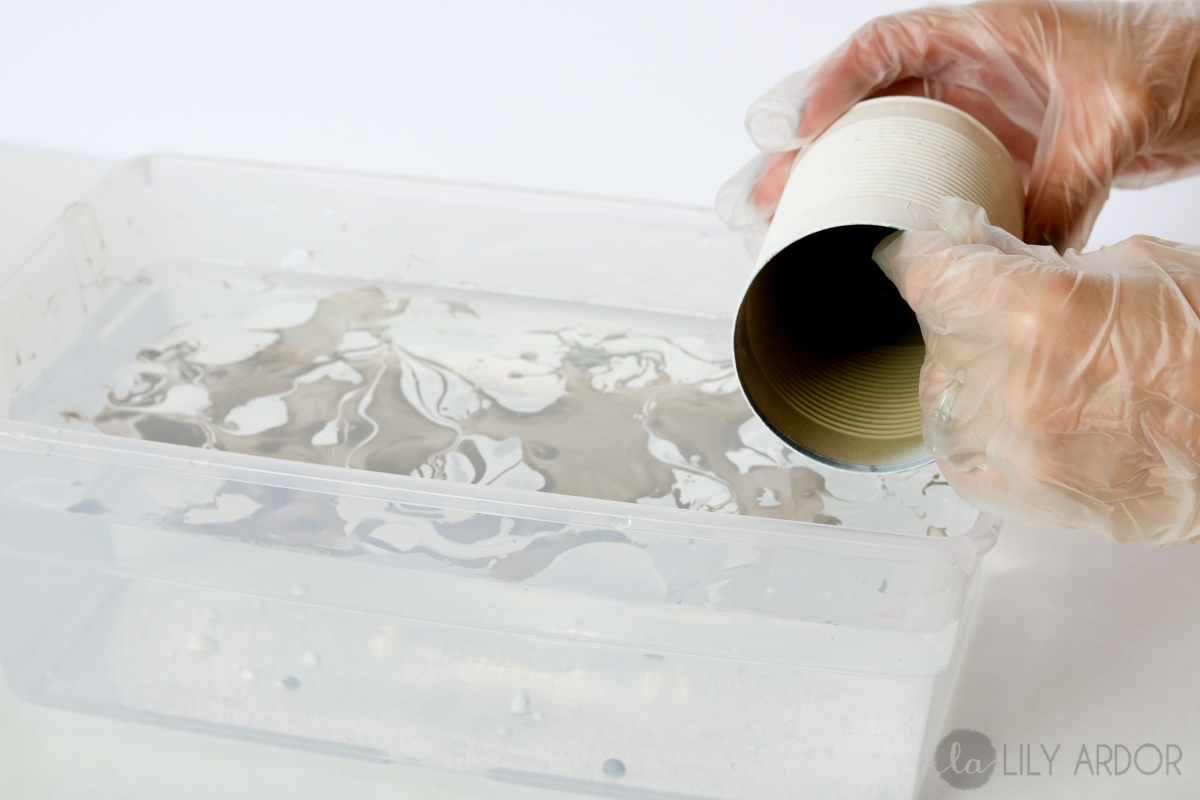
Then take your tin can and roll the nail polish right onto it.
It’s okay if you get water all over it. Just remember not to wipe the water off right away. Depending on how much nail polish you applied it may need up to 10 minutes to cure. Once the nail polish is dry then you can wipe off the water.
Rope pot:
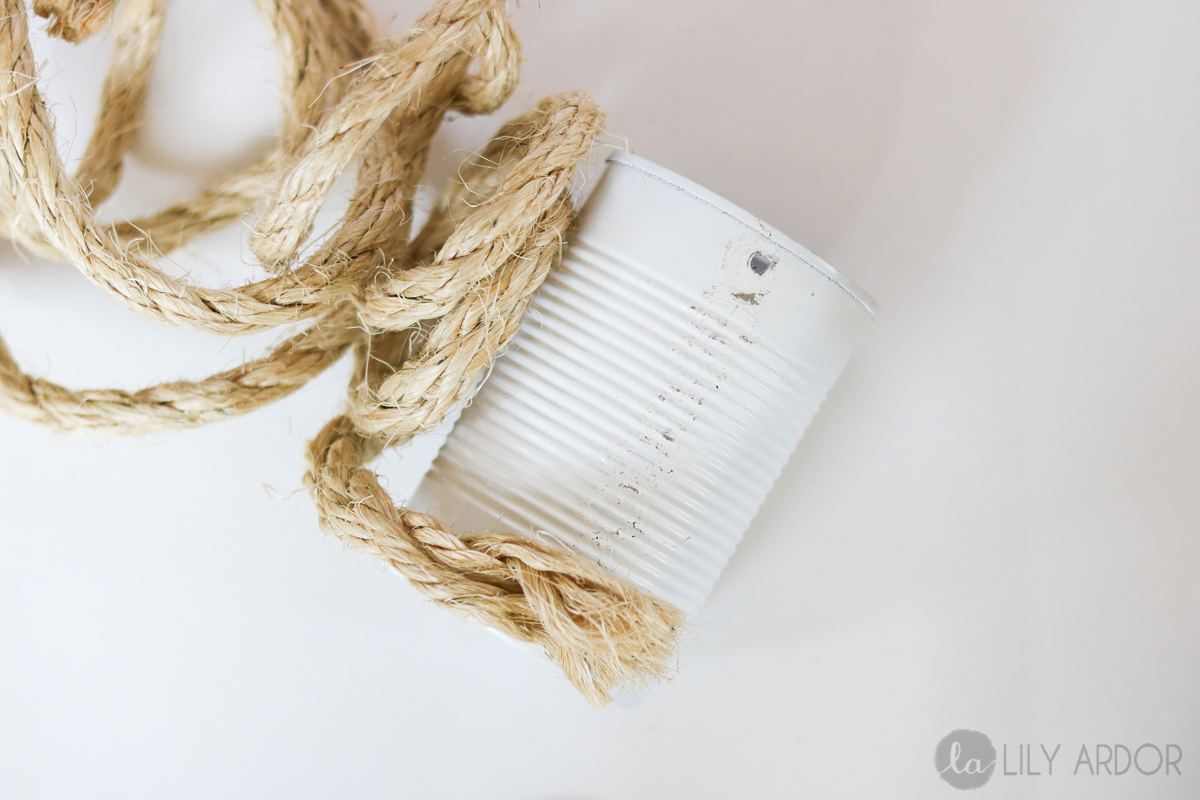
For my rope pot I used rope that I had purchased at the home depot. My rope was 3/4 inches in thickens and I purchased 7 feet of it.. It was about 2 inches to short but, it ended in the back so I was ok with that. 😀 (note to self.. Bring the can to home depot with me next time.. 😀 ) I started hot gluing my rope on the backside of the tin can and worked my way up. Then I simply secured it at the top and that’s it.
For the next step I drilled holes in my wood and tin cans. I secured the tin cans with some screws that I pulled through from the back of the board through the hole in the tin can and secured the tin can with a nut. Last but not least plant your favorite herbs. How easy was that? A few tips before I go… Keep in mind you can use different size tin cans. I love that they come in a bunch of different sizes. You can also secure your cans in a different pattern to fit more herbs. 😀 😀 I hope you guys liked this DIY! 😀 😀
Oh my gosh and here’s that pretty basil. It was quite a hassle to get a hold of. It took 4 different stores before I finally come across a store that wasn’t out of stock… Guess everyone loves cooking with basil for the fourth of July. hehe 😀 😀 (lol I totally just noticed the string of hotglue hanging off the rope pot..(pic above). 😀 AHH beauty of photography.. Don’t notice it until it’s to late!!! 😀 )
I love the combination of the rustic and marble.. This rope pot is definitely a keeper. 😀 😀
What combination of herbs would you plant?
Thanks for joining me today. Don’t forget to sign up for my newsletters here to make sure you don’t miss a DIY or scrumptious recipe. 😀
Don’t forget to pin this cute pinnable to your favorite board.






Wow Lily!!! This herb wall planter looks so beautiful!!! I am in love, pinning it to my Home Board! 🙂
Awe thanks girl. 😀 Glad you loved it. 😀
Hi, Lily! I am new to gardening, also cooking with herbs!
Do the plants drain in the tin cans? Will I drown them if I
water them too much? How can I tell? Will extra water make the tin cans rust? Thanks for your help! Bonnie
Hi Bonnie. The tin cans shouldn’t rust as much because there’s a plastic coating on the inside. If over watered yes they will most likely drown or get root rot. I put rocks on the bottom of mine but I am trying to be super careful with the watering and still it’s bugging me. I’ve never tried the rock method for drainage but I have heard a lot about it. I’ll let you know how they hold up.. I might just drill little drainage holes to be on the safer side. 😀 Also for this size plant/herb I do about 1/4 cup water once a week. Seems to do ok.
You didn’t drill hole in bottom of can, correct? Wondering how or if these hens need any drainage? Beautiful project!
Yes there is no holes on the bottom. I used rocks for now. I might add some though. 😀 Thank You Stephanie. 😀
Love this idea! Just need to find the right piece of wood and I’ll have one of these soon.
I am so glad you loved this idea. Oh how exciting. 😀 You can do this girl!! 😀
Love love love this!!! I can’t wait to try this. I love cooking with fresh herbs and this will be beautiful in my kitchen also. A win win!! Thanks 🙂
Makes my day to hear you loved this ssso much. 😀 😀 I just got to use my herbs last night for tacos and I gotta tell you it sure makes a difference. It’s a very rewarding DIY. 😀 I’m so glad you liked it.
Awesome Job! Will try this. Love both, but the marble is my favorite. Thanksv4 sharing.
Thank you so much Sheryl.. 😀 I am glad to hear you liked this DIY. 😀 I agree I’m in love with the marble. 😀
Great imagination!! This little bit of rustic board works in any decor, although there are many other backboards you could use with the help of an electric drill for the screw holes. Thank you for the delightful idea 😄
Awe Thank you Janis for your kind words. 😀 Yes I love that this decor idea is versatile.
I just love this, but how do you water the plants? Do you put drain holes in bottom?
Why Thank you Julie. I do not have drainage holes on the bottom. I am considering it though.lol For now I only have rocks on the bottom for drainage.
“I LOVE THIS” I have a hard time finding things in the accent color of my kitchen.
I have seen nail polish in my color so I will use it. It will still be marbled but in my special color!
THANK YOU!!!!!!
Thank you Catherine. So glad to hear you loved it. Curious to hear what color is your kitchen? Sounds like a lovely idea. 😀
Beautiful solution for herbs outside eaten by our wildlife…(don’t mind sharing…but….)! Do you think a lid (like the kind on some Spaghetti Sauces in jars would work for drainage?? Could drill hole in bottom, add gravel for drainage…and attach lid (clear silicone caulk or Go2Glue??)
Love the nail polish use…very clever!
Hi Jan , So nice of you to share. I’m glad you like it. 😀 I’m sure that would work. I was thinking to just drill holes in mine if the plants weren’t holding up well without drainage but I never thought to put a lid below it. Sounds like a great idea. Let me know how it works out . 😀
I’m going to try this great idea, using 3 lb coffee cans, and will fix wire or rope to hang them on my balcony with ivy or other outdoor plants!
Oh wow that sounds so lovely. I’m so excited for you 😀 Never would have thought to use coffee cans. So creative!! 😀
This is such a cute idea and seems easy enough for even me. I am not a DIY person as a rule but must try this. Thanks for your time and idea that you shared.
Hi Jean. OH I’m so glad to hear that. DIY’s or so exciting once you get into it. Almost addicting. hehe 😀 Thank you so much for your kind words. 😀
I was wondering if you sealed the screw holes with silicone so that moisture won’t leak out of the cans. After reading questions about drainage holes I’ve decided to use larger cans that will hold the plastic pot that the herbs come in and put pebbles in the bottom for drainage. That way I can just drop the pot in and remove it when ever I need to. Can’t wait to try this!
Hi Judy. No I don’t have screw holes yet just rocks for now. 😀 I love your Idea. 😀 So exciting. 😀
I love this idea! It seems easy to do and it’s absolutely gorgeous!
Awe Thank you Sally. So glad to hear you loved it 😀
I was referring to the screws that secure the cans to the barn board. Do those need to be sealed to prevent moisture from leaking out.
Oh my apologies. I didn’t seal mine. Doesn’t seem to leak. 😀
Love this. Great idea for homemade Christmas Gifts for my female members of my family. I have and old picket fence that I just took down and made wall hangings/headboard and foot board and was wondering what to do with the rest of the fence. Problem solved.
Oh Yes this would make awesome Christmas gifts. I love recycling projects. Sounds so fun. 😀
I love love love this ! How convenient too that I just saved 2 tin cans to plant some herbs! Would try this out sometime. 😊
OH I’m so so glad to hear you love this!! That’s awesome, get some good use out of those tin cans!! 😀
Hey, I have a quick question for you. Is there a particular brand of drill driver you prefer? Dewalt seems pretty good. Or would I do just as well saving some money on a Ryobi? I’ve been using an old corded drill for years and I’m planning to upgrade to Lithium Ion. Thank you very much! 🙂
Hi, I honestly love my roybi drill and htink it works just as good as dewalt. 🙂 YES love the Litium Ion 😀