How to Quickly Hem Sleeves in a Shirt
Here’s a cool fact! With clothing alterations there’s a few techniques you stick to that kind of stay the same. For instance you’ll always line up the side seams when shortening something whether it’s a dress, shirt, sleeves or pants. This goes the same for most factory made clothing. However their are fabrics that are just bazaar or clothing that’s patterned weirdly and this won’t work on but, overall you’ll start to notice a pattern emerging once you’re done with this series of DIY clothing fixes.
Hem
{hem} verb
to turn under and sew the edge of (a piece of cloth or clothing).
In other words to shorten something.
Here’s a weird fact. 😄 We’re gonna be all about facts today. When I went to sewing school I was taught in a different language so, I always referred to hemming as shortening when I spoke English. Not that that’s wrong I just didn’t know there’s a prettier choice of vocabulary in the seamstress world. I learned what hem meant once I became a professional seamstress. Better terminology to better serve my customers. There’s a reason they have their own language you know. It eliminates confusion and helped me understand what my customer wanted so much easier. Believe it or not most customers that come in for clothing alterations know all these fancy words. LOL Maybe I’m the only one that’s this behind. Anyways if you didn’t really know what hem meant. Now you know 😉. If you already know this than I’m sorry to have wasted your time. Okay let’s shorten some sleeves.
Before we jump into this tutorial. If you want to learn more about sewing this is a 5 part series where I teach you the most basic clothing alterations coming from a professional seamstress. Here’s what else goes in this series.
.
.
.
.
Here’s the quick 7 minute video to teach you all five
BEFORE
Ok so I’m definitely a loose clothing kinda girl. You’ll probably find me wearing pjs and a t-shirt on an everyday basis. I’m working on changing that. It’s a work in progress🙃. When I came across this top I couldn’t help but get it because #1 it’s loose fitting and #2 It’s kinda cute! My normal loose clothing isn’t really cute. 🙈I’m talking I wear my hubbies t-shirts… YES I know shame on me! 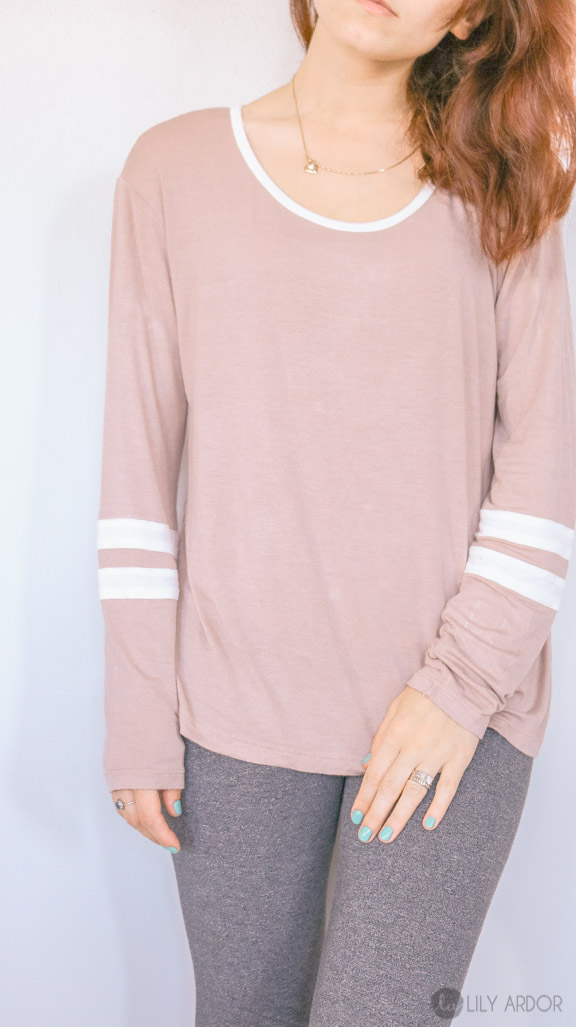
I normally wear my sleeves a little rolled up but these just seemed too long and kept sliding off to often. SO…, CLOTHING ALTERATIONS HERE WE GO!
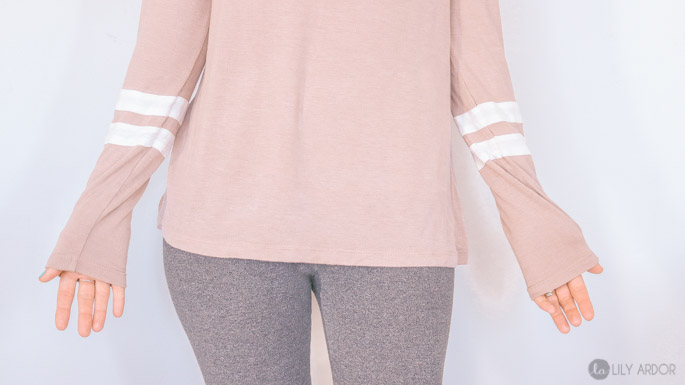
What You’ll Need
- Scissors
- Shirt
- ruler
- Chalk
- Thread
- Sewing Machine (nothing special just a straight stitcher)
Step 1 – What’s the right length for sleeves + Proper Fitting !
Okay so there’s no standard for how long sleeves should be. However most people like there long sleeves to slightly hit about 3/4″ inch below your wrist. To get your shirt fitted you’ll need to fold in however much you need hemmed and add a pin.
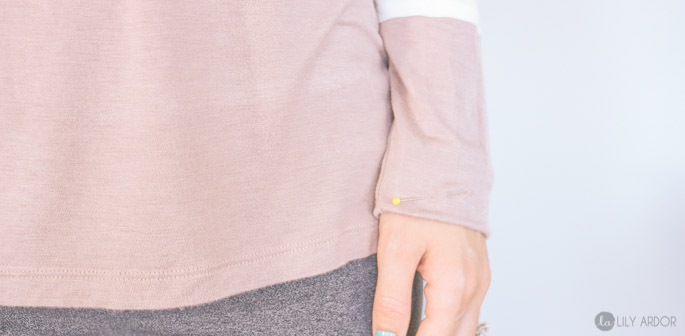
Step 2 – Marking and Cutting
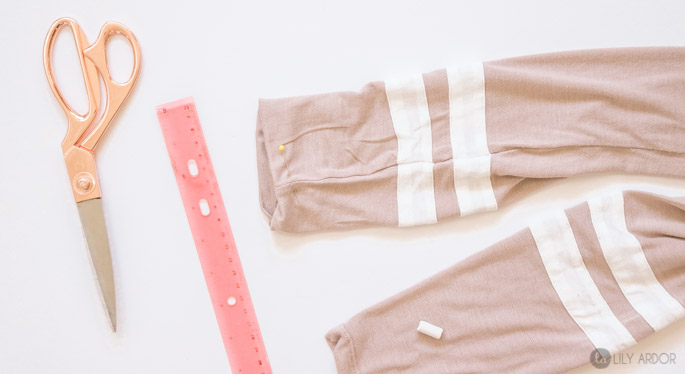
Following that you’ll need to mark your length. 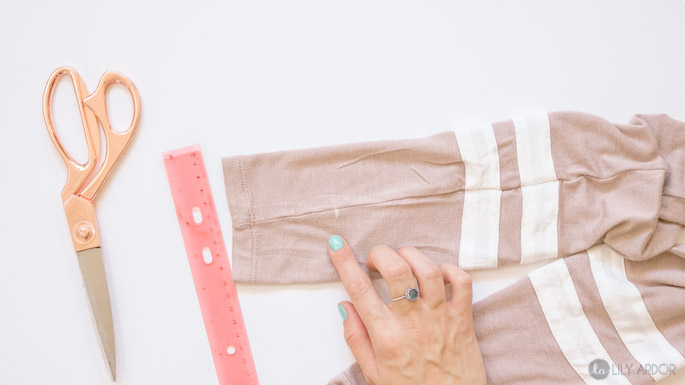
Step 3 – LAY IT OUT RIGHT!
Before getting ready to cut into your sleeves align your seams. (photo below)
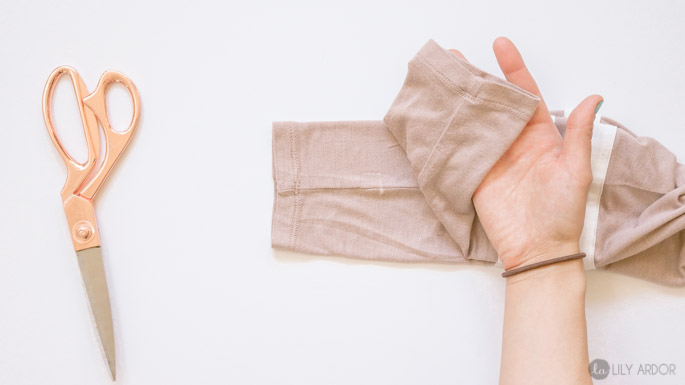
Step 4 – Leaving a Seam Allowance!
Okay to match the original hem on your sleeves you’ll need to measure and add the same seam allowance. My original hem width was about 3/4″ (I’m pointing at it in the photo below) so I added 3/4″ after my first chalk marking.
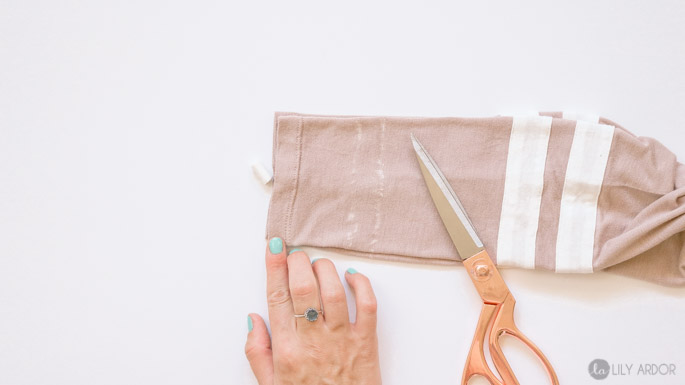
Step 5 – Finishing it off!
For your last step cut and hem your sleeves. Cut them both at the same time. You can do a zigzag stitch on the edges before folding in and giving your hem a straight stitch. ( watch the video for reference )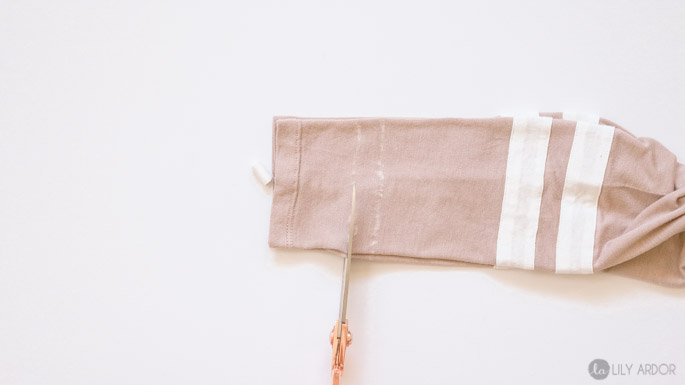
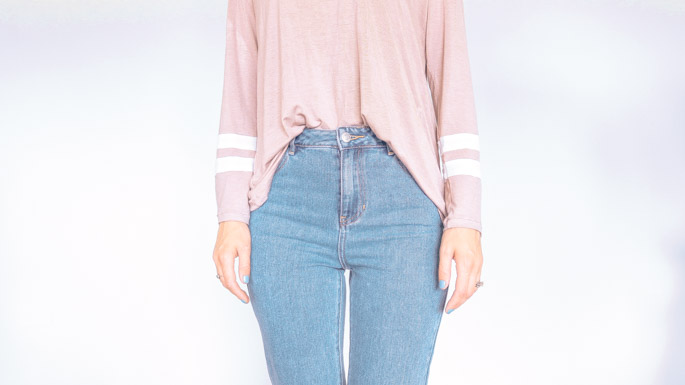
Okay here’s what it looks like done. YES😬 I put on this outfit just to take some pics! Okay so at first I was in love with this outfit but, than Oleg came home from school during my photo shoot and gave my outfit a thumb sideways.. HAHA😅 He usually does that when he doesn’t want to be rude. OOOH and I got these pants from Pacsun Clothing a while back. (two years ago) They’re called mom jeans and I fell in love with them instantly! LOL It might have something to do with the fact that they were modeled by the kardashian girls. The pants looked so hot on them😍.
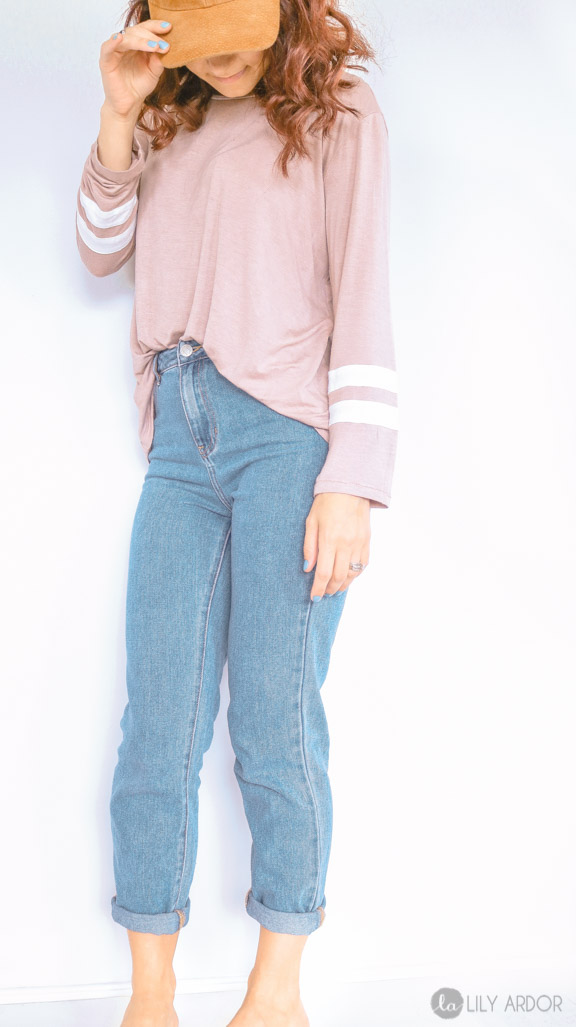
He said my outfit looks better with my shirt out. 😏 Now I have mixed feelings about this. UMMM I look kind of wide like this! It’s probably the camera putting on a few!
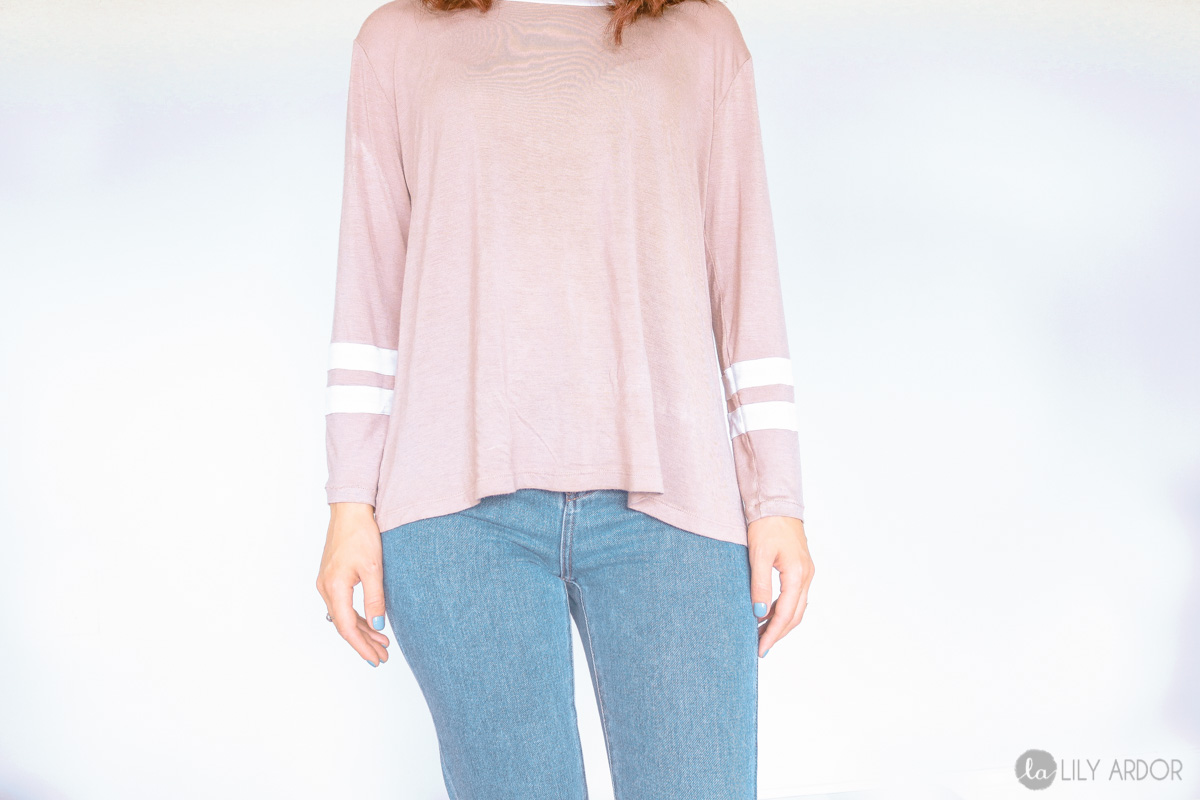
I hope this was helpful. Let me know if you have any questions! 🙂 Happy crafting!
If you want to learn more about sewing this is a 5 part series where I teach you the most basic clothing alterations coming from a professional seamstress. Here’s what else goes in this series.
.
.
.
.
