Mother’s day gift Ideas
As promised I mentioned I would be bringing you 5 awesome mother’s day gift ideas. This gift is quite special. I made a similar one last year for my mom and everyone was in love with the idea. Honestly I’m in love with the idea my self and I love taking old ideas and turning them into something new. That’s how I came up with this gift.
The idea of making inverted string art was on my mind for quite a while but, I still wanted to have the option of displaying photos on it. That’s why i love this gift idea so much!! You can display your photos or not depending on what type of gift you want to give. I think it’s still just as thoughtful without the photos and would make beautiful meaningful wall art!
Okay let’s do this!
You won’t need much to make this gift. I ended up using some recycled wood and only had to buy the nails since I had everything else. Yes the wood looks a bit rough around the edges but, in the end most of it was covered and I love the rustic look it has.
- Yarn
- Nails
- Hammer
- Wood
- Printables
- Wallet size photos prints

To begin tape your letters and make sure they are centered on your wood.
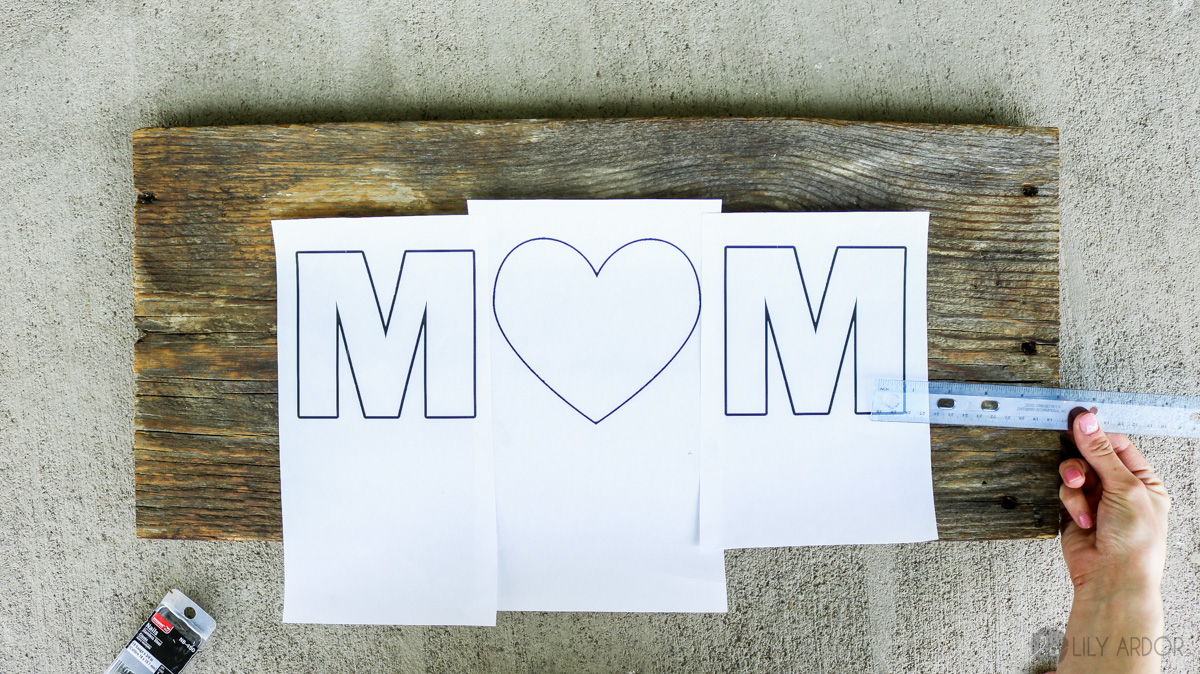
For your nails you can either us long nails or do shorter nails. If you’re using longer nails make sure you have a hard surface to lay it on (like concrete) while nailing the nails in. This method will have keep your nails all at the same height. Honestly though, I found it easier to use smaller nails and nail them in approximately at the same height. Plus you don’t have anything sharp sticking out from the back like when using the longer nails. NOTE: Make sure your nails have round heads or some kind of a head. This will keep the yarn from slipping. 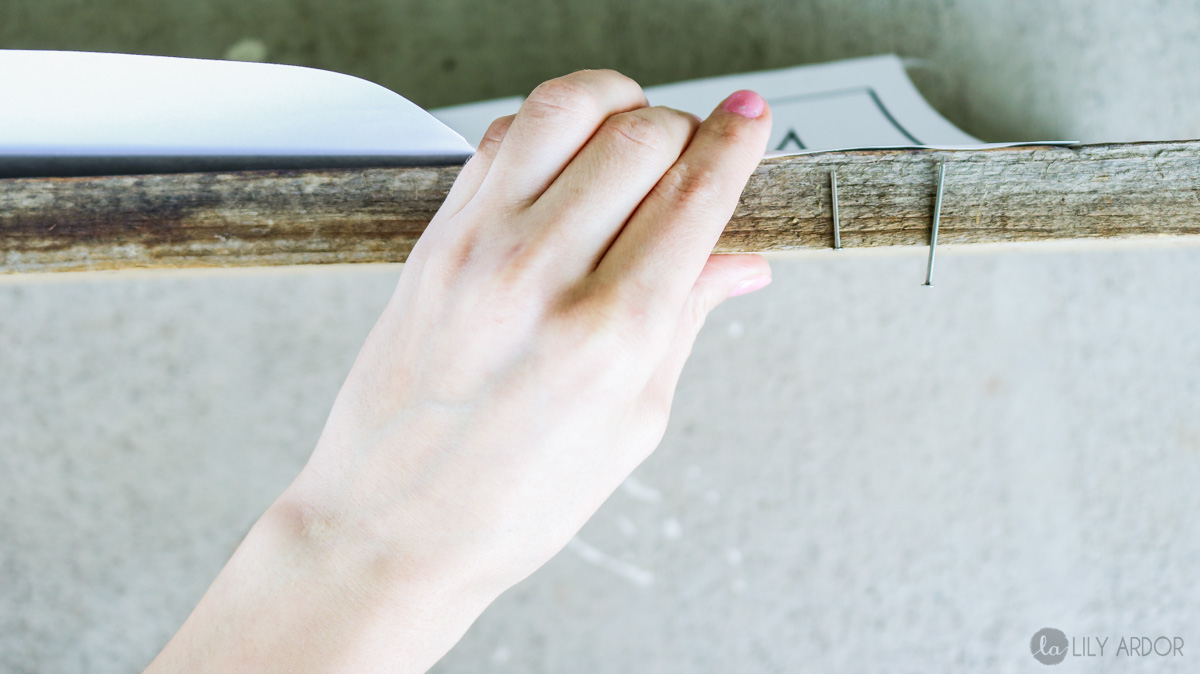 Out line each letter with your nails. For my letter M I try and do the nails off set at the inner corners. It’s easier to nail them in as well as helps with the threading afterwards.

Once you’ve outlined your letters simply pull off your paper.

Since I was making this an inverted piece of string art I added nails all along the edges of my art. You don’t have to measure the distance between each nail. As long as they look about the same it’ll work. I made my nails about 1/2″ apart on the letters and about 1″ apart all along the edges of the sign. Once you’re done with all your nails, start by tying your yarn at one end and outlining your shapes.

Outlining your letters and the edge of your sign will keep the confusion at bay. Once your done outlining everything start filling in your empty spaces. The trick to getting even coverage is keeping the threading process as messy as possible. If you stick to a pattern you’ll have a bunch of yarn in spots and it won’t look even at the end.
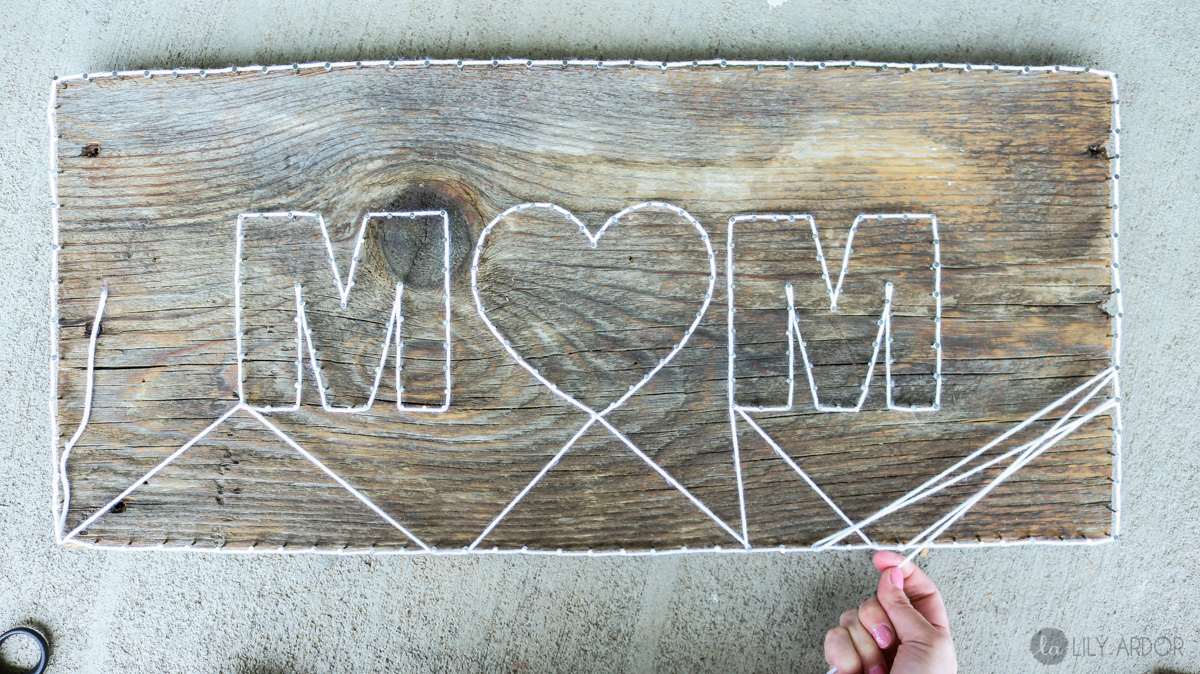
I find it works best if you do a little bit of pattern just for coverage (like show below) then do a super messy application of yarn on top. Once I’m about complete I usually squint my eyes to see if there are any gaps that stick out more then my letters. Then I break up those bald spots and sometimes even go all the way across my sign to break up those spots. Then to complete my string art I once again outline all of my letters and edges. This will give it a cleaner look. And that’s it!

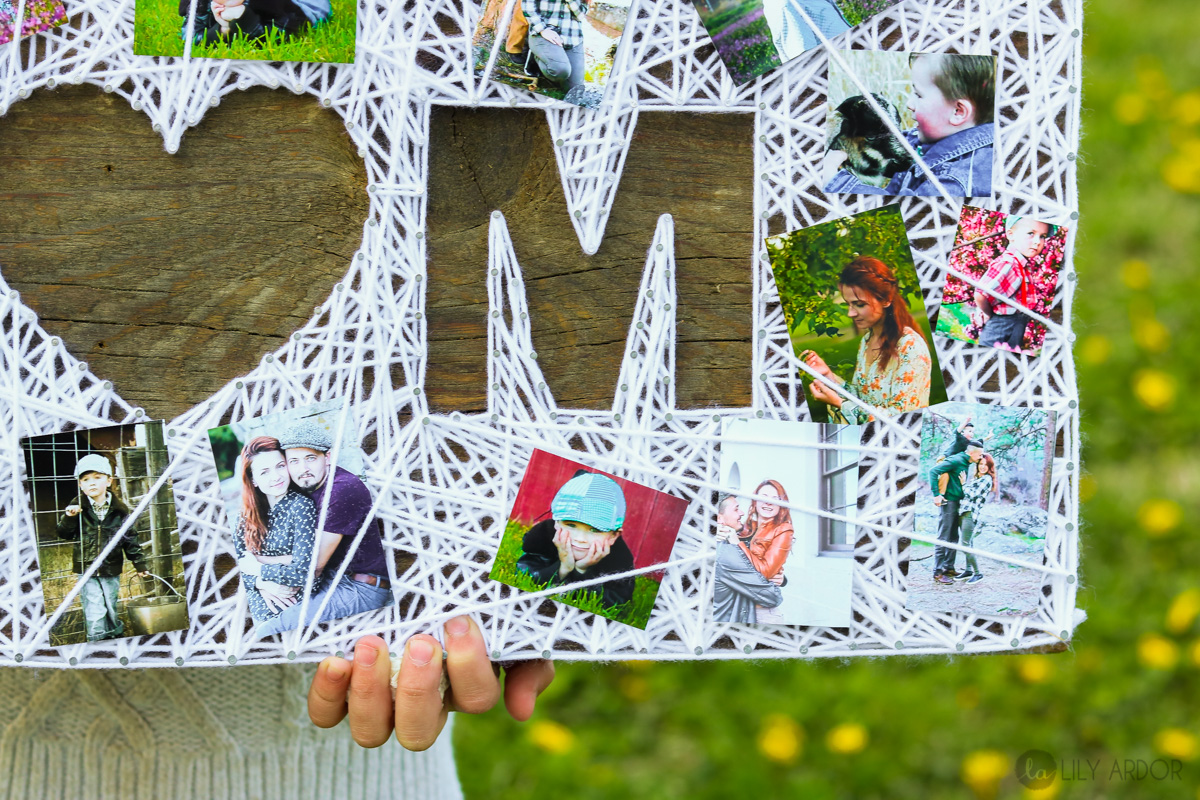
To display your photos you can stick them between your yarn. It’s holds them in place perfectly!
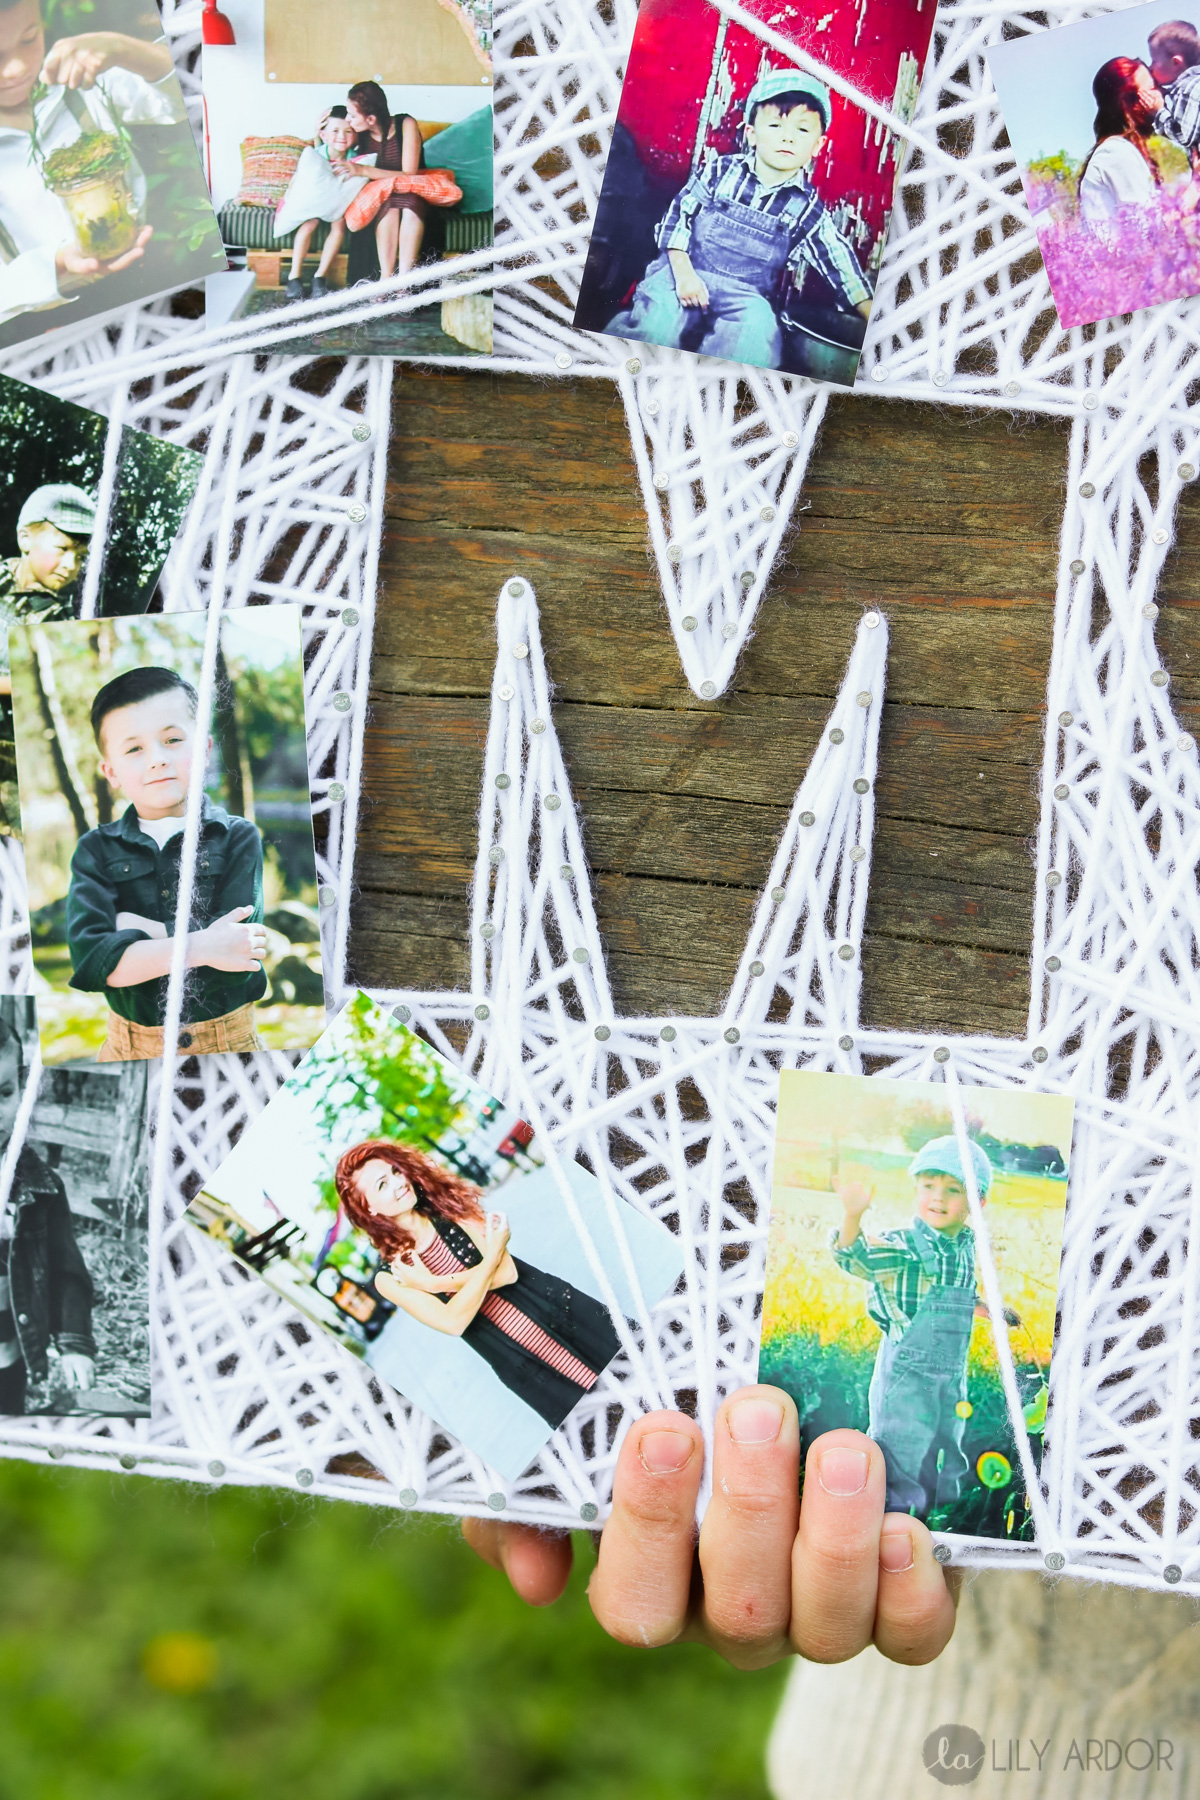
Isn’t it beautiful? 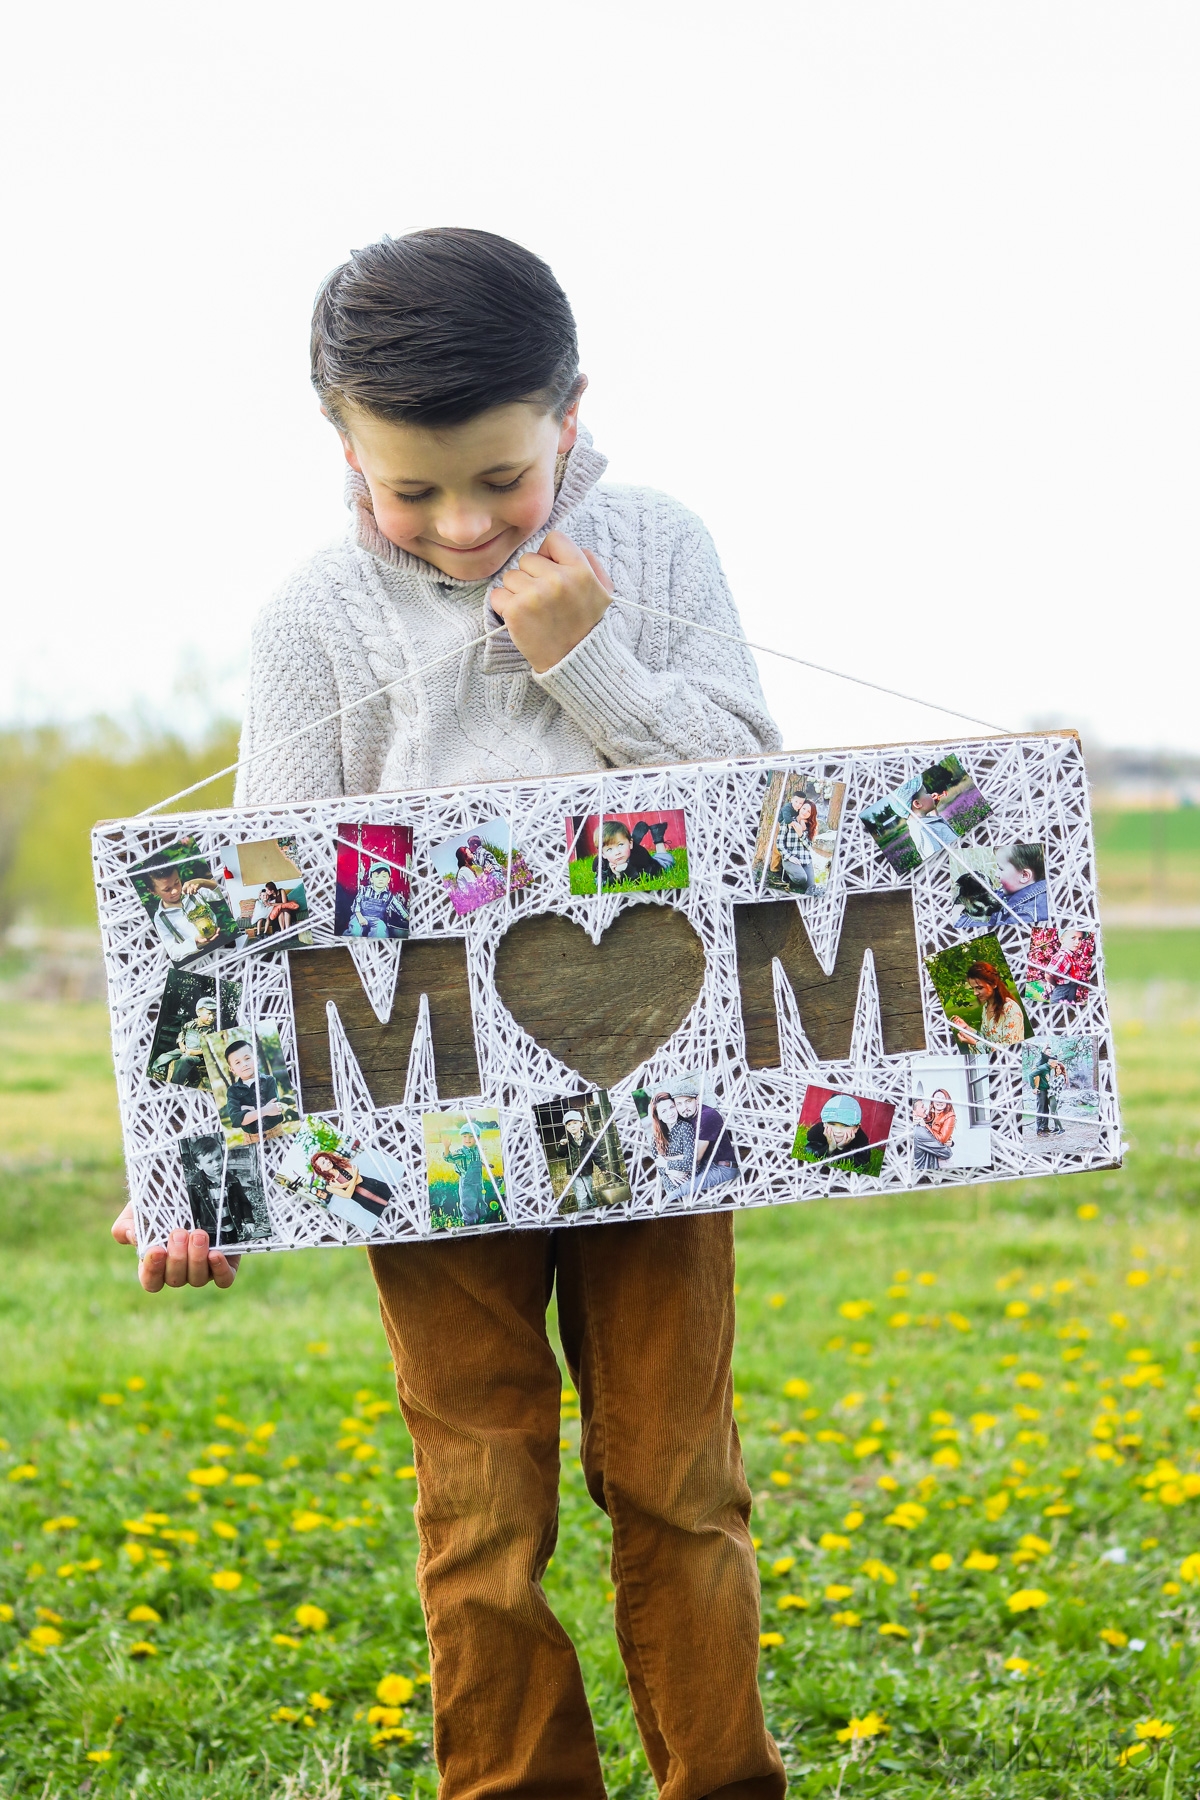
Can you tell we had fun goofing off during this photo session! HAHA 😂
 Here’s one of Oleg posing like he’s running away!! (below)
During our photo sessions we always share our crazy idea’s for photo props and posing! In this photo he was like oooh oh😅 mom I have an idea. So he poses…, I take the photo… then he’s like, do I actually look like I’m running!? HAHA😂😂👌 THIS KID!! His idea’s are sssso funny and cute! 😍😂 He sure makes me laugh!

Here’s what the nails look like from the side. Notice they’re not all exactly the same height but with all that yarn on their it’s not really noticeable.

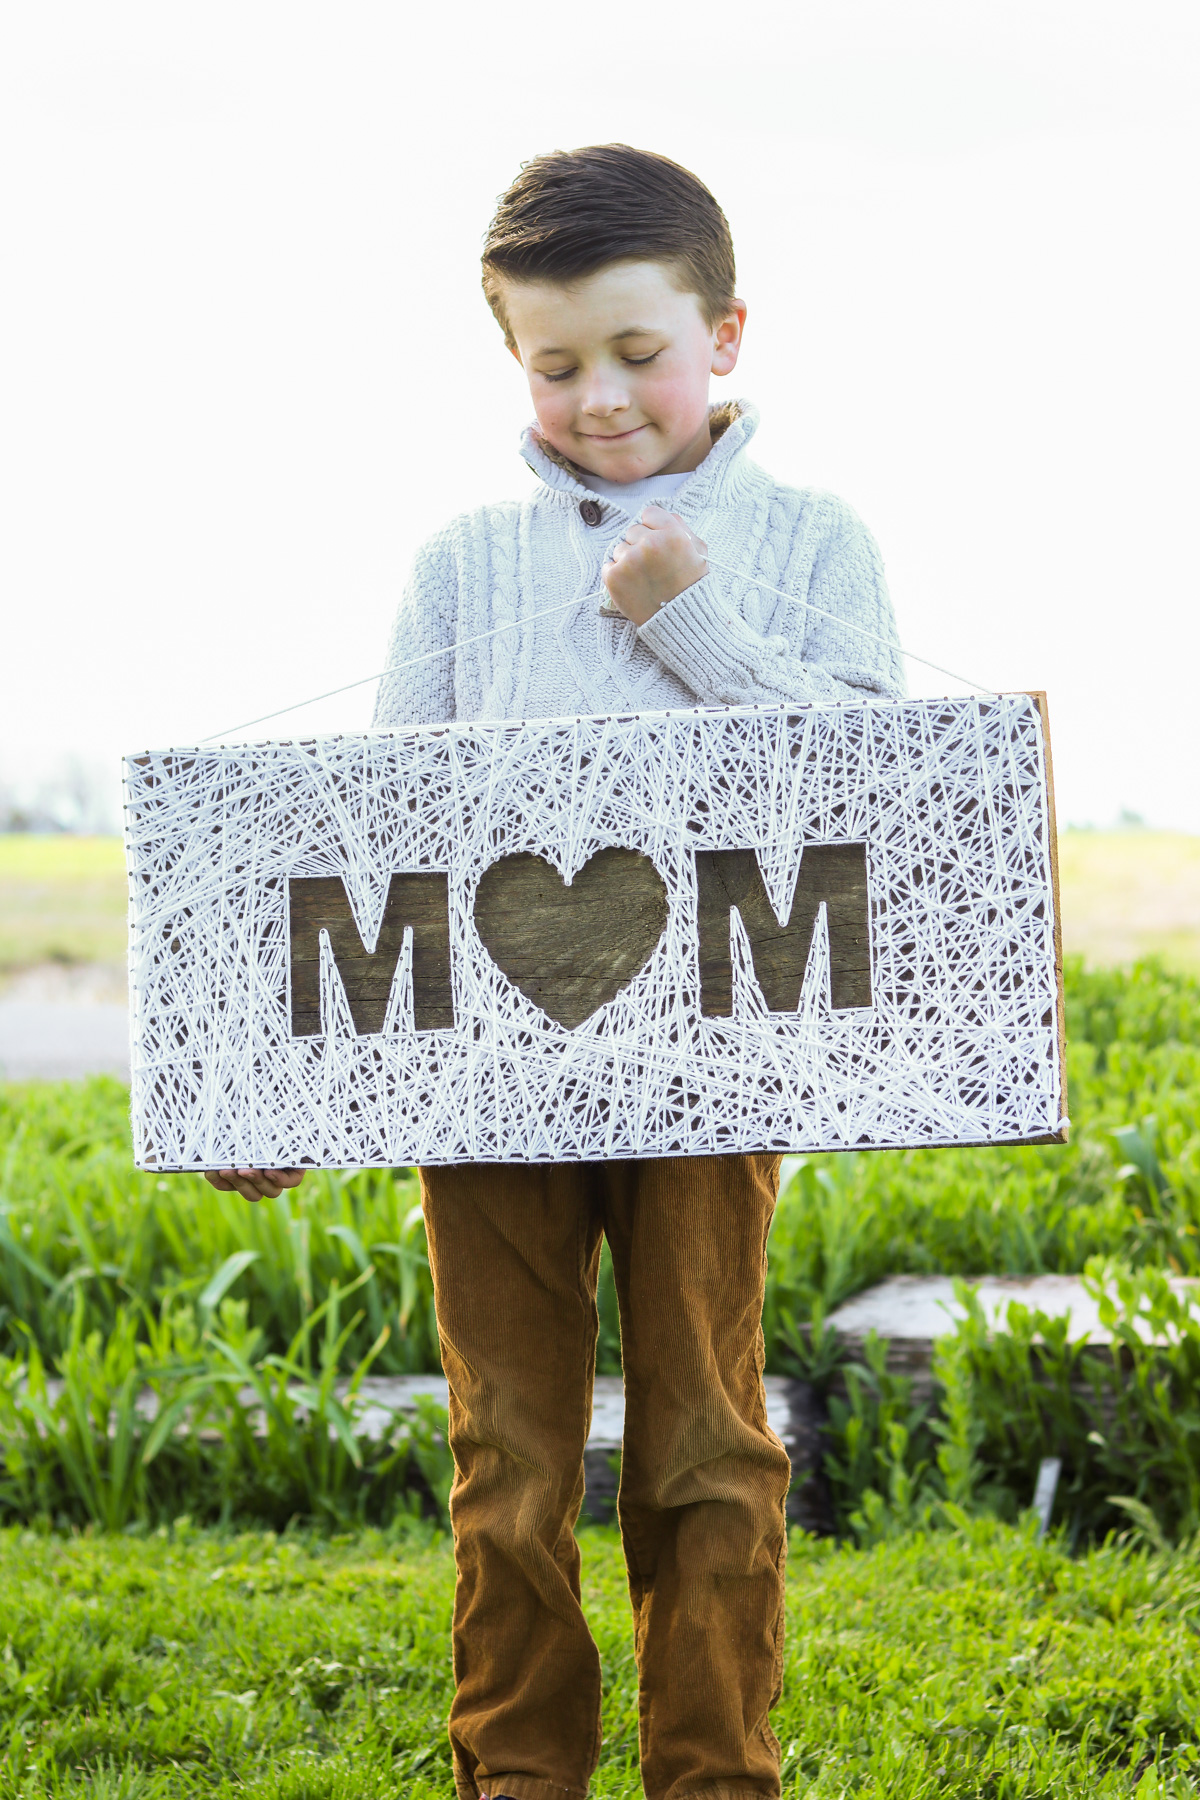
If you’re wondering what it looks like without the photos. Here are some quick photos we took! 😊

I hope you enjoyed this DIY and hopefully this inspires you to create your own.


Great idea!!! I love it!!
Thank you Valeria 😀 So glad you love it.
Cool!
I love it! what is the length of the board you used? and, what is the size of the “short” nails you used?
So happy to hear that. Gosh lol it’s been a while. I believe the board was 30″ inches in length and the nails were 3/4″ inches.
I love this idea!
Brilliant! And your son is adorable.
AWE Thank you 🙂 I’m so happy you love it!
hi i love your work!! i have used this before. do you know where you got your letters? i was looking for a J and D
Thank you Amy. I don’t remember but I’m pretty sure I used gimp to customize the thickness of arial bold font.
That is so cute!! Defo making it for my mom’s birthday x