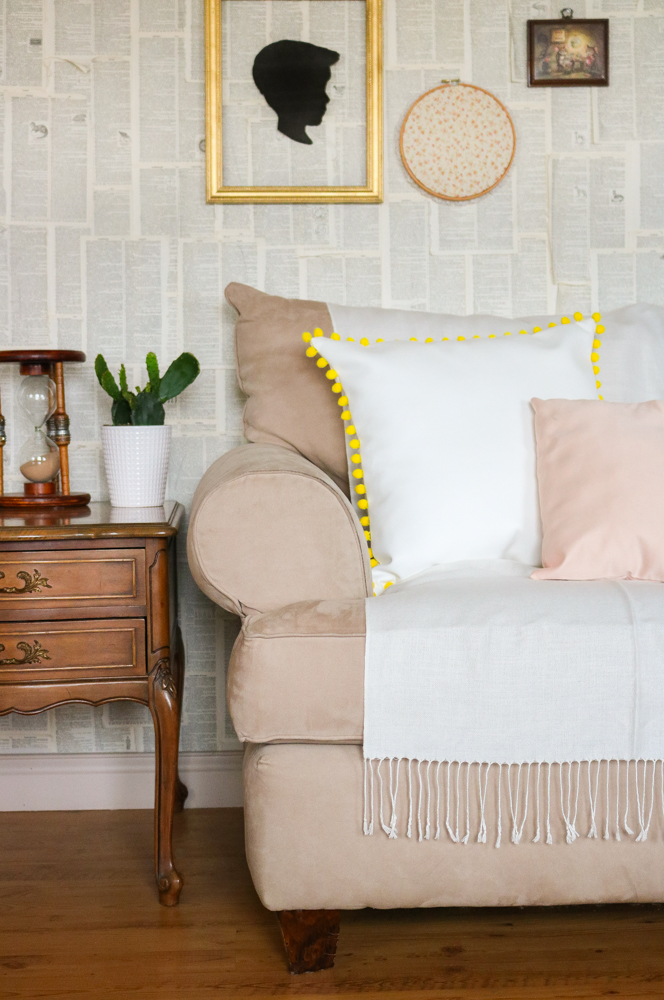
White Throw Pillows
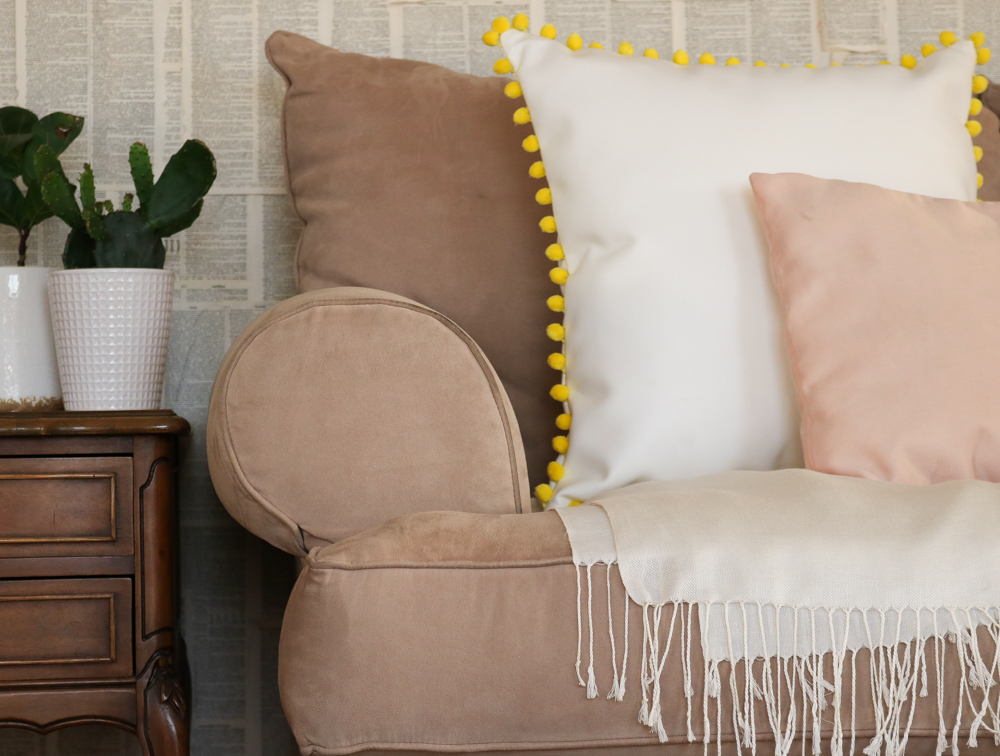
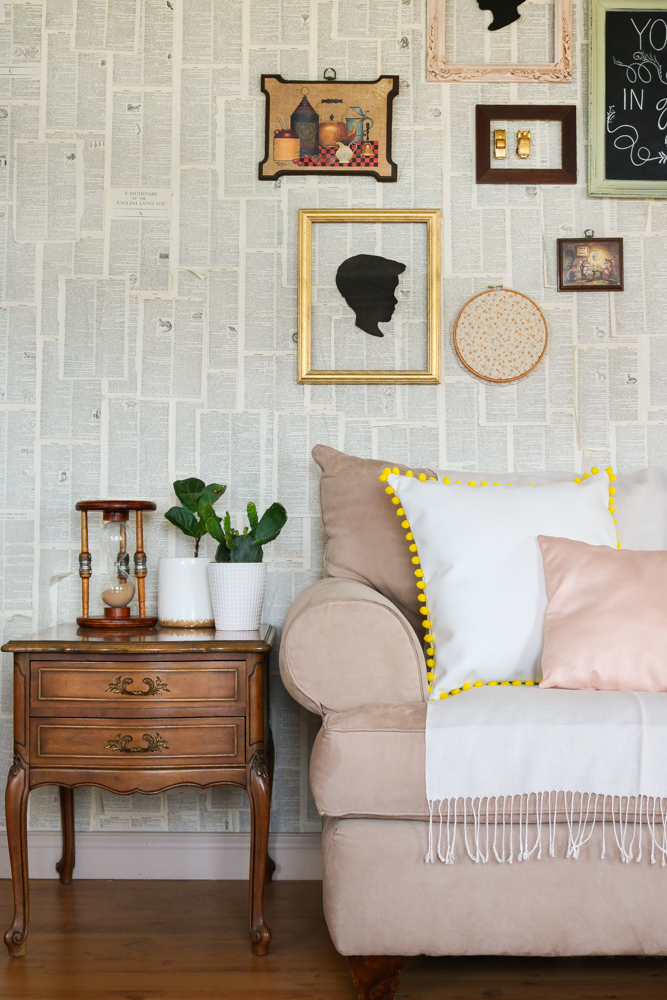
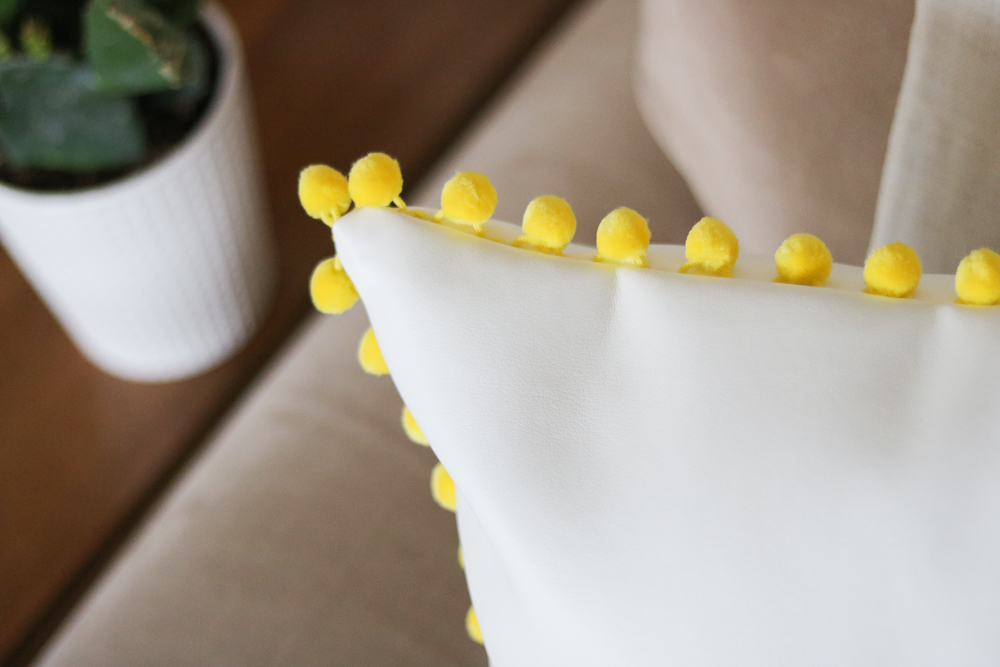
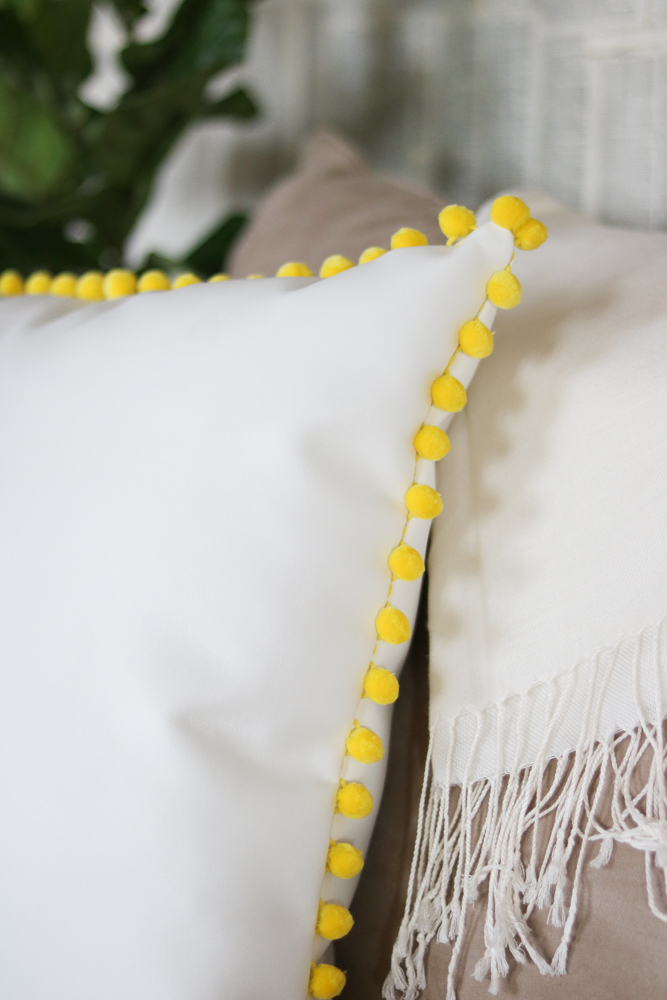
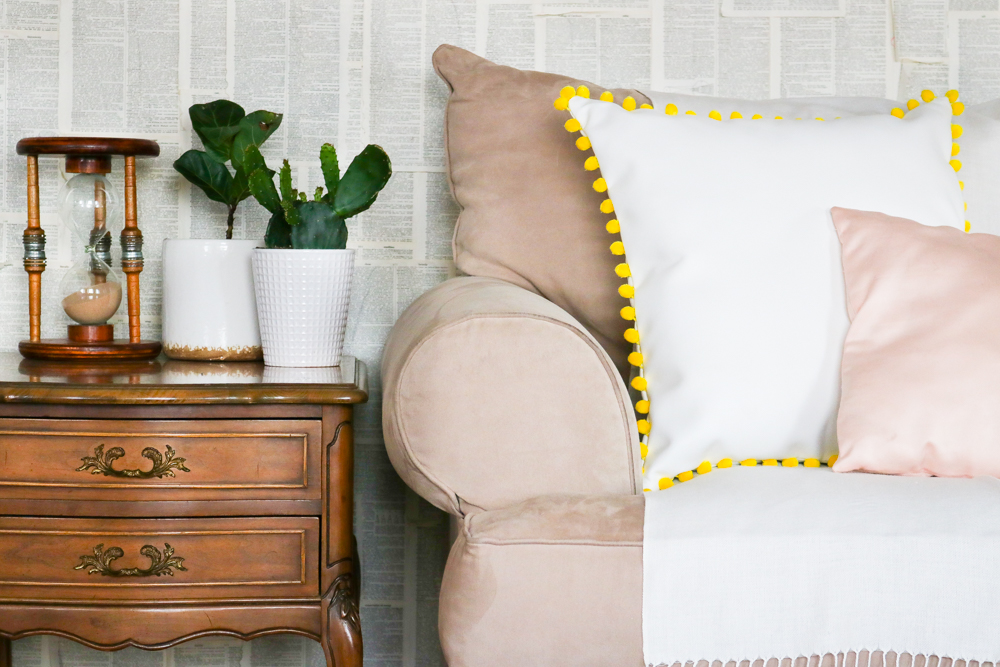
I love all things white and heavenly but, throw pillow of all things are extra hard to keep squeaky white. With a little one in the house it makes it even harder. Oh and our little cat likes to get a hold of pretty things and torture them. ;D That being said, I’ve had a light bulb go off when it comes to white squeaky clean pillows. I’ve seen a lot of trending leather pillows out on the market..I just don’t see many white ones. So I figured If I could find white faux leather it would be perfect for my pom pom pillow. This pom pom pillow turned out super cute and trendy. I can’t wait to get my long awaited living room area rug to match it 😀 .
Throw Pillows
Throw Pillows can be quite pricey. Anywhere between $24 to hundreds of dollars. I definitely agree on buying pillows that can’t be handmade but if it could be a fun DIY project then why not go for it?? I absolutely love pom poms. Most pom pom pillows are around $35, which is okay but there’s always a catch for me. Maybe I’m just super picky or I really know what I want. ;D I know for sure I wanted a white leather pom pom pillow and guess what I couldn’t find one anywhere.. So once again creativity kicks on. 😀
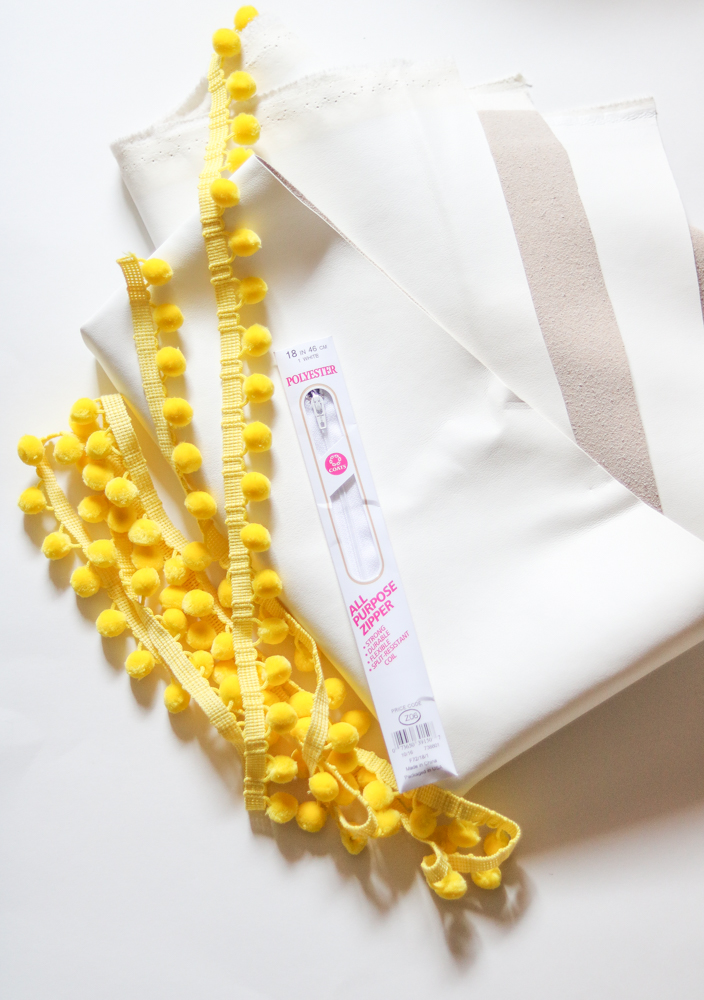
What you’ll need
2 yards white leather
2.5 yard pom pom ( we purchased it at joanns fabric)
Zipper (18″)
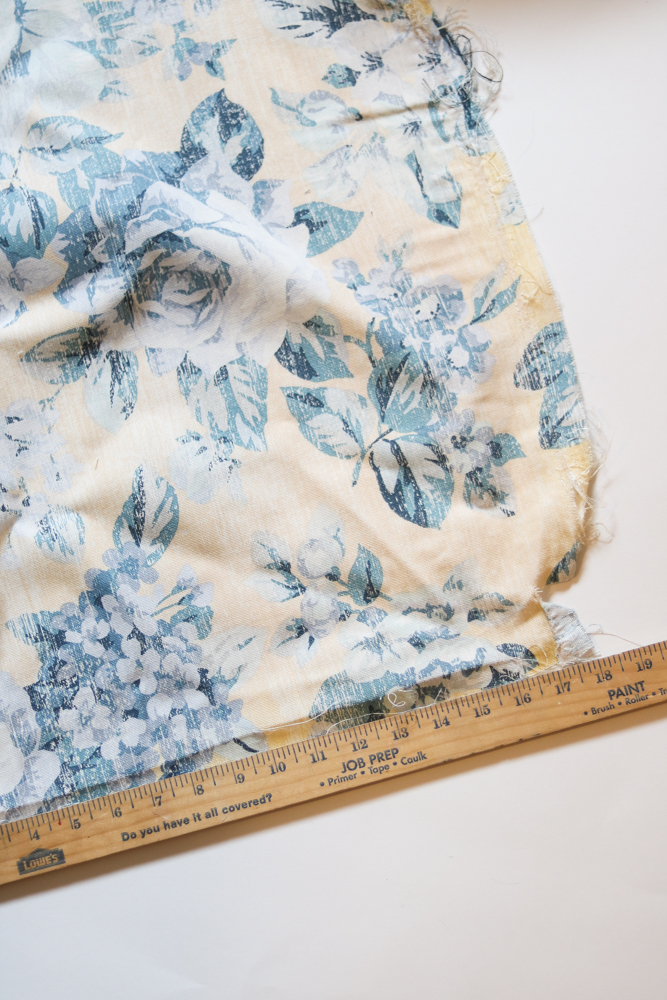
Stuffing (we recycled a goodwill pillow for $2. After a good wash it was a good as new)
This pillow ending up costing me around $13. Which is a steal for a pillow this size. It took me about 2 hours to make and was worth every minute. I know it’s one of those pillow that will last years, and faux leather pillows are around $60-$100. Anyways enough rambling about things lets gets on with it. 😀
I cut the cover off the previous (goodwill) pillow and measured how big I needed to make my pillow. It measured 21″ x 21″ You might need less then 2 yards of fabric if your making a smaller pillow.
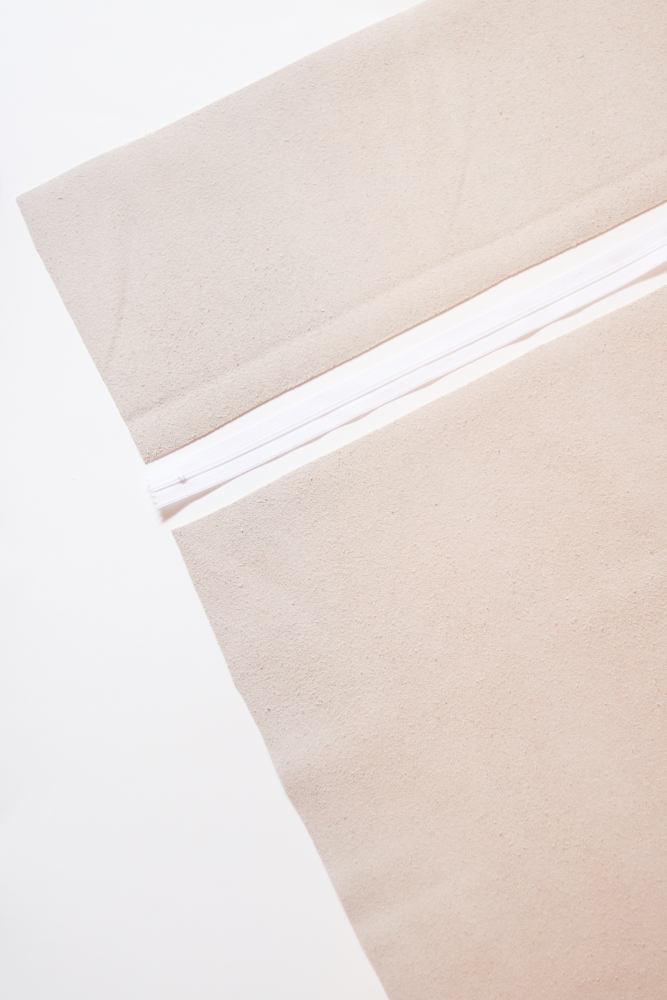
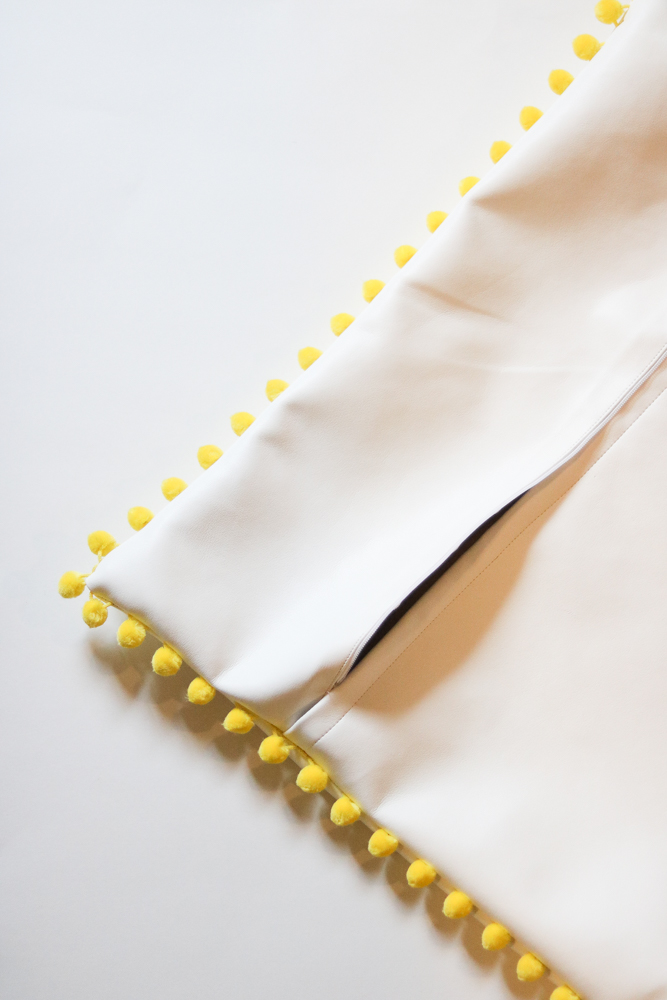
Following that I measured 7.5″ away from the top of the 21″x23″ square and cut it to install the zipper
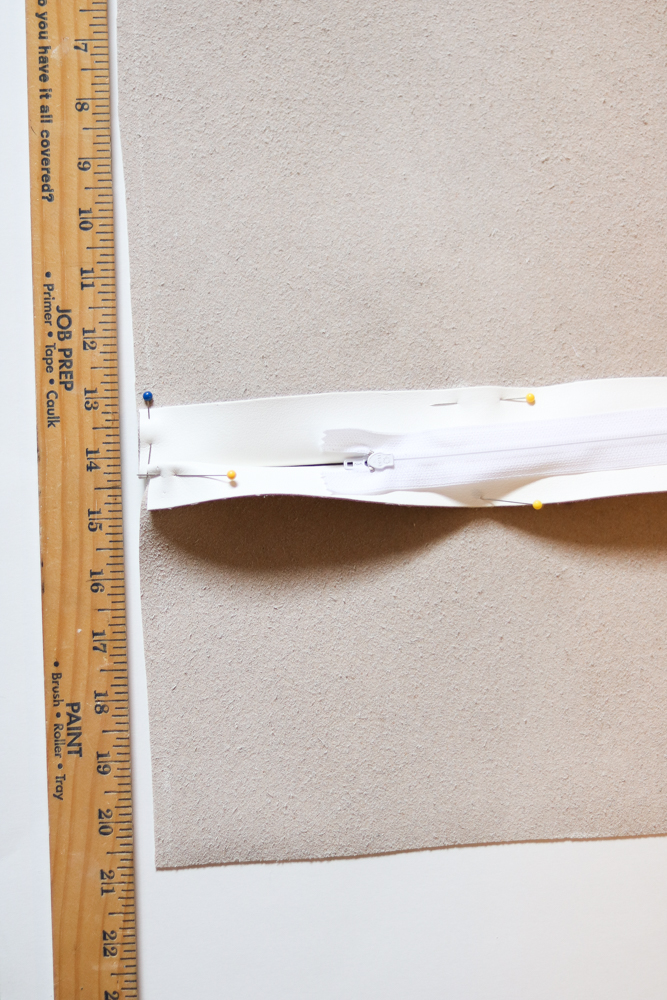
I pinned up where I would install the zipper and measured the total length to make sure I’m not taking in to much fabric. This should measure 21″ x21″ to match the other pillow.
OKAY 2 BIG tips
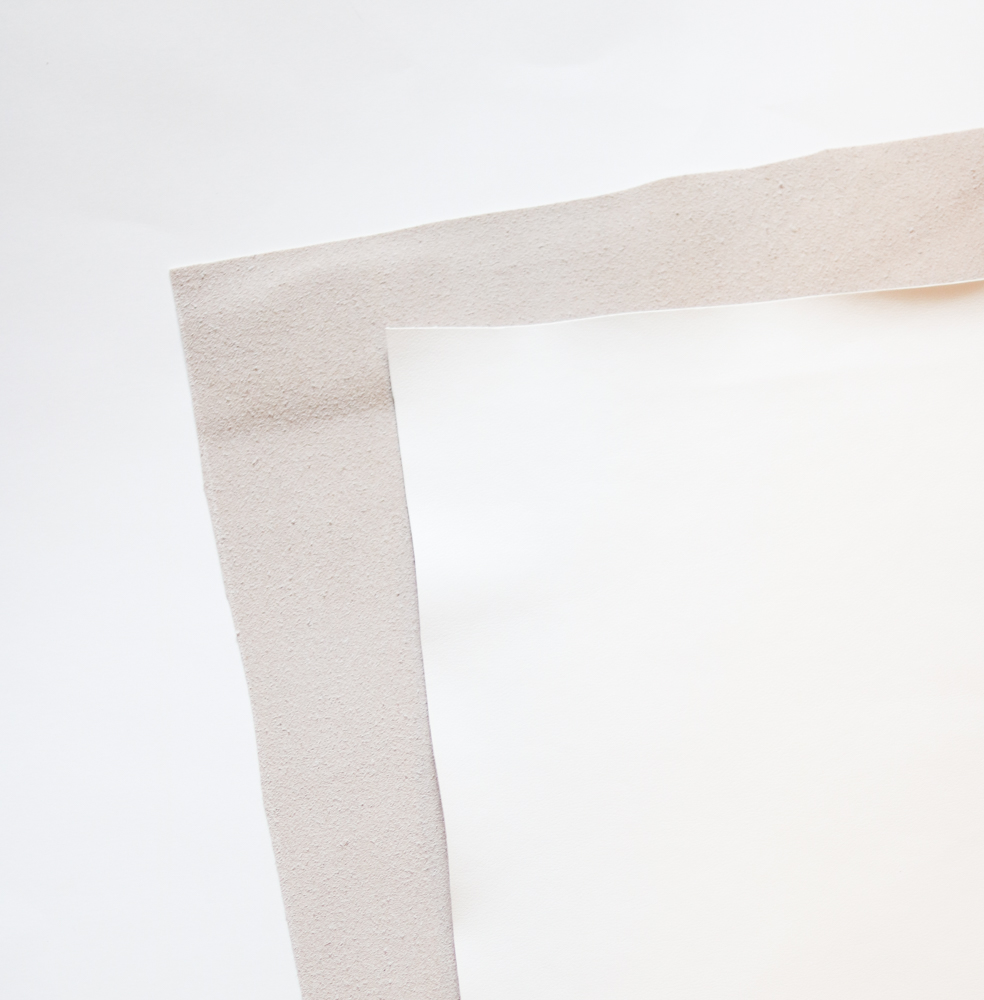
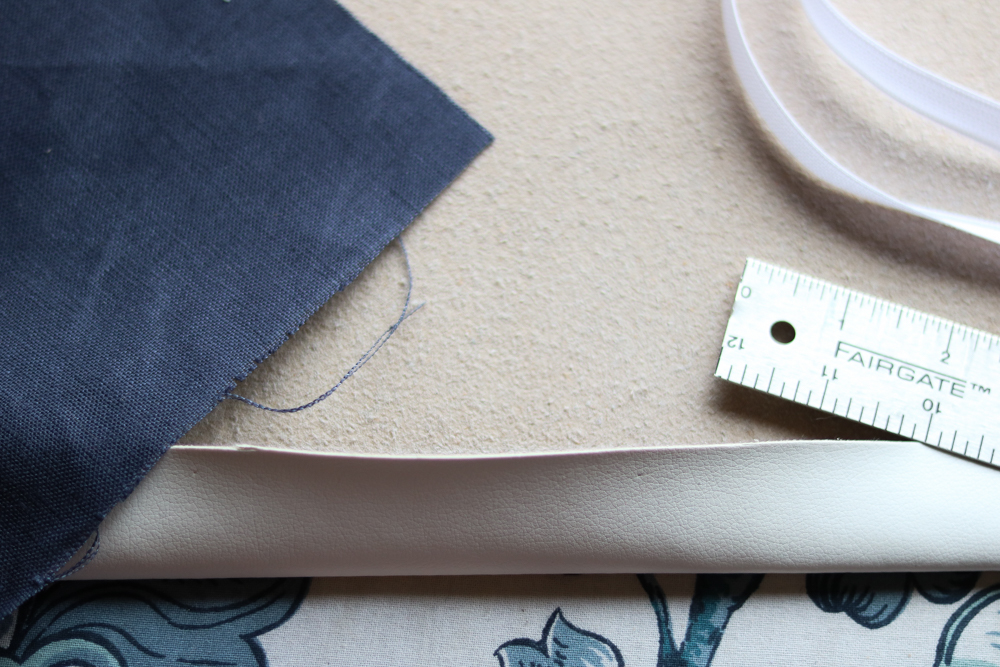
Keep the pinning to the minimum because it leaves holes in the leather. That is the downside to working with leather 🙁 you only have one try. OH and never IRON without a iron cloth. I just used a piece of linen I had. Anything cotton will work. 😀 In the photo above I ironed the side where I will have the flap on one side of the zipper.
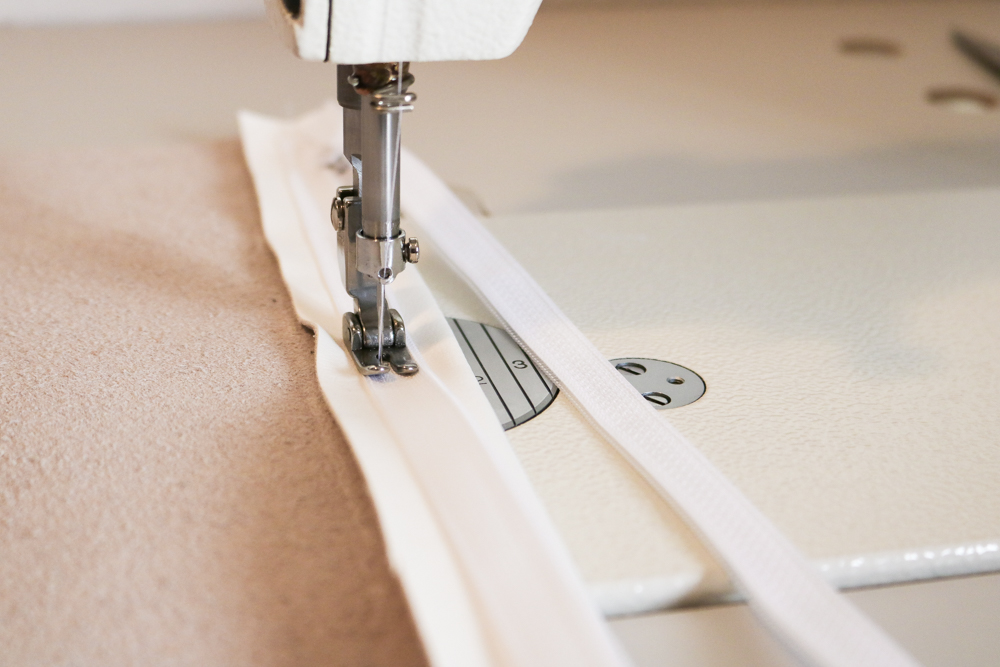
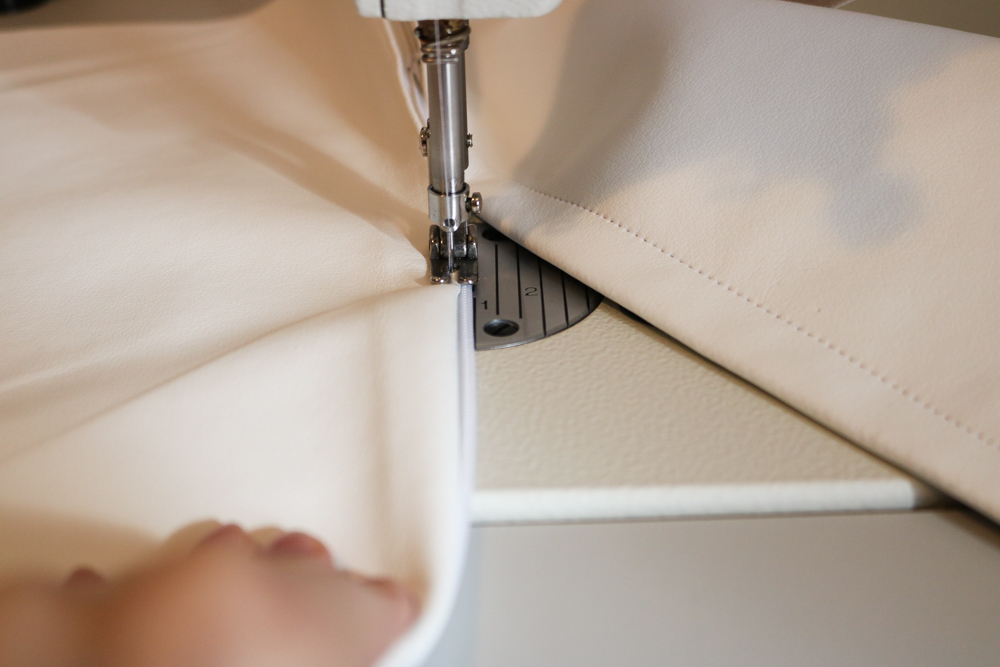
I totally winged it 😀 I used a leather needle. I believe Joanns sells them but I’m sure a regular needle works just fine too. As you can see I’m using my one sided pressure foot it definitely helped get closer to the zipper. If you don’t have a one sided pressure foot the regular zipper is actually made to be sewn with a regular foot. This is just my personal preference.
Another important tip
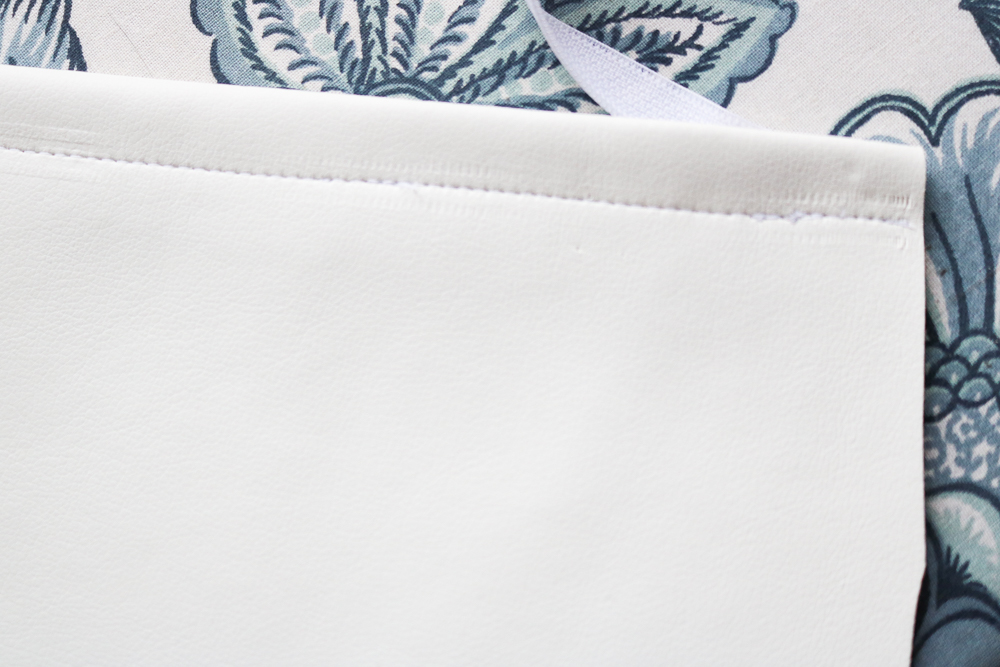
Look close at the stitching in the photo. When sewing with leather and having the shiny side down towards the feed dogs (spikes the pull the fabric below your presser foot) MAKE SURE and help the leather move because if it holds up for just a second it tears the leather like shown in the photo above (on the right). Some sewing machines have the option of lowering the feed dogs. I’ve never looked into it because I don’t really want to mess with it. Worst case scenario tape a strip of card stock on top of your feed dogs and it works like magic. 😀
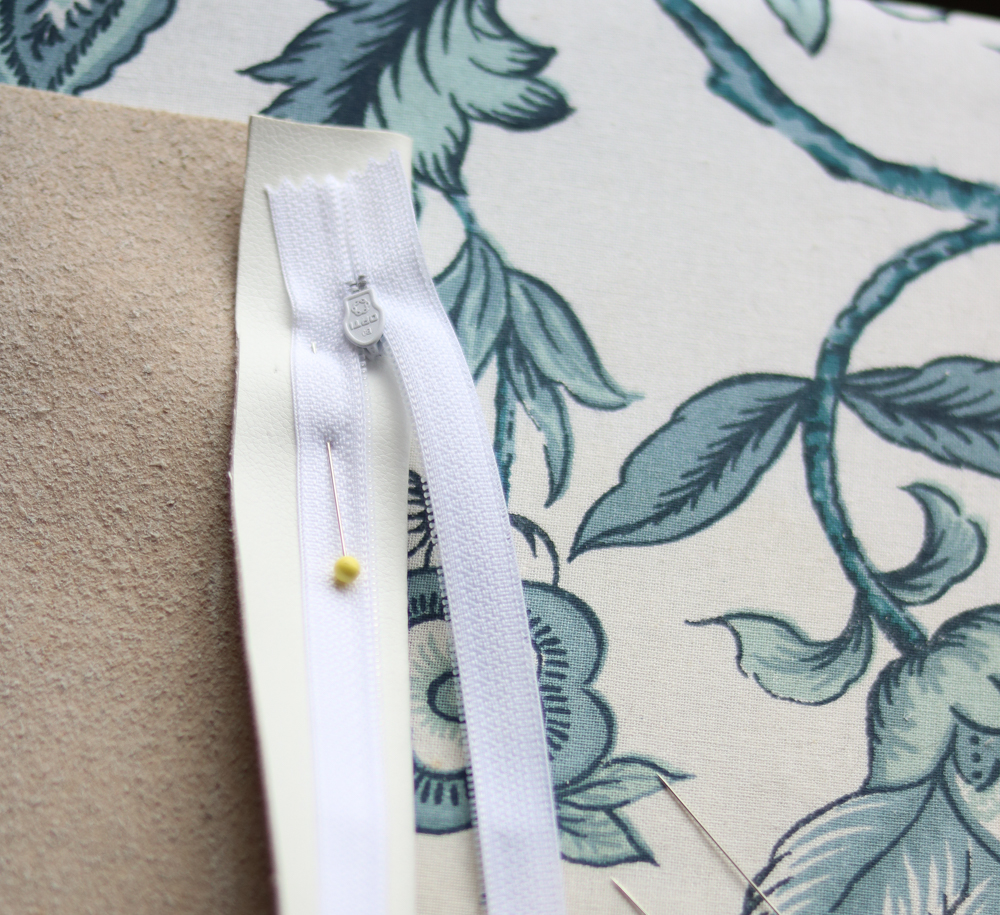
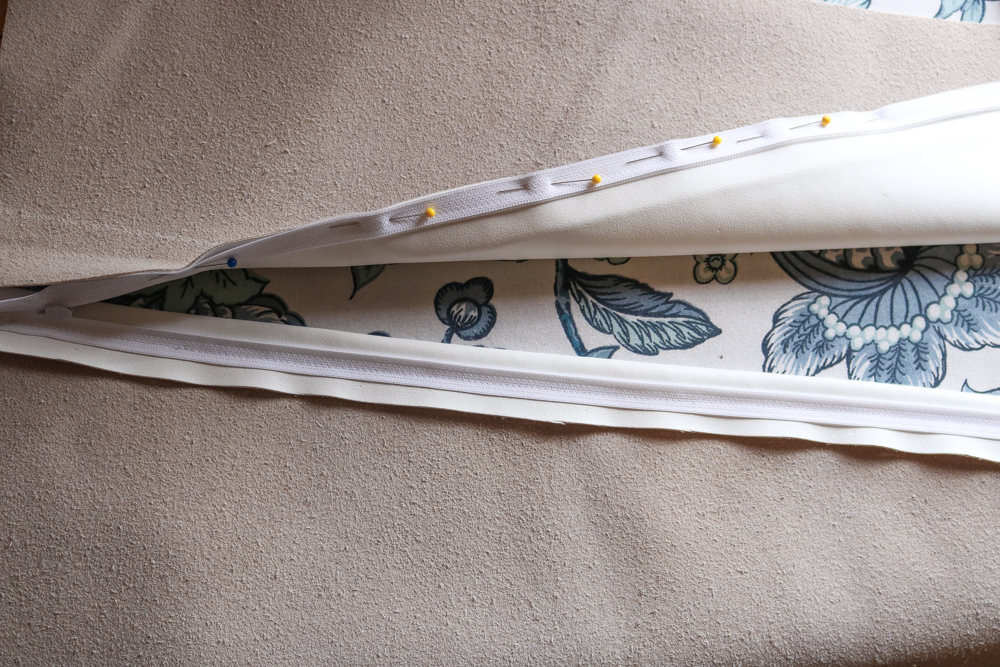
This is the easy part. Align both pieces of fabric and pin this side of the zipper. When sewing the second side of any zipper it is hard to align especially if not pinned. Keep in mind this side won’t show the pin holes in the leather 🙂
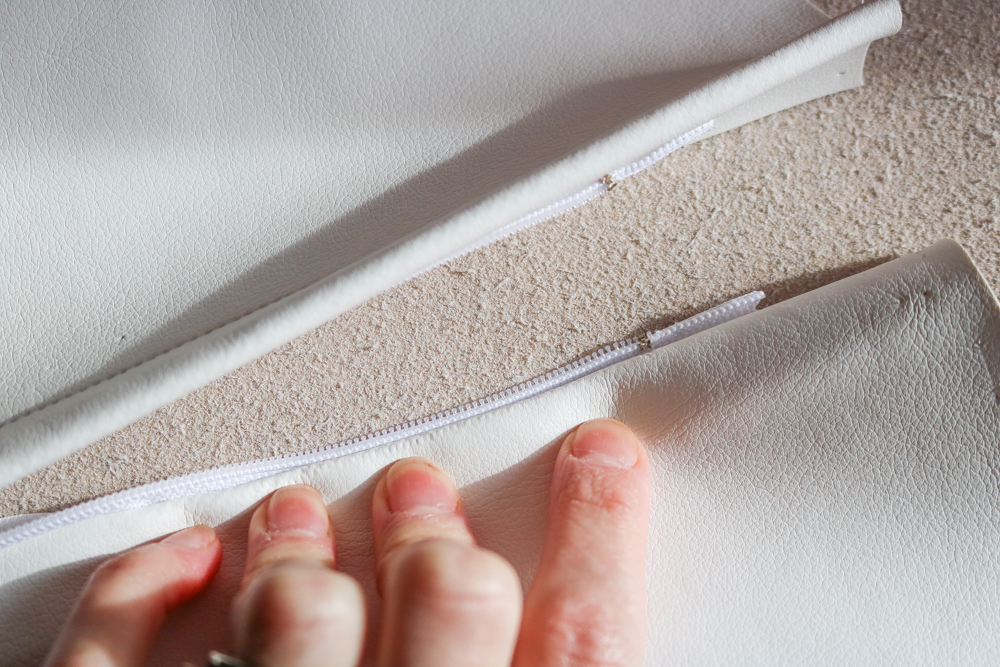
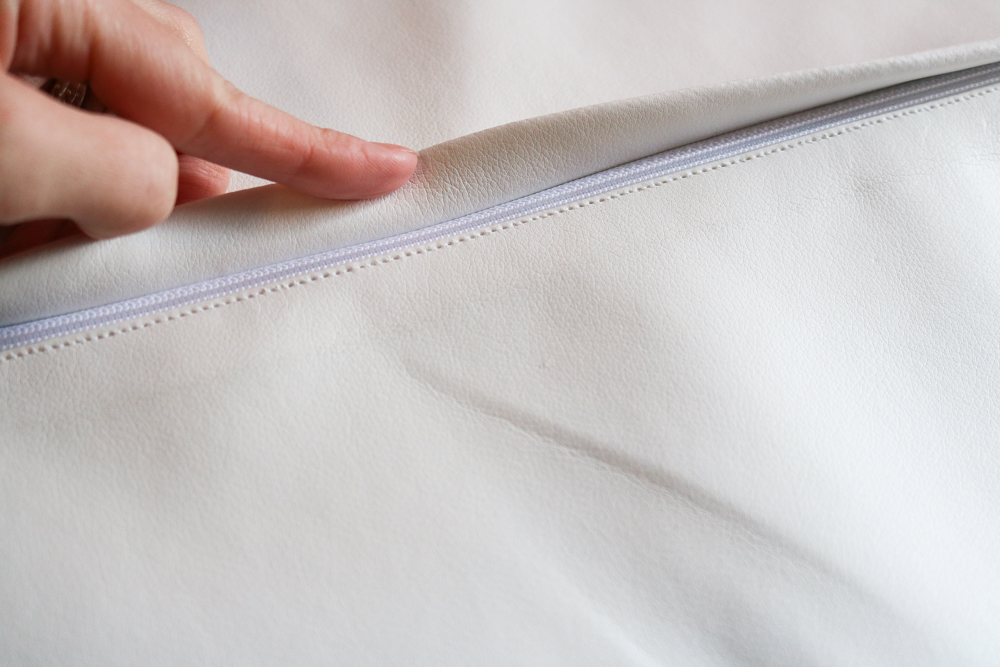
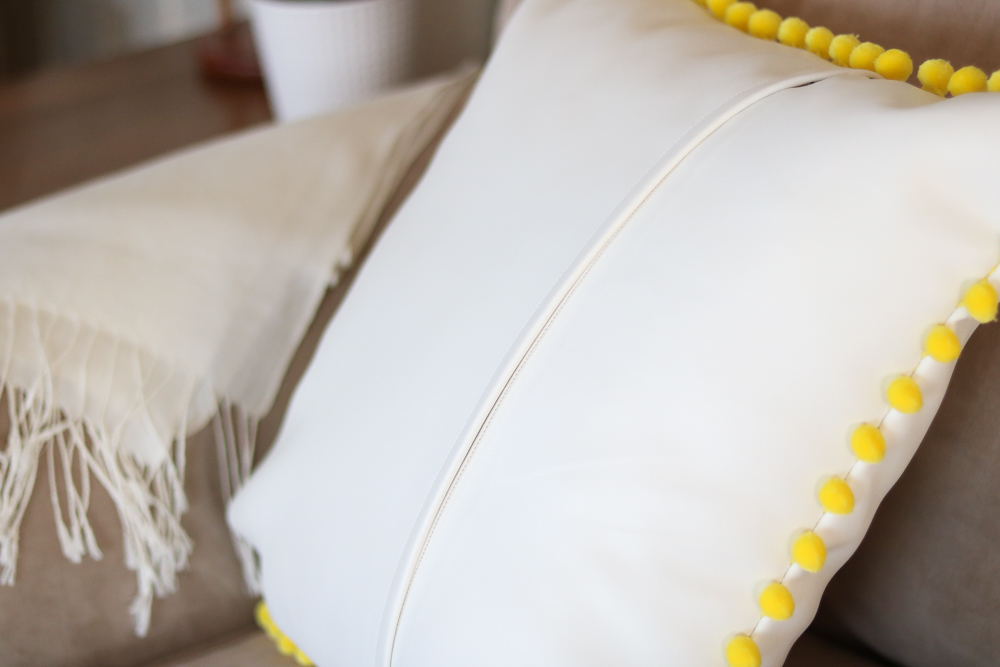
Ain’t she a doll. 😀 That’s how that stitch should look and that flap goes right over it.. Take your time..remember leather only gives you one chance.
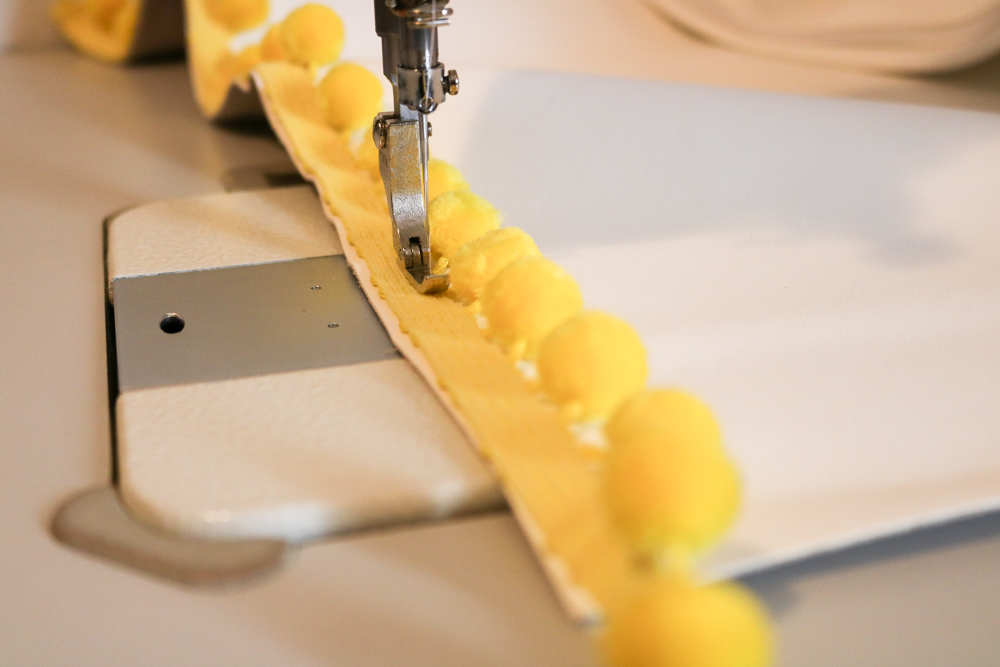
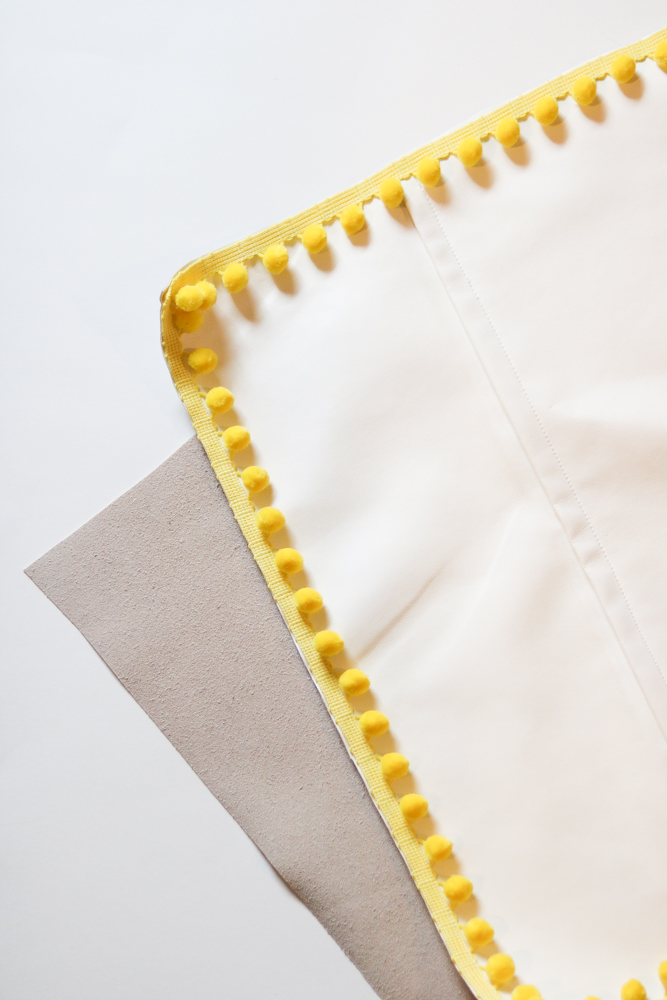
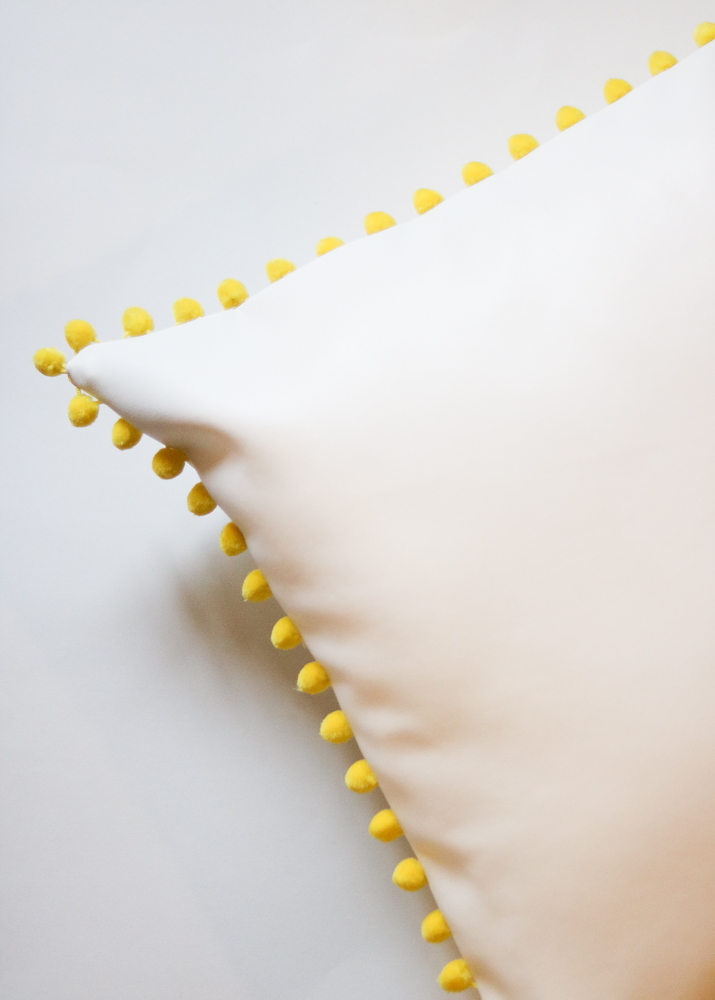
One of the easier steps 🙂 Sew the pom pom strips onto the pillow. Make sure the pom poms are facing in and you have the fabric the right side up.
Then take both the squares and sew them together. White sides facing each other 🙂 . (keep the zipper slightly unzipped so you could open it after ) Once your done stitching simply turn it inside out.
Don’t forget to tag me on instagram if you make one of these cute pom pom pillows 😀 @lilyardor
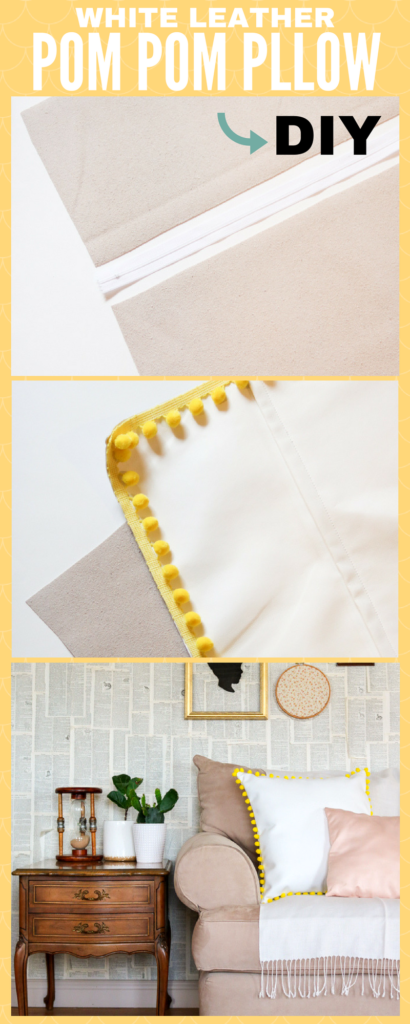
Here’s a cute pinnable to pin to your favorite board 🙂 (follow me on pinterest)
