Easy Star Garland DIY
Hi everyone, Christmastime is here and over at our house crafting is in full bloom. This week I got a chance to work on some tin can home decor projects that I can’t wait to share with you. Today I’ll be sharing this star garland DIY that I made for my Christmas tree. I actually worked on this star garland a few weeks ago and finally got around to posting it on the blog.
Okay so the recipe for this dough includes only three ingredients and is sssso fun to work with! It’s almost like fluffy slime but doughy. 😀 It’s so easy to make and you probably already have these ingredients in your kitchen. AWESOME! RIGHT!
OTHER RELATED DIYS YOU’LL LOVE:
- DIY WOOD STARS
- DIY CHRISTMAS TREE FROM PALLETS
- GRAB SOME TINS CAN TO MAKE CHUNKY KNIT PLANTERS!
- 12 WAYS TO UPCYCLE OLD CHRISTMAS ORNAMENTS!
Store bought Clay SUCKS!
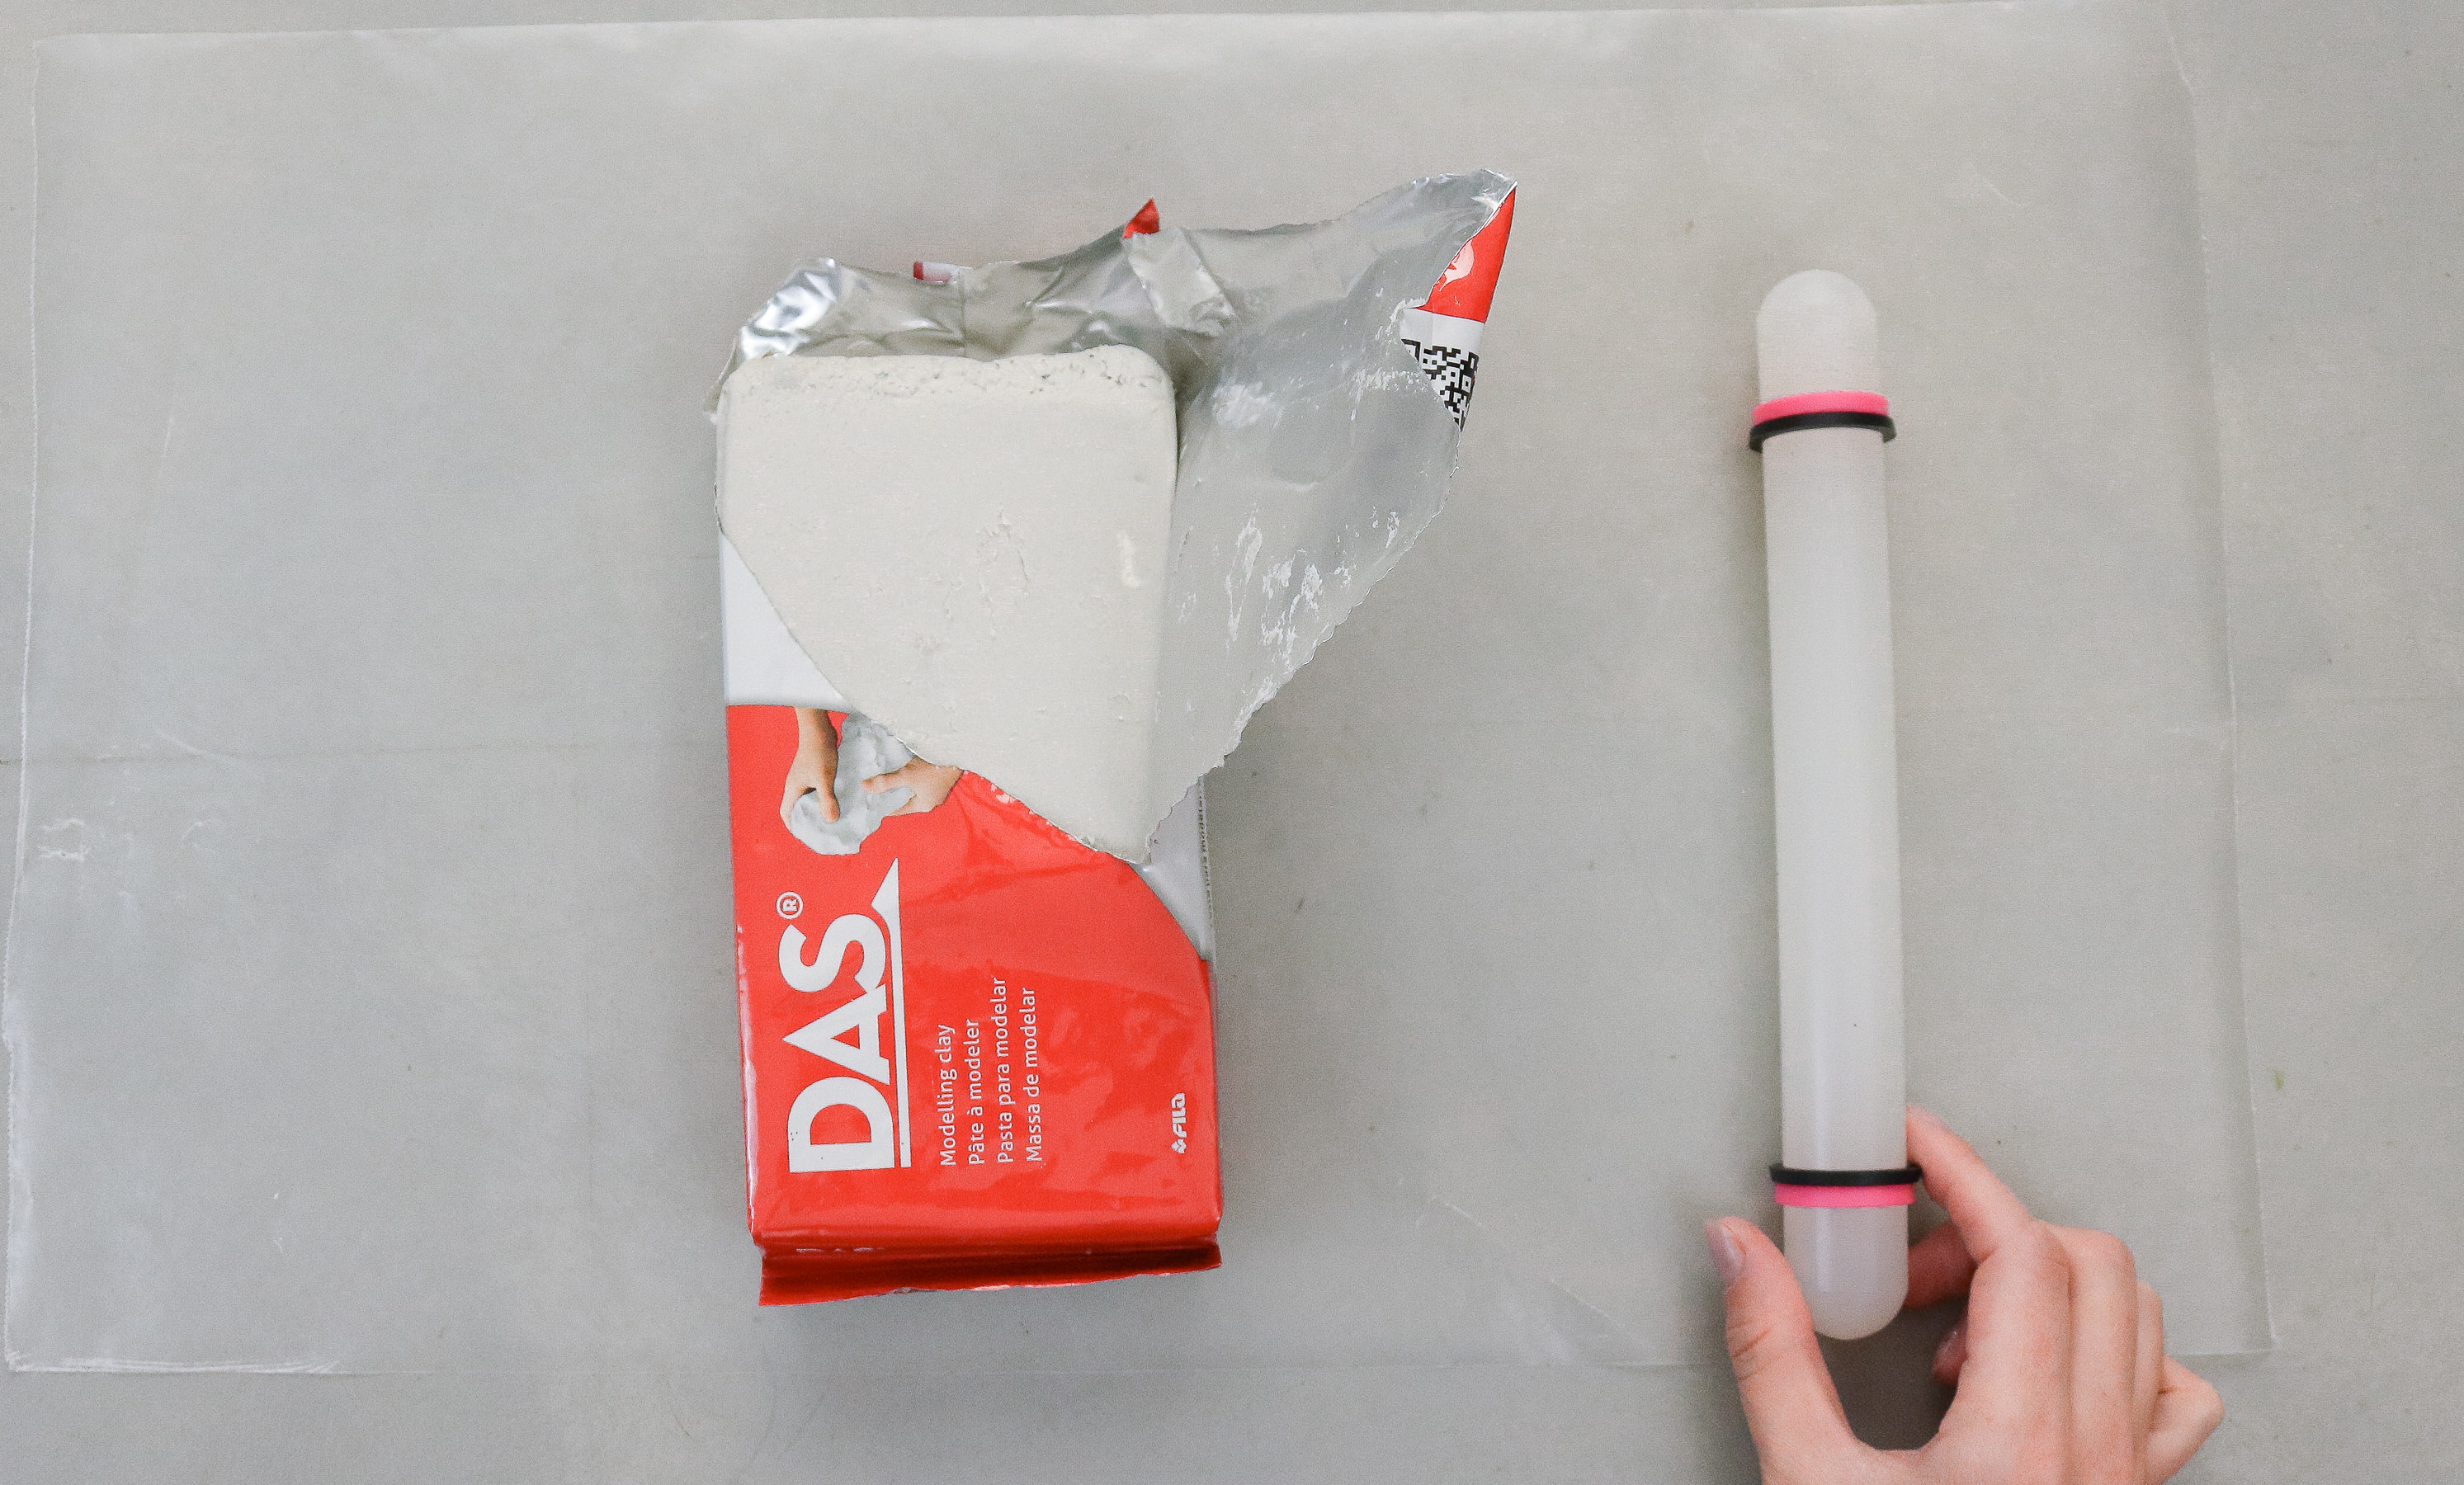
A little more about why I am totally obsessed with this DIY air clay. So originally when decided to make my own star garland, I planned on using store bought modeling clay or air clay. However when I brought it home and tried to work with it I found it was ssssso hard to work with. I couldn’t roll it out flat. Plus I would need to paint the stars white after. I figured that was too much work so I opted out for some homemade salt dough. (photo below) However after trying the salt dough I wasn’t happy with the texture of the stars. LOL Call me picky I just couldn’t get over the texture! It really bugged me. What I had in mind was smooth with crisp edges and salt dough wasn’t living up to it. So I finally remembered using this baking soda dough recipe I had tried years ago for some 3D flower I made. It’s already white and super soft and easy to work with! WINNER! Gotta give props to google. I found this recipe on google years ago and glad I remembered about it.
Quick video Version
TIME NEEDED: About 20 minutes without drying times.
Depending on how long you make your garland it can take longer to make.
TOTAL COST: $3-$10
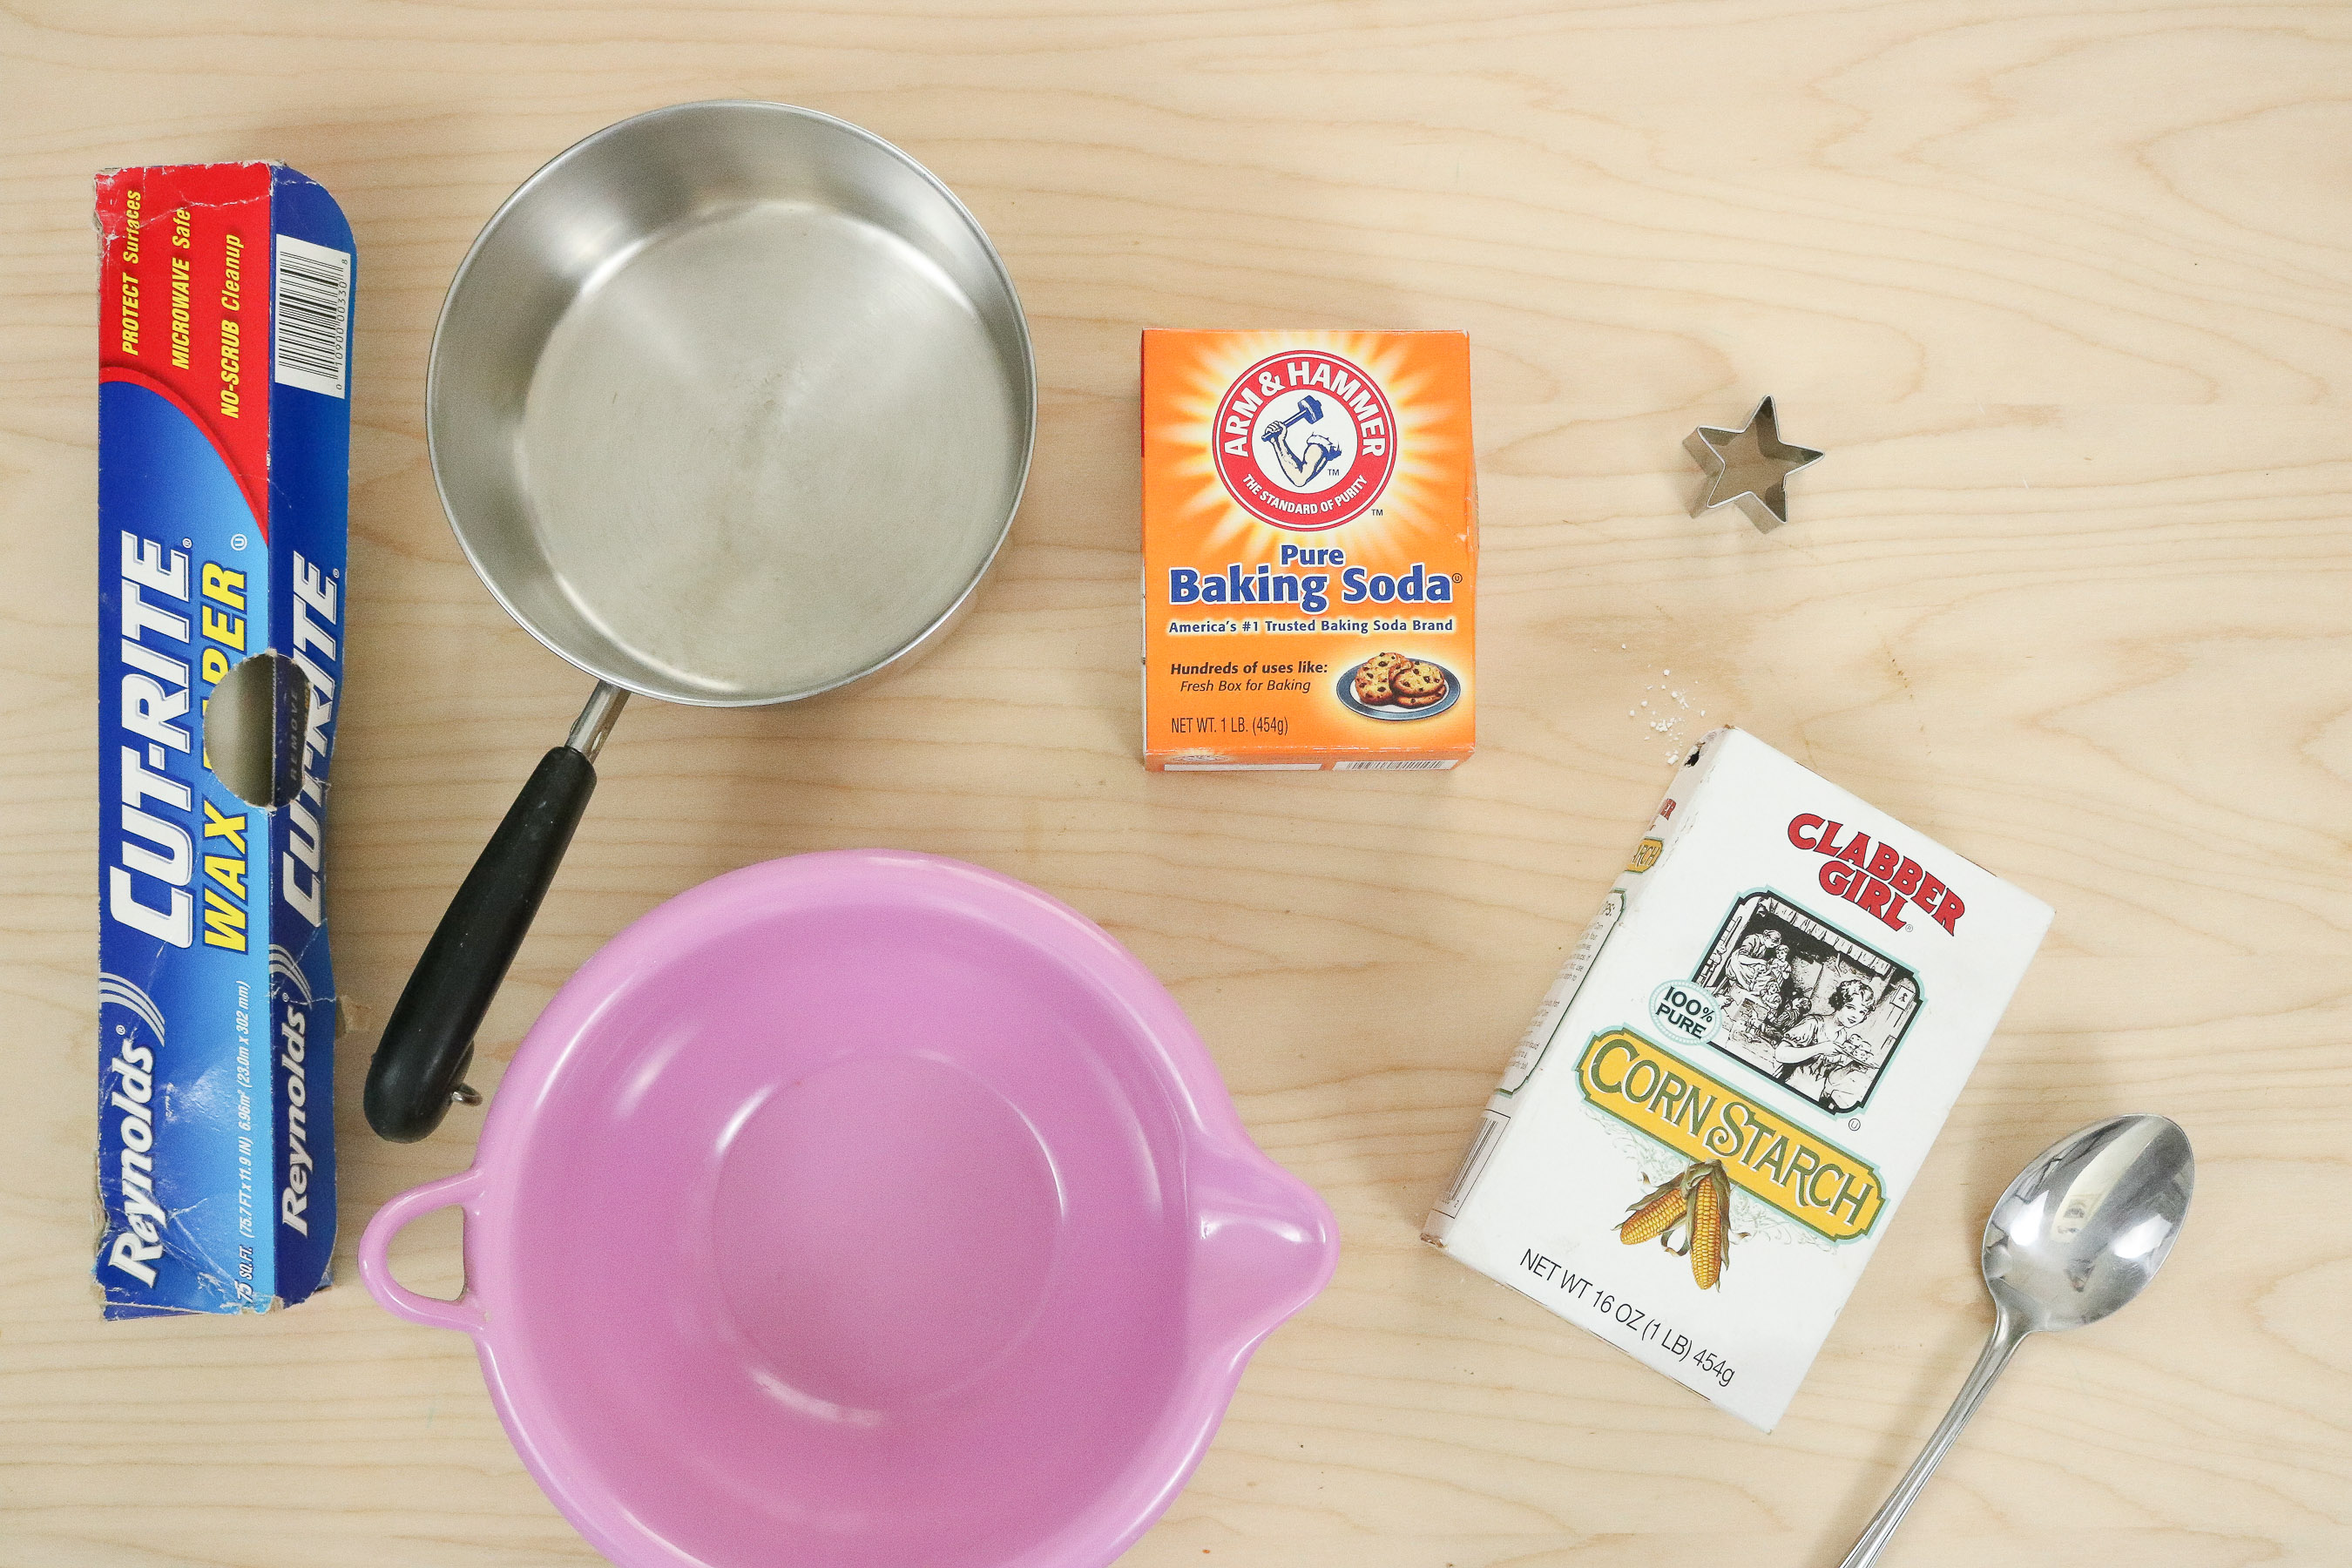
I actually had everything for this project on hand except for the cook star cookie cutter! 😀
Supply List:
( I’ve added * affiliate links if you want to purchase all your supplies online. You can read my disclosure policy here for more info. )
- bowl
- flat surface (optional wax paper to lay the stars on)
- Corn starch
- Small cooking pot ( stove)
- Spoon
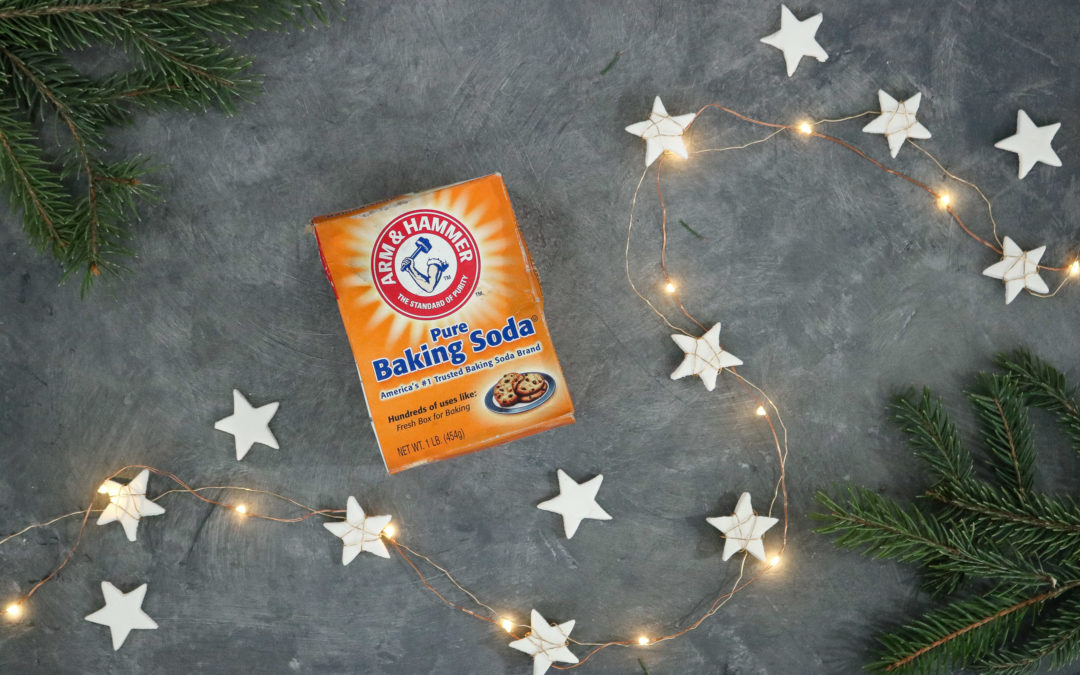
- Baking soda
- Star Cookie Cutter
- Thin Wire or Twine ( The linked wire is not the exact wire I used. I purchased mine at Michaels craft store in the wreath making section)
Recipe:
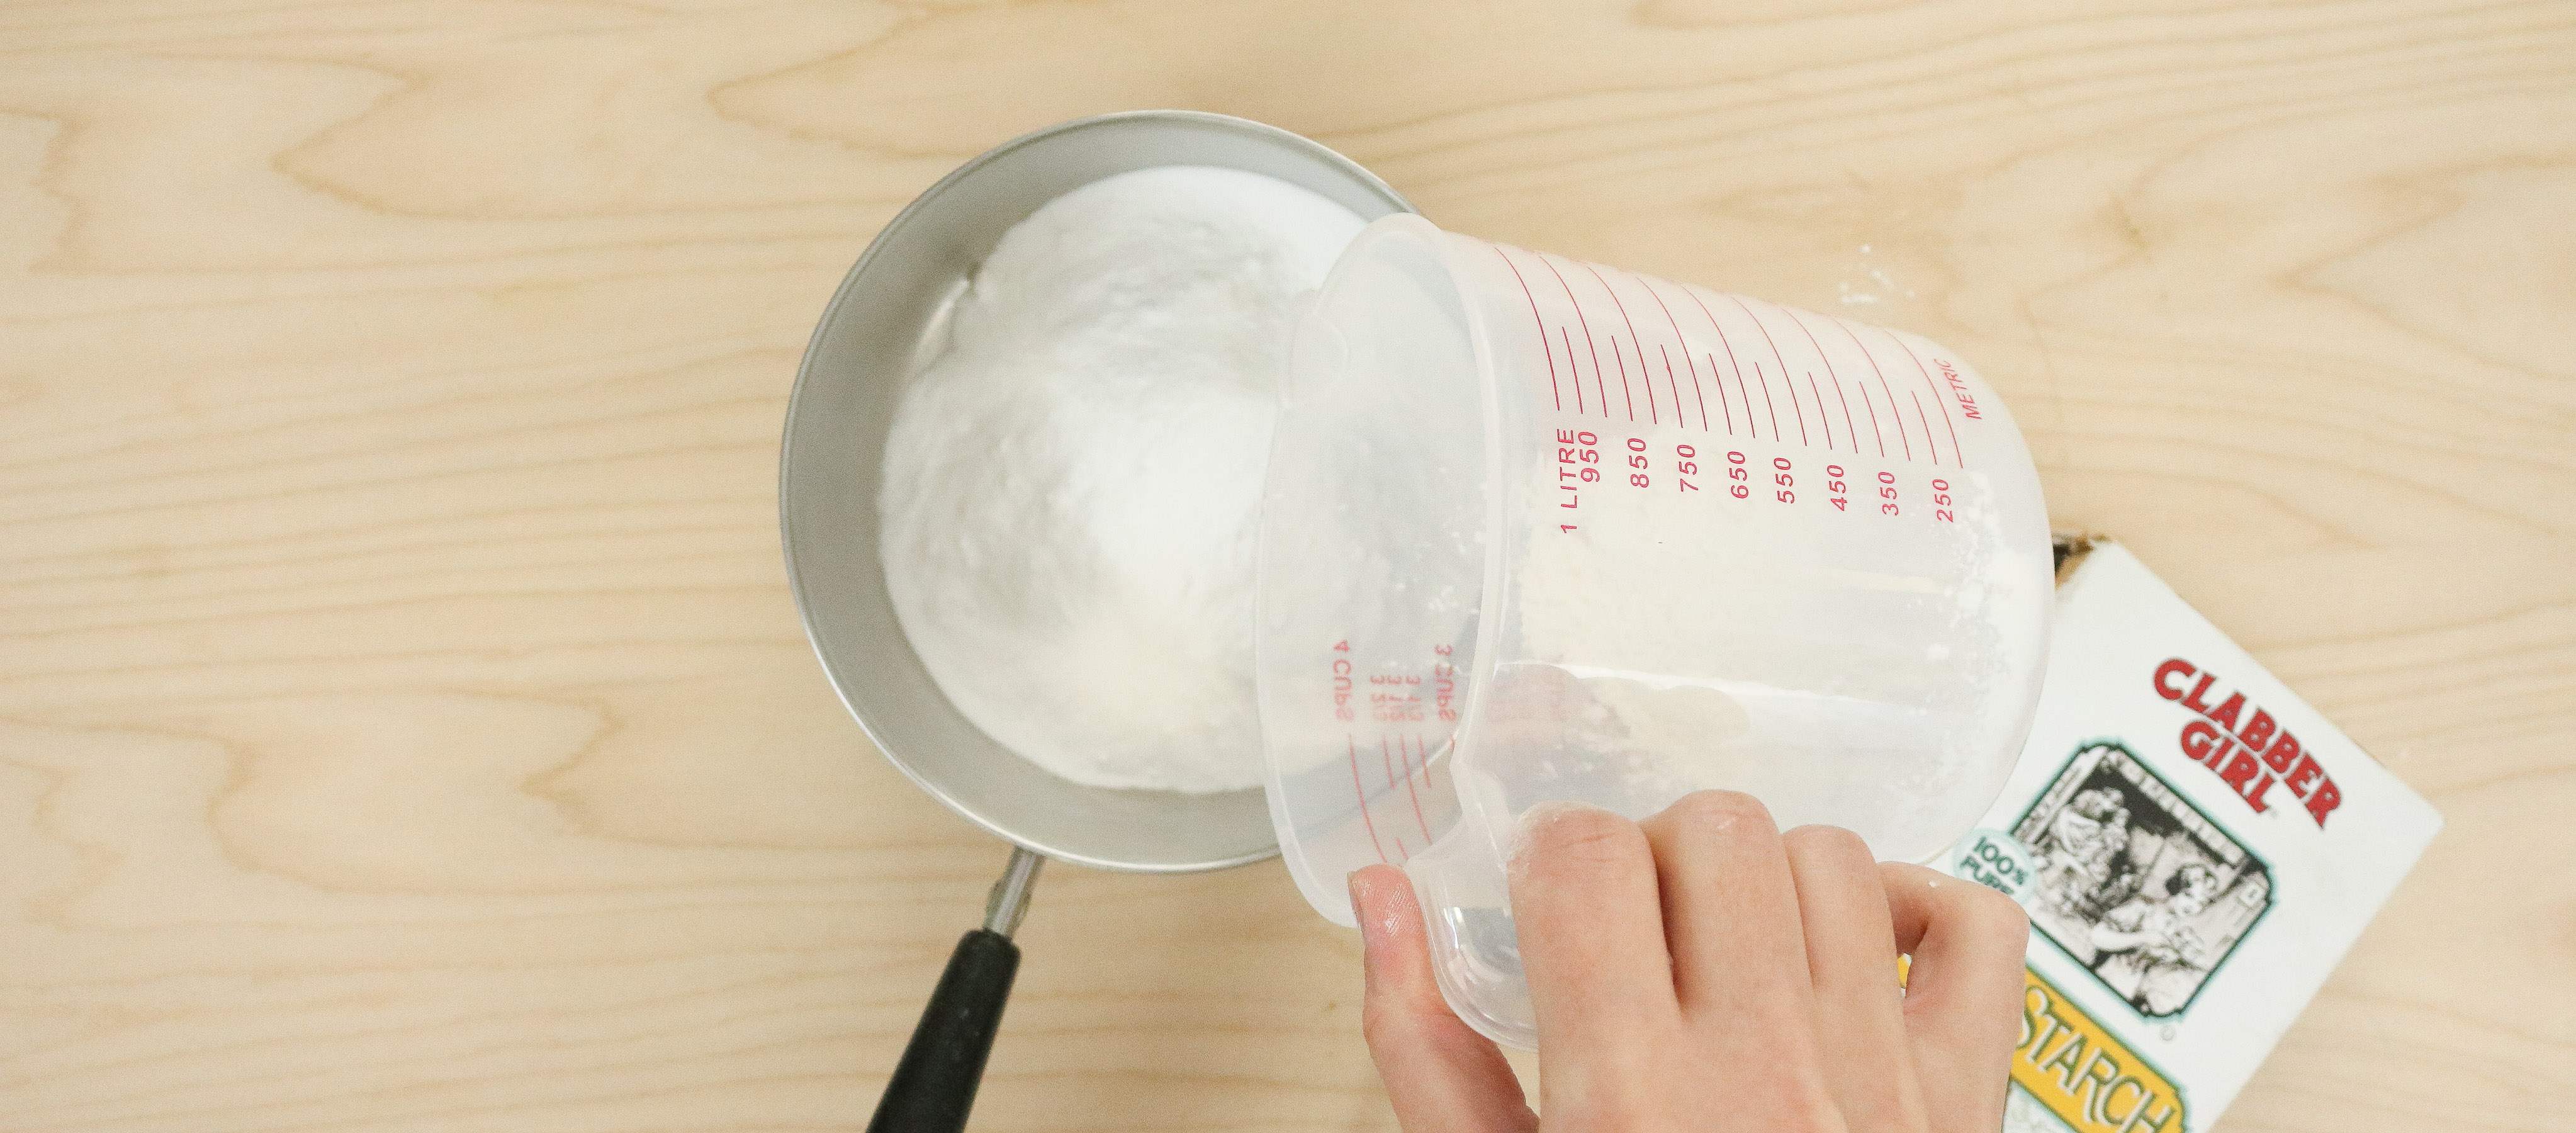
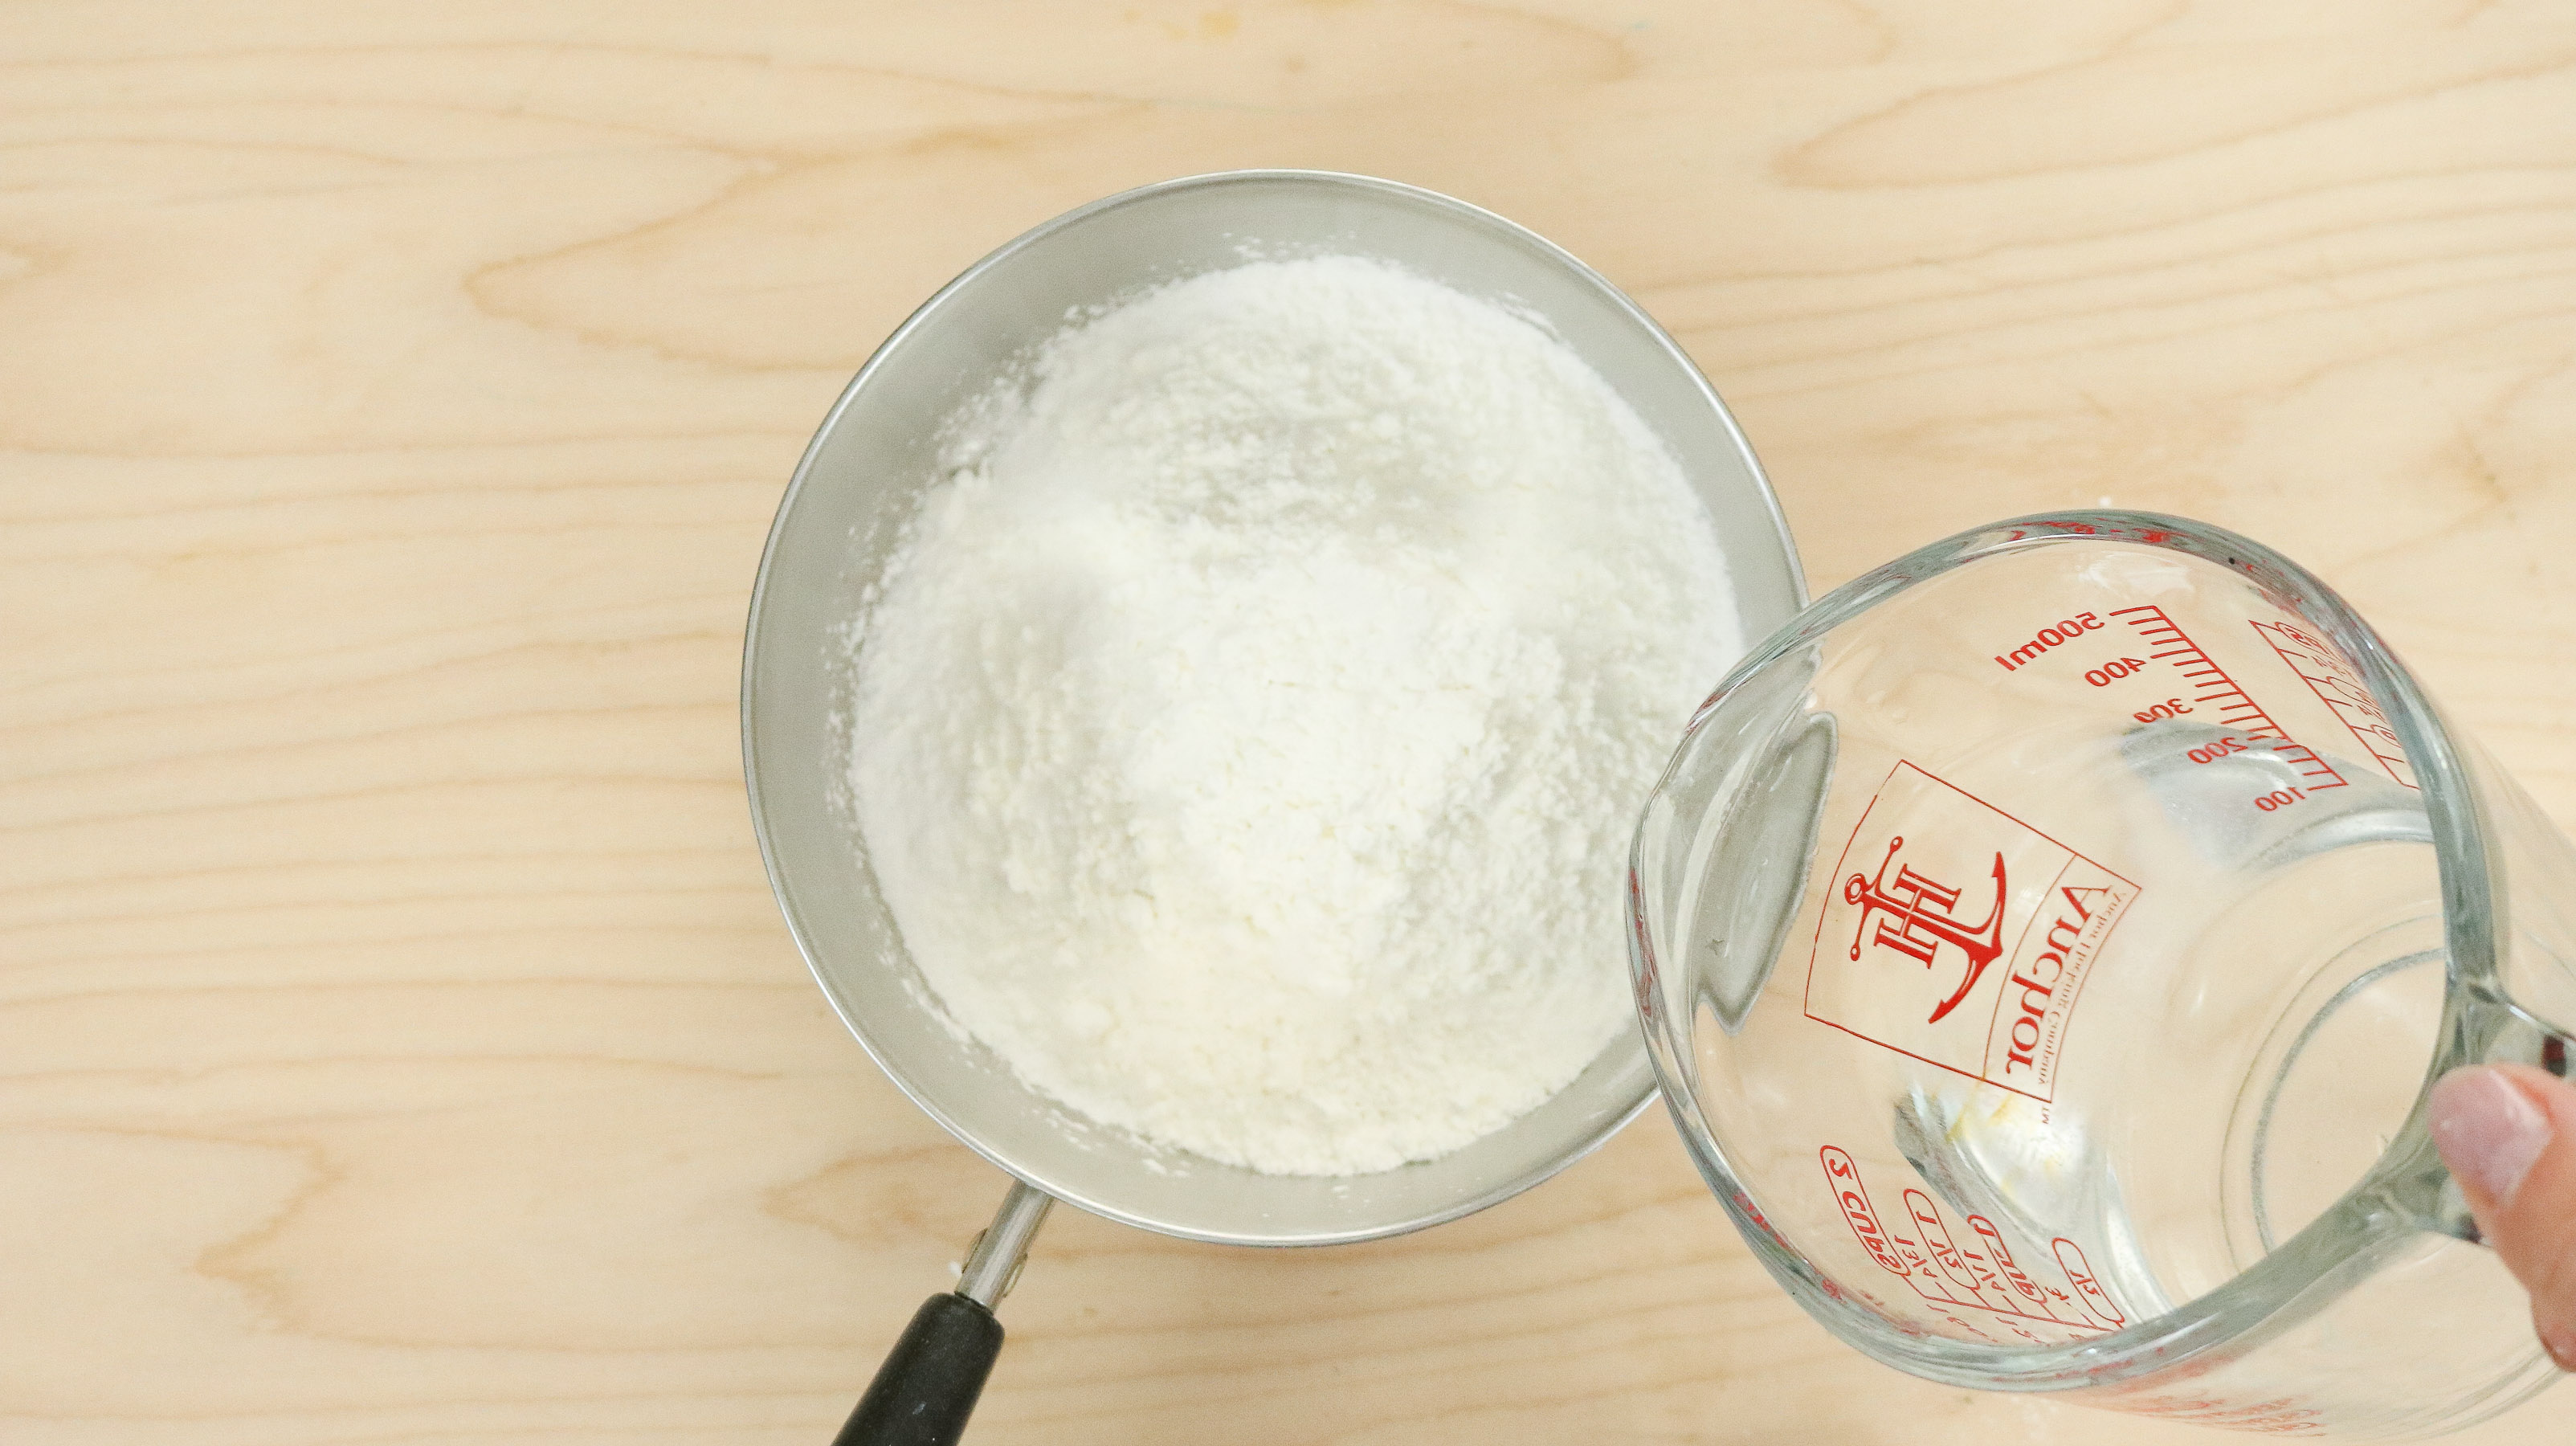
- 1 cup Baking Soda
- 1/4 cup cornstarch
- 3/4 cup water
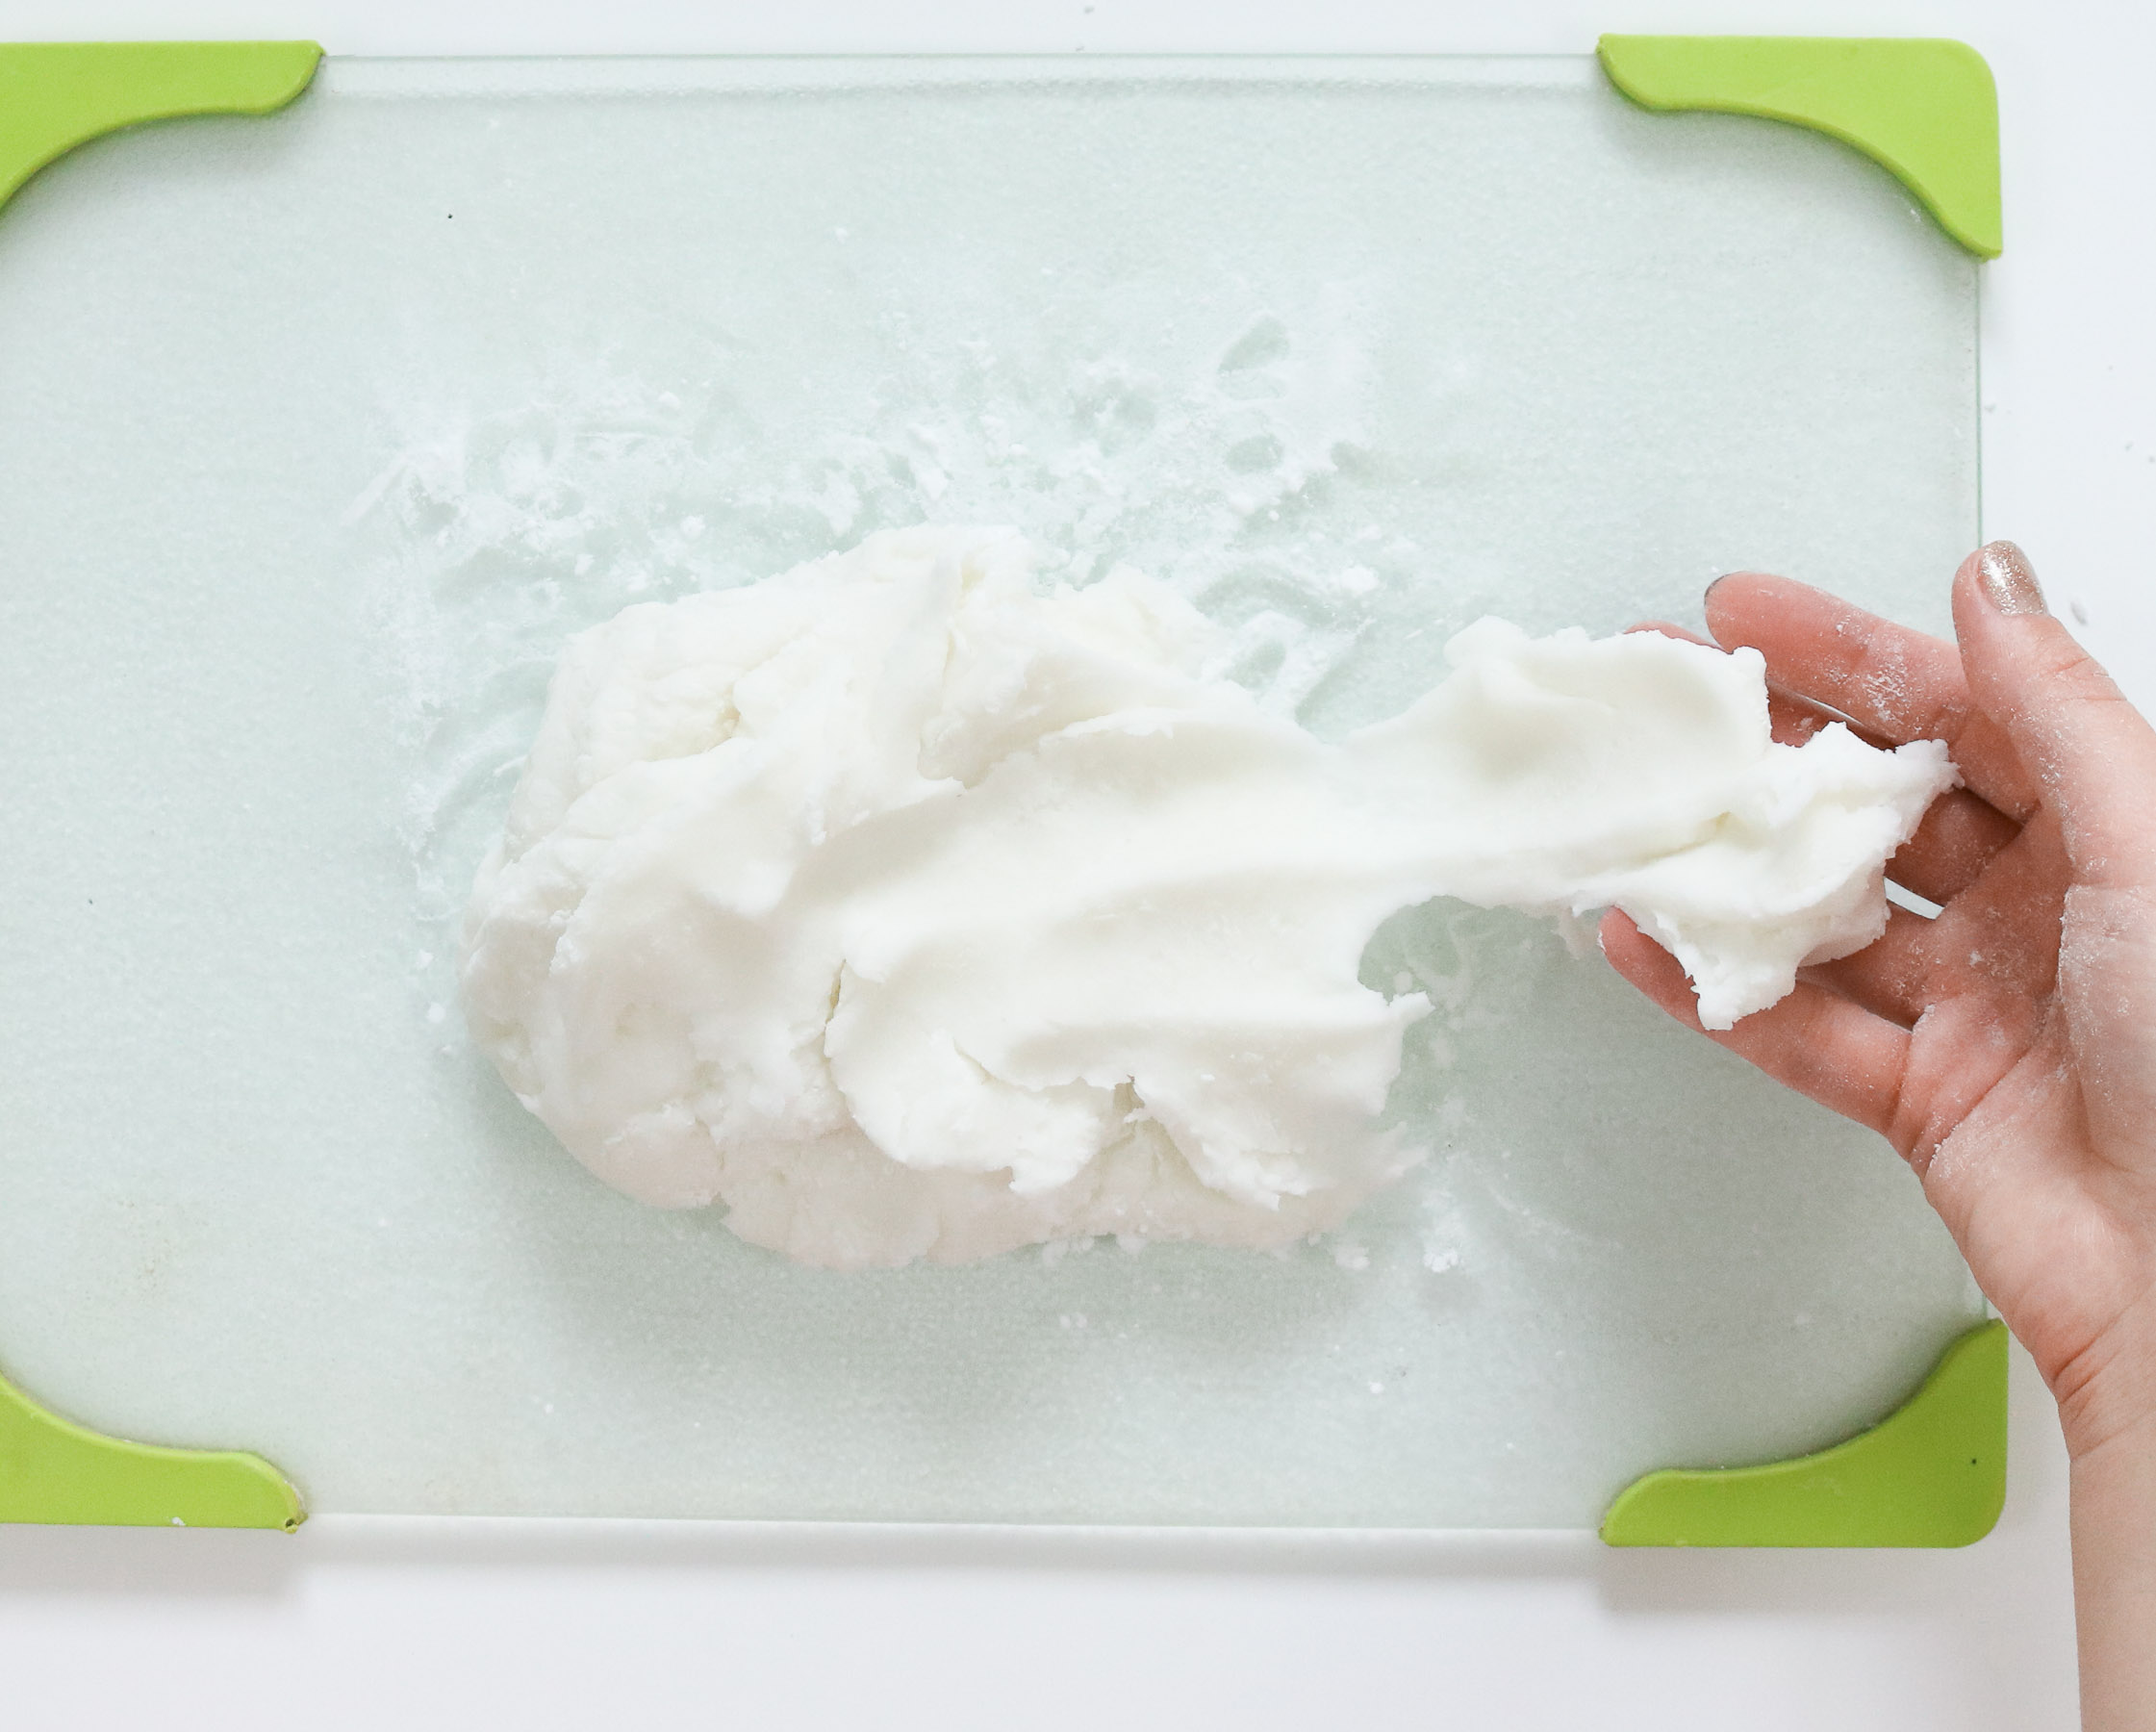
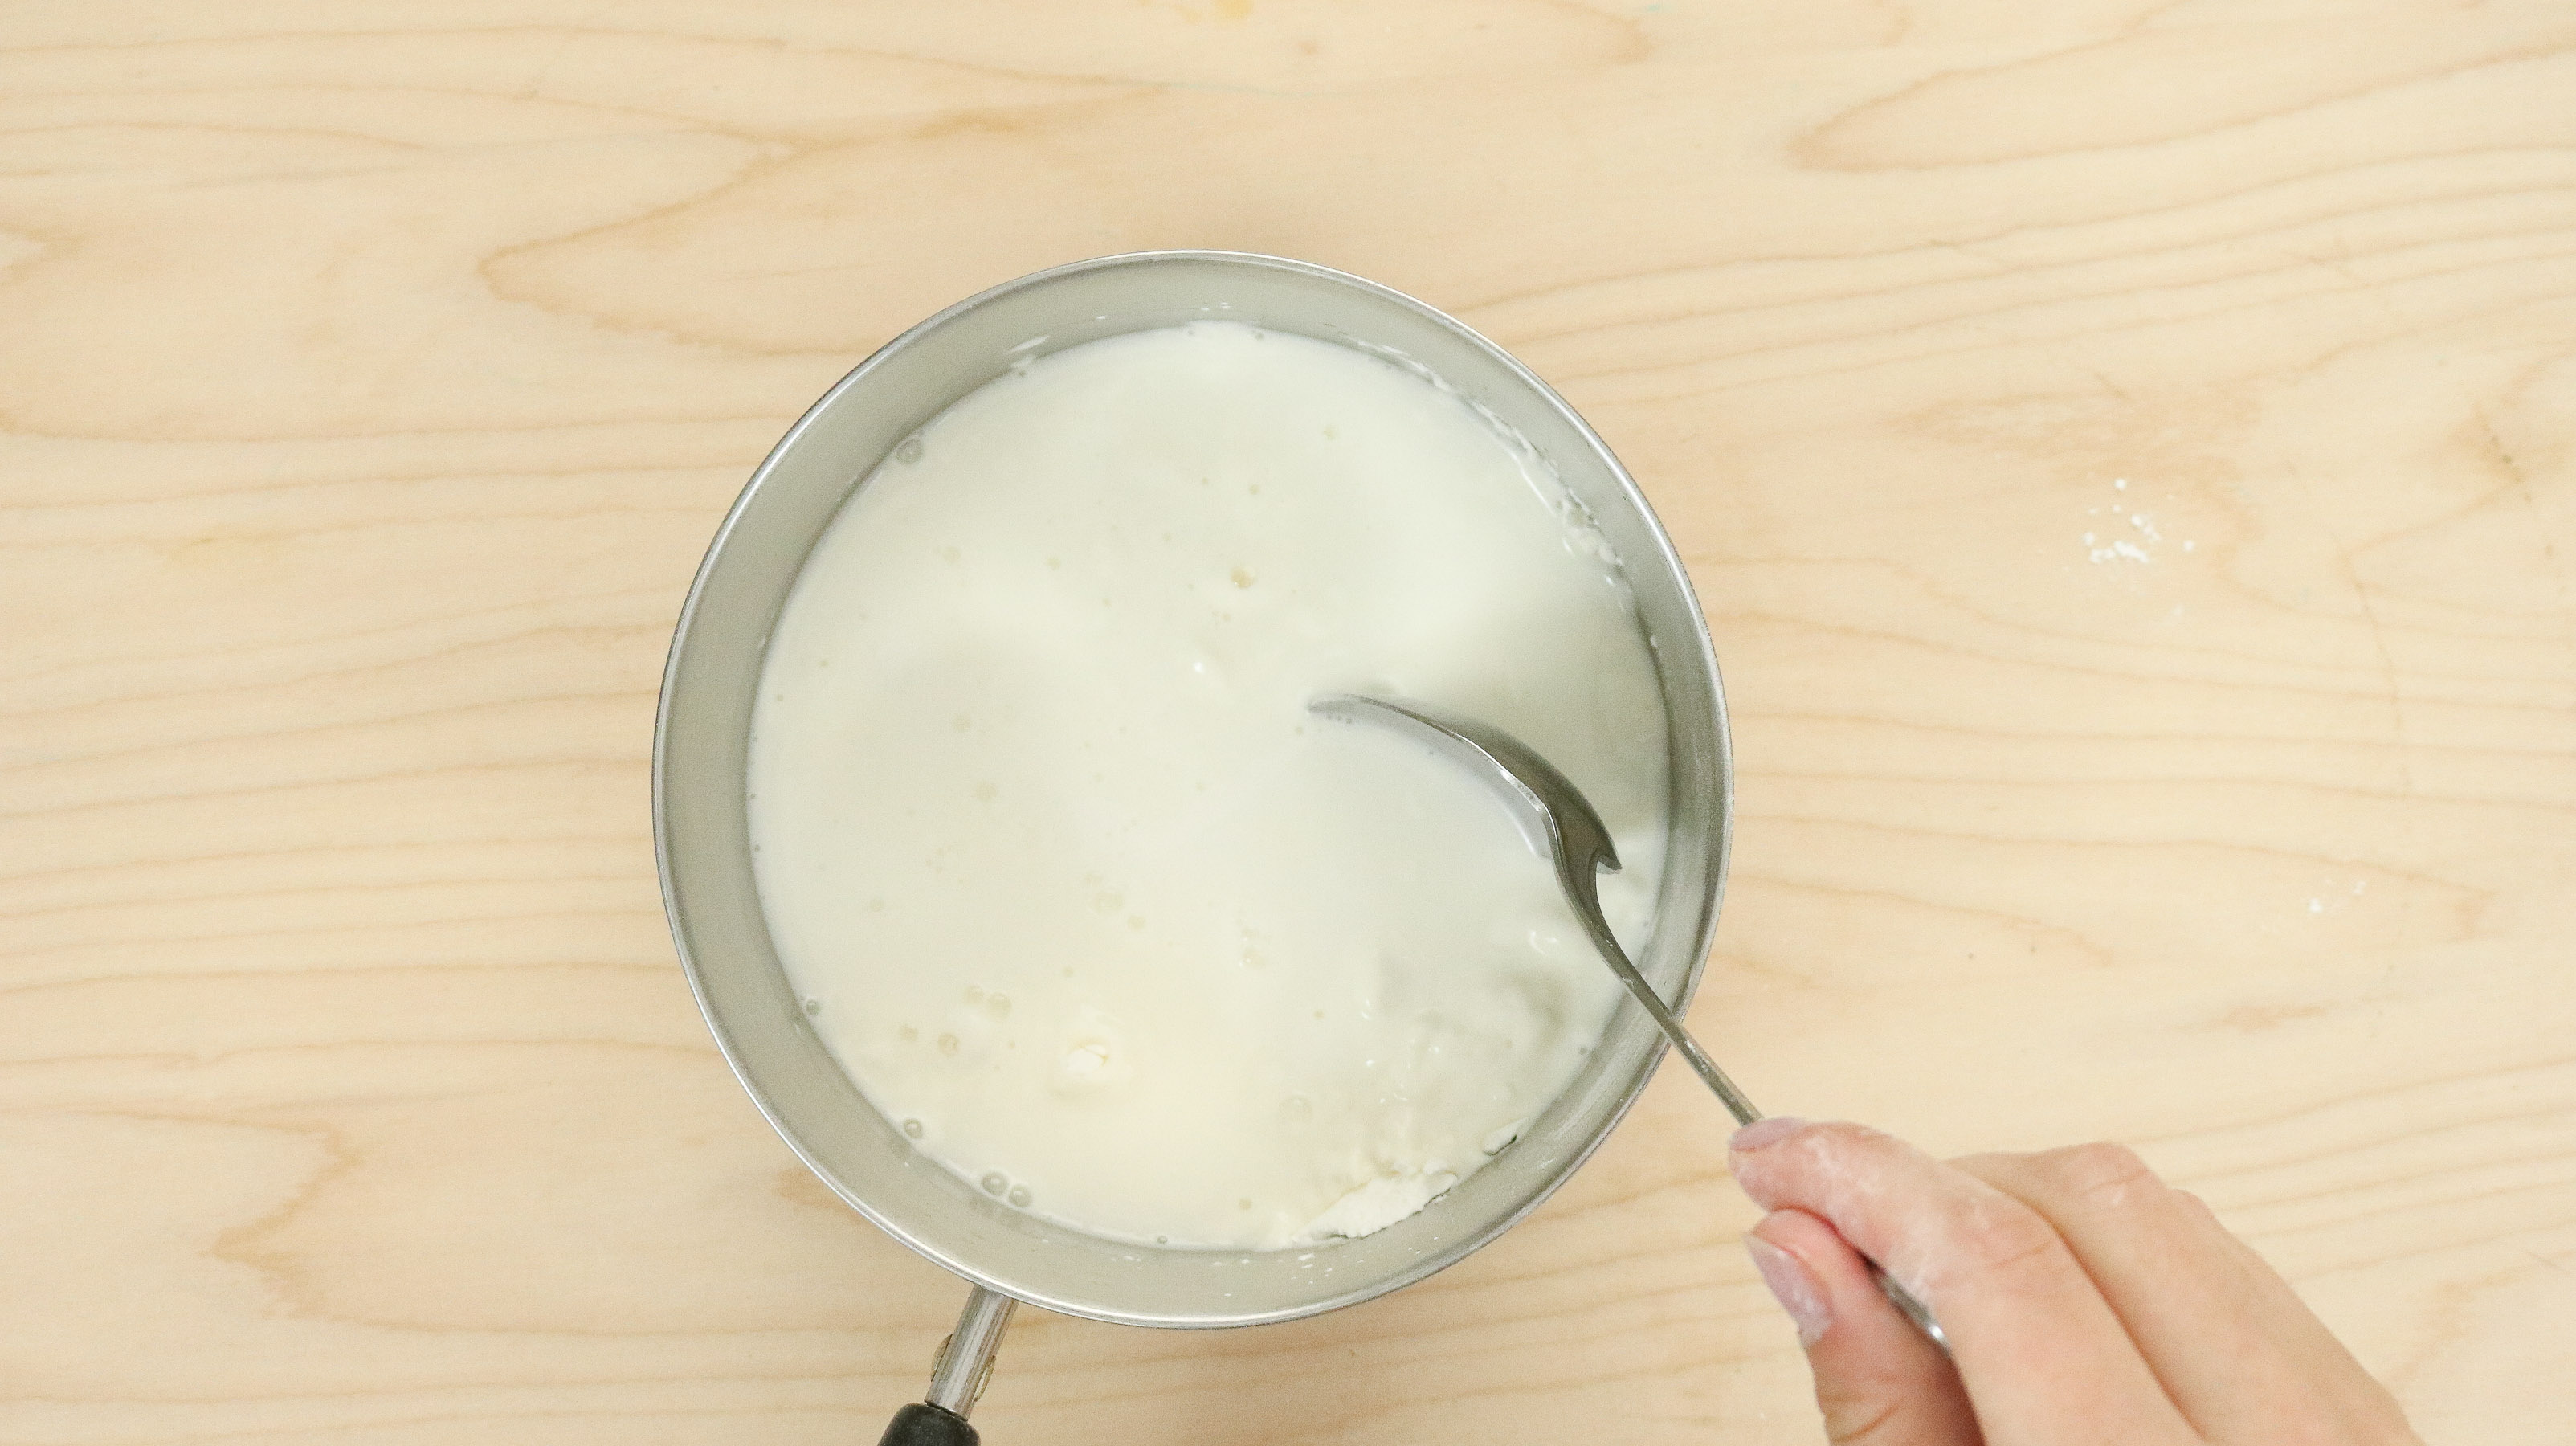
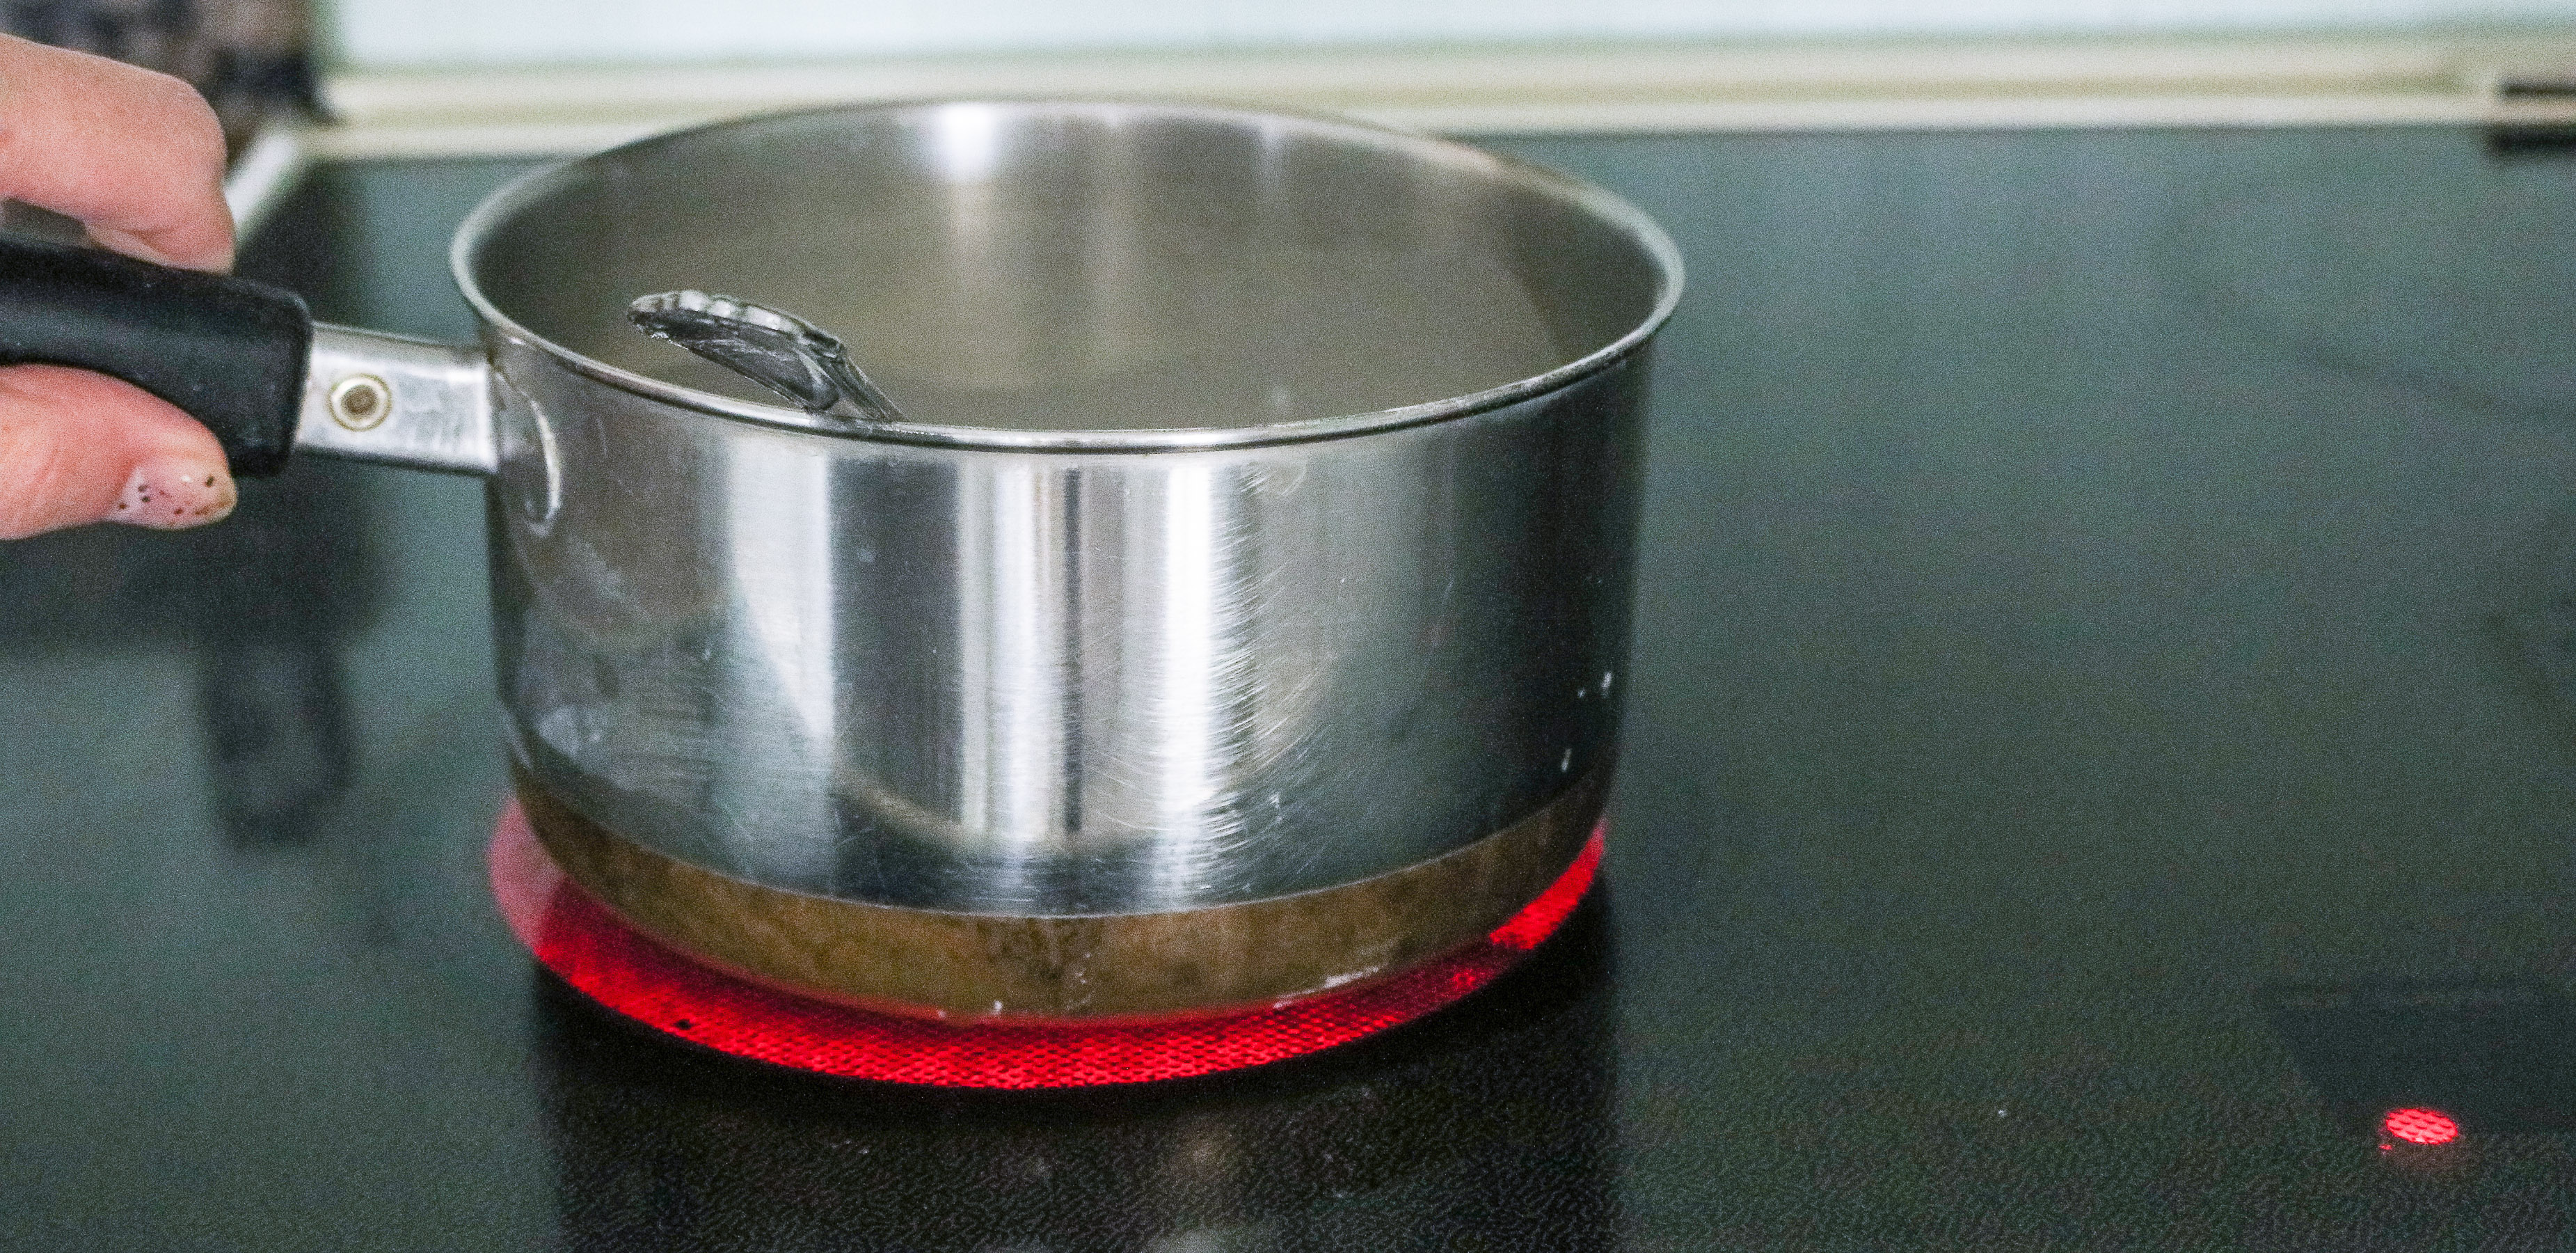
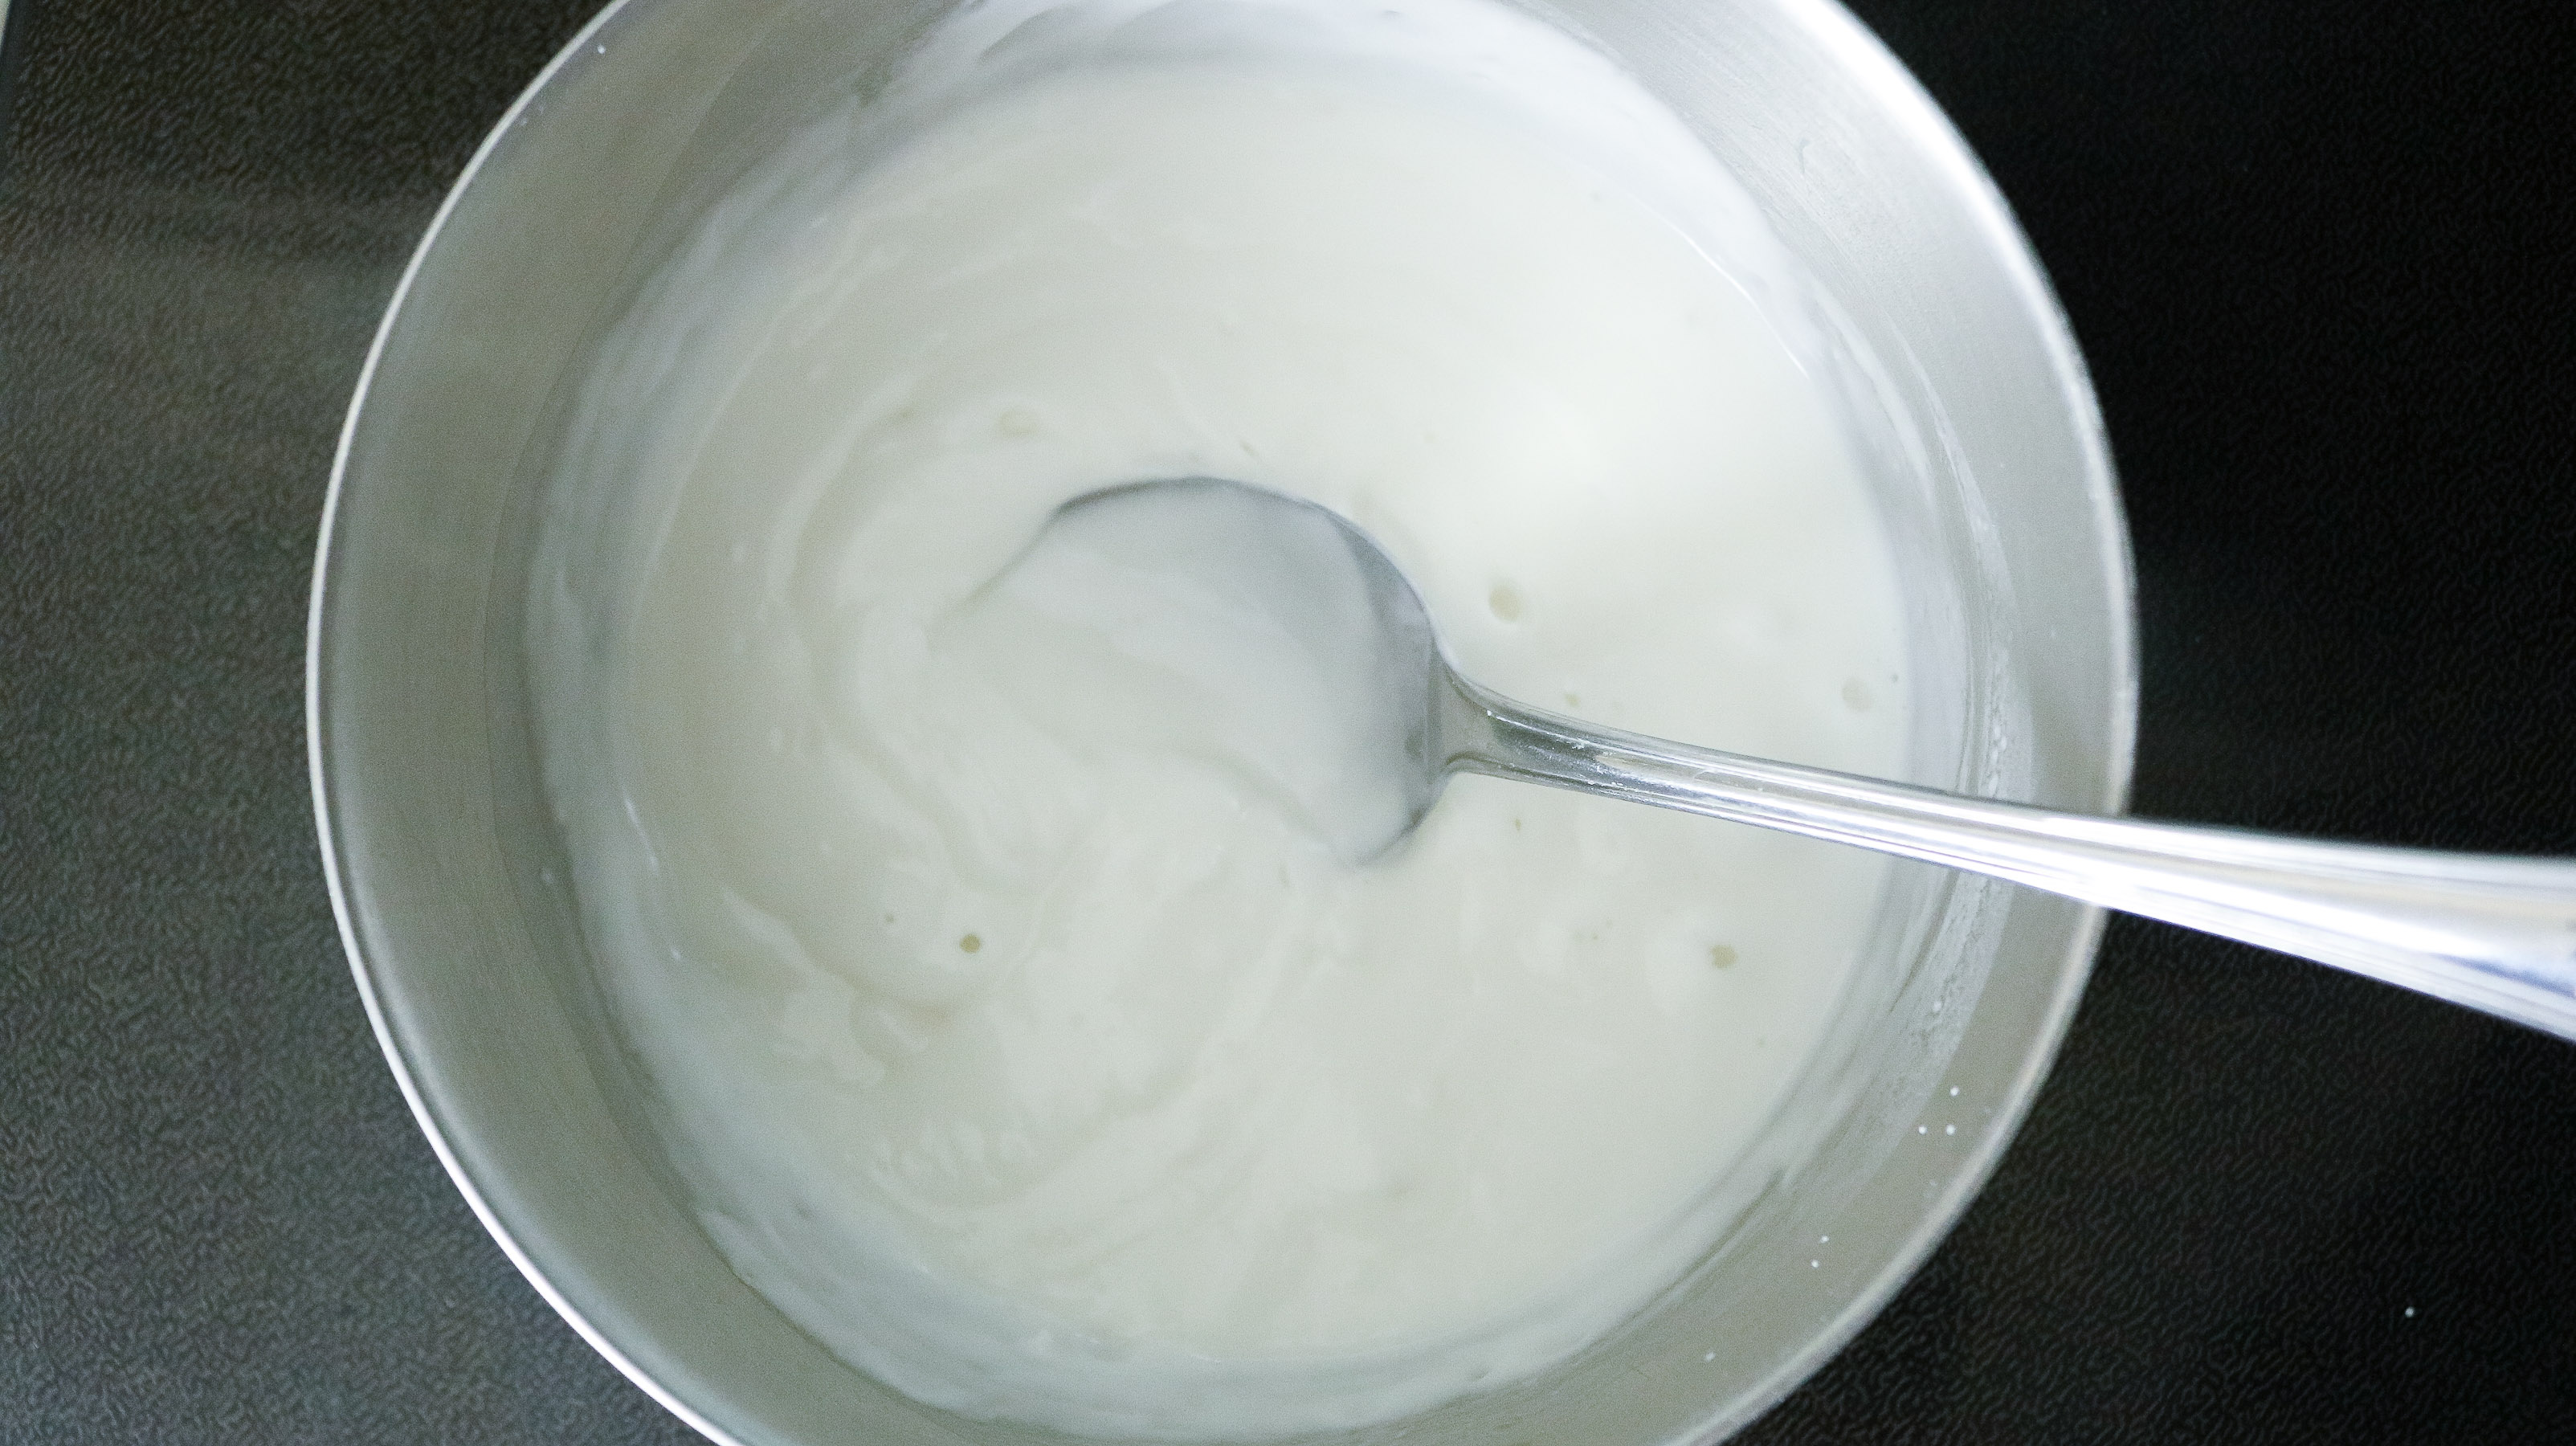
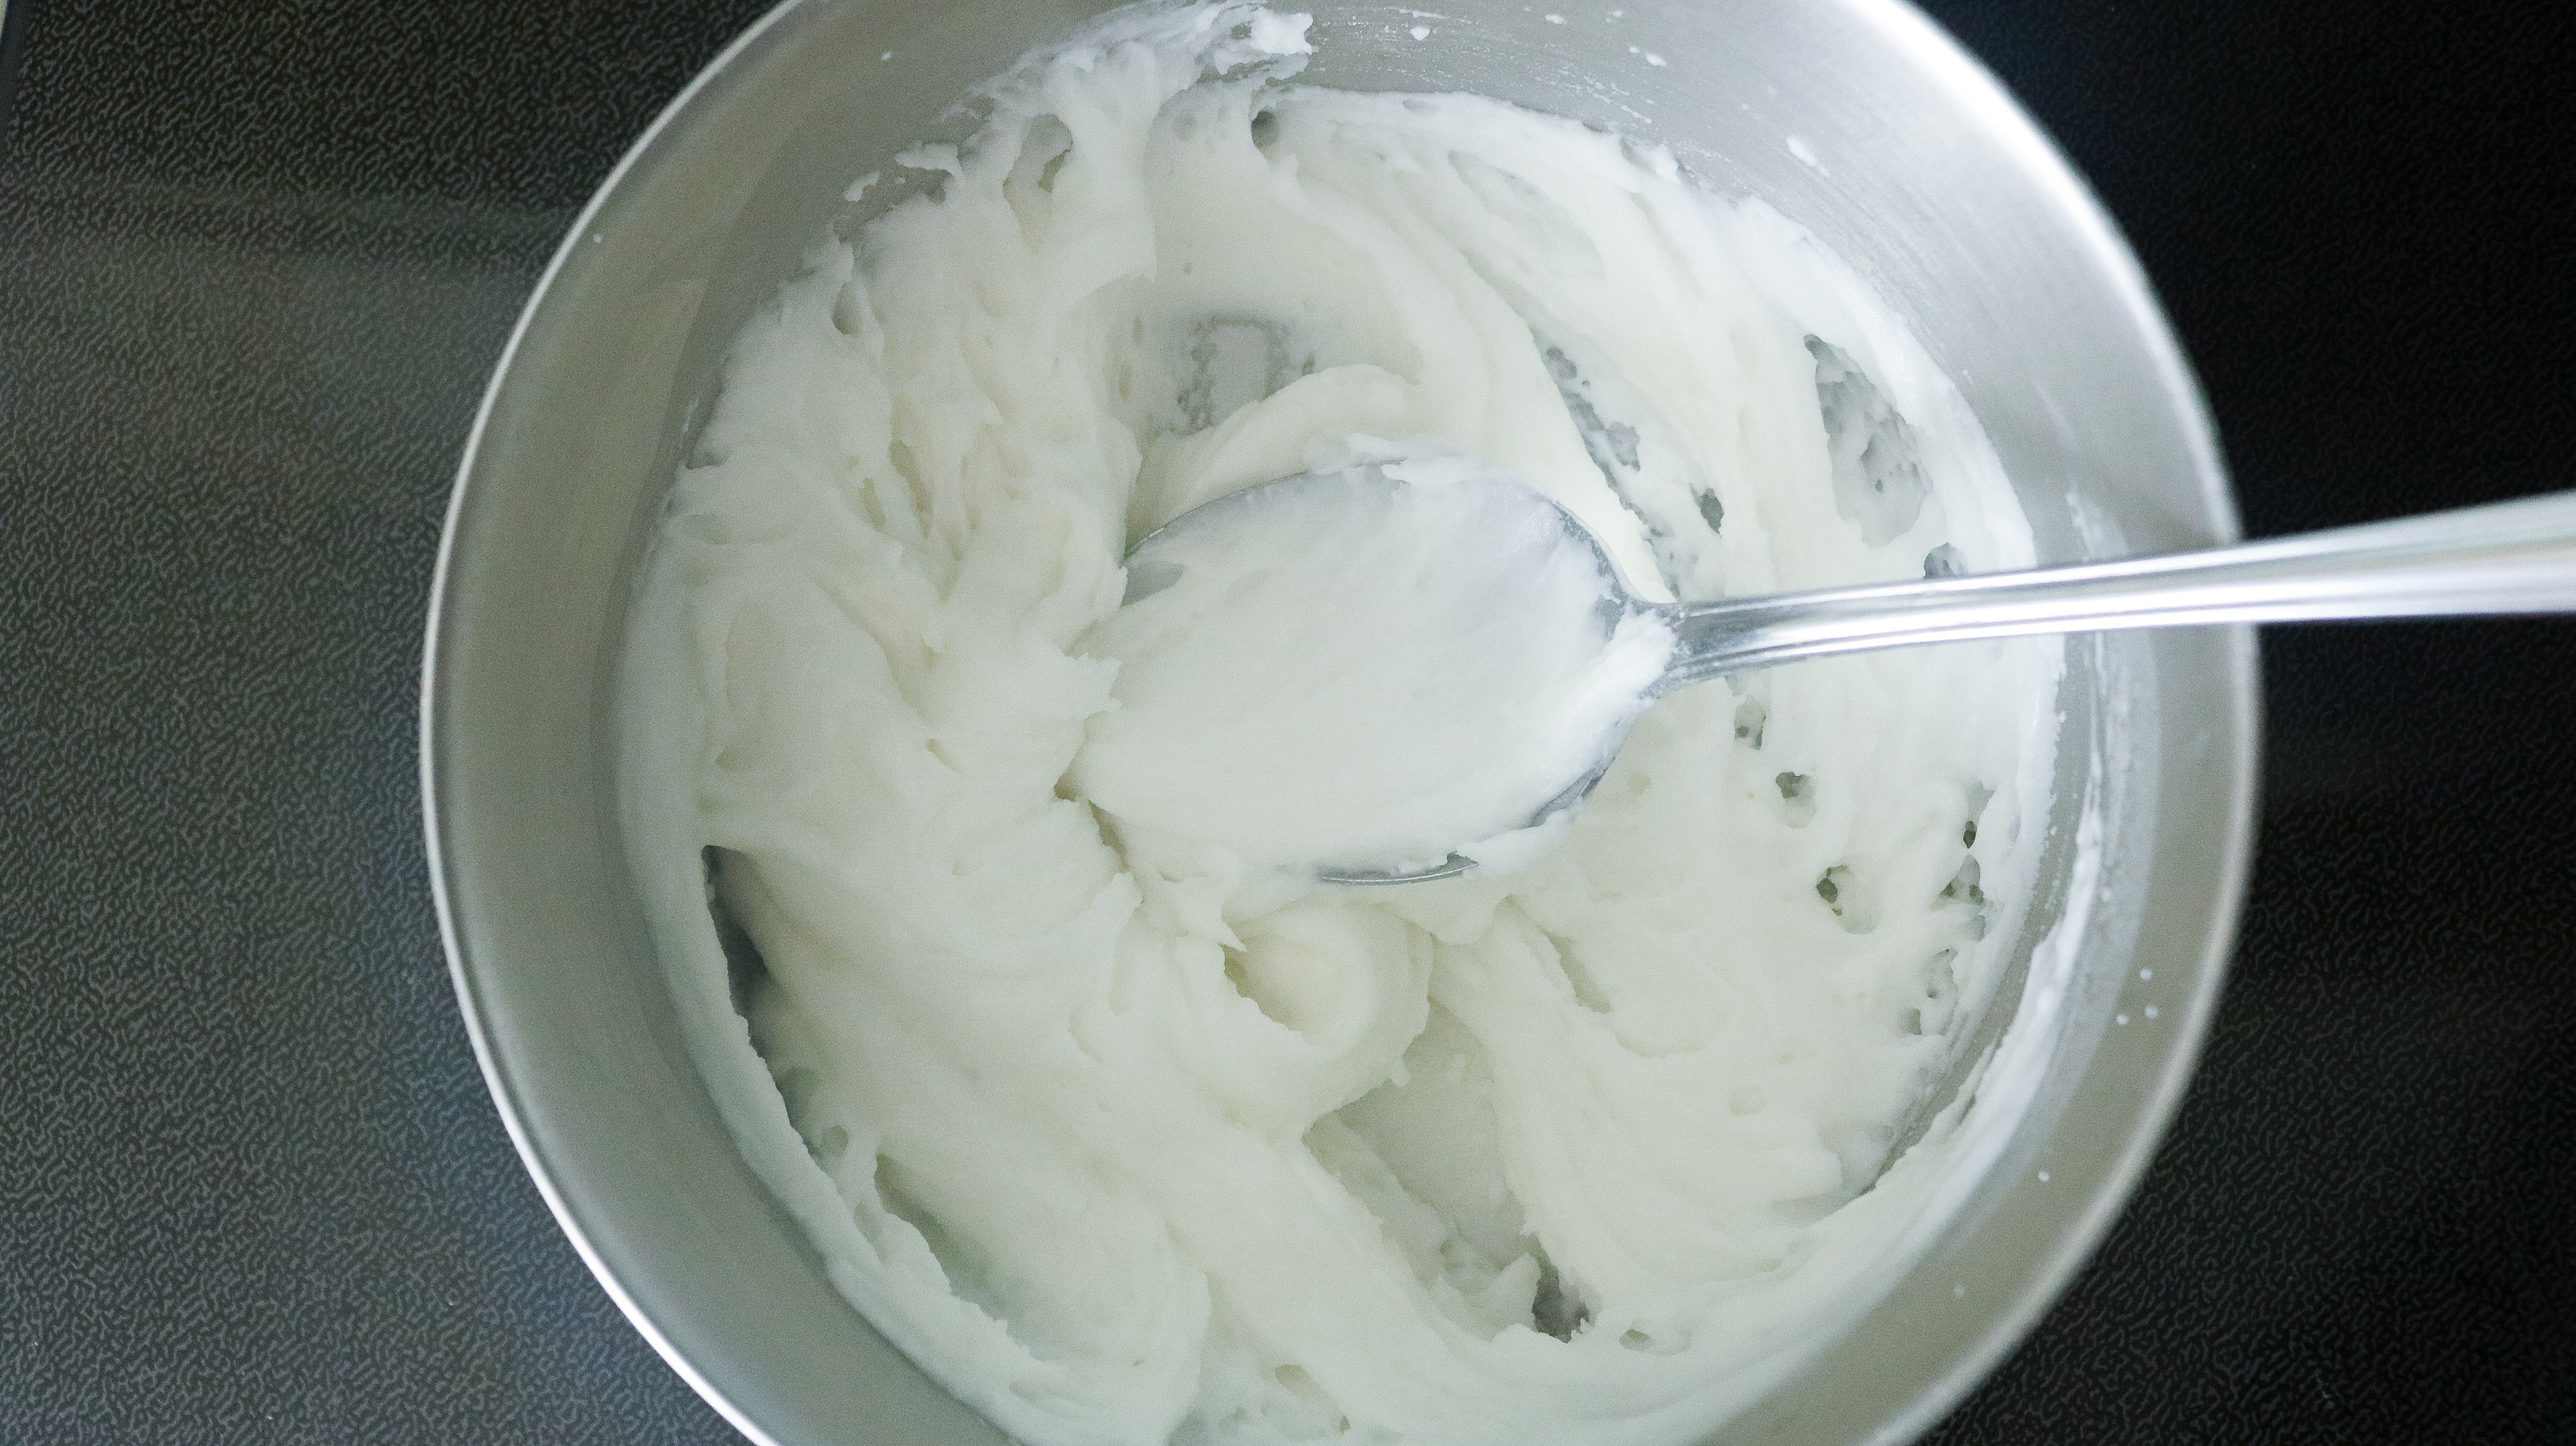
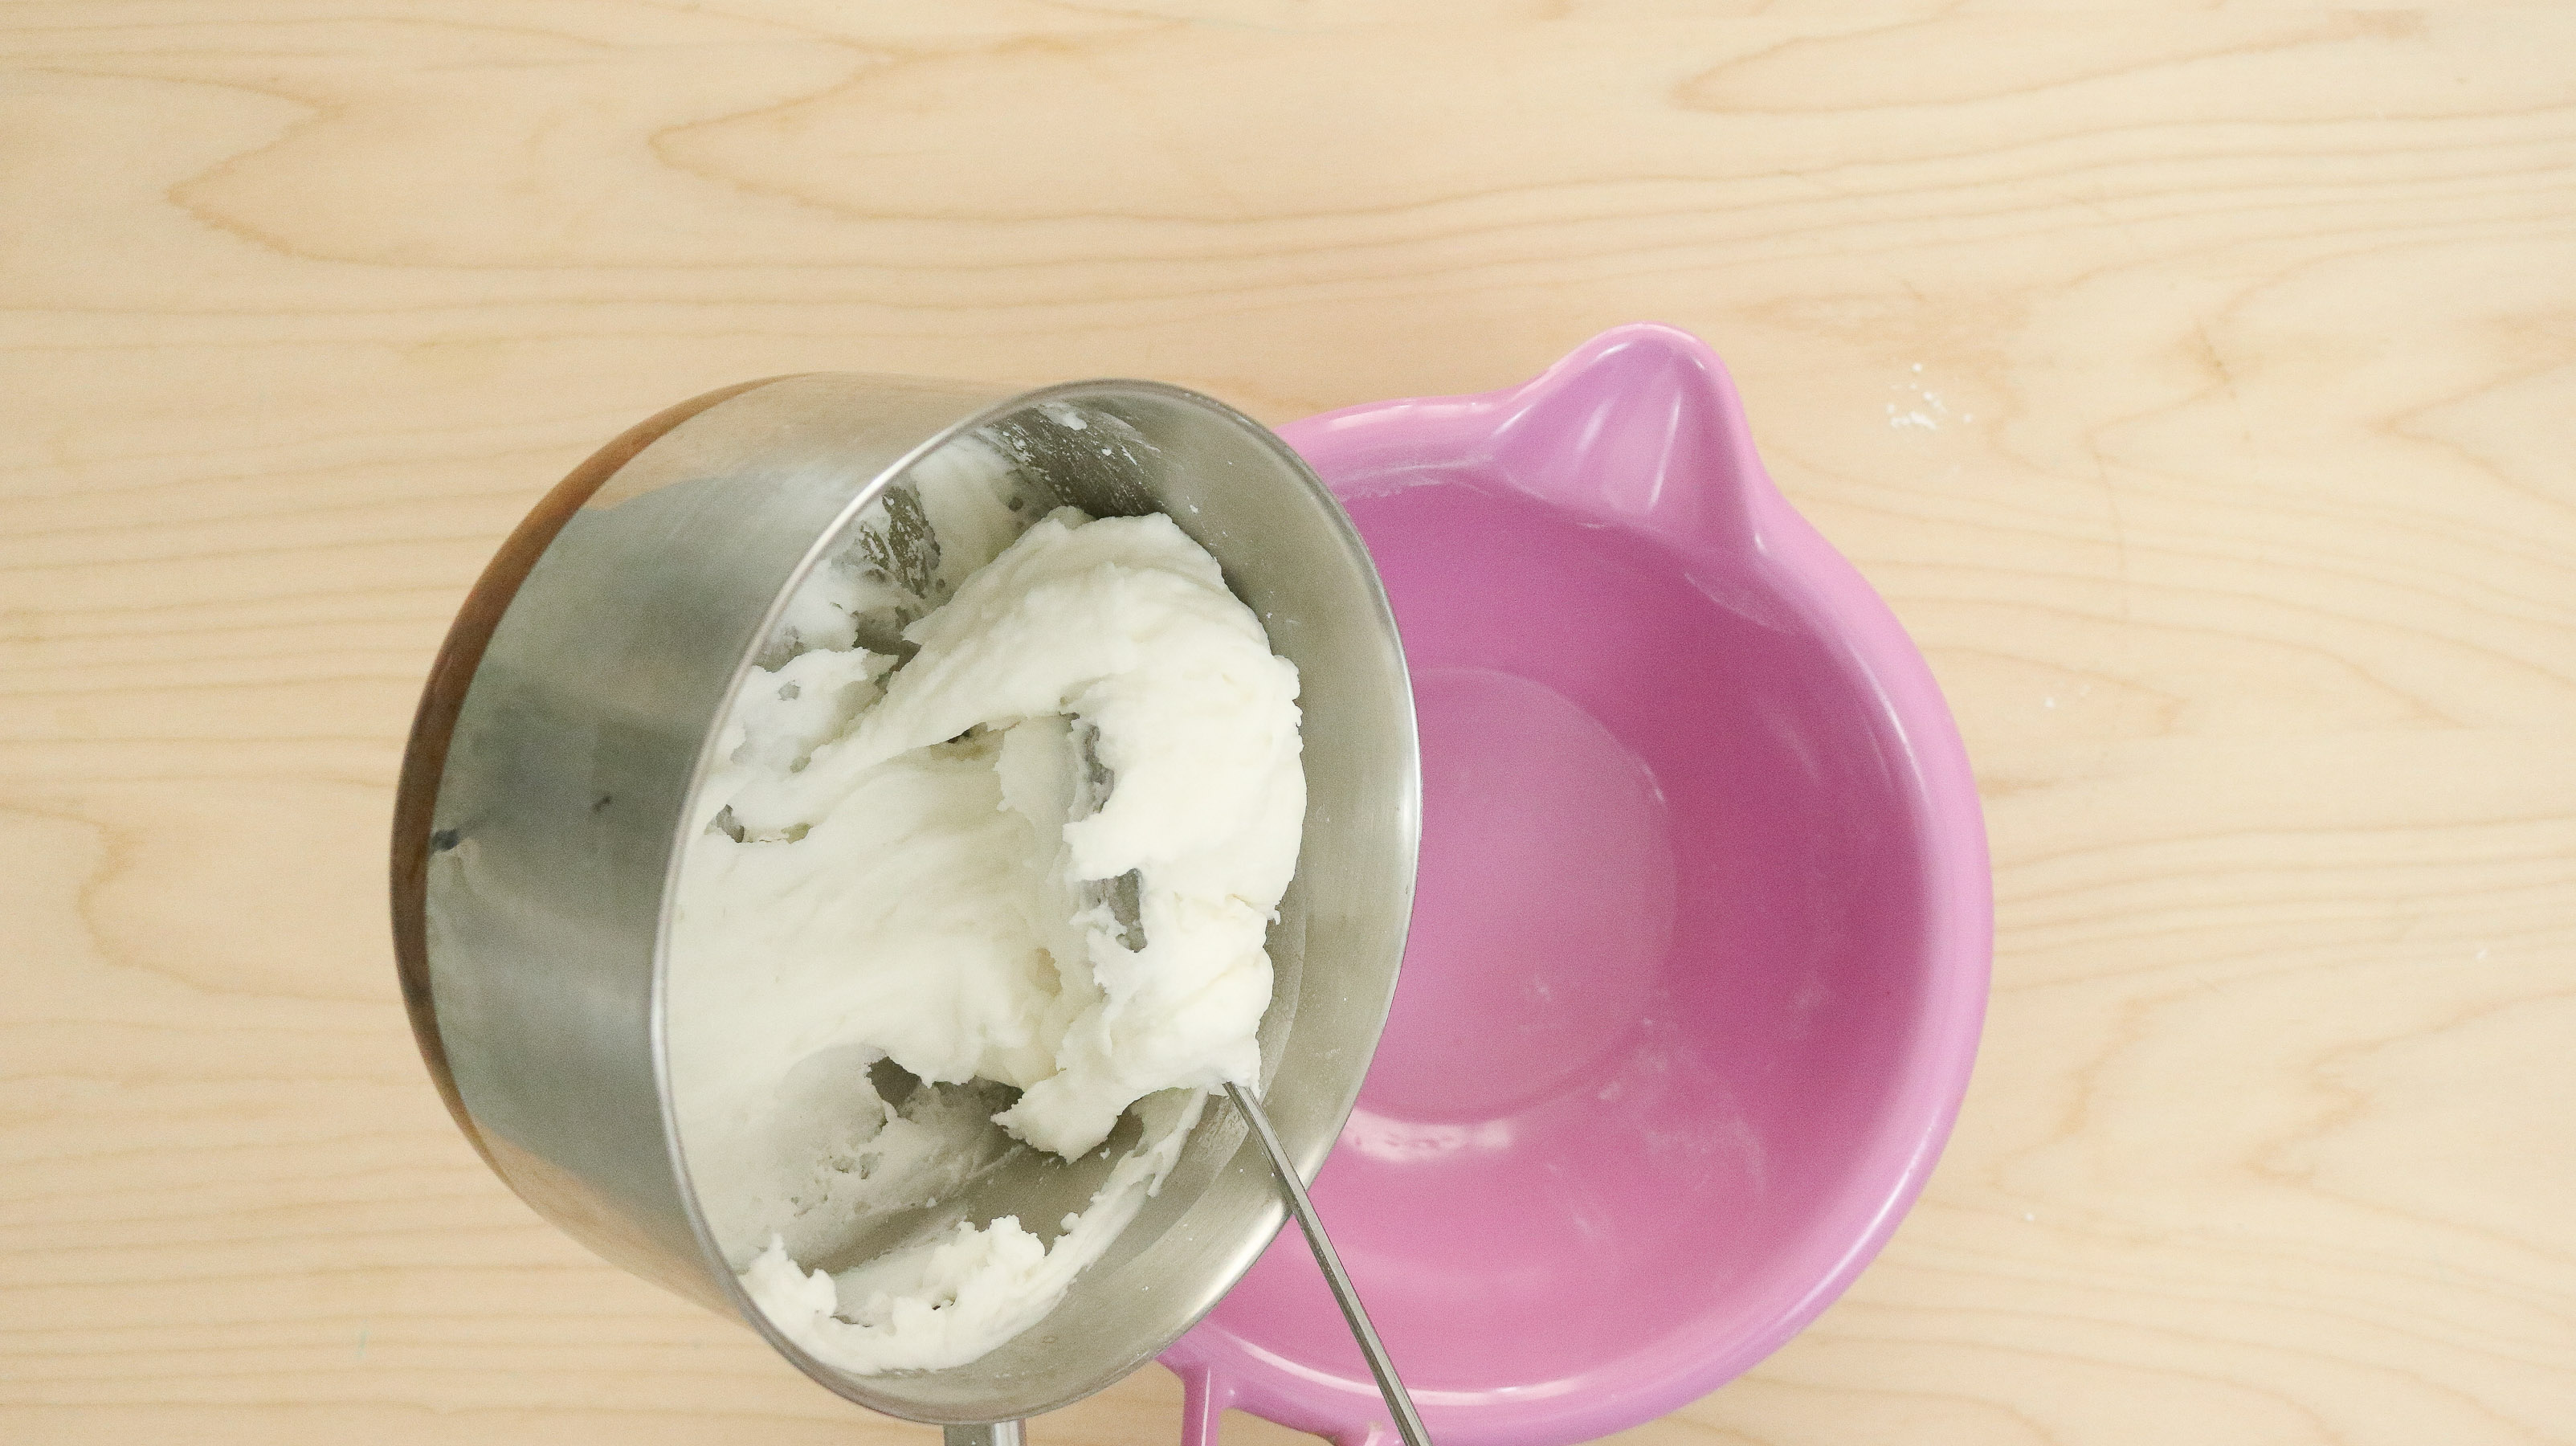
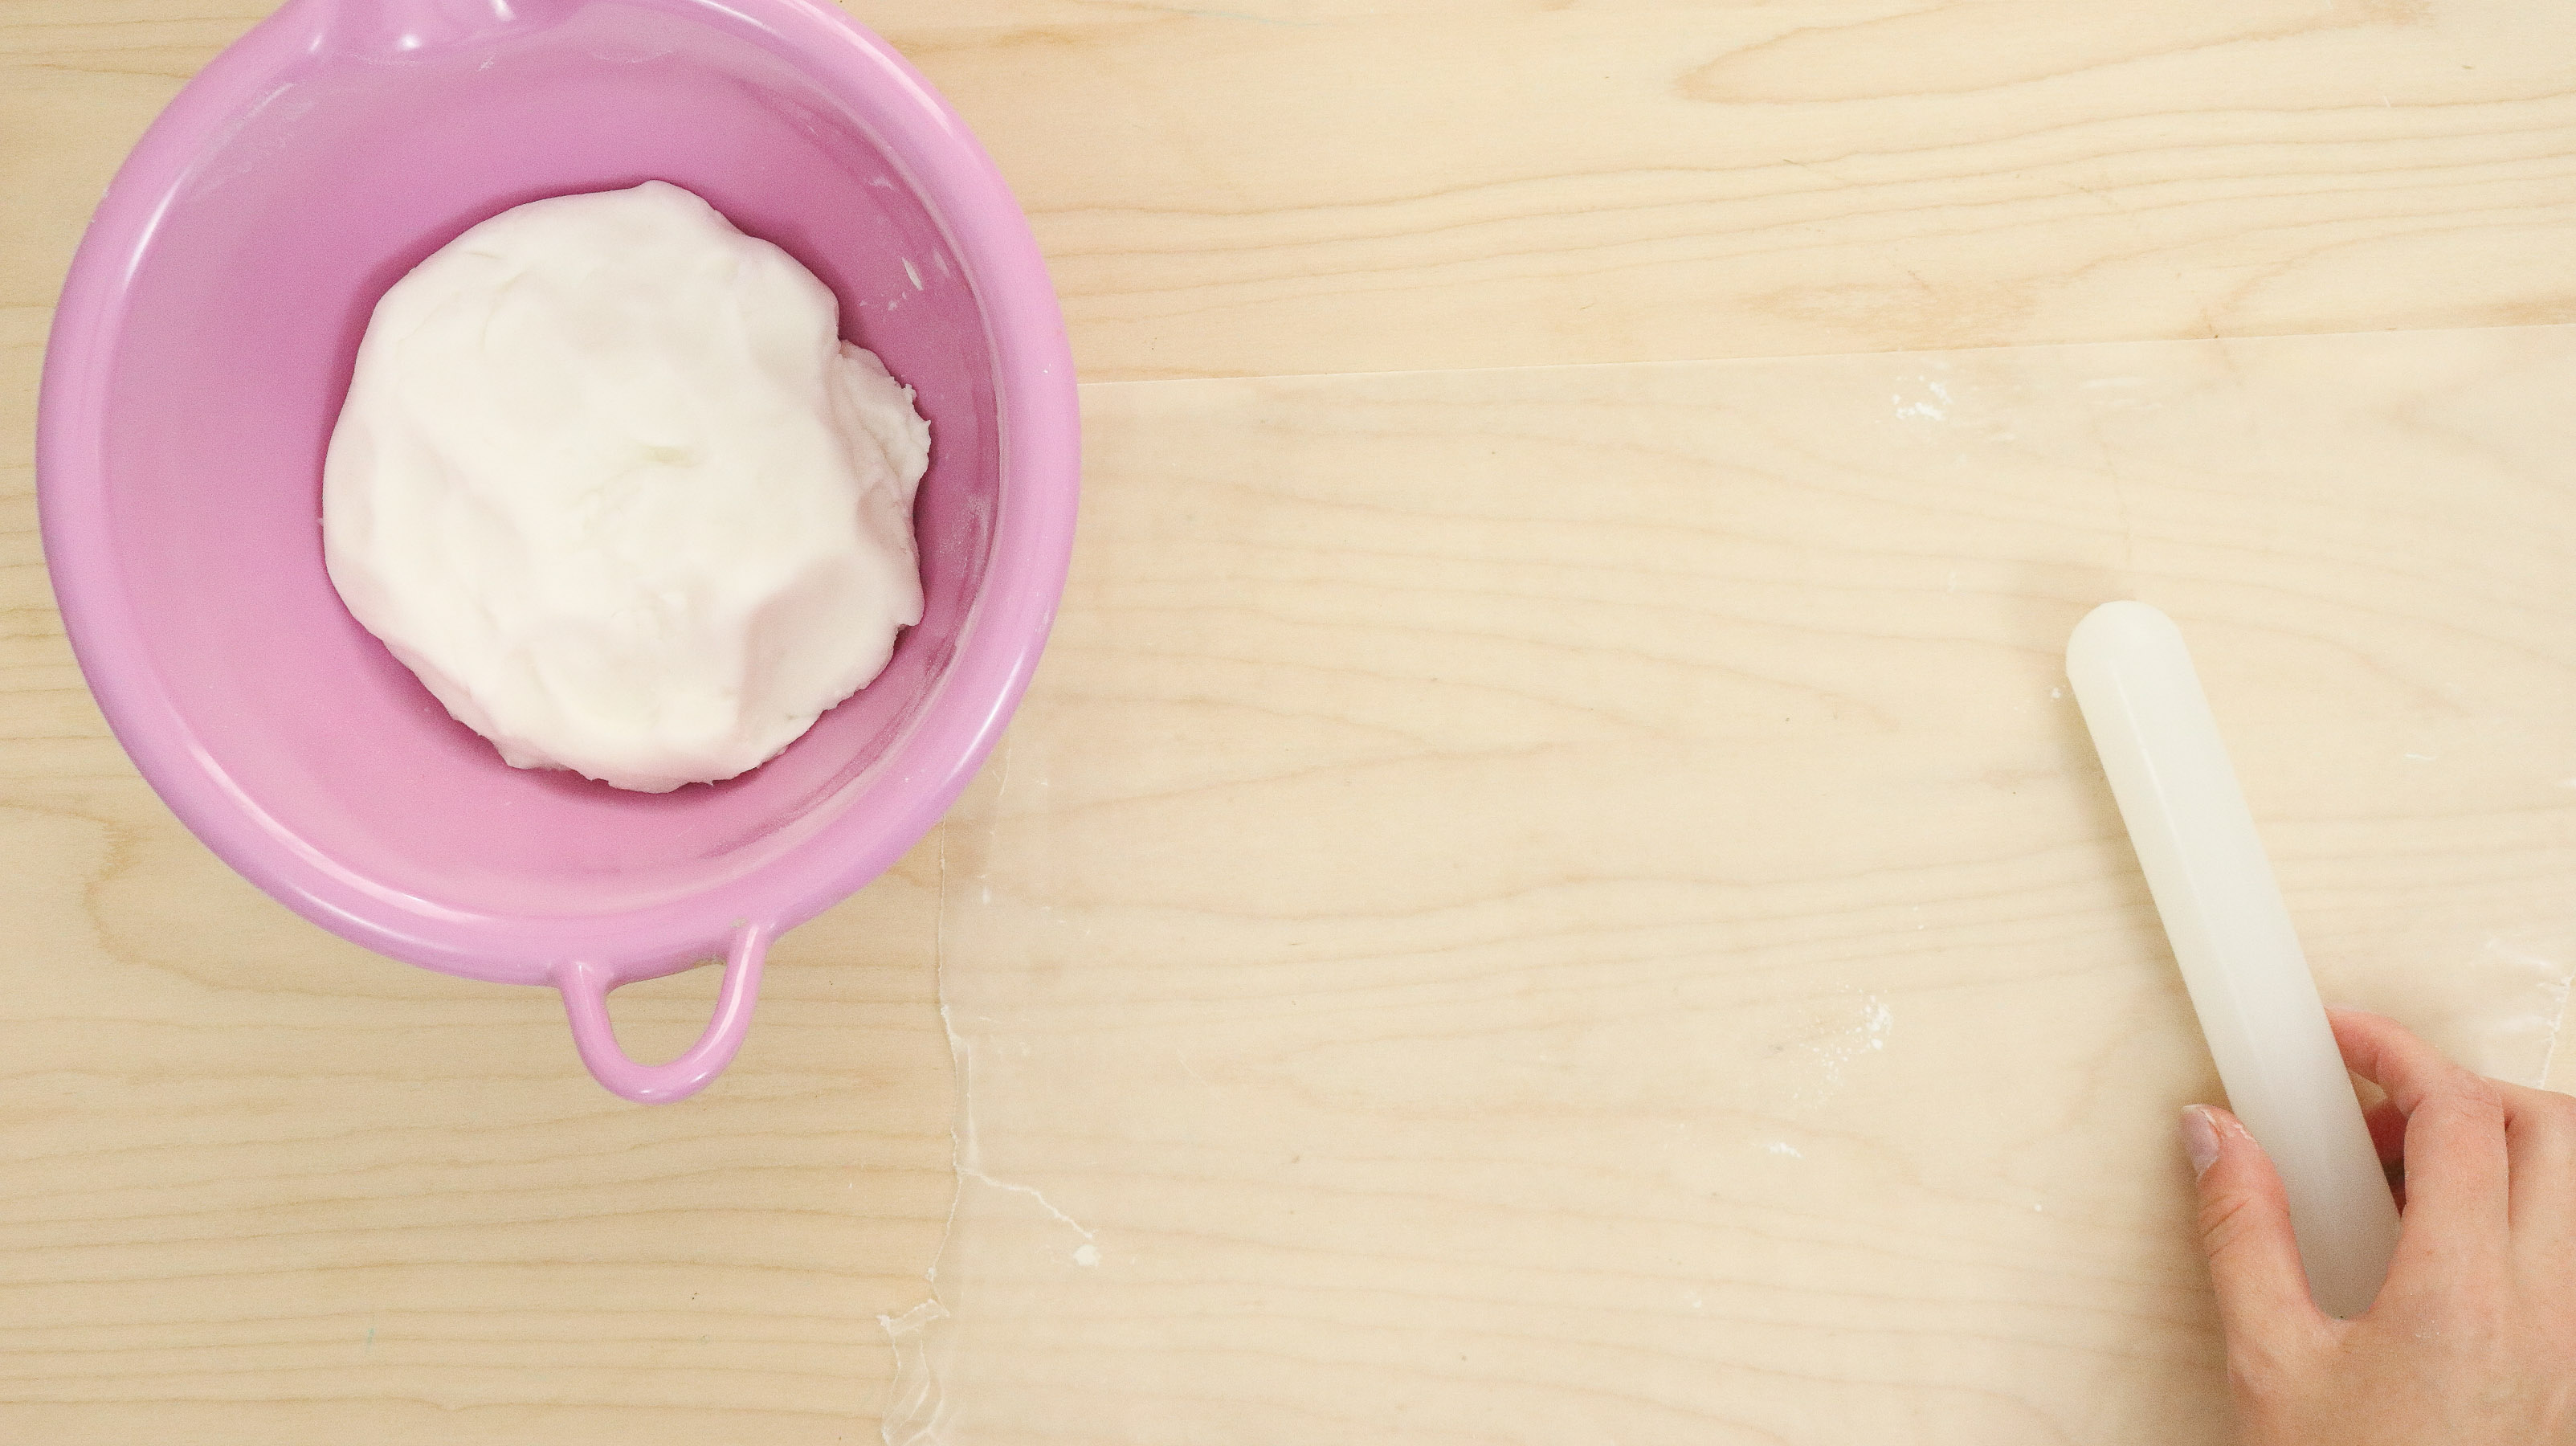
Yep that’s it! Combine the ingredients and stir, than you just need to set it on your stove top bring it to boil while stirring consistently. Once you see it bubbling turn it down to about medium and keep stirring until the mixture turns thick and is too hard to mix. This should take about 5-6 minutes. Remove and let it cool in a bowl. Cover it with some saran wrap while you’re working on your stars because it dries pretty quick.
CLICK ON ANY PHOTO TO ADD TO YOUR PINTEREST BOARD!
OTHER RELATED DIYS YOU’LL LOVE:
- TURN OLD TIRES INTO GIANT ORNAMENTS FOR YOUR FRONT YARD!
- HOW TO DRY ORANGES + MAKE A WREATH!
- RECYCLE YOUR TIN CANS FOR THIS CHRISTMAS CENTERPIECE!
- DIY GIANT CHUNKY KNIT WREATH!
- DIY NORDIC WOOD CHRISTMAS ORNAMENTS!
If your clay is too sticky add some baking soda to it.
Star Garland DIY – Making your stars
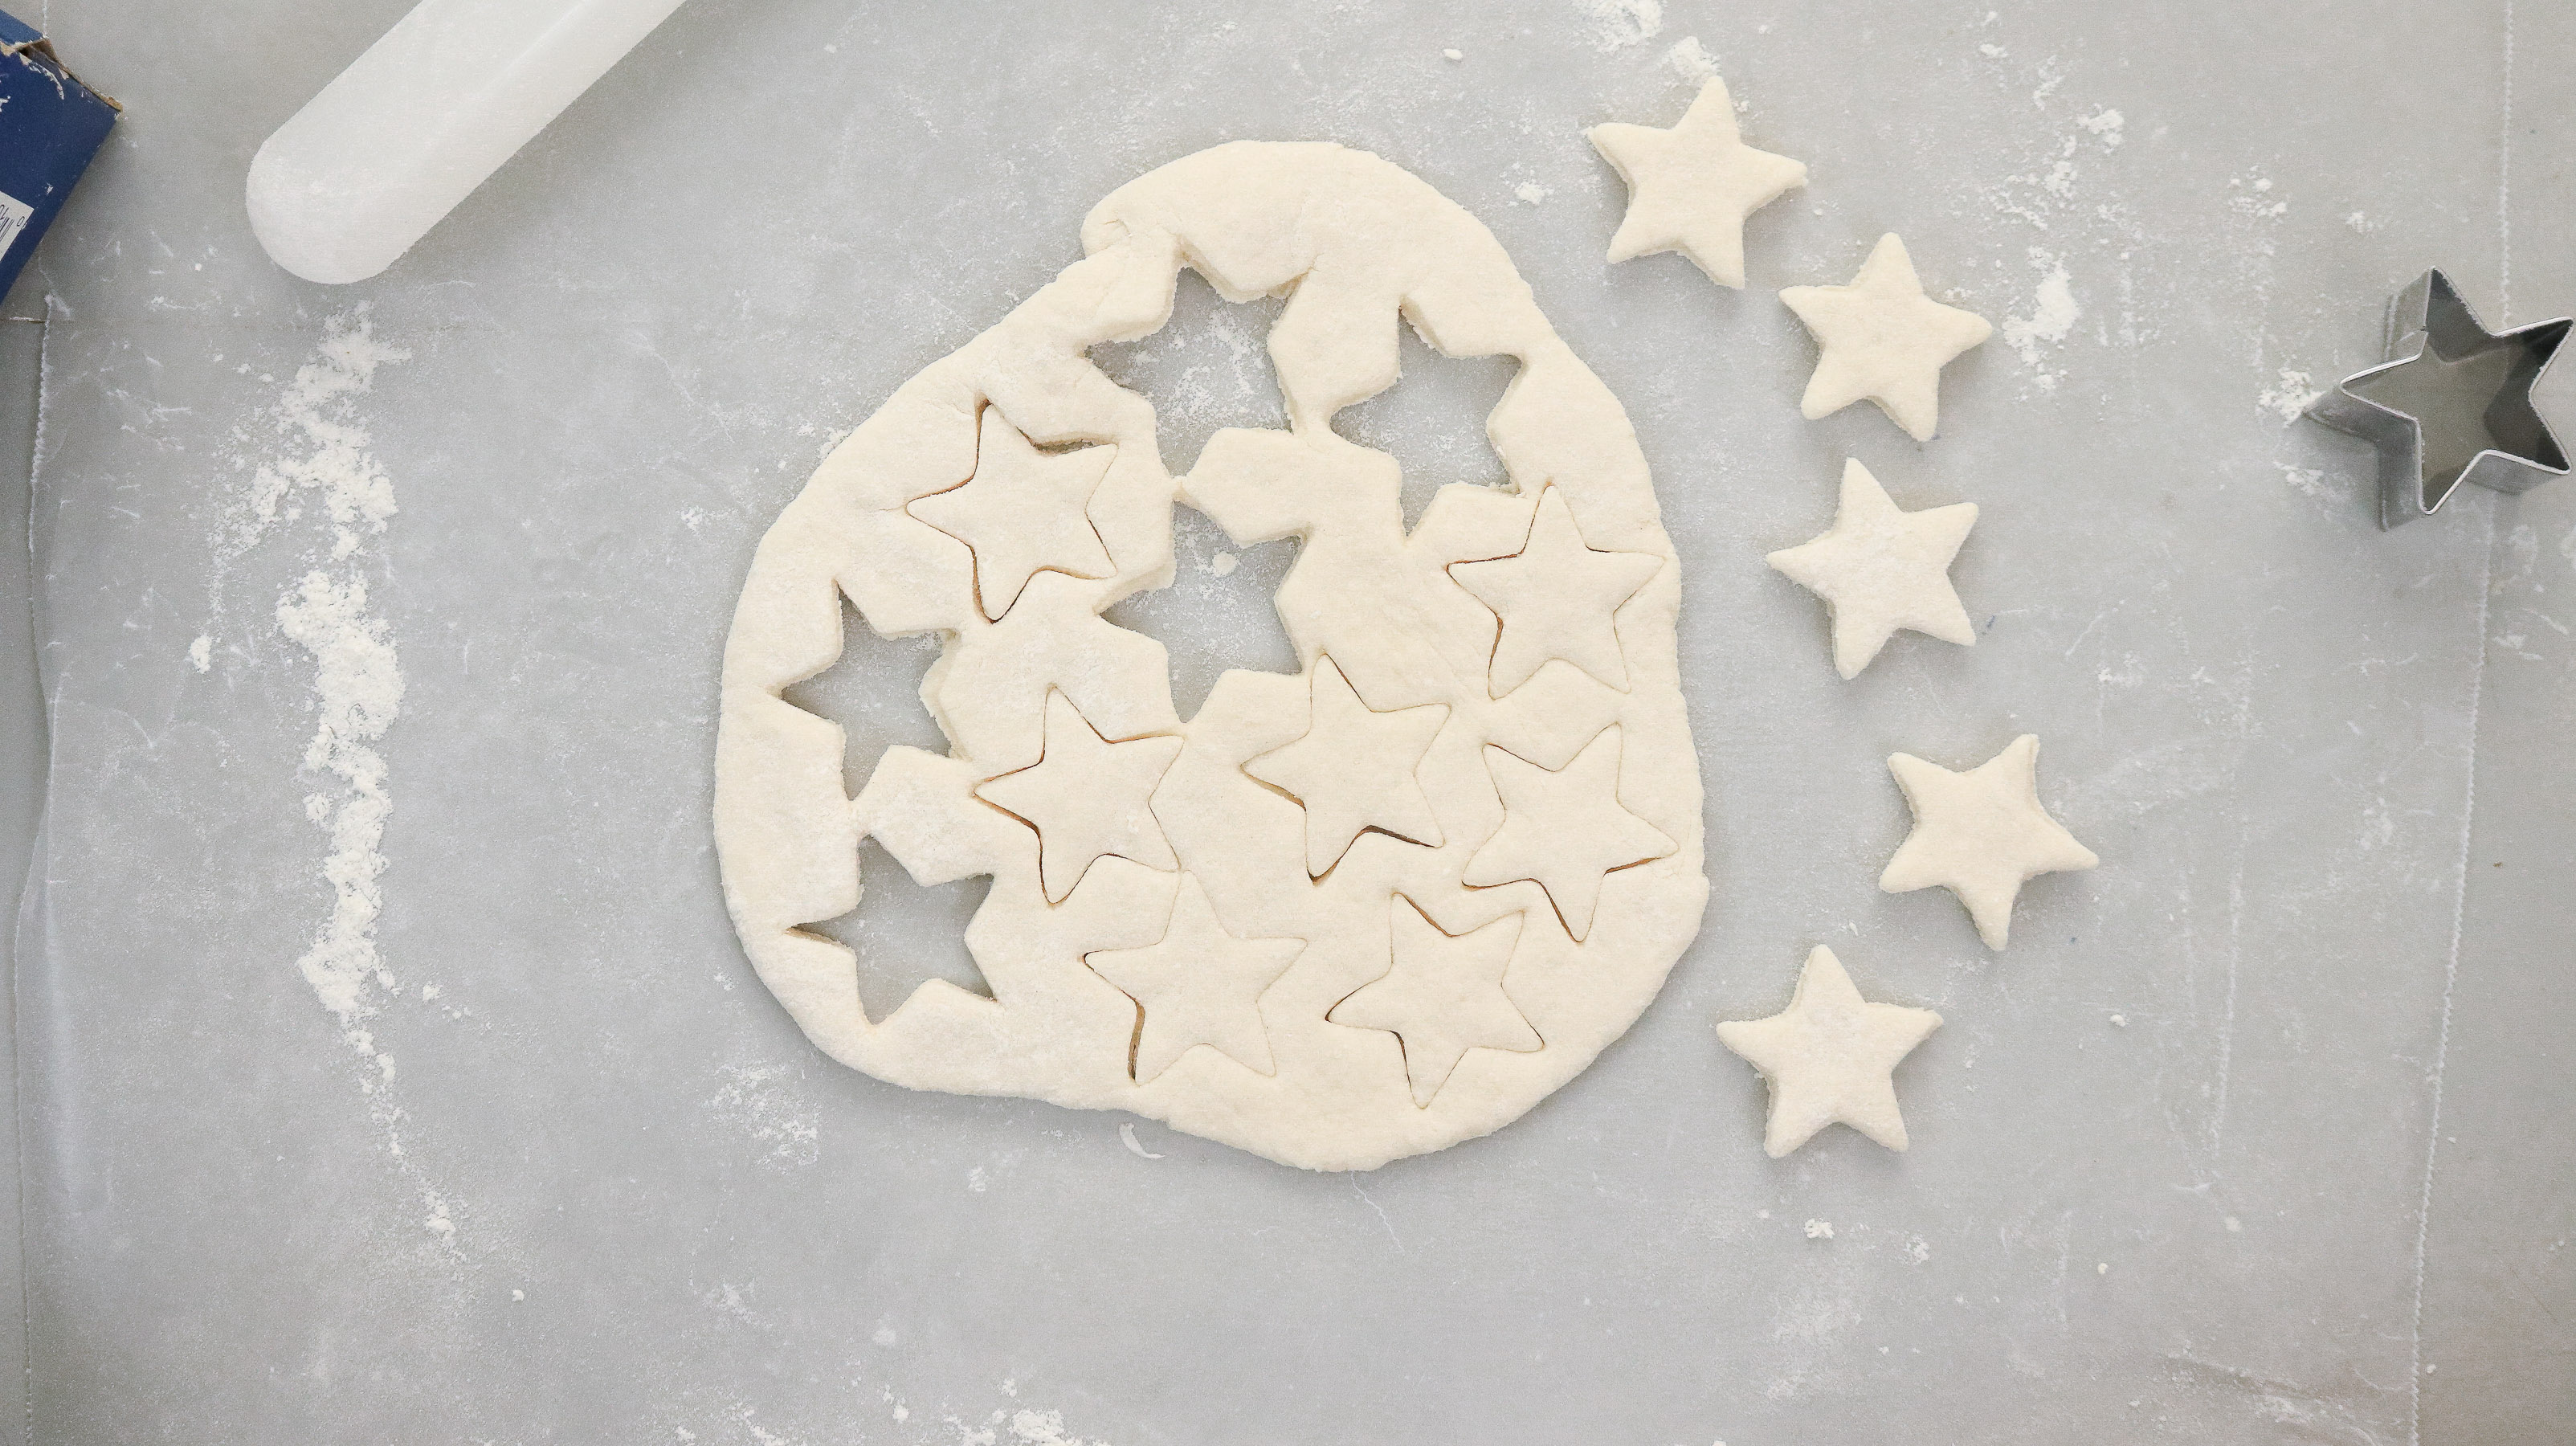
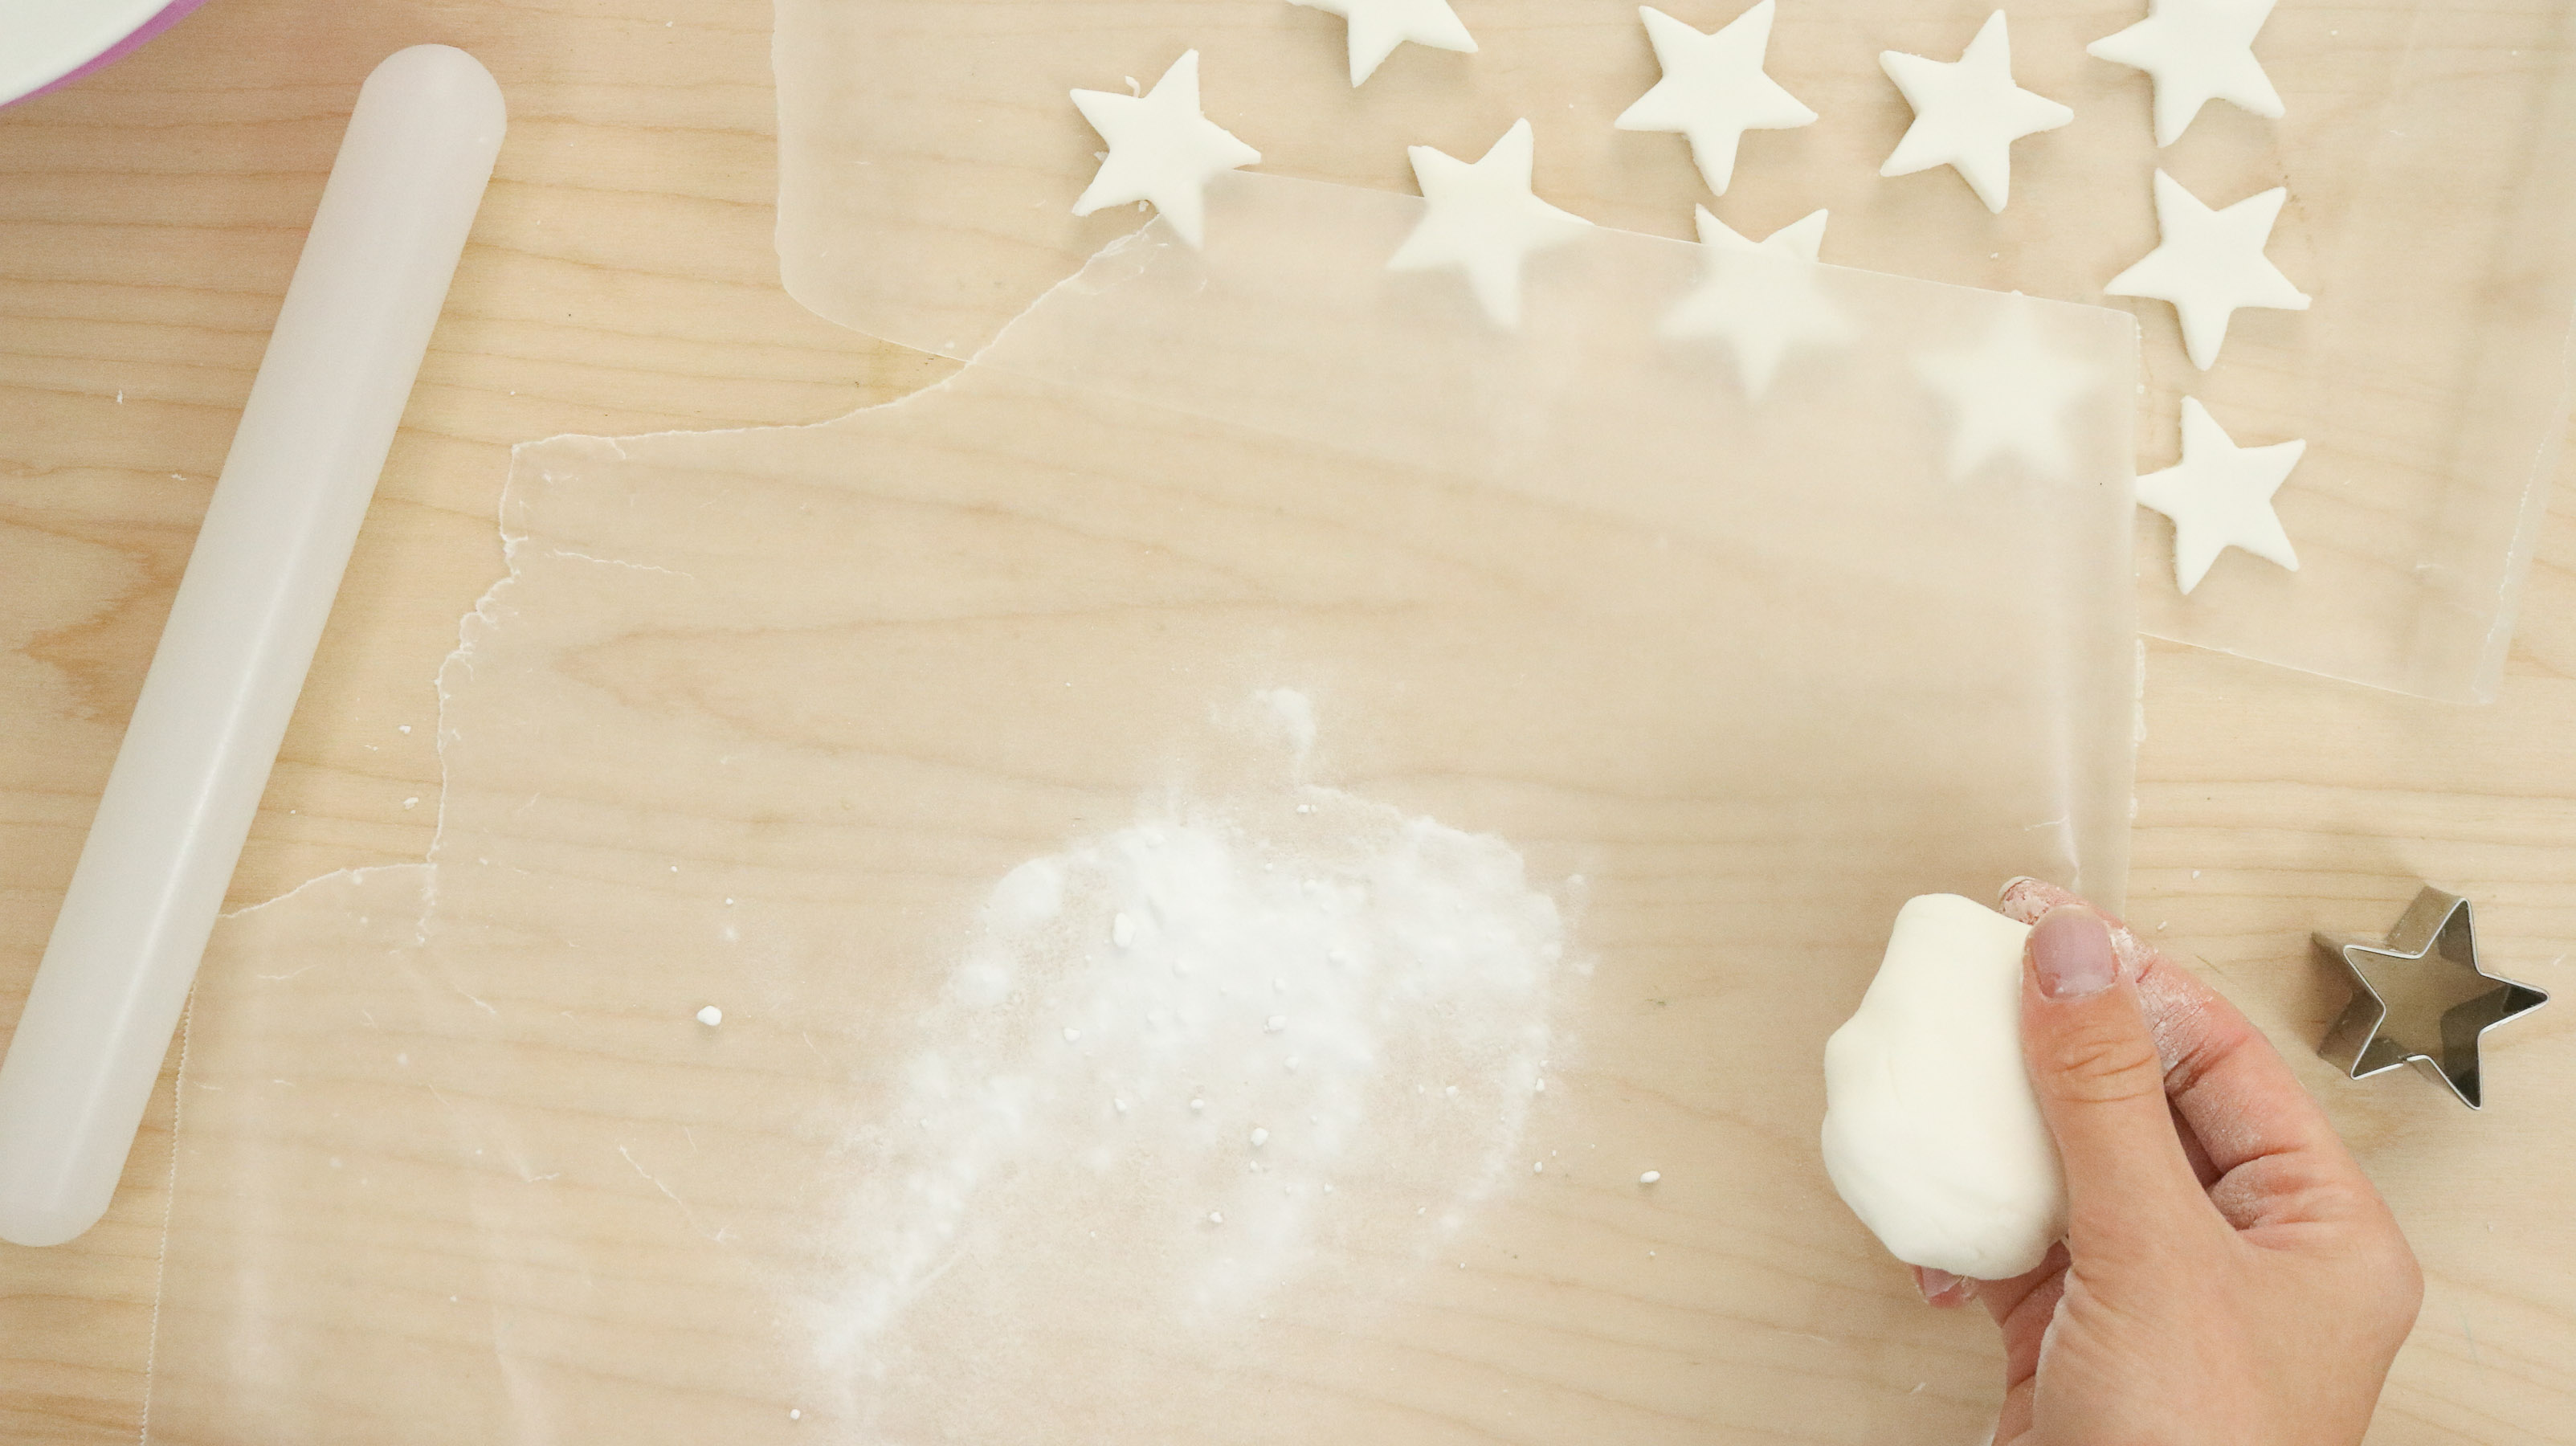
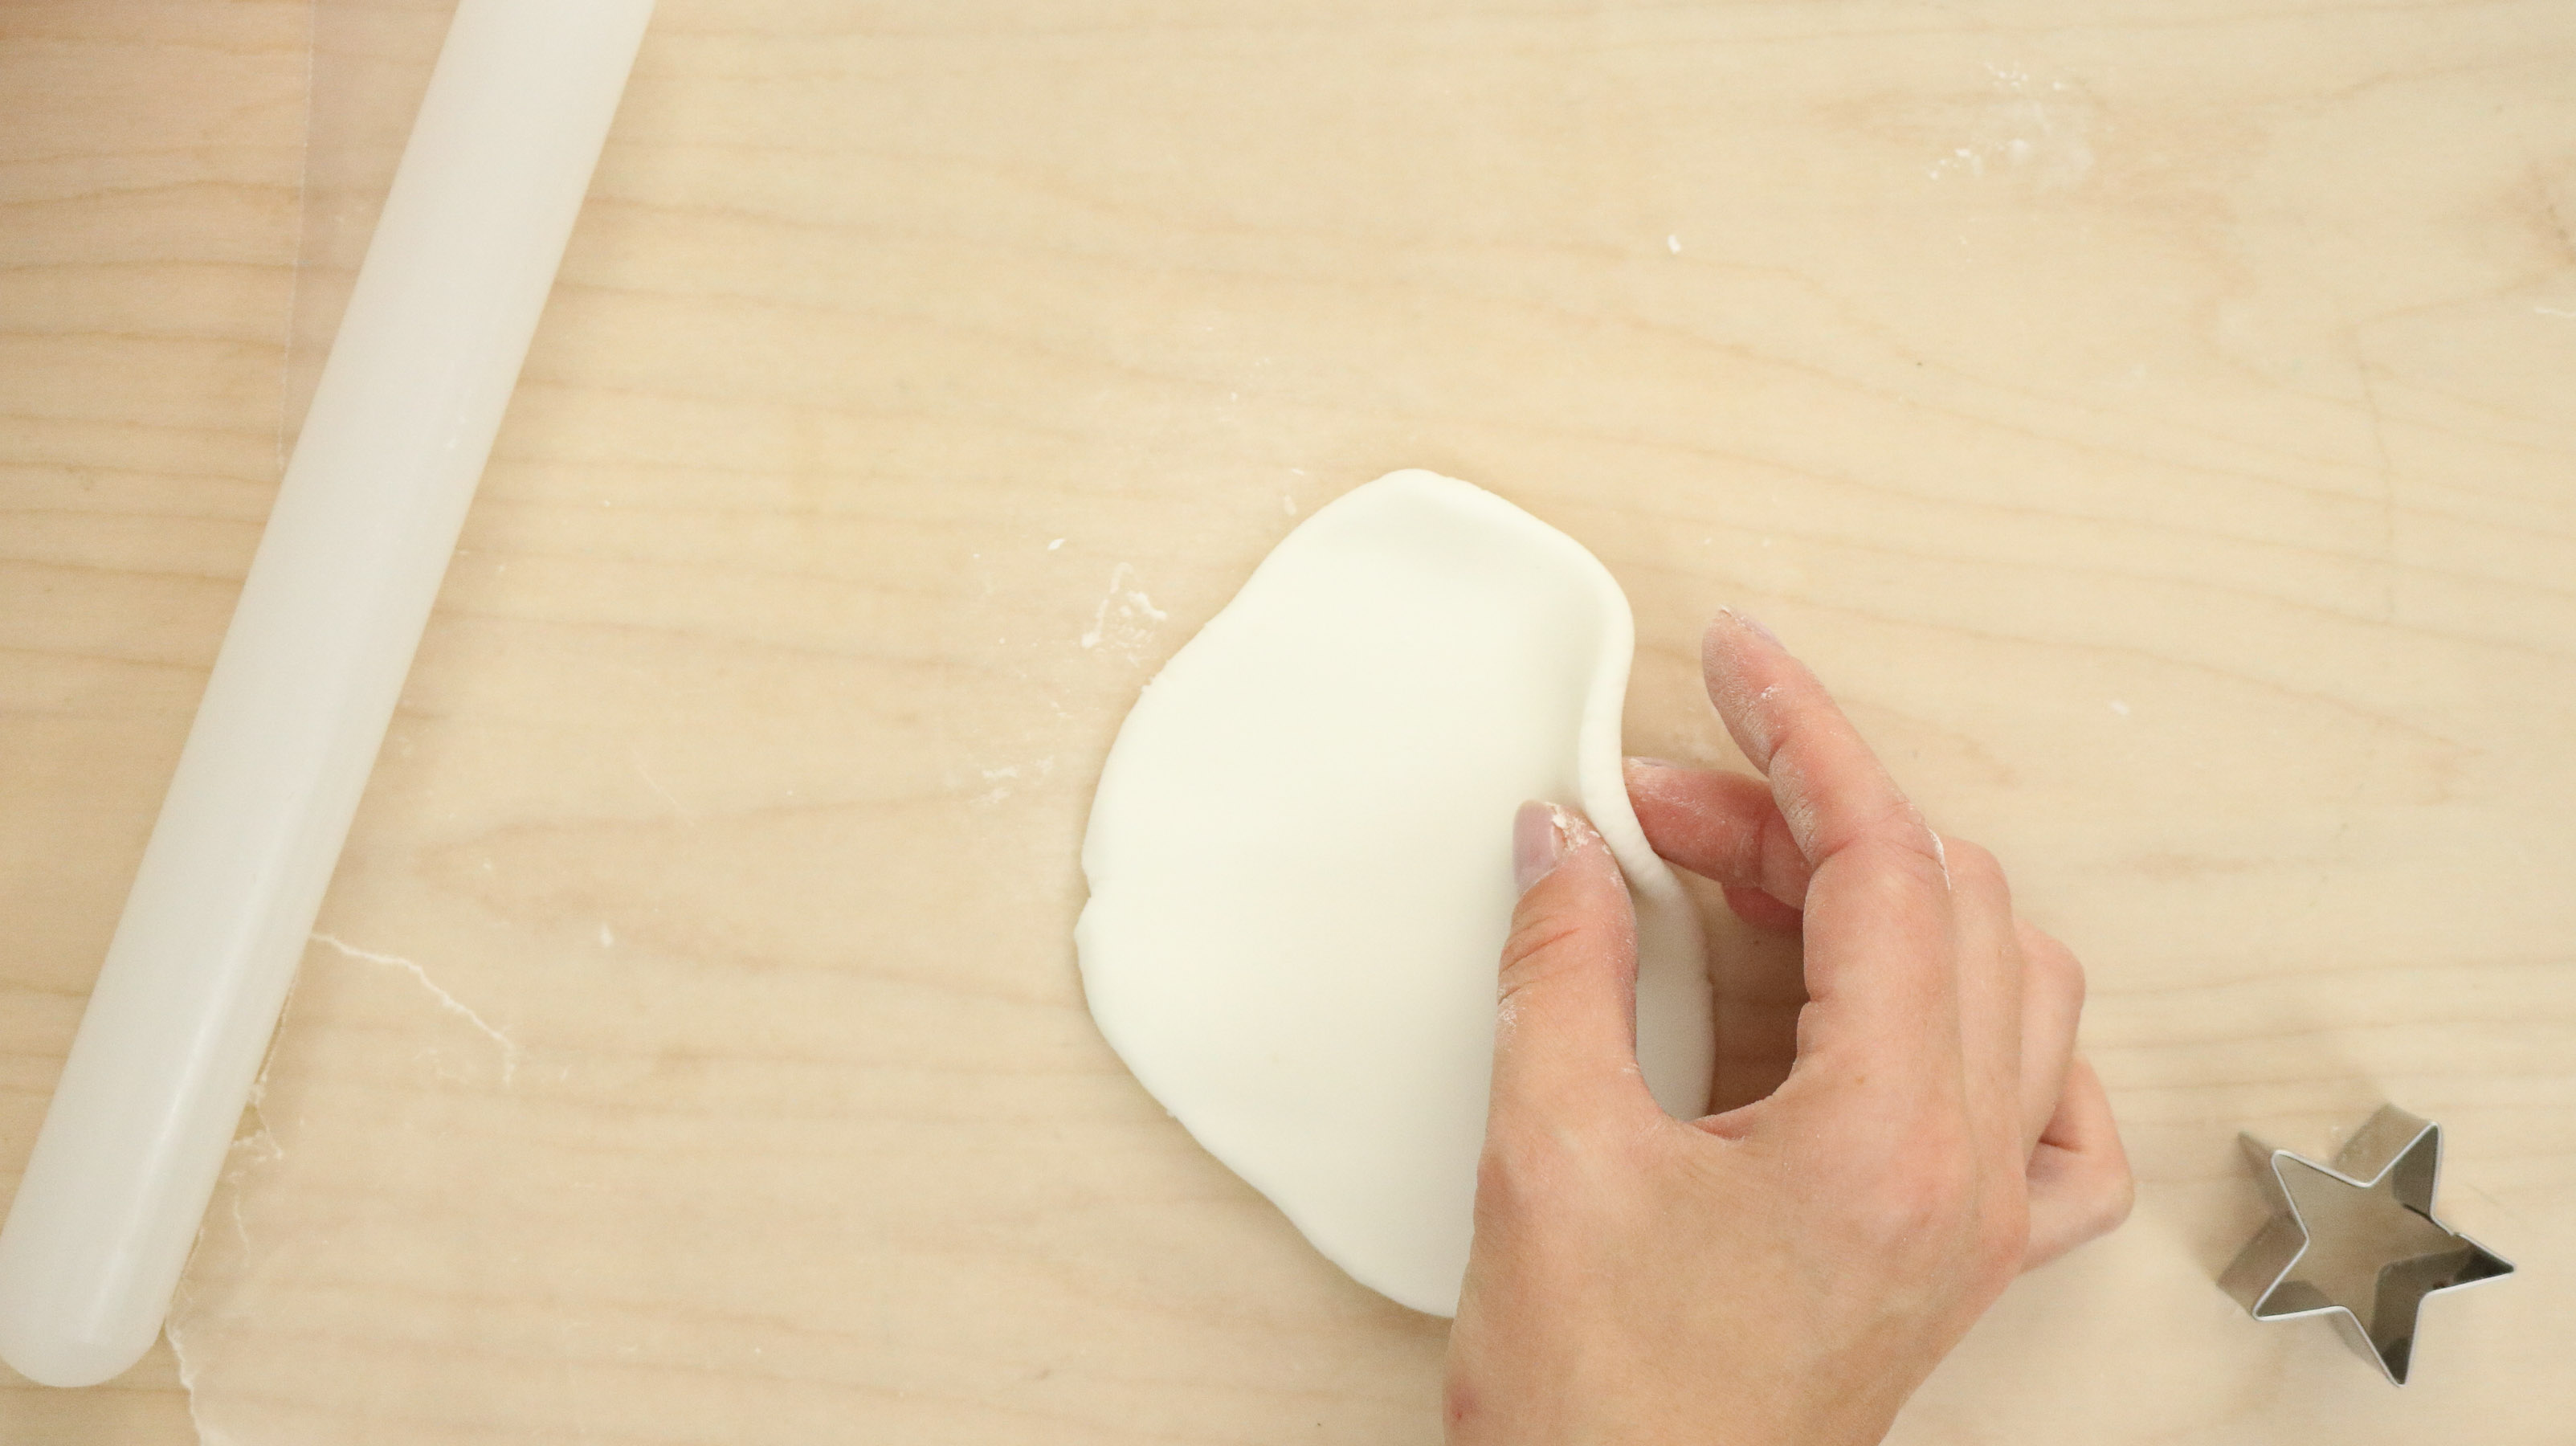
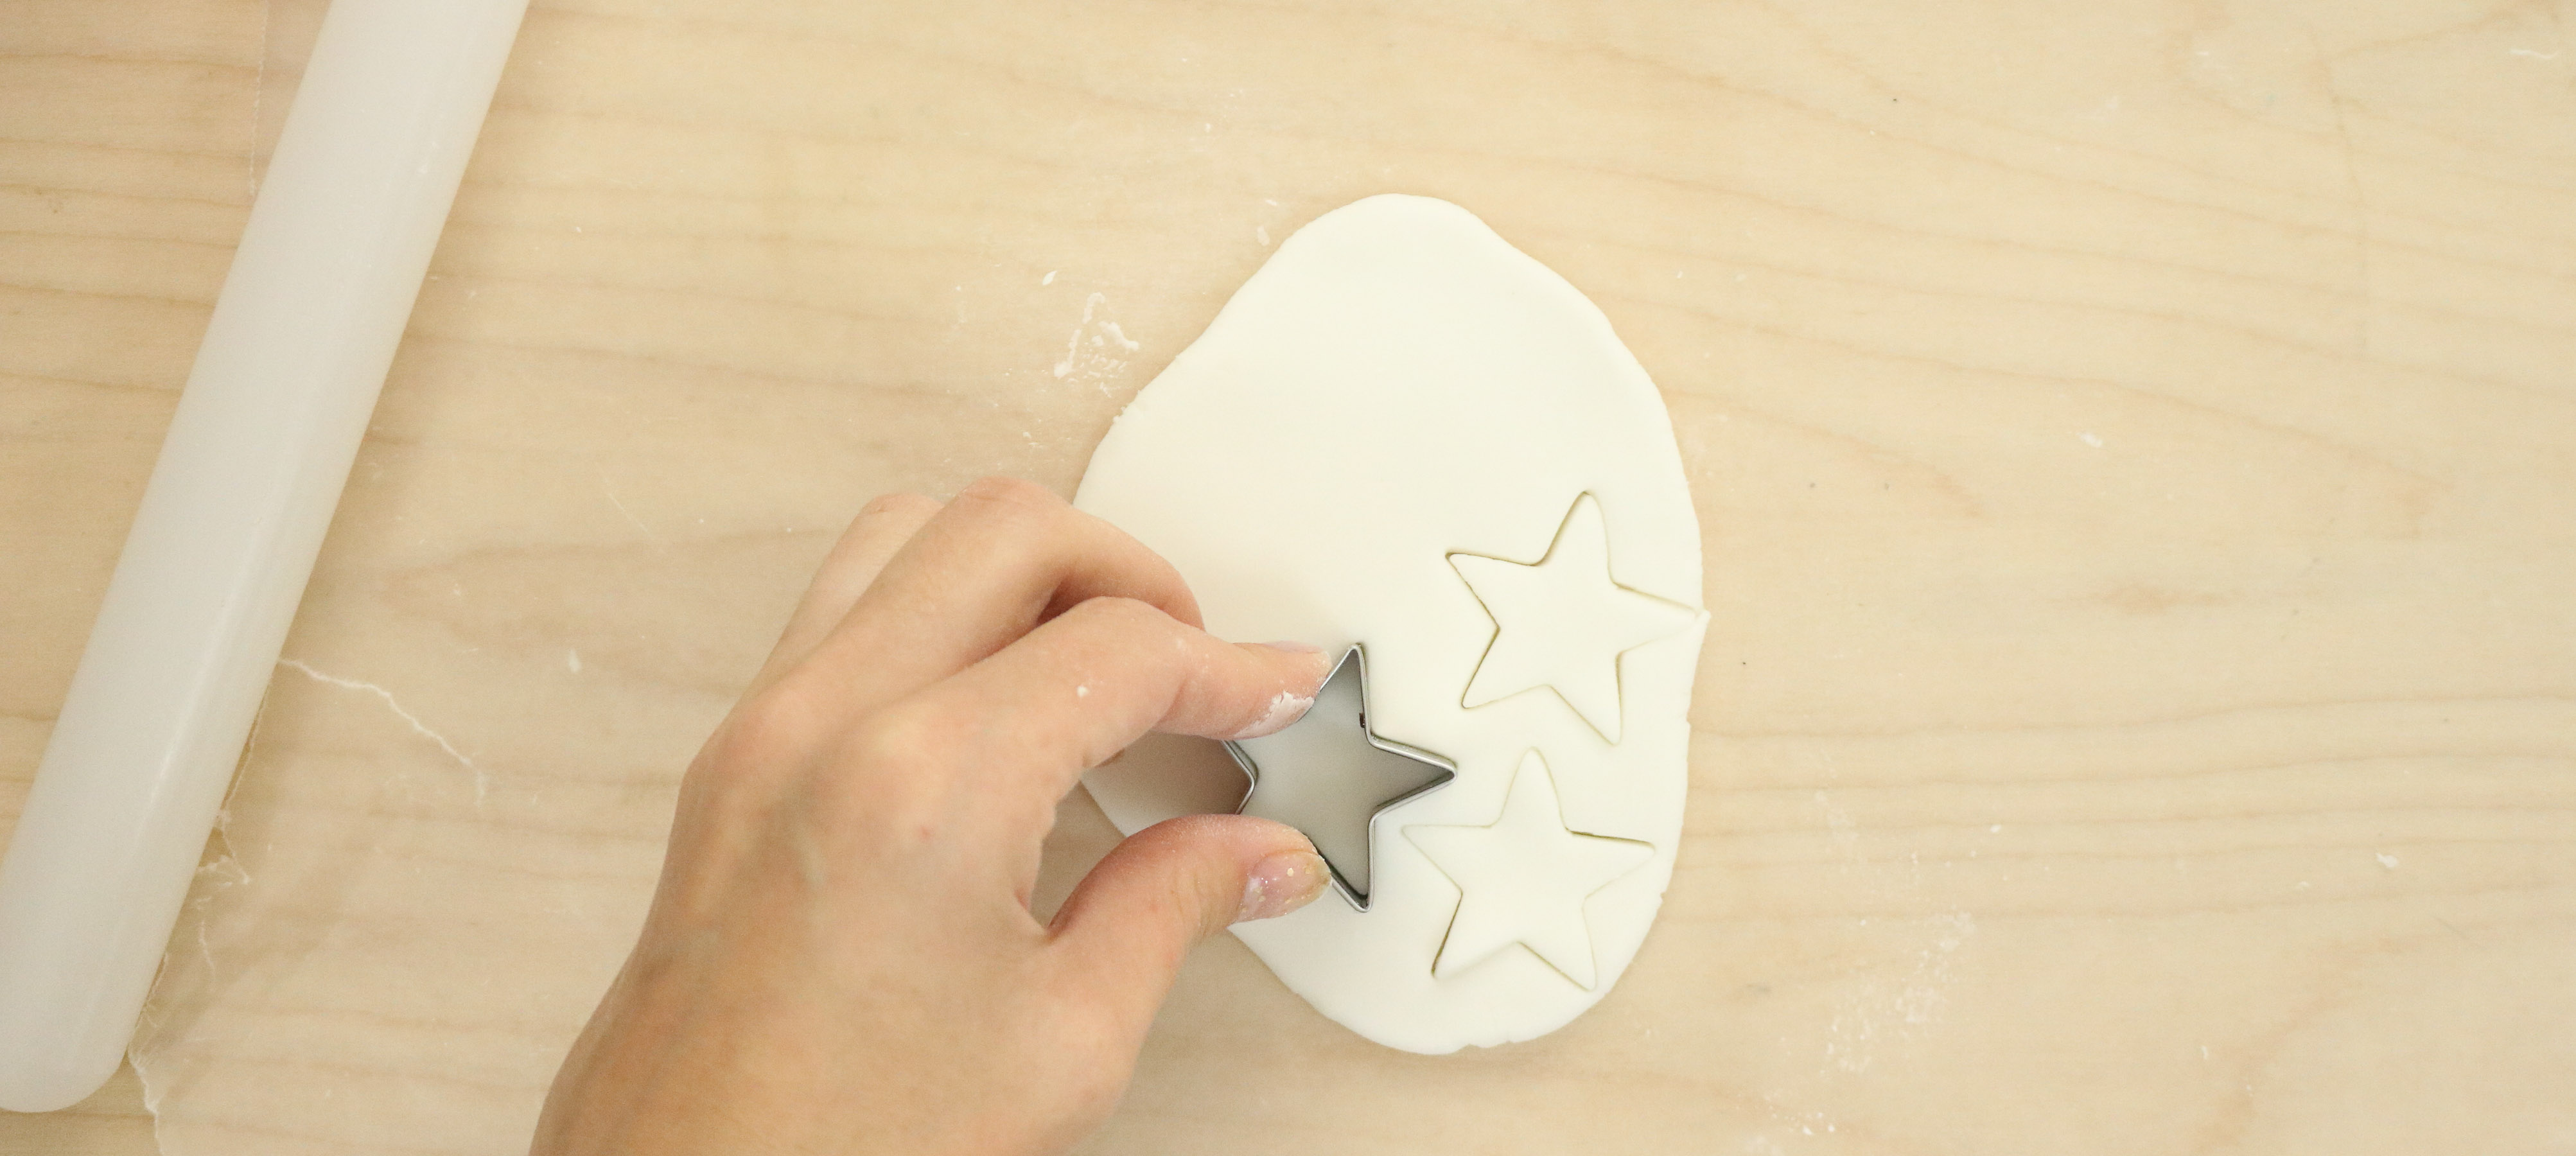
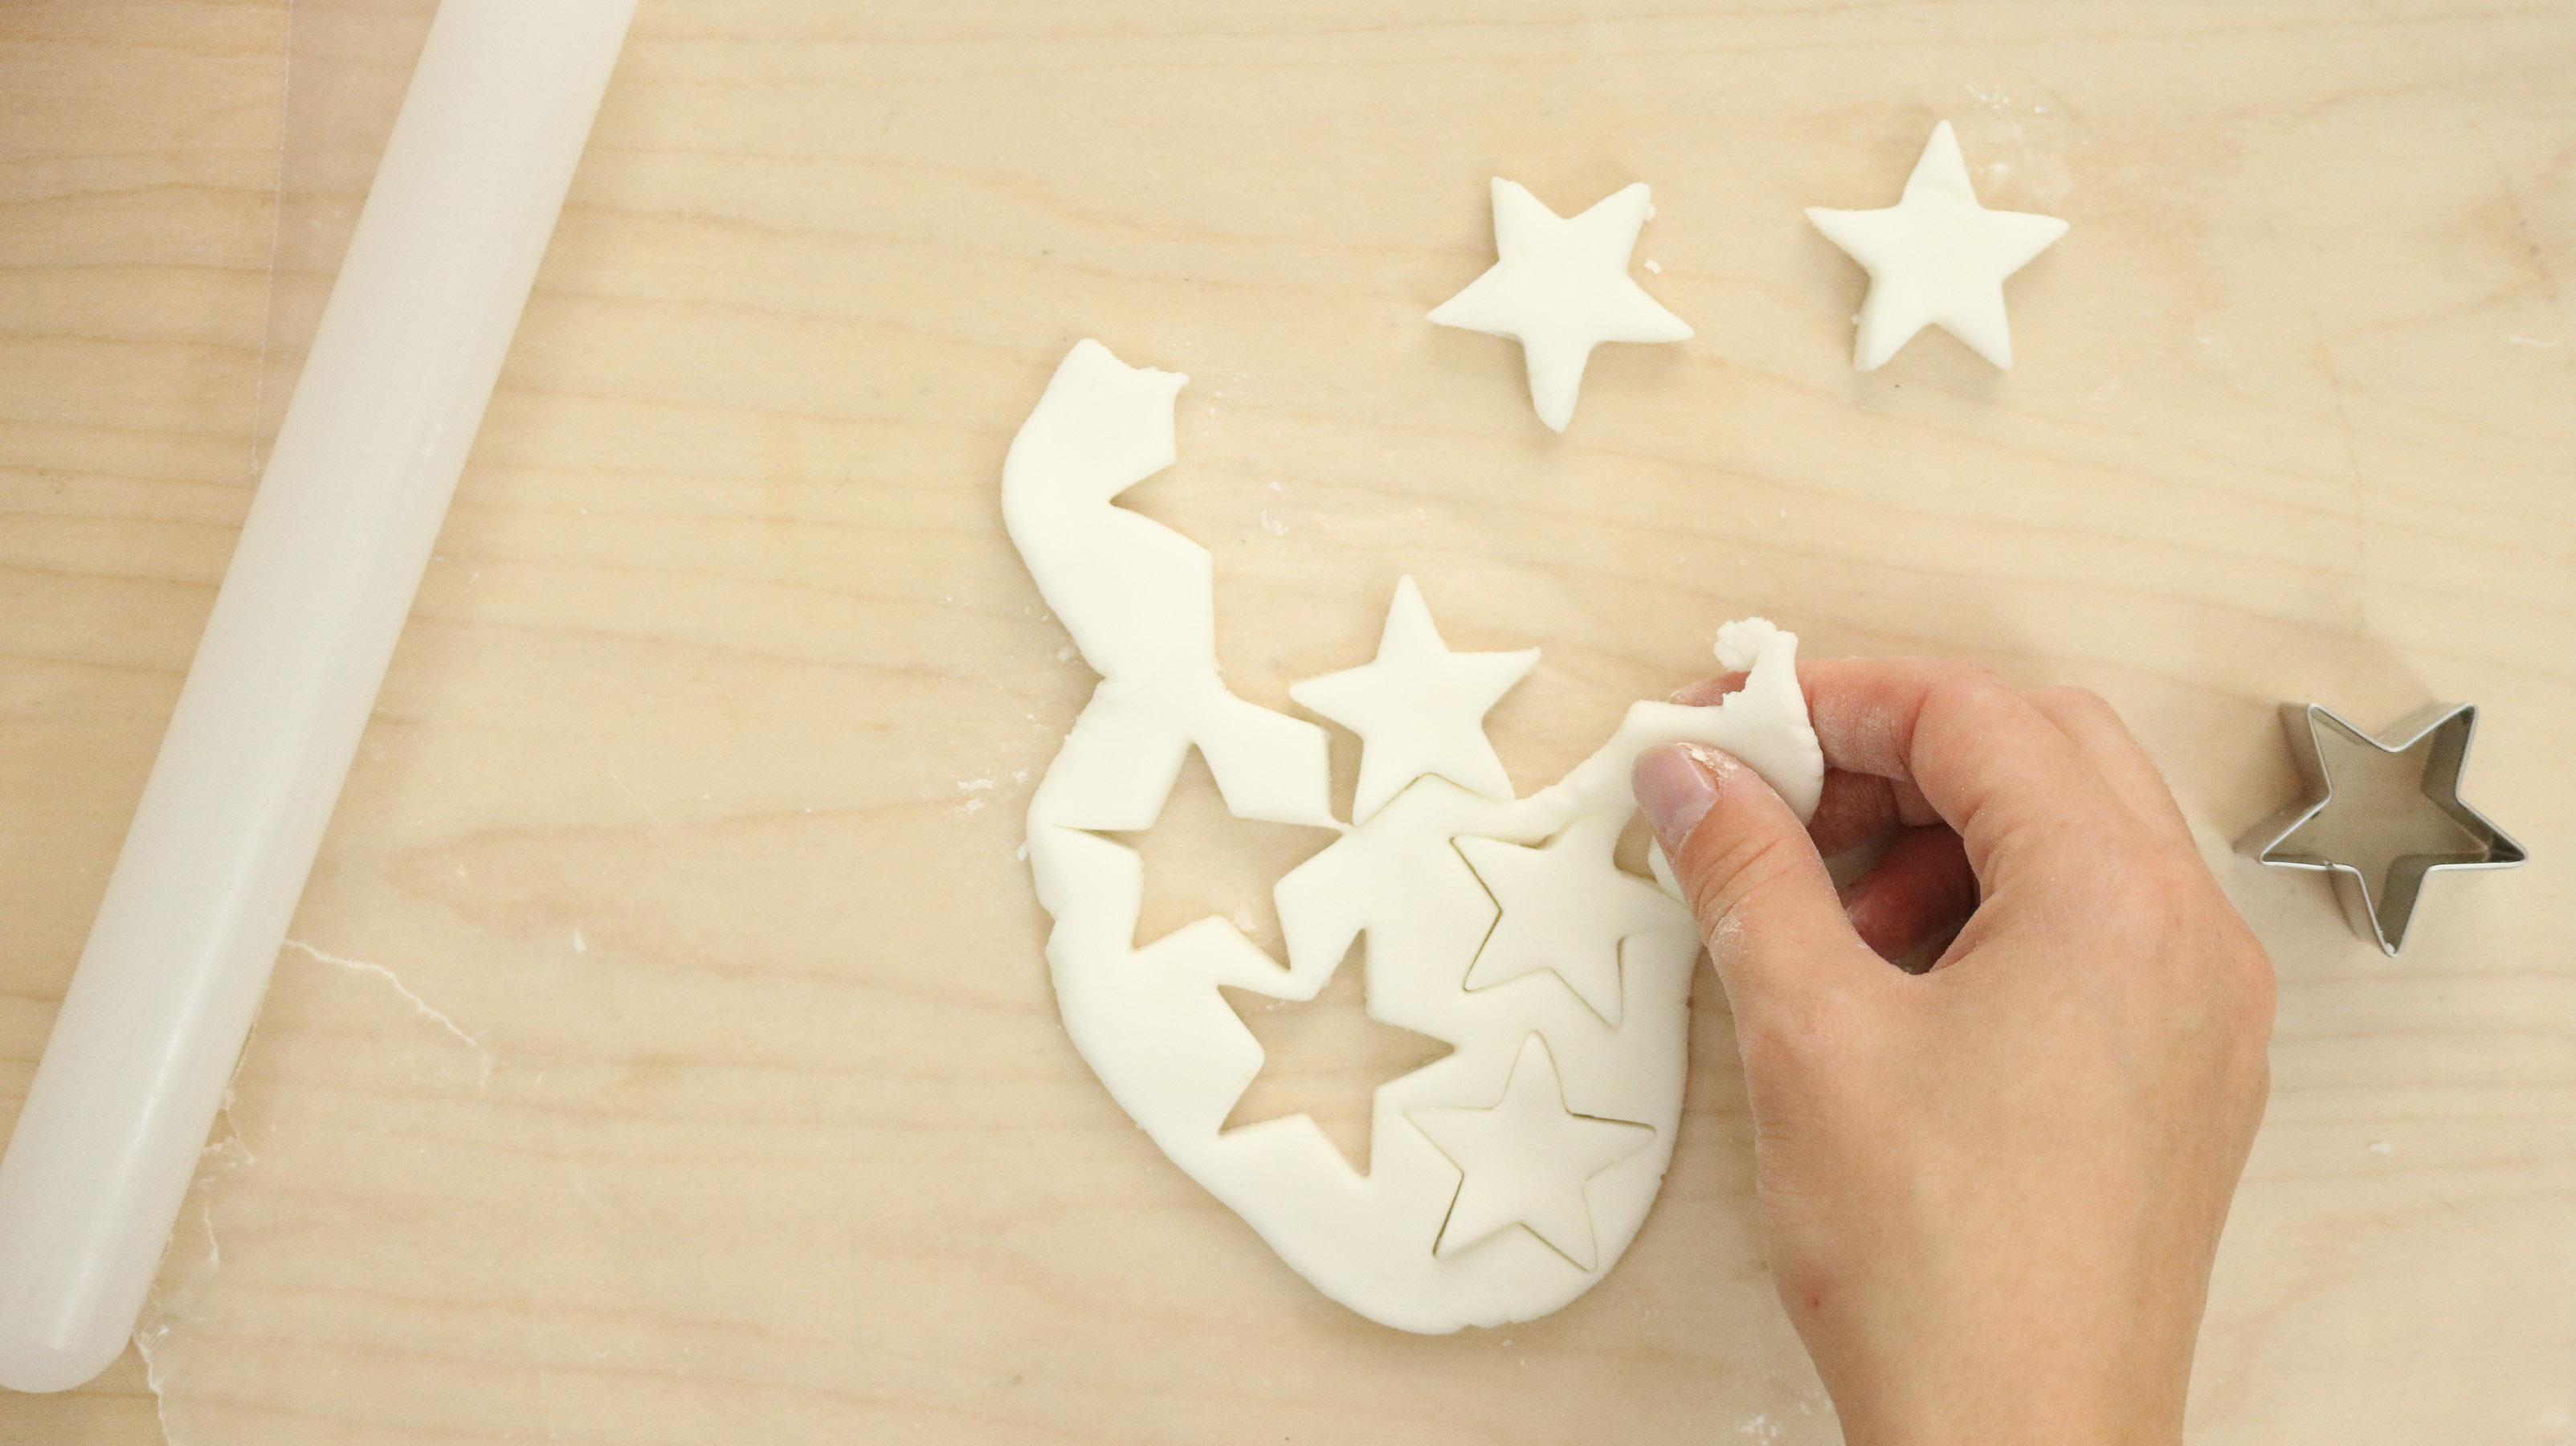
To make your stars flour your surface with baking soda before rolling out your clay. Than lay a ball of clay on top and roll it out. Try and keep the thickness of it pretty consistent. Use your star cookie cutter to make your stars. They should pop right out.
TIP: If your stars are really sticky and are hard to remove from your flat clay you’ll need to add more baking soda to it.
OTHER RELATED DIYS YOU’LL LOVE:
- STAR CANDLE HOLDERS – Perfect for a whimsical tablescape!
- SATCHEL WALL PLANTERS– Perfect to freshen up your summer plants!
- TIN CANS INTO – Chunky Knit Planters – Transform those old tin cans into these beauties!
- MACRAME PHOTO DISPLAY – Make Memories with this wall display!
BAKE OR AIR DRY: Options!
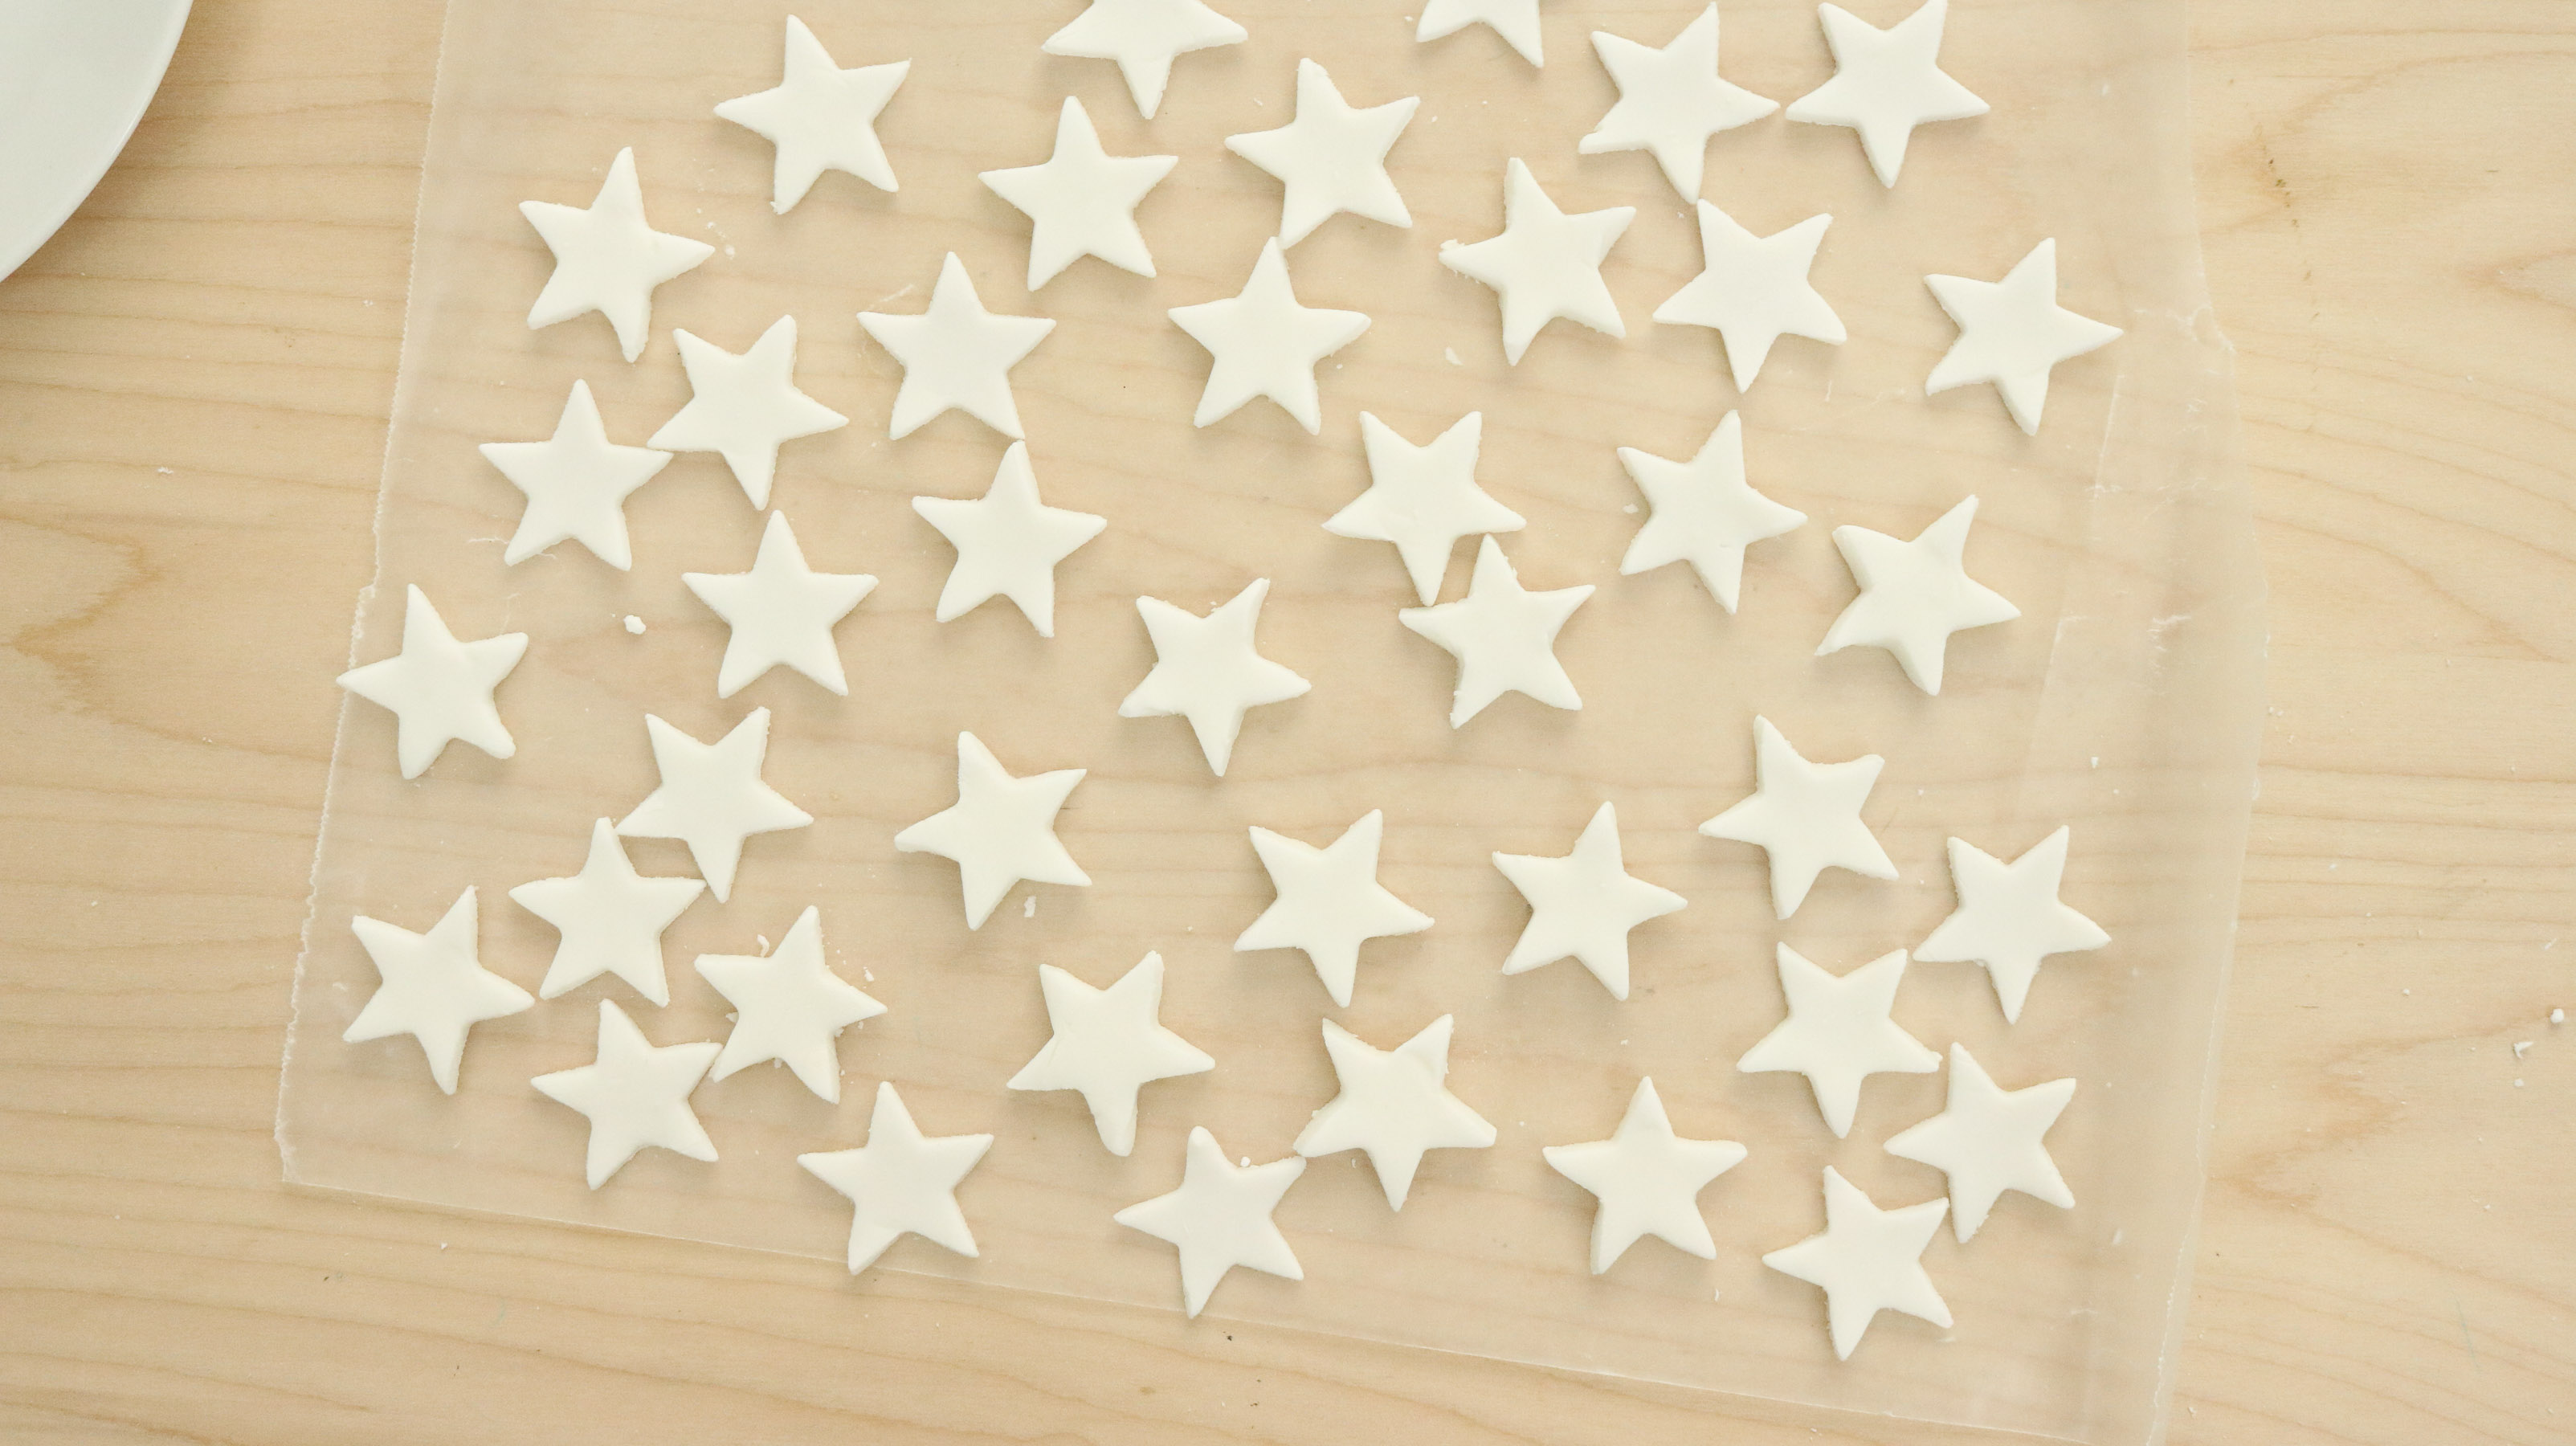
TIP : Okay so before we bake or let your stars air dry make sure and flour the surface beneath them really good with some baking soda. If you don’t it may result in your stars cracking.
If you choose to bake your stars you can do so by baking them at 170 for 2 hours. Don’t turn your oven any hotter than that as you don’t want to burn your stars or create air bubbles.
To air dry your stars you can simply leave them on a floured surface overnight and flip them in the morning and let the other side set as well.
NOTE: I found the baked stars to be a lot more durable.
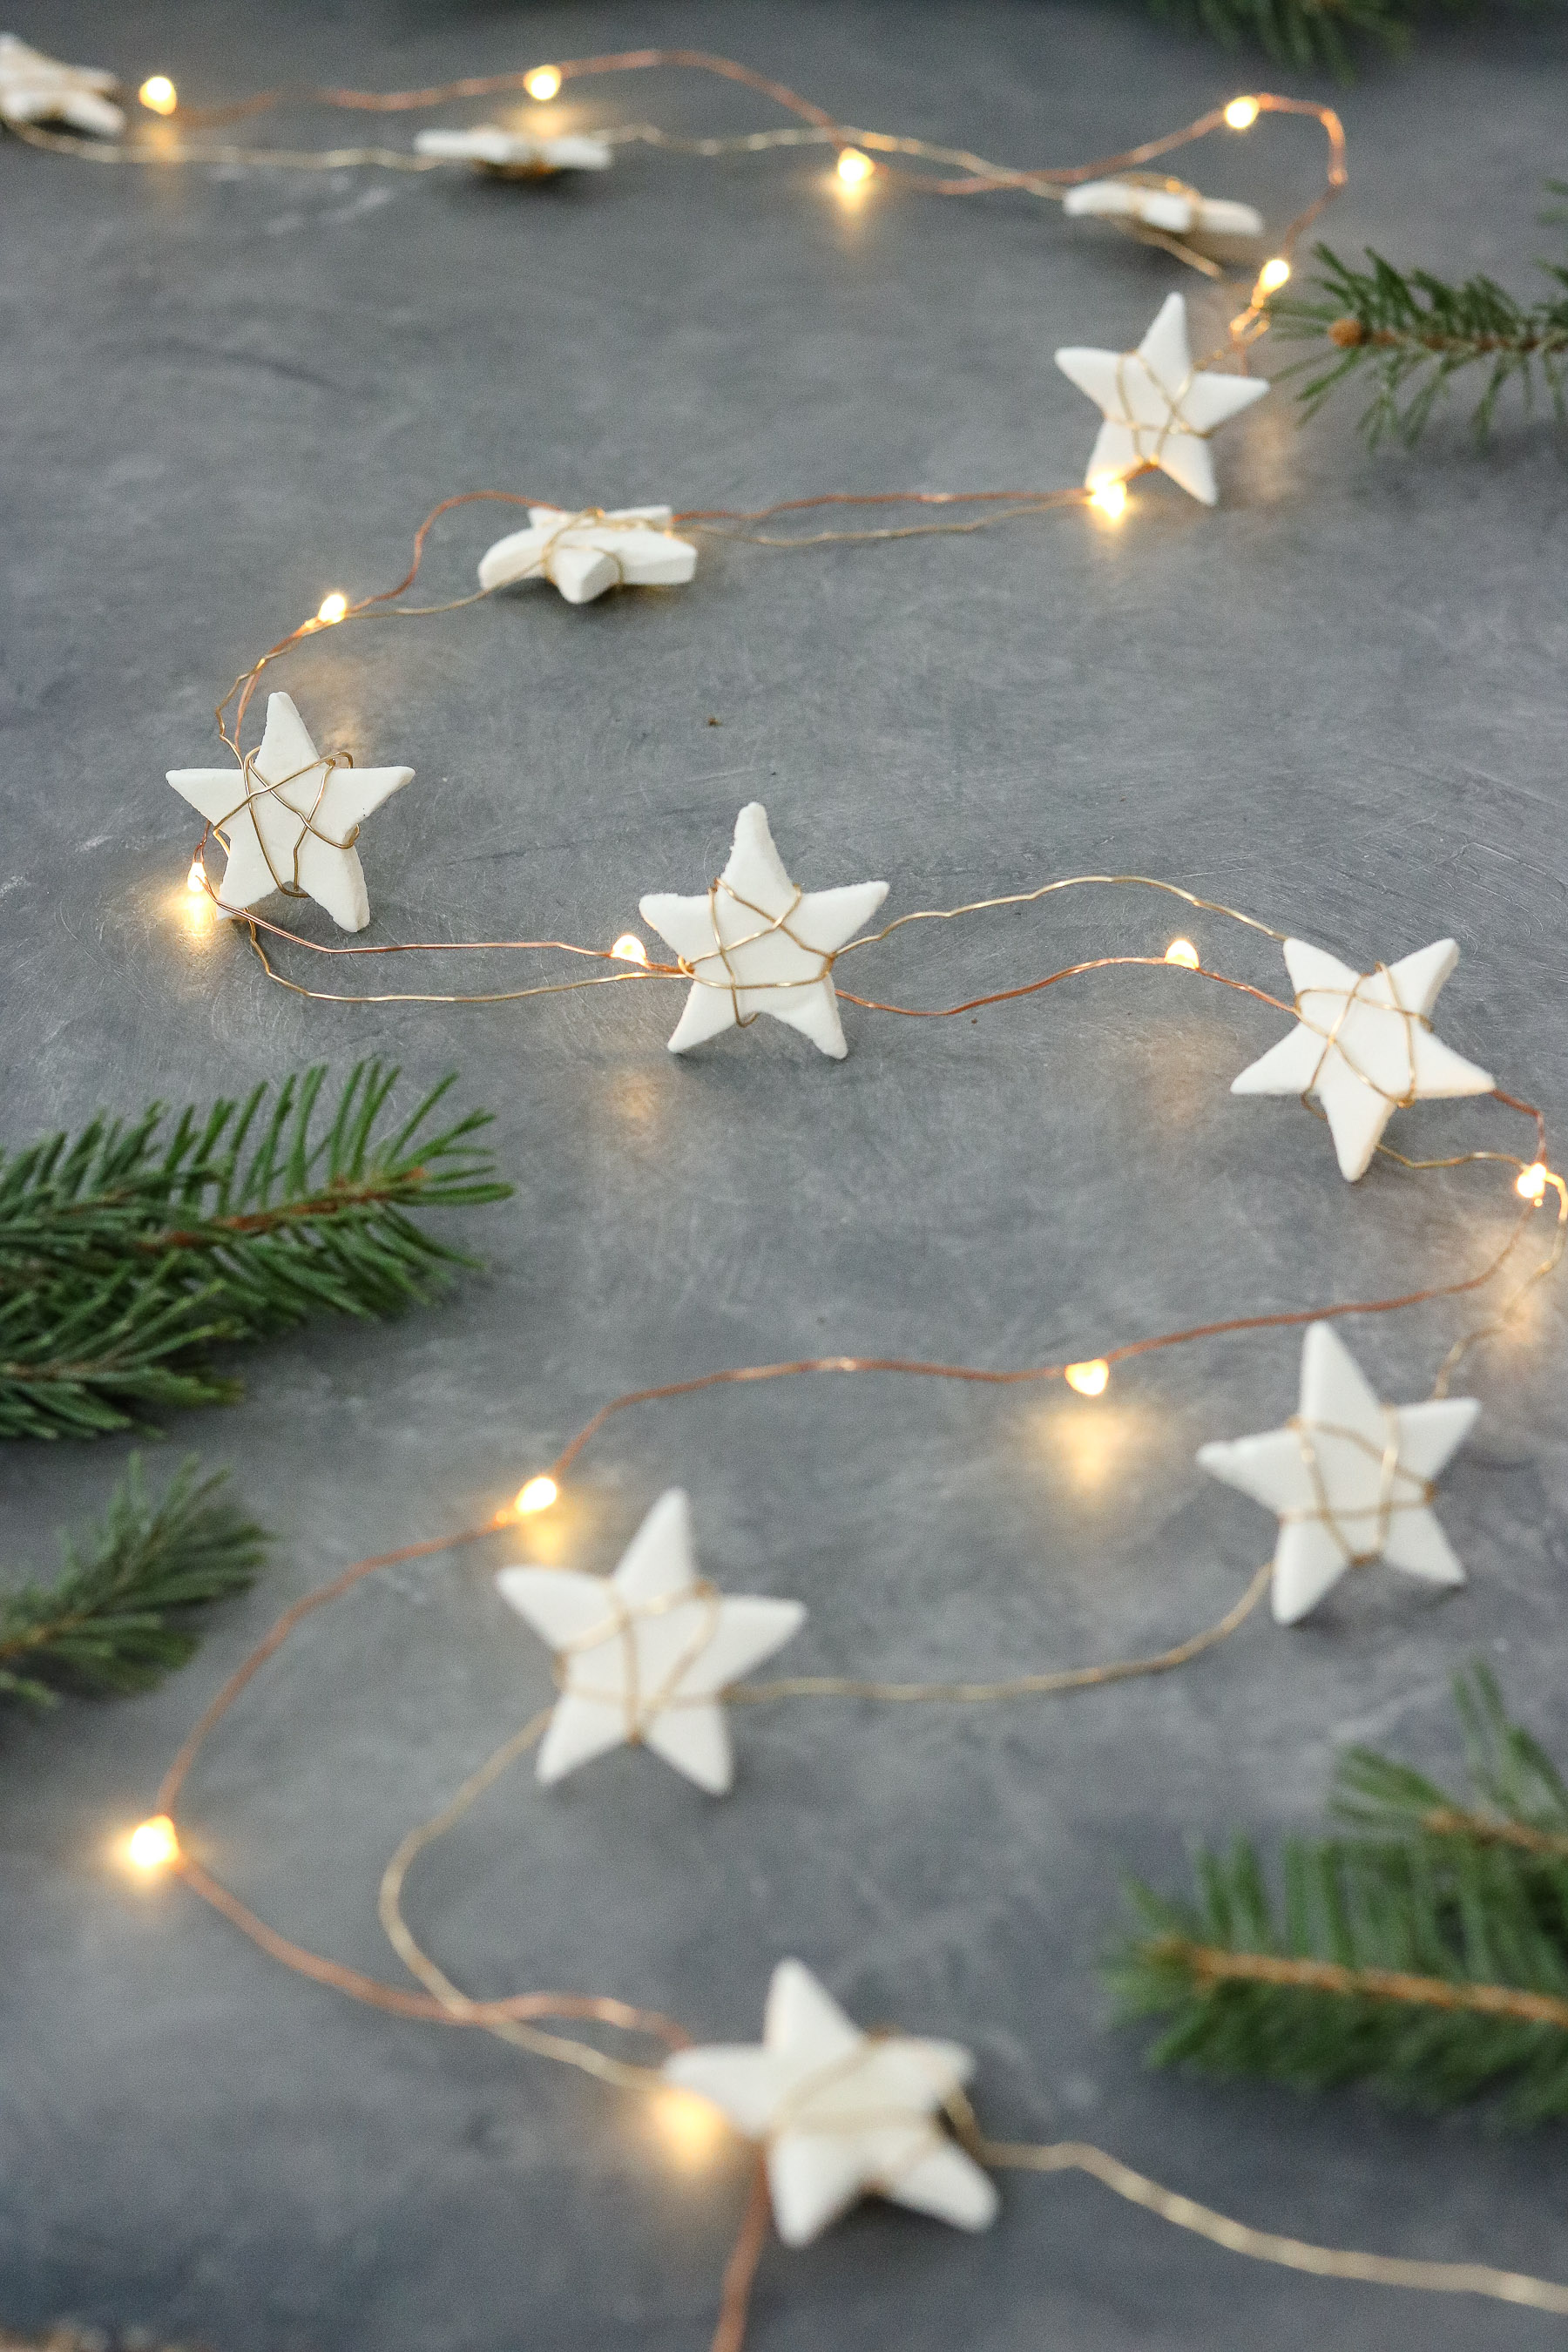
TWO Garland options!
I planned on making a twine garland originally however I stumbled on this wired garland idea after a few failed attempts with the twine. (blonde moment I figured out how to make the twine garland work later) LOL. I was glueing my stars wrong and there were flopping all over the place.
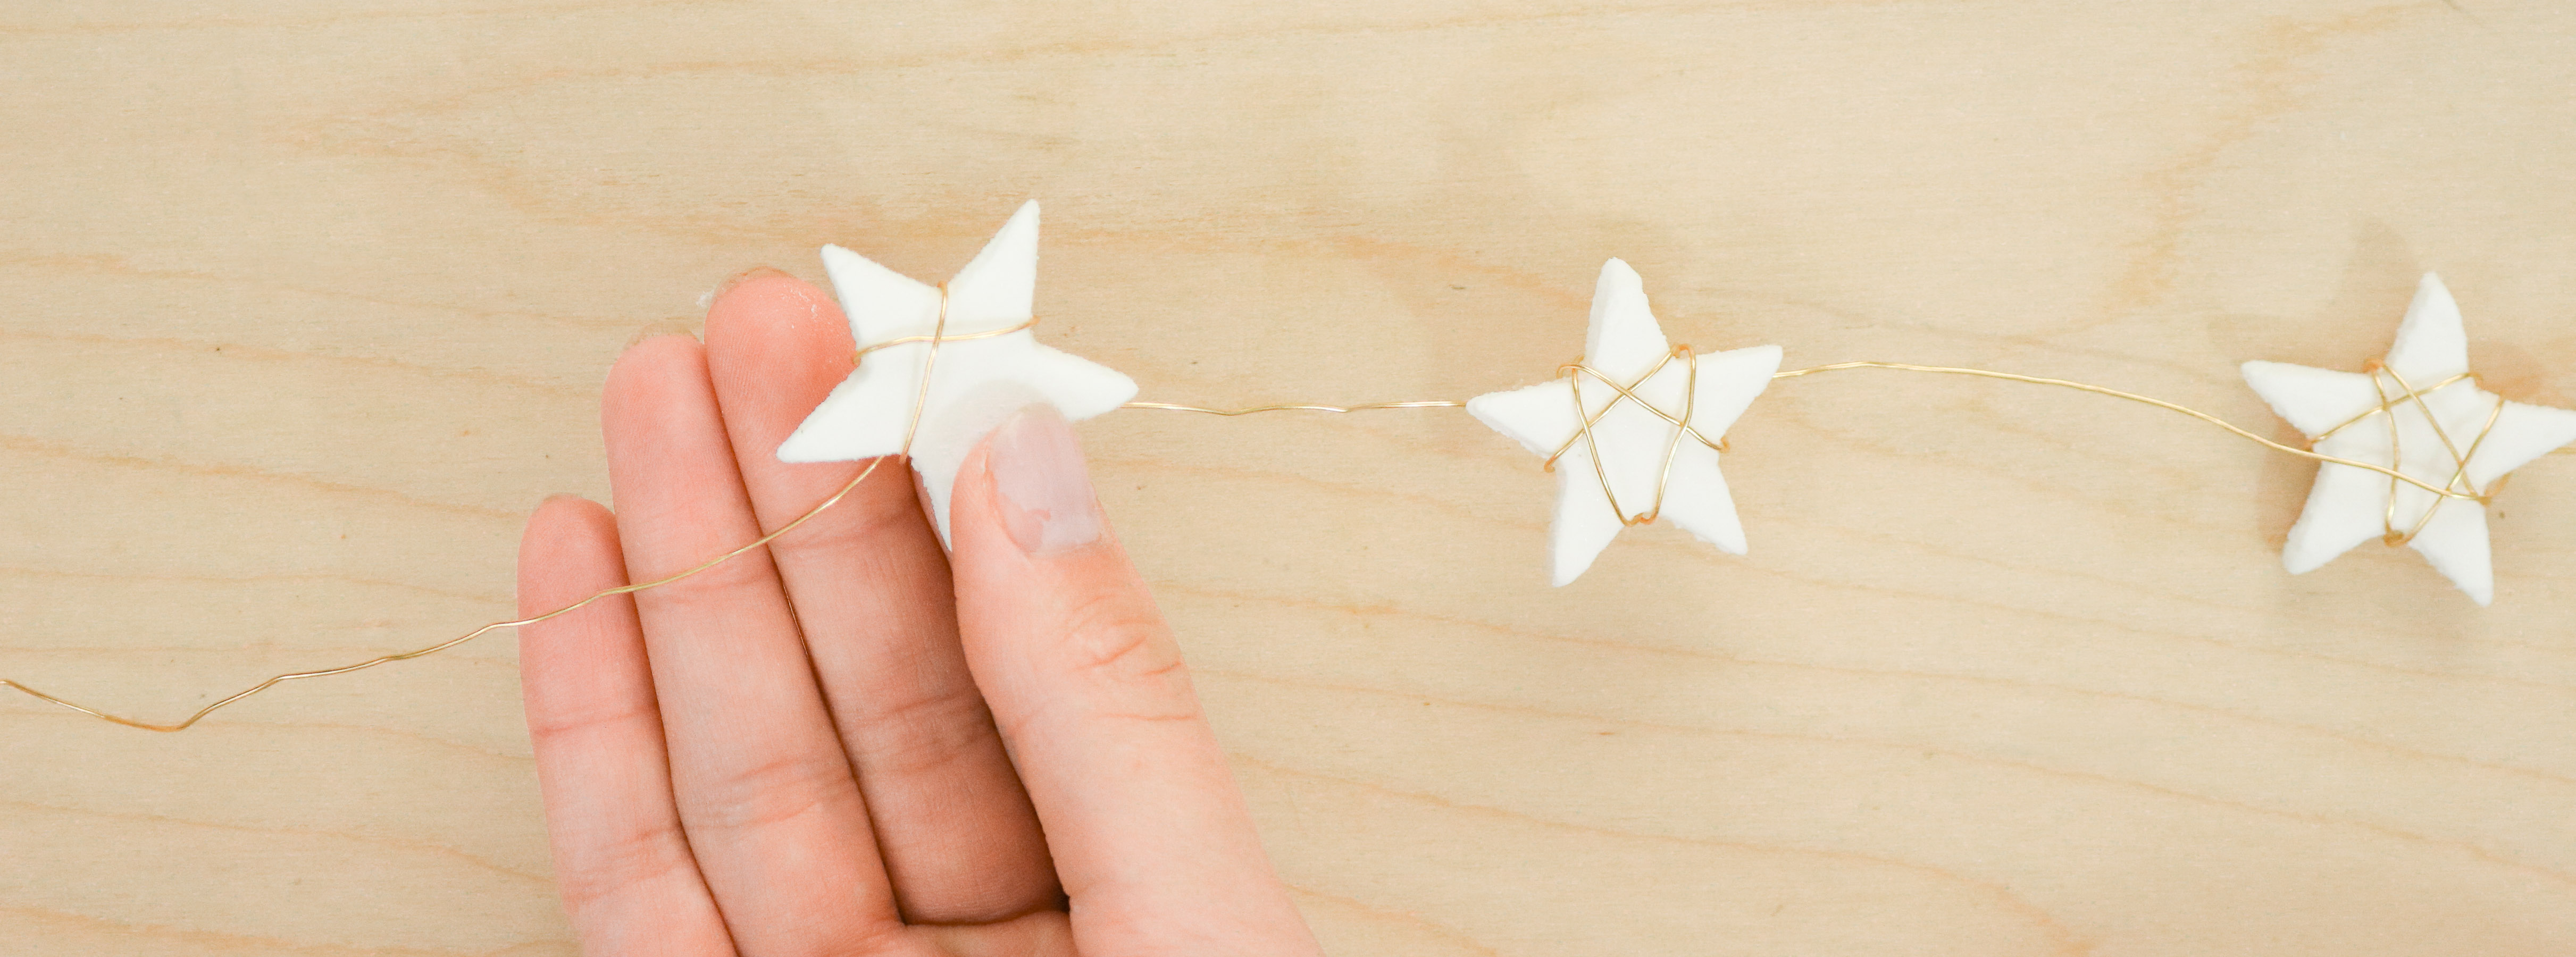
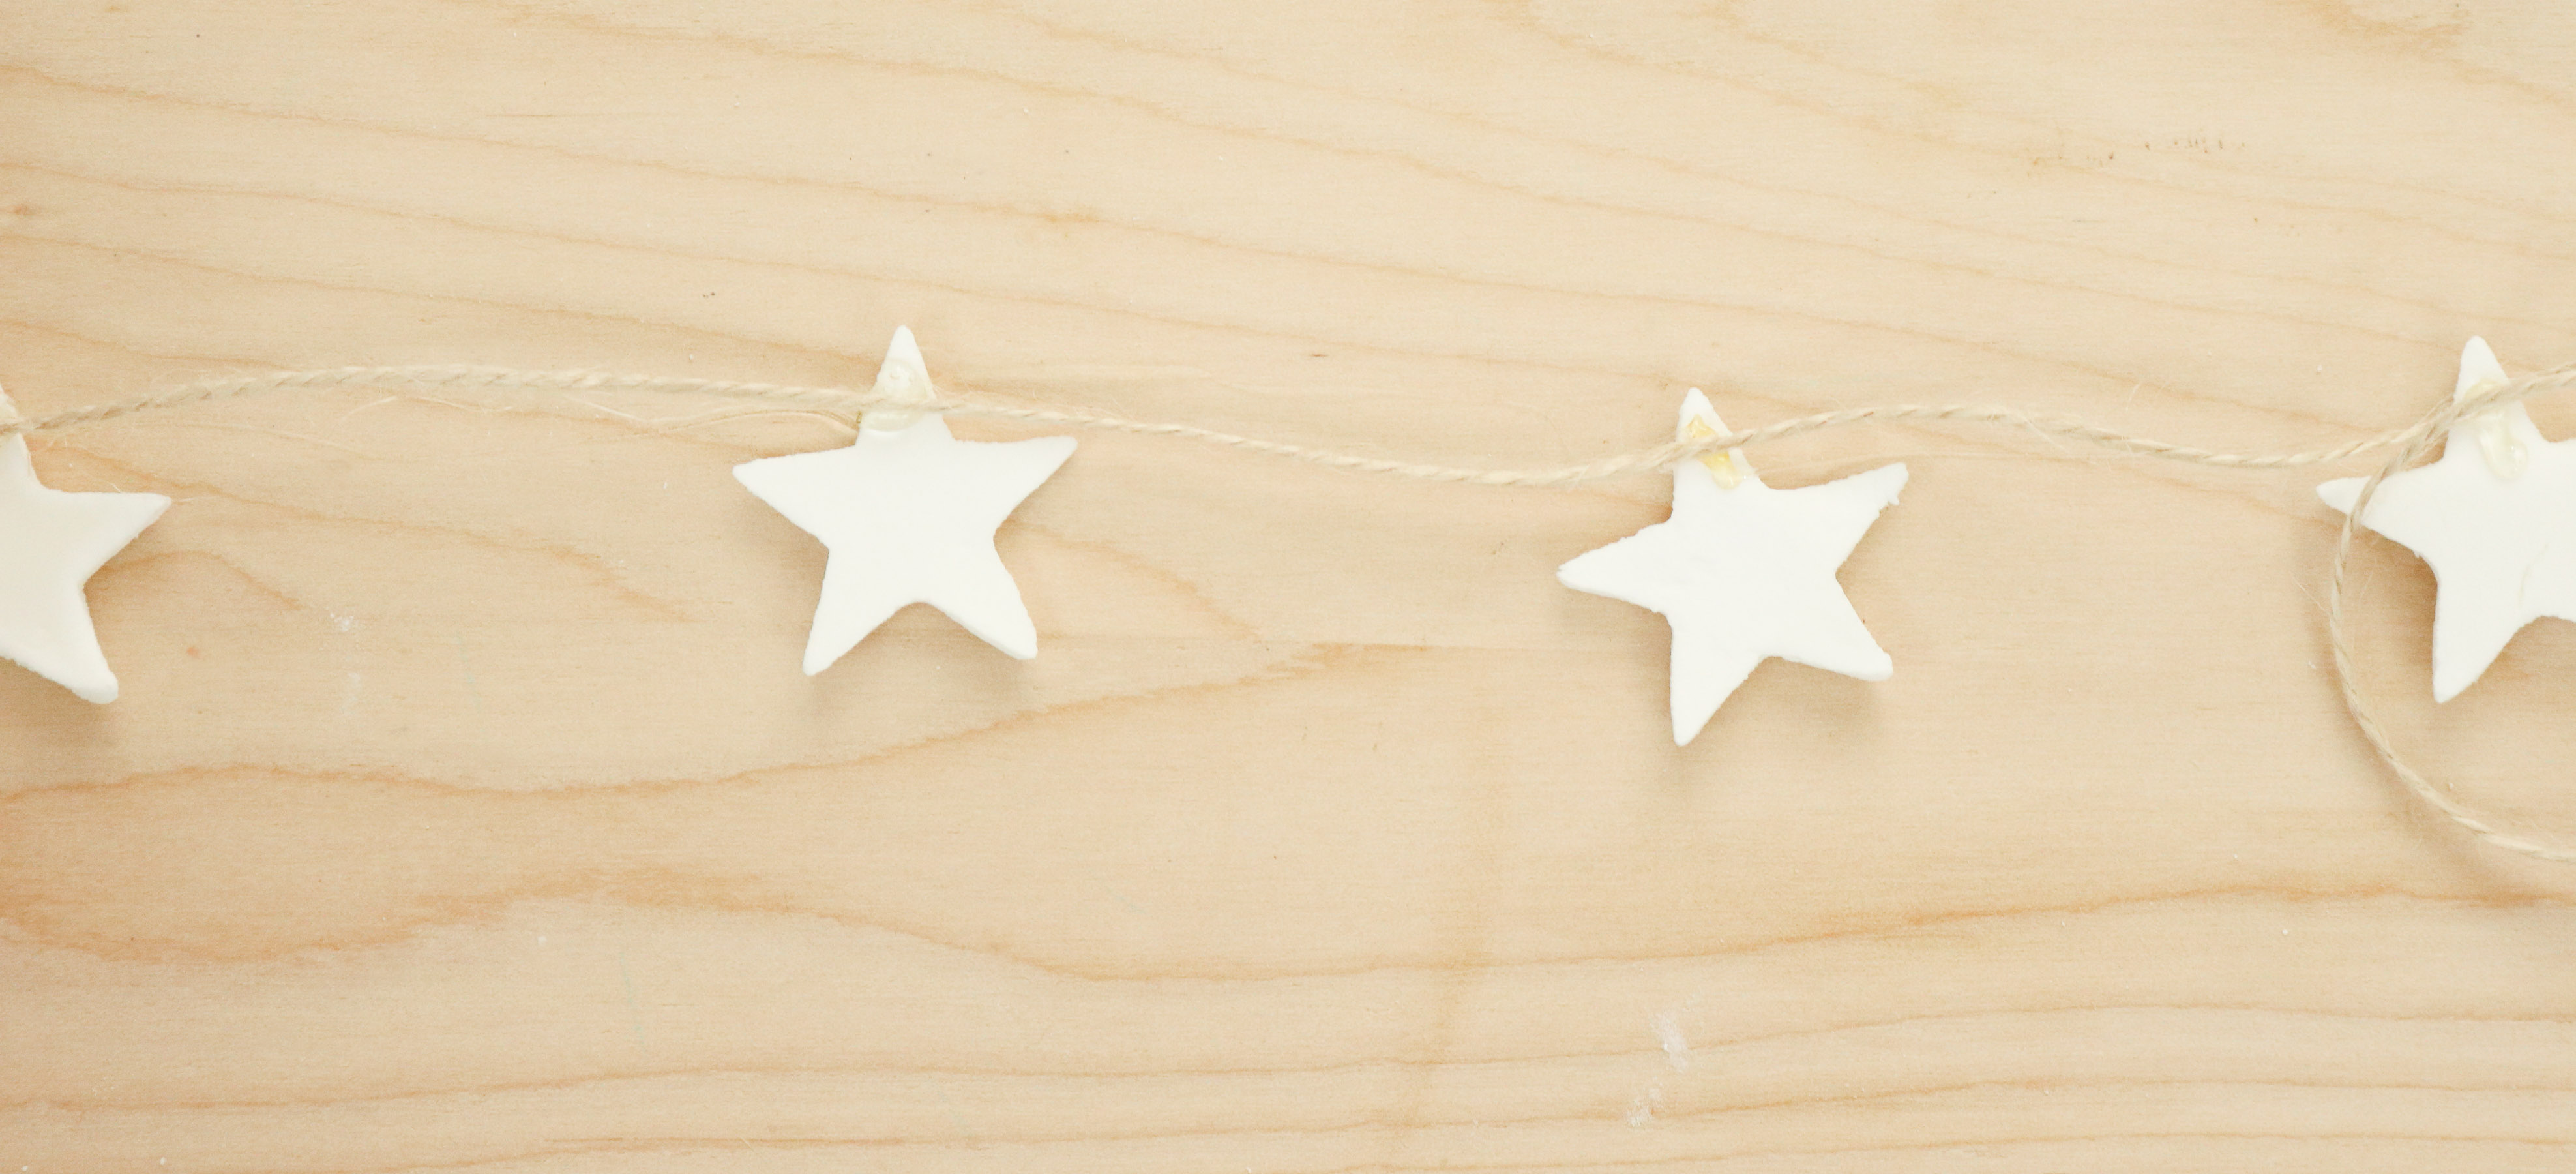
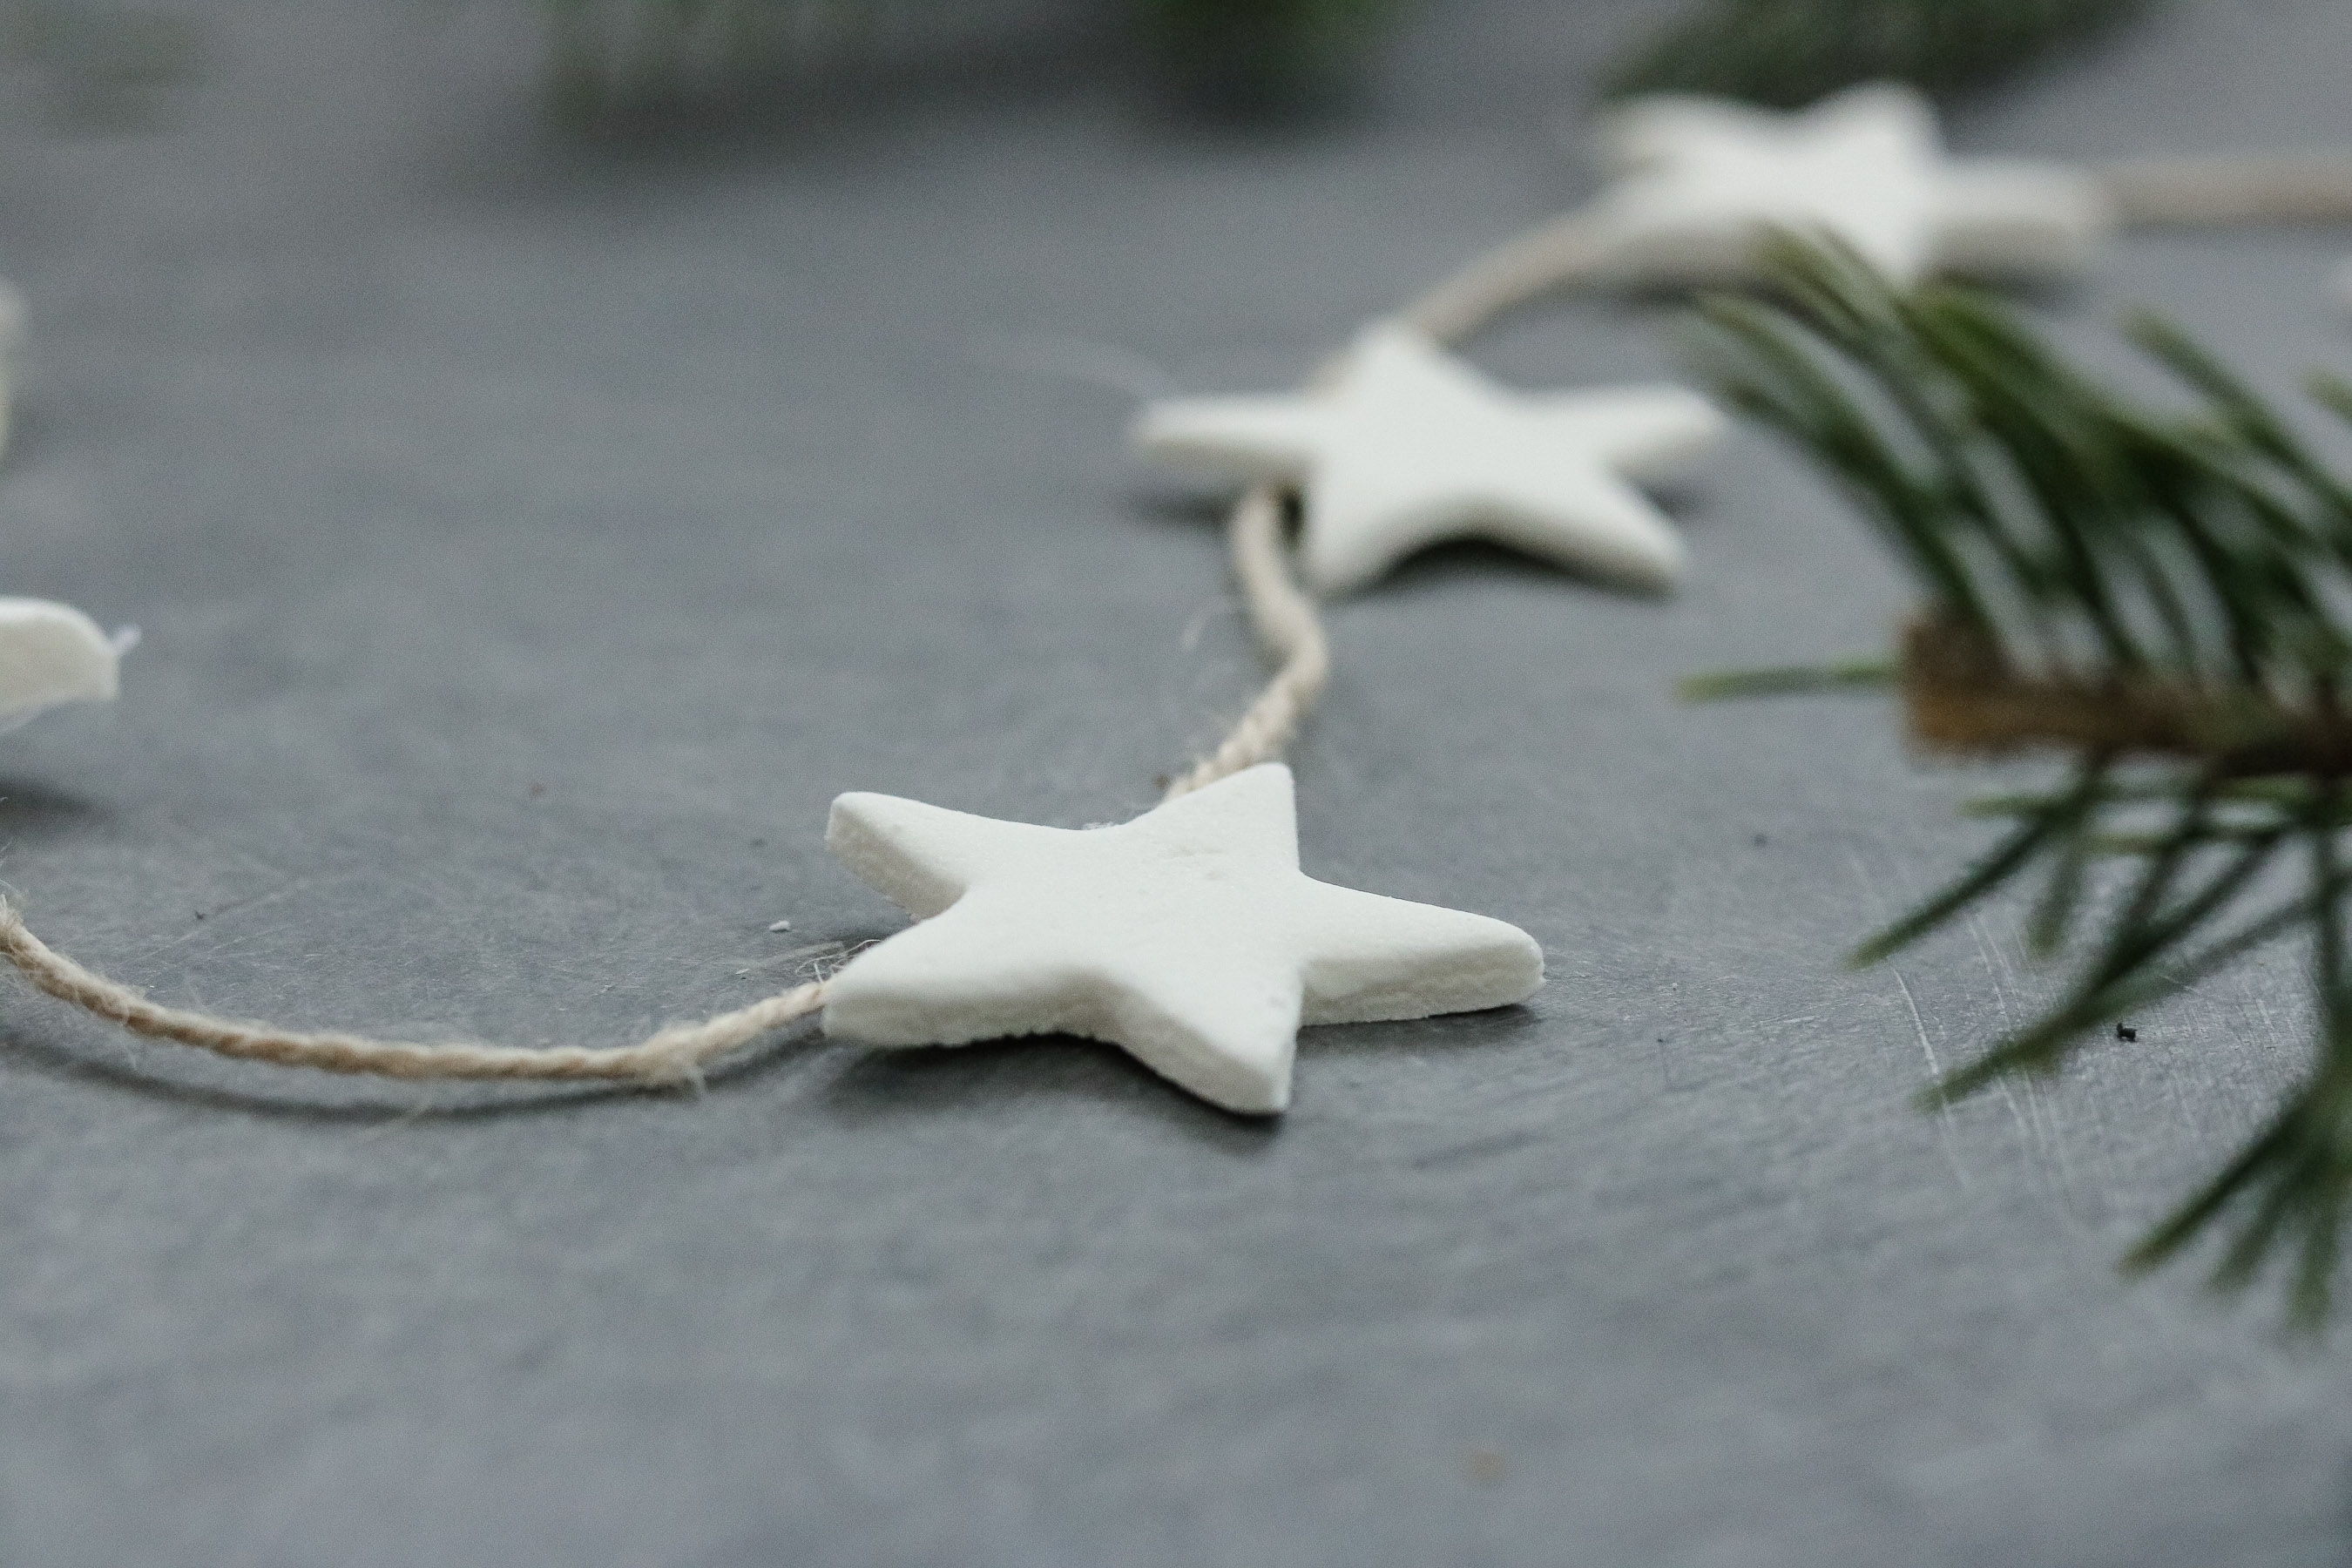
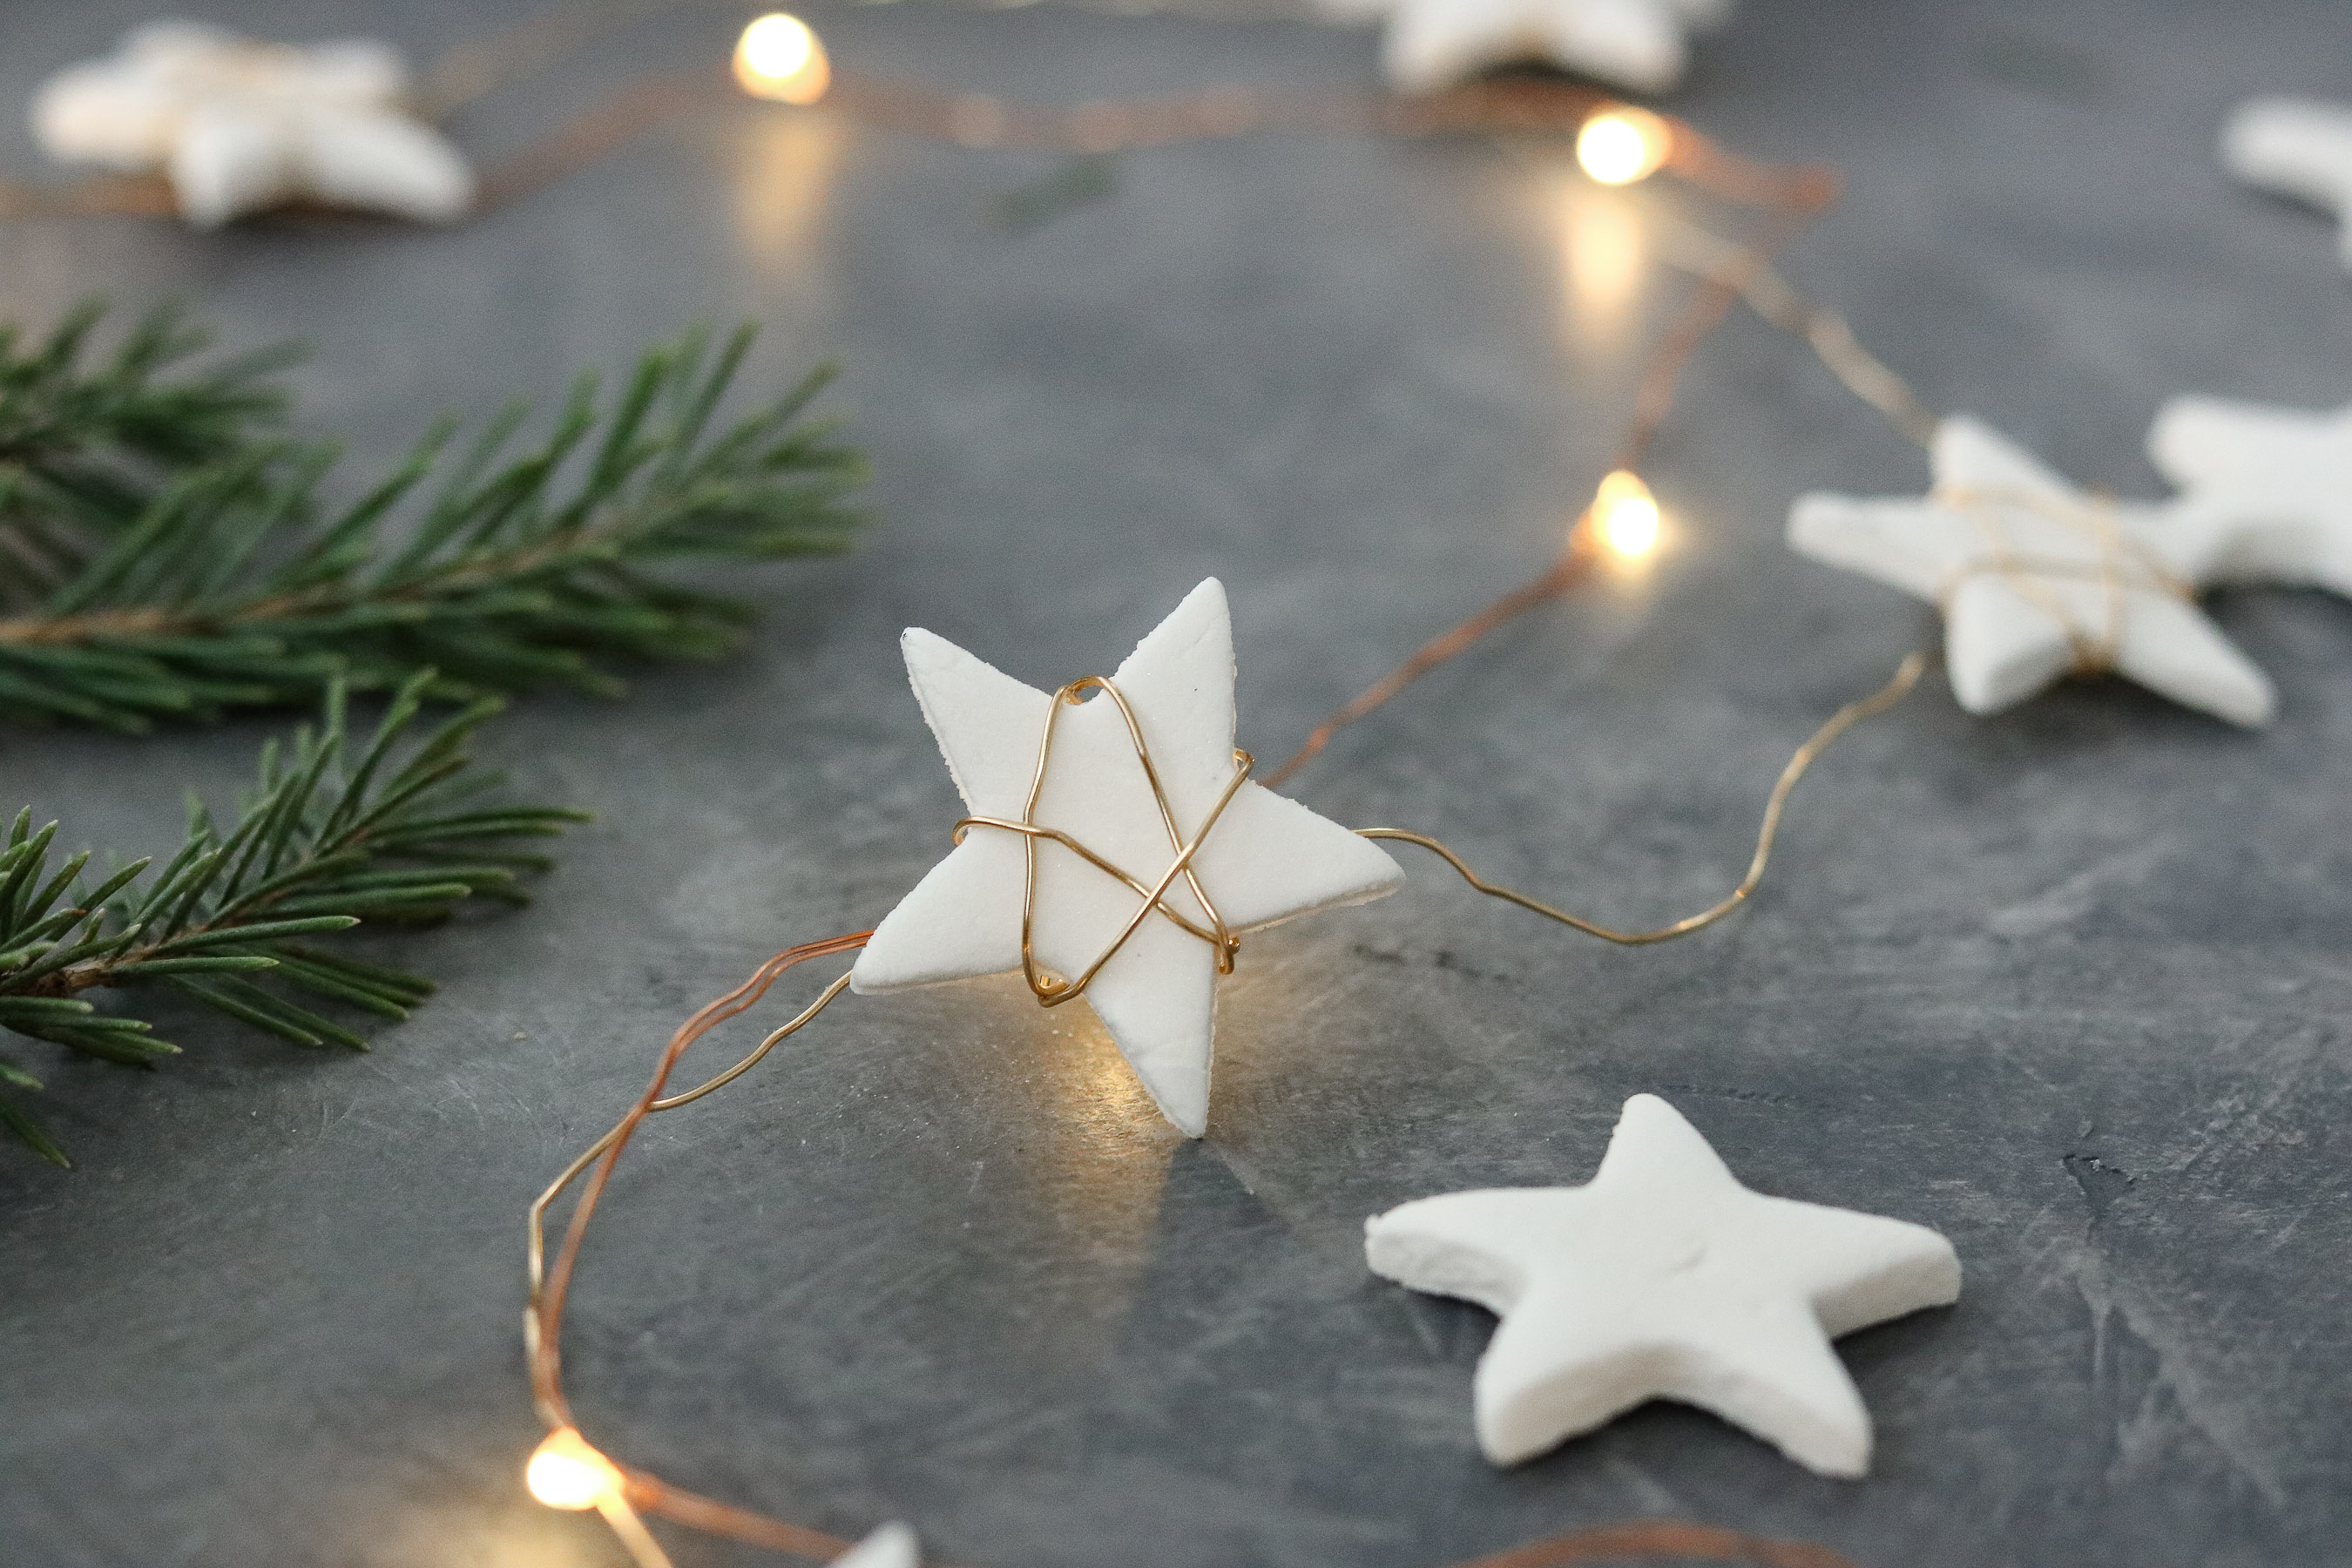
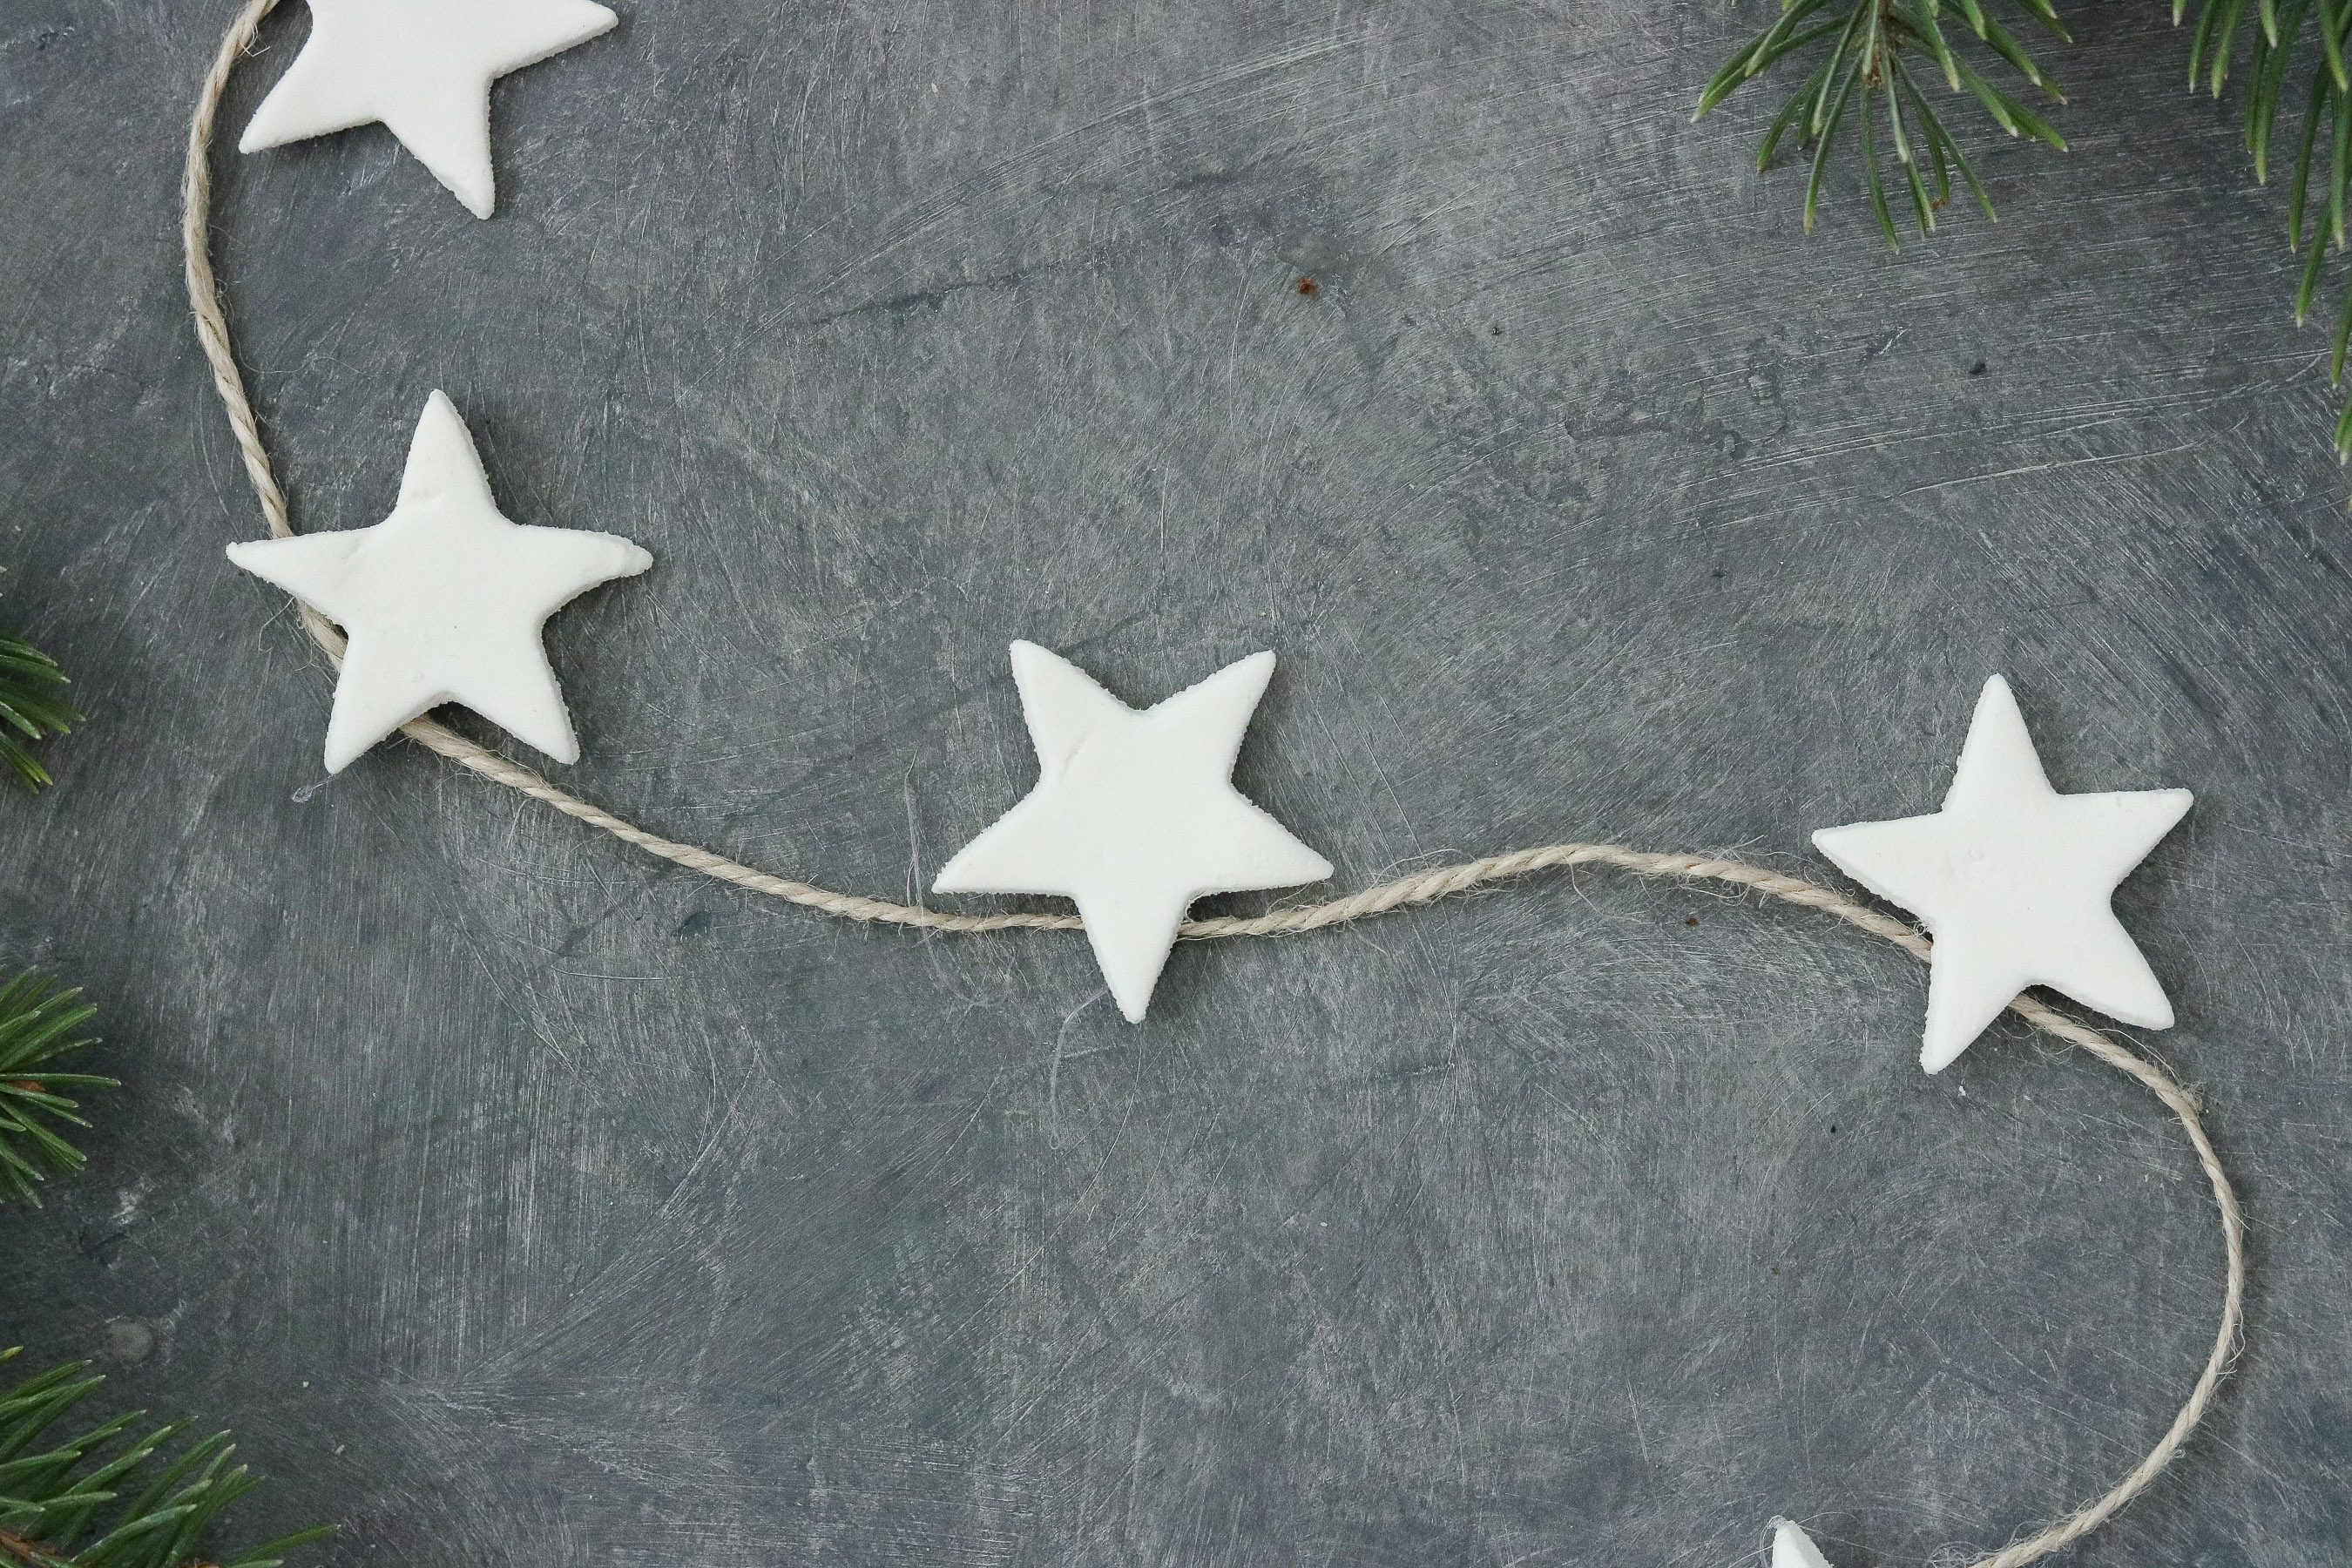
Anywho, you can do either or however, if you plan on doing the twine garland make sure and glue the twine to the tops of your stars. (not in the middle… lesson learned!) For the wire garland use some super flexible wire and wrap it around your stars leaving gaps in between to create the garland.
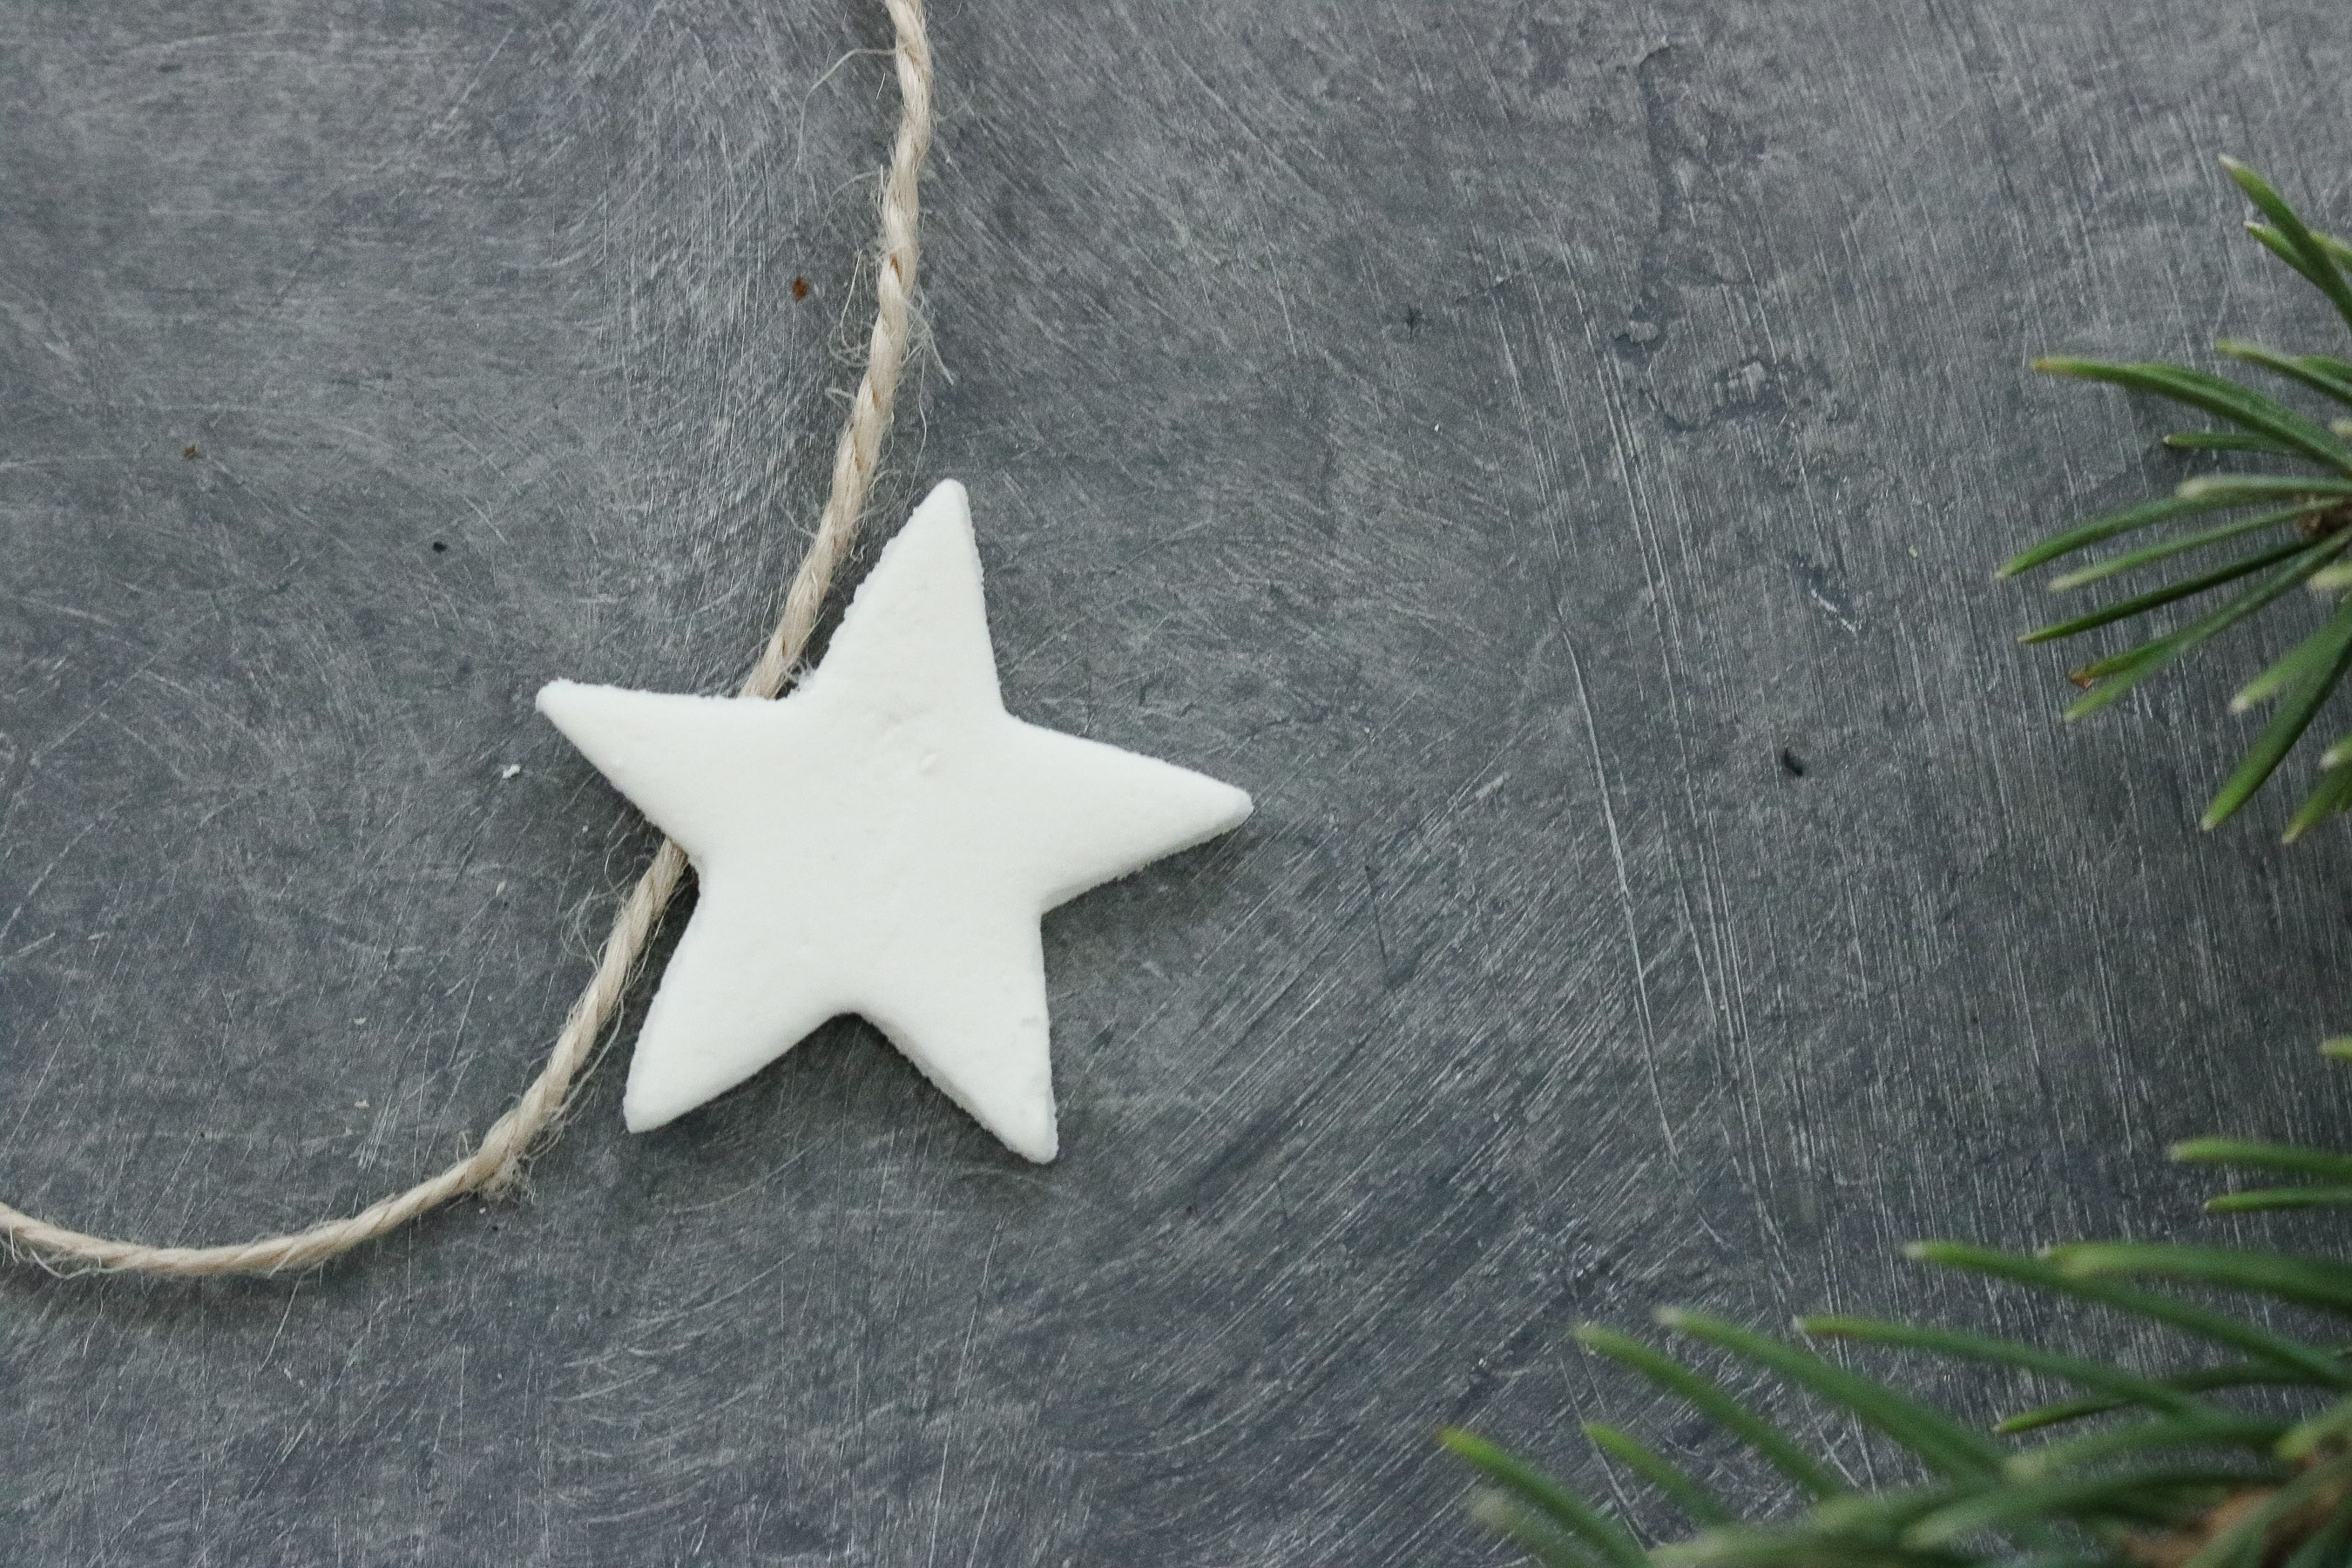
Here’s how the twine garland looks like on the back side.
That’s it!
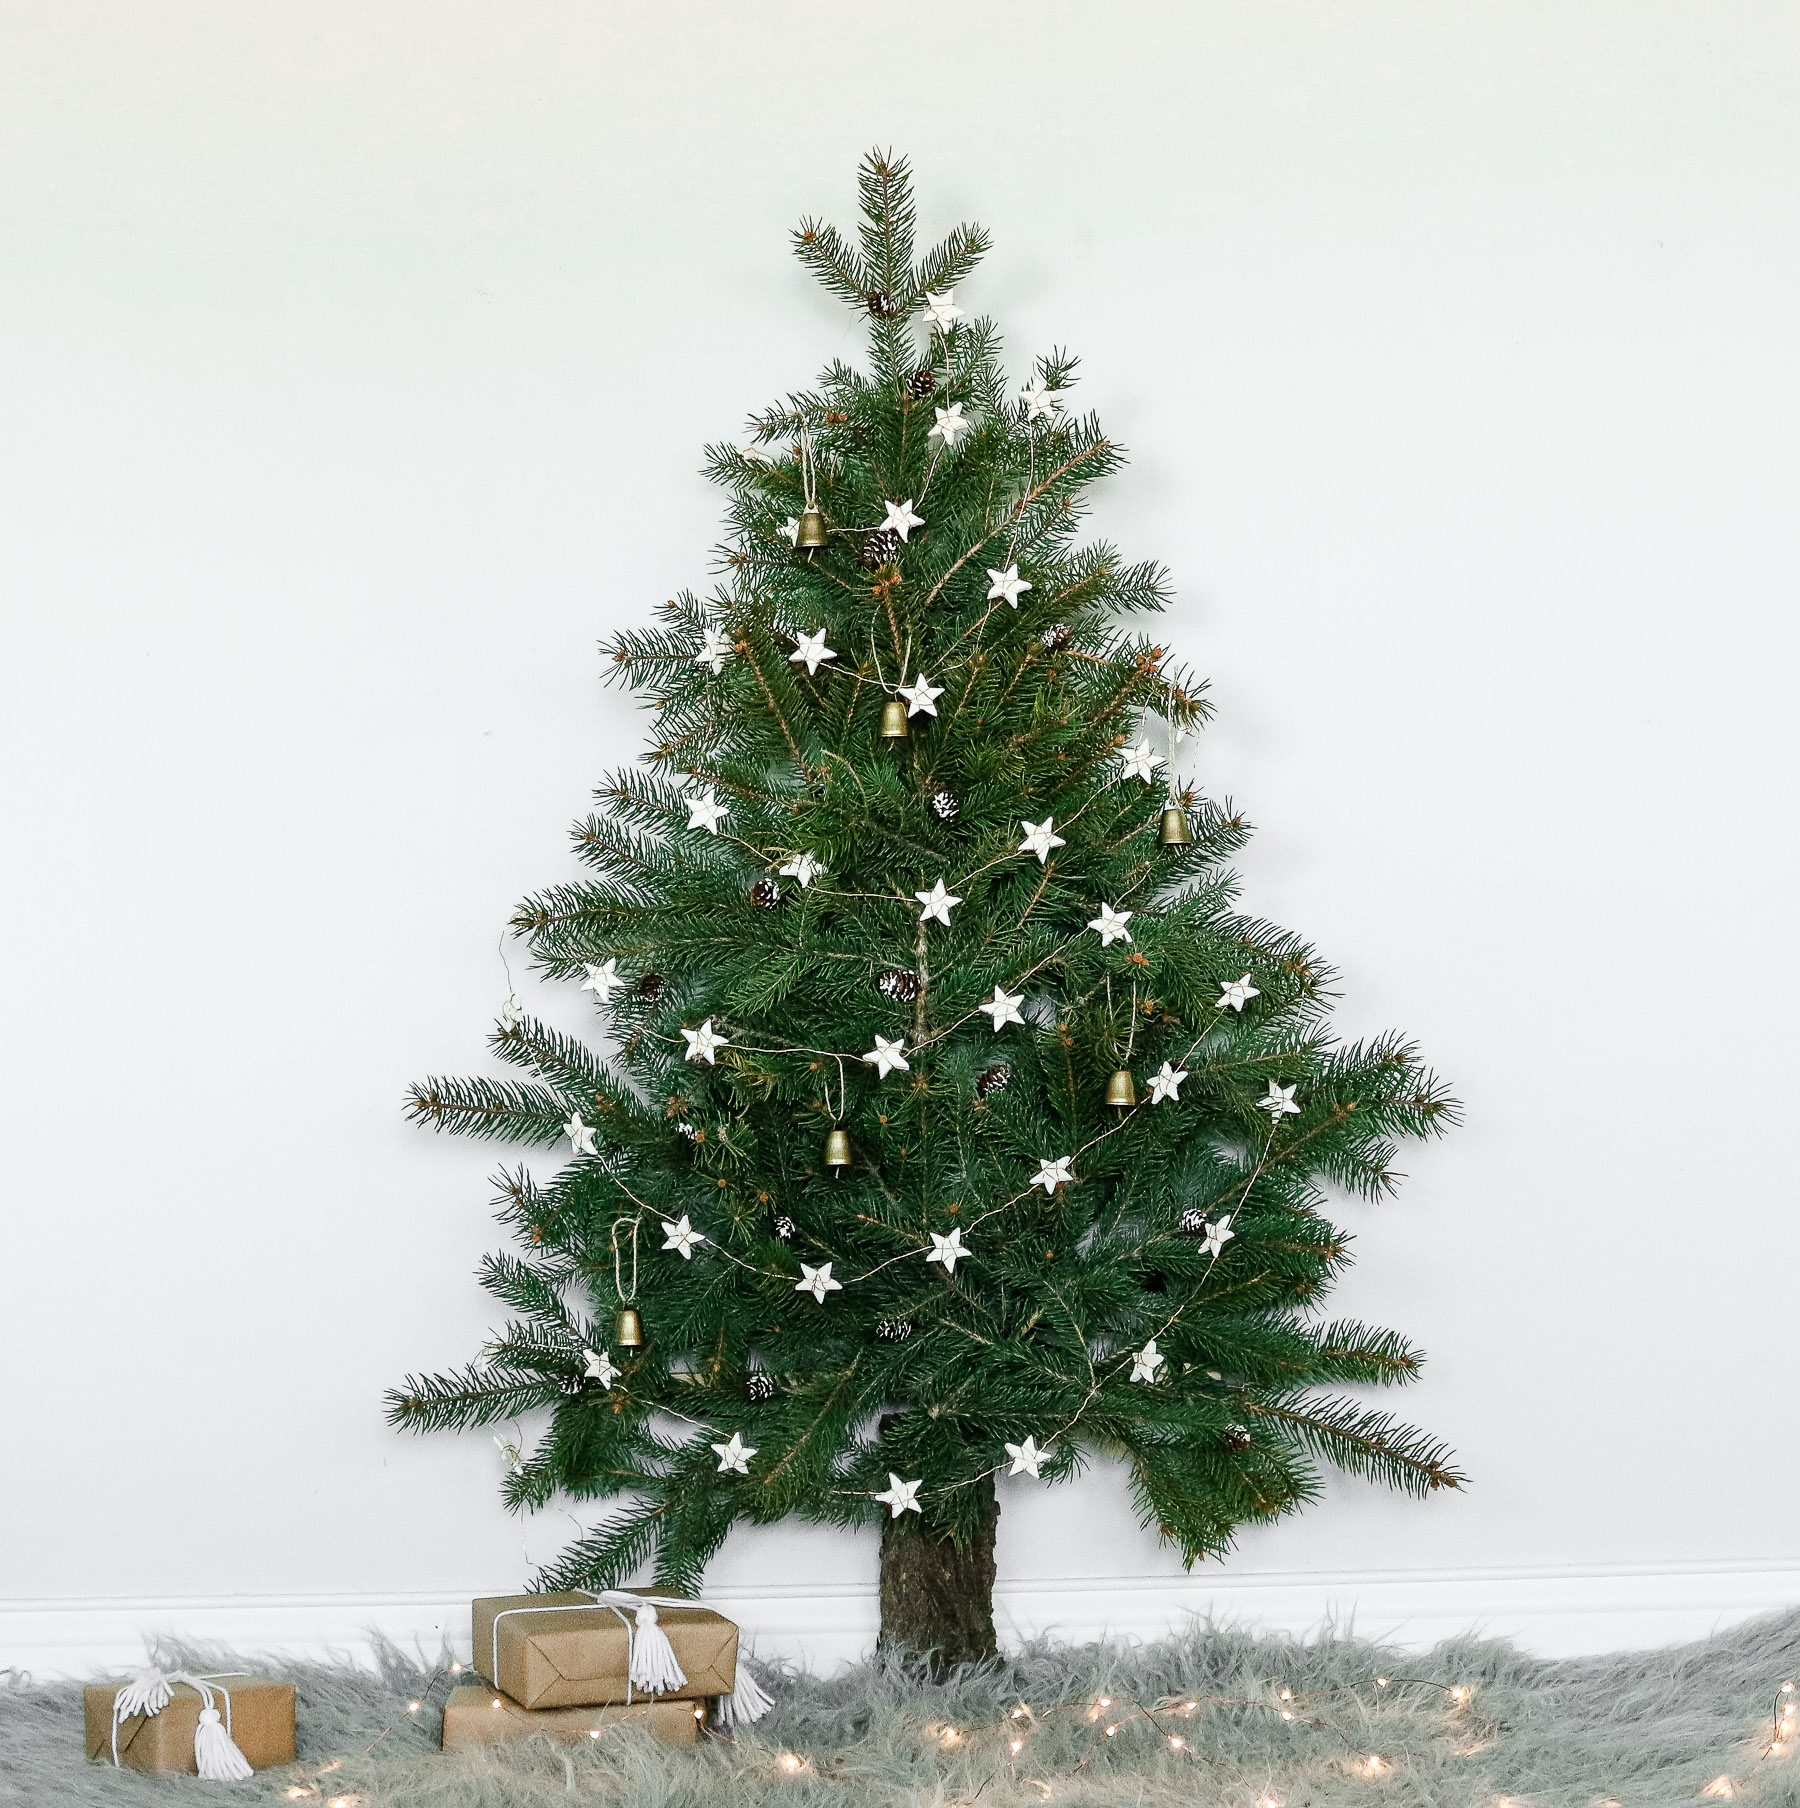
How cute is this tiny Christmas tree. I love a minimalist tree. I dunno why but lately I’m feeling the clean decor look. LOL SO Clean I haven’t put up my Christmas tree yet🙈! Less is more they say! 😅 We’ll see how long that lasts with the little one. He loves Christmas! We’ll be 5 months away and he’s already making Christmas plans. LOL. Anyways. Thanks so much for tuning in. I’ll drop in a few more close ups down below. I hope you found this DIY helpful ooooh before I forget. You can use the clay recipe for ssso many things! We already made hand prints and I hope to make more soon to share with you guys. It can be used as playdough (add food coloring) ornaments etc.
CLICK ON ANY PHOTO TO ADD TO YOUR PINTEREST BOARD!
Look at that smooth texture though! Just what was going for. ⬇
OTHER RELATED DIYS YOU’LL LOVE:
- DIY WOOD STARS
- DIY CHRISTMAS TREE FROM PALLETS
- GRAB SOME TINS CAN TO MAKE CHUNKY KNIT PLANTERS!
- 12 WAYS TO UPCYCLE OLD CHRISTMAS ORNAMENTS!
Before I go just curious to know. Do you like the twine or the wire more? I couldn’t decide I keep going back and forth. I like the twine because it’s simple but, the fairy lights are so festive and match Christmas more.
Okay than. Happy Crafting I hope your having a great weekend and I hope to see you next week! 😀
Here’s a pin for you to add to your Pinterest board for later. You can add this to your fall decor board or DIY decor board. (photo below)
CLICK ON PHOTO TO PIN!!


Hi,
Are you baking them at 170 degrees celsius or fahrenheit?
Merry Christmas.
I’m pretty sure my oven does Fahrenheit
Thanks !
Can you use food coloring? And can you use essential oils for fragrance ?
YES 🙂
“I actually had everything for this project on hand except for the cook star cookie cutter”–>
What is a cook star?
If you can’t figure out she meant cookie star cutter this project might be too advanced for you to try.
@Kara Wow! That was a little unnecessary don’t you think? Asking a question for clarification did not warrant your snippy response. You could have shared that you think she meant the cookie cutter without the rest. Totally unnecessary.
Hi Lori, I’m sure it was a typo and she meant “cookie” versus “cook.” Ignore Kara’s comment which was simply rude. Good luck!
It would just be a cookie cutter
I took it as maybe being a “cook star” brand cookie cutter..I don’t know if there’s a company named Cook Star that makes cookie cutters, but it’s a possibility…
She did mean a cookie cutter. I just used a knife to cut out mine, since I didn’t have one. Also, whoever Kara is should get a lesson on having a good vibe, lol.
Can u add color to these?
Yes for sure. Food color or powder works great. You can probably even try acrylic paint. 😀
Does the clay go bad? Like does it get moldy or does it stay like that like store-bought clay does
I store it in the fridge for two weeks.
Can this be made then stored in a tight container? I would love to try this for vacation Bible School ( if we are able to have it)
Like playdough? Yes you can store it in an airtight container or in a ziplock bag in a cool dark area. It should last a few weeks this way.
Love the smooth texture of the surface. How would this clay hold up to putting wire in a stars tip prior to drying it? I want to do this but want to keep the twine out of the smooth texture and be able to hang them on my fairy lights. Cant put fairy lights in the oven.
I wouldn’t put he fairy light in the oven however these clay does airdry pretty good. You might need to flip the stars and let them dry on both sides.
Has anyone tried arrowroot starch? We are allergic to corn so wondering if something else works just as well!
I think it would work great to although I’ve never tried it. 🙂
Have you ever tried this clay recipe with prints of any kind? (E.g. leaf prints).
Wanting to use a softer clay like this for my print making with my kids, but wondering if it would do well with detailed indentions.
I haven’t however I’ve seen it done. Someone shared photos on one of my pinterest pins and they did leaf prints it looks amazing.
Potato starch would work great!
Cannot wait to try this. Wondering if it could be used to make ring dishes also.?
Hi Karen, I tried making some stars that were pretty big and it cracked once it started drying. Not sure if it was because of the surface they were drying on. I would give it a try. 🙂
My daughter and I used this recipe for our Christmas tradition this past Christmas. Omg!😔 it cracked! I felt so bad cause I couldn’t explain. I mean we did have a few good items but a lot of cracking going on. We did a few air dry. They cracked. The oven dried ones cracked also. Next year we’ll buy the dough😢 it will take the fun out of it but I’m hoping no cracks.
Hi Ruthie, OH NO!! I’m sorry to hear that! I had cracking if the surface wasn’t floured with baking soda before I lay them to set or bake. Not sure if this could of been the prob.
I don’t think so. Not sure though. Sorry wish I could help more
Hi! The star garland is darling. Do you think this mixture of clay would work for making earrings?
I want to use your clay to make a infant footprint ring dish. But I want to ink the feet and stamp them in and I would like to paint it. Can this all be done if I bake? If so when should it be painted? Before or after baking? Would the ink be ruined if baked?
I would paint it after. 😀 Also I’ve tried to make big handprints and wanted to mention this clay doesn’t work really well with huge pieces. It cracks for some reason. I think it should still work with a baby footprint because it’s smaller. You can also add food color into the clay. I tried this and the color was still good after baking.
Hi I want to make my grandkids footprints into reindeer ornaments I was gonna use this recipe because I dont like the grainy feel but after reading this some of the kids have big feet so it may not work does anyone know of another way I can make them
If you wanted color, could you add food coloring to the mixture? Would paint adhere to baked pieces?
Thank you!
Yes you can. We tried this. It works great. 😀 also acrylic paint works great once the clay is dry.
Hardened claynis stuck to the bottom of ny pan, how do i clean it off?
I’m sorry to hear that. I usually dust the area with baking soda before laying anything on it to dry.
I like the lighted one! So pretty and simple!
Thank you 😀
Can we use Baking Powder instead of Baking soda?
I’m not sure. Give it a try.
NICE!! so glad to hear they turned out perfect! Thanks for letting me know.
Baking powder will make them rise and be puffy. If that is what you are going for – go for it. 😁
Can you make this and store in fridge ? Or will it harden?
It can be stored in the fridge for about a week. Just make sure it’s in a ziplock bag with as little air as possible.
So— when I tried this recipe I ended up with so much more water than needed. Is 3/4 cups correct? I went ahead and added tons more baking soda and cornstarch and just ended up with a ginormous batch (no complaints here— my goal was garland for a full size Christmas tree) thanks for the beautiful idea!
Yeh 3/4 cup of water sounds right. Hmm I’m sorry to hear it didn’t go well and I’m glad you got it to work. How long did you cook it for? Did it thicken eventually or just never thickened?
Used this recipe last night and our stars turned out GREAT! One batch created over 50 stars with the small star cookie cutter we were using. Love it and can’t wait to try other variations with the dough recipe!
Hi Meredith, I’m so happy to hear it was a success. Wow that’s a lot of stars! 🙂
Is it strong enough to punch a hole for twine before hardening or would that compromise it
No I think I hole would work great. It should be strong enough and I love that idea. 😀
I like both designs but how did you attach the stars to the twine?
Hi Cheryl! I’m so happy to hear you like both. I hot glued the stars to the twine. 😀
I would use the light/wire strand to put about anywhere and if I so choose to do rustic I would use the twine. I think the twine would look great around my nativity scene. I love both ideas and maybe even a combination of both would be great also.
Yes I agree. Twine is definitely more rustic and yeh I can see a combo of both! Glad you liked it 😀
My kids have a gingerbread man art project and I’m going to use this recipe for the DIY!! Thank you for sharing, Lilly!! <3
OOH girl that sounds fun! Not sure how big you’ll be making them just a heads up this clay doesn’t do well with large project. It cracks for some reason. Wondering if a tiny bit of oil in the recipe would add moisture to it. I’m assuming the baking soda sucks out all the moisture and it cracks :(. With all that said this stuff is amazingly fluffy I seriously think the boys would have so much fun working with it.
What about poking a hole at the top so you can string the wire or twine through. I do like the wrapped copper wire, just considering other options. Maybe leave a toothpick in there so the hole remains open. 🤔
I’m wanting to make this for ornaments! Do you think that vinyl would stick ok to the clay?
I think would would stick good once they’re completely dry. 🙂
I love how these turned out! Does anyone know how they keep (do you have to seal them to preserve them)? We’ve done salt dough ornaments before but we live in a humid area and they turn to mush, even with a layer of acrylic. Would love to find a replacement recipe that keeps better.
Hi Rebecca, thank you. I’m happy to hear you love them! They keep pretty well. I still have the ones I made stored in a plastic box and they’re just as solid. We do live in idaho so it’s not that humid here. Not sure if it would make a difference depending on the climate.
I made these today, but ended up using almost double the cornstarch with the same amounts of baking soda and water. Still turned out great and I would definitely use the recipe again!
I did this project with my mom, Grandma, and Sunday school teacher growing up. My daughter also did this with her Grandma (my mom), Sunday school teacher, and teacher. Thank you for the recipe. I couldn’t remember the recipe-I’m sure that it’s somewhere. Now I’ll do it as an adult-and hopefully one day as a Grandma. So many memories to come. My daughter actually hot glued one ornament with her kindergarten picture-at school her teacher put the picture on it. It was my gift from my daughter. My perfect star 😍.
Hi Amy, Sorry about he later response! Love making memories whiling creating 😀 😀 Those are the best. OH how cute love the idea of adding a picture to it. 🙂 What a cutie 😀
I didn’t fully read the directions about using a stove top. I was at work where we only have a microwave readily available without going to the other building (wasn’t an option at the moment). It turned out great! Just stir well every 30 or so seconds for about 6 minutes or until hard to stir. Cover it with saran wrap to let it cool, and it was easy to roll out and cut out. I had the kids dip their finger on an ink pad, then pressed it into the dough to make Christmas ornaments as a parent present. Highly recommend this recipe!(:
WOW how cool! So nice to know it could be made in a microwave. I’m glad it worked out. OOH love the idea of using the ink pad. So creative.
Awesome! Thank you!
Love the wire for a more Christmas vibe. And the twinkle lights are perfect! You could use the twine one for Independence Day (4th of July) and paint the stars red& blue and leave some white? Could use different shaped cookie cutters obviously too. I have tiny ones that are meant for pie toppings that would be perfect for a fall garland. So many possibilities! Thank you for sharing this! I think we may need to try this out! My girls hate when the store bought stuff doesn’t turn out like it’s suppose to and it’s so hard to work with sometimes!
OOH I love that idea for 4th of July! so cool! I totally get it we always come across that issue when we make slime from slime kits with the little guy. I sometimes wonder what they were thinking selling something that doesn’t work ( maybe we were doing it wrong LOL)
I wanted to confirm if these last for more than one holiday season? Assuming they are stored in a dry environment, would I be able to use for several years?
Yes they definitely last a good while. I still have mine and they’re just as good as new.
They’d be cute strung with red and white baker’s twine, too!
Yes that sounds super cute! 🙂
No luck with this at all. Read and followed instructions carefully. All I got was a sticky mess, even after I almost doubled the amount of baking soda. Was hoping to use this as a Christmas gift and bough twinkle lights and twine and everything. Sadly, couldn’t get this “dough” to turn out at all.
OH NO I’m so sorry to hear that. I will have to try the recipe again and see if maybe I missed something. I worked great for me not sure what’s going on.
Love the smooth texture of the surface. How would this clay hold up to putting wire in a stars tip prior to drying it? I want to do this but want to keep the twine out of the smooth texture and be able to hang them on my fairy lights. Cant put fairy lights in the oven.
OH I love the idea of hanging them on fairy light how cool! I think it should work good. I don’t see why it wouldn’t hold up. They dry very solid.
This was such a fun project to do with my family! We did this during the pandemic and decorated my daughter’s room. Now my son wants them for his room as well. 🙂
How cute! so happy to hear you liked it 🙂
Thank you Sarah I’m so happy to hear you like it 🙂
How about adding extra fine glitter to the dough for some extra sparkle!
I’m not sure it will show. I would add the glitter once they’re dry maybe apply mod podge and sprinkle it after.
I did that cause I love gold glitter but it it took away from the starkness of the white.
BUT I did use the white opal-like glitter and although the starkness was still there – it was meh and not worth the anticipation.
No I haven’t noticed any molding at all. Still super strong after all this time.
I think it was around a 1″. Thank you 😀
YEs 🙂
Love this recipe! This is the same one I use to make homemade gift tags! I’m gonna repost your recipe as well. Thanks!
So happy to hear you liked it! Thank you April 🙂
Very wonderful , i Love it, i Do it, i Try it, Thnks
Awesome recipe. I will try making planters. I have the same exact pots btw
Glad to hear you liked it! Oh how cool!
What a fun project to make with my girls.
I found that the hot glue does not adhere to the clay very well, the cutouts kept dropping off and breaking :'(
I prefer the look of the twine, but will try the wire next time!
Oh darn I’m sorry to hear that.
Thank you very much for sharing, I learned a lot from your article. Very cool. Thanks. nimabi